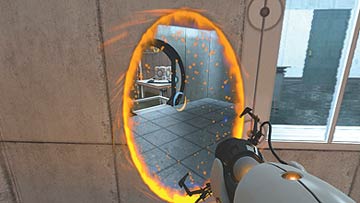
Portal Guide Walkthrough Advanced
Advanced Chamber 13
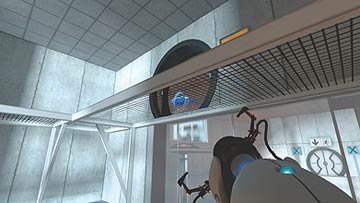
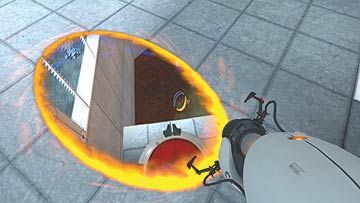
Test Chamber 13’s advanced version hosts one key difference: There is no floor in the main room—in its place, there’s a pool of poisonous goo. But worry about that later. There’s no Weighted Storage Cube to hold down the red button in the first room, so to get through the blast doors, stand on the button, aim into the next chamber from under the mesh surface of the ledge above you, and place your portal above the taller elevated platform. Jump in to your second portal and land on the button.
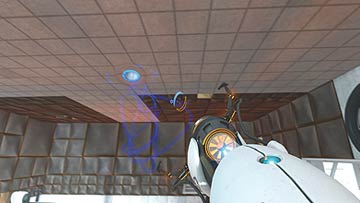
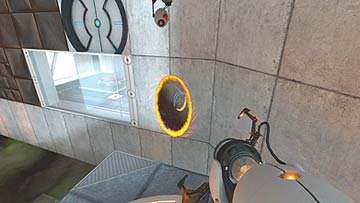
Now, you’re going to activate the Ball Catcher the same way as in normal mode: Place your first portal on the ceiling above the Catcher, and your second on the charred spot where the energy ball makes contact with the wall. The horizontal lift is now active.
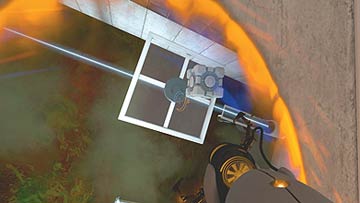
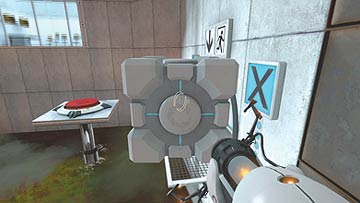
Place your first portal on the stretch of portal-friendly surface that’s midway through the lift’s path, and jump into your second portal when you can see it below you. Pick up the Weighted Storage Cube, wait until the lift is at the end of its line, and leap across, Cube in tow, to the mesh ledge in front of the exit’s blast doors. Be sure to give yourself enough clearance to make the jump.
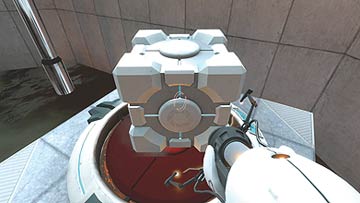
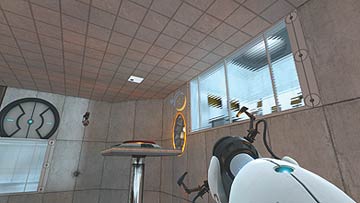
Now comes the tricky part: Leap to the elevated platform that’s closest to you (that is, the shorter of the two) from the blast doors’ ledge, and don’t forget the Cube. It may take a few tries to figure how much clearance you need, so it helps to quicksave your game on the ledge. Once you make it, lay the box on the button and place your first portal behind the taller elevated platform. Now hop onto it through your second portal. Stand on the red button.
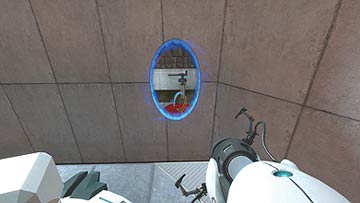
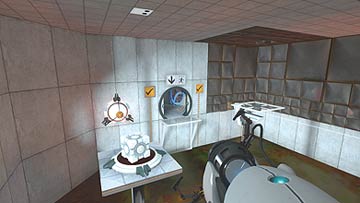
With the blast doors open, aim your first portal on the surface behind them and run through your second portal. Congratulations! You’ve just completed Test Chamber 13 on advanced difficulty!