
Mario Kart 8 Guide The Drivethrough The New Tracks
Toad Harbor
A statue of Princess Peach looks over the bustling Toad Harbor as racers tear through the docks, markets, and side streets as they jockey for first place. Racers can choose from multiple paths throughout the harbor, which can make things complicated as racers start spewing items all over the course to stop each other!
Kart of Champions
Nintendo’s Best Time Trial: 2:11.578 |
|||
Player: Jeff C. M. |
|||
 |
 |
 |
 |
|
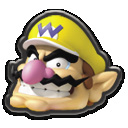
Racer: Wario |
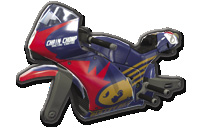
Body: Sport Bike |
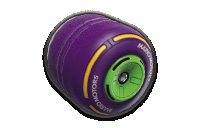
Wheels: Cyber Slick |
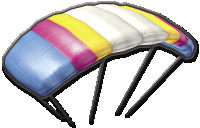
Glider: Parafoil |
Grand Prix
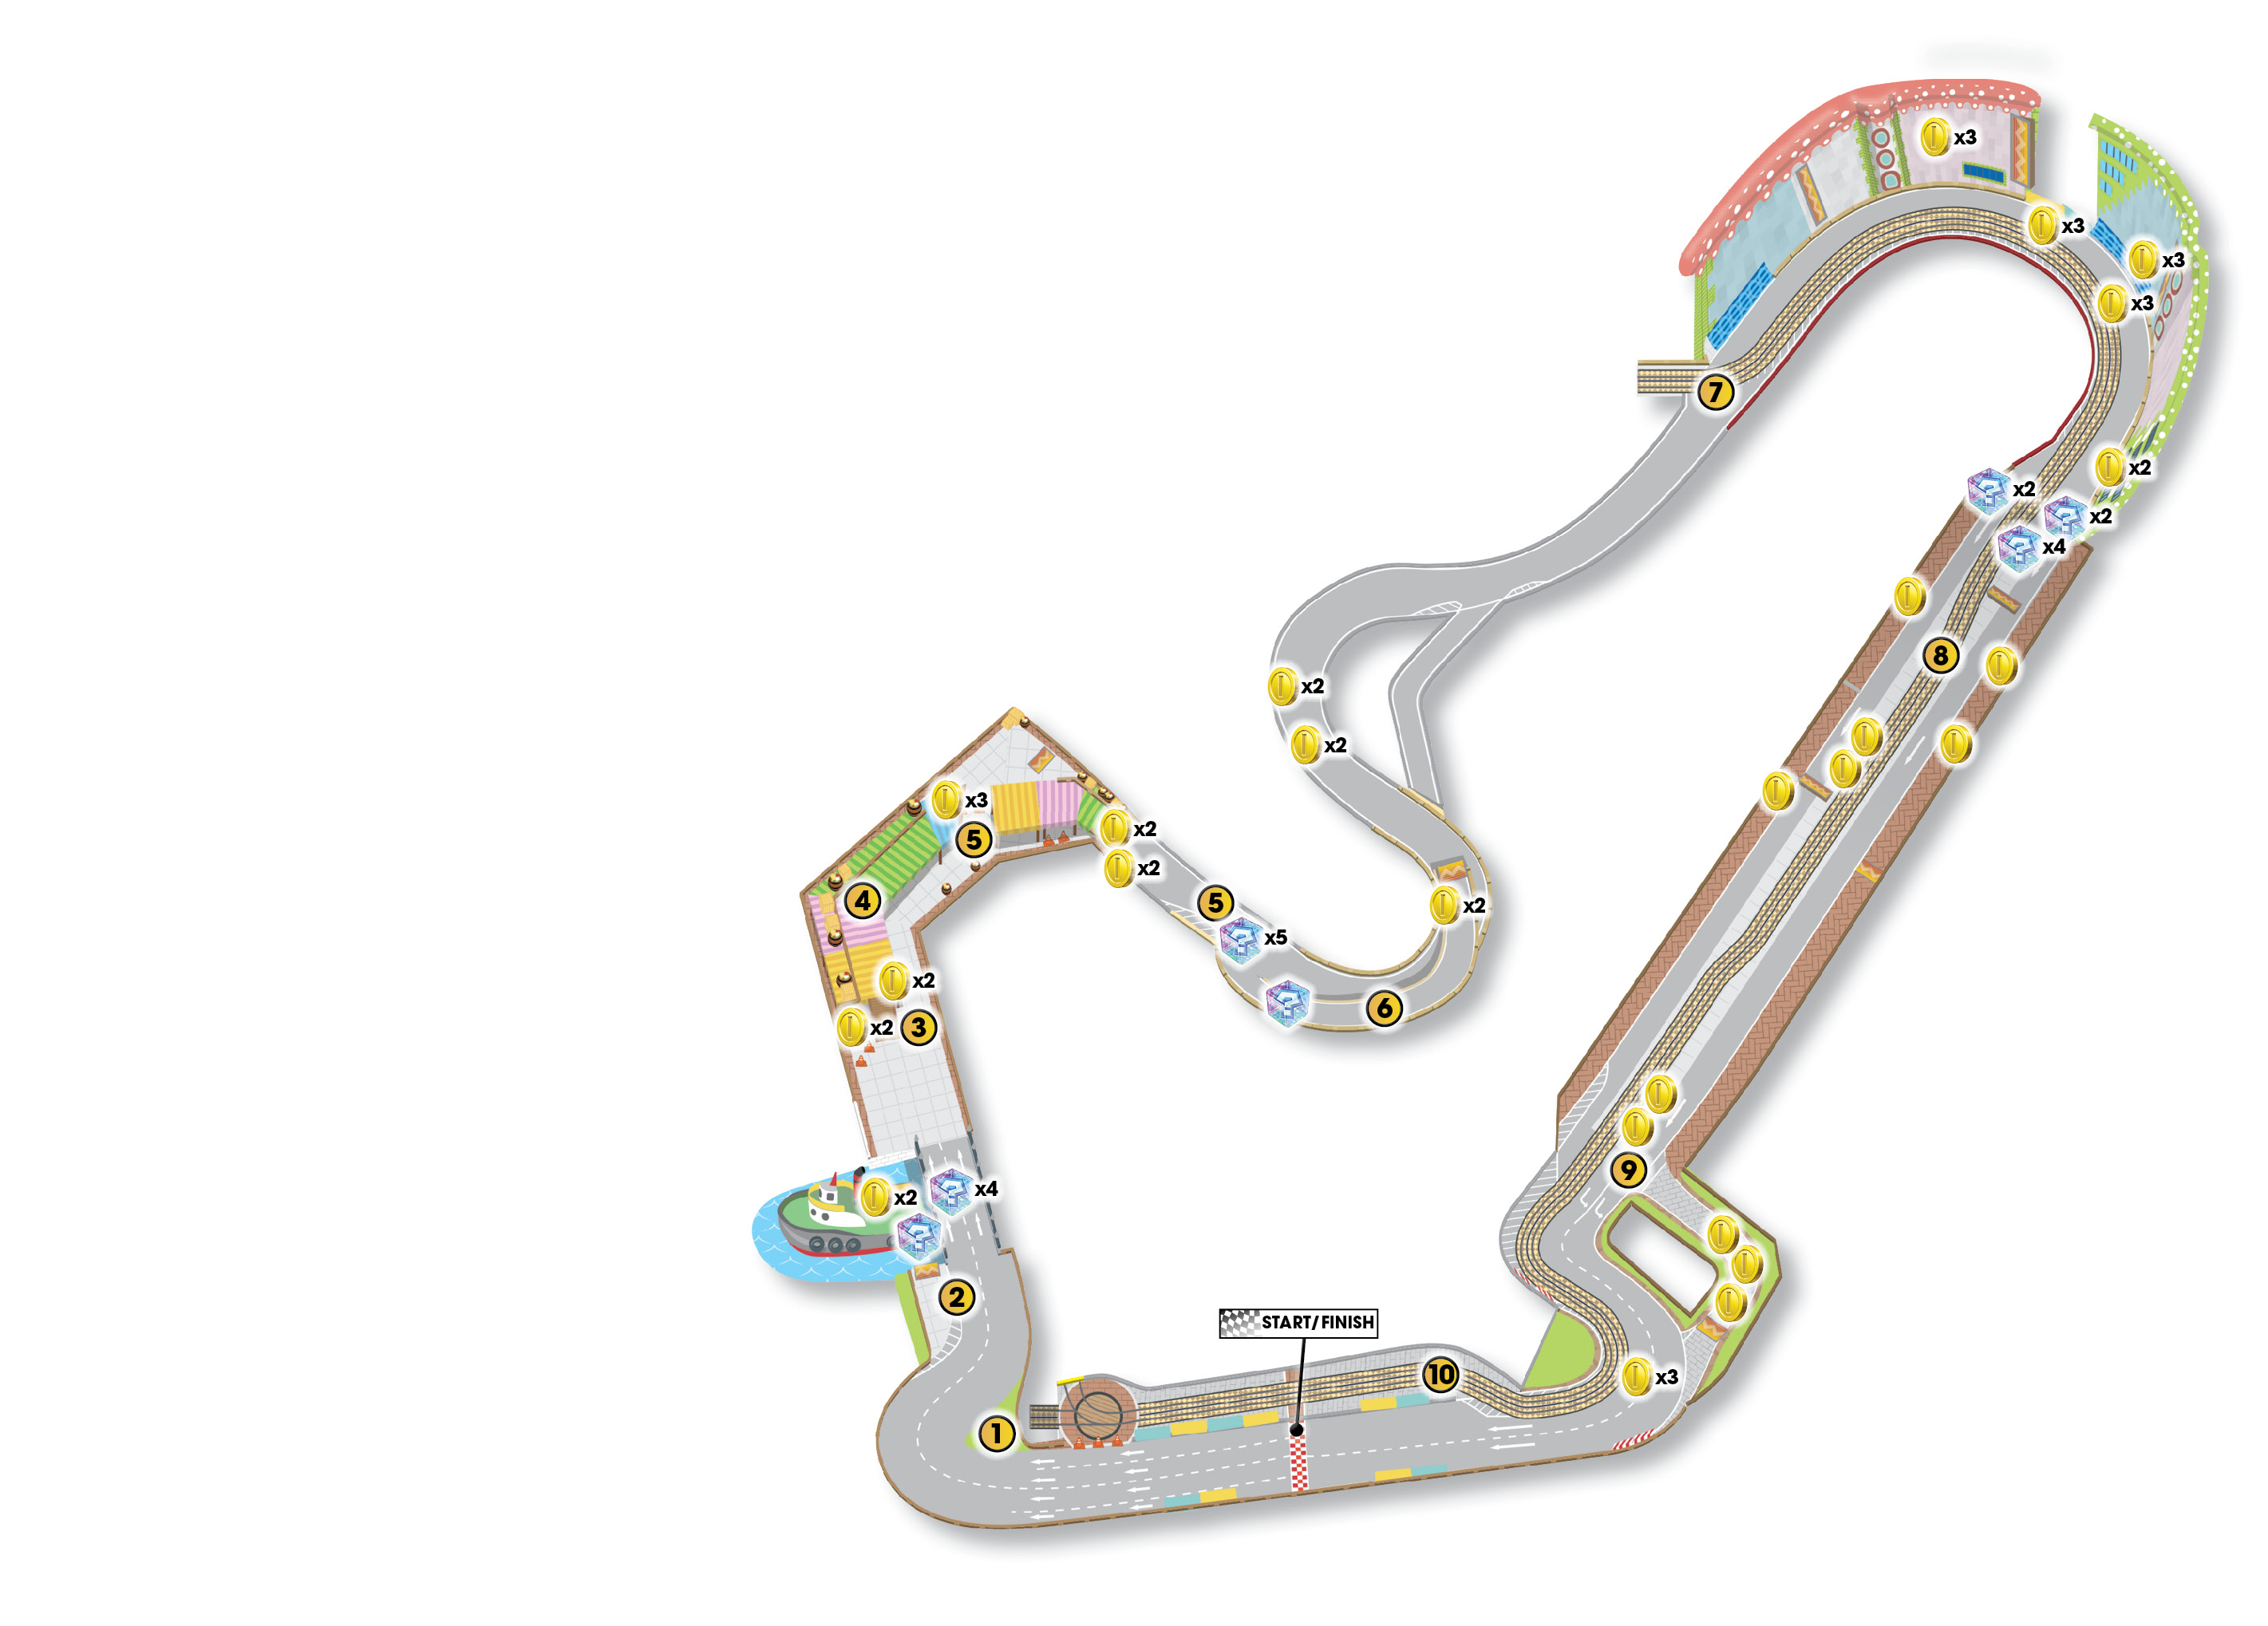
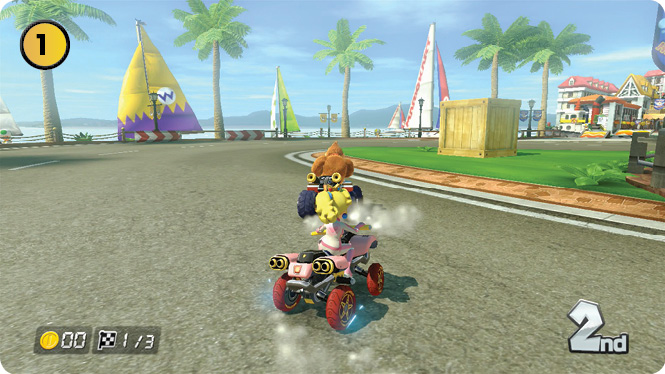
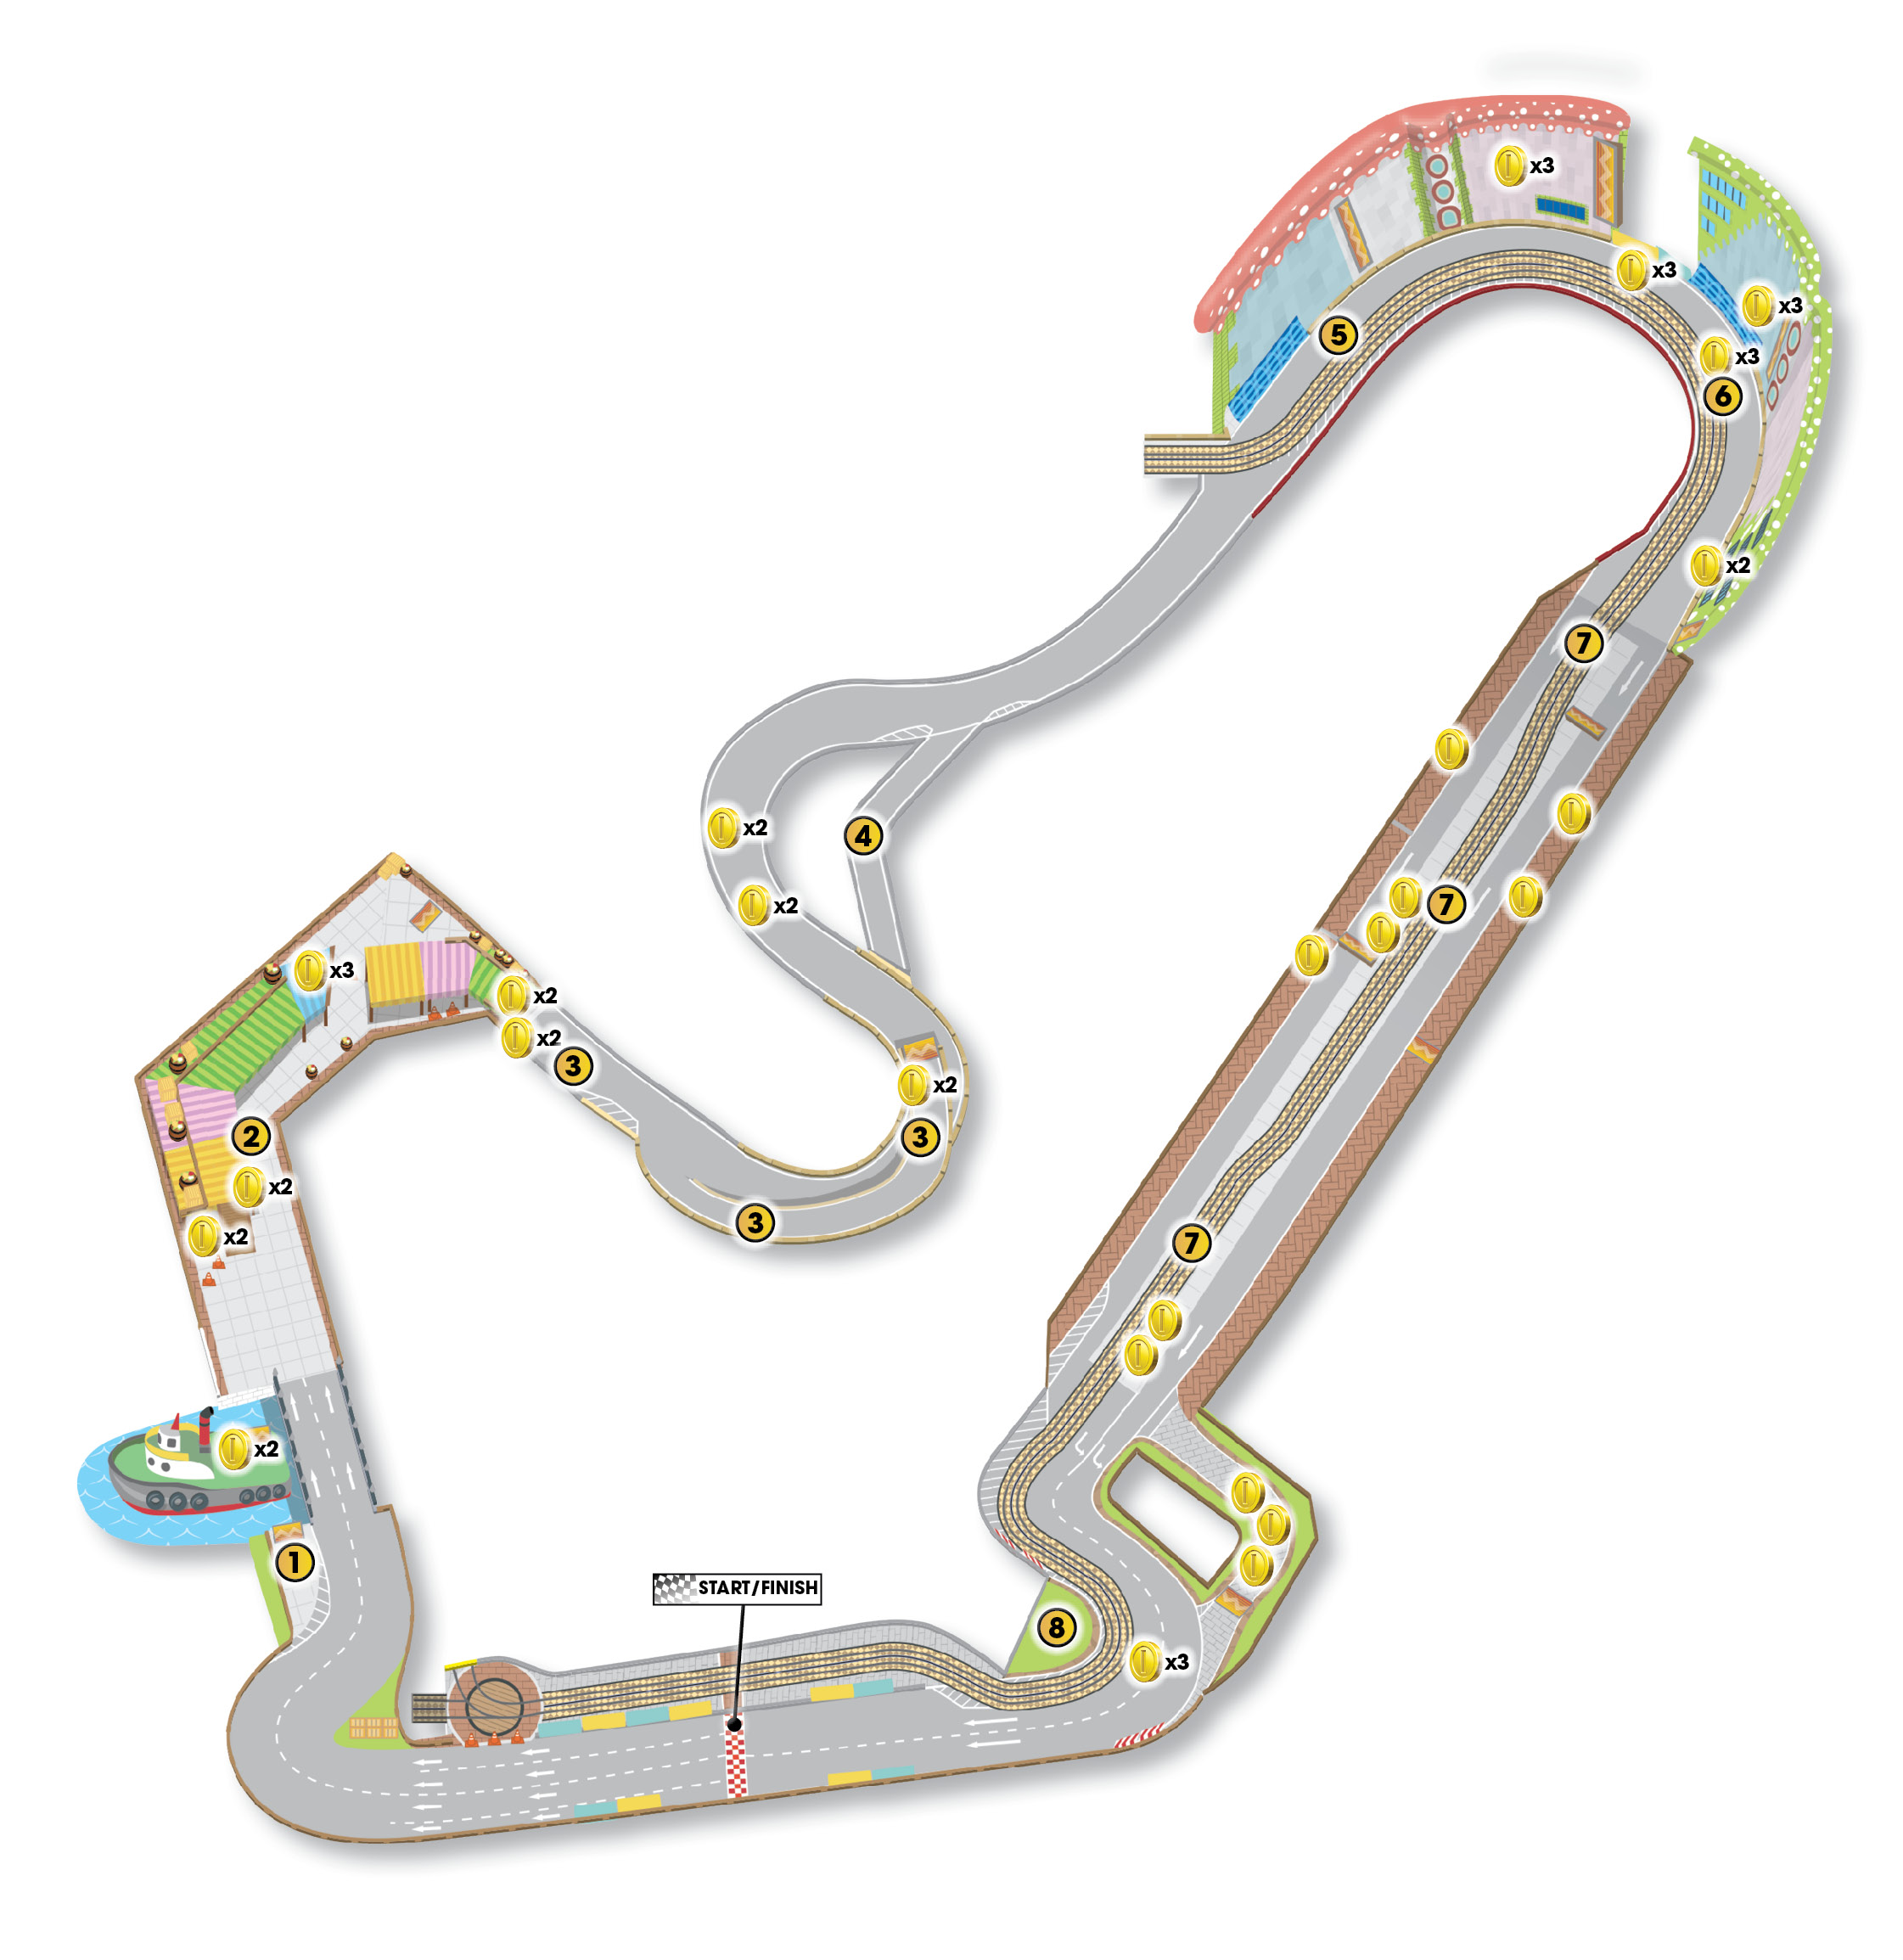
Turn 1 can be cut across by using a Mushroom to blast over the grass and through a set of cargo crates.
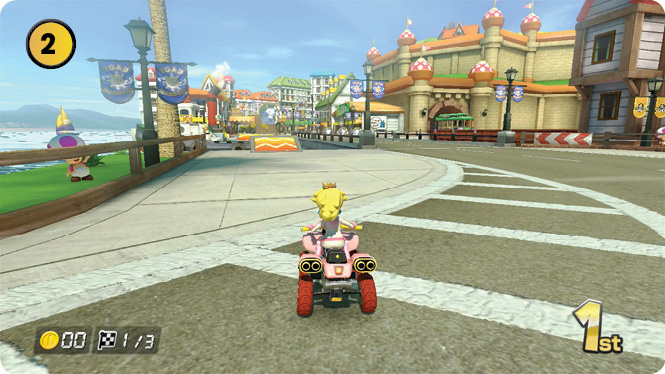
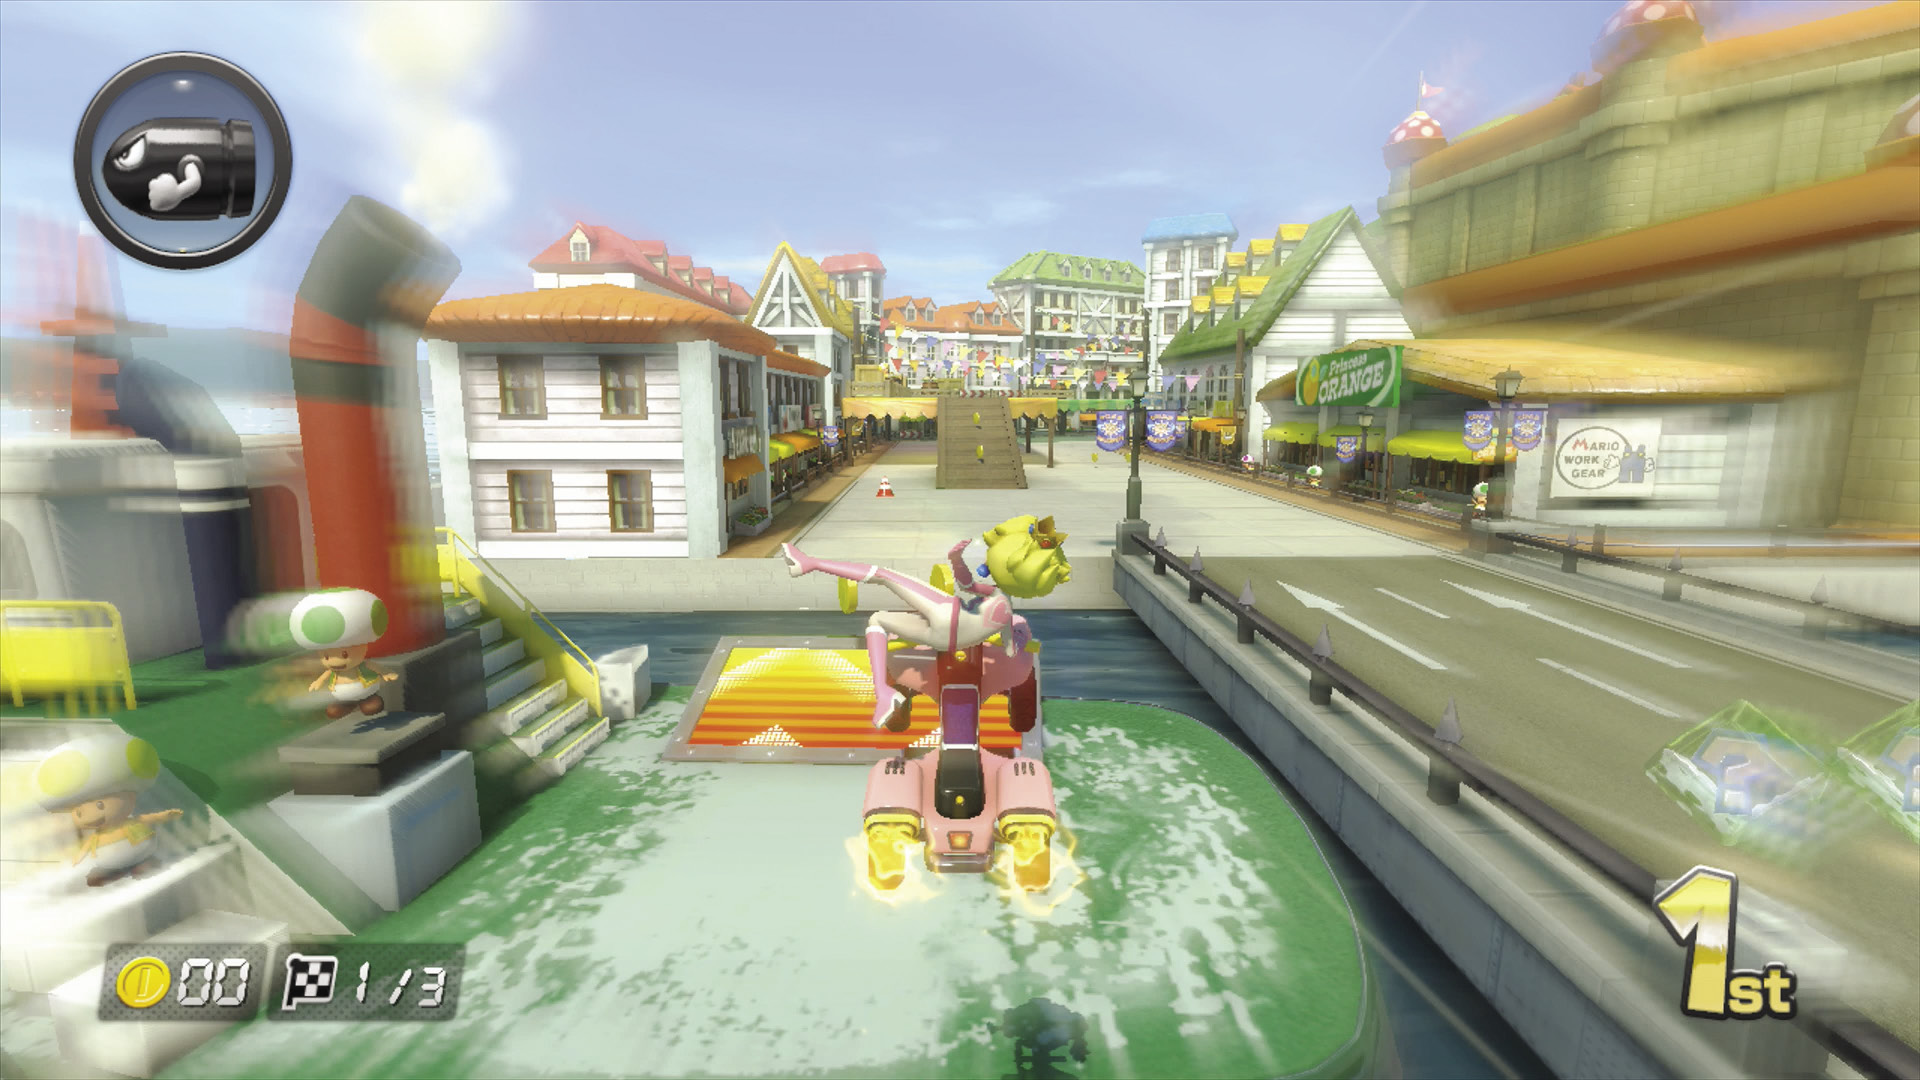
Immediately after the first turn, you have a choice of taking the bridge on the right, or using the dash panel ramp to the left of the bridge to jump to a boat and then to the other side of the dock. The latter is faster, but if you’re not correctly aligned, you’ll fall into the water and lose precious time.
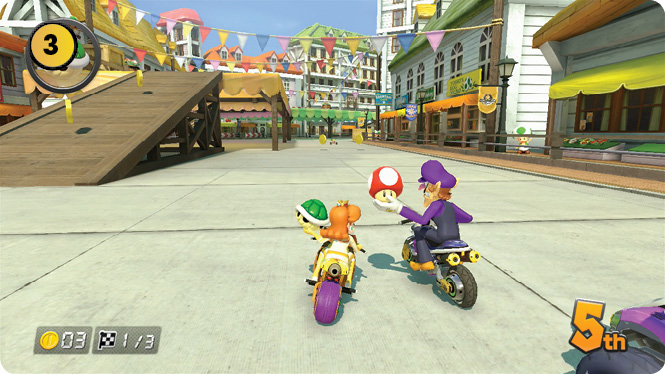
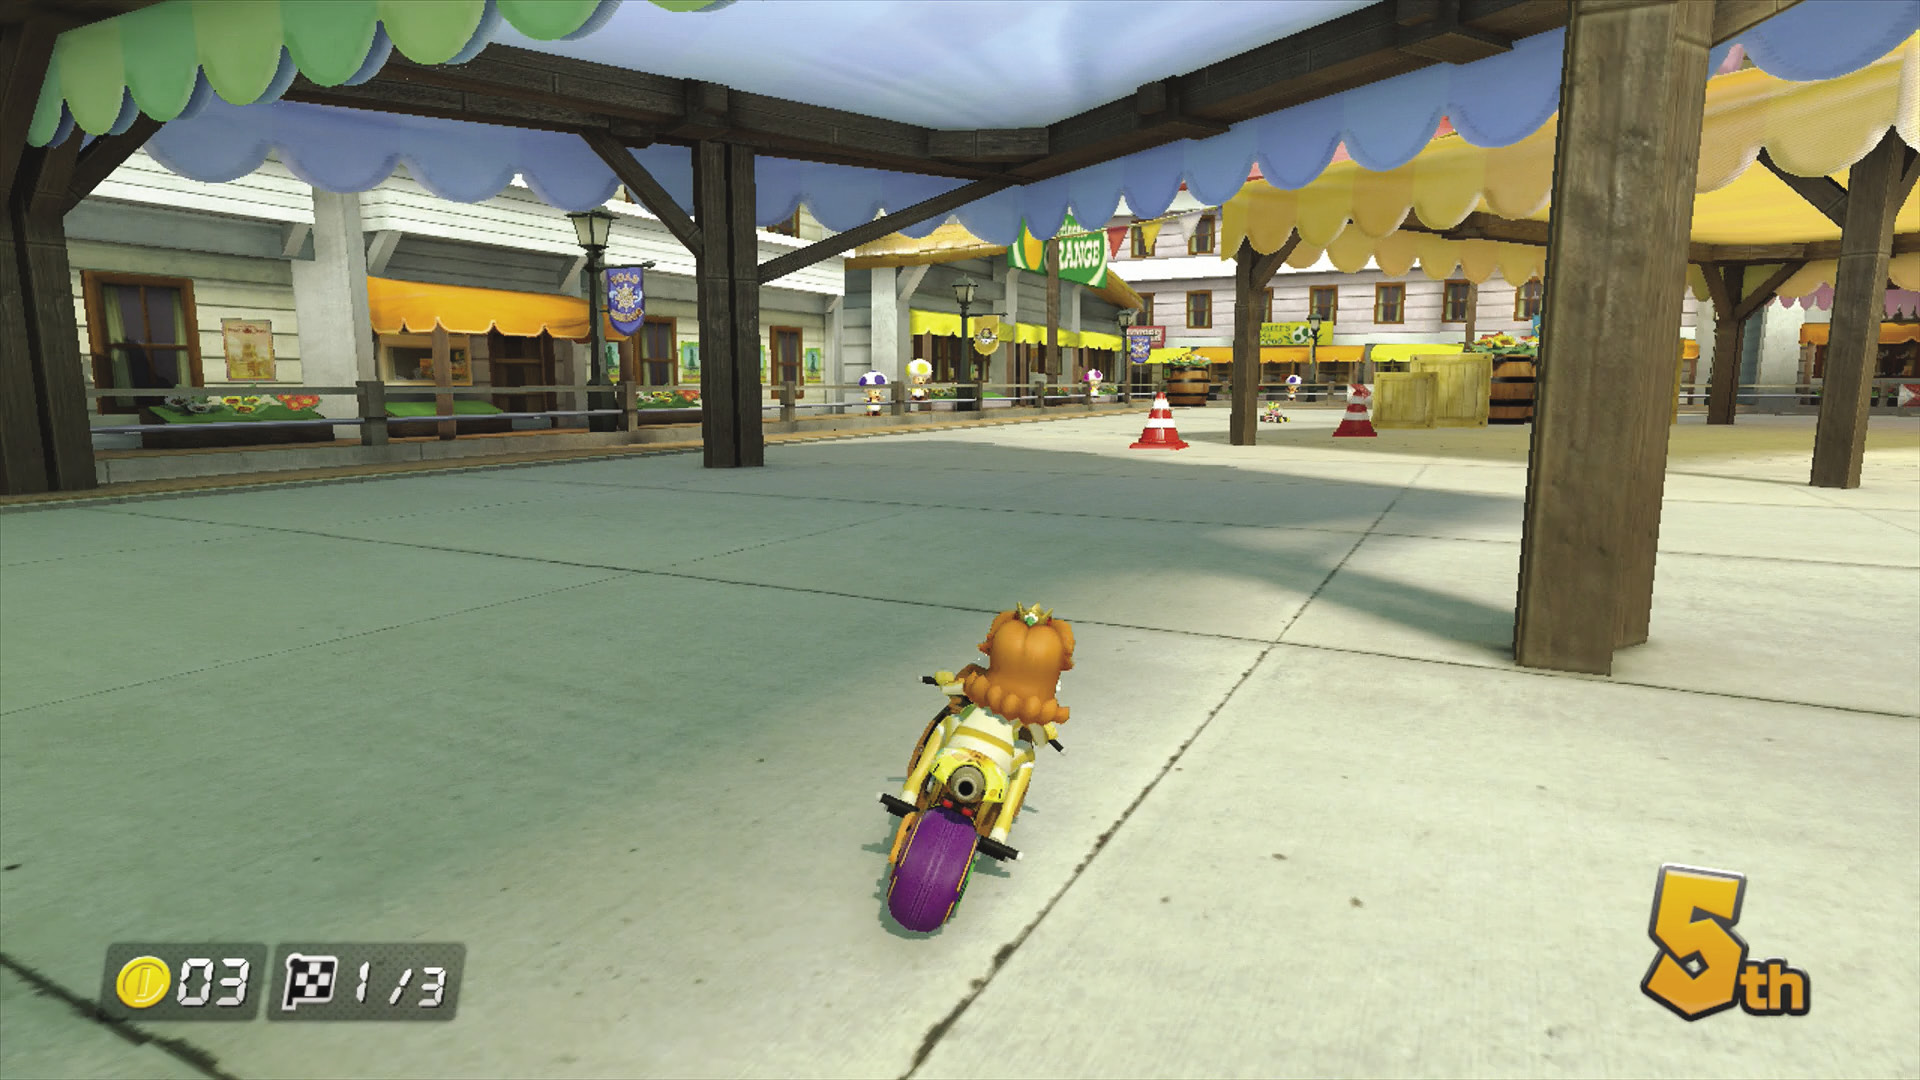
Just past the bridge, you drive through a market. There’s a lot of stuff to get stuck on, with support pillars for the canvas rooftops being among the worst.
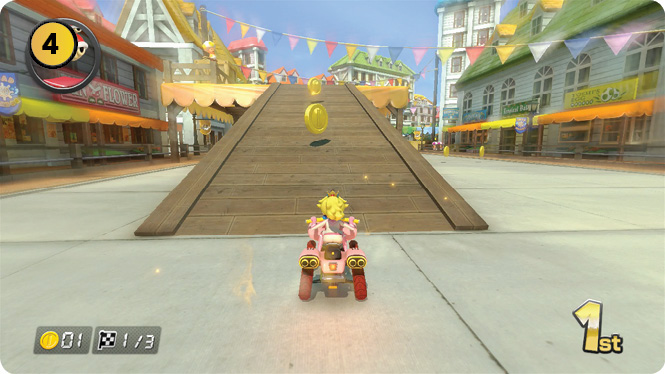
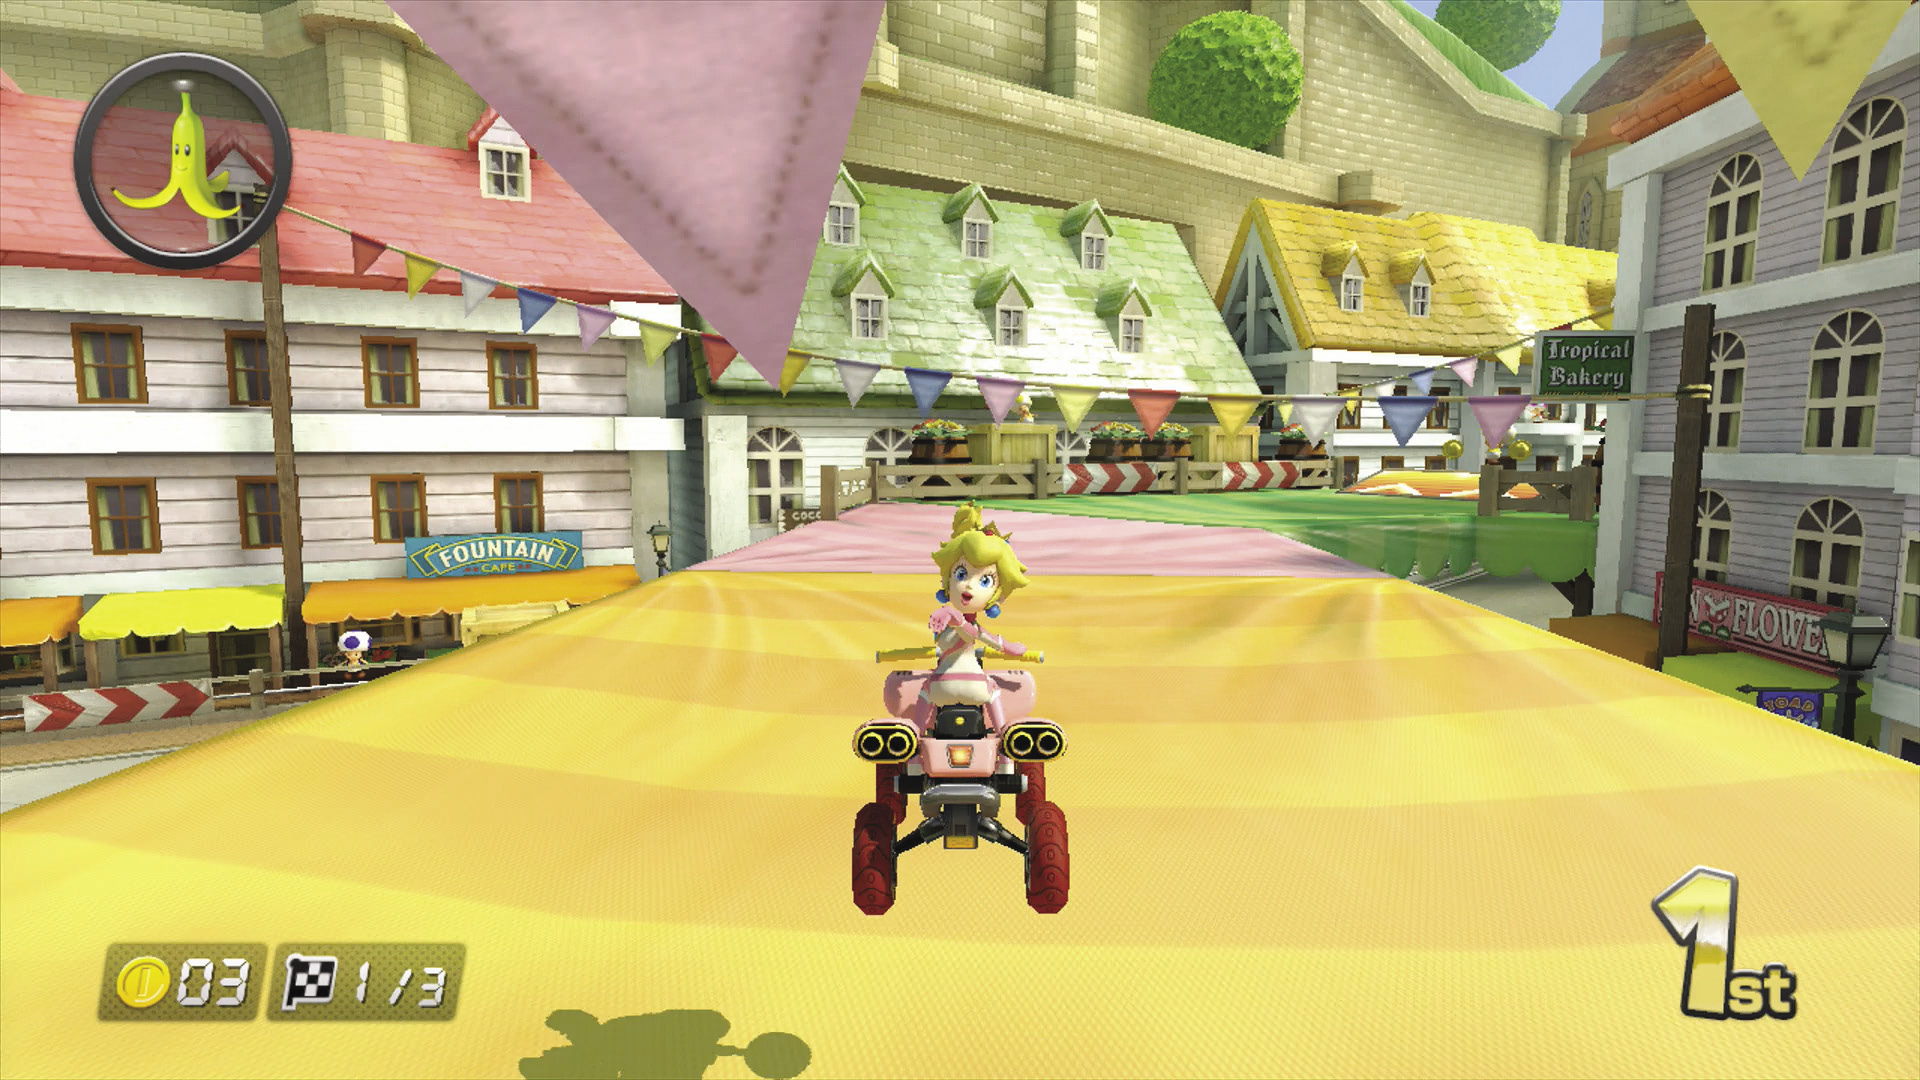
Alternatively, if you cross the water to the left of the bridge, you can use another ramp to drive onto the canvas that covers much of the market, which will put you in a better position for the next section. Take advantage of the ramps and ramp-like terrain of the canvas by using Jump Boosts every chance you get!
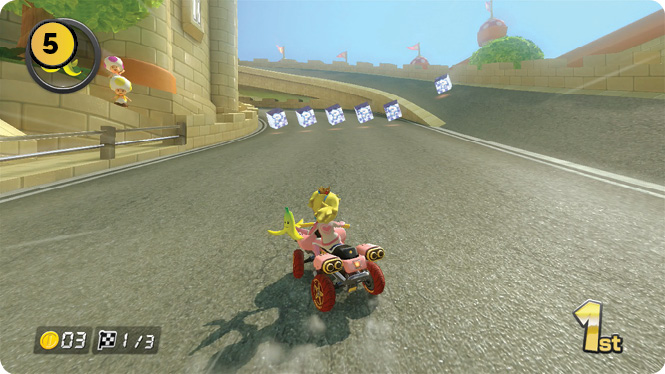
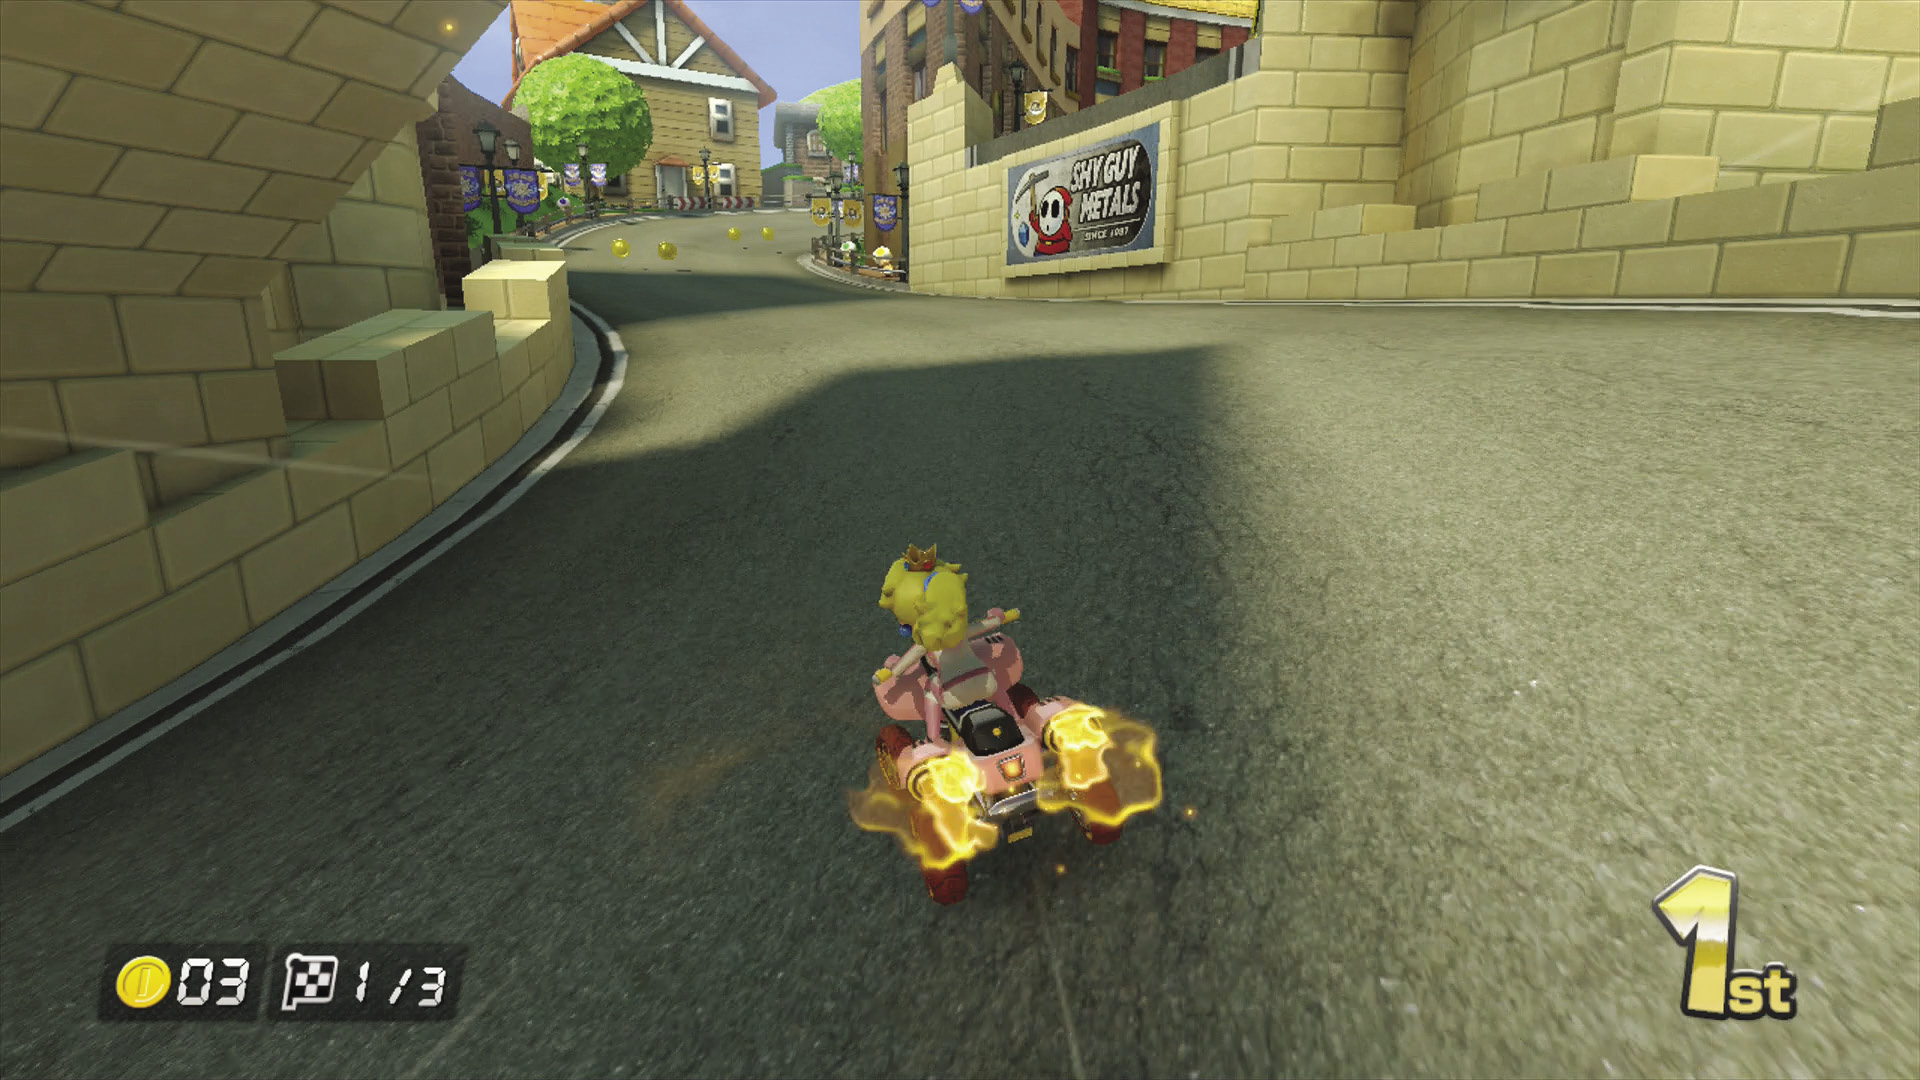
The market curves to the right and the road both narrows and offers another split decision. The lower level is a bit wider but can be the slower path to take with all the curves.
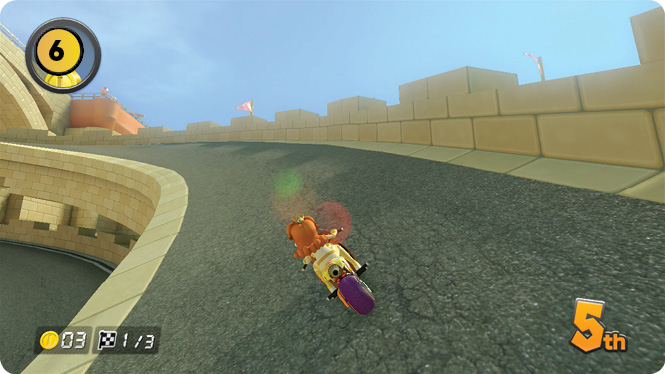
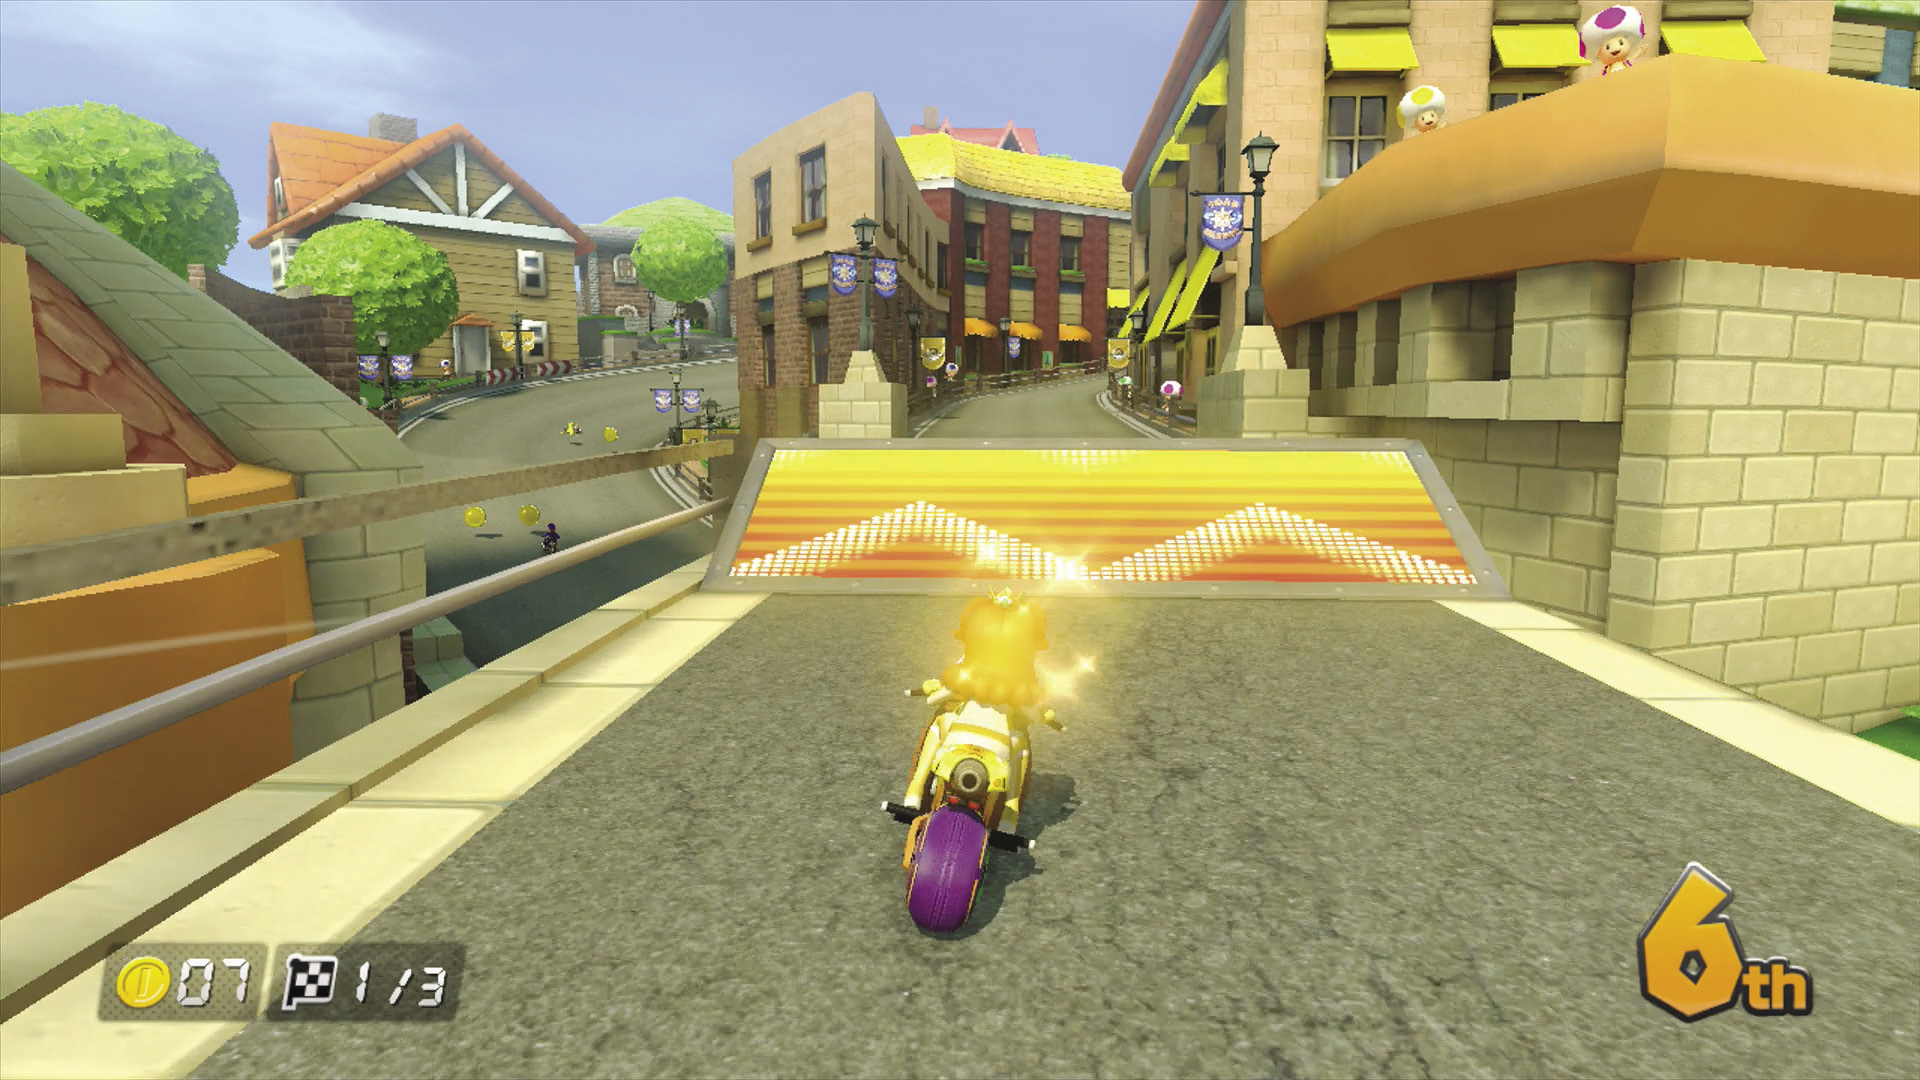
The upper route can be hard to stick with, especially factoring how narrow it is. Worse yet, as more racers take the route, you can expect Bananas galore, and there’s not a lot of room to drive around them. Fail to keep up speed and you won’t make the jump halfway through the upper route and instead will fall to the lower road.
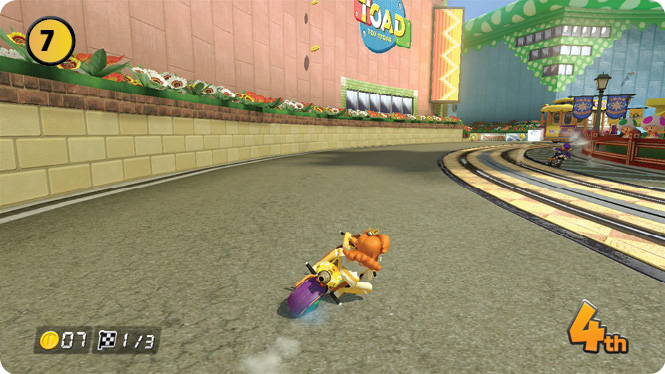
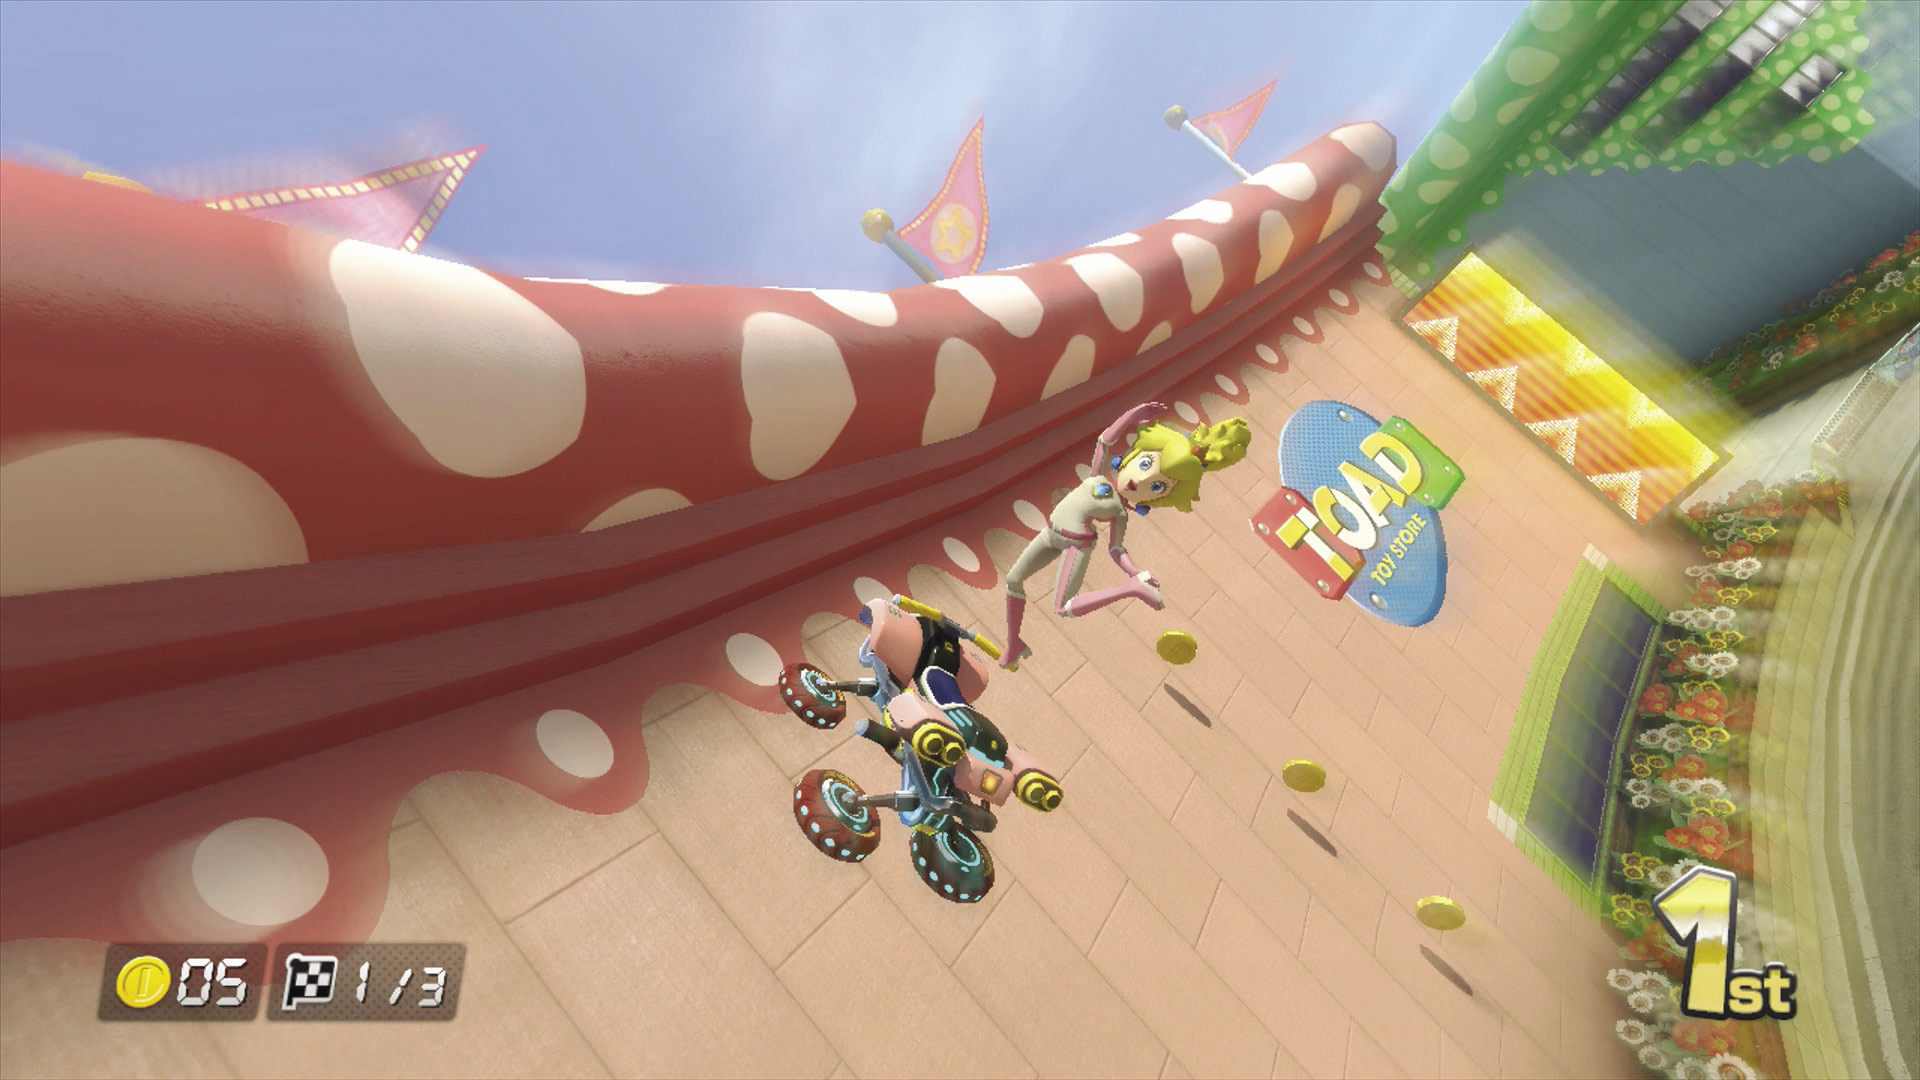
Reaching a set of trolley tracks, you have another decision to make: stay on the inside of the lower road, or defy gravity and ride the wall on the right. The lower path is technically shorter and lines you up on the upcoming downhill a little easier. The wall ride can be made faster by using Jump Boosts off of every ramp and bump on the wall.
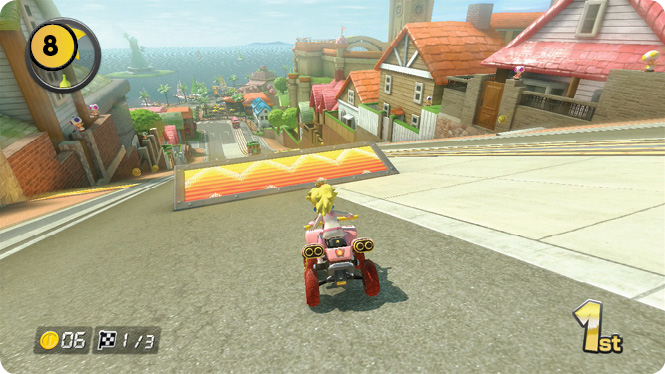
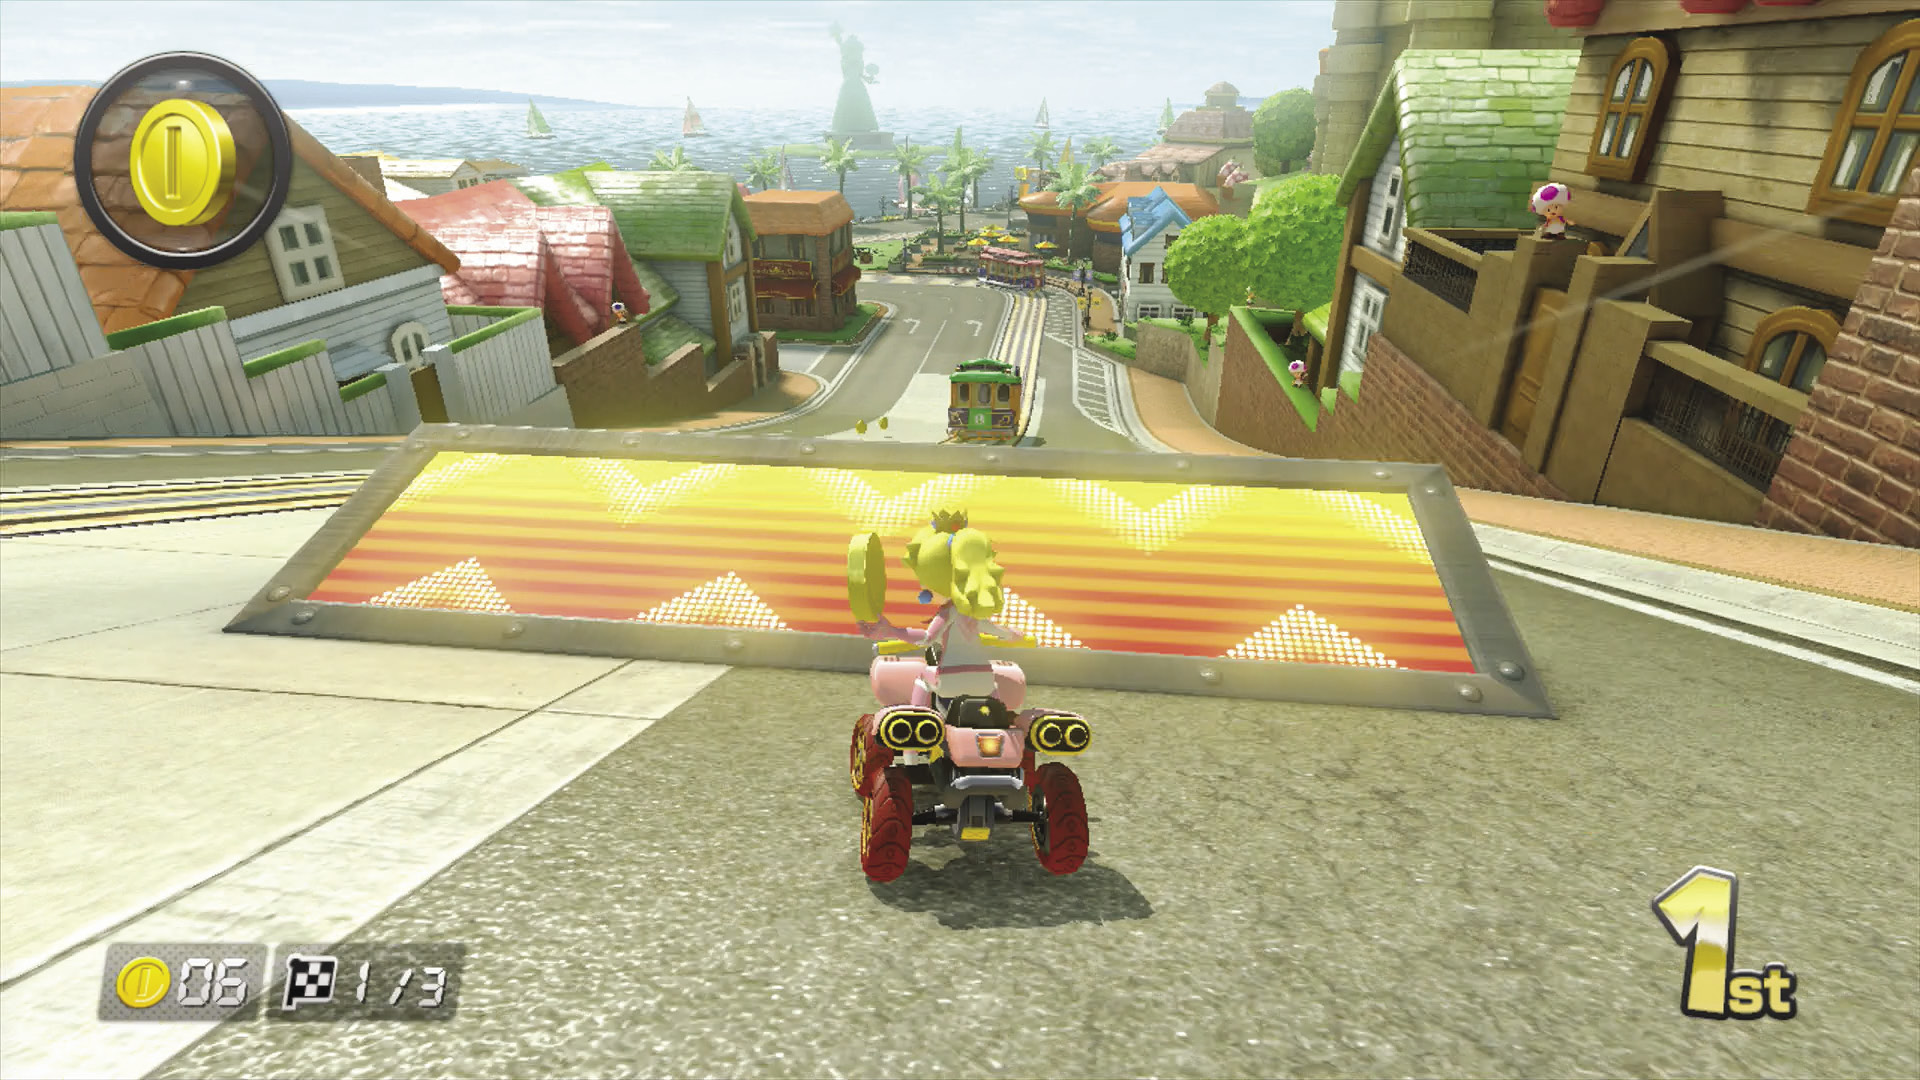
The downhill is scattered with multiple small ramps to Jump Boost off of, as well as dash panels. Complicating things will be trolleys, which move at their own pace and are not concerned with your desperate race to the finish.
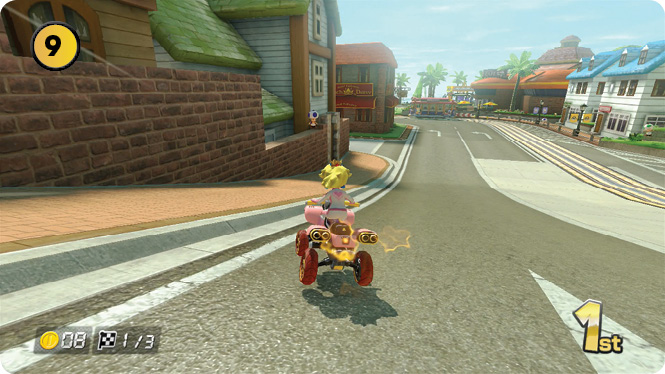
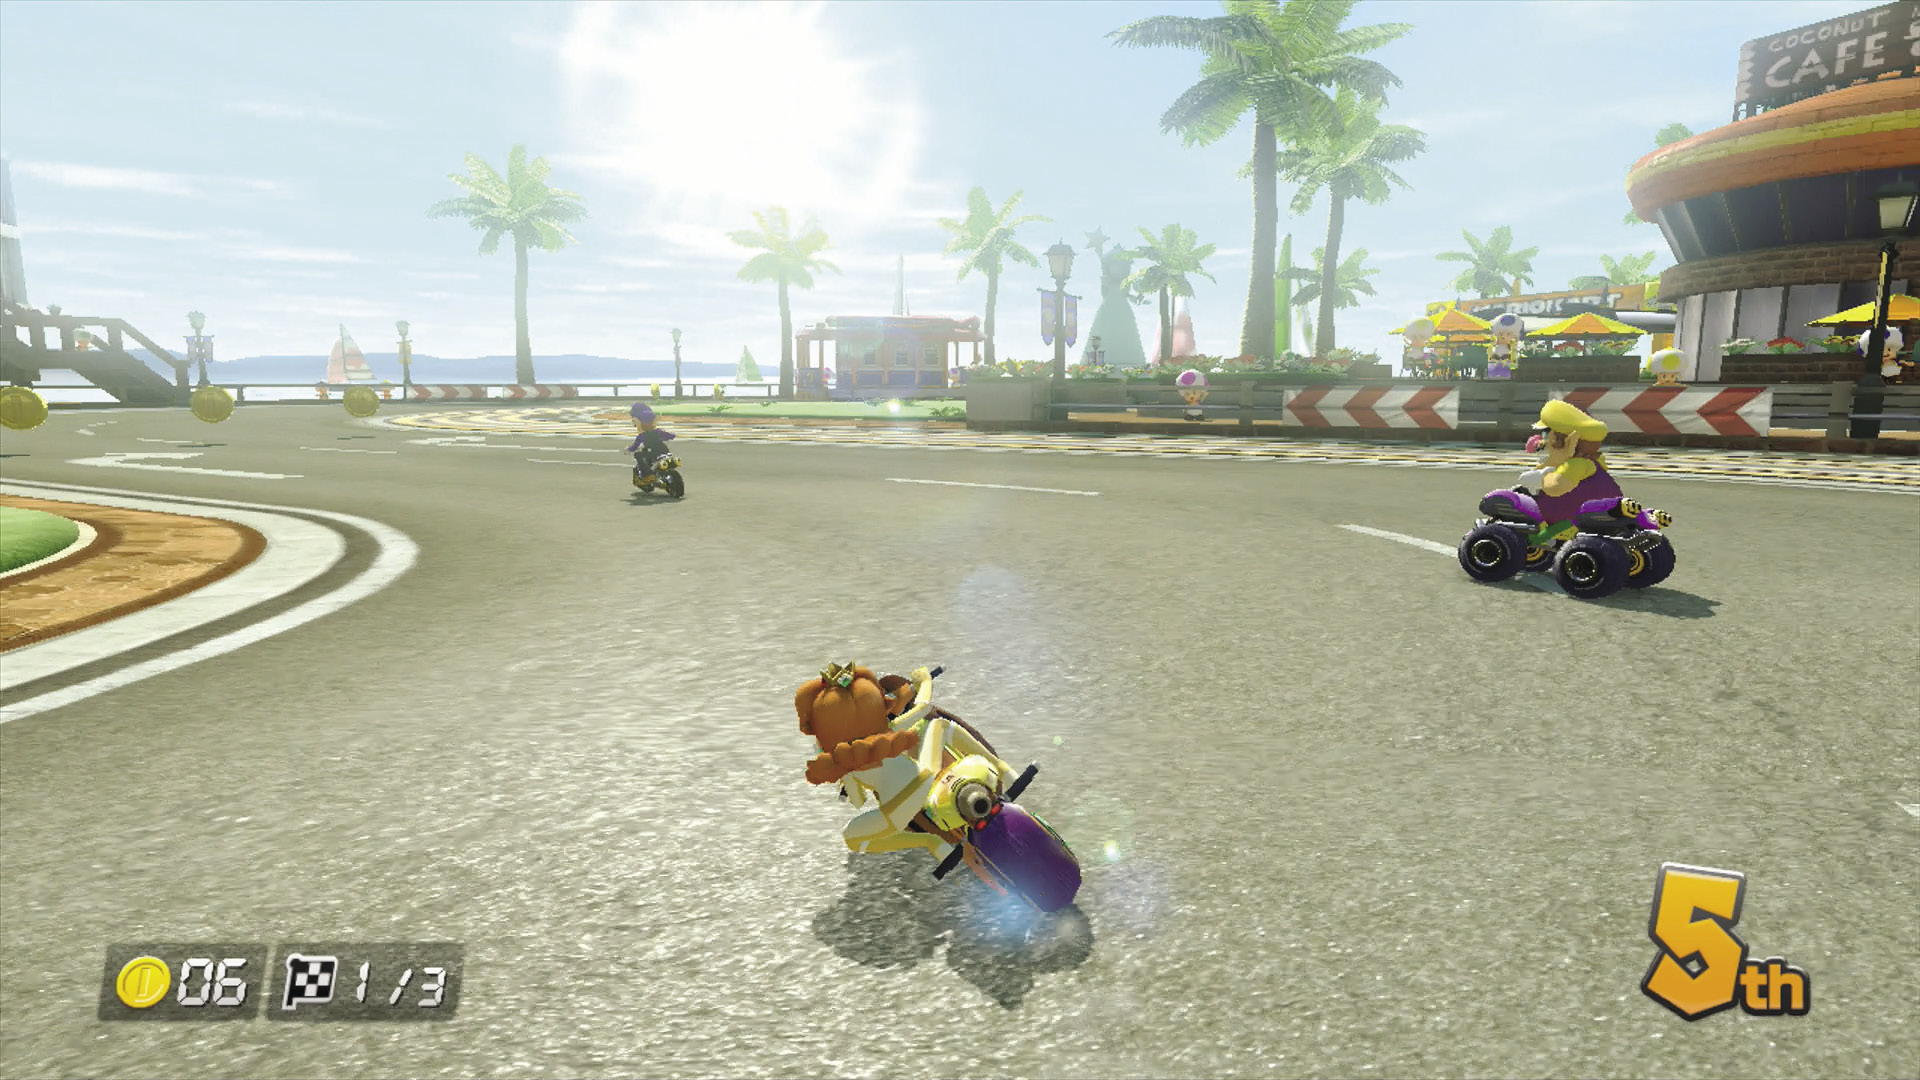
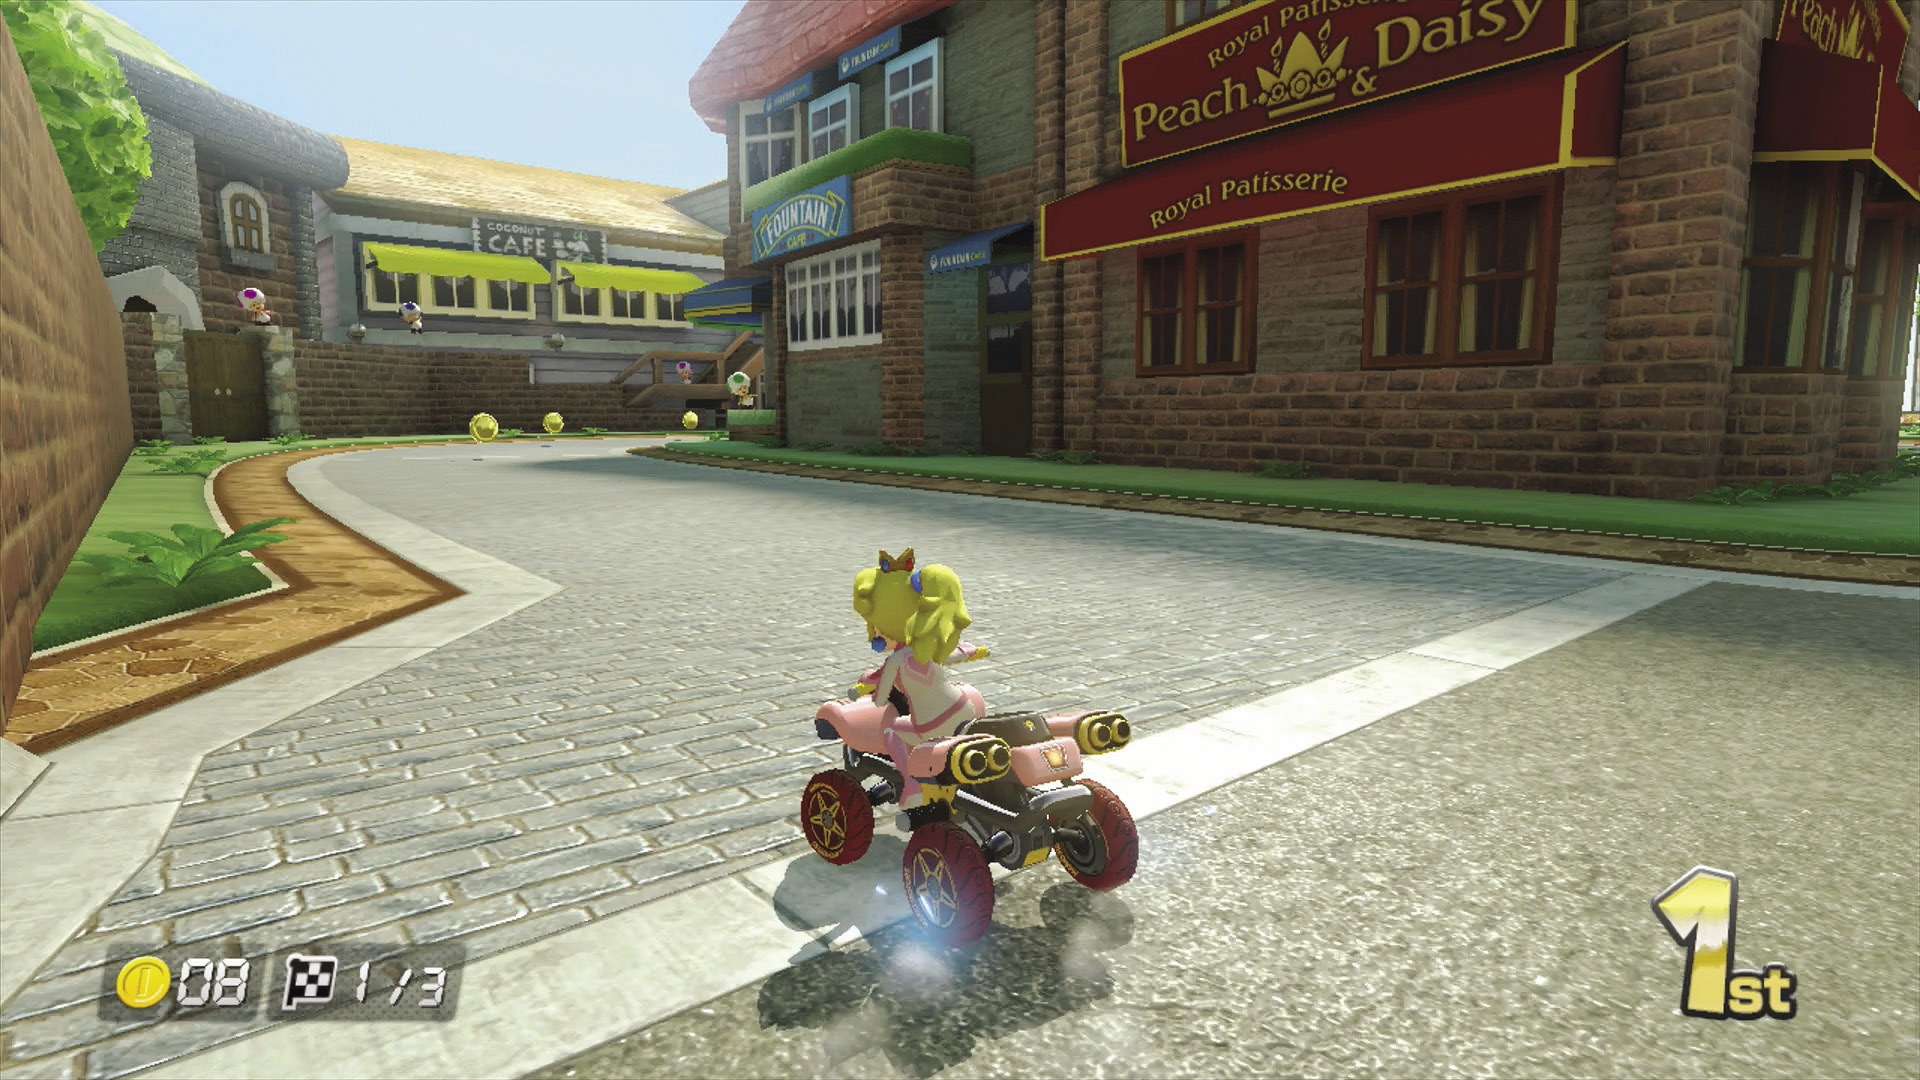
The bottom of the hill provides yet another split decision. You can follow the obvious main road, taking the full brunt of the long hairpin turn. Alternatively, you can use the winding side alley on the left side of the downhill to better align a straighter shot to the finish line. The latter can be tougher on heavier, less maneuverable racers, as one miscalculation will cause you to hit the wall and lose out on any benefit from this shortcut.
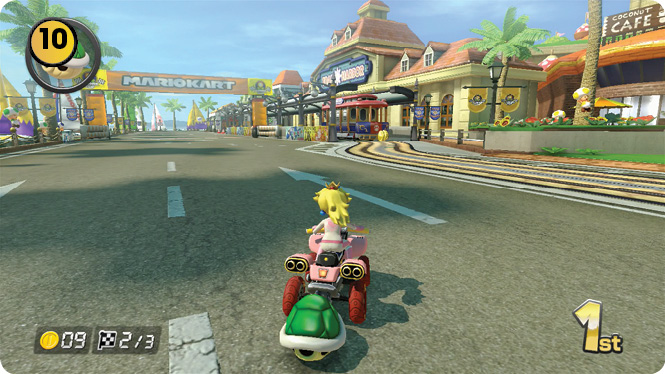
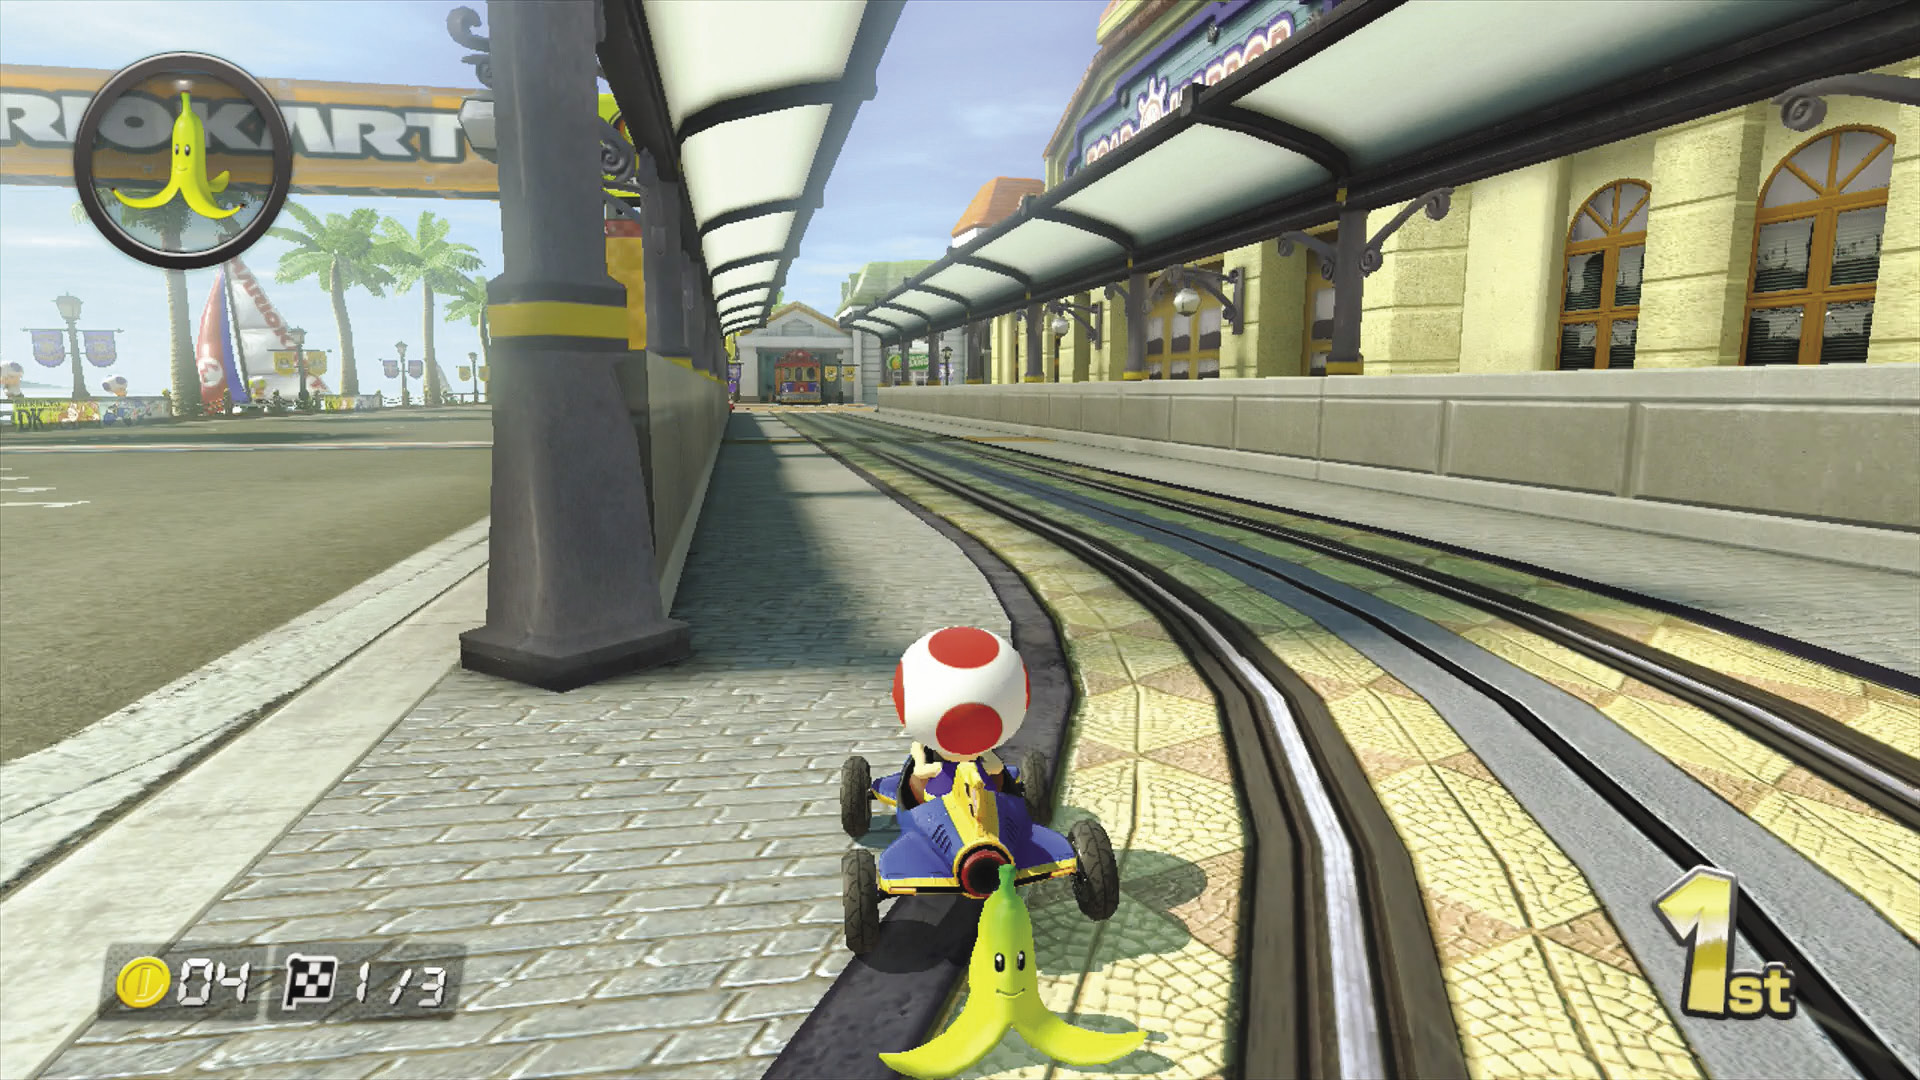
The trolley tracks run behind a wall to the right of the final stretch to the finish line. It is possible to race down this narrow passage during the first two laps to cut down on time, assuming there isn’t a trolley in your way.
Time Trial Mode
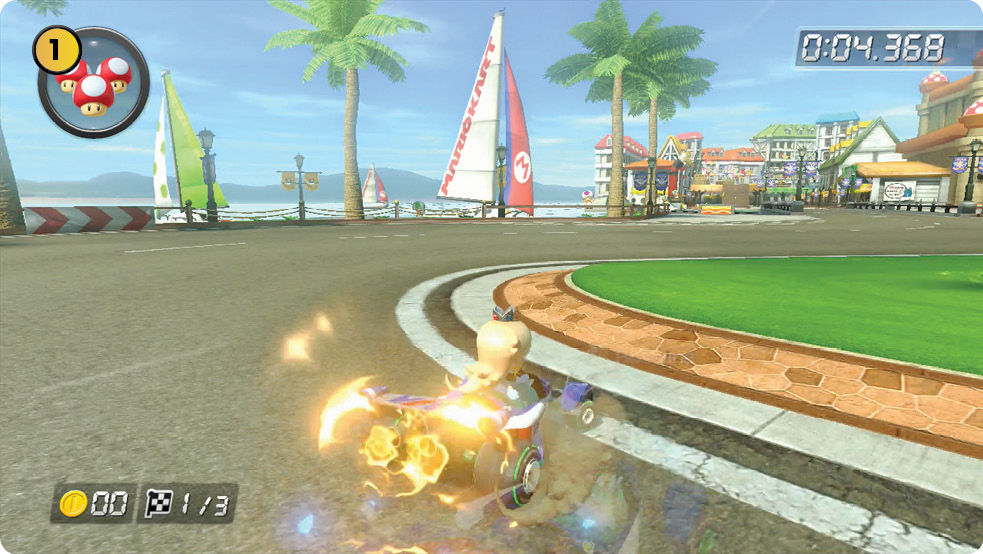
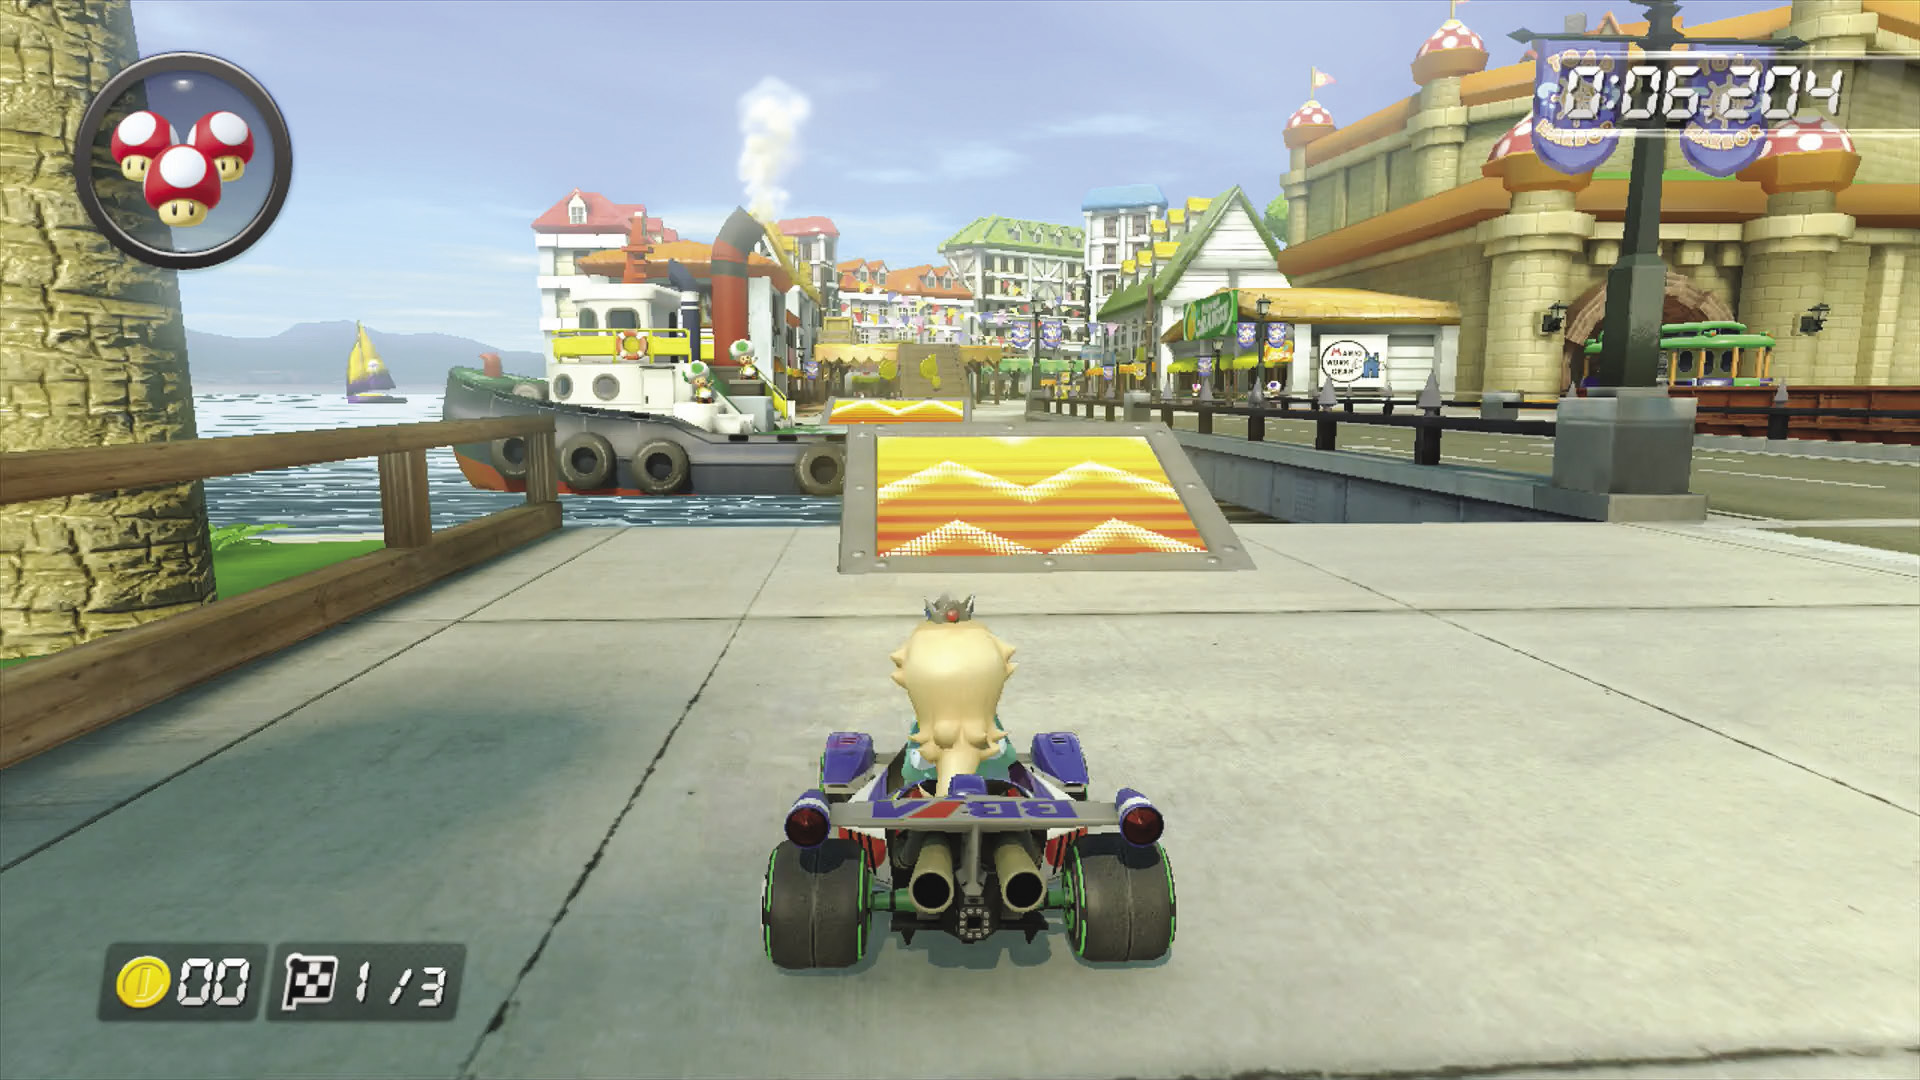
After the first hard right, immediately align yourself for crossing the water to the left of the bridge by using both dash panel ramps. Try collecting at least one Coin hovering on the boat ramp, while also aligning yourself for the wooden ramp that takes you on the canvas shading the marketplace.
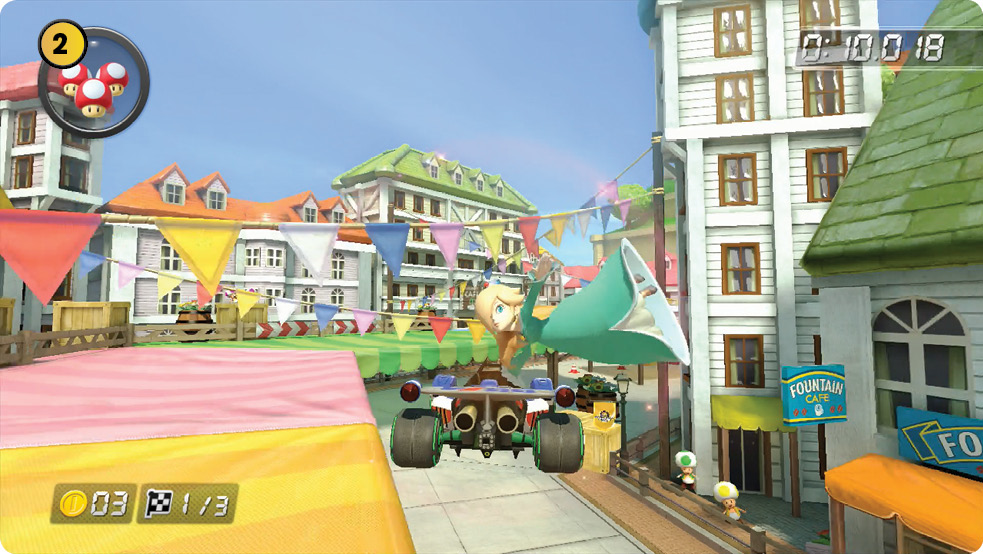
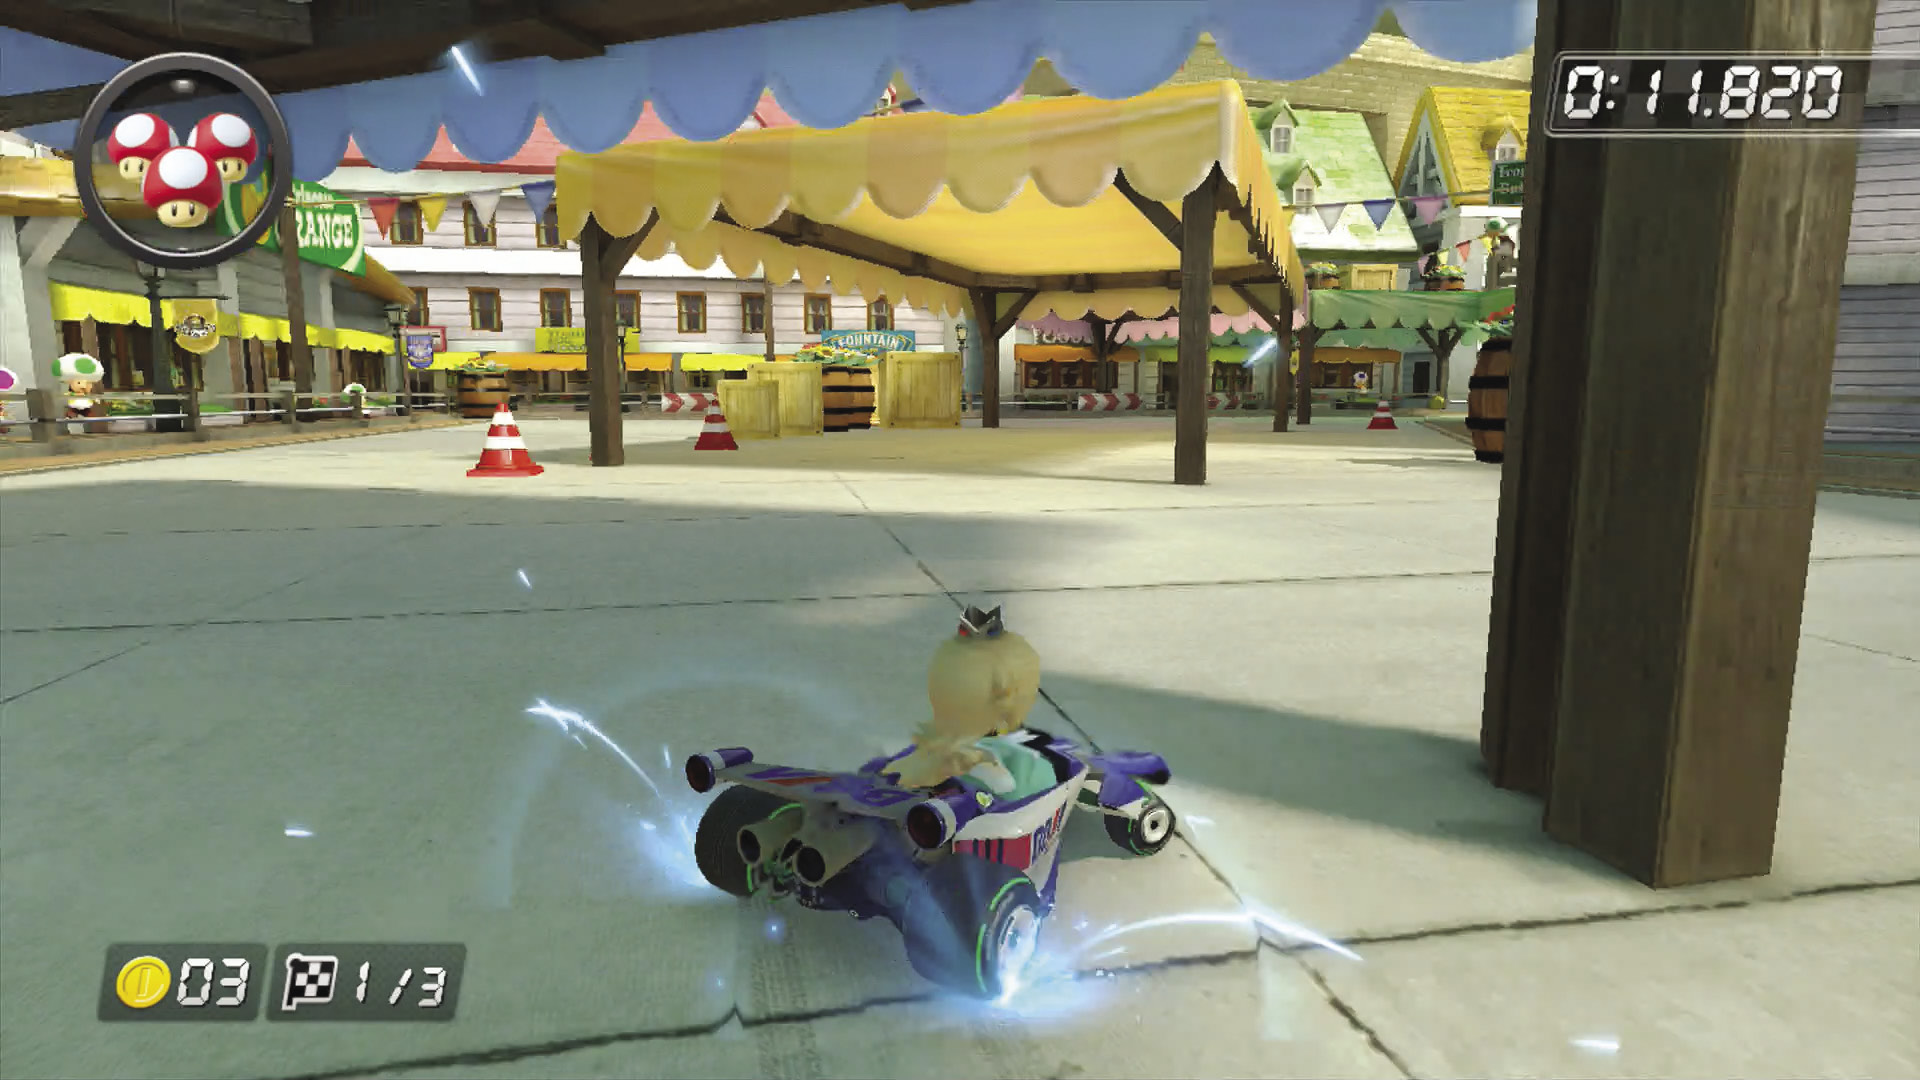
Collect the two Coins on the wooden ramp, and then Jump Boost off the ramp to the right. You want to try to hug the inside line of the market as much as possible, while avoiding things that can slow or stop you.
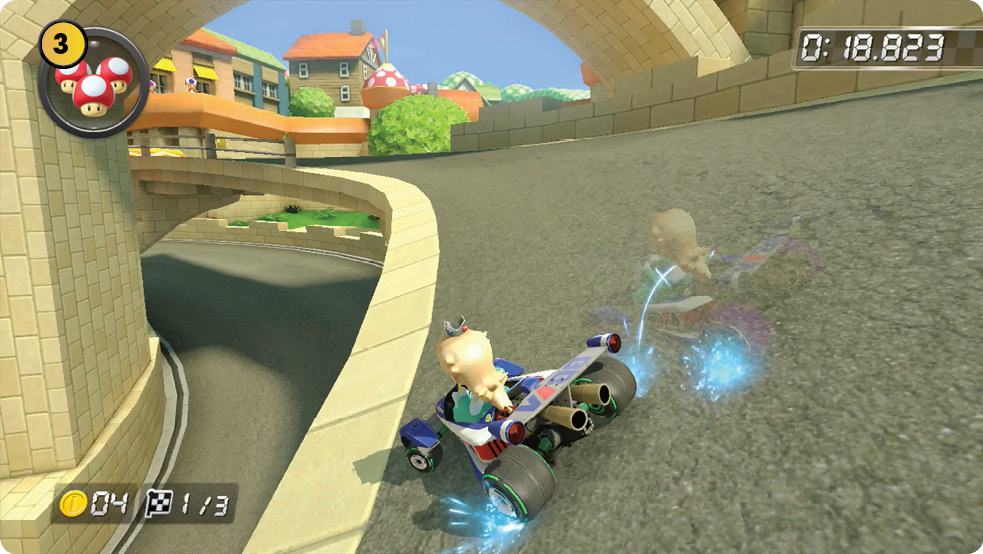
As you exit the market, collect another one of the two Coins you see, then aim for the right-hand path in the upcoming split. Drift the whole way up that curve, and release a Mini-Turbo just as the track straightens to boost towards another dash panel ramp, collecting the two Coins in front of it. Try to hit the ramp more on its left side, while aiming at the upcoming alley.
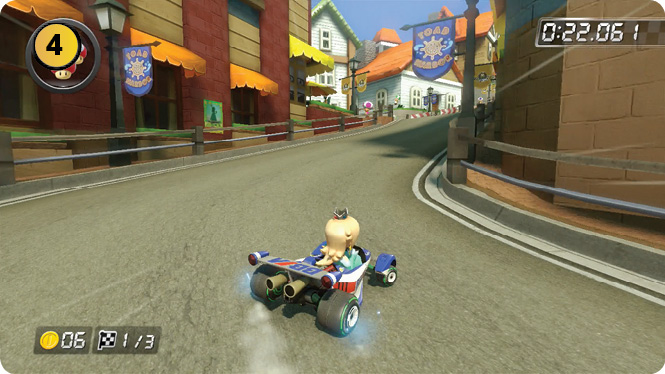
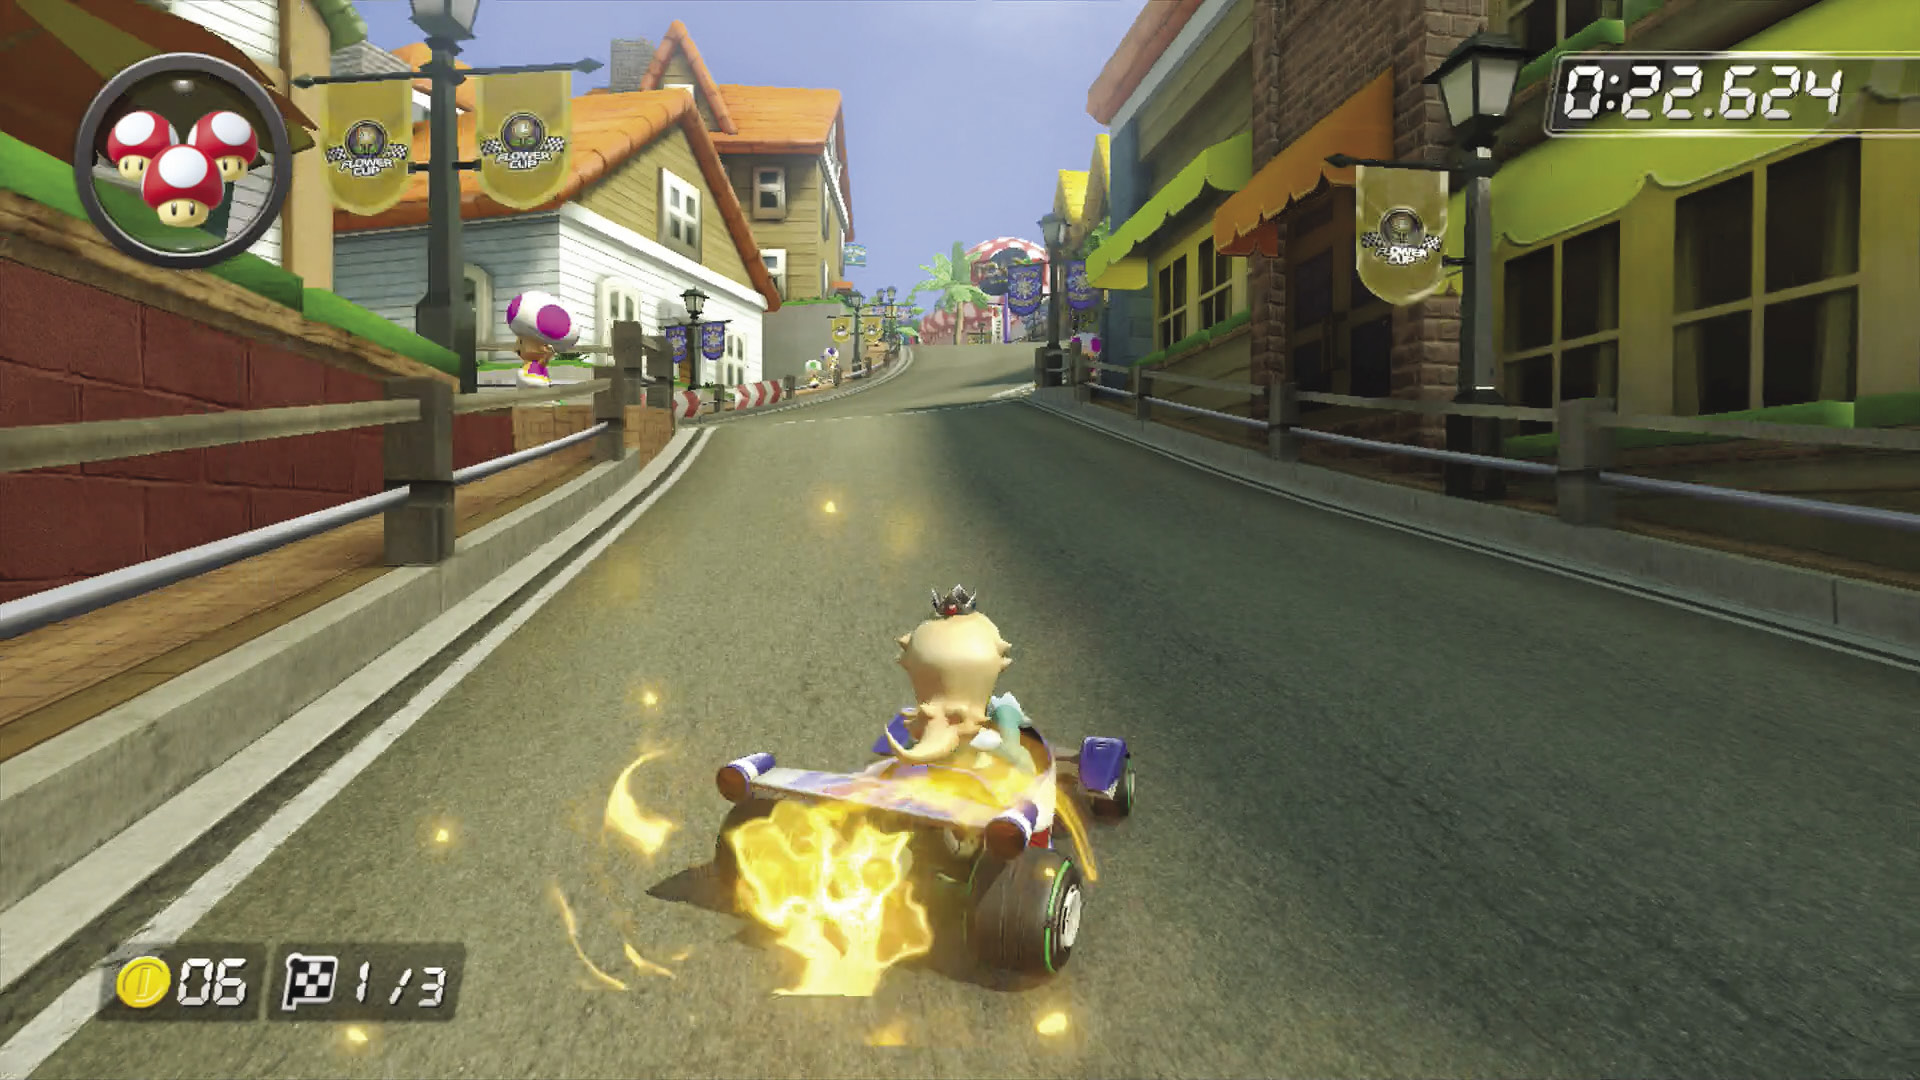
This alley is tough to navigate at speed, but vital to do so if you’re serious about breaking records. Drift through this alley while turning to the right. With enough speed, you can score a Mini-Turbo, so if you do manage to hit the wall on the left, you can boost away and maintain some of your speed on the uphill.
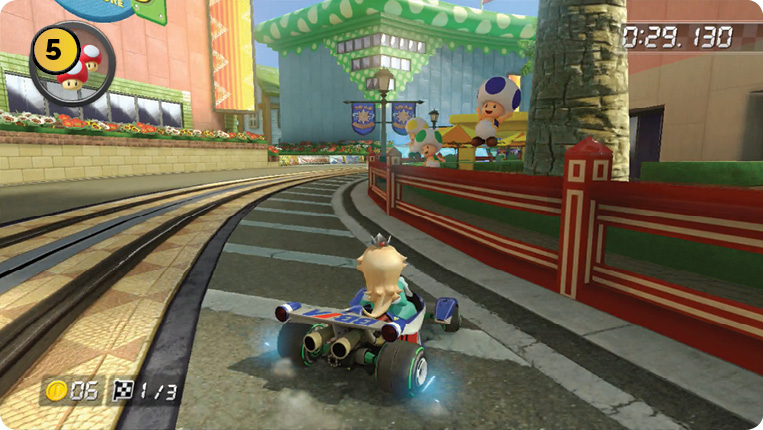
Do not go on the walls in this section! Instead, drift on the ground, hugging the walls to the right as tightly as possible. If you’re on pace, you’ll have to drift to the right of at least one trolley while avoiding grazing the wall.
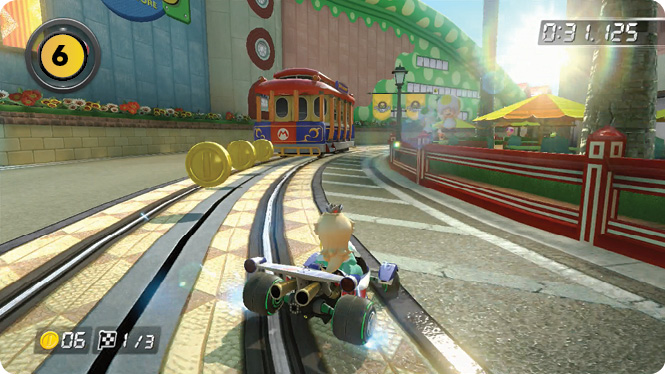
A second trolley in this section will be trailing Coins during your first lap. Drift out to collect a couple, and get ready for the downhill.
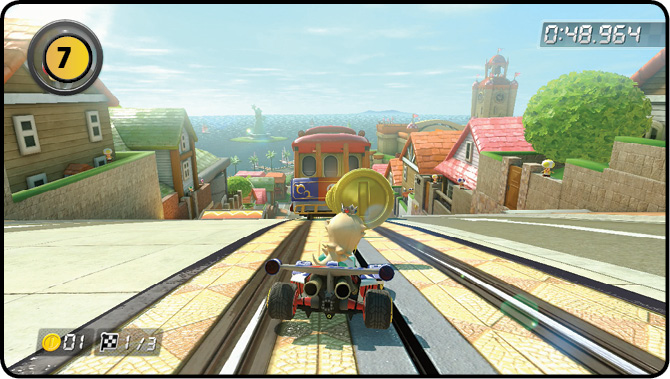
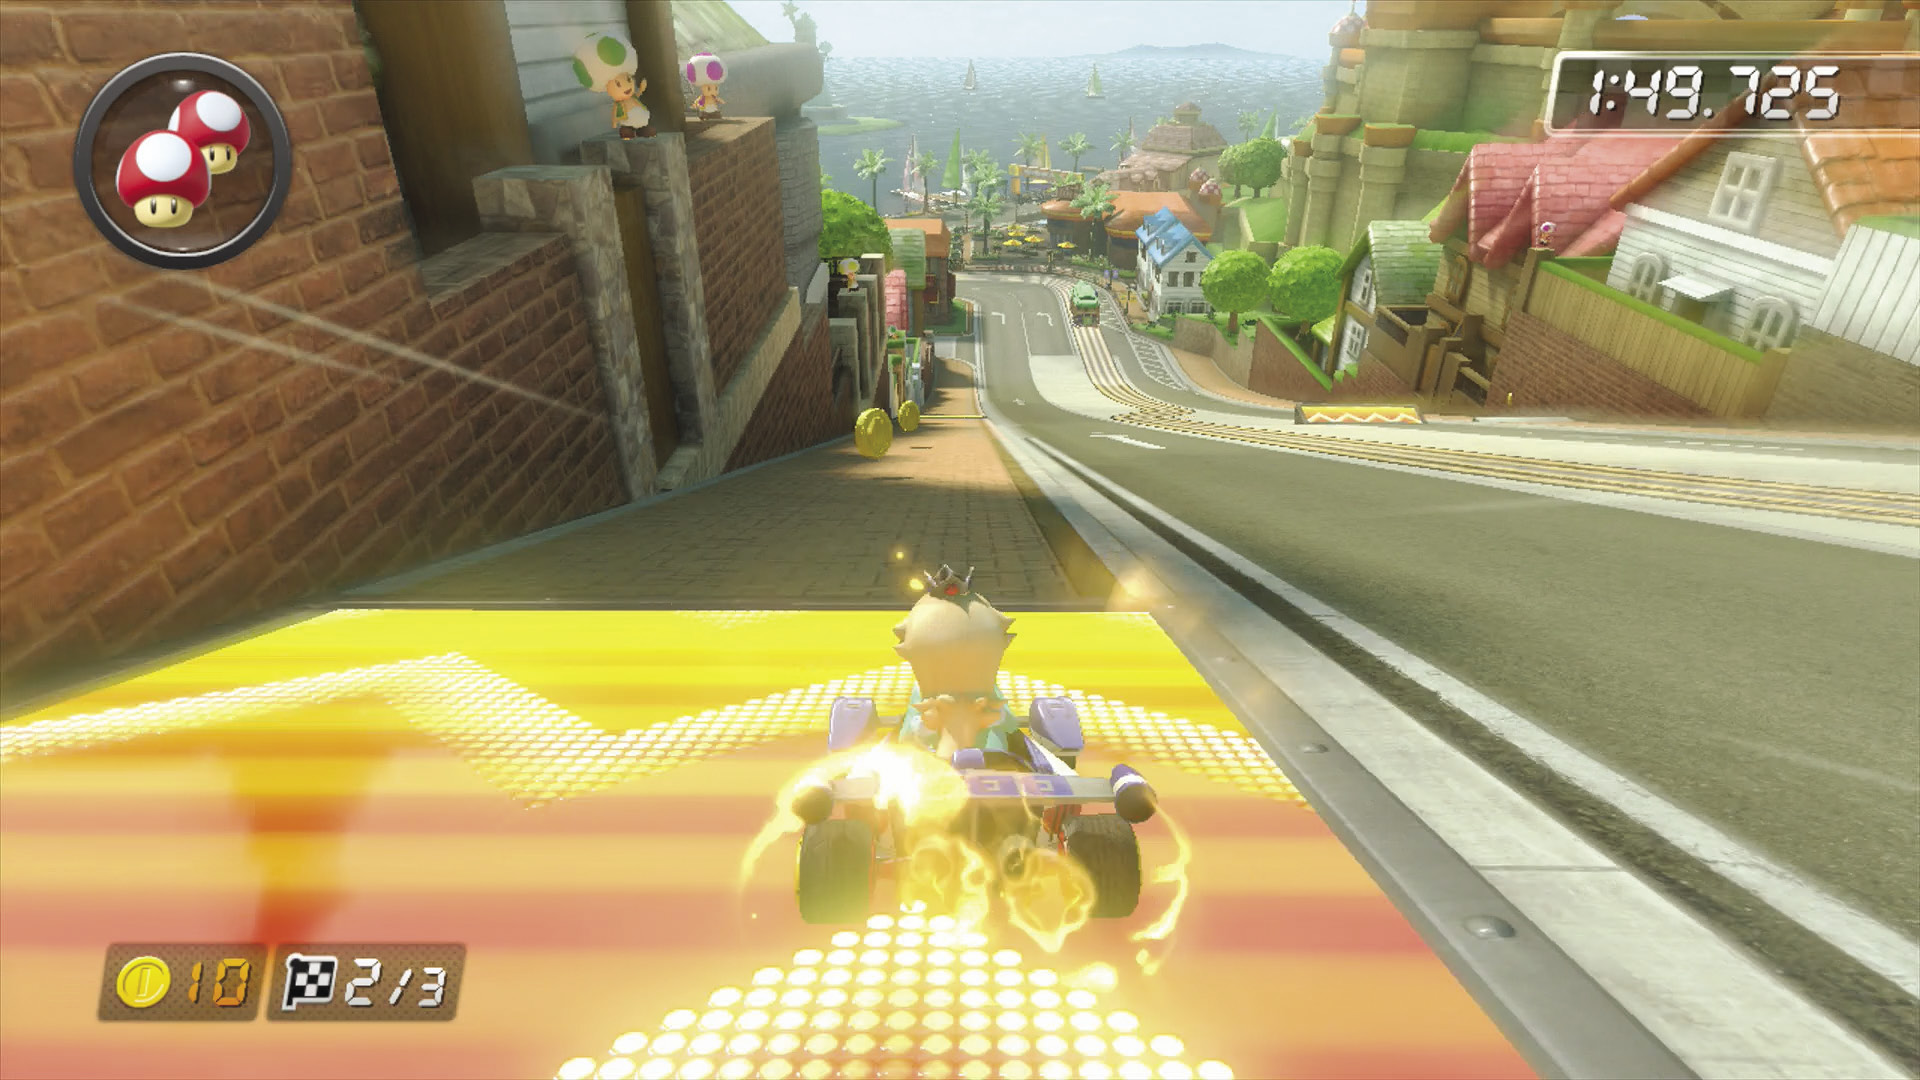
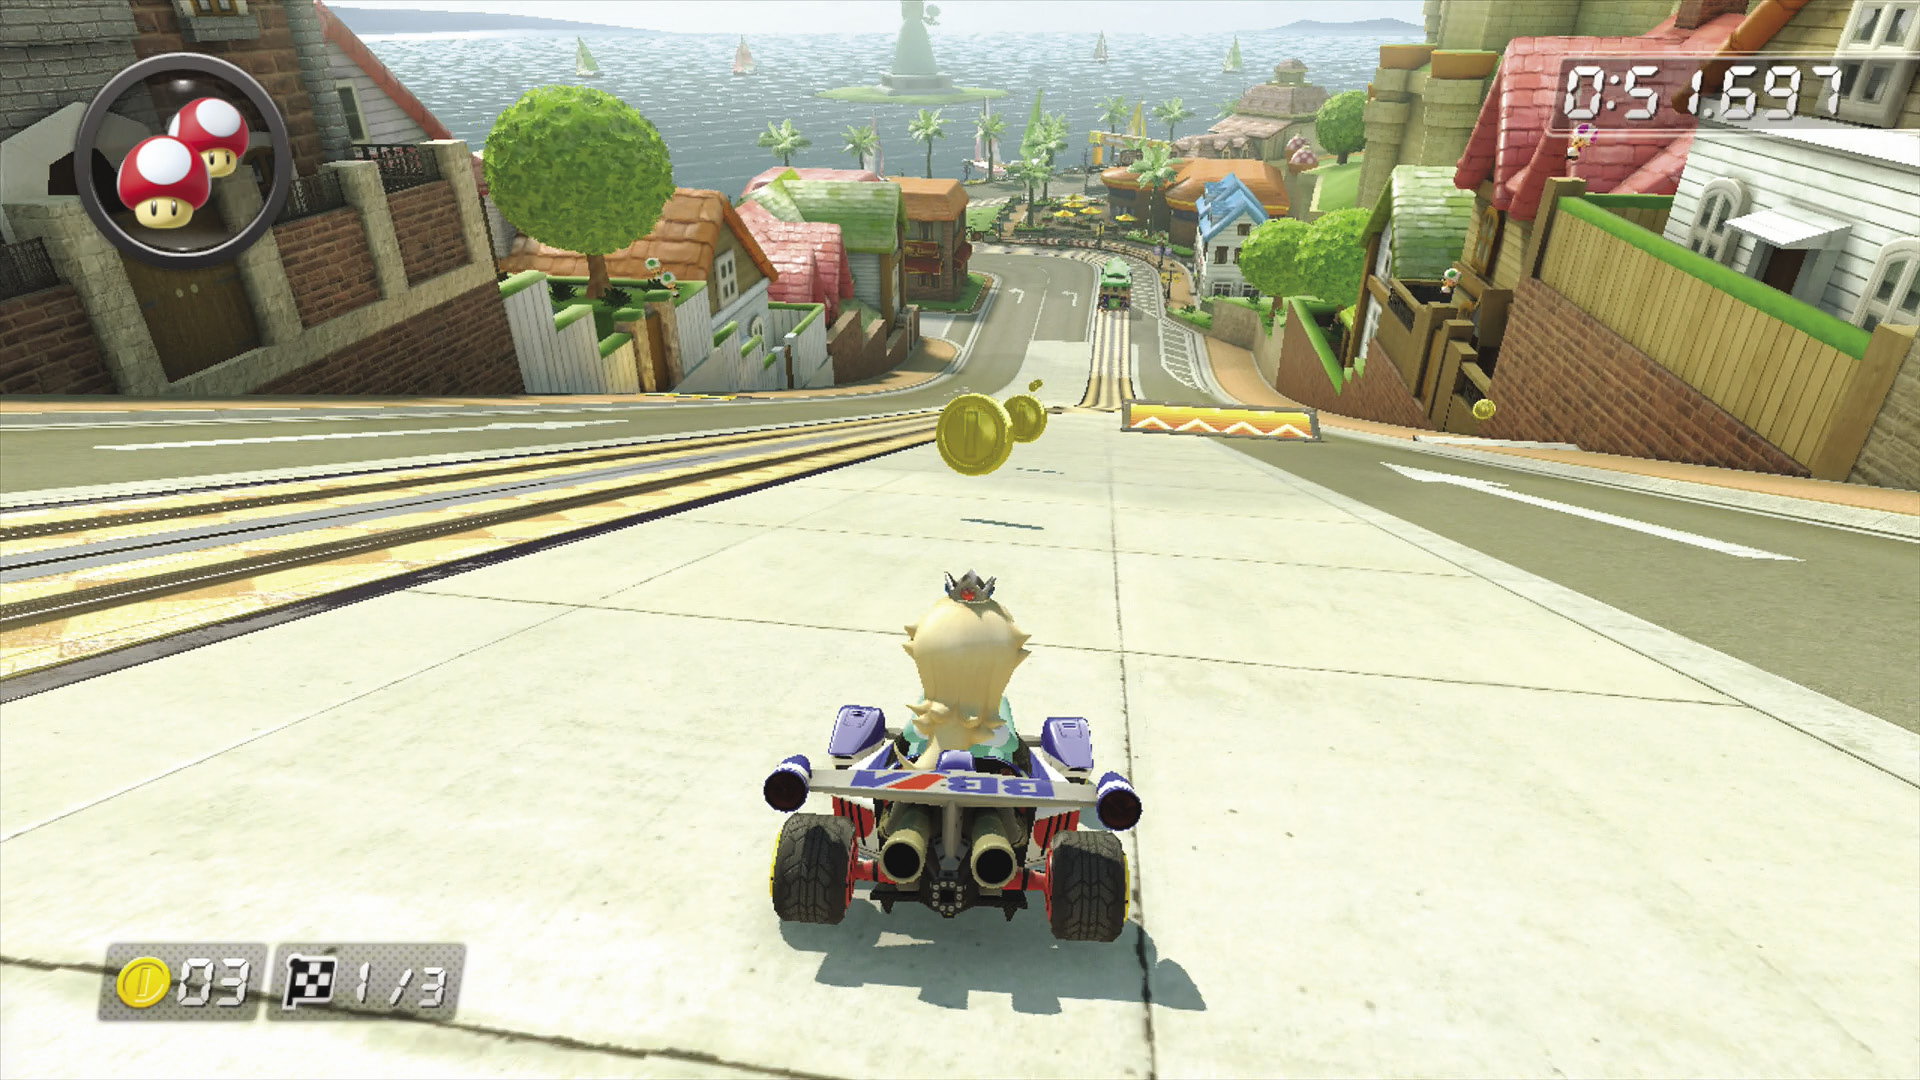
The downhill part of the course will have trolleys running down it during every lap. On Lap 1, you should concentrate on driving straight down the hill, collecting Coins to try and reach ten. On future laps, you use the dash panel ramps on the left side of the track to speed down the hill quickly.
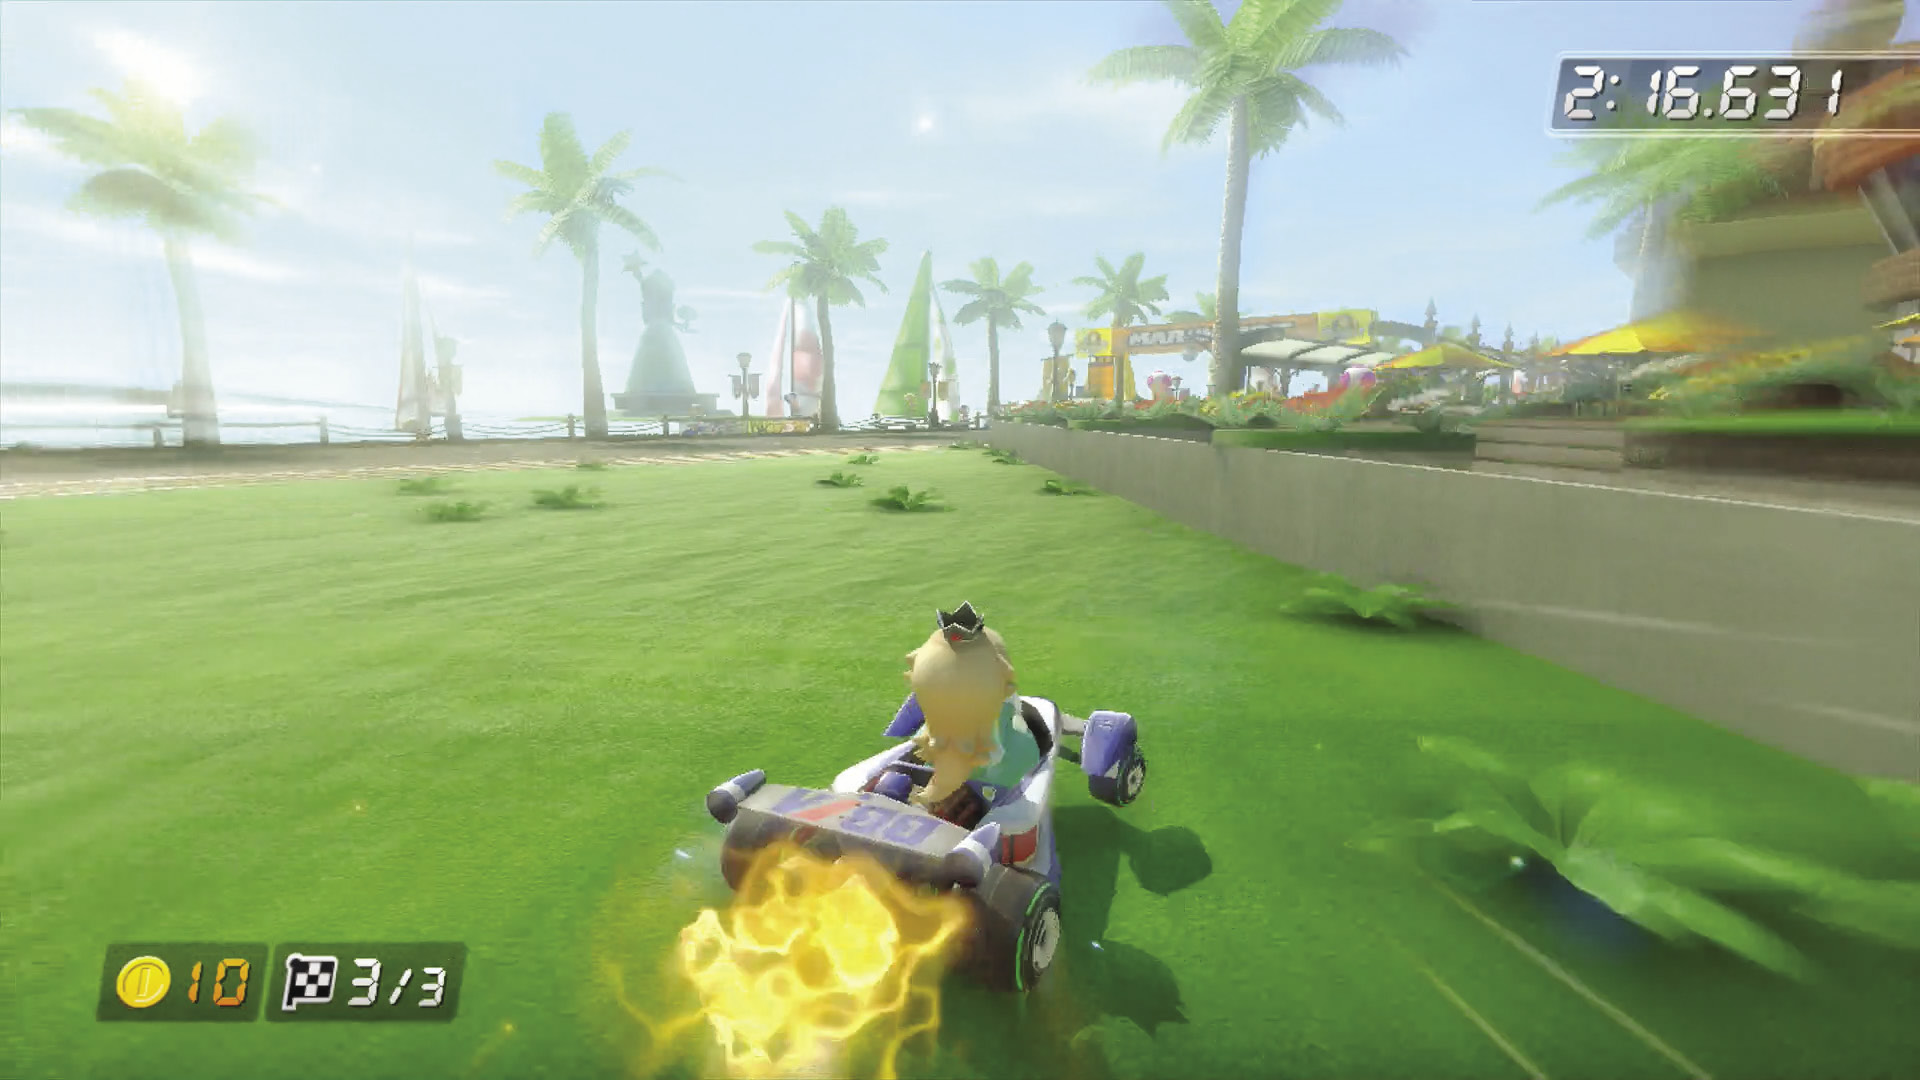
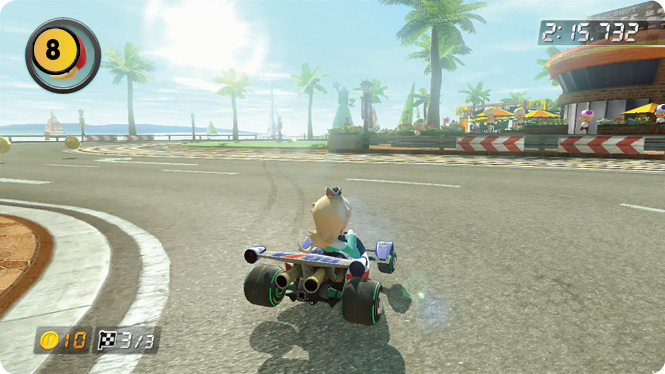
The place to use a Mushroom is at the bottom of the hill, cutting across the grass to hack away a good chunk of track and being that much closer to the finish line!
TM & © 2014 Nintendo.