
Mario Kart 8 Guide The Drivethrough The New Tracks
Sunshine Airport
Star Cup opens with a rip-roaring race through Sunshine Airport. Blitzing under and through airplanes on the course, racers will be launched into the sky on dangerous fly-bys past passenger jets. The greatest danger here is the massive glider sections of the track, a source of grief to drivers caught in mid-air by Lightnings, Red Shells, and Spiny Shells.
Kart of Champions
Nintendo’s Best Time Trial: 2:08.177 |
|||
Player: Jeff C. M. |
|||
 |
 |
 |
 |
|
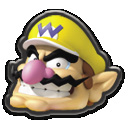
Racer: Wario |
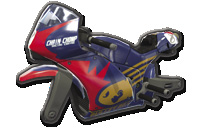
Body: Sport Bike |
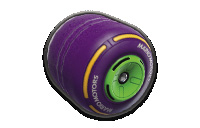
Wheels: Cyber Slick |
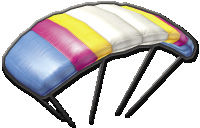
Glider: Parafoil |
Grand Prix
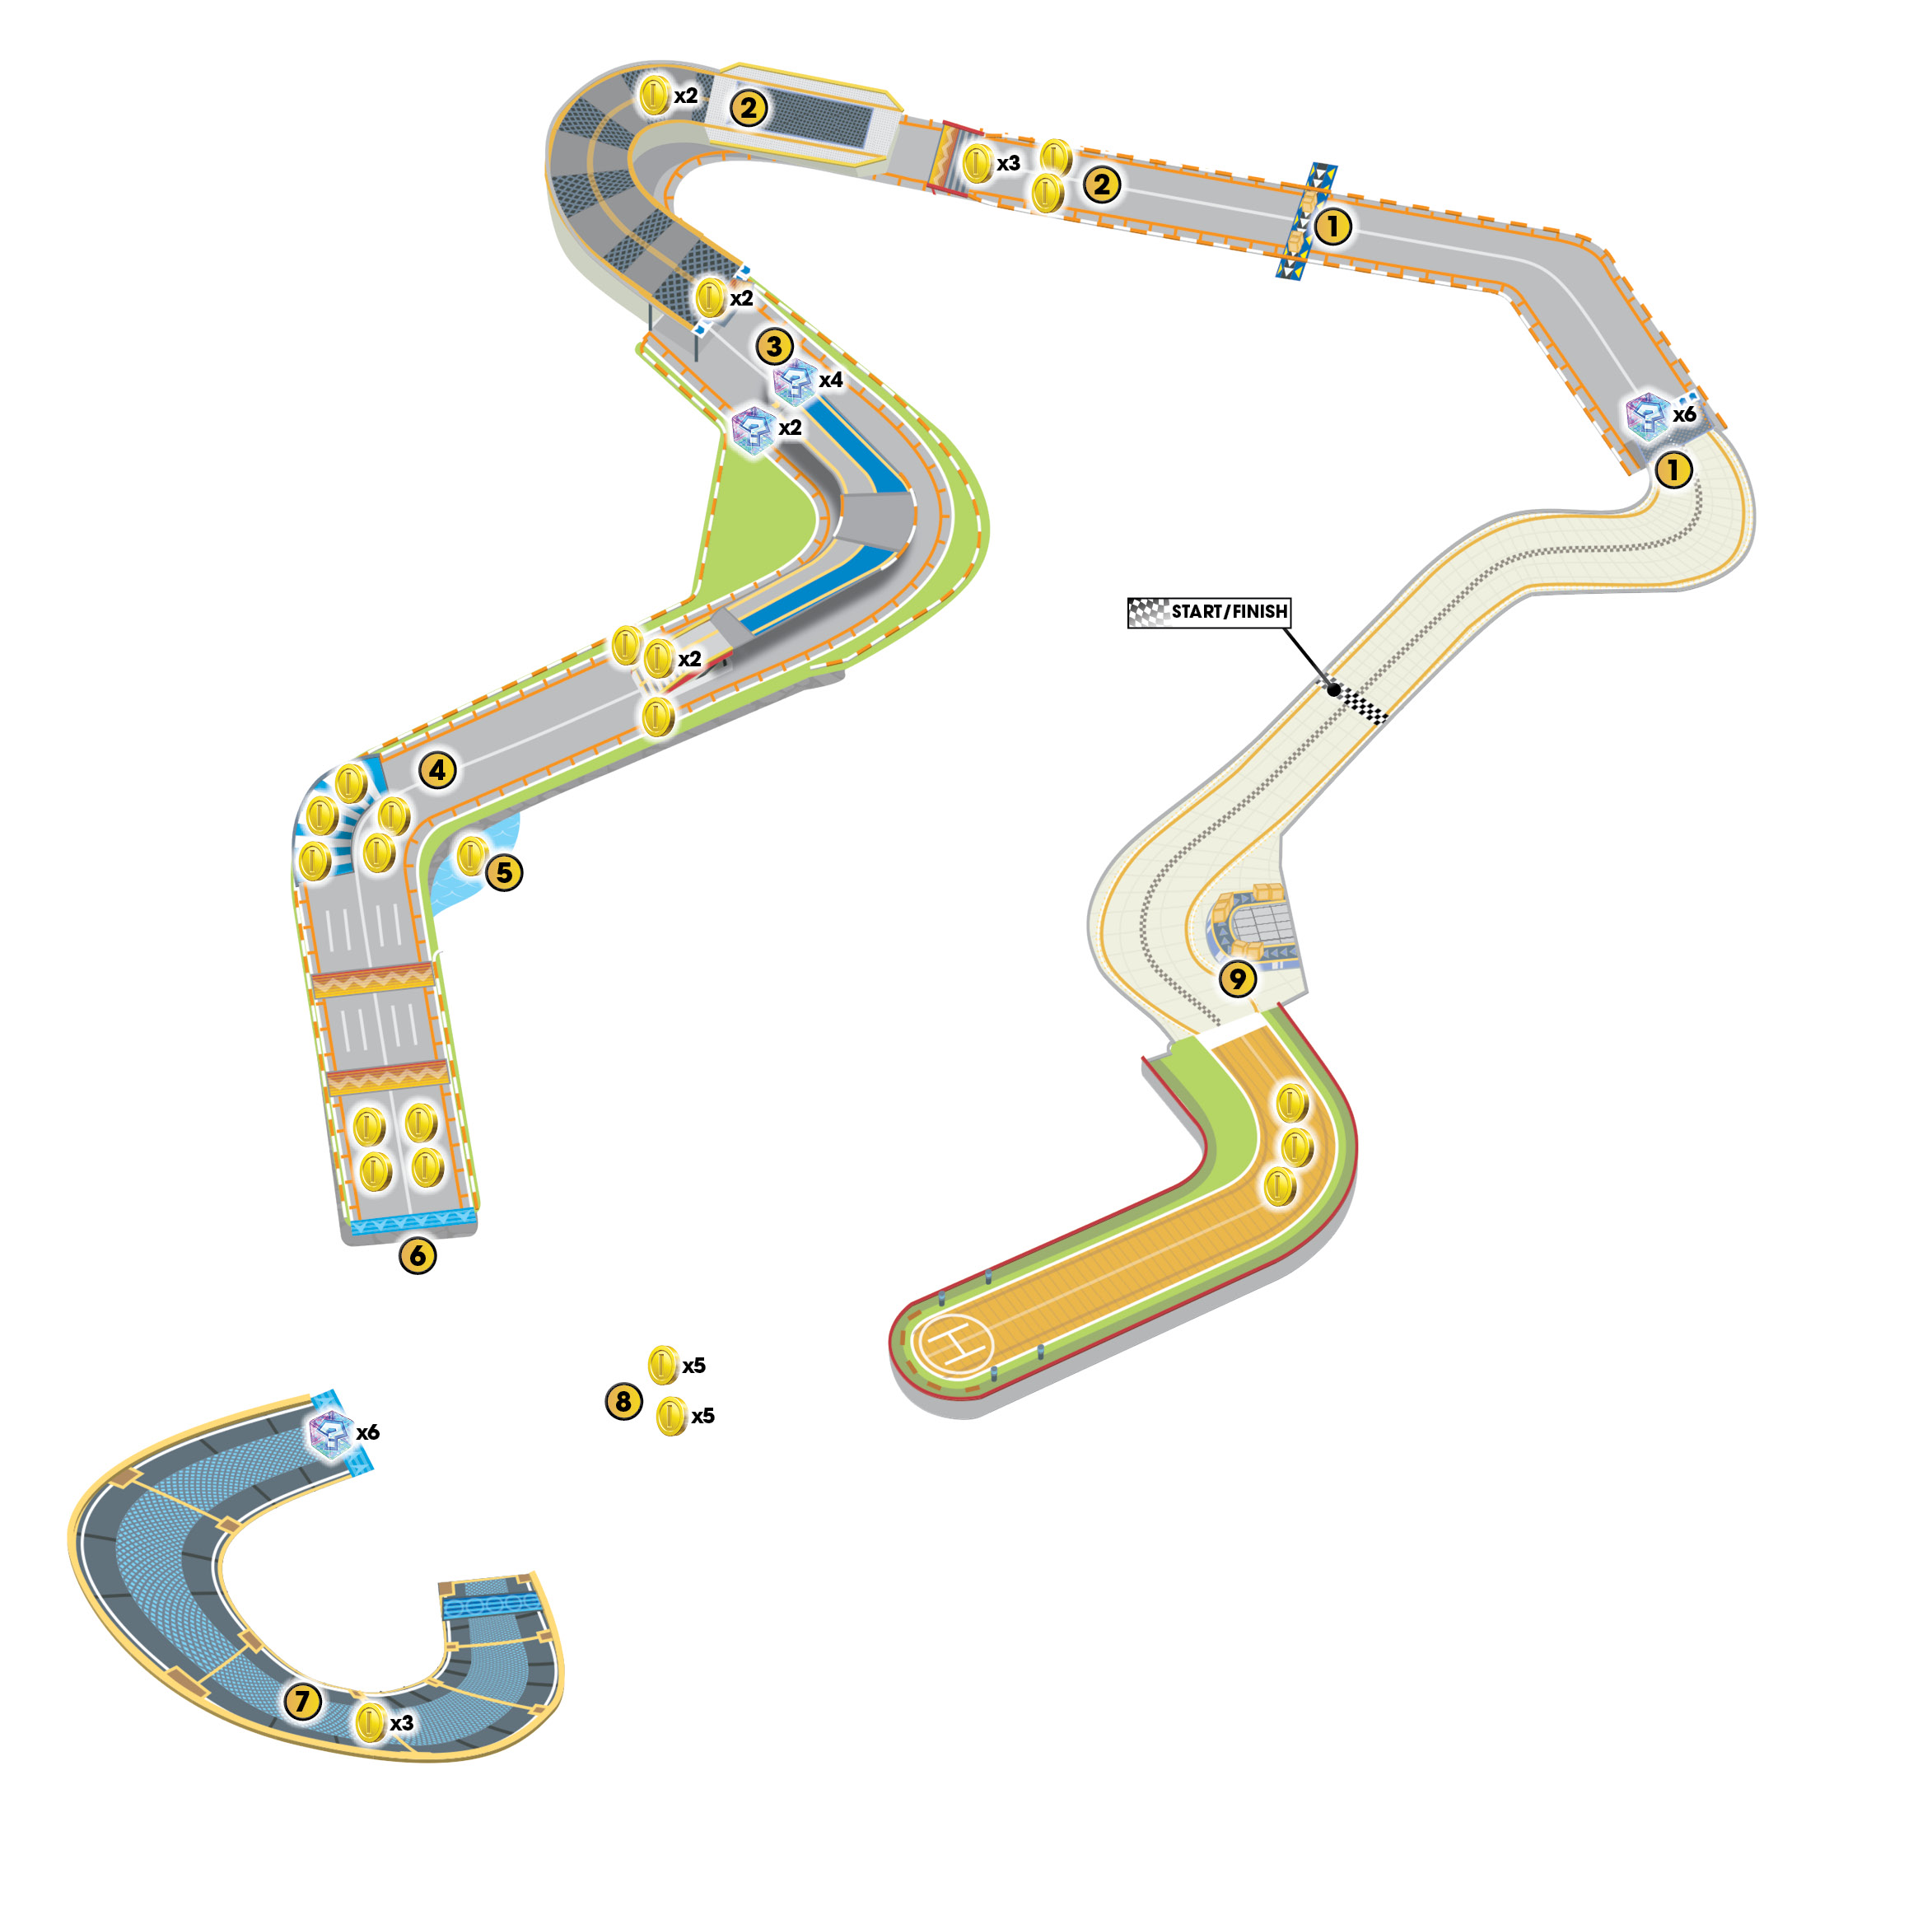
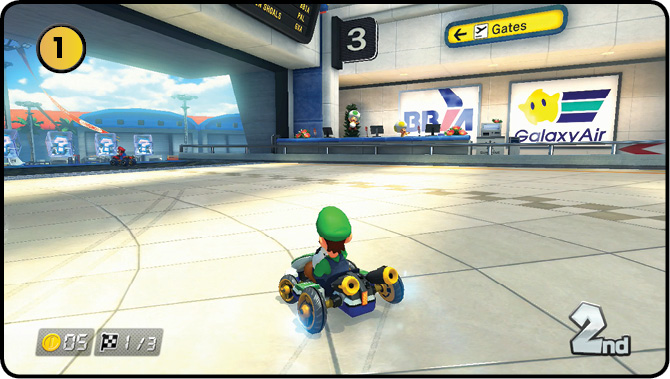
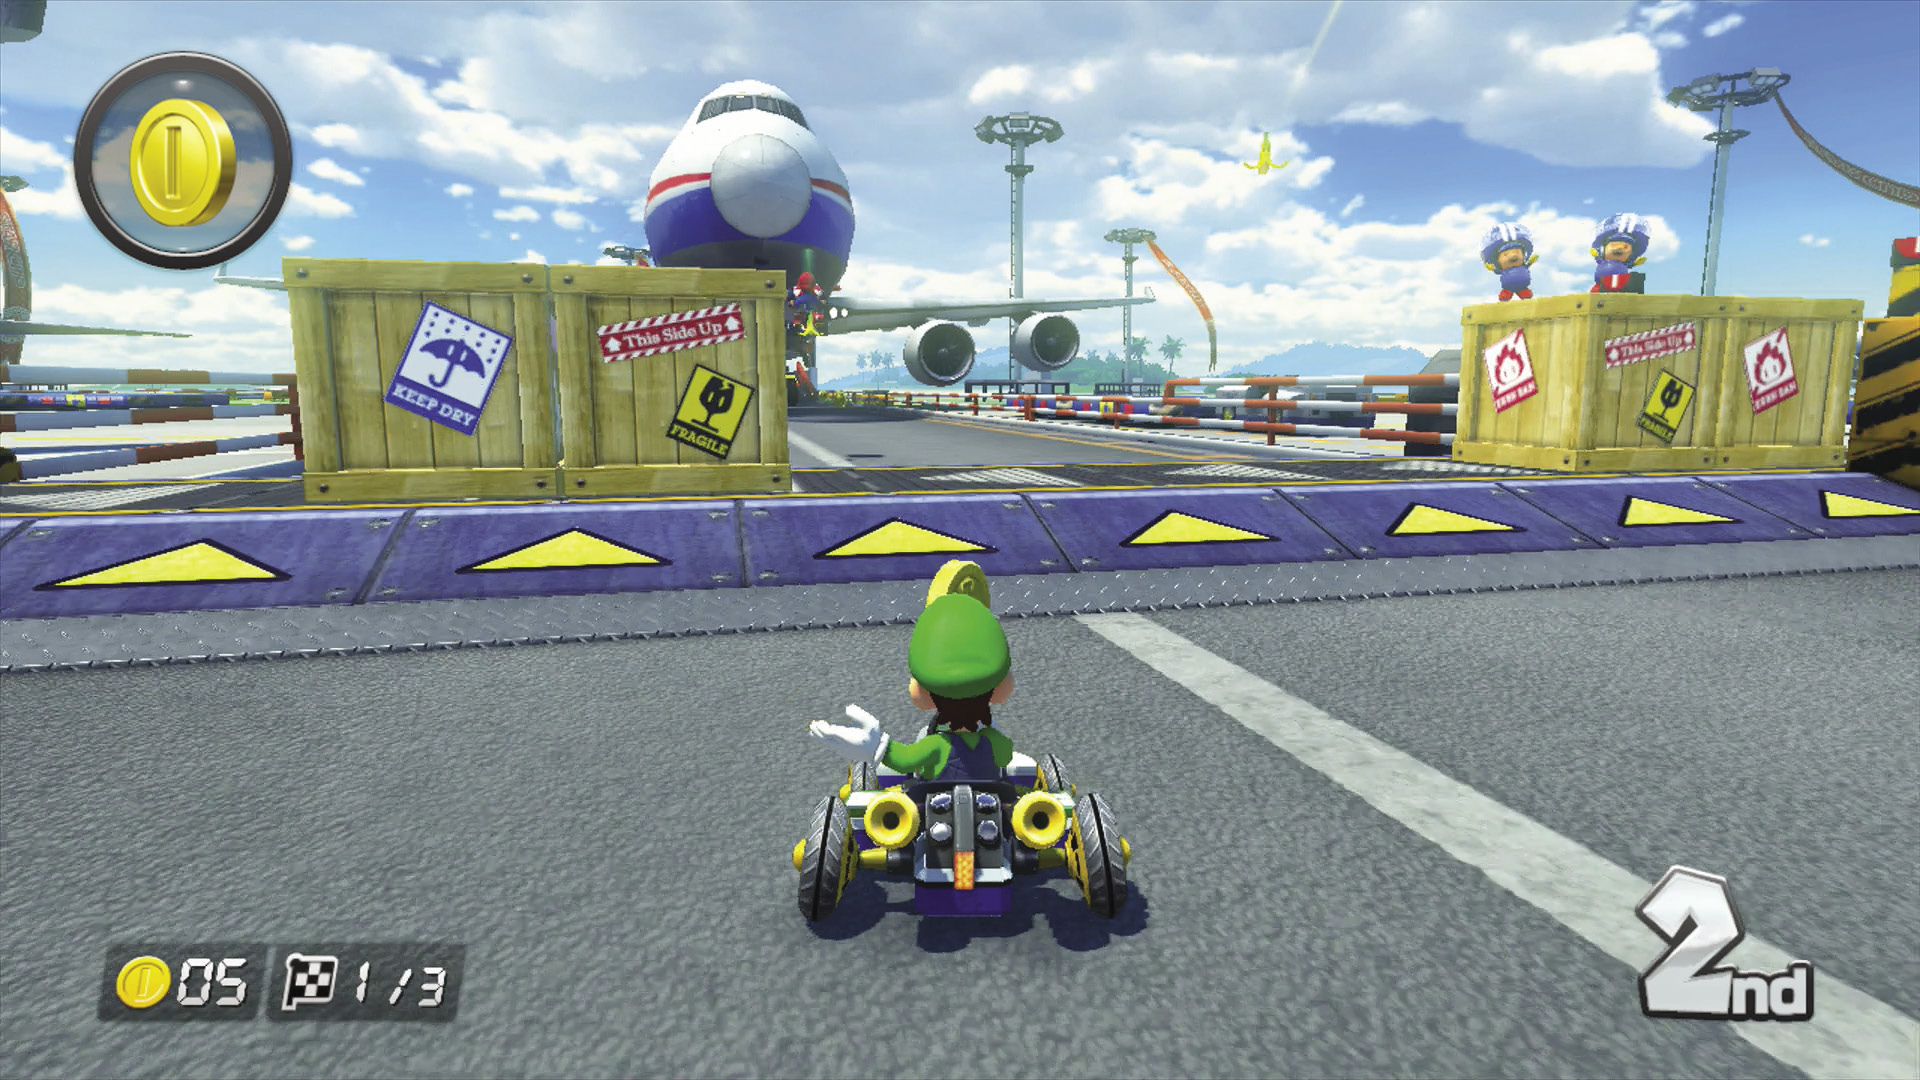
The first left drops you out of the terminal, and you can Jump Boost off the ledge for some extra speed. Right away you’ll encounter crates on conveyor belts. So long as you maintain speed, you can punch through them with minimal loss of momentum. You can also Jump Boost off the conveyor belt.
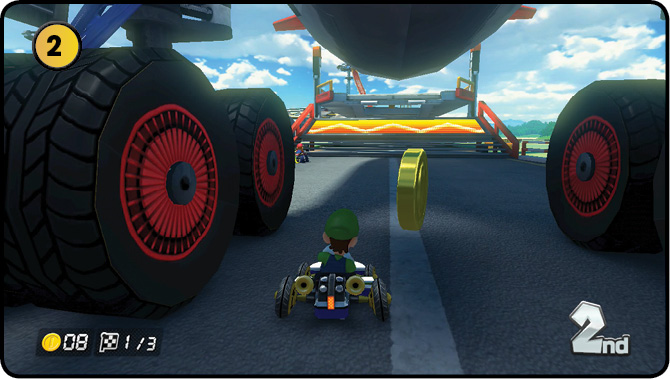
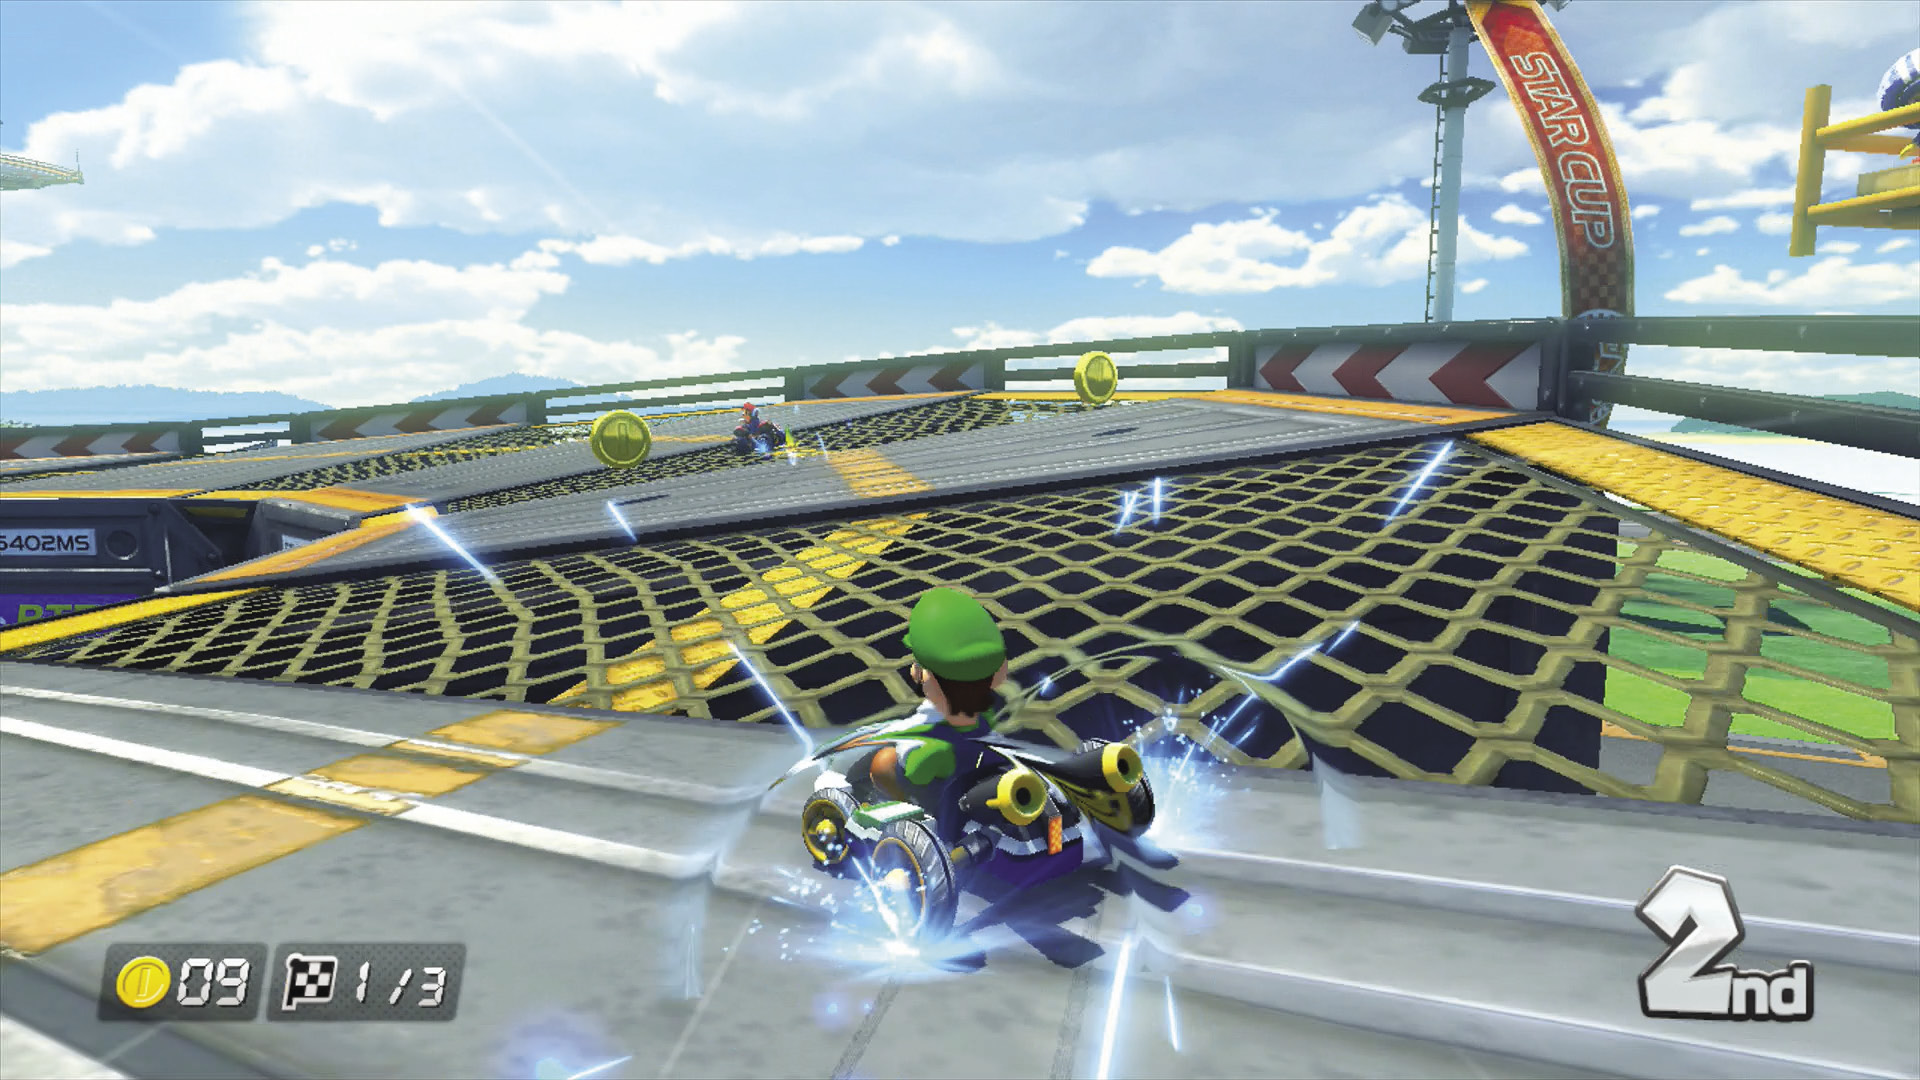
Passing under the airliner, a dash panel ramp will launch you onto an elevated part of the course. Don’t fall to the lower area as you navigate the sharp left here. Recovering from this will take a lot of time if you don’t have a Mushroom. This spot can be a very tough section to navigate as the race progresses. Expect multiple Bananas to be set here.
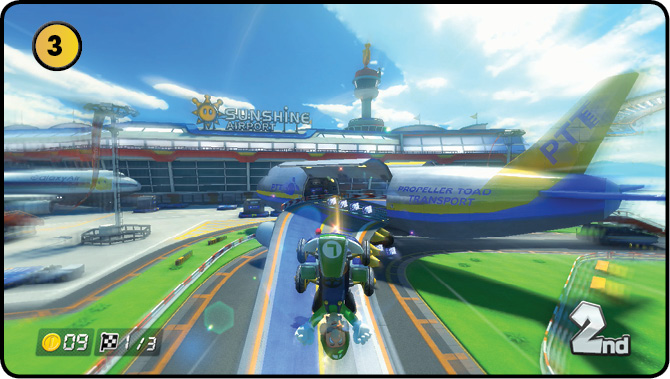
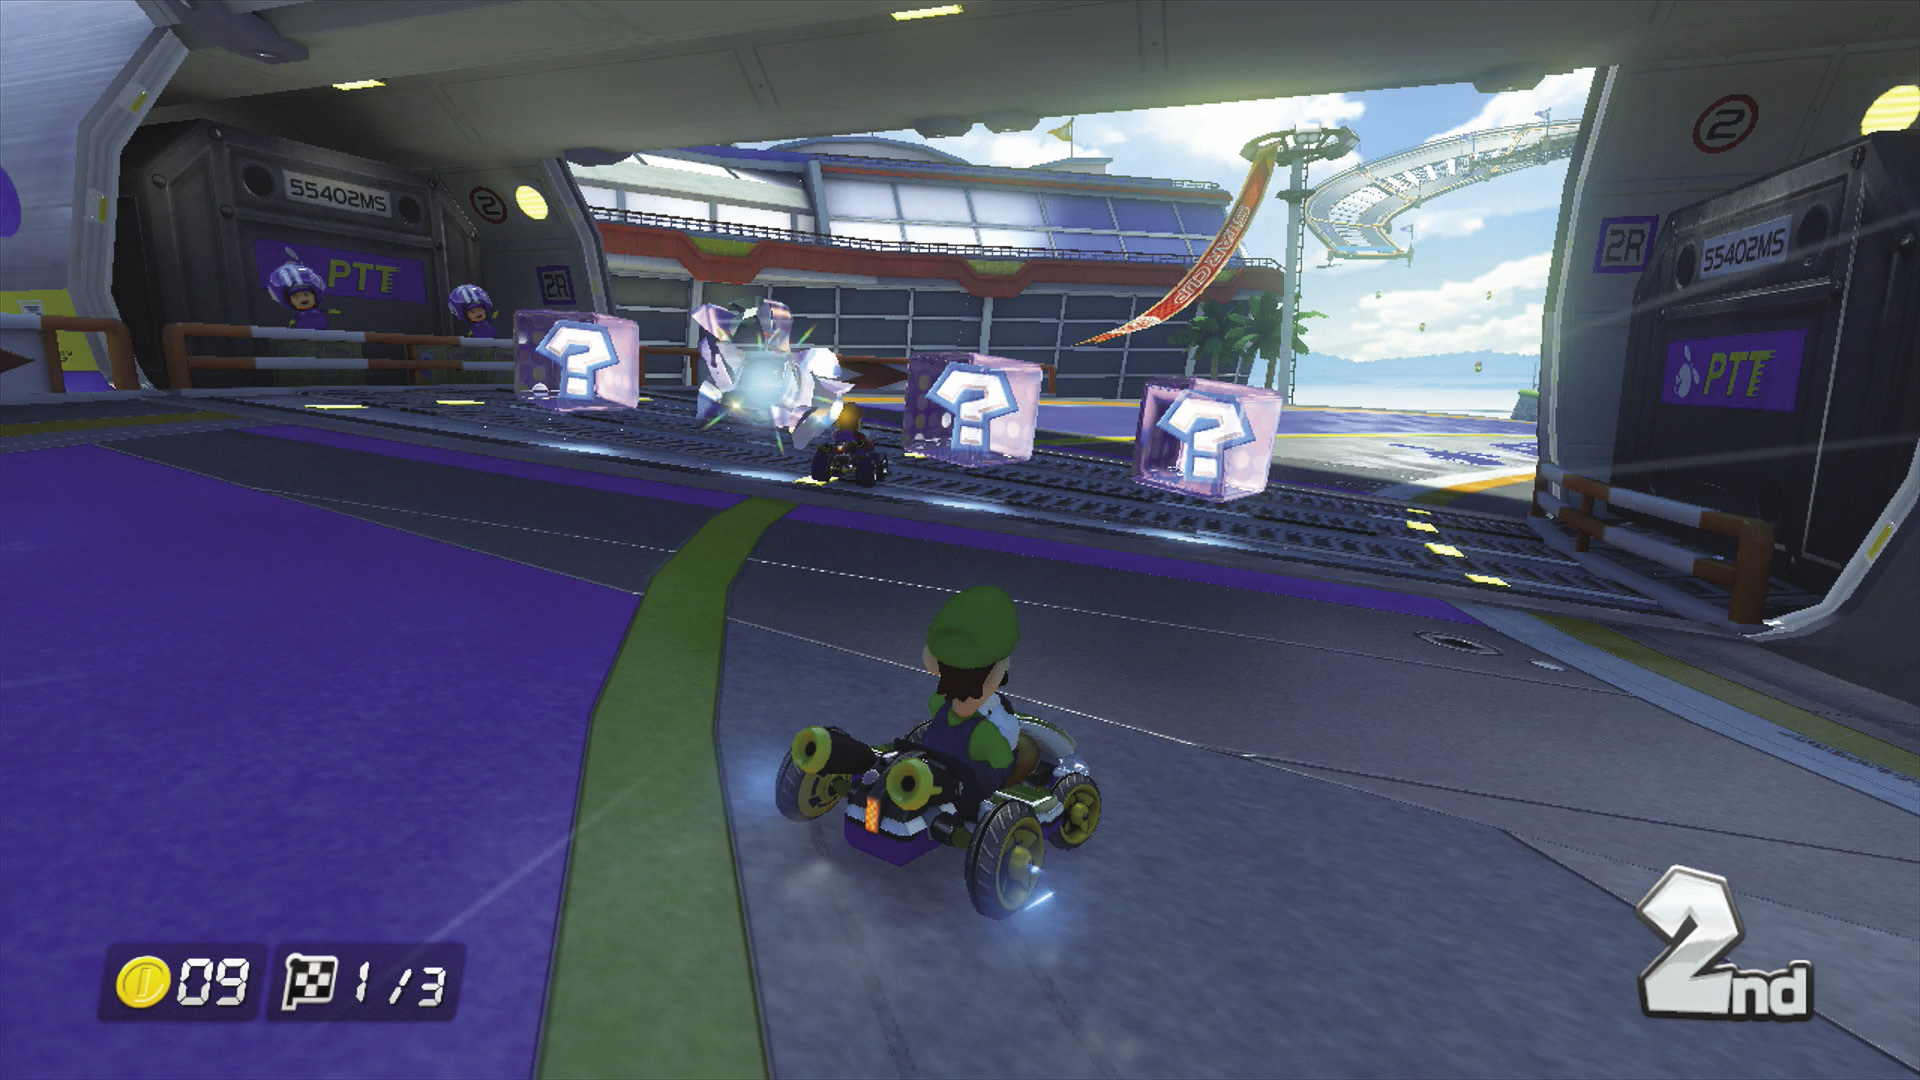
If you stayed on the upper platform, you can actually launch onto the wing of another airliner and race over and through the plane. This is arguably the fastest route, though with Mushrooms you can cut underneath the plane, across the grass on the right side of the track.
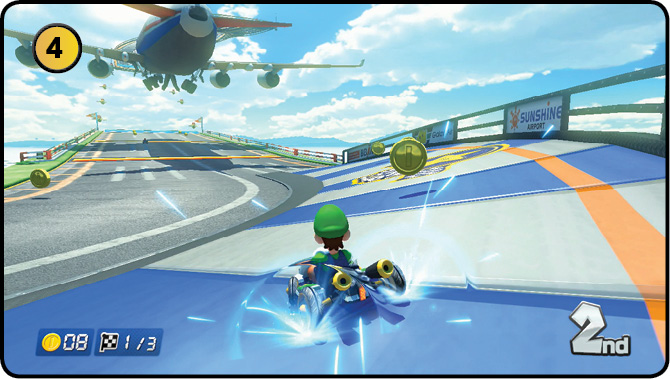
Taking this left turn wide can earn you some Coins. Set up Bananas there as well, to make life harder for racers behind you.
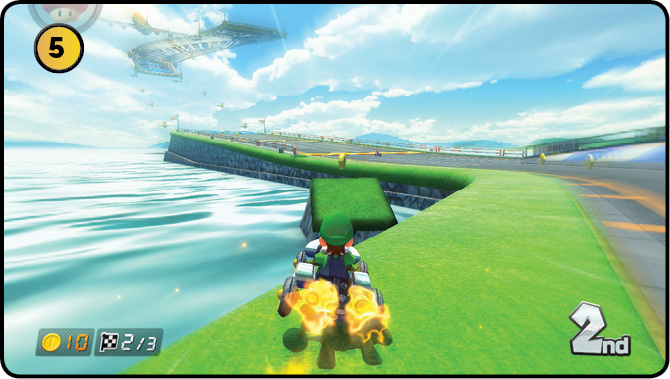
Alternatively, there’s a shortcut on the inside of this turn: a small ramp in the water that, combined with a Mushroom, can save some time. It is a very risky shortcut to attempt on higher difficulties!
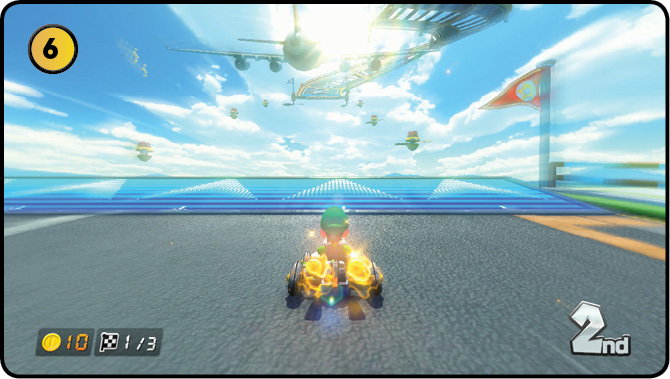
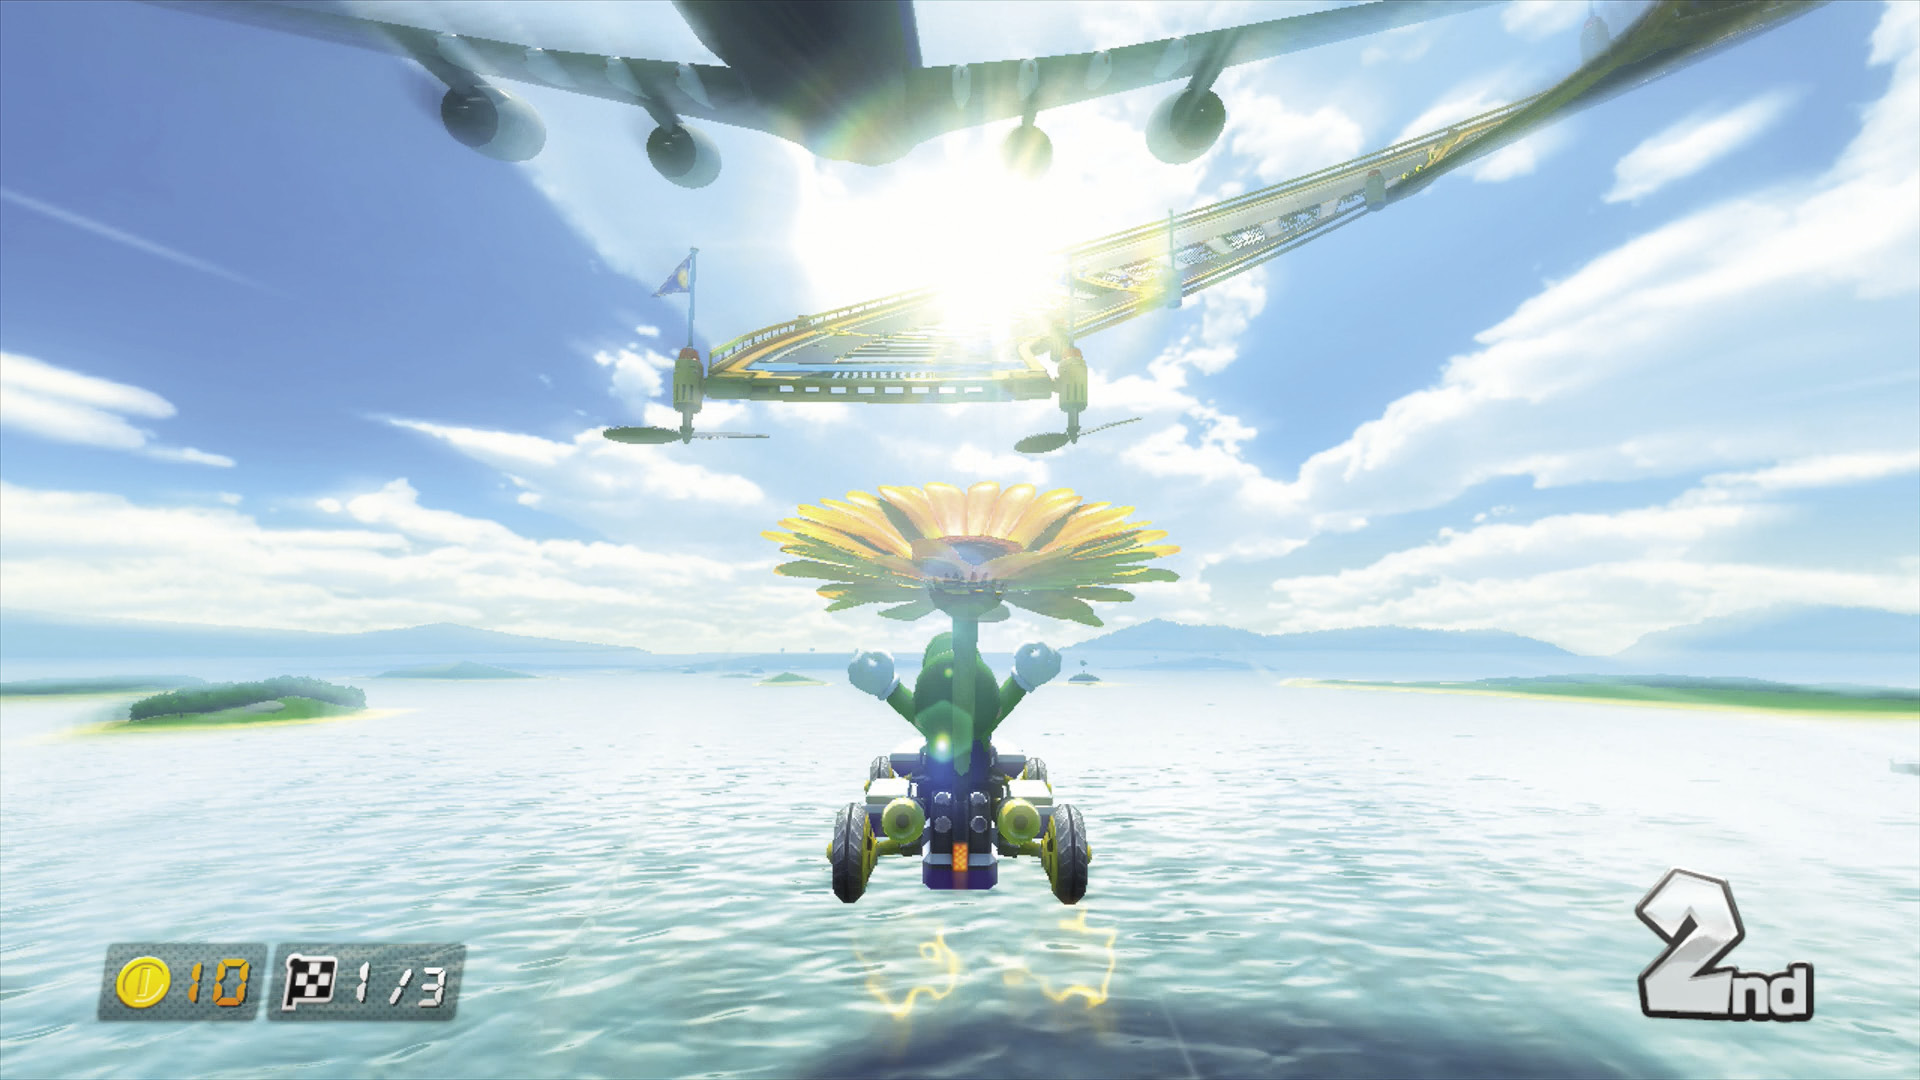
The first flight comes after a series of dash panels and a ramp, launching you far over the water to an antigravity section of the course. If you’re lagging behind and have a Lightning, a mean trick is to use it just as the leaders are flying across this gap.
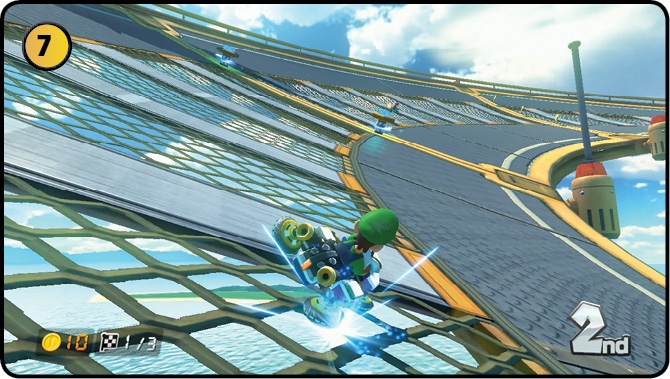
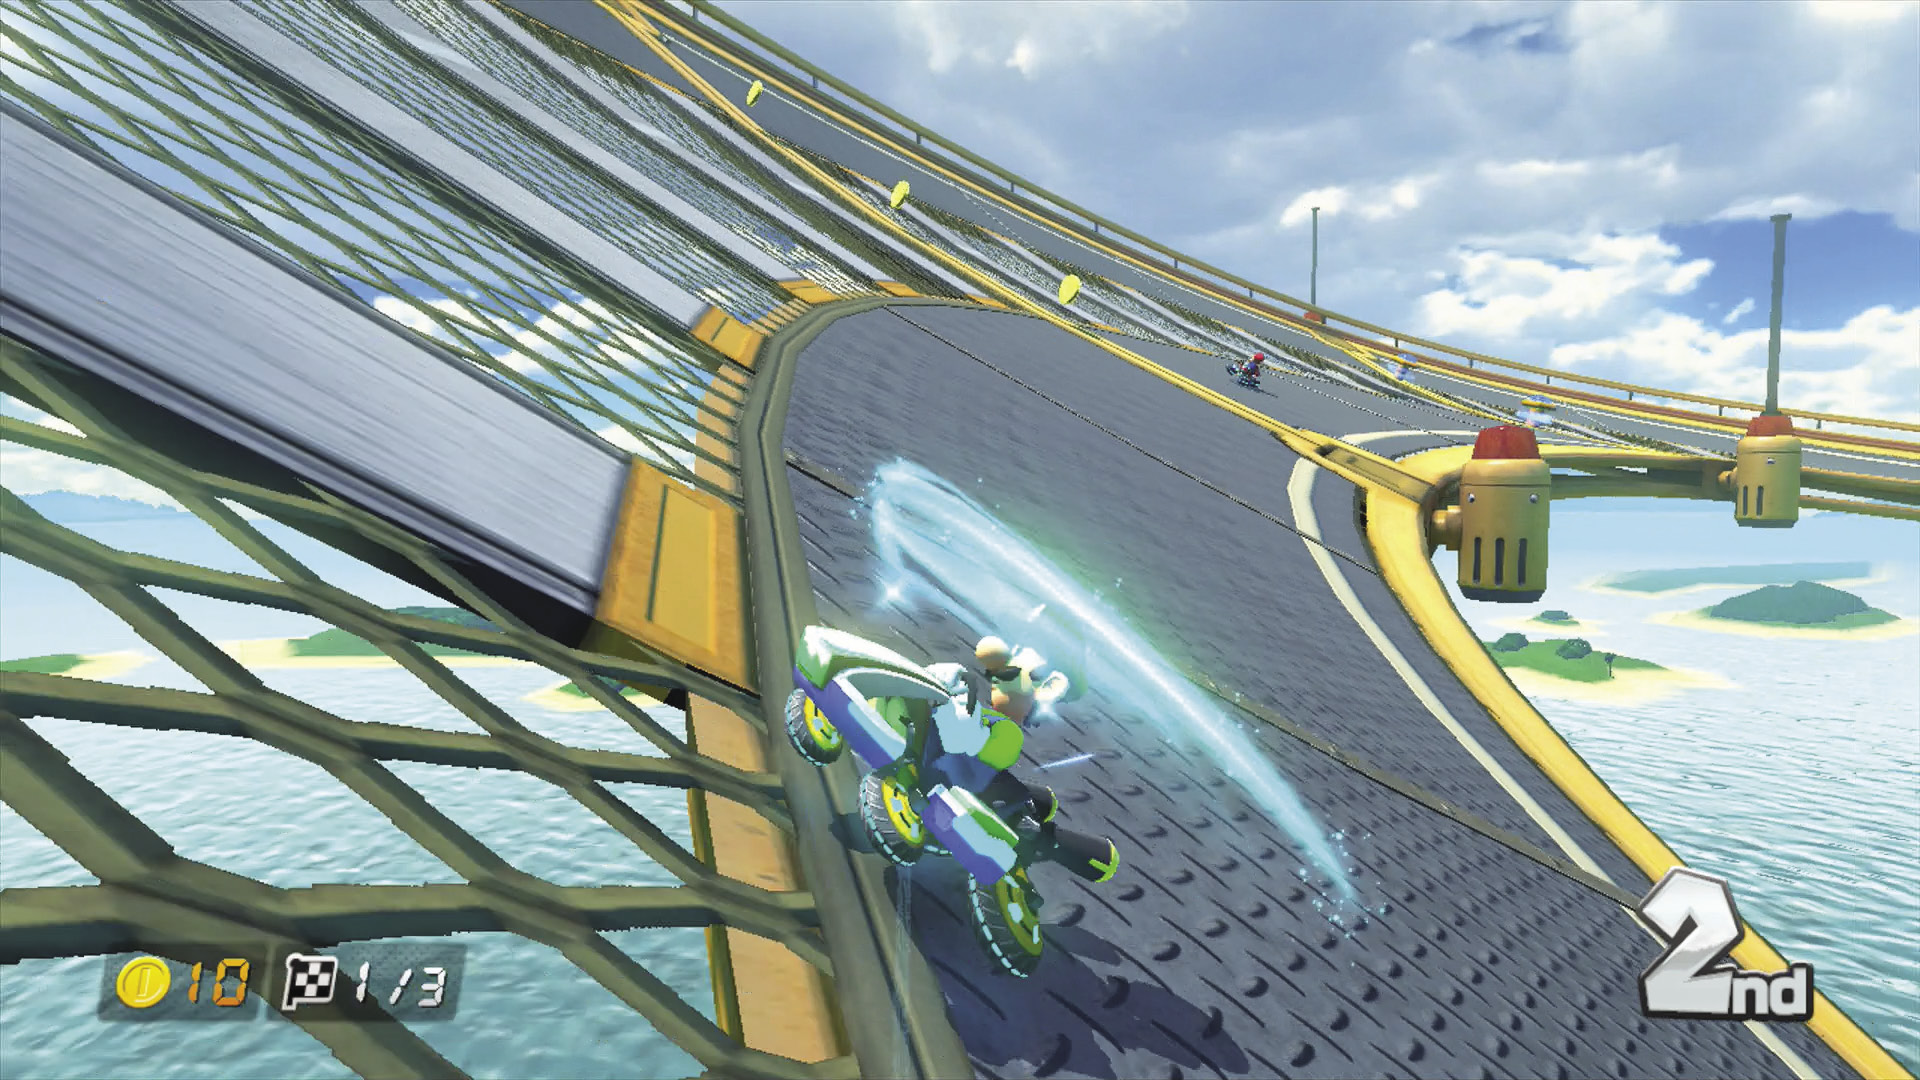
The track after the first flight is a long right-hand curve, with Spin Boost pillars placed throughout it. If you hit a pillar, and ram another racer, you gain a useful burst of speed. Just be careful you don’t fall off here—there’s no railing to save you on the inside of the track!
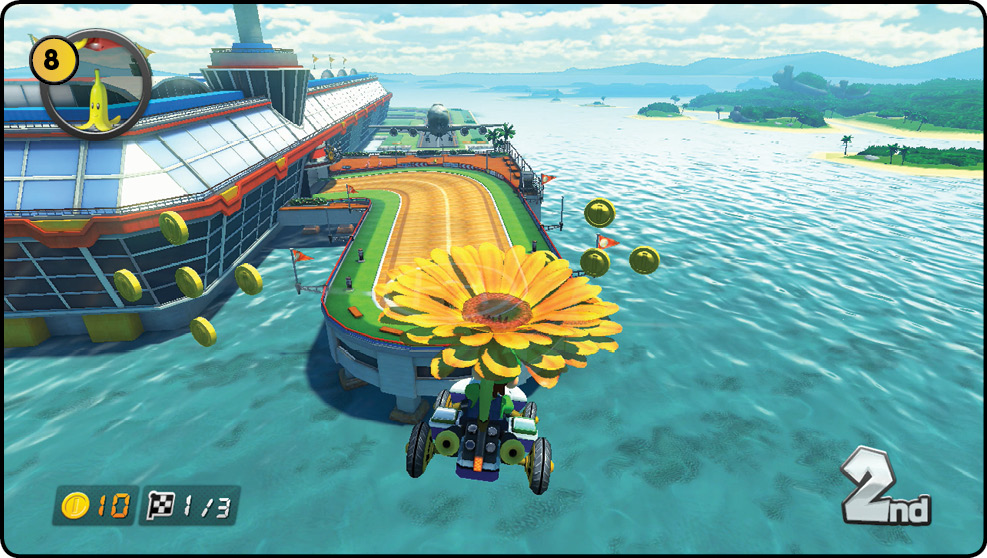
The second flight grants you more control than the first, letting you steer to collect groups of Coins. An airliner occasionally passes through this area, and you can snag even more Coins if you pass close enough to it.
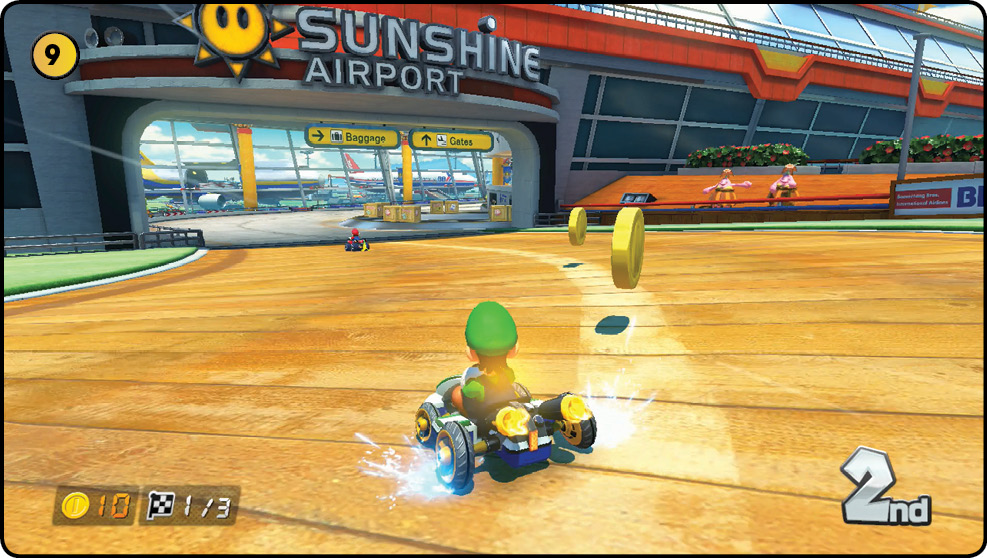
The final turns lead back into the terminal. You can use Mushrooms to boost cleanly through the cargo conveyor belt and the crates on it. Don’t miss a chance to Jump Boost off the conveyor belt ramps as well!
Time Trial Mode
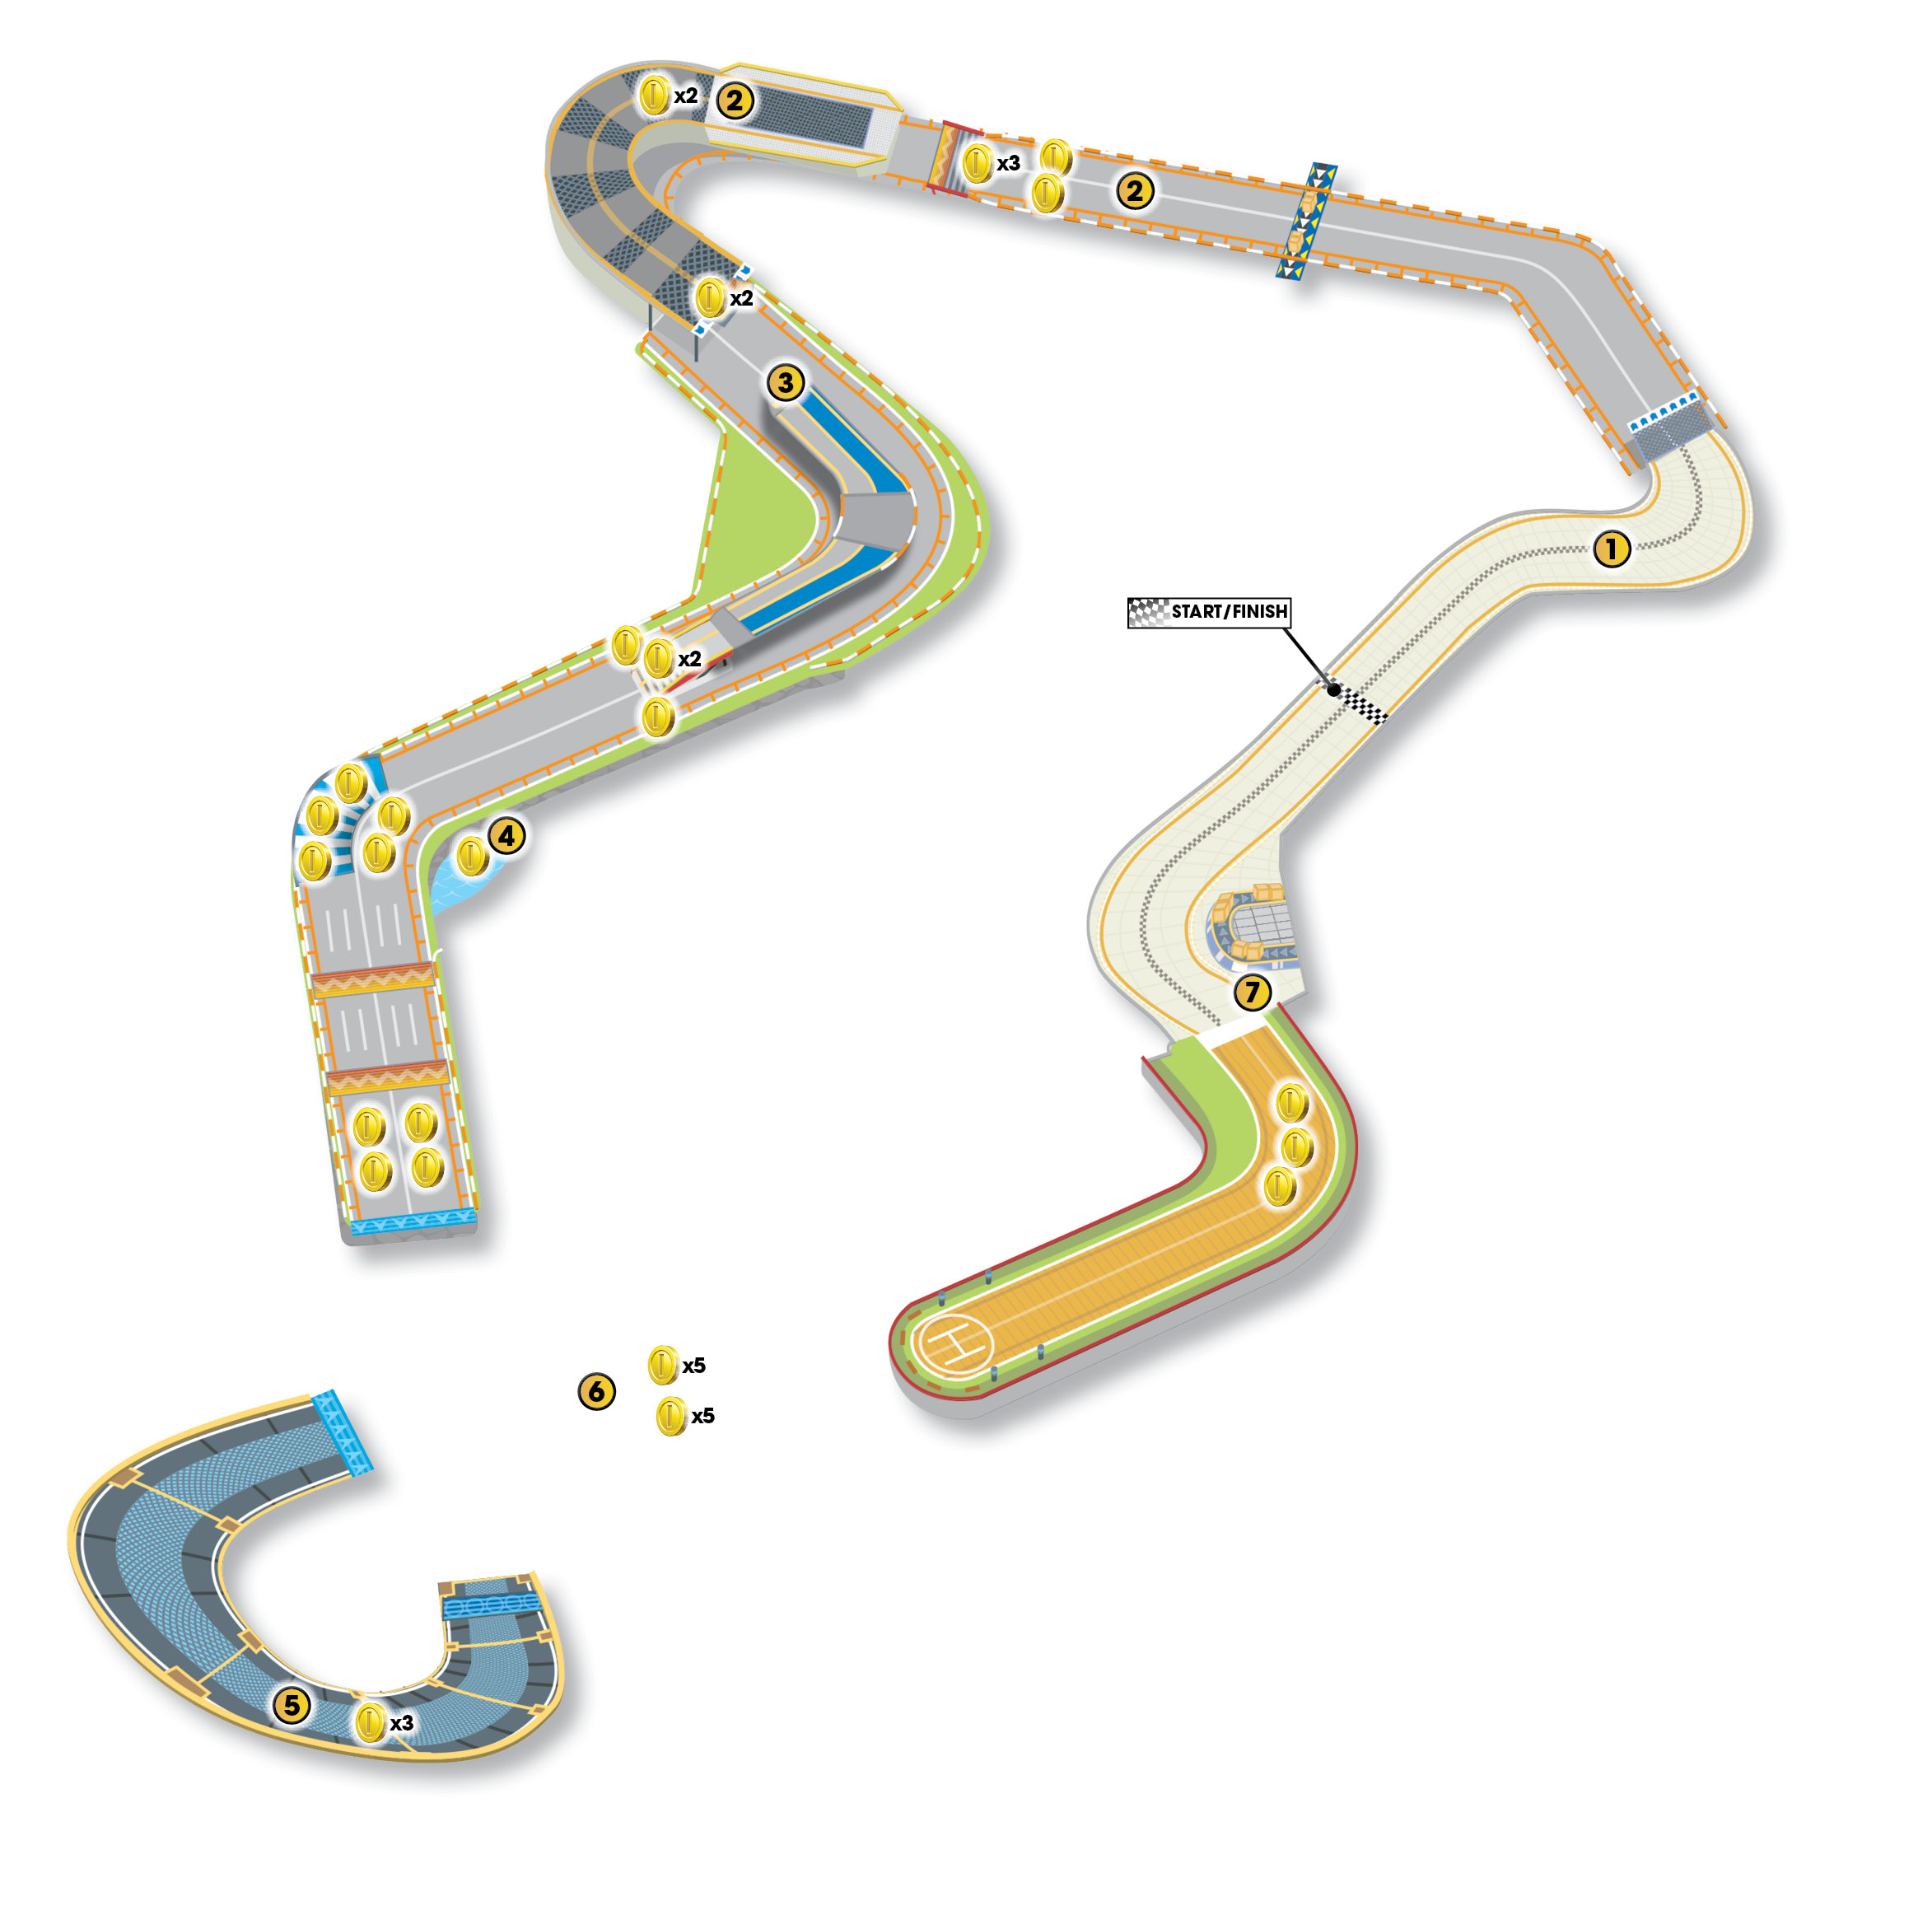
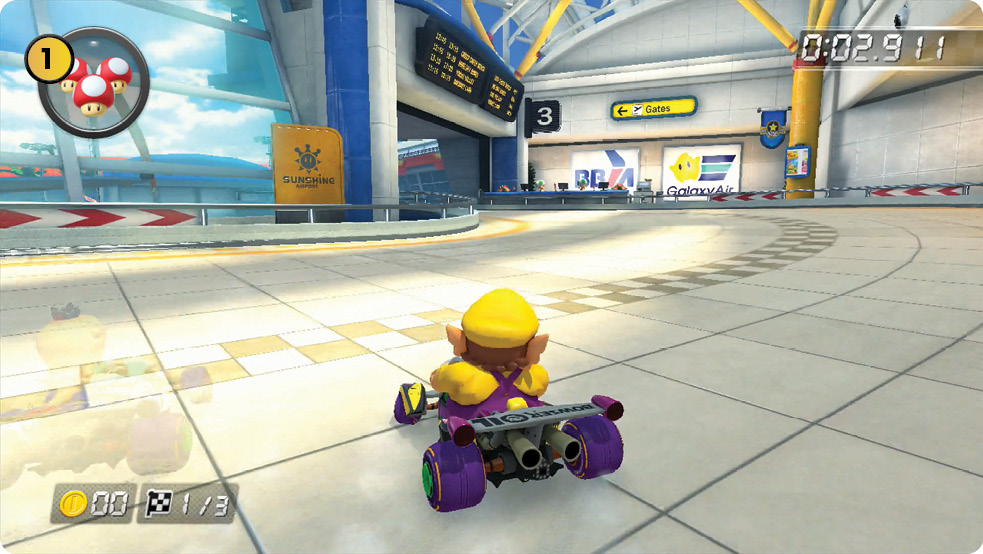
The S-curve right at the start of the course is run fastest by taking as straight a line through it as possible, only drifting left as you approach the exit to the terminal.
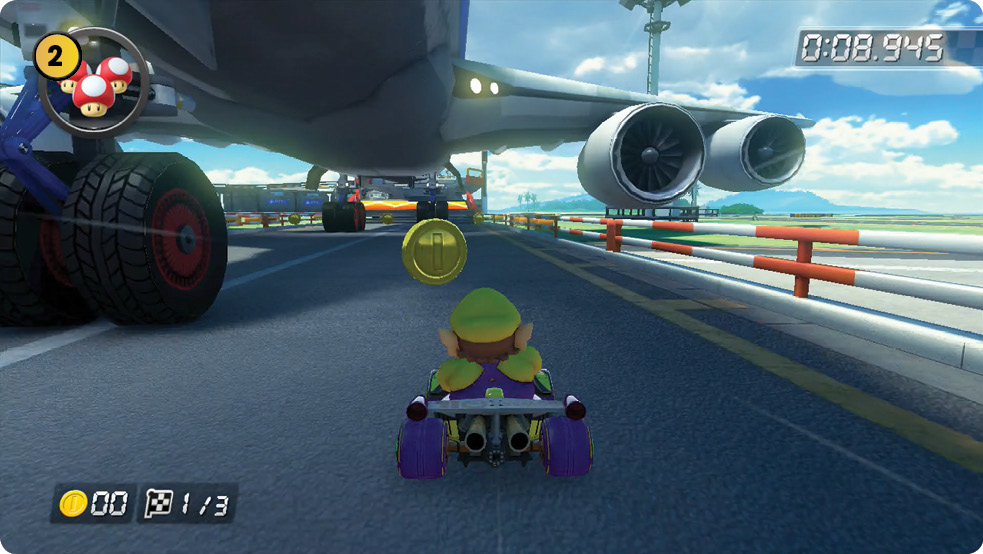
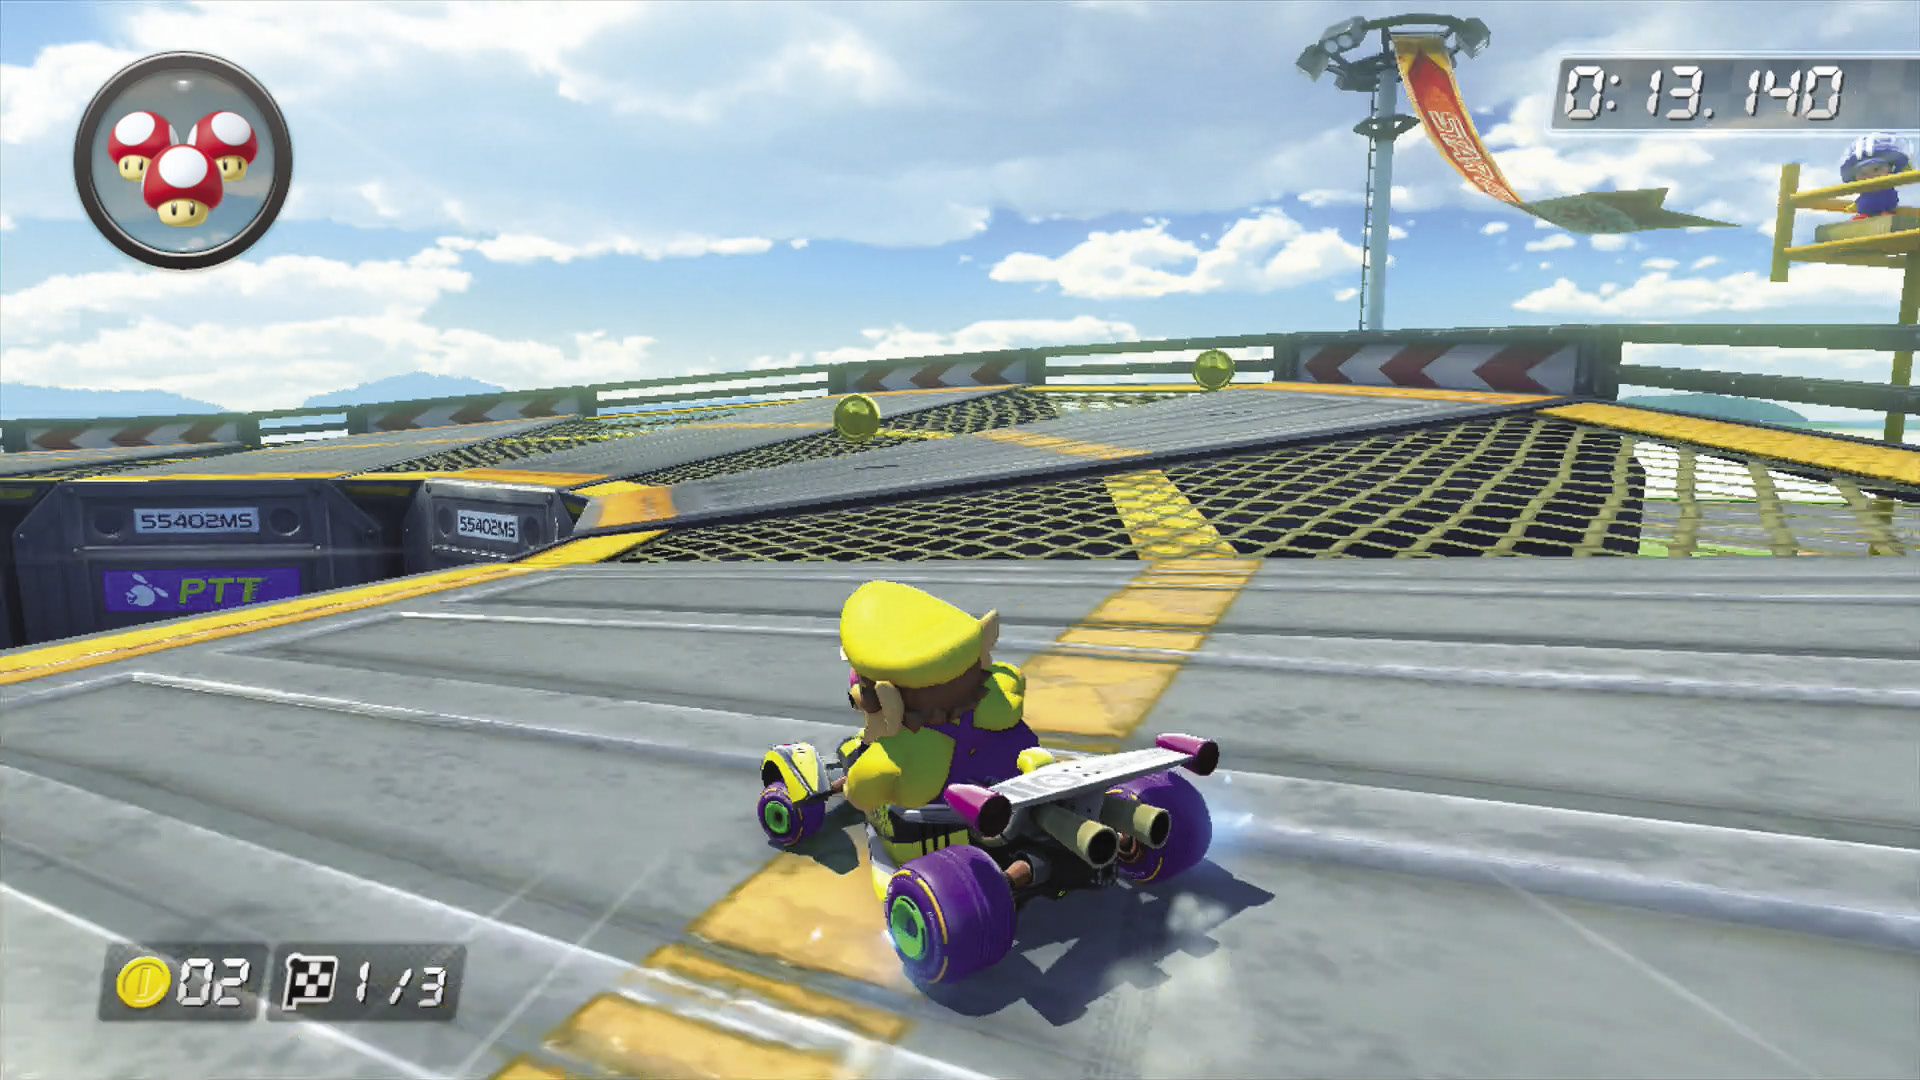
There are five Coins under the first airliner you drive past. You can collect two Coins during the first two laps. Another pair of Coins are on the raised section of track just behind the airliner, though only one can be reasonably collected during a lap.
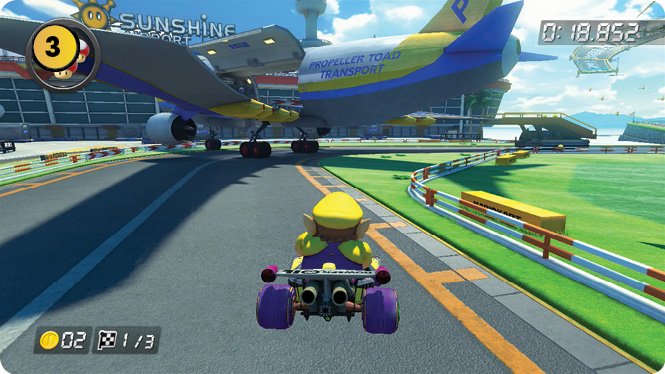
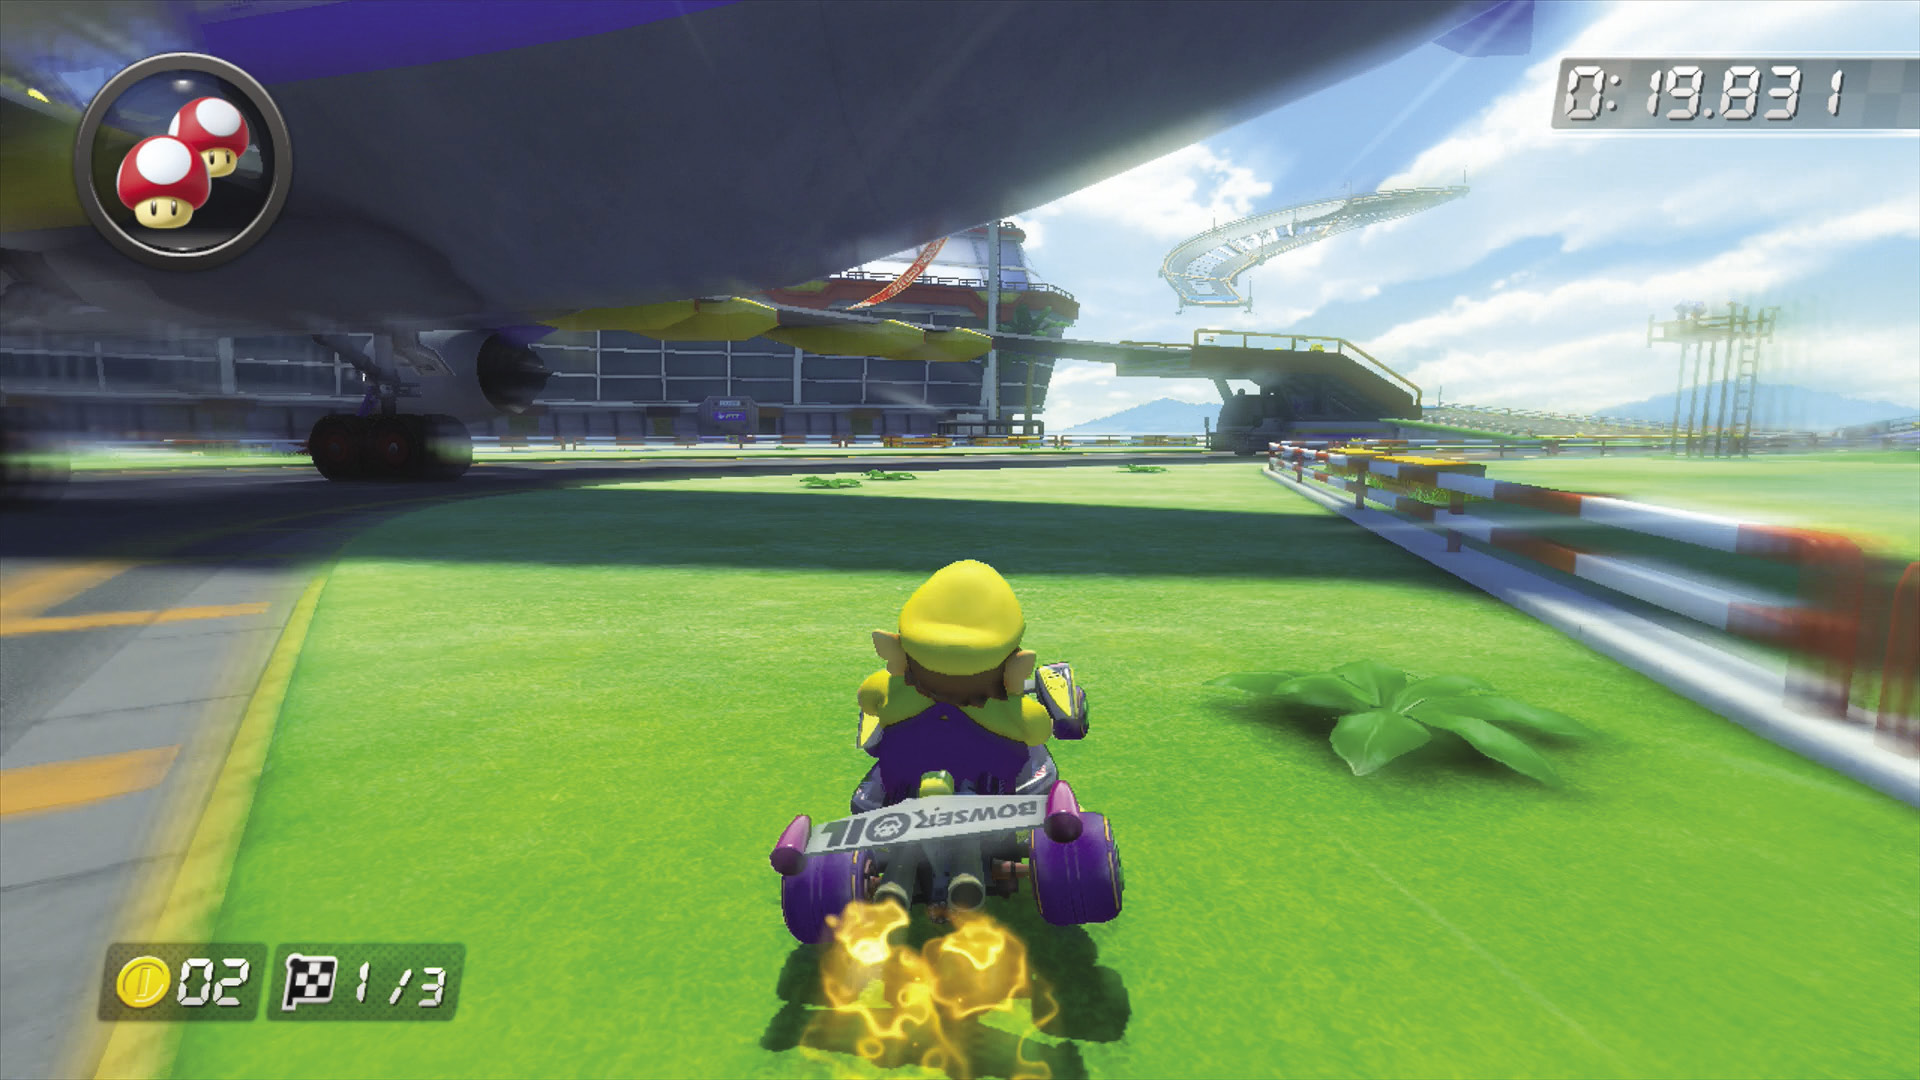
Don’t actually race across the airliner! It’s faster to spend a Mushroom to cross the grass on the ground to the right of it. If you choose to save the Mushroom for later, cut the turn as close to the grass as possible.
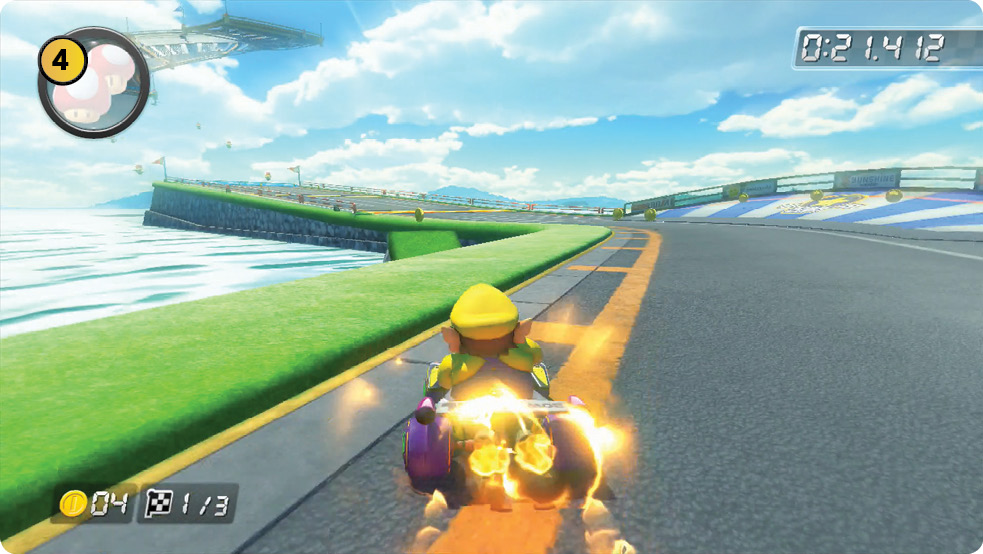
If you don’t cut across the grass to the right of the airliner, you can use a Mushroom for this short cut ramp across the water. It does cost you a chance at some more Coins.
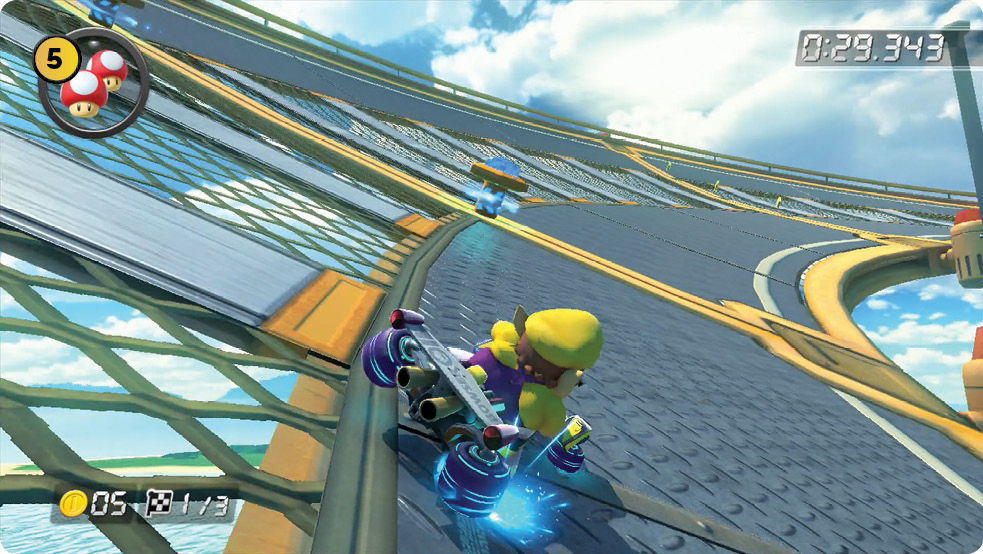
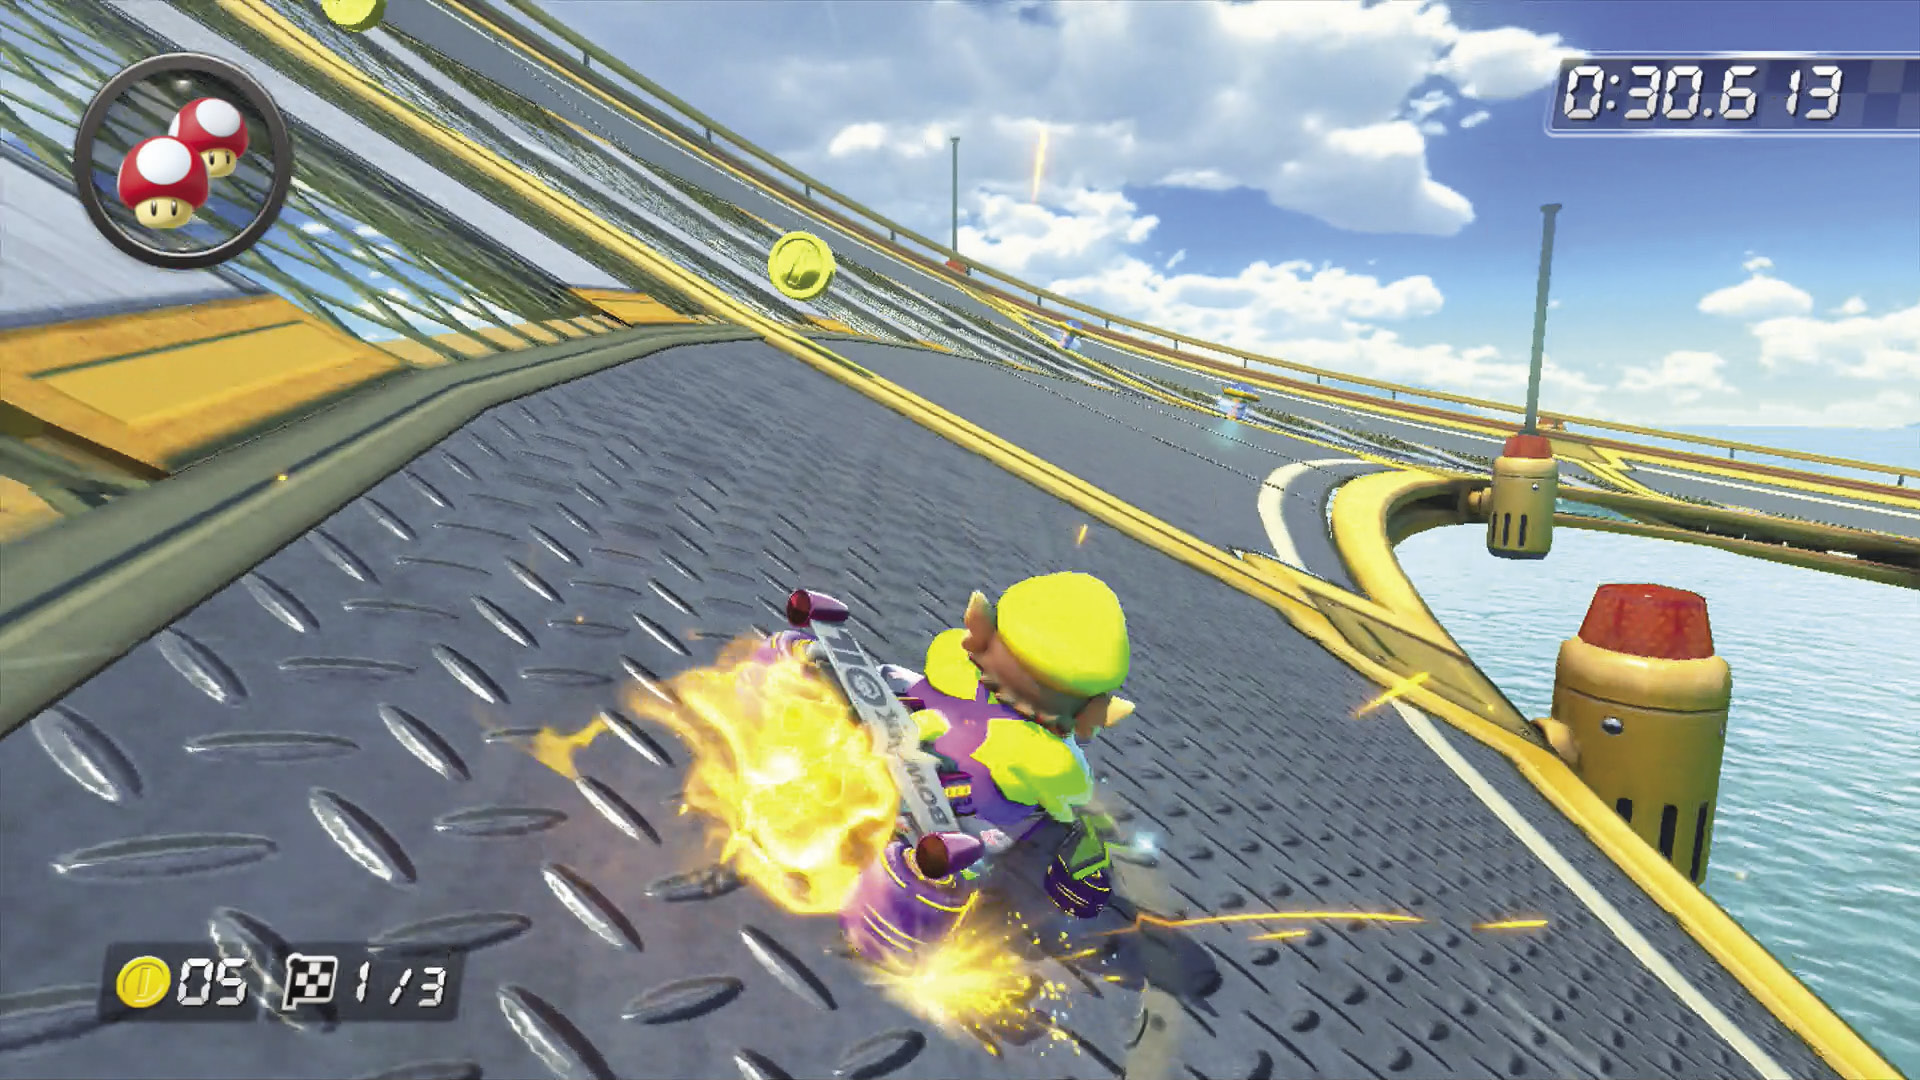
While on the antigravity portion of the track, you can try to hit at least two Spin Boost pillars while taking advantage of the gentle curve of the track to score multiple Mini-Turbos off drifts. Stay on the inside of the turn as much as possible, ignoring the Coins. You can make up for them later.
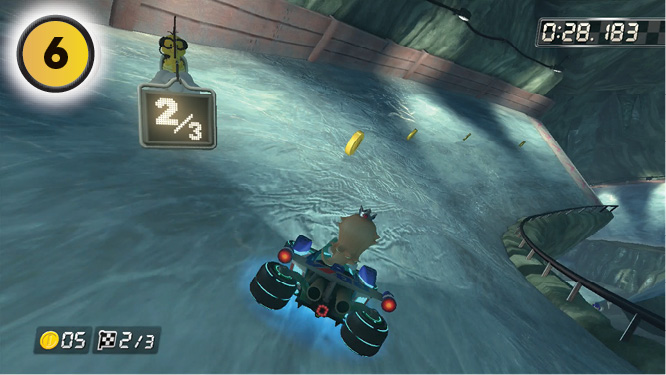
The flight down from the sky passes by two clusters of five Coins. Aim for the landing zone in the distance so you can have good speed heading into the final stretch.
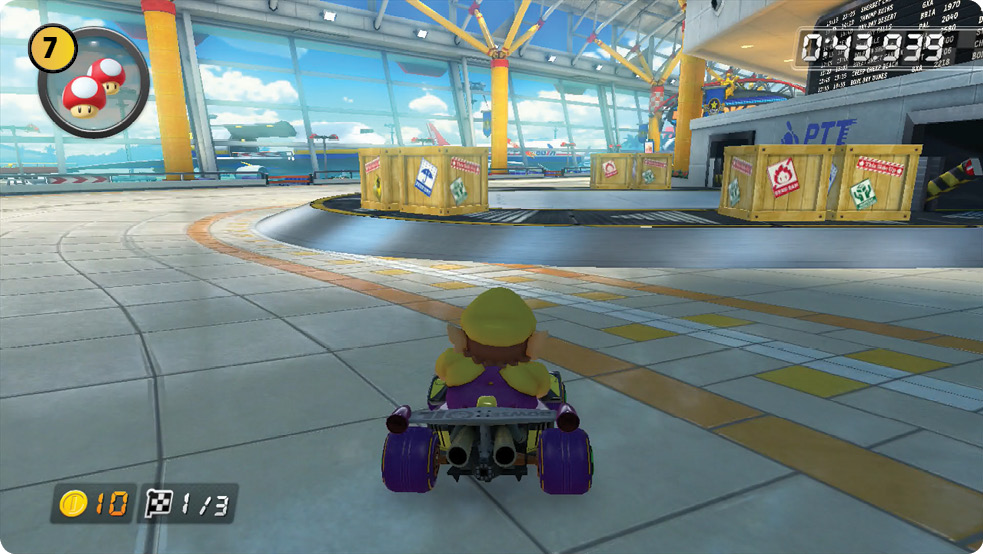
There’s no reason why you shouldn’t use this final shortcut. It doesn’t even require a Mushroom! Just make sure you avoid the crates as you Jump Boost off the conveyor belt.
TM & © 2014 Nintendo.