
Mario Kart 8 Guide The Drivethrough The New Tracks
Bone-Dry Dunes
Desert sands and ancient skeletons make up most of this course. When playing in the Grand Prix mode, be on the lookout for heavyweight racers if you’re a lightweight character. One wrong bump can send you into a wall, or into the sands off-road, the latter of which takes more time to recover from.
Nintendo’s Best Time Trial: 2:02.028 Player: Jeff C. M.
Kart of Champions
Nintendo’s Best Time Trial: 2:02.028 |
|||
Player: Jeff C. M. |
|||
 |
 |
 |
 |
|
Racer: Wario |
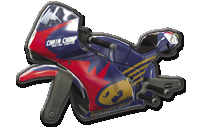
Body: Sport Bike |
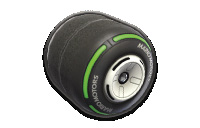
Wheels: Slick |
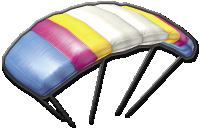
Glider: Parafoil |
Grand Prix
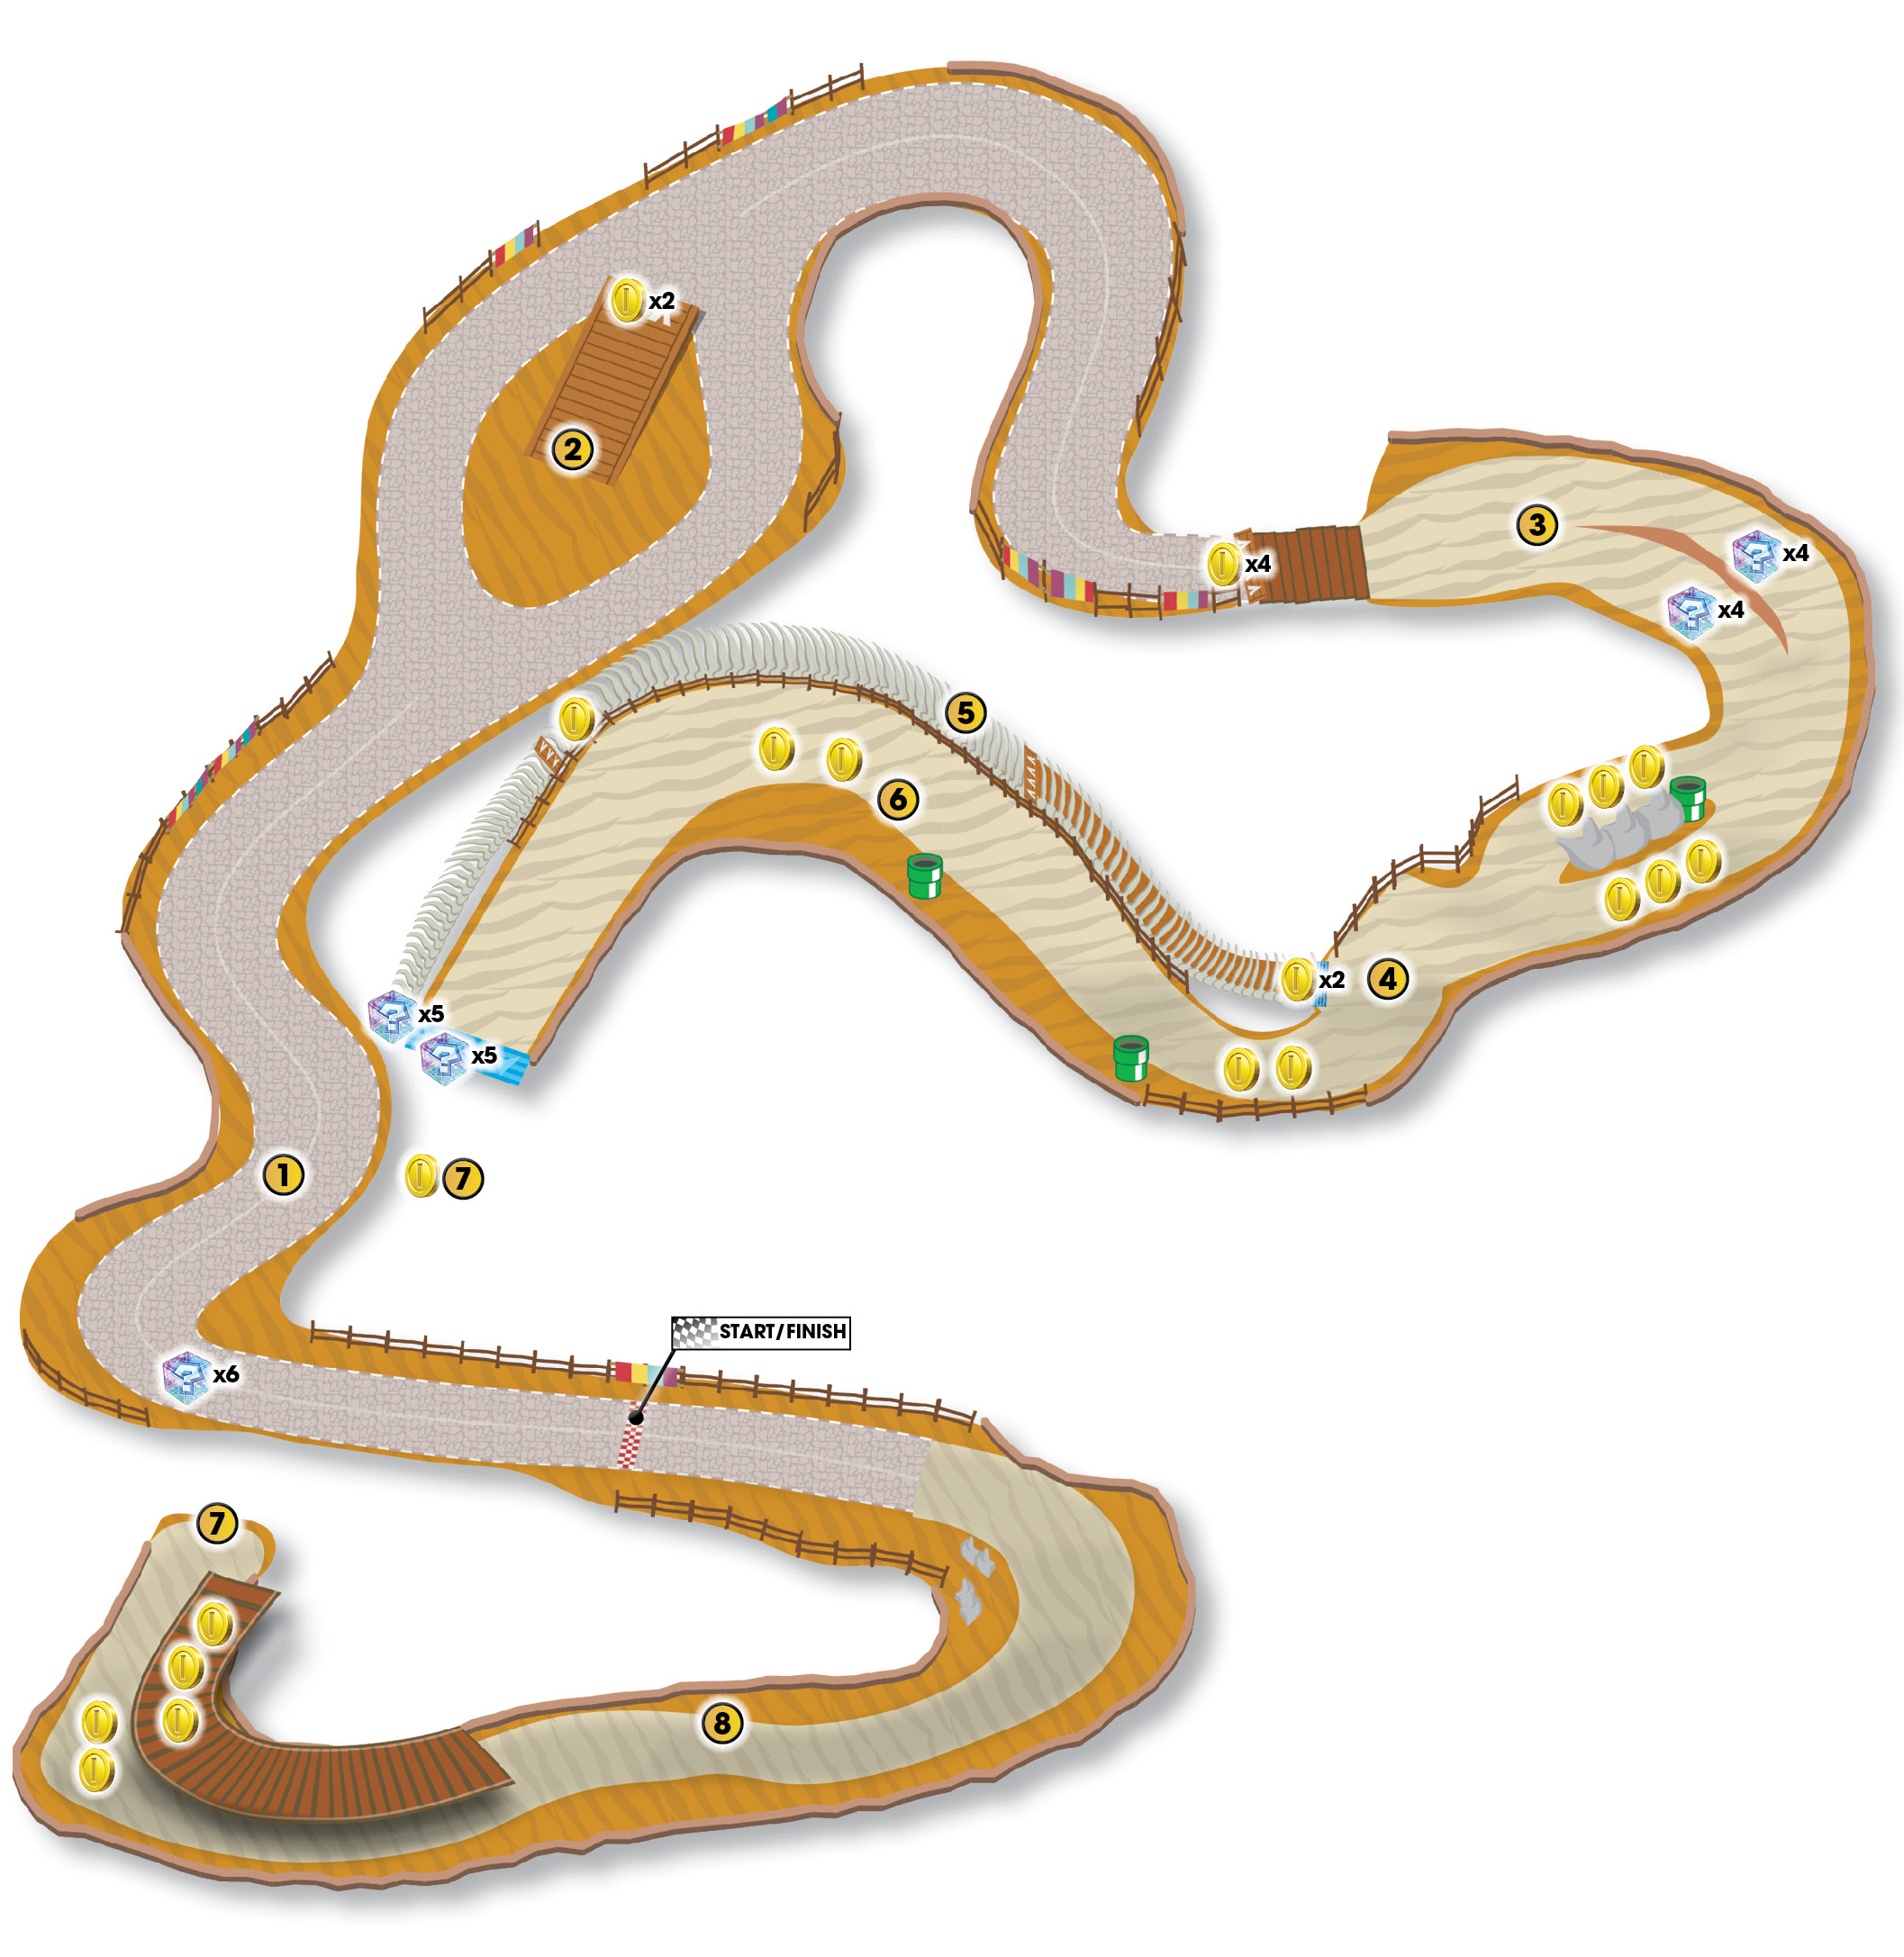
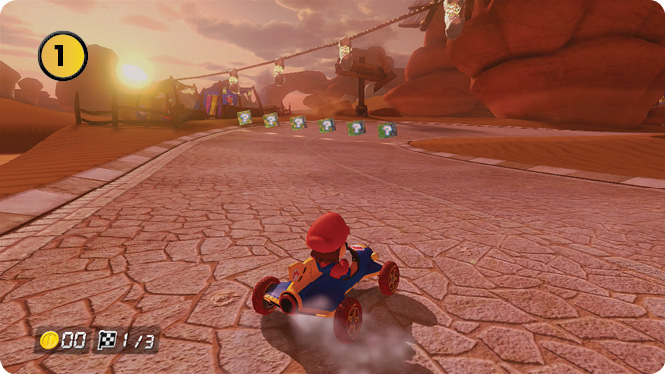
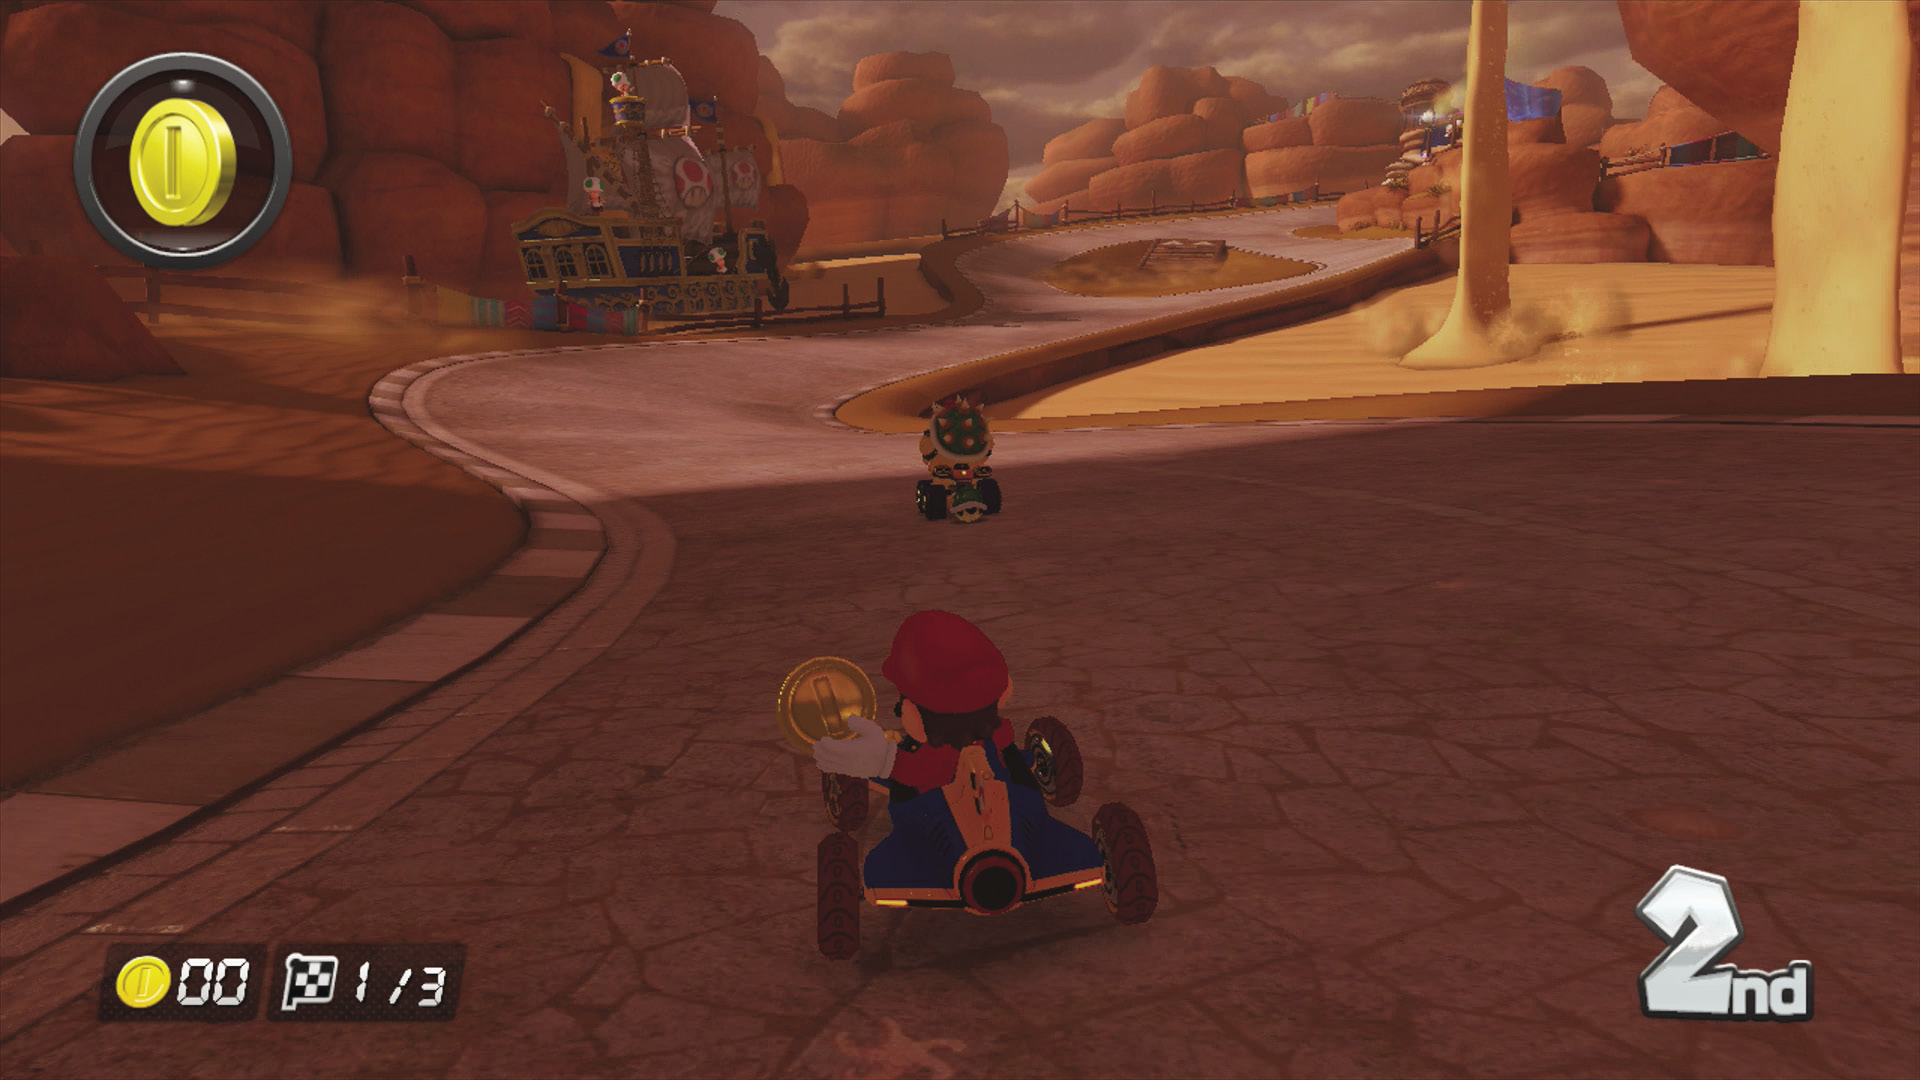
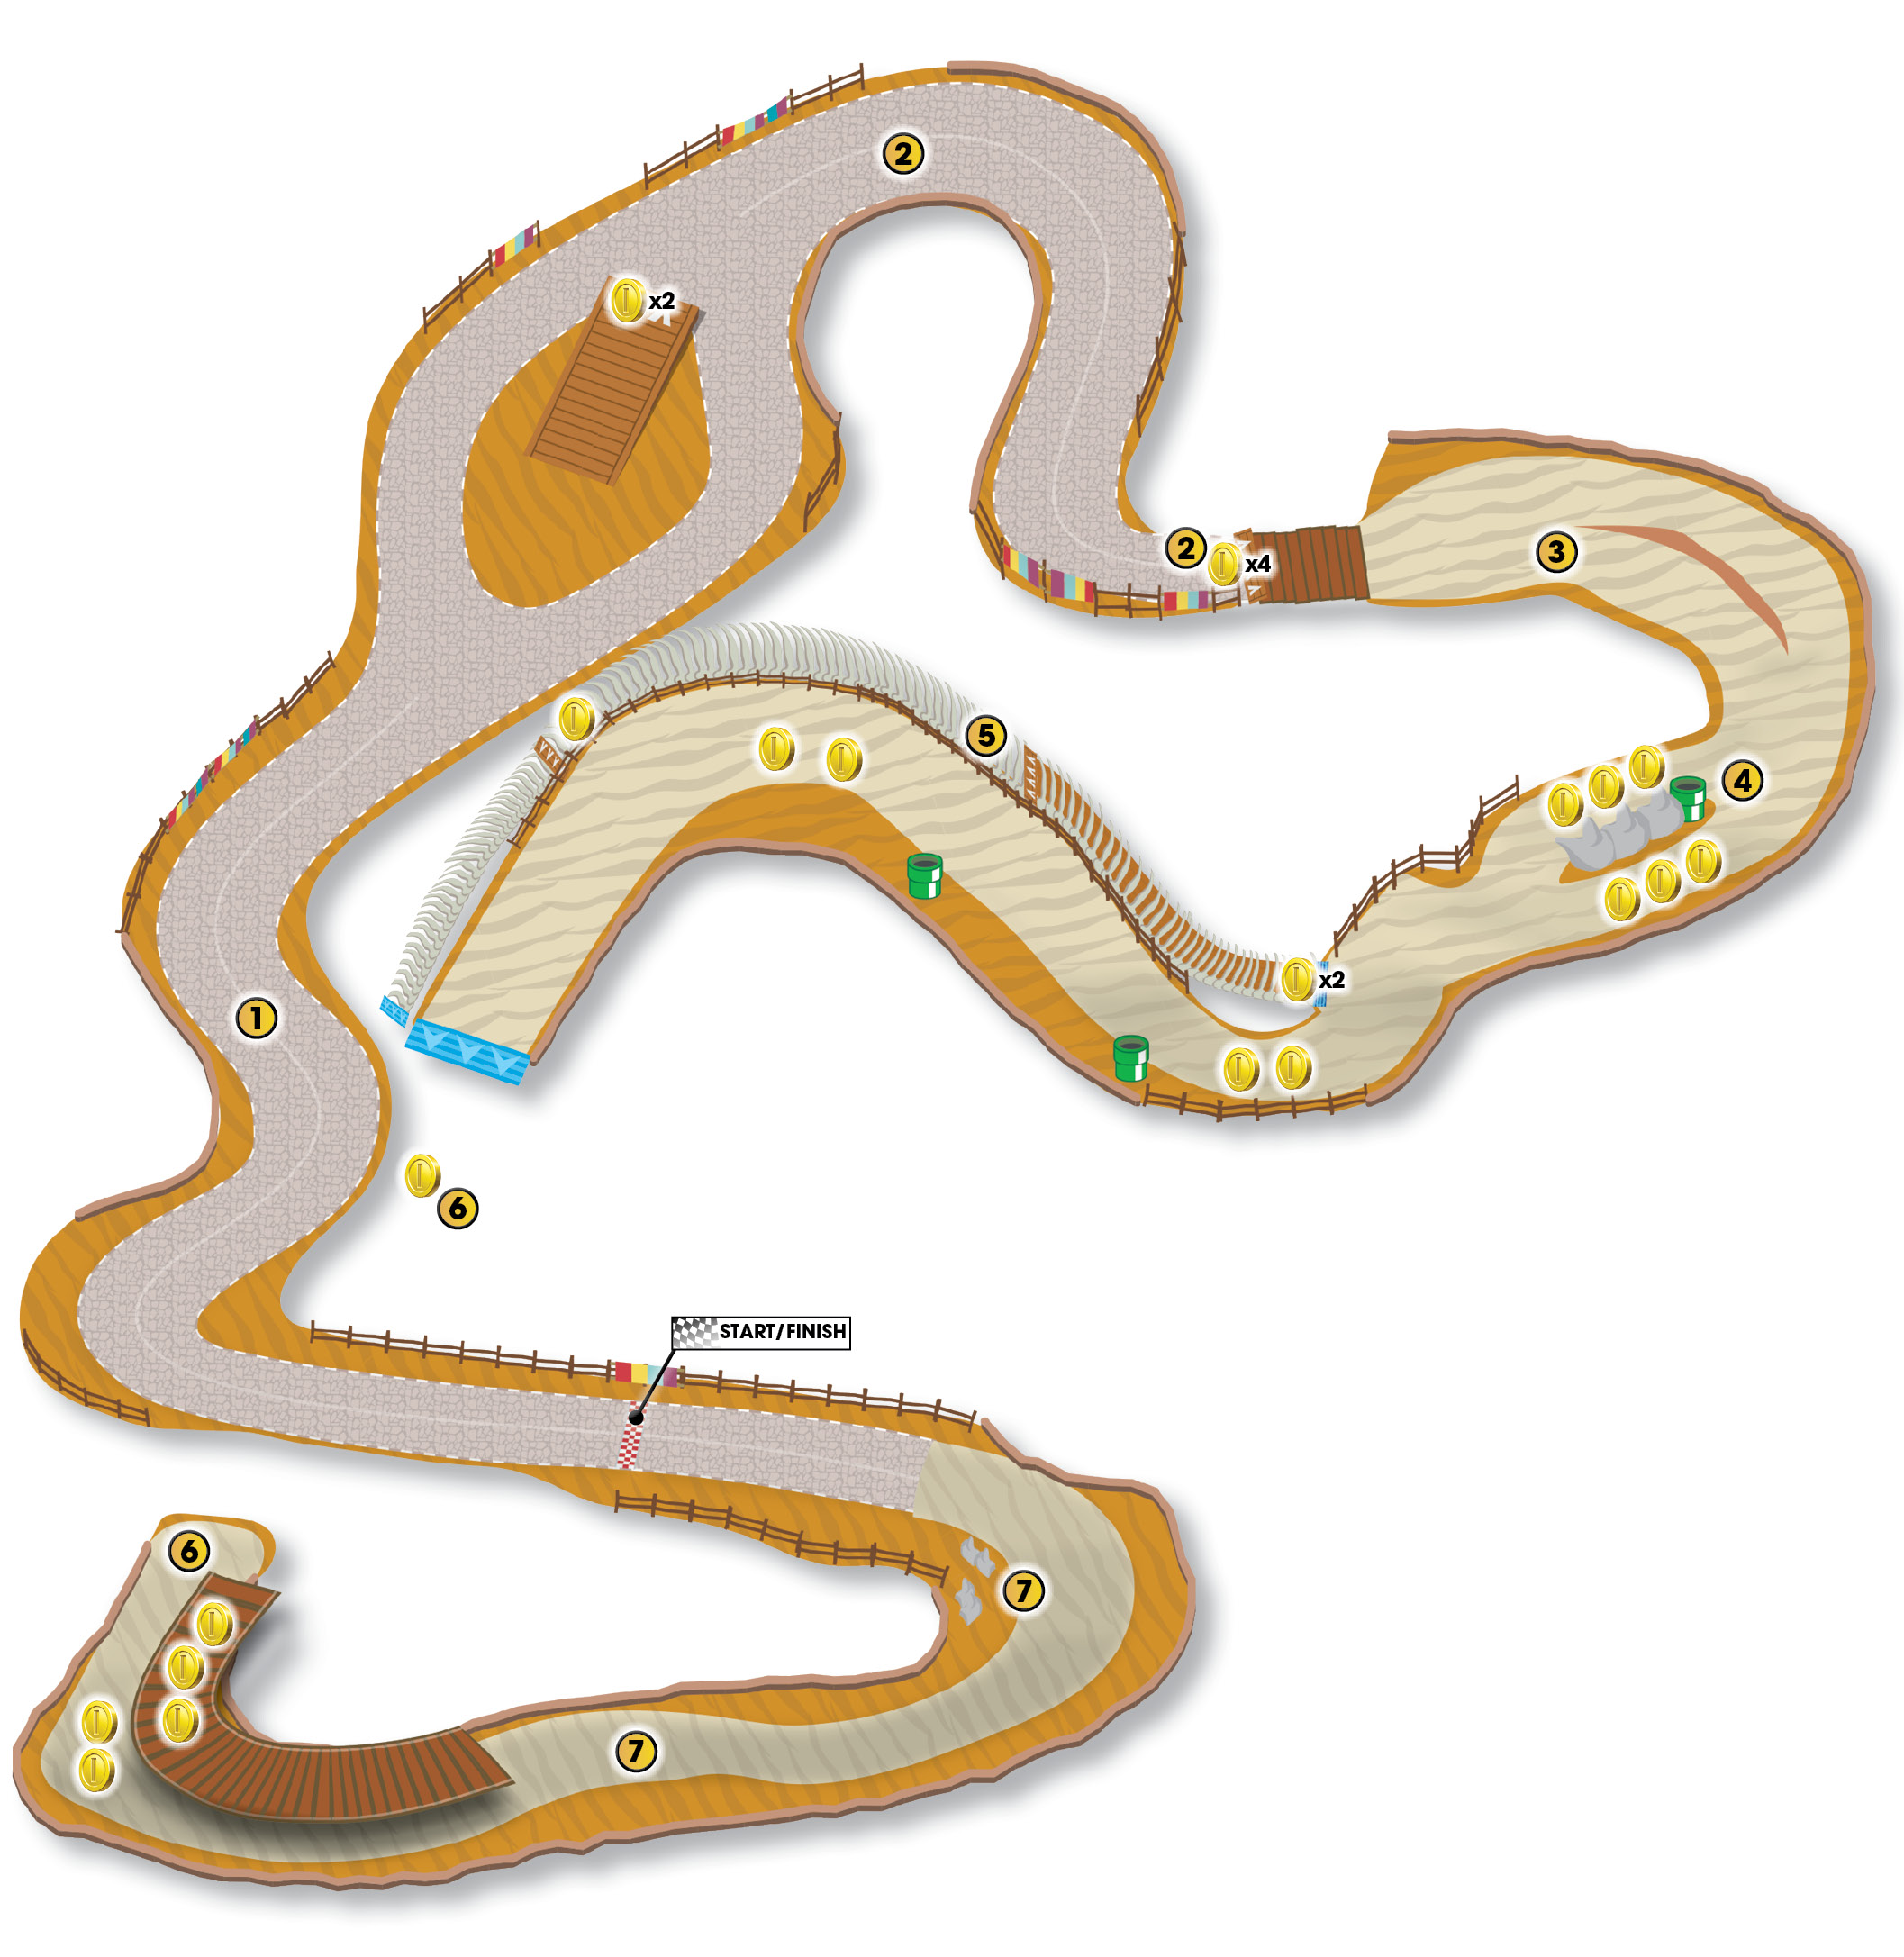
Be aggressive in these opening turns and go for multiple Mini-Turbos. If you’re lucky enough to have started at or near the front of the grid, you can reach Item Boxes early to deny at least one or two racers valuable weapons. Spectators in sandships will toss Coins onto the track, so be sure to collect the Coins if you’re out in front!
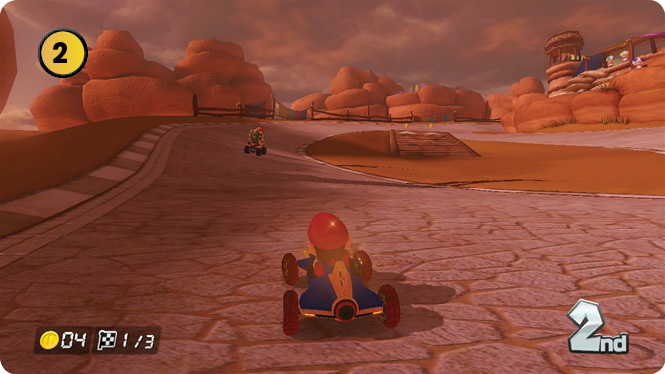
The patch of sand at the center of this oval can be blasted over with a Mushroom. Be sure to Jump Boost off the ramp at the end of the sand!
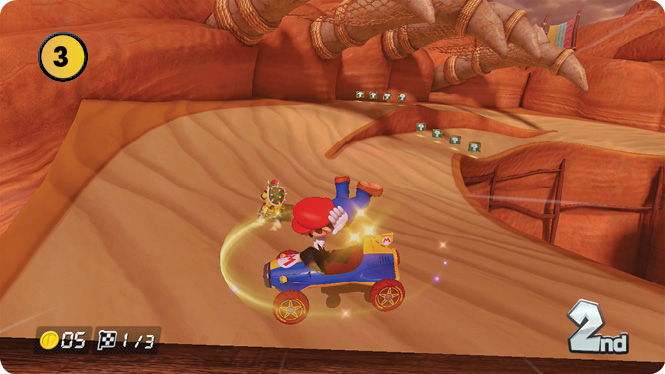
After crossing the bridge, you can choose a lower road or an elevated road. In both Time Trials and the Grand Prix, there’s not much call to take the higher road unless the lower route is rendered completely unsafe by Bananas.
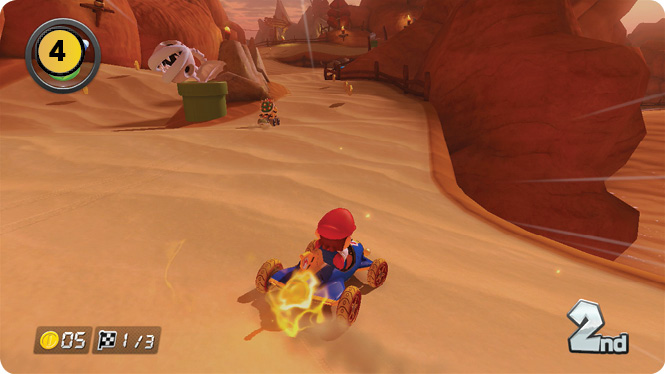
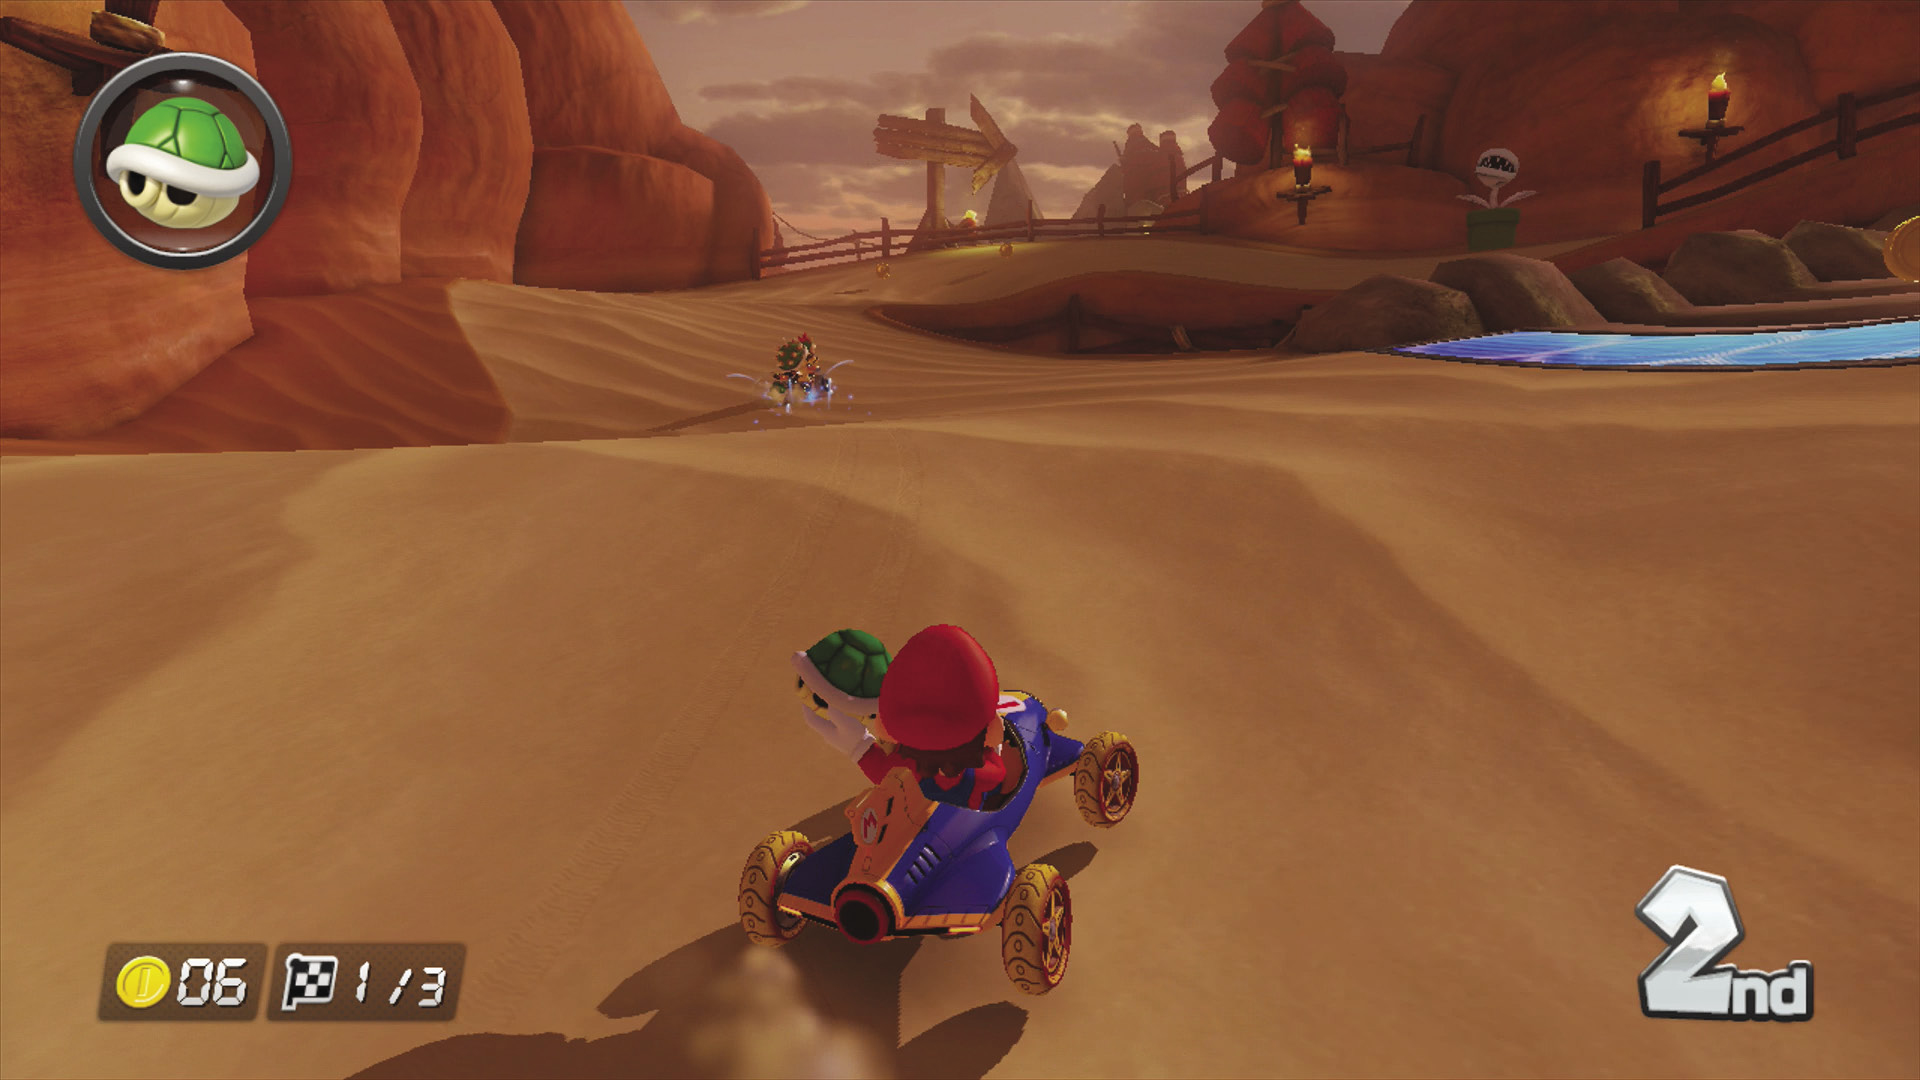
A split in the road protected by a Bone Piranha Plant leads directly to the major decision point of the race. On the right side of the track behind the Piranha Plant you can see an antigravity panel that will take you on one route, while passing that ramp and following the main road leads you to another section of the course.
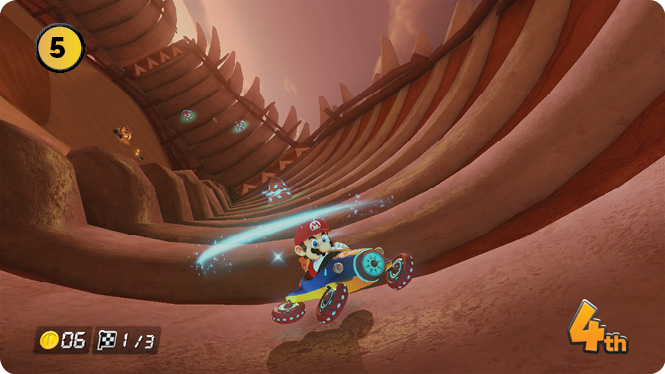
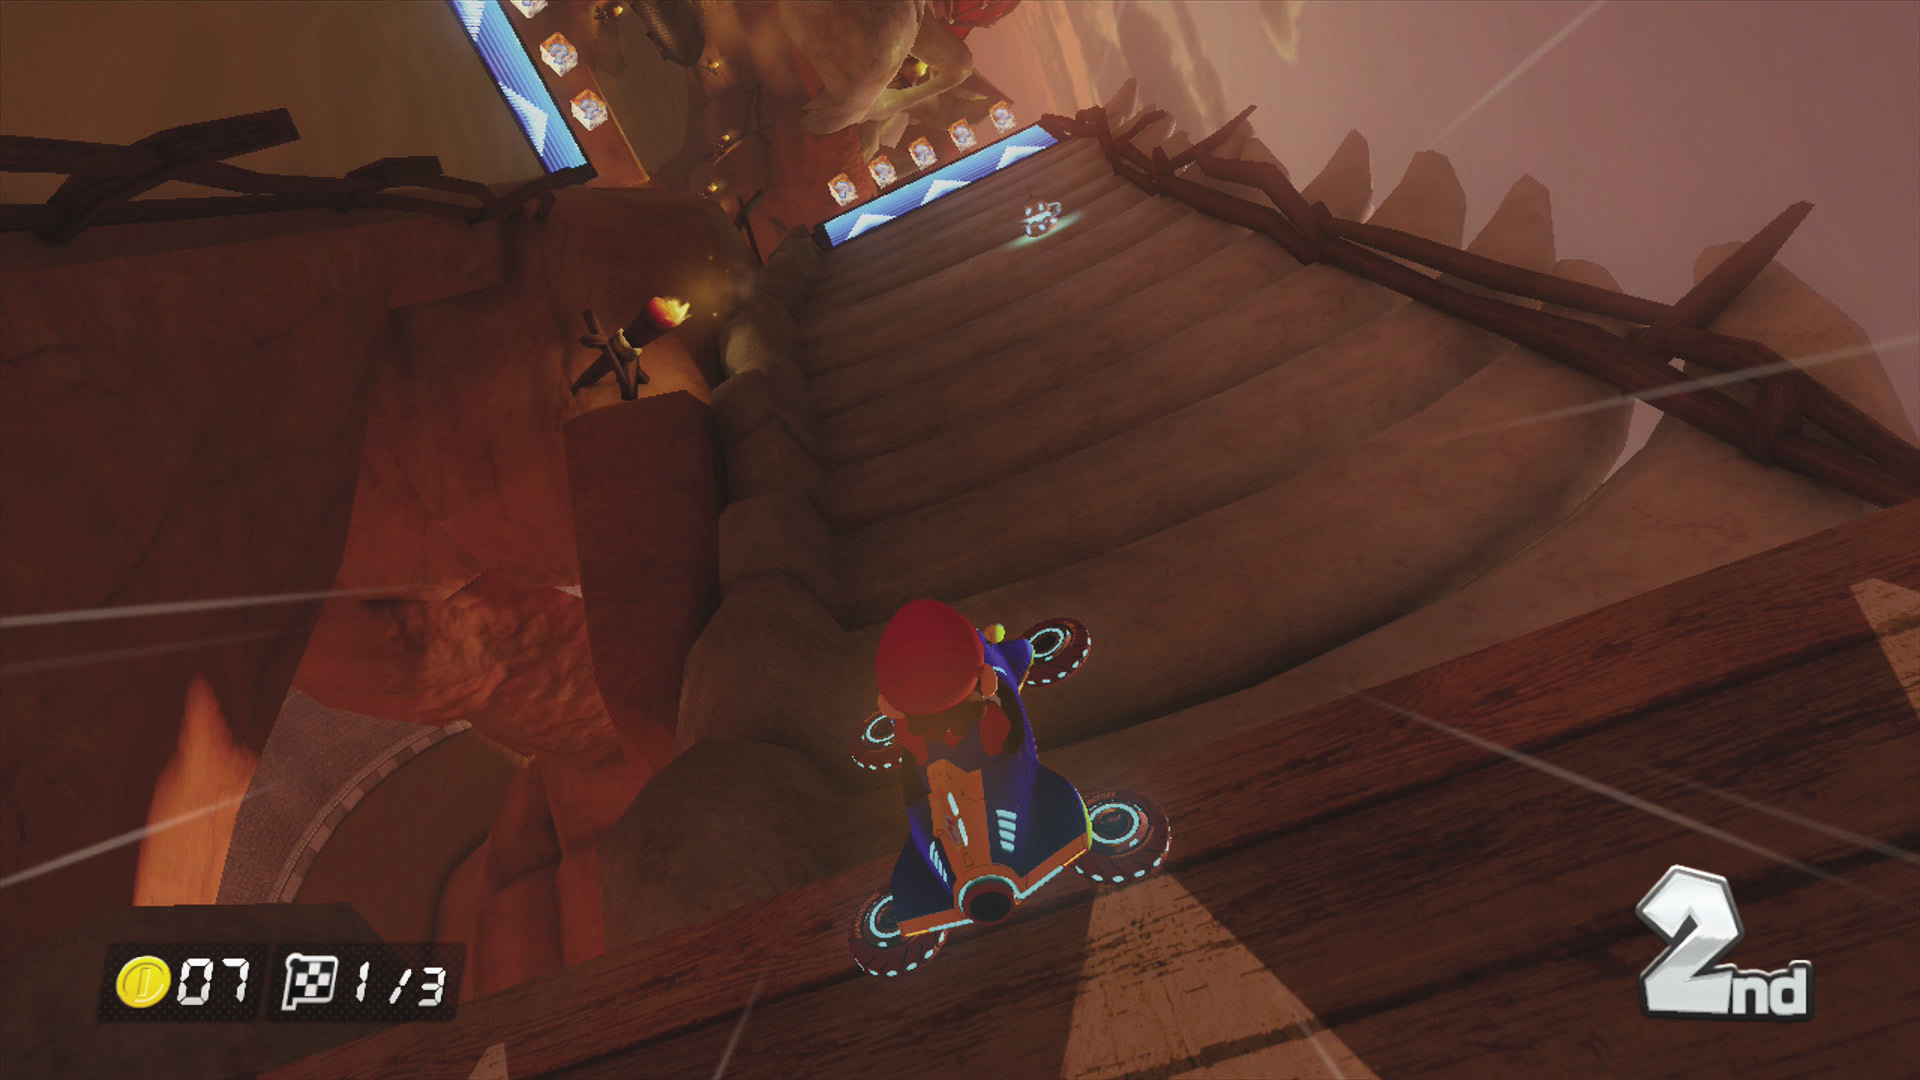
Taking the antigravity panel puts you on a bone road filled with Spin Boost pillars. Take advantage of the speed boosts they can provide, and don’t miss scoring Jump Boosts off the ramps here. Eventually a launch ramp will send you flying over a chasm.
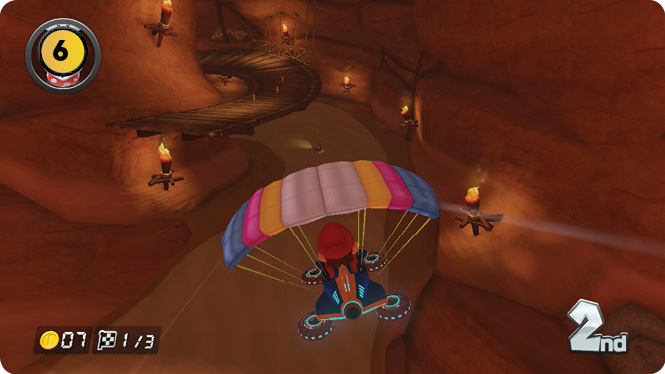
The lower route is not quite as fast as the bone road, and is guarded by multiple Bone Piranha Plants. However, with the use of a sand geyser in the chasm following this section of the course, you’re in better position to reach a more advantageous route.
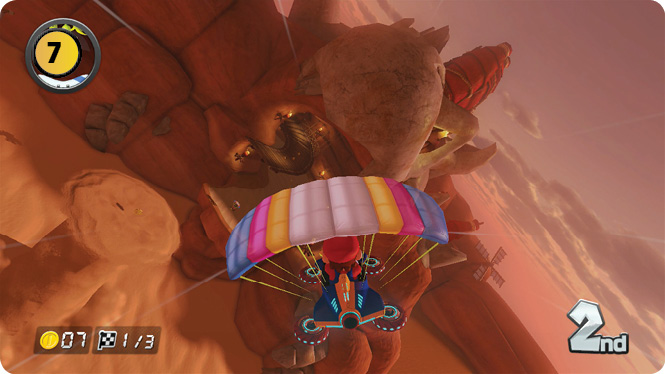
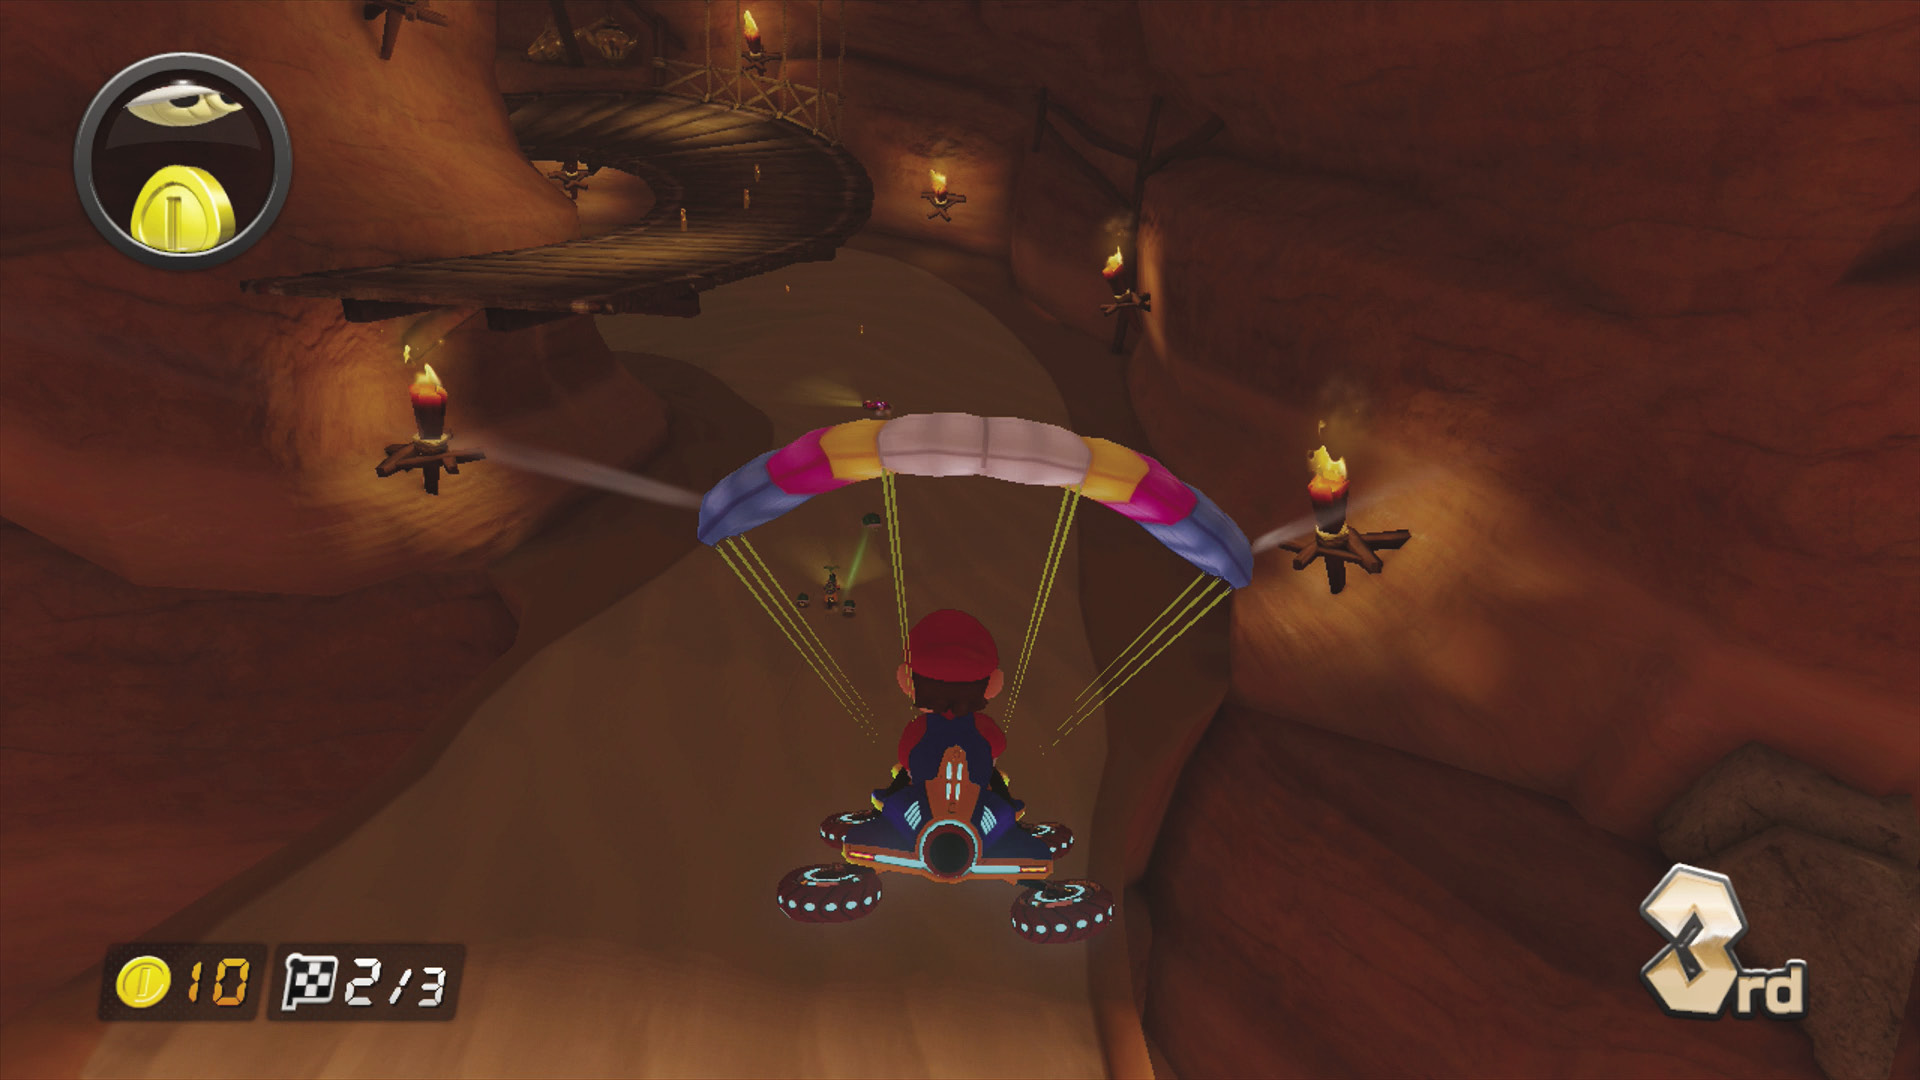
Beyond the chasm is a cave with two routes to drive. The first and most obvious route is the one on the ground level. If you followed the bone road, or get a boost off the sand geyser that spouts at the center of the chasm, you can glide up to the upper route.
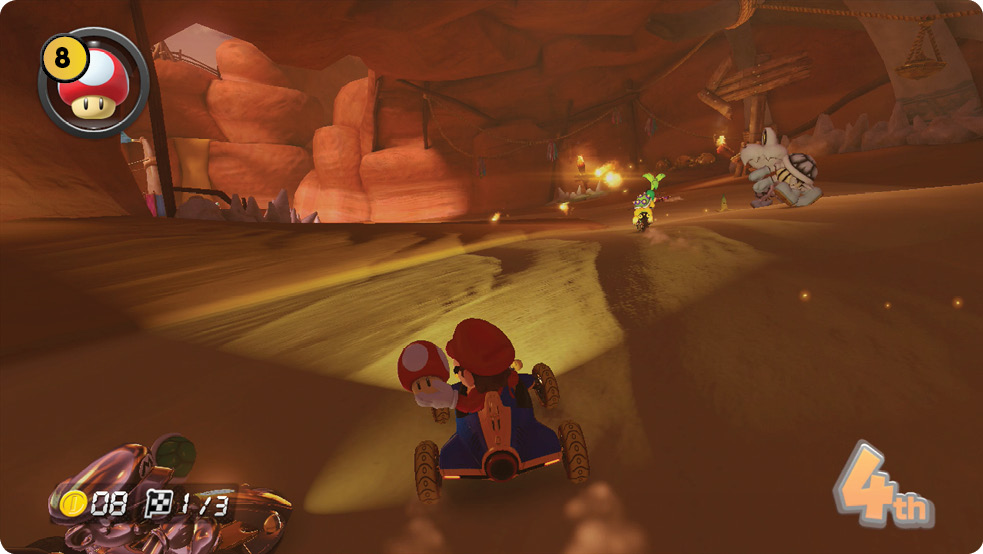
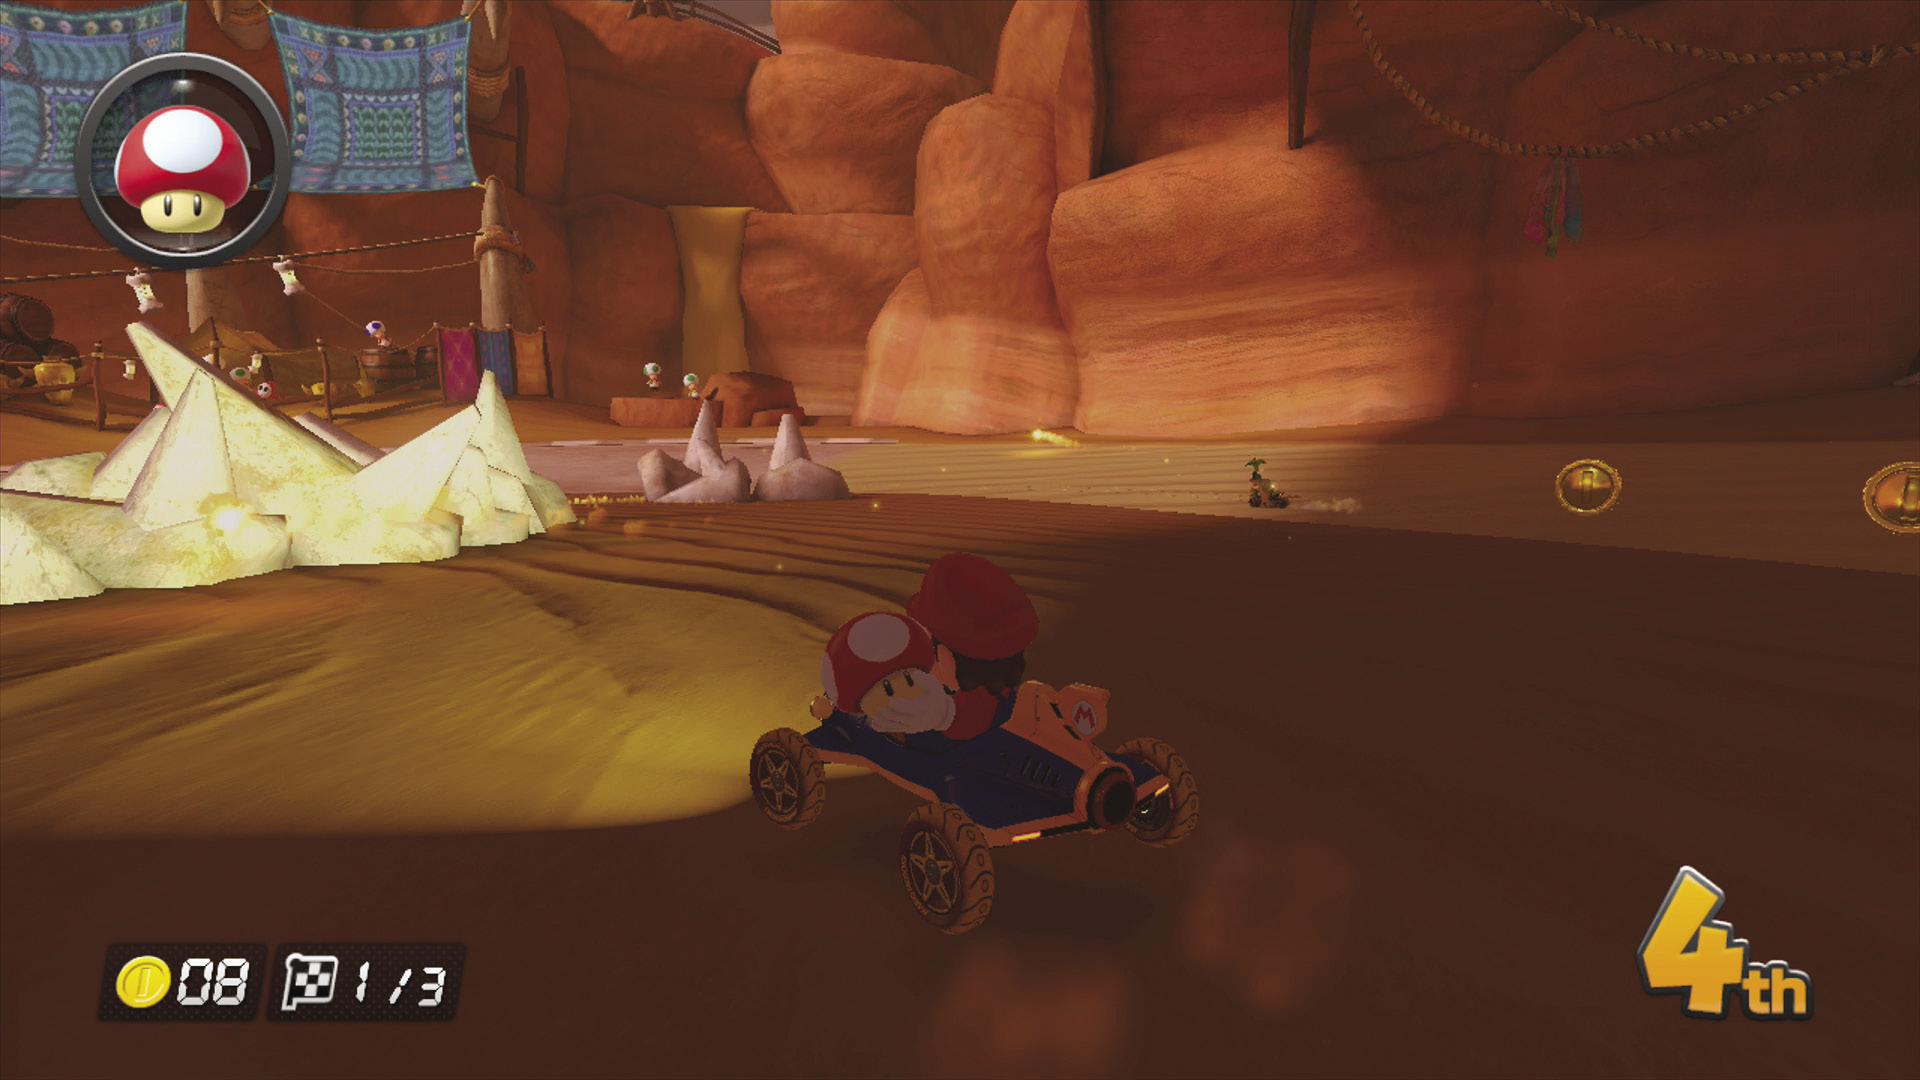
The lower route in the cave is protected by a trio of Dry Bones. If you have a Mushroom, you can bypass the Dry Bones and a good chunk of the last turn towards the finish by rocketing off road to the left of the Dry Bones, aiming towards the finish line. Watch out for obstacles off road that can slow or stop you when using this shortcut!
Time Trial Mode
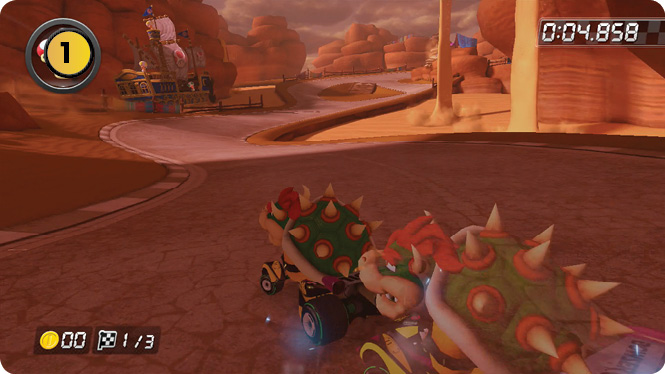
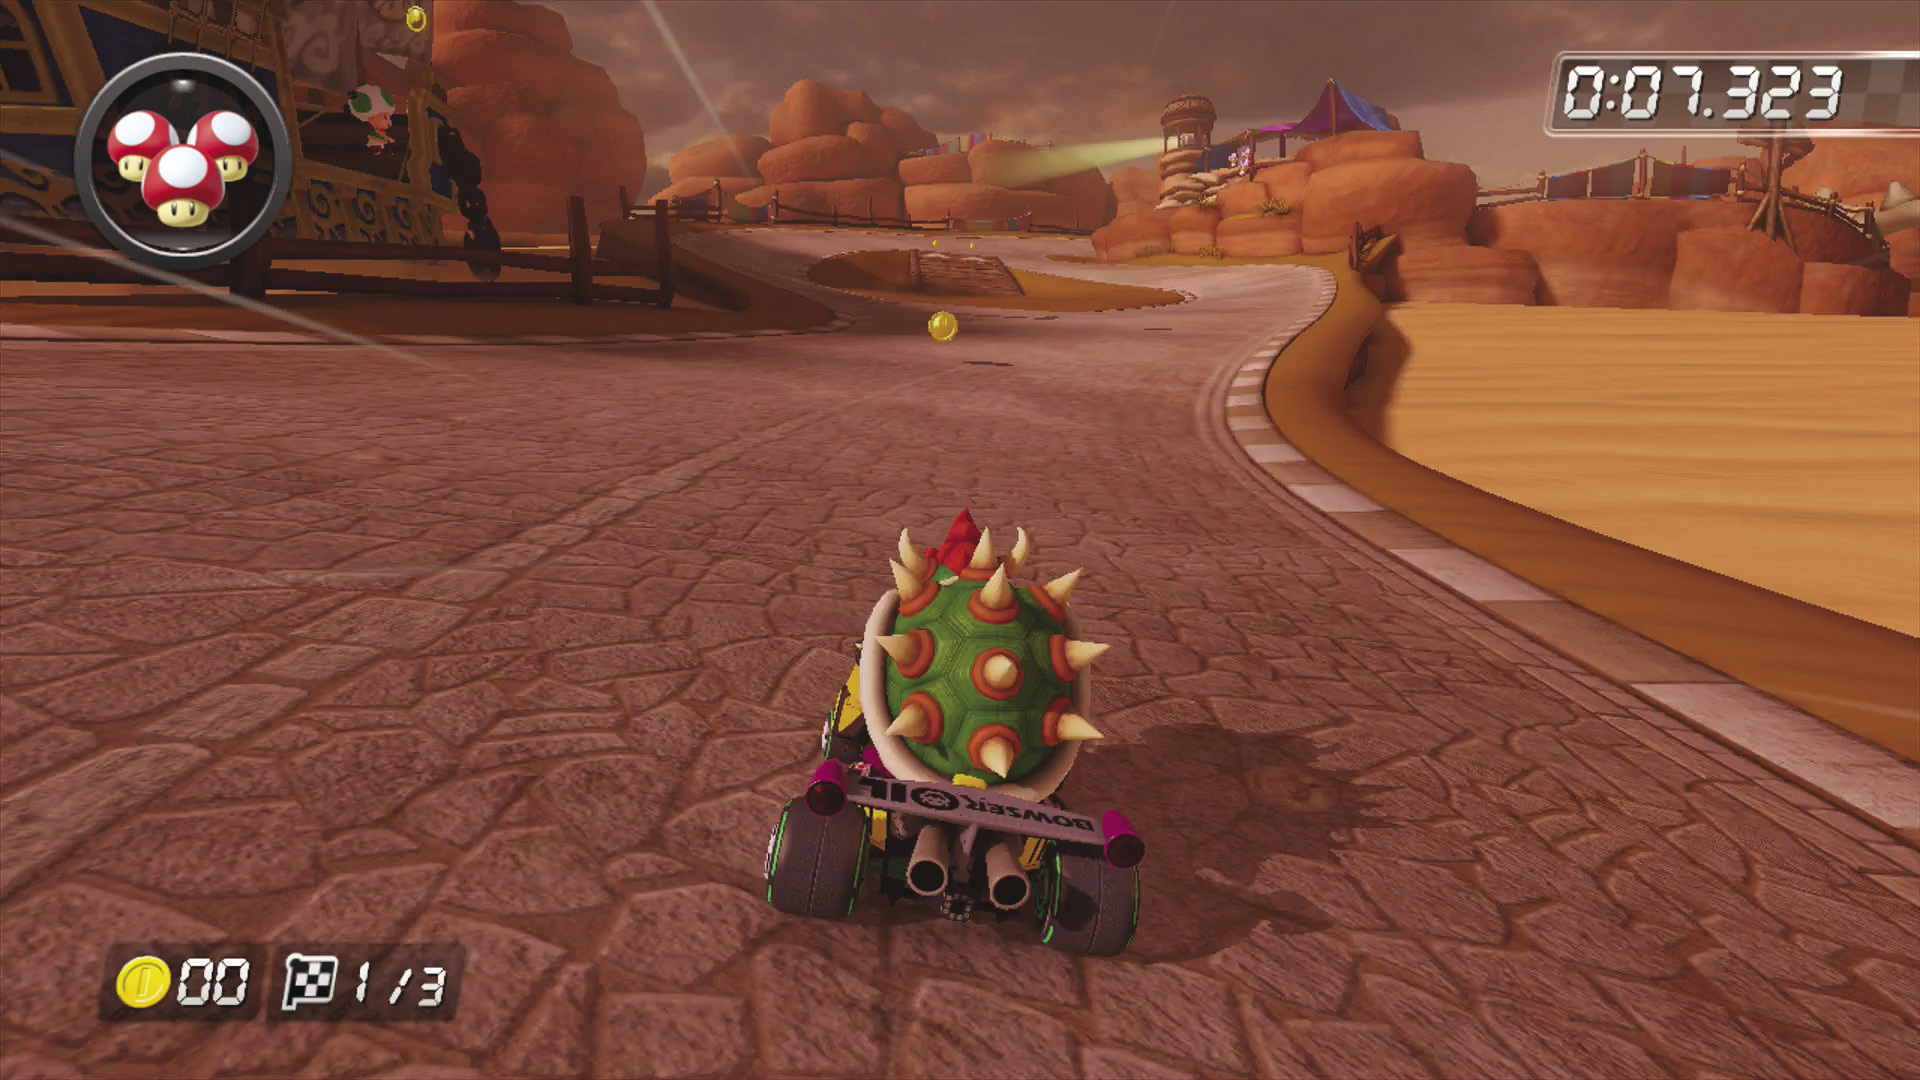
Drift and Mini-Turbo through the opening S-curves. As you approach the split in the track on Lap 1, airship passengers will toss three Coins onto the approach to the left track. On Lap 2, three more Coins will be tossed onto the approach to the right track.
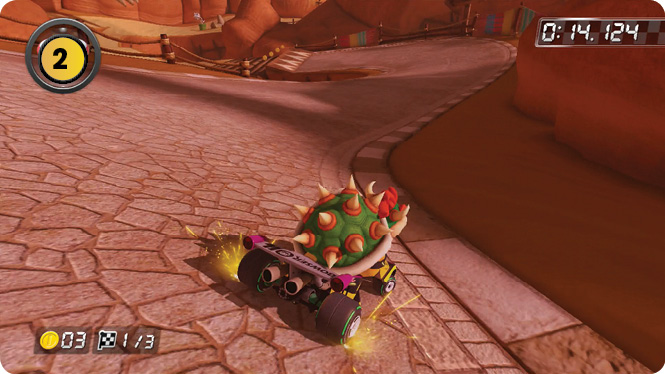
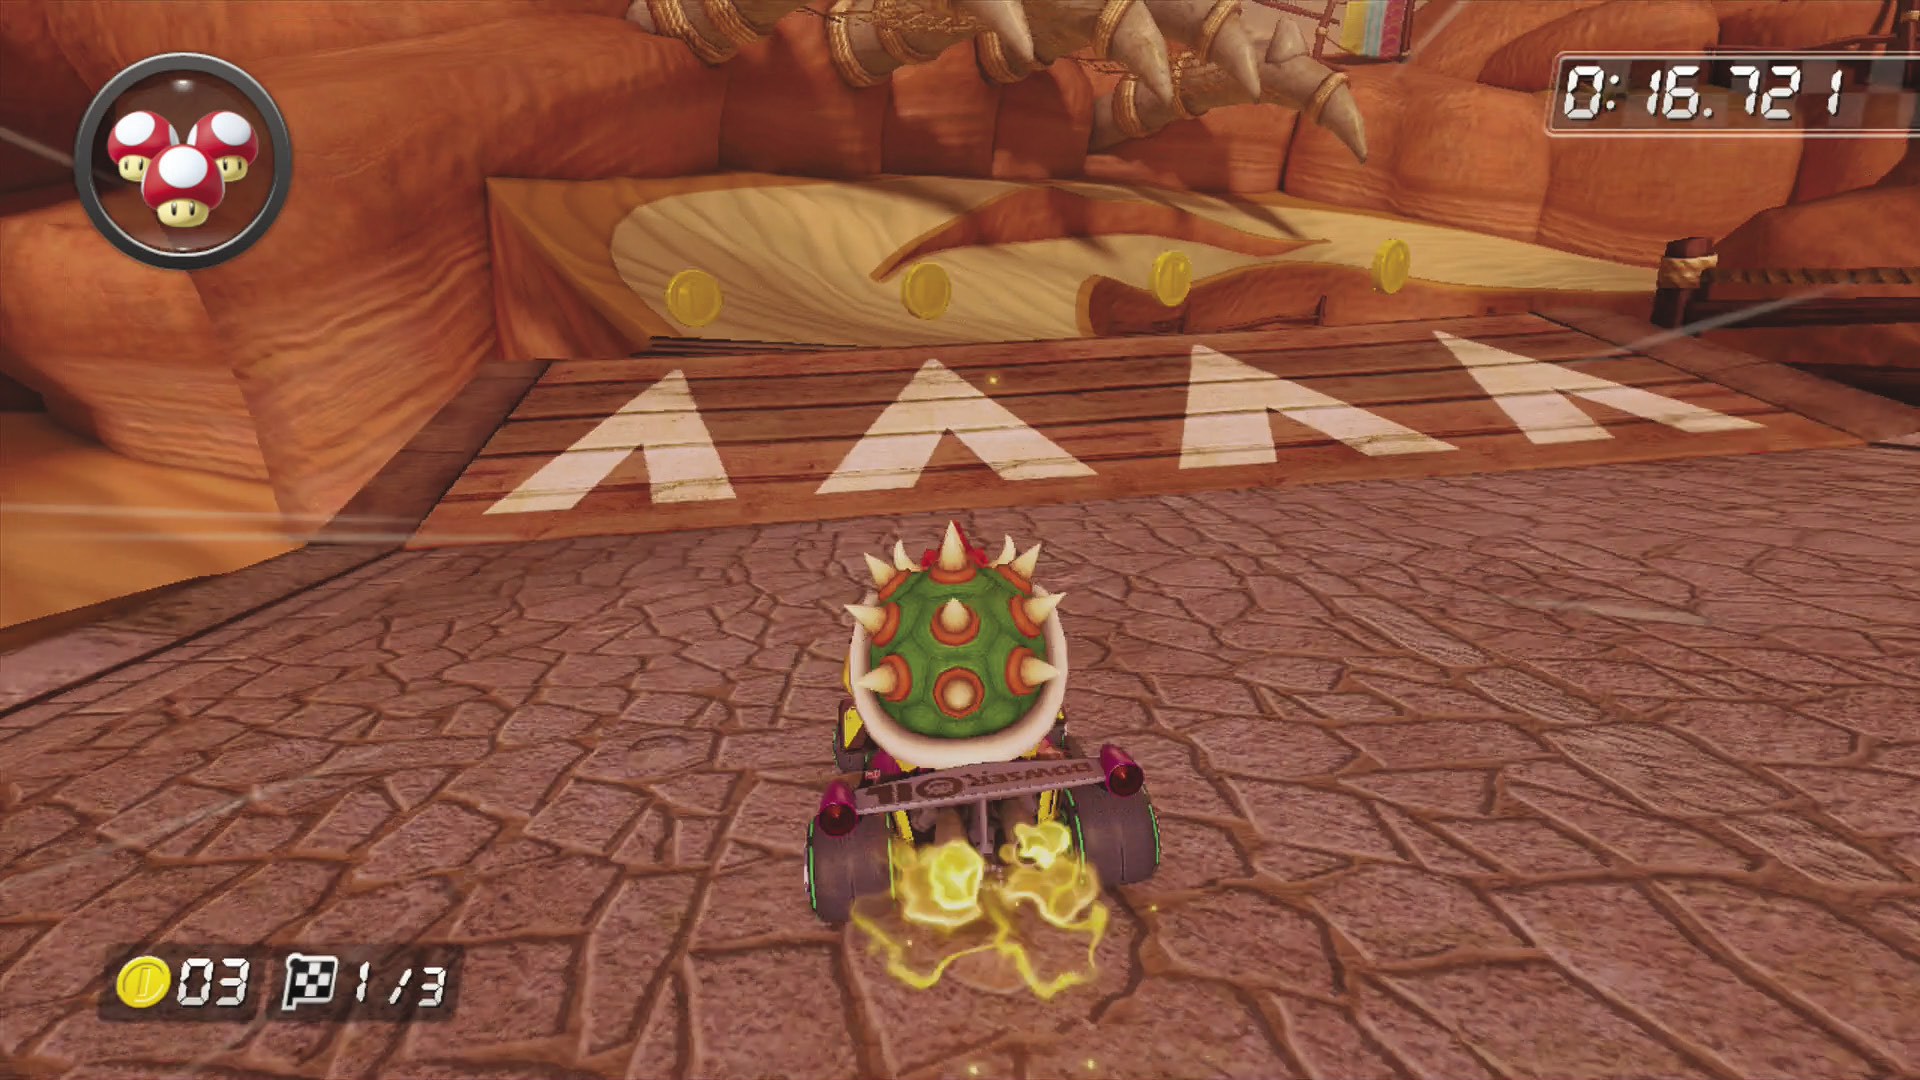
After the split tracks rejoin, you have a hard right turn, followed by hard left. The left leads into a ramp you can Jump Boost from over a bridge. You can collect at least one Coin from this ramp, through we recommend sticking to the right side of the bridge jump if possible, to better line you up for the next turn.
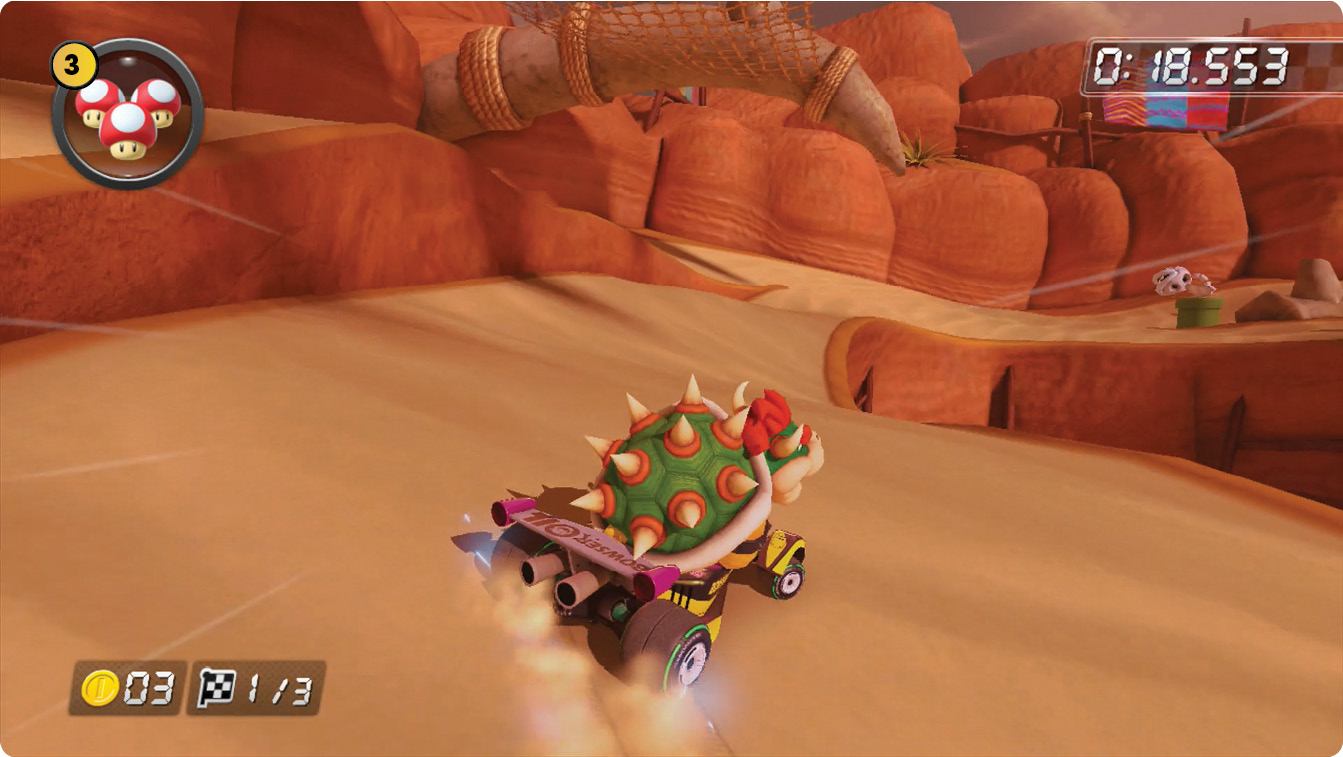
After the bridge jump, the track splits again into upper and lower routes. Take the lower route and stick to the inside of the turn as best you can!
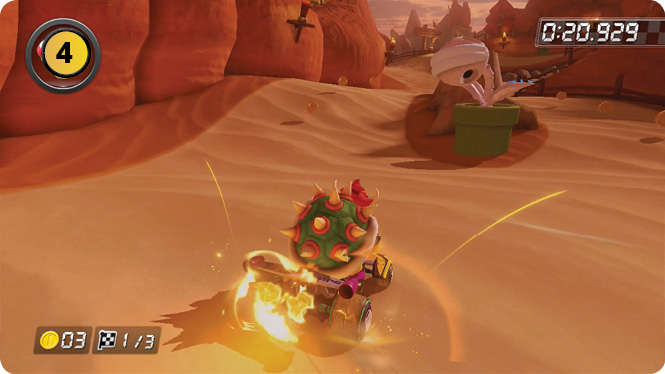
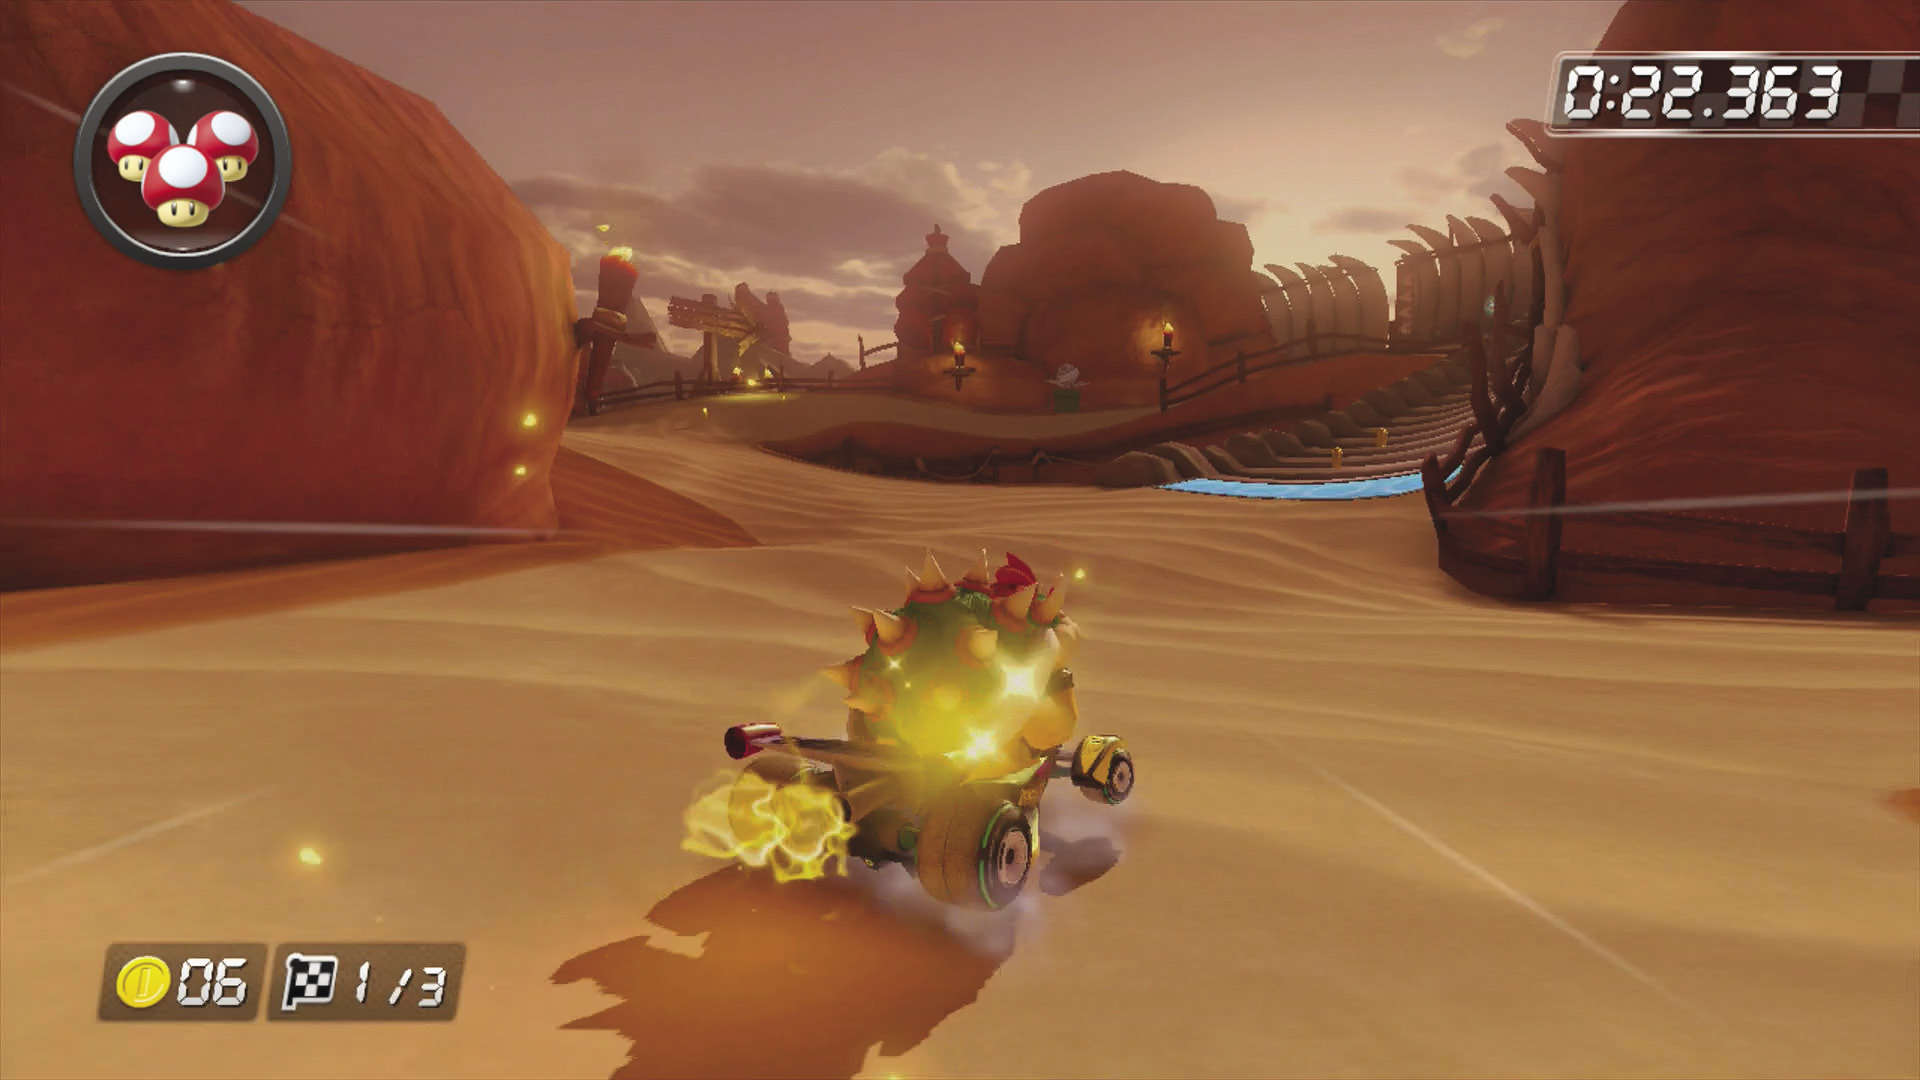
The track splits again shortly after the first split, this time with a choice to go left or right around a Bone Piranha Plant, each path with three Coins to collect. The inside route is slightly faster, but it is much harder to make the right turn onto the antigravity panel for the next course section. The outside route works best both for collecting Coins and aligning for the antigravity panel.
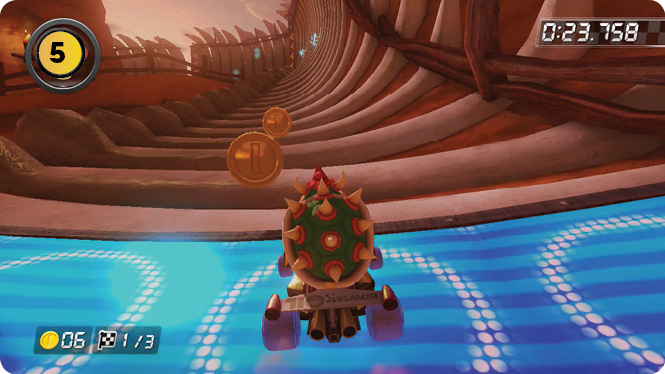
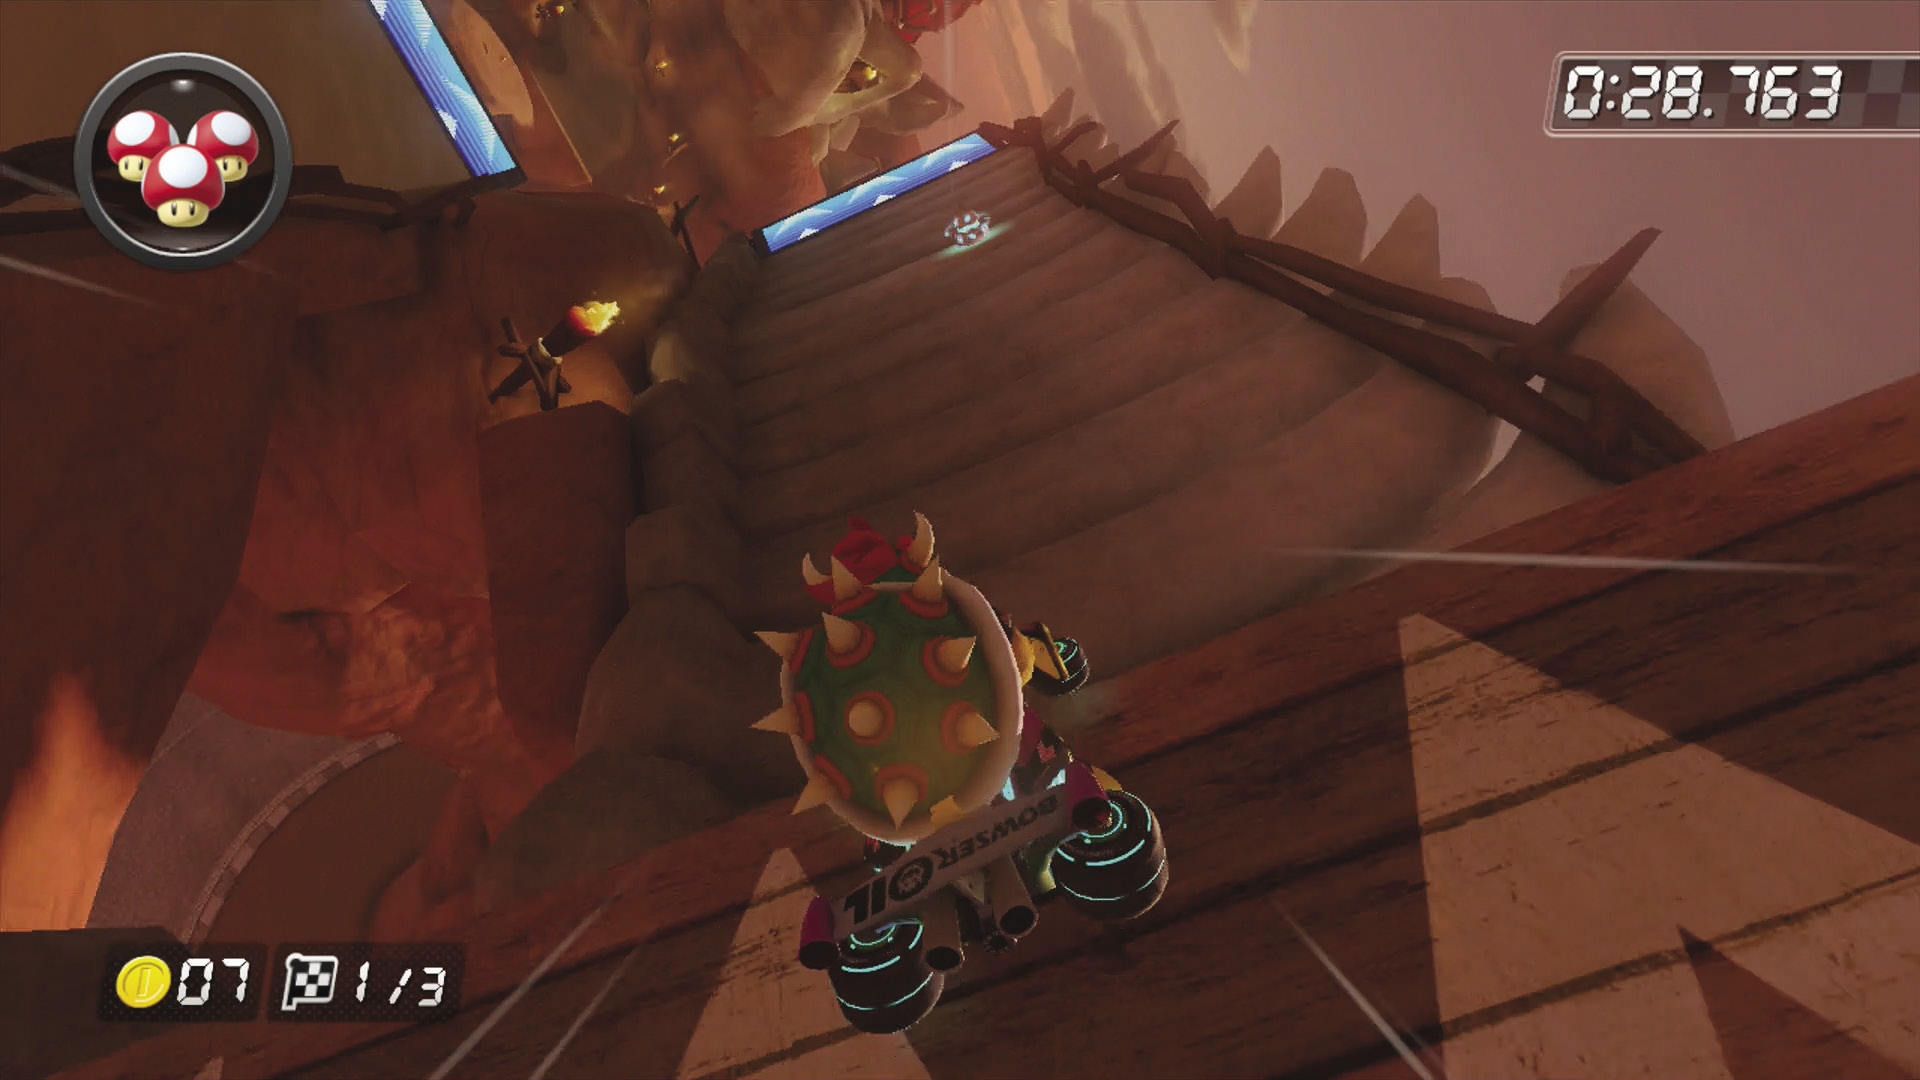
The next track split isn’t even an option: the antigravity panel will take you on a section of the course with multiple Spin Boost pillars for additional speed boosts. If you stick to the center of this route, you can collect three Coins and hit most of the pillars with the sides of your vehicle.
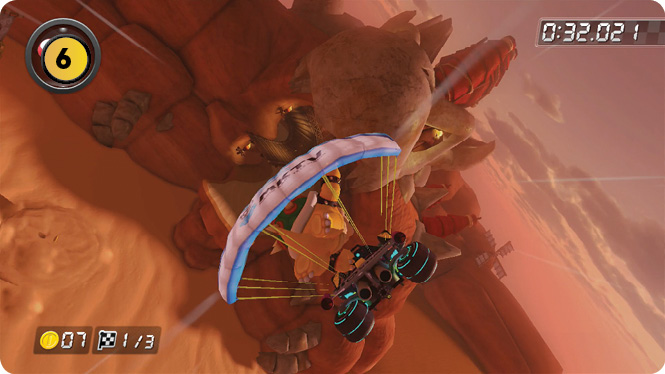
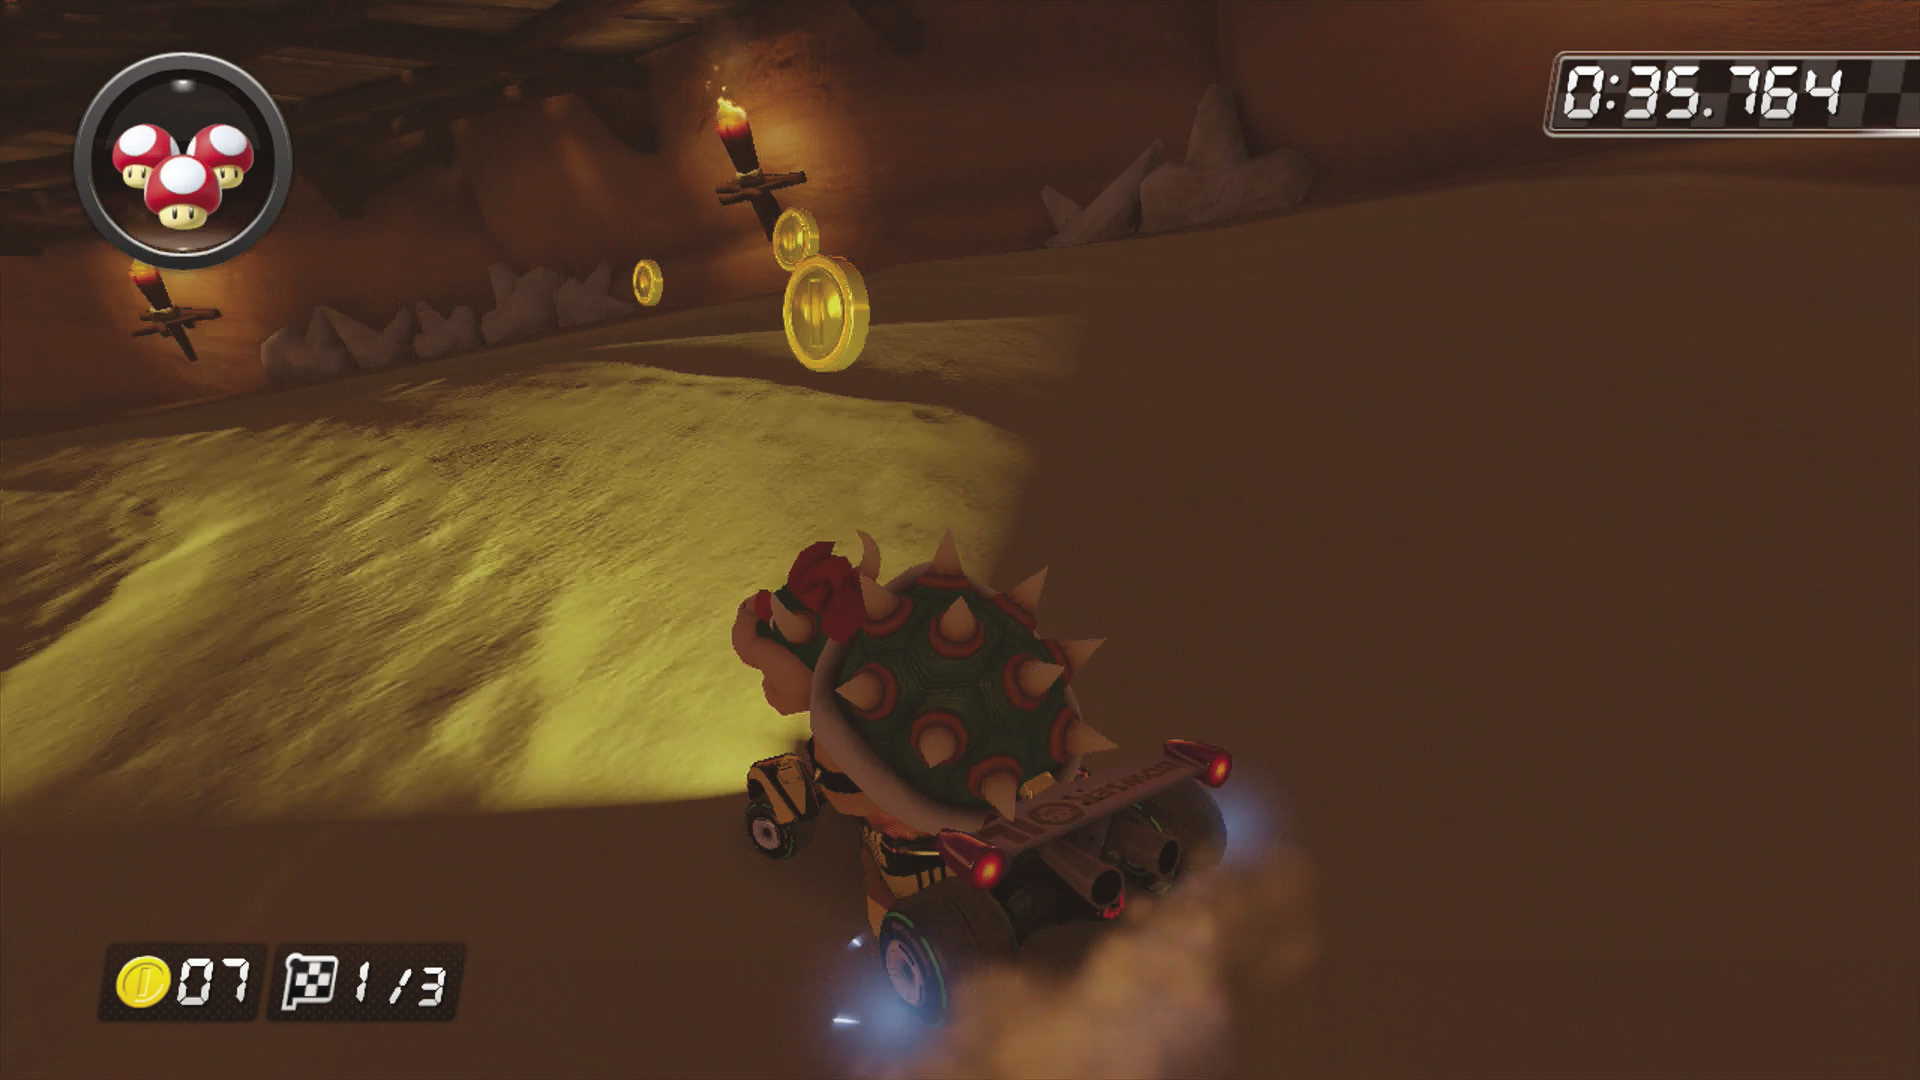
As you fly across the chasm from your wall ride, you can still aim to reach the upper route if you launch from the far right side of the glide ramp. The turn is much easier from there, and allows for a Jump Boost. If it looks like you’re not going to make it, dive for the lower route and get ready for a very sharp left turn.
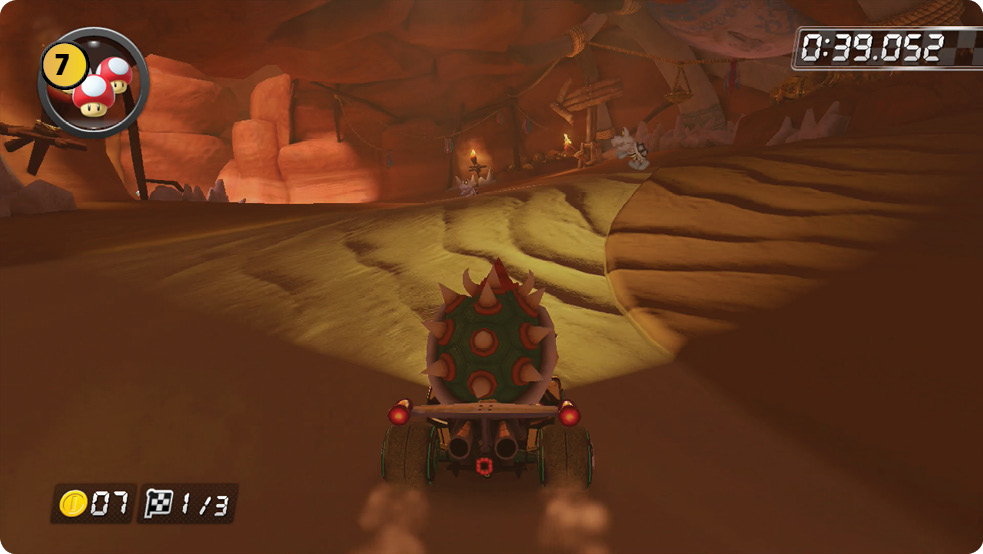
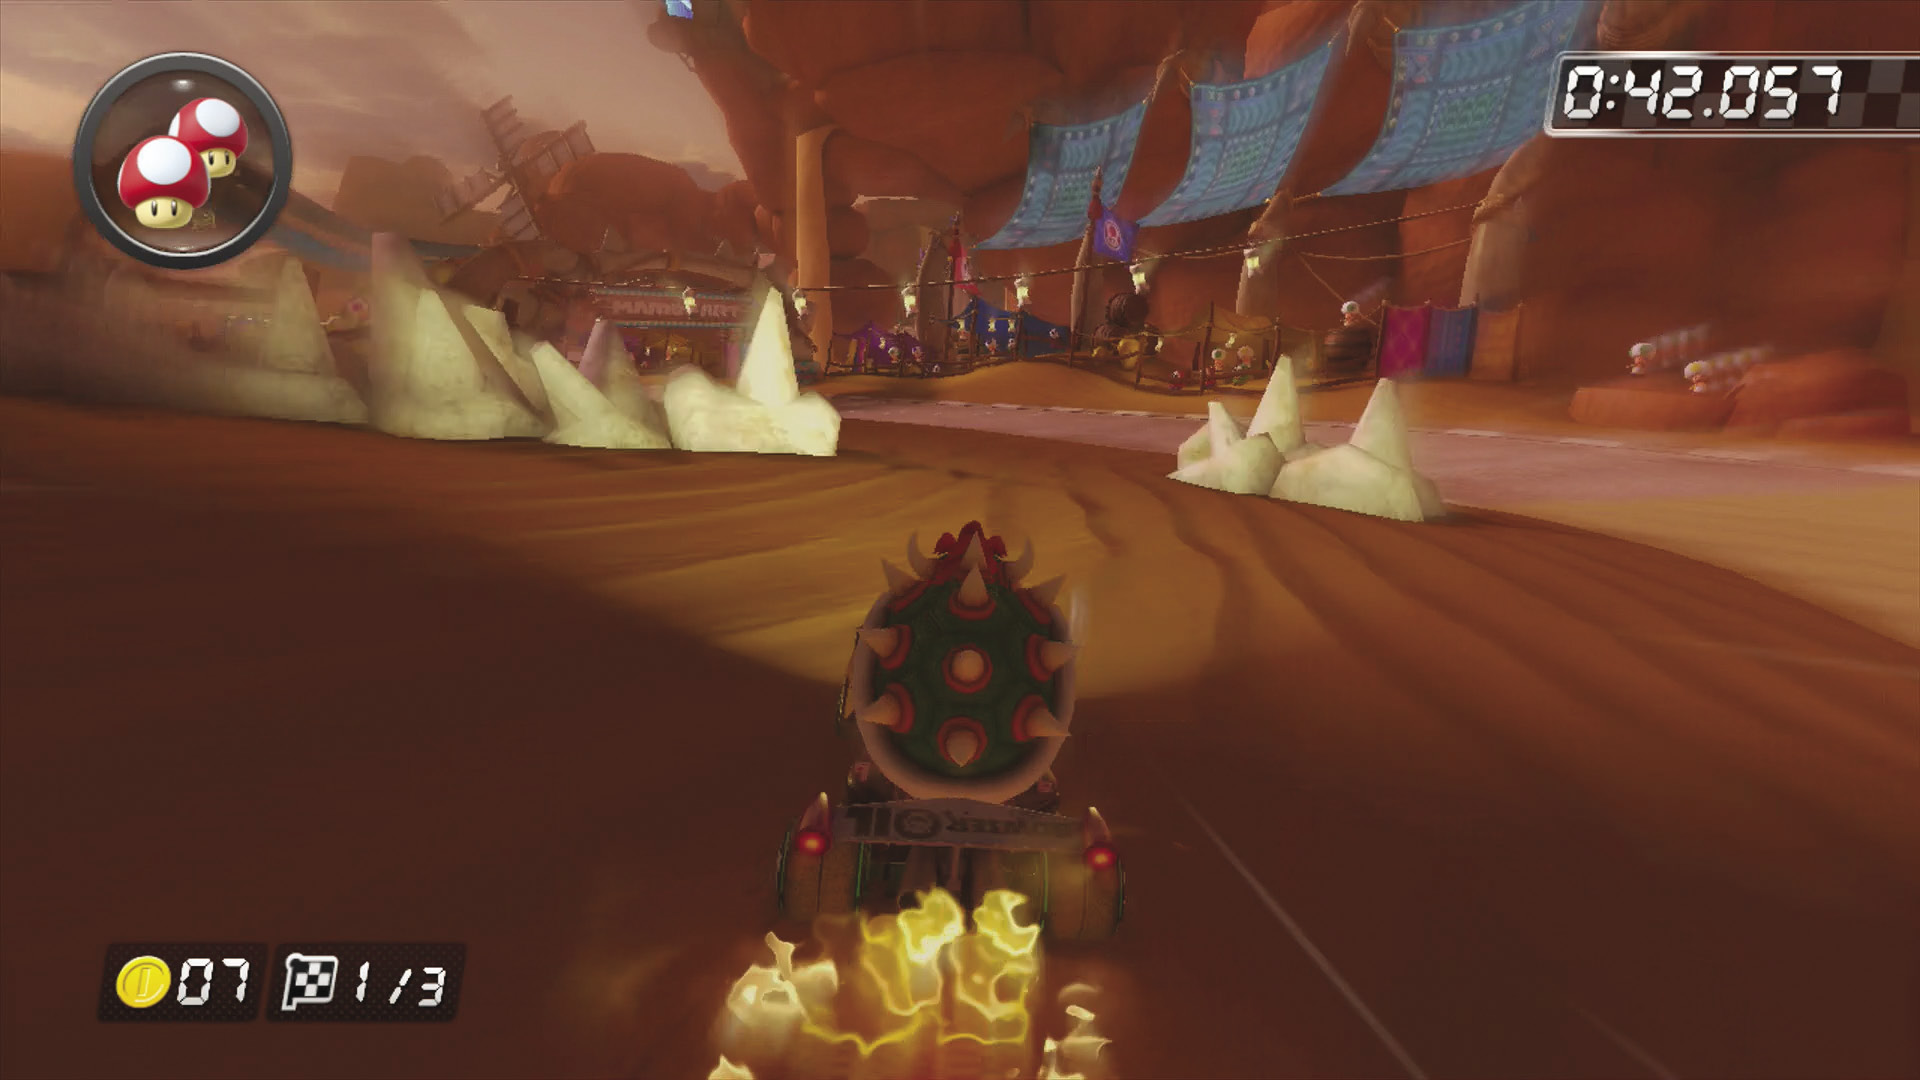
The upcoming stretch is guarded by two Dry Bones. Avoid them, and line up for this final shortcut between two bone piles to the left of the course, using a Mushroom to keep up your speed. This’ll help bypass the final turn and put you on a straighter line for the finish!
TM & © 2014 Nintendo.