
Mario Kart 8 Guide The Drivethrough Returning Classics
DS Wario Stadium
Big hills, many dash panels, and massive jumps make Wario Stadium one of the most exciting courses in the whole game, fitting for its return to the Mario Kart circuit, and a proper opener to the Leaf Cup! Racers will have to do their best to nail every leap accurately to come out on top.
Kart of Champions
Nintendo’s Best Time Trial: 2:04.685 |
|||
Player: Jeff C. M. |
|||
 |
 |
 |
 |
|
Racer: Wario |
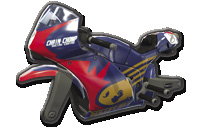
Body: Sport Bike |
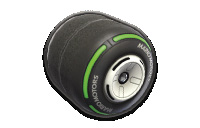
Wheels: Slick |
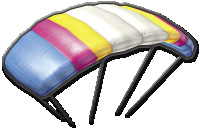
Glider: Parafoil |
Grand Prix
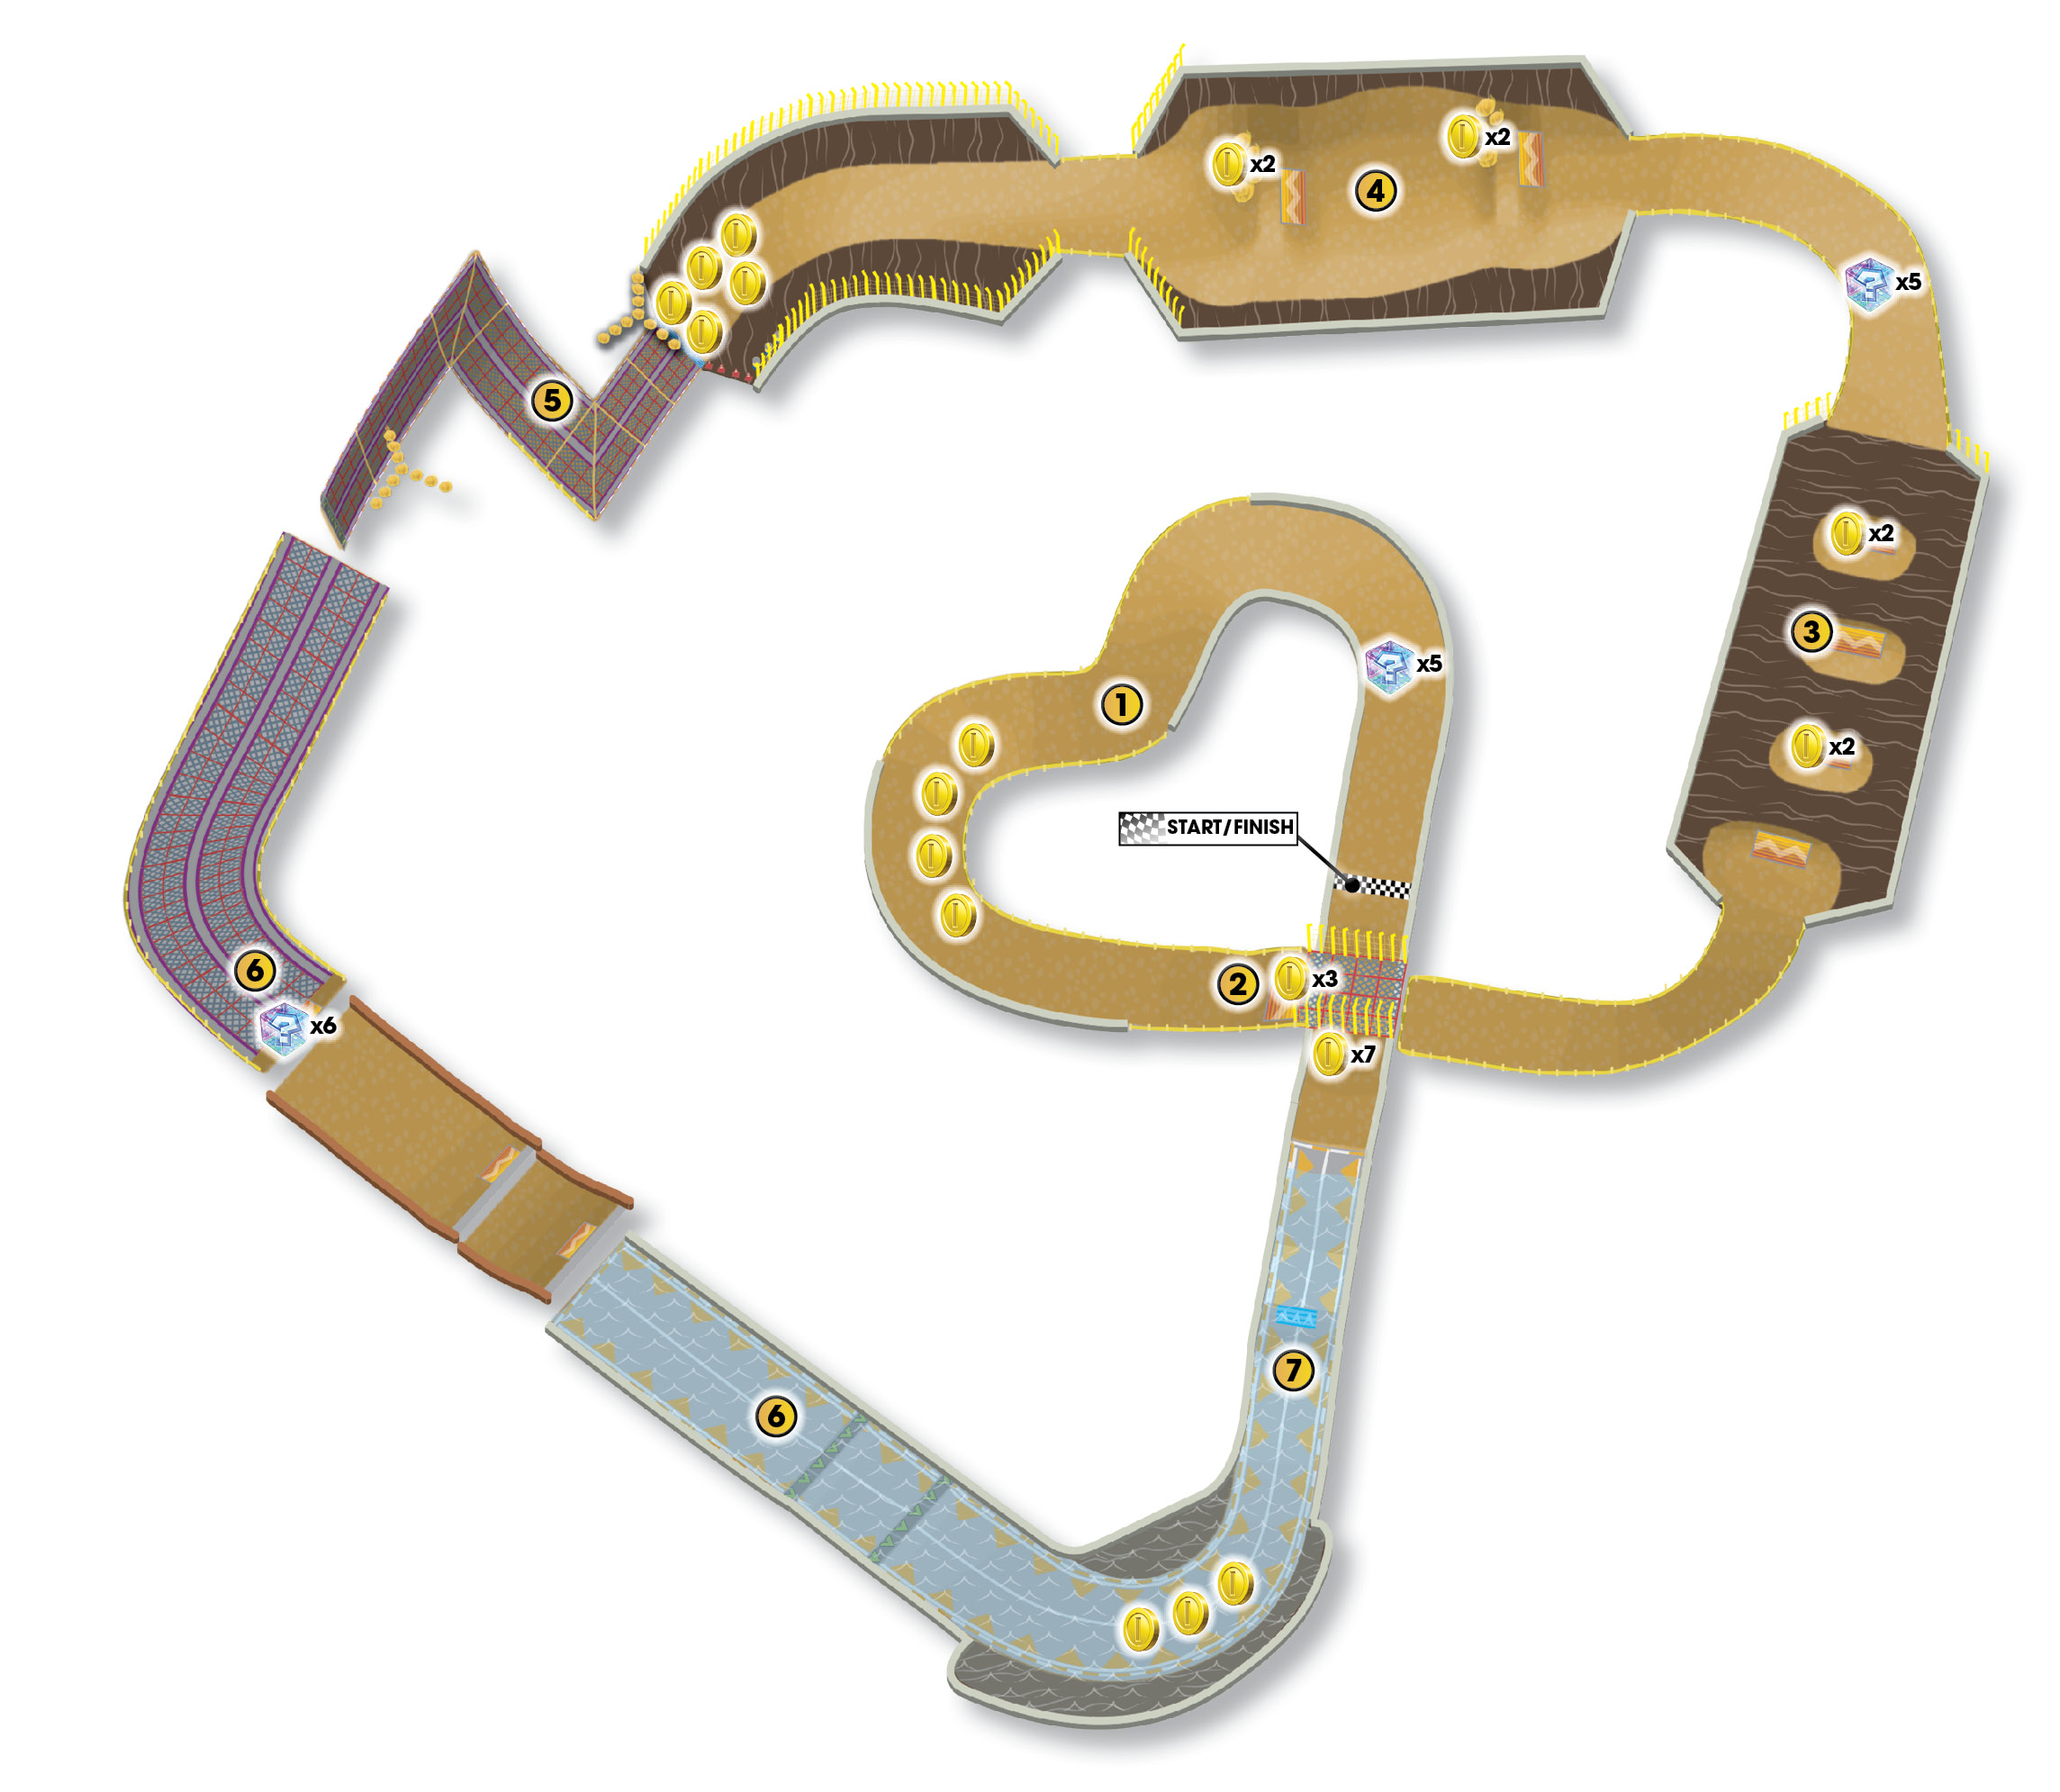
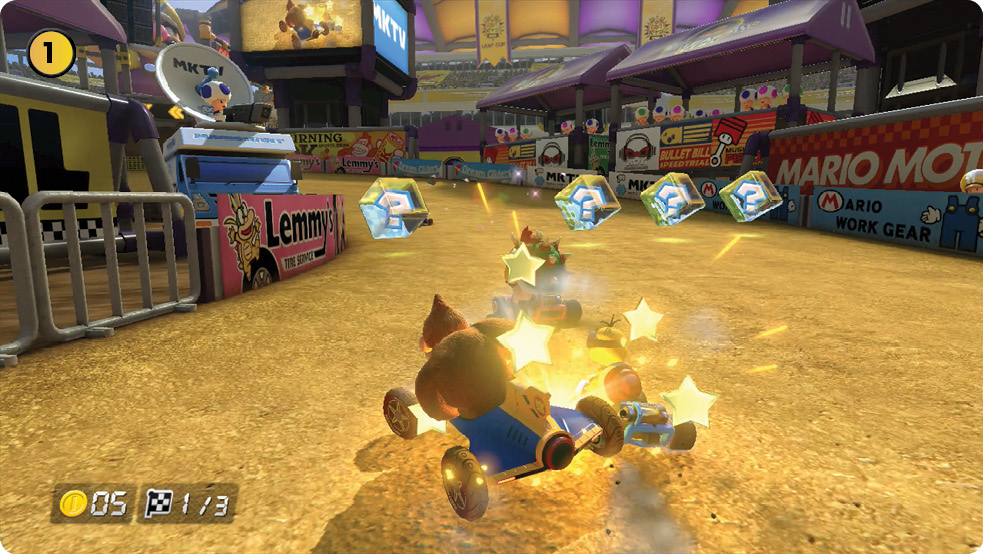
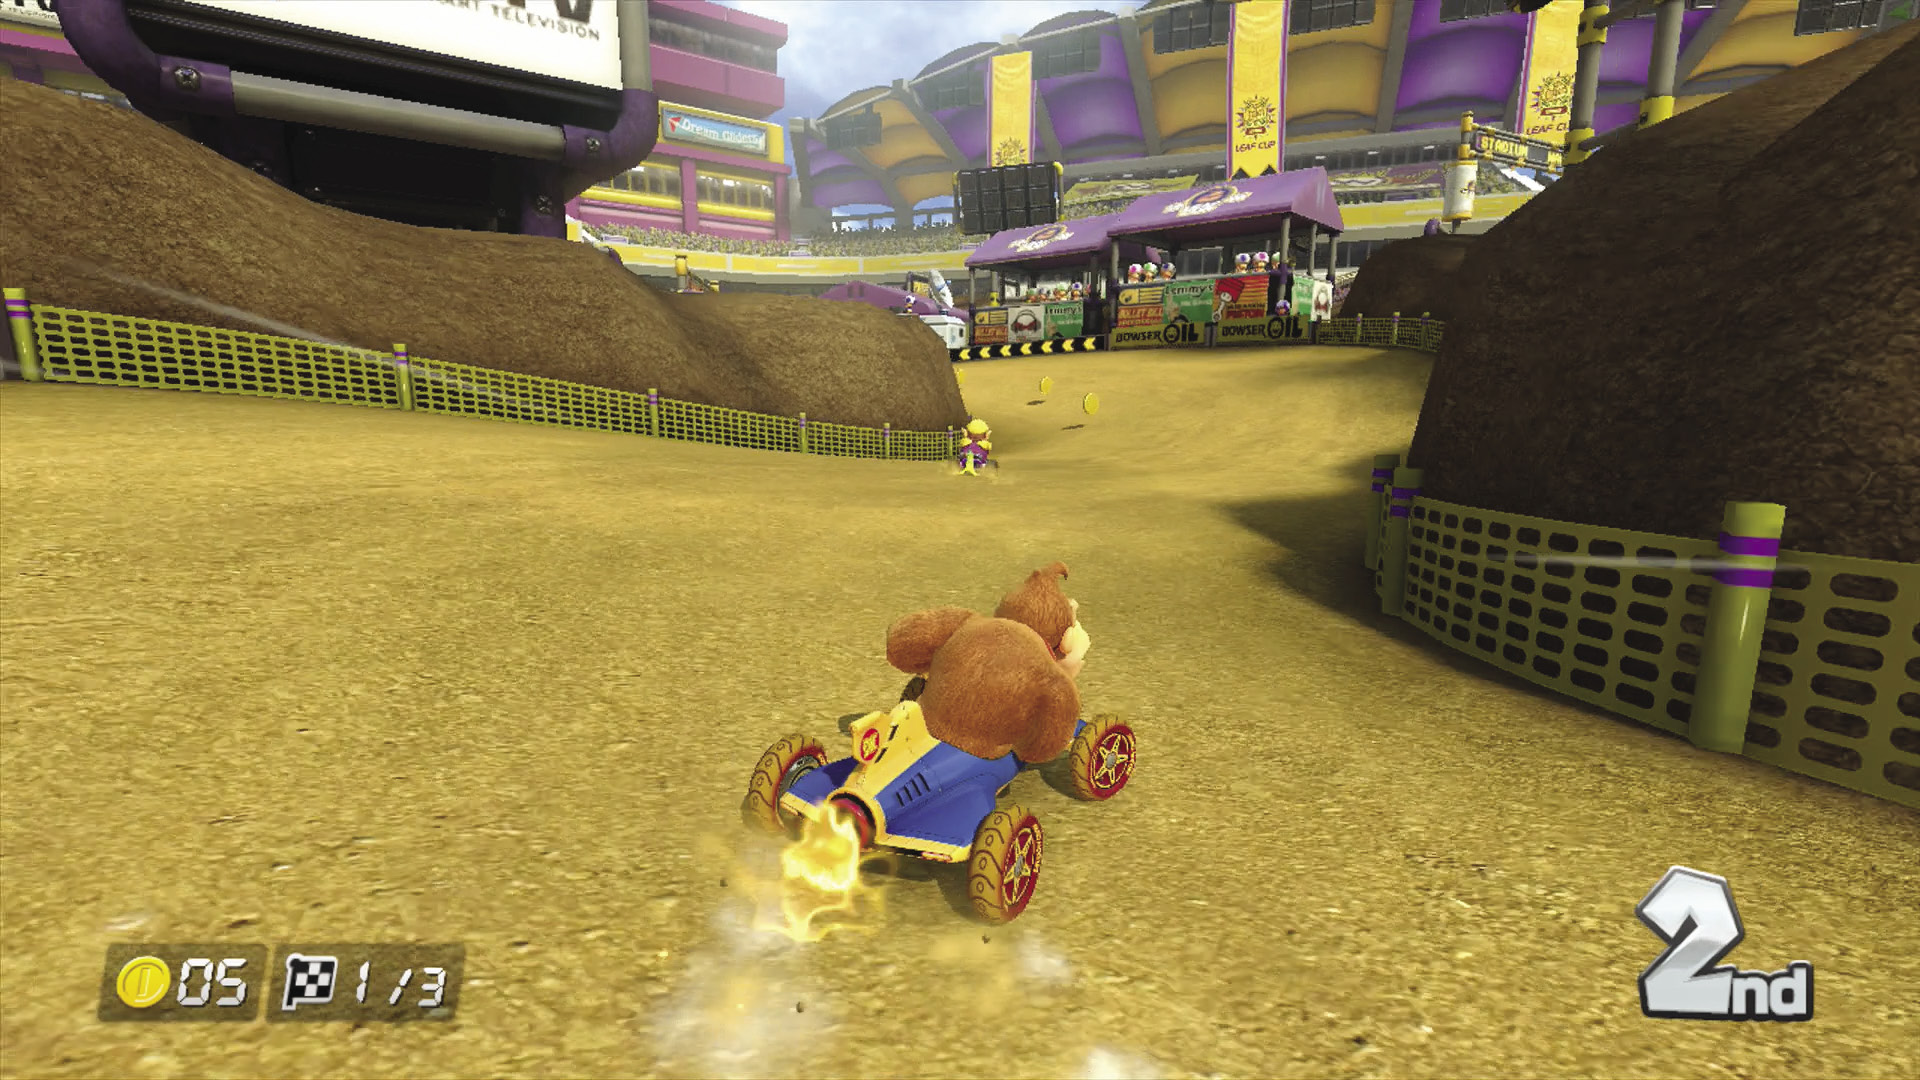
Three sharp turns greet racers almost immediately beyond the start line, with only a small group of item boxes before you reach the first turn. Don’t be surprised at the start of this Grand Prix that you struggle to break out of the pack early on while navigating the turns!
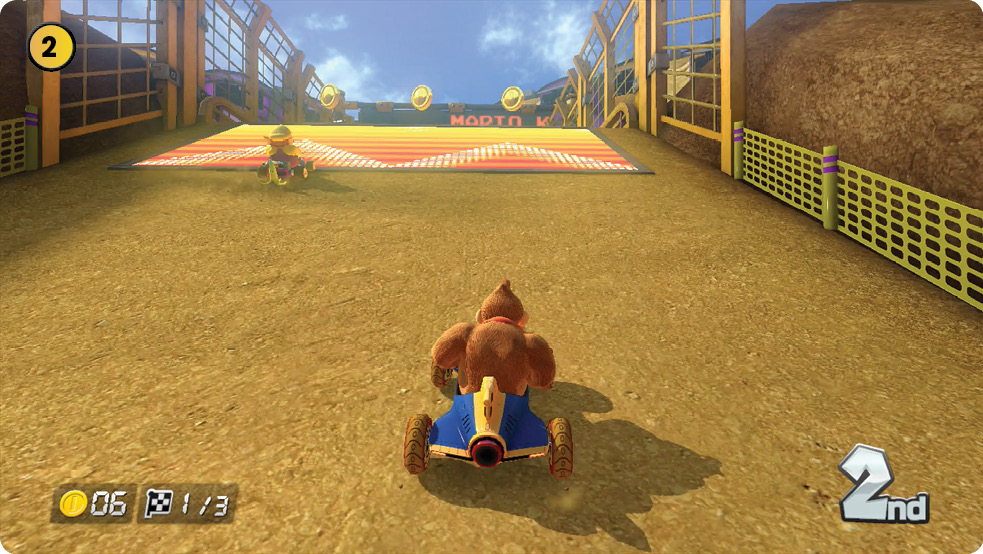
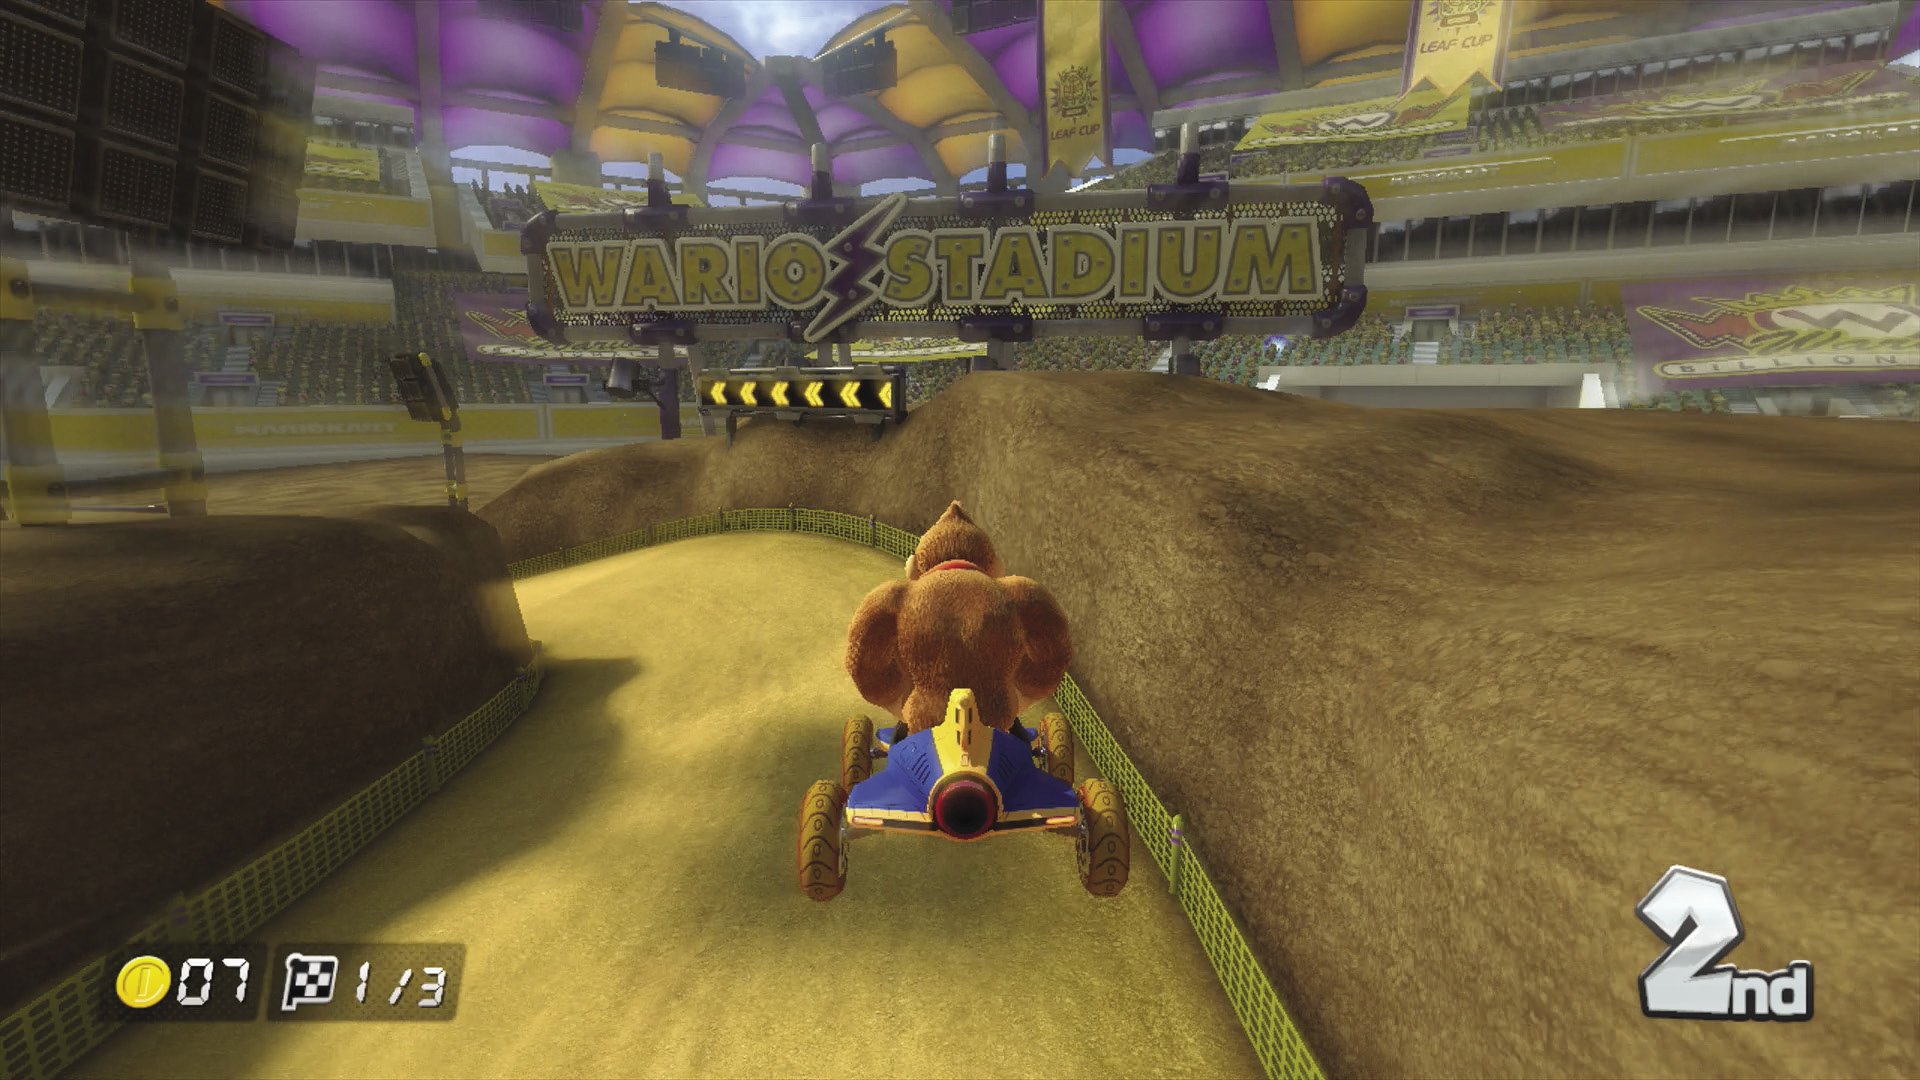
This first jump can trip up unprepared racers, as a sharp left turn awaits just as you land from it. Like with any jump on this course, it’s a great place to use Bananas to trip up close pursuers.
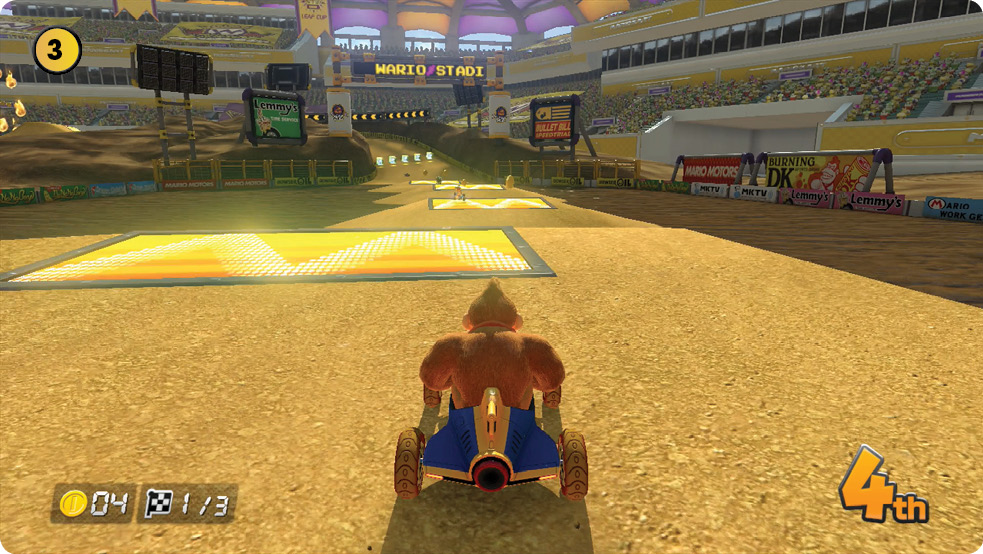
The four small island ramps in the sea of mud here can all be Jump Boosted, allowing a racer to reach insane speeds before the upcoming left turn... but at the cost of control. Racers blitzing through this section will not have an easy time evading shells fired back at them, or missing Bananas placed on the ramps themselves.
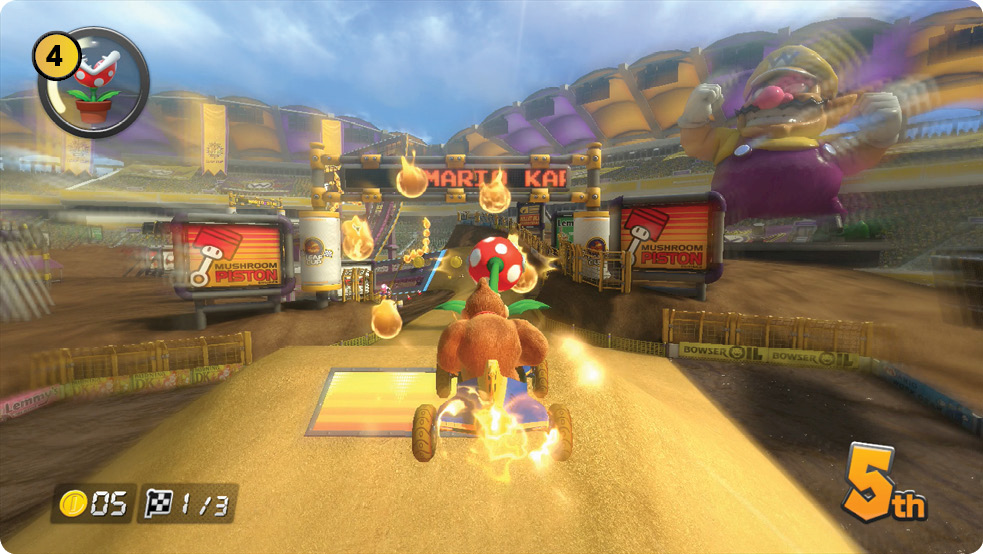
These two large jumps have fireball rings just behind them. The jumps themselves are offset slightly, making it tough to hit both dash panels while keeping up your speed and avoiding the fire rings. You can really ruin a racer’s day with a well-timed item attack here!
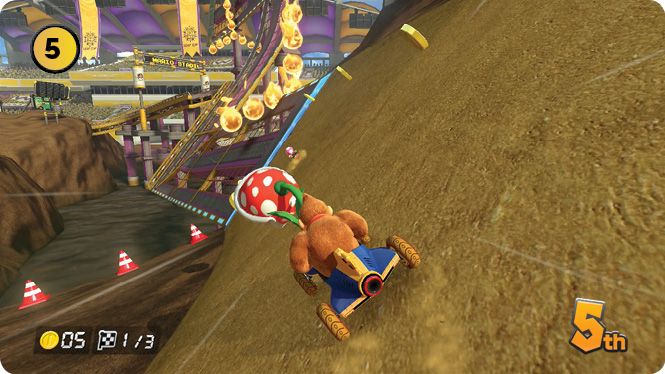
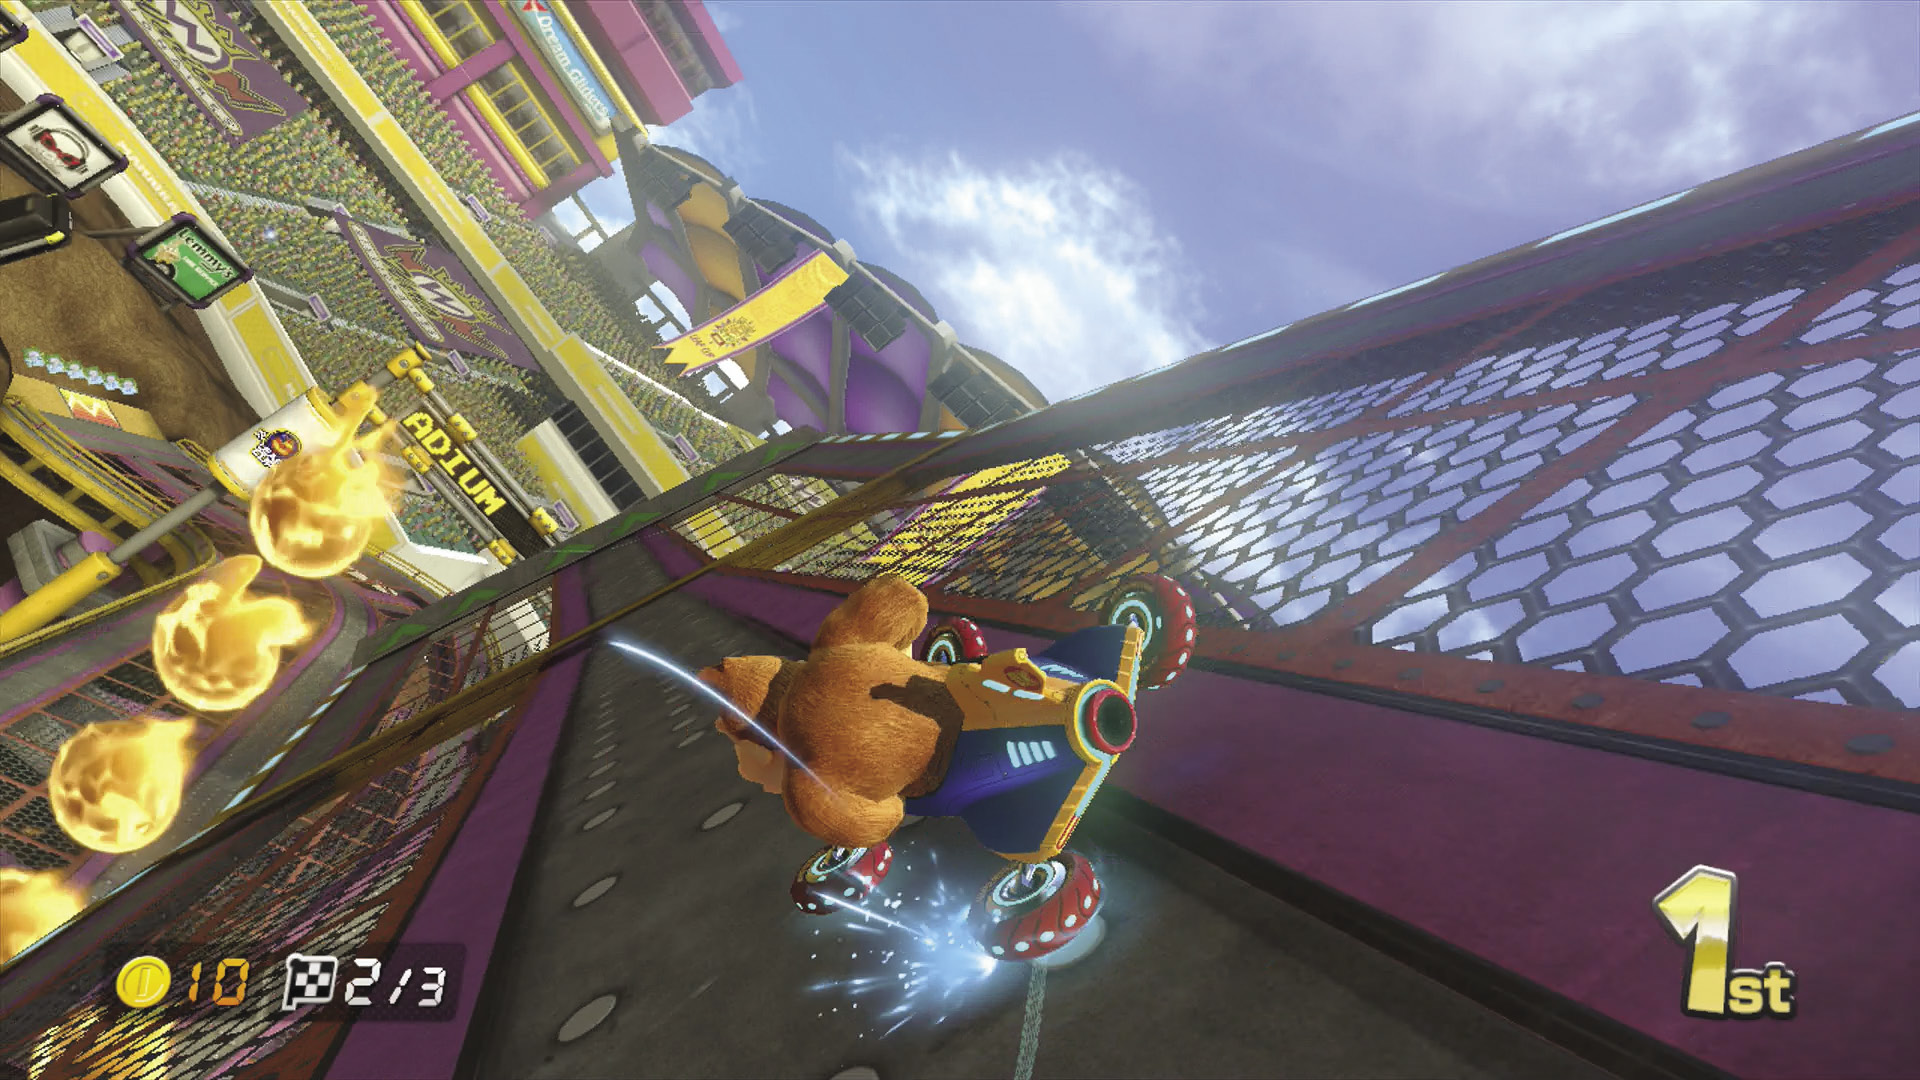
Watch the fire chains while making your way through this twisted section of the track. More danger comes as a ramp launches you off the mid-air section of the track back down to the ground level. If you’re in a bad position here, you can miss the jump and fall out of bounds!
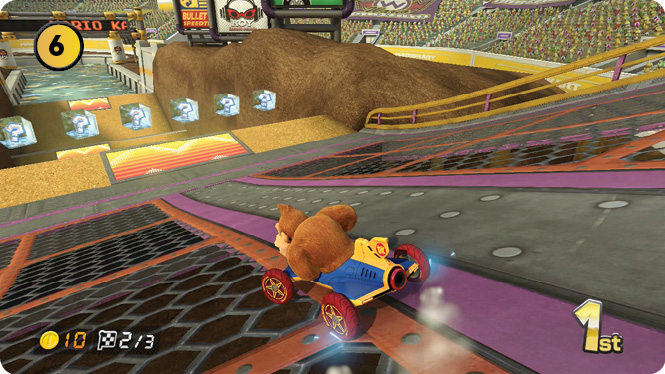
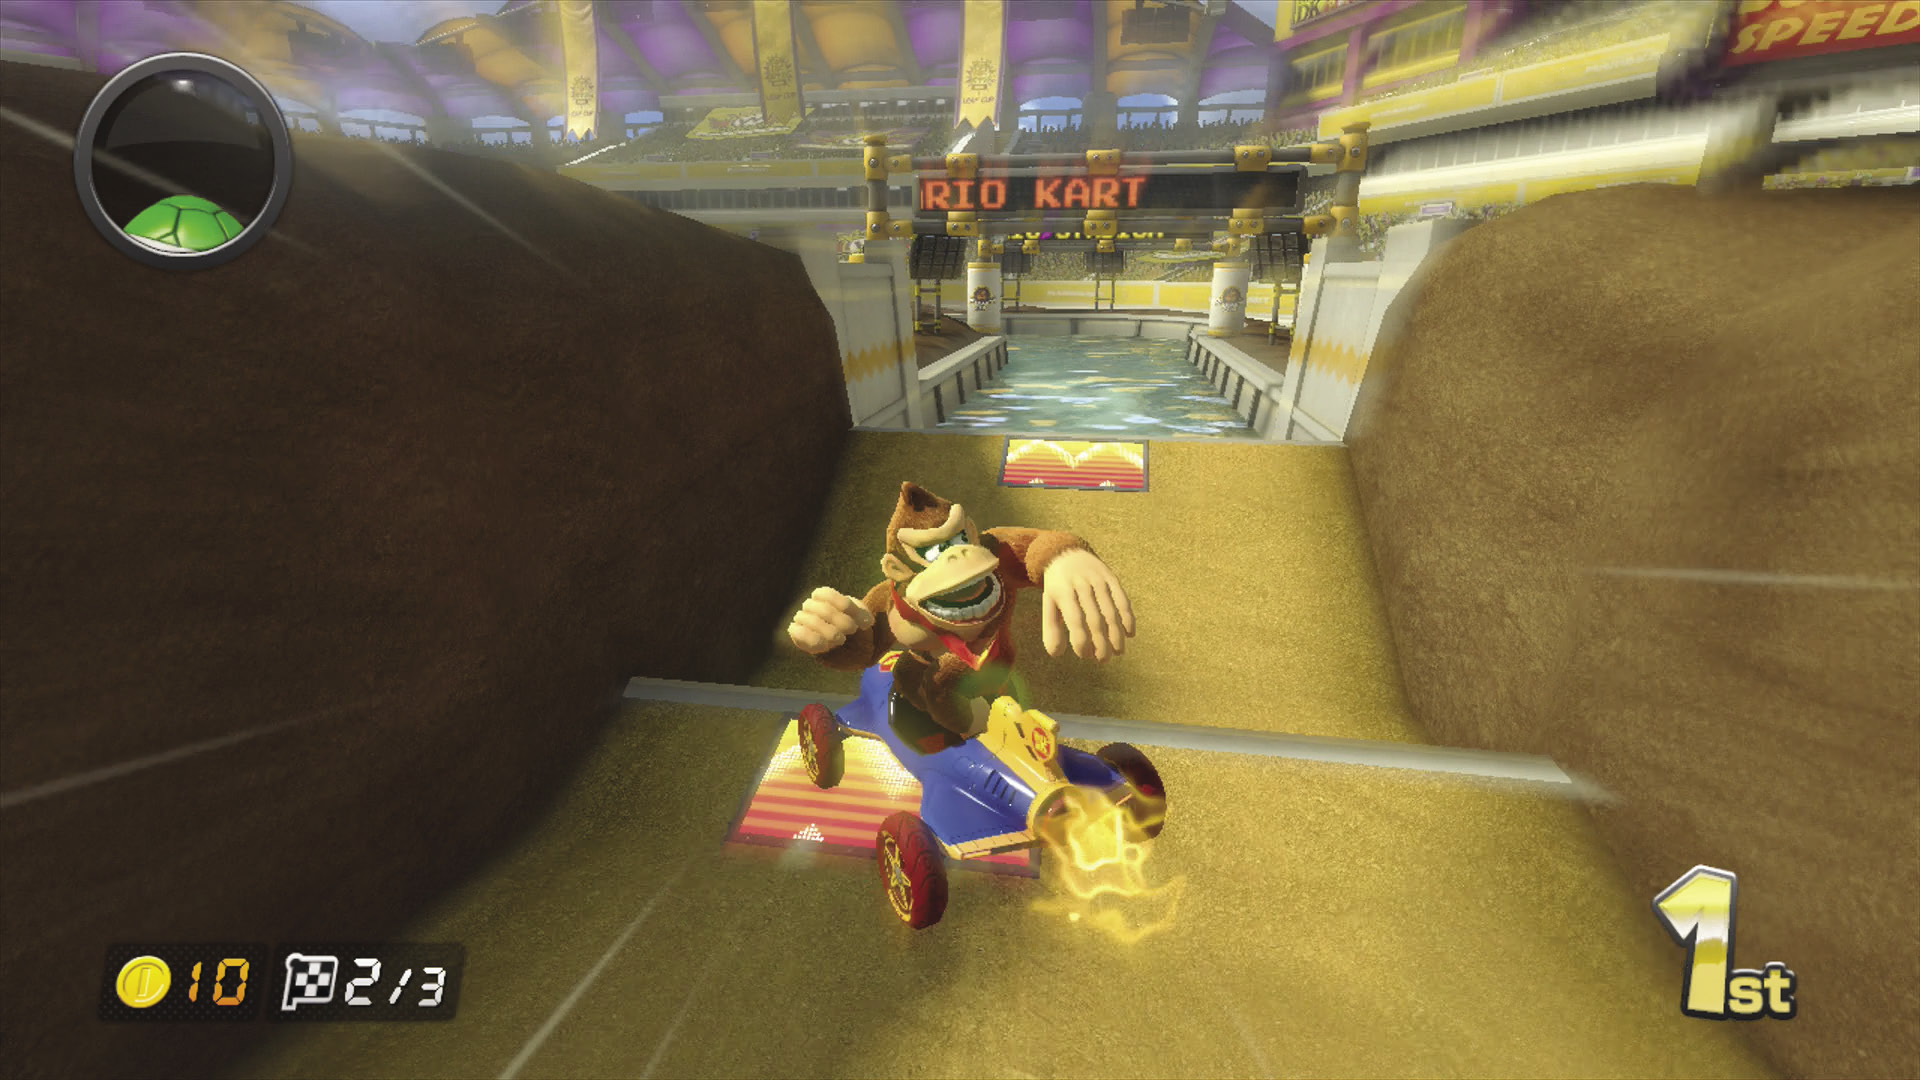
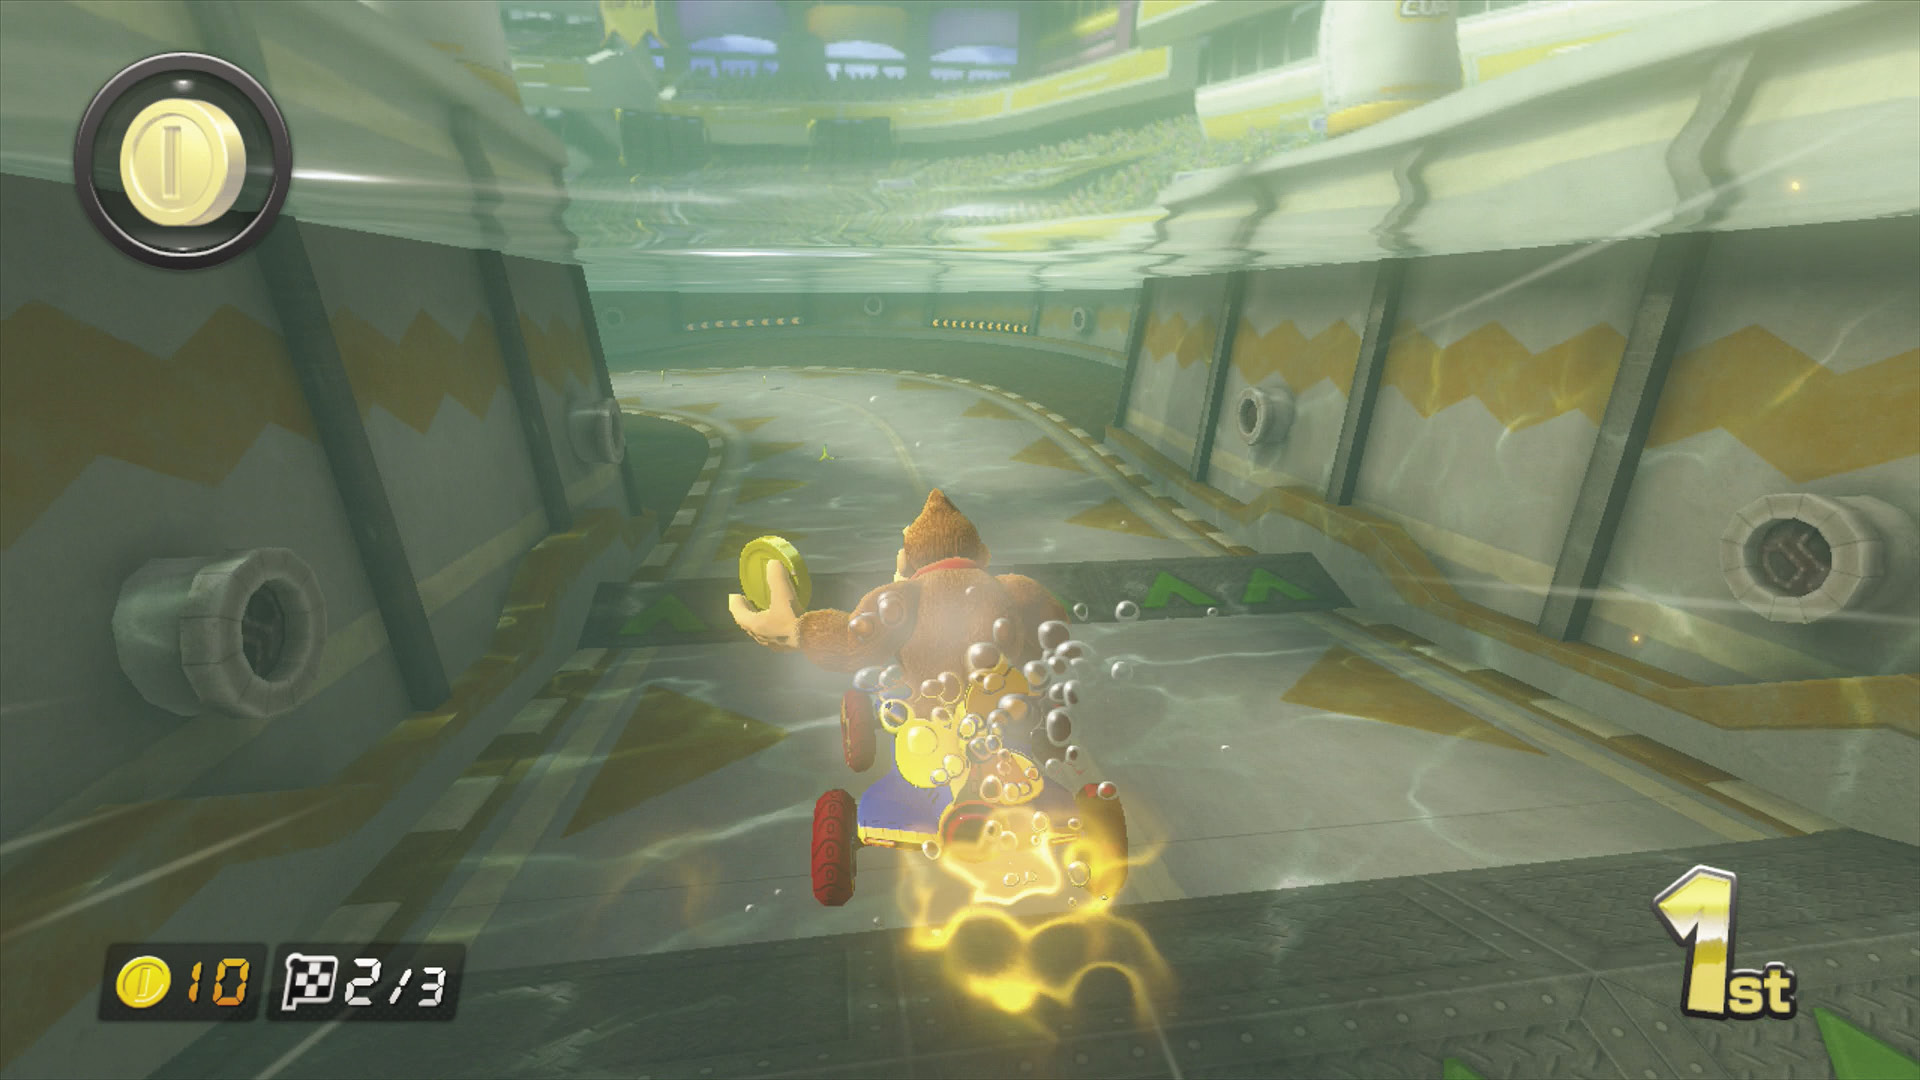
Another trio of dash panel ramp jumps await just beyond the antigravity section of the course. Once again, the dash panels here are offset from each other, making it difficult to hit every one as you pass through this section. As you go into the water here, you’ll find two more ramps that can be Jump Boosted, though if you’ve carried enough speed in the previous section you’ll skip at least one of them.
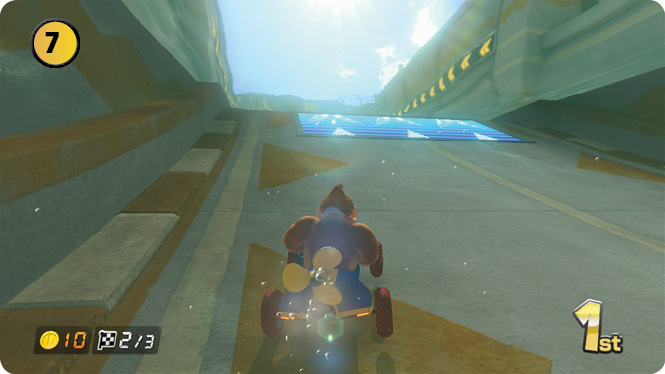
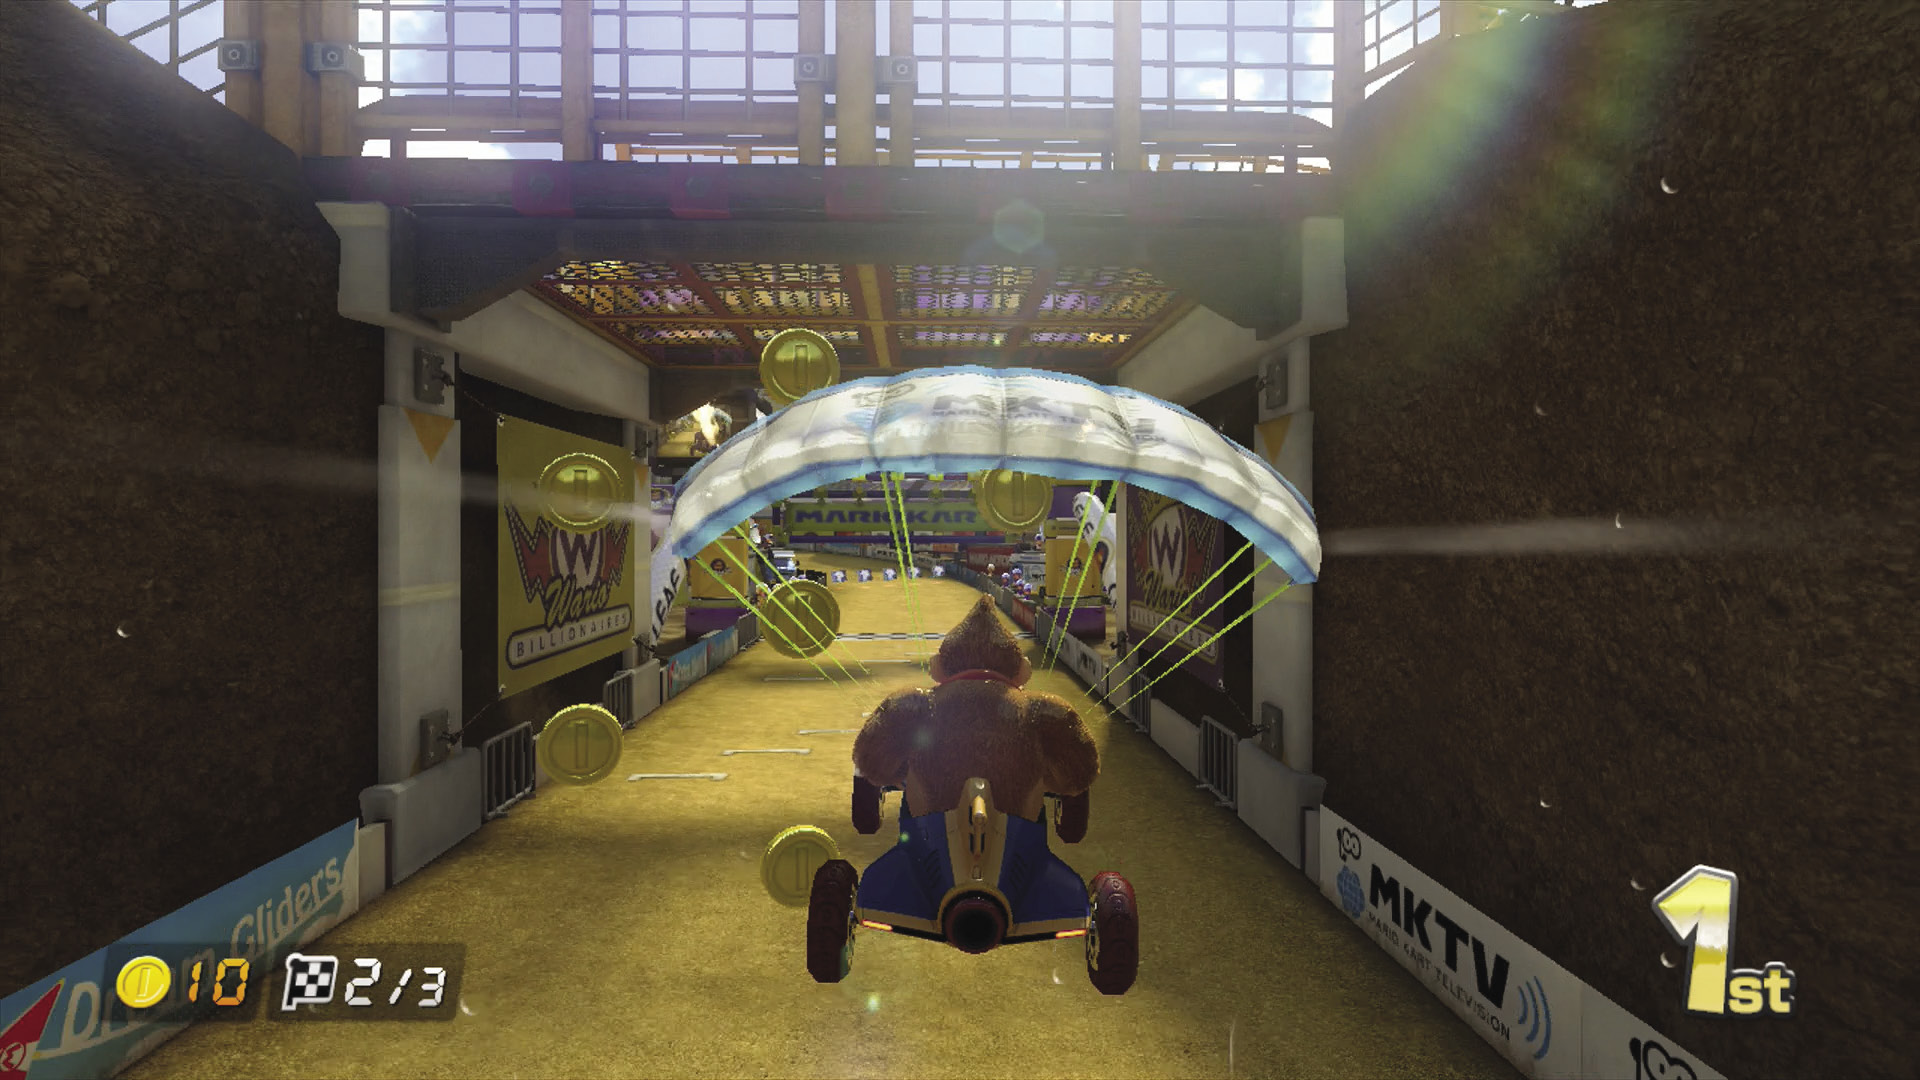
The final stretch begins with a glide ramp that sends you flying over a body of water standing between you and the finish line. If you have any items to foul up the ramp with, use them! Also, striking a racer in the air over the water can cost them many places if the competition is tight.
Time Trial Mode
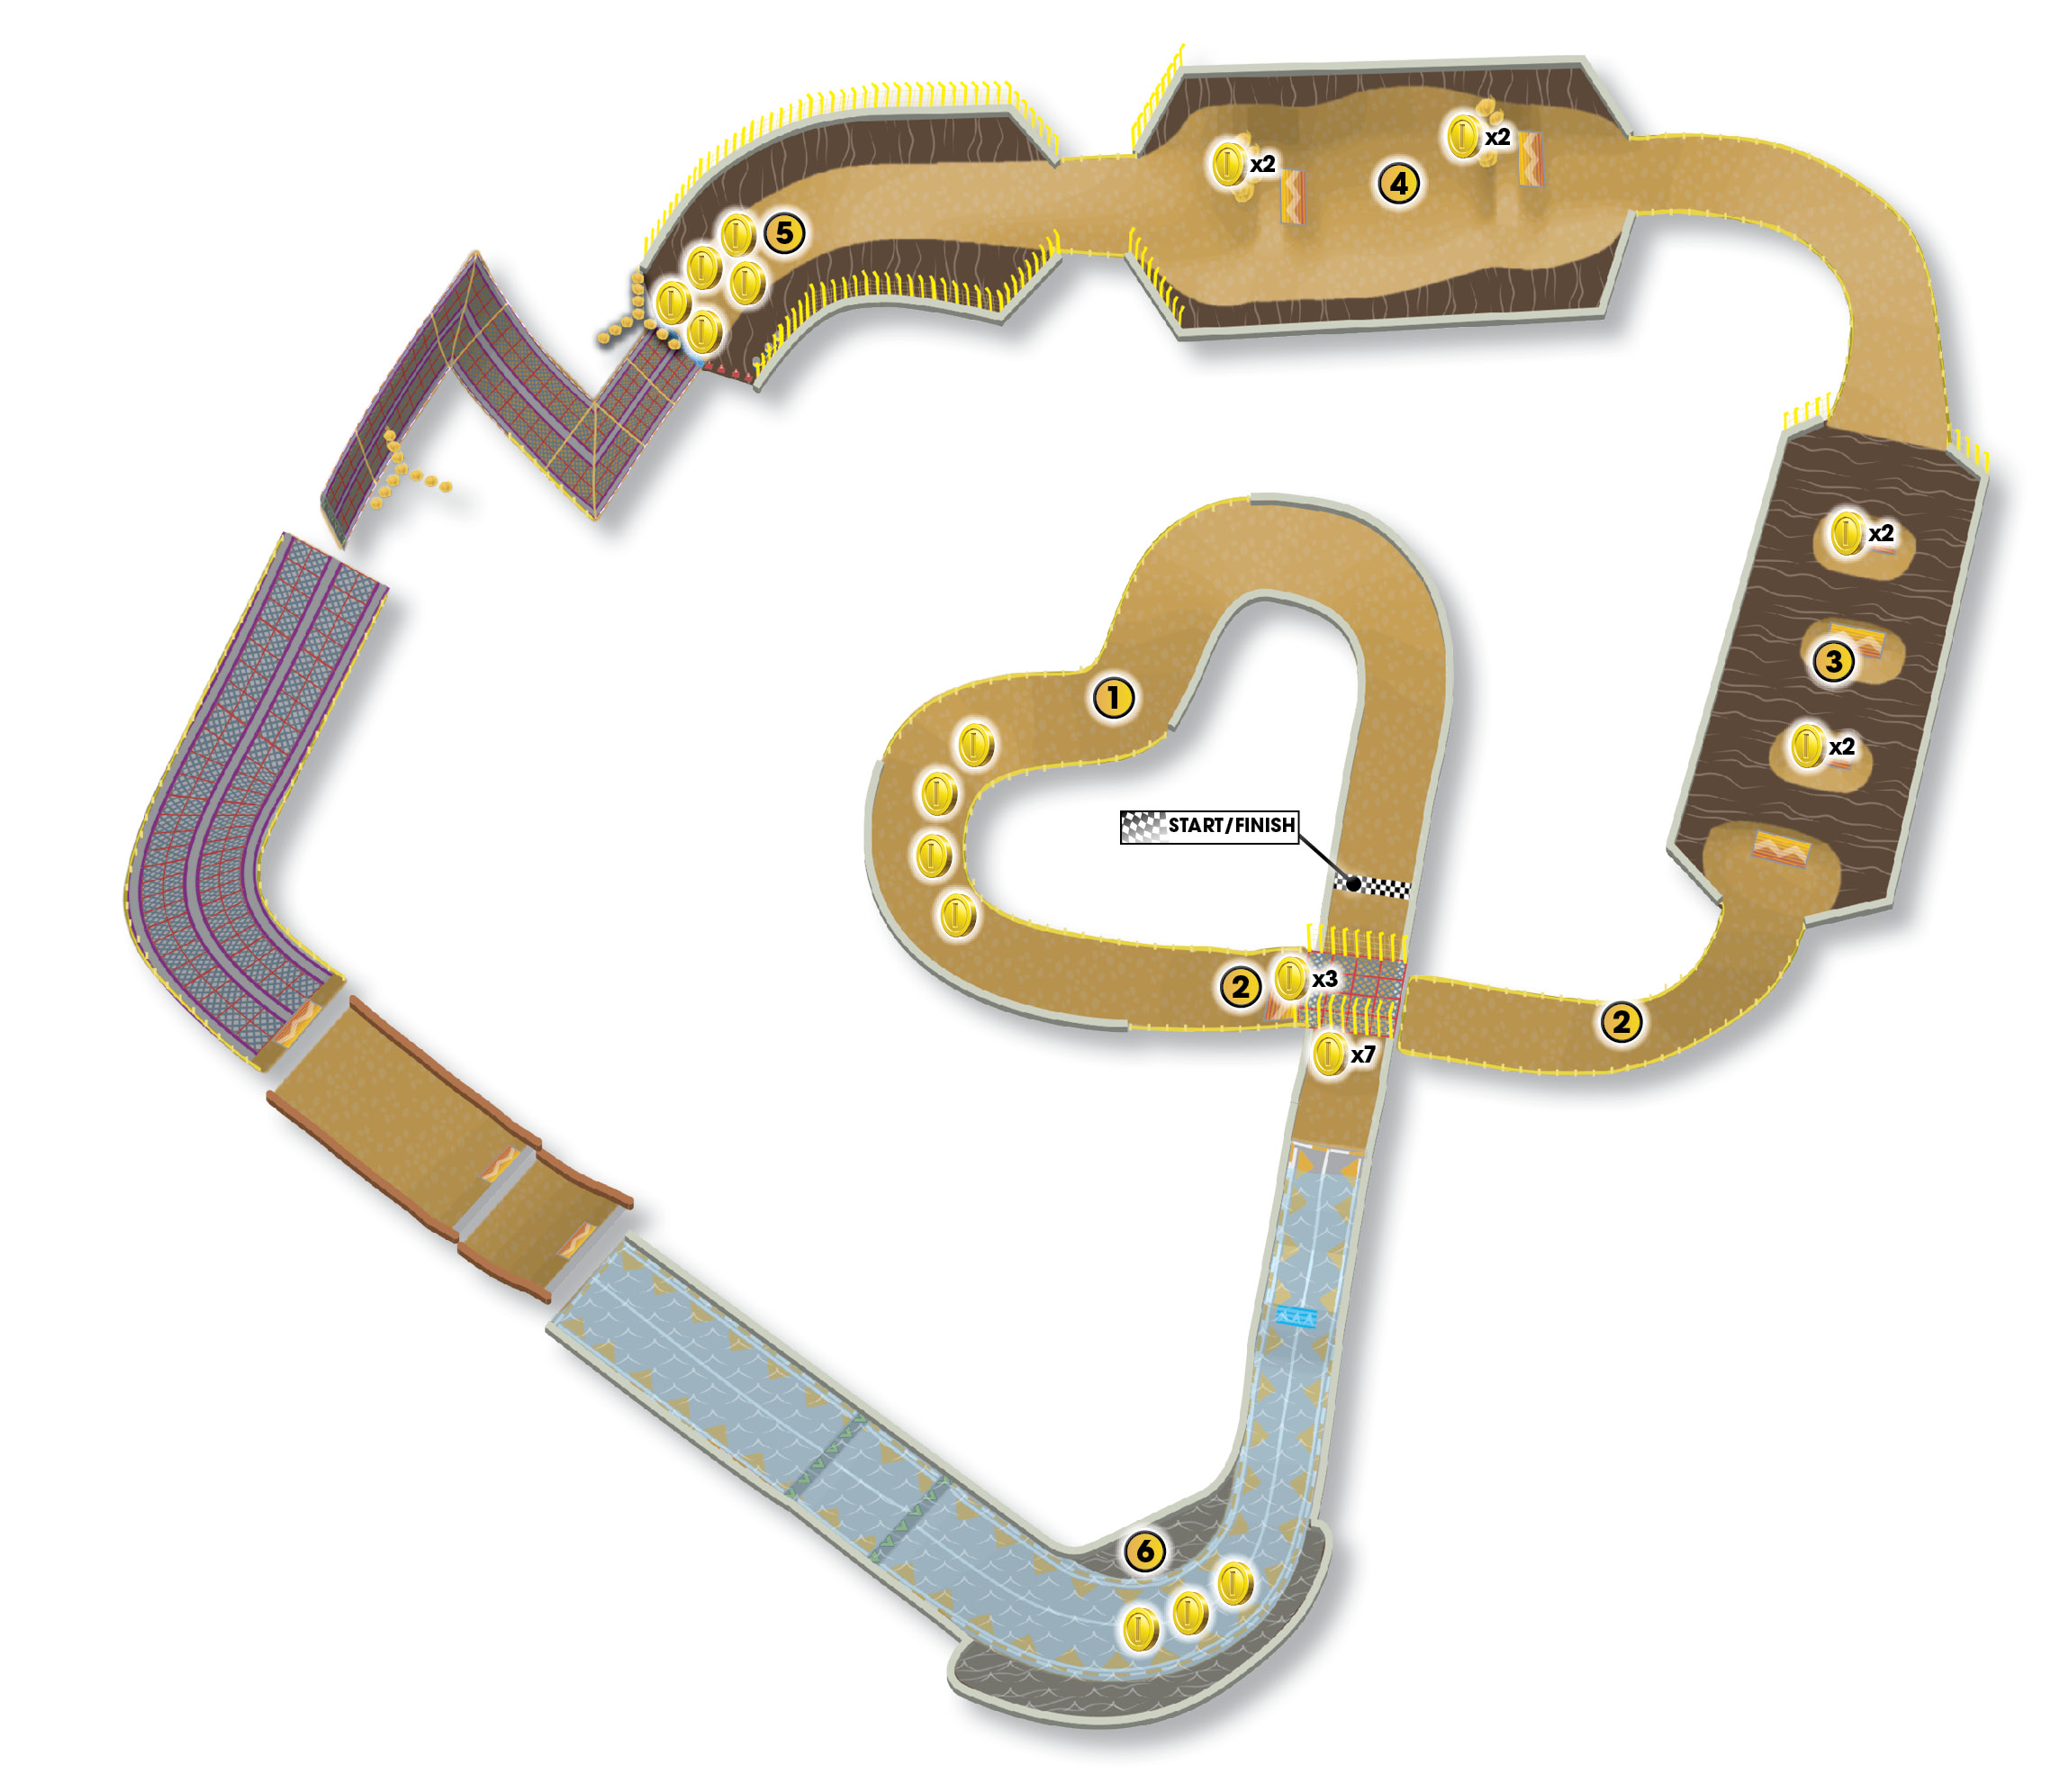
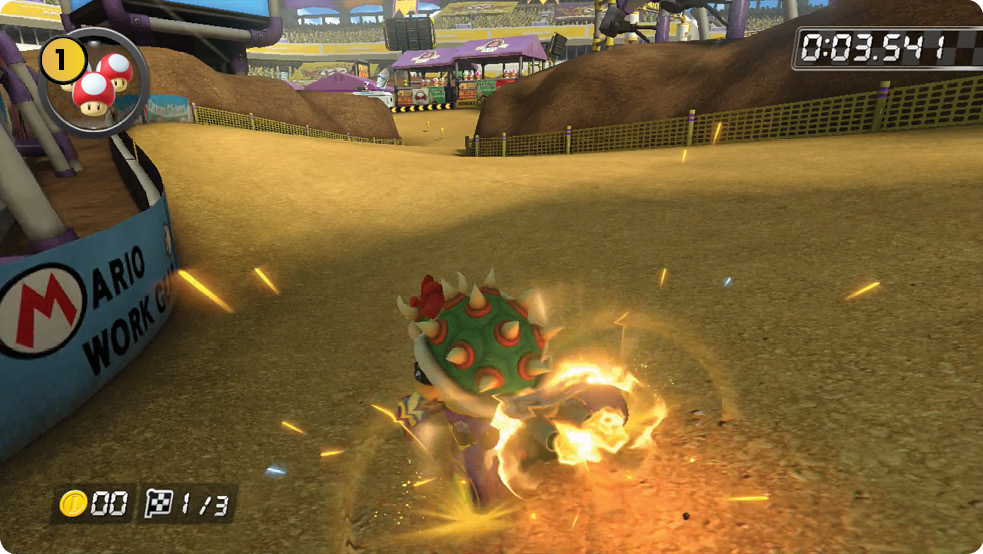
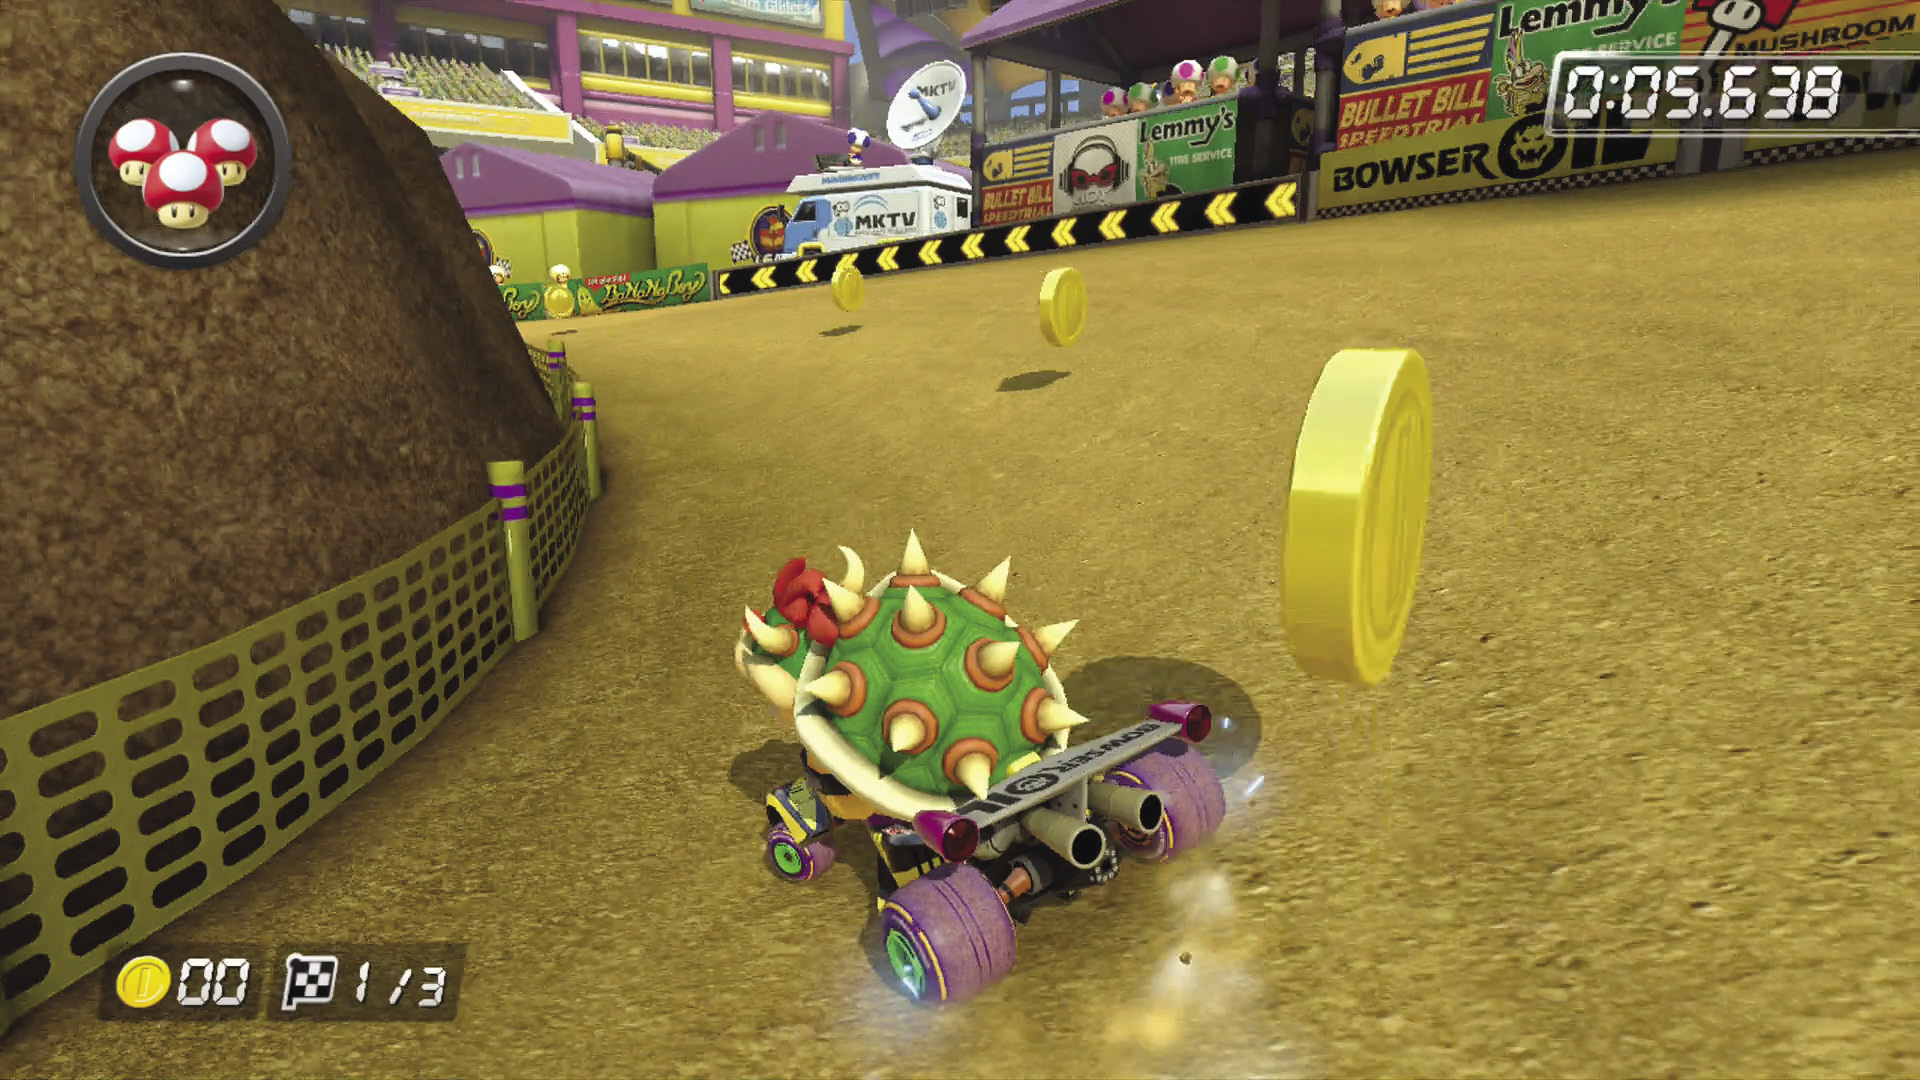
Navigate the first three turns smoothly, taking the straightest line possible. On the last turn, don’t miss the four Coins on the inside line as you approach the first jump.
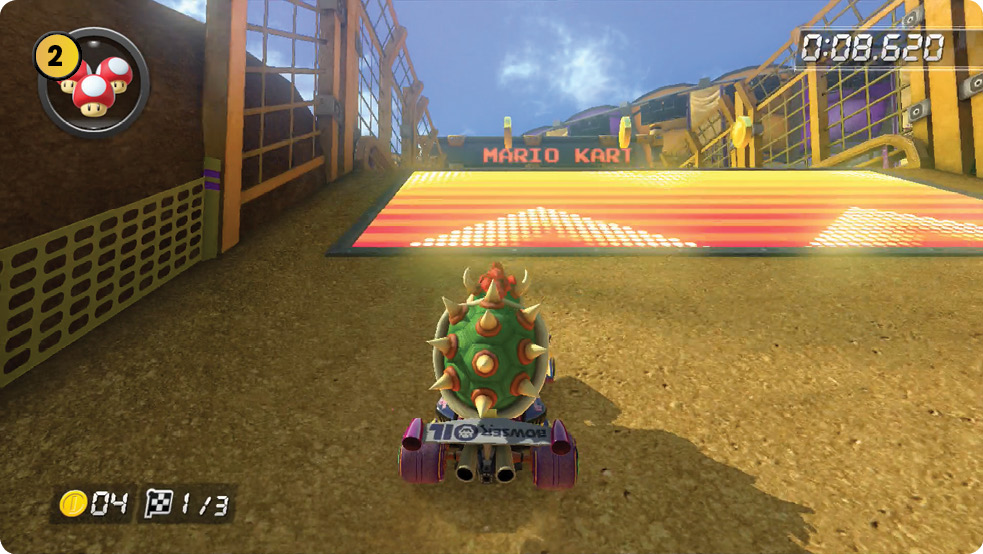
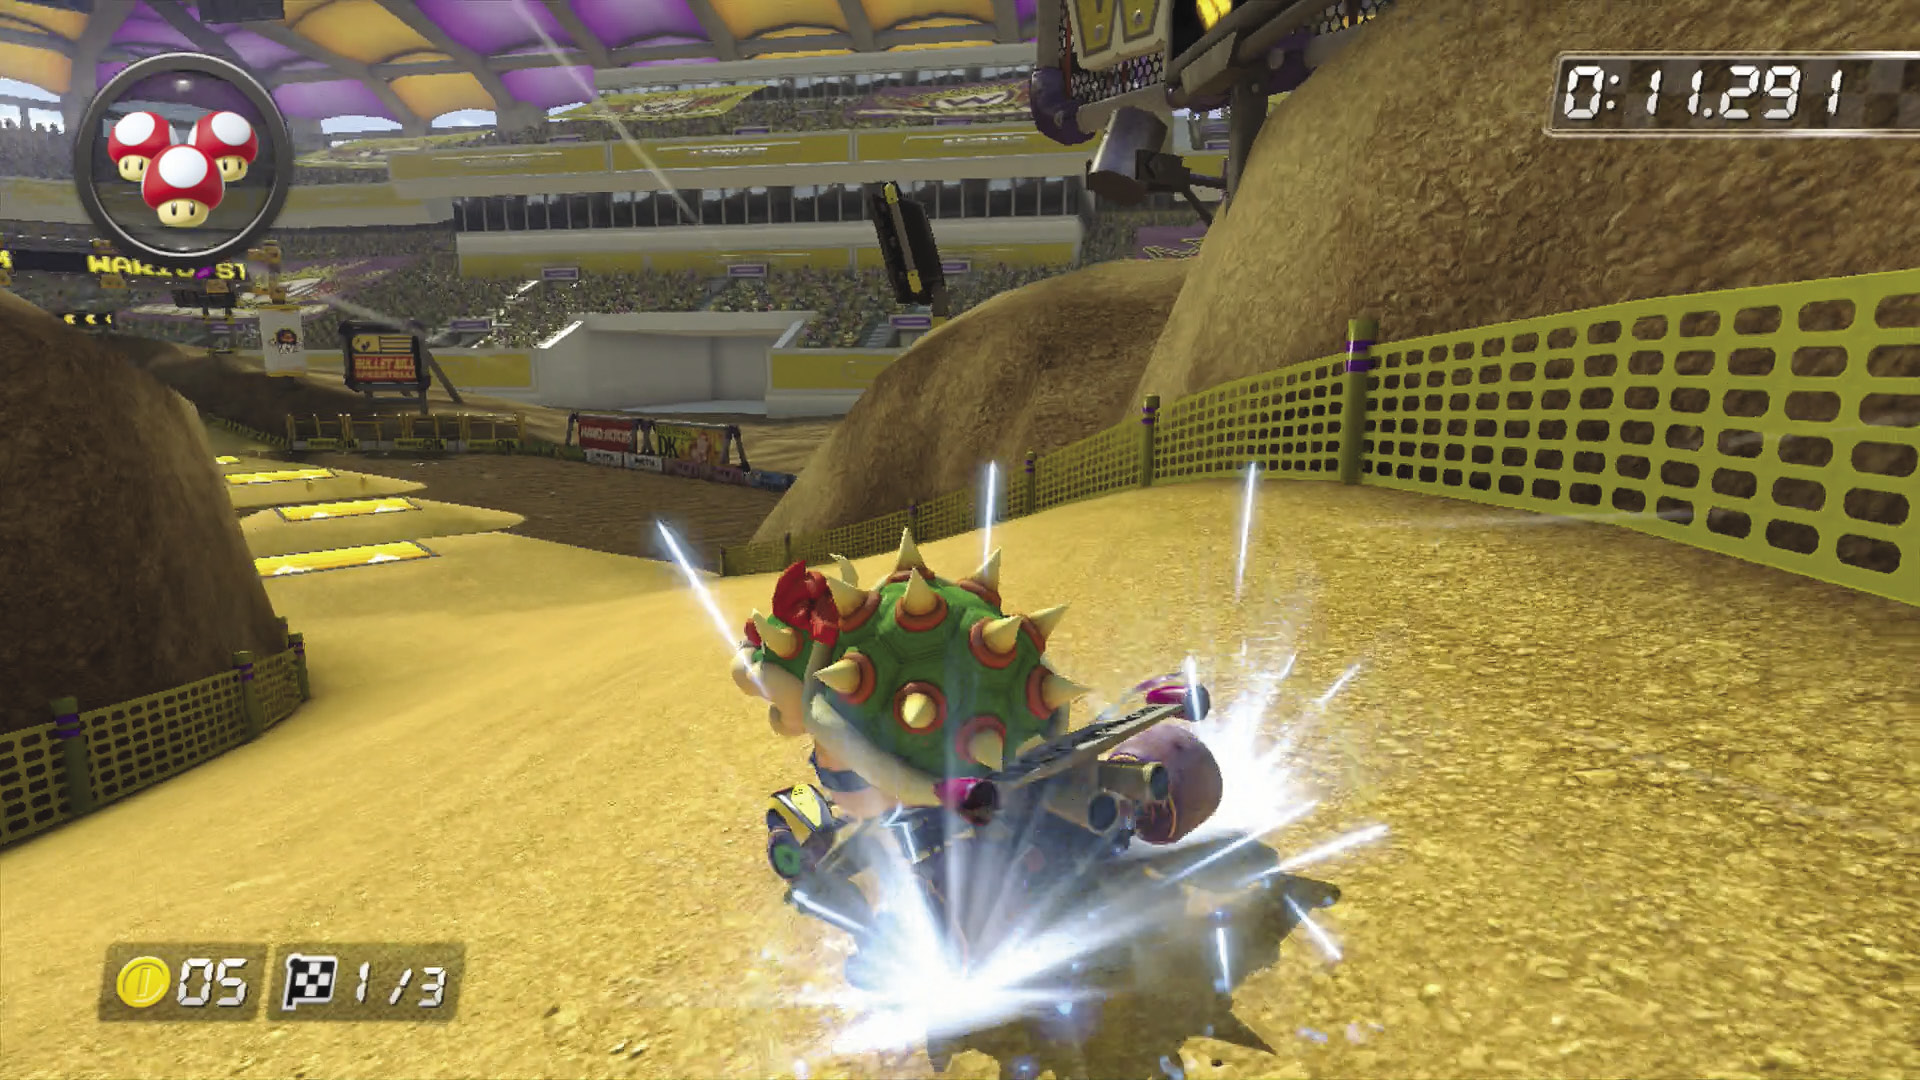
Anticipate the hard left coming after the first jump. Stay on the inside line, making sure you collect at least one Coin from this ramp during Lap 1. Ideally you’ll exit the turn aimed directly at the first of the four dash panel ramps coming up.
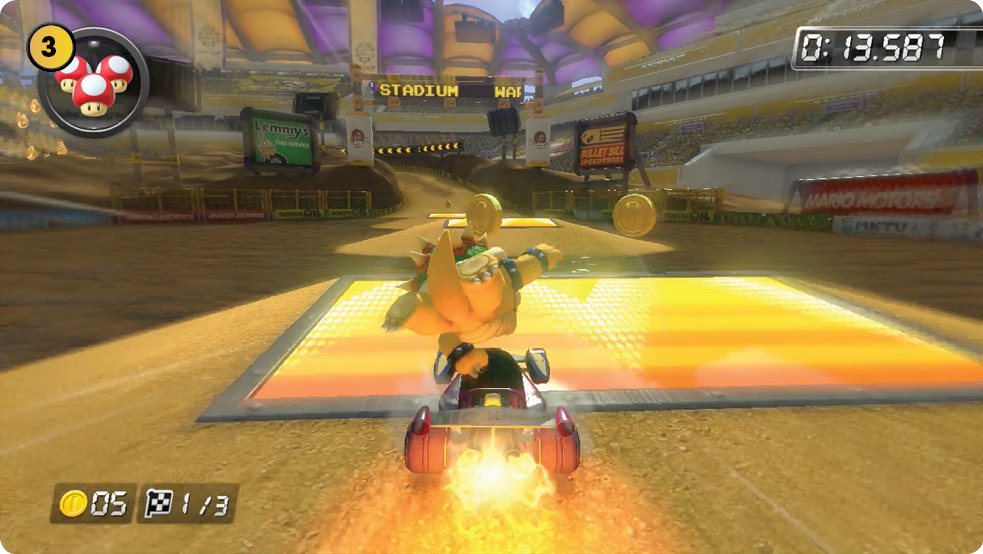
On an optimal run through this section, you’ll Jump Boost from all four dash panel ramps, and during your first lap you’ll collect two of the Coins placed here.
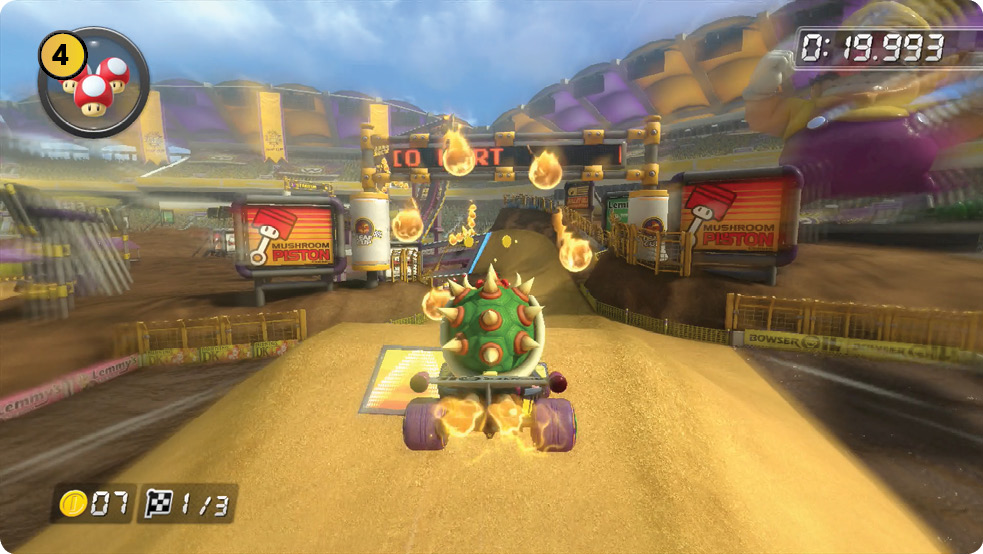
On the two big jumps, concentrate on hitting both dash panel ramps with Jump Boosts while evading the fire chains. You can collect a Coin just beyond the second ramp, but you might shoot past it if your speed is high enough.
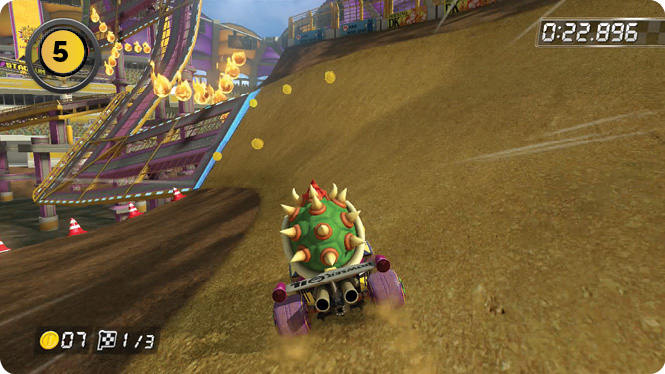
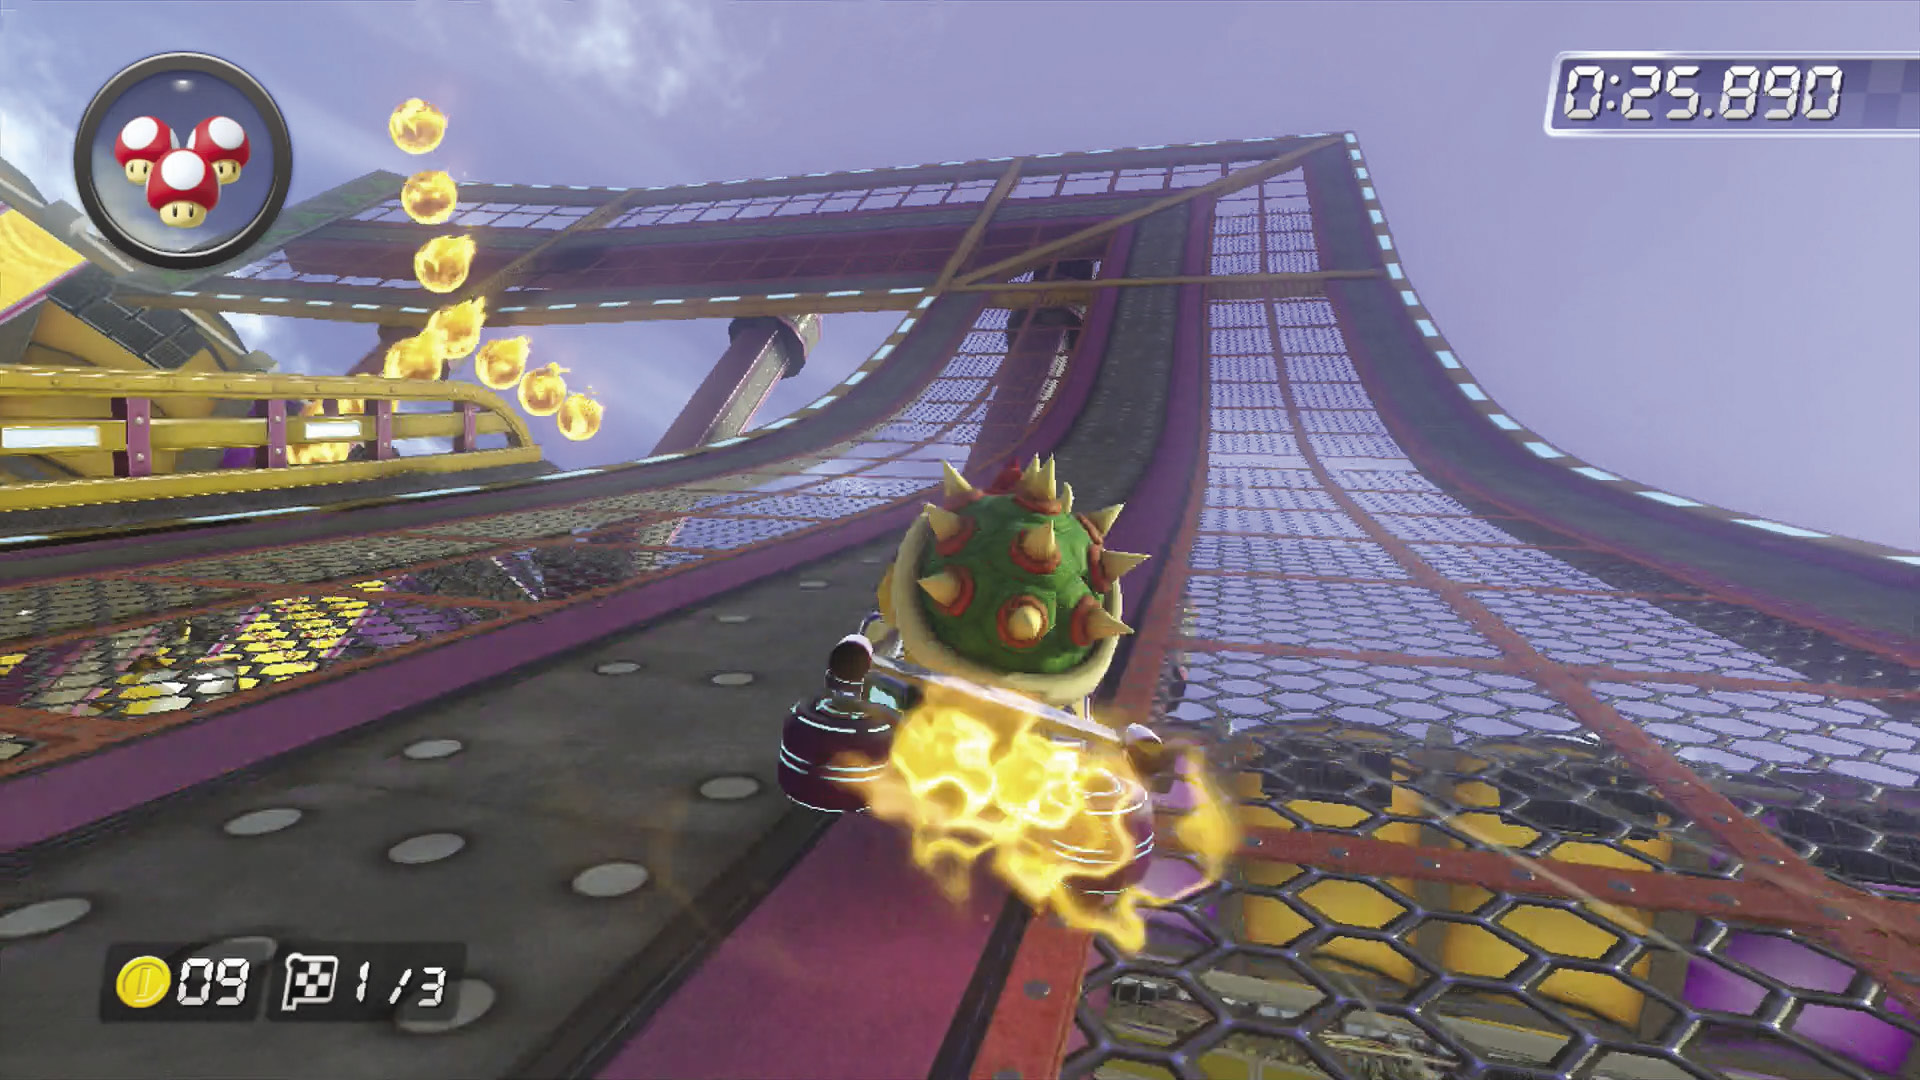
Approaching the antigravity section of the track, you will see two lines of Coins: one with two Coins, and another with three. On Lap 1, take the three Coins, evade the fire chain just beyond them, and navigate the rest of the section with drifts and Mini-Turbos.
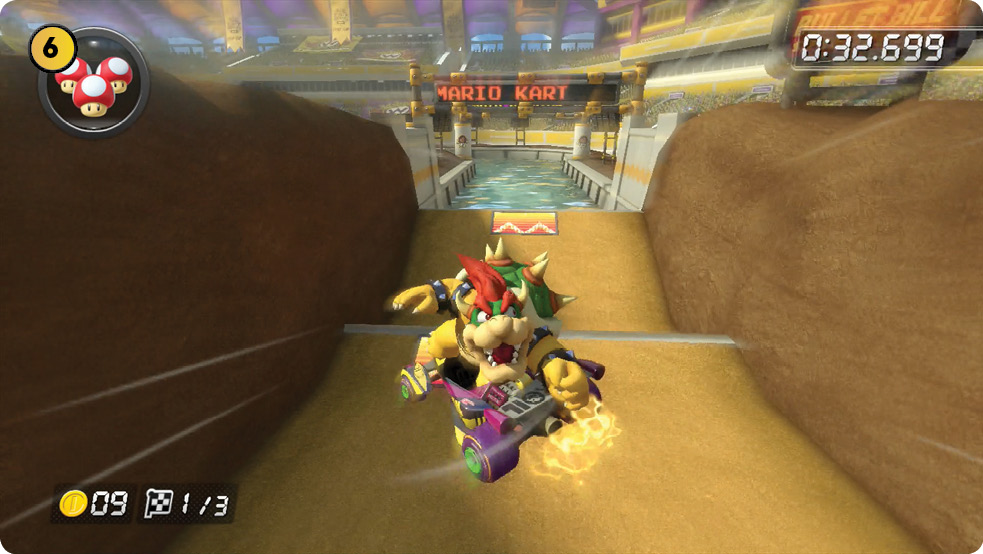
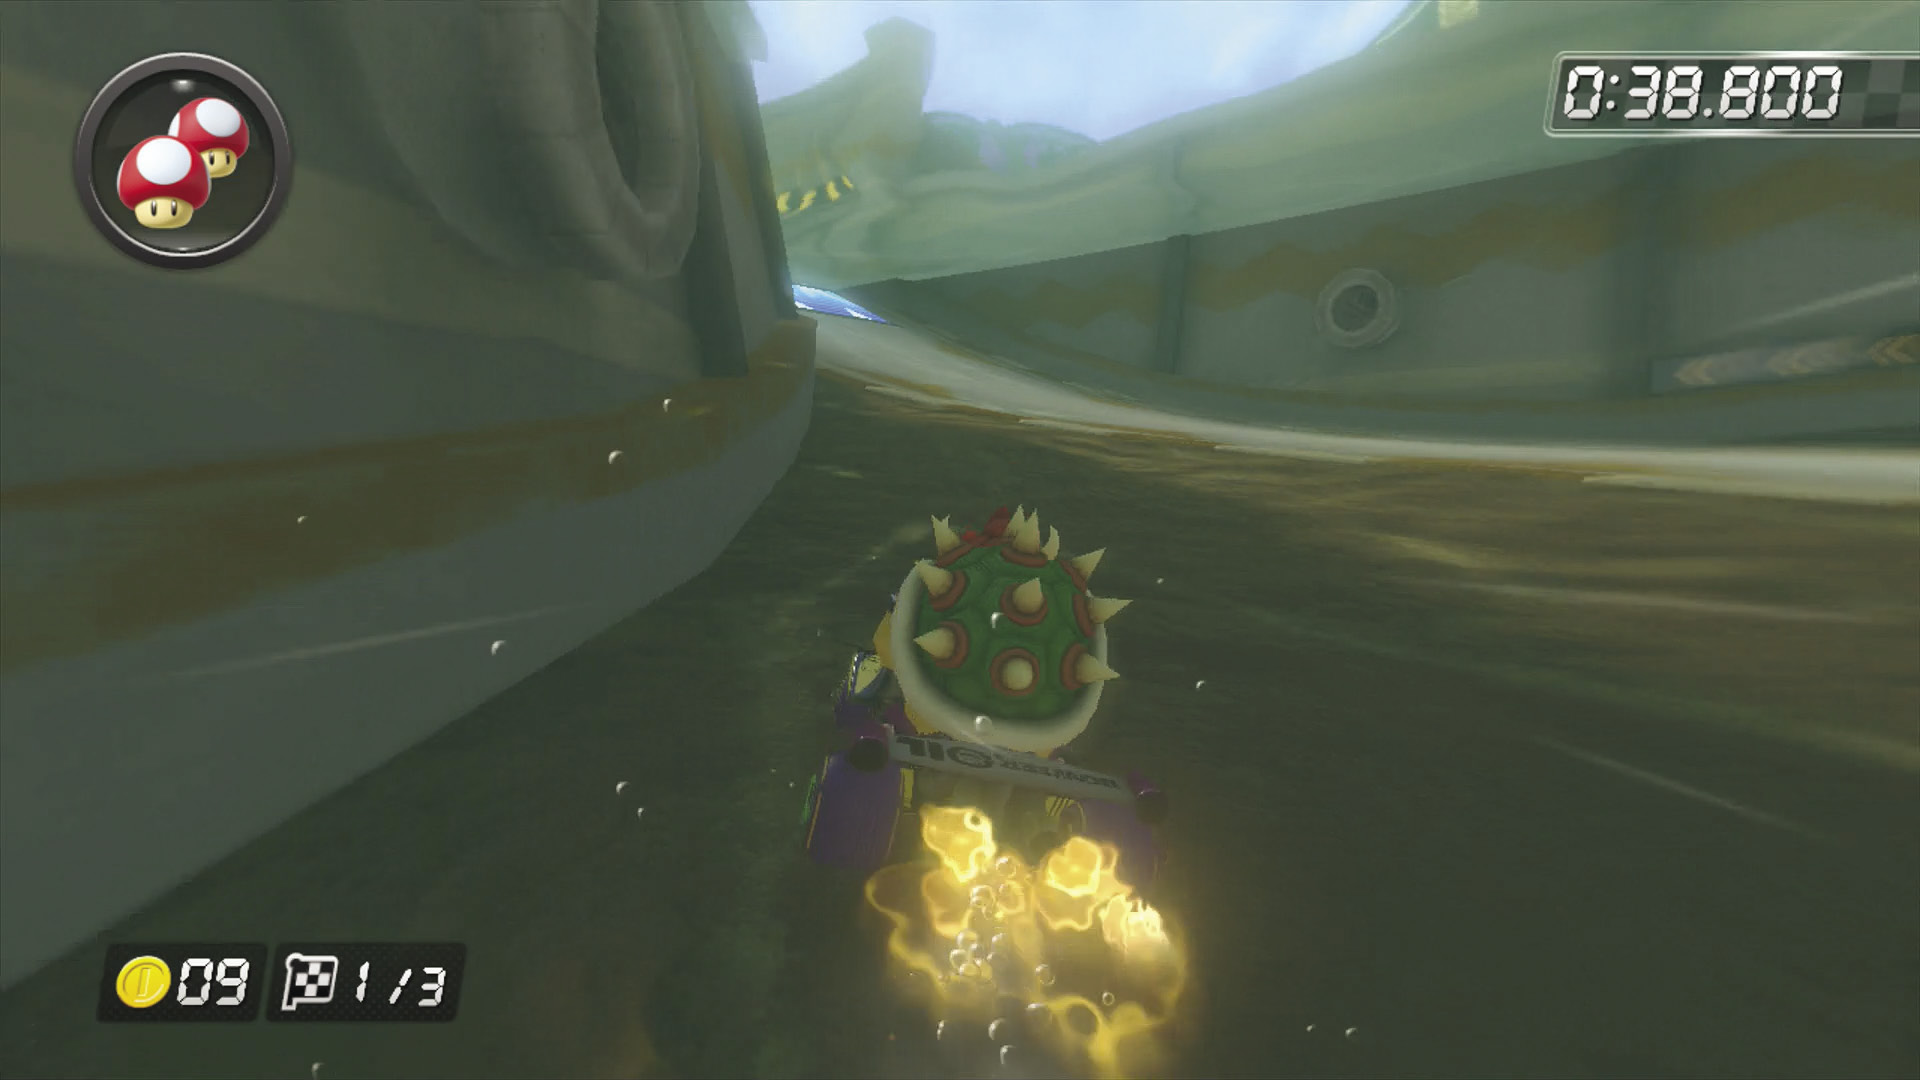
After Jump Boosting through the jump gauntlet, the final left turn is where you should use a Mushroom. On all three laps, you can cut across the mud on the inside of the turn, saving yourself some valuable time. Just make sure you make the turn and glide over the final water hazard!
TM & © 2014 Nintendo.