
Mario Kart 8 Guide The Drivethrough The New Tracks
Bowser's Castle
As one would expect of Bowser, his castle is filled with all manner of obstacles meant to interfere with plucky plumbers and kart racers alike. Higher-difficulty races through this course can be extremely challenging, as you’ll be fighting the course almost as much as you’ll be fending off the items from other racers!
Nintendo’s Best Time Trial: 2:15.686Player: Jeff C. M.
Kart of Champions
Nintendo’s Best Time Trial: 2:15.686 |
|||
Player: Jeff C. M. |
|||
 |
 |
 |
 |
|
Racer: Wario |
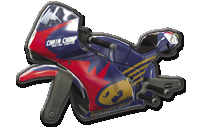
Body: Sport Bike |
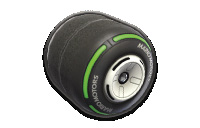
Wheels: Slick |
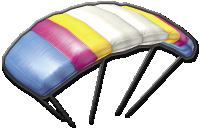
Glider: Parafoil |
Grand Prix
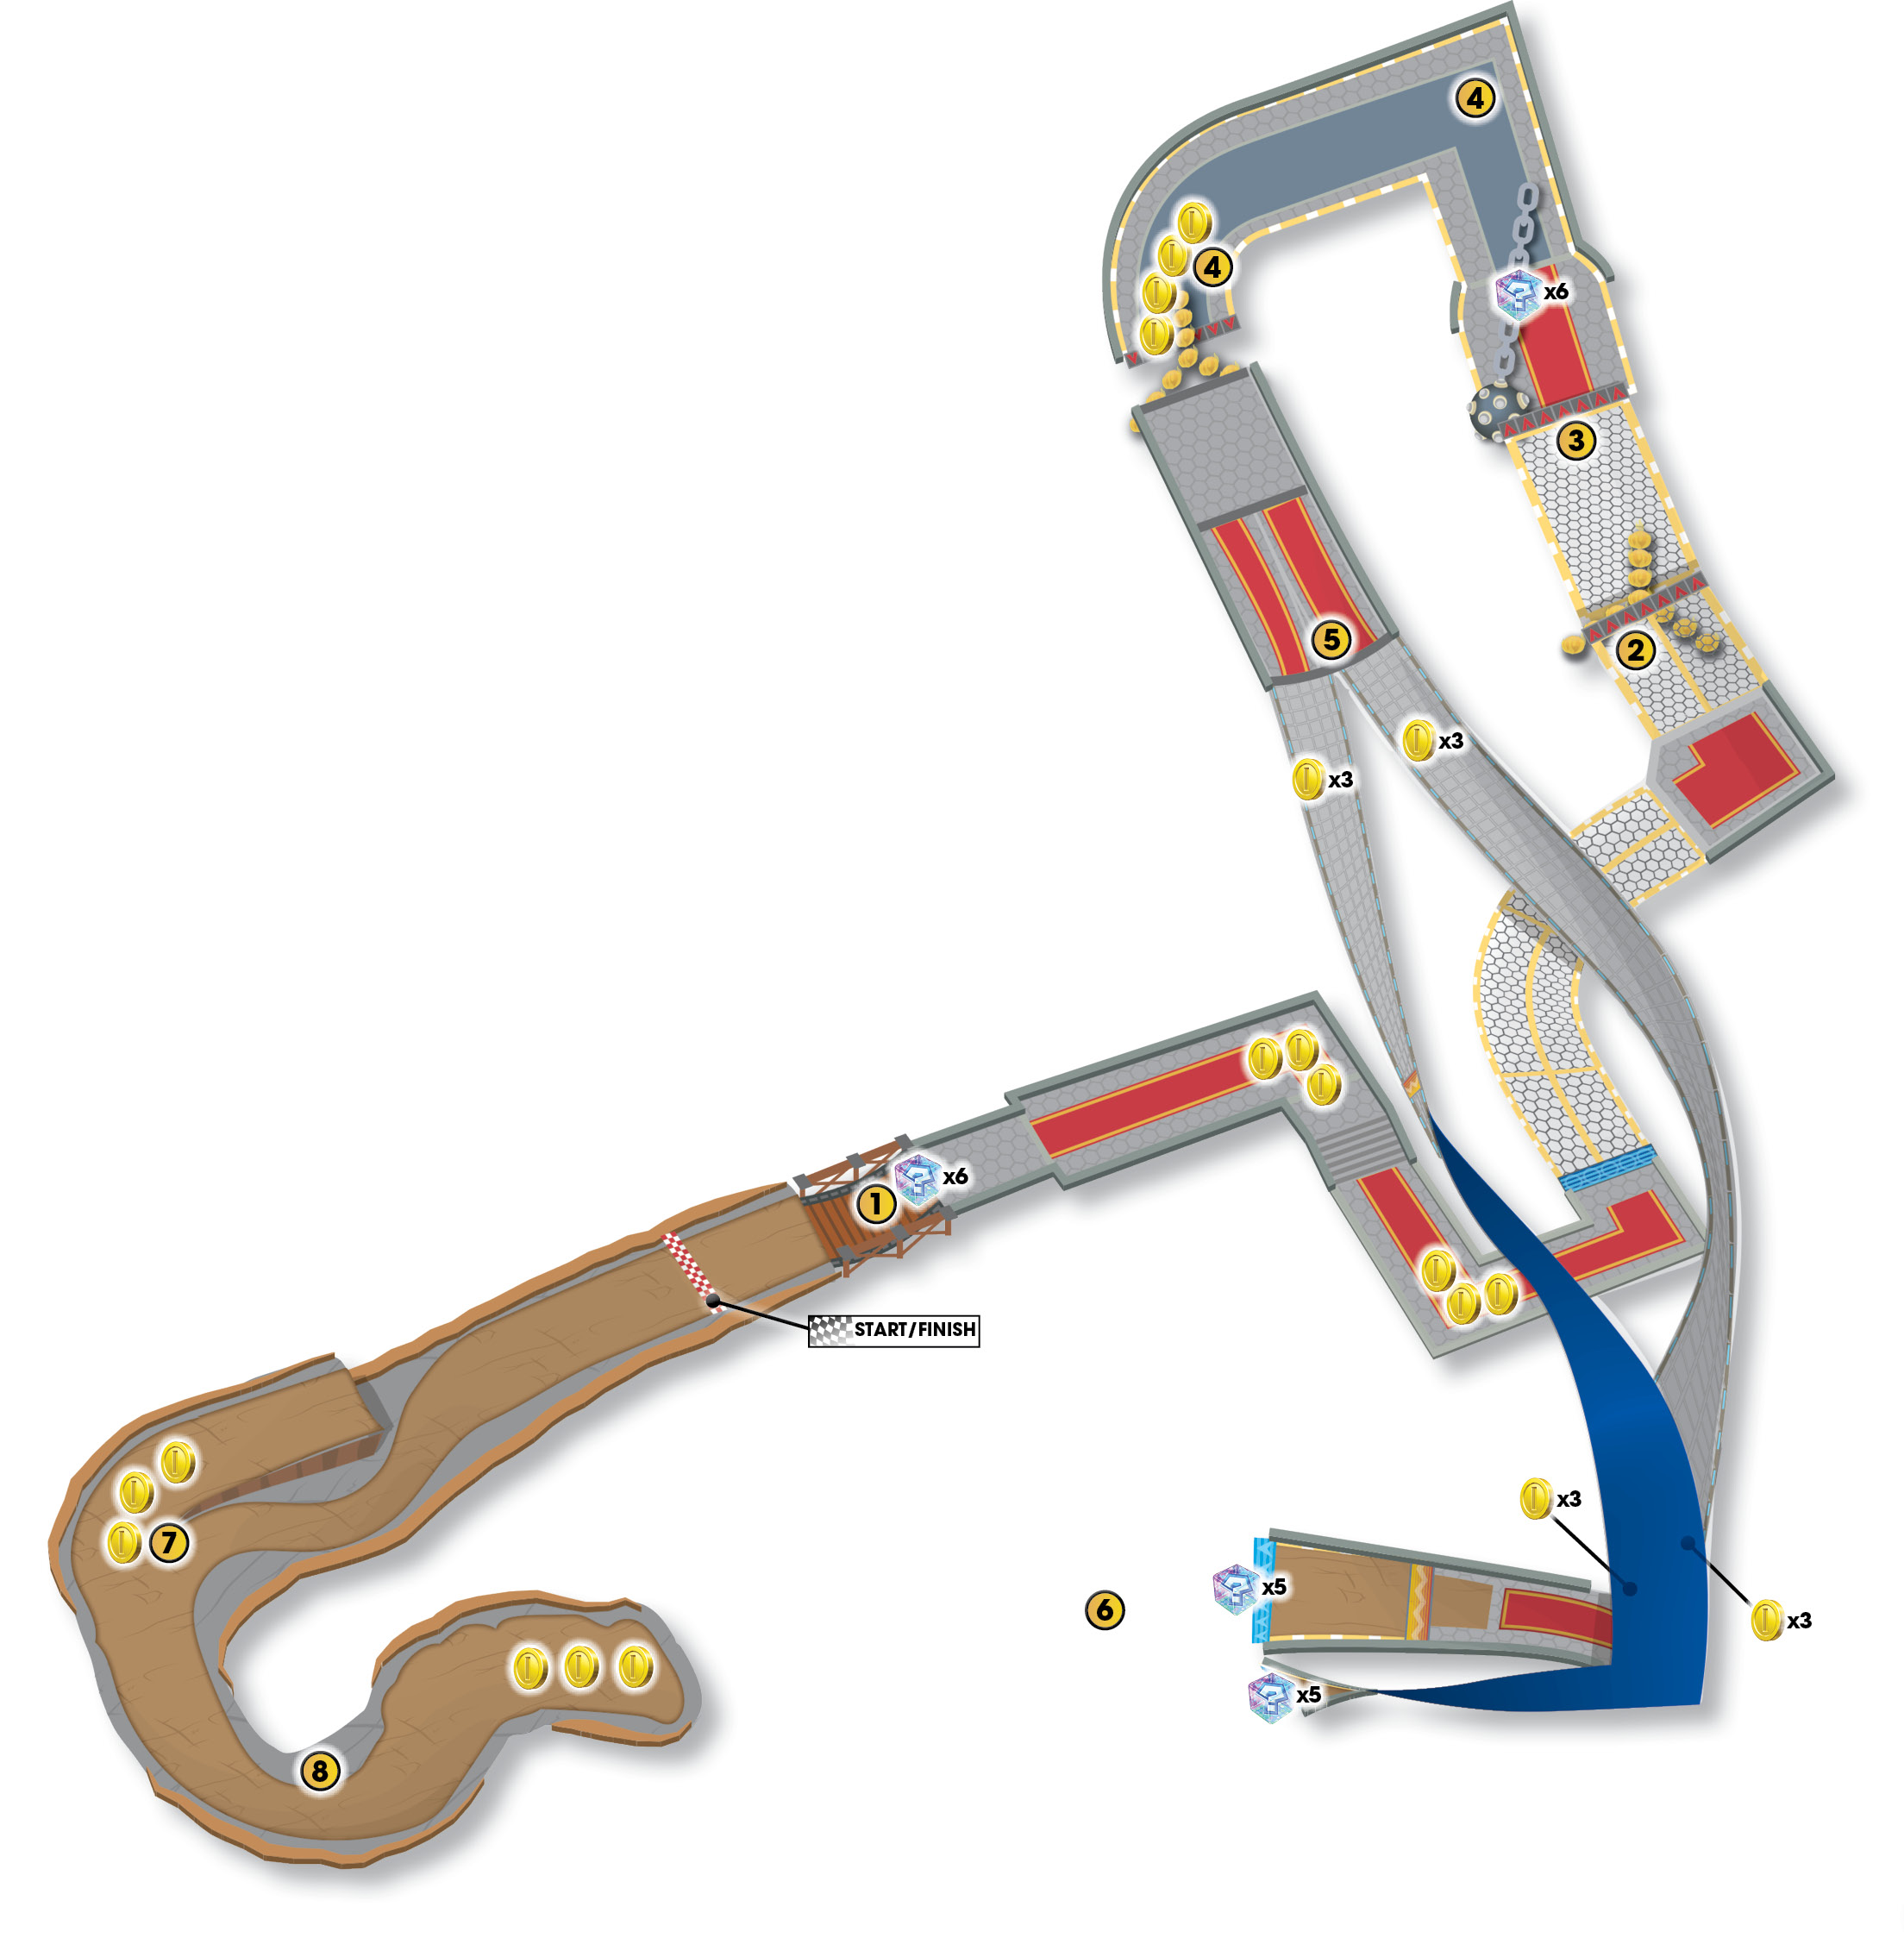
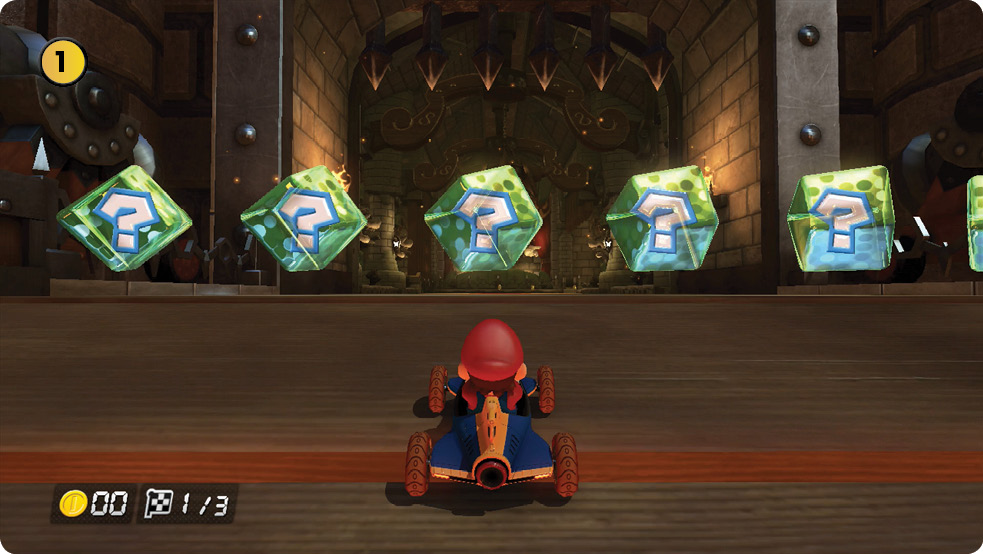
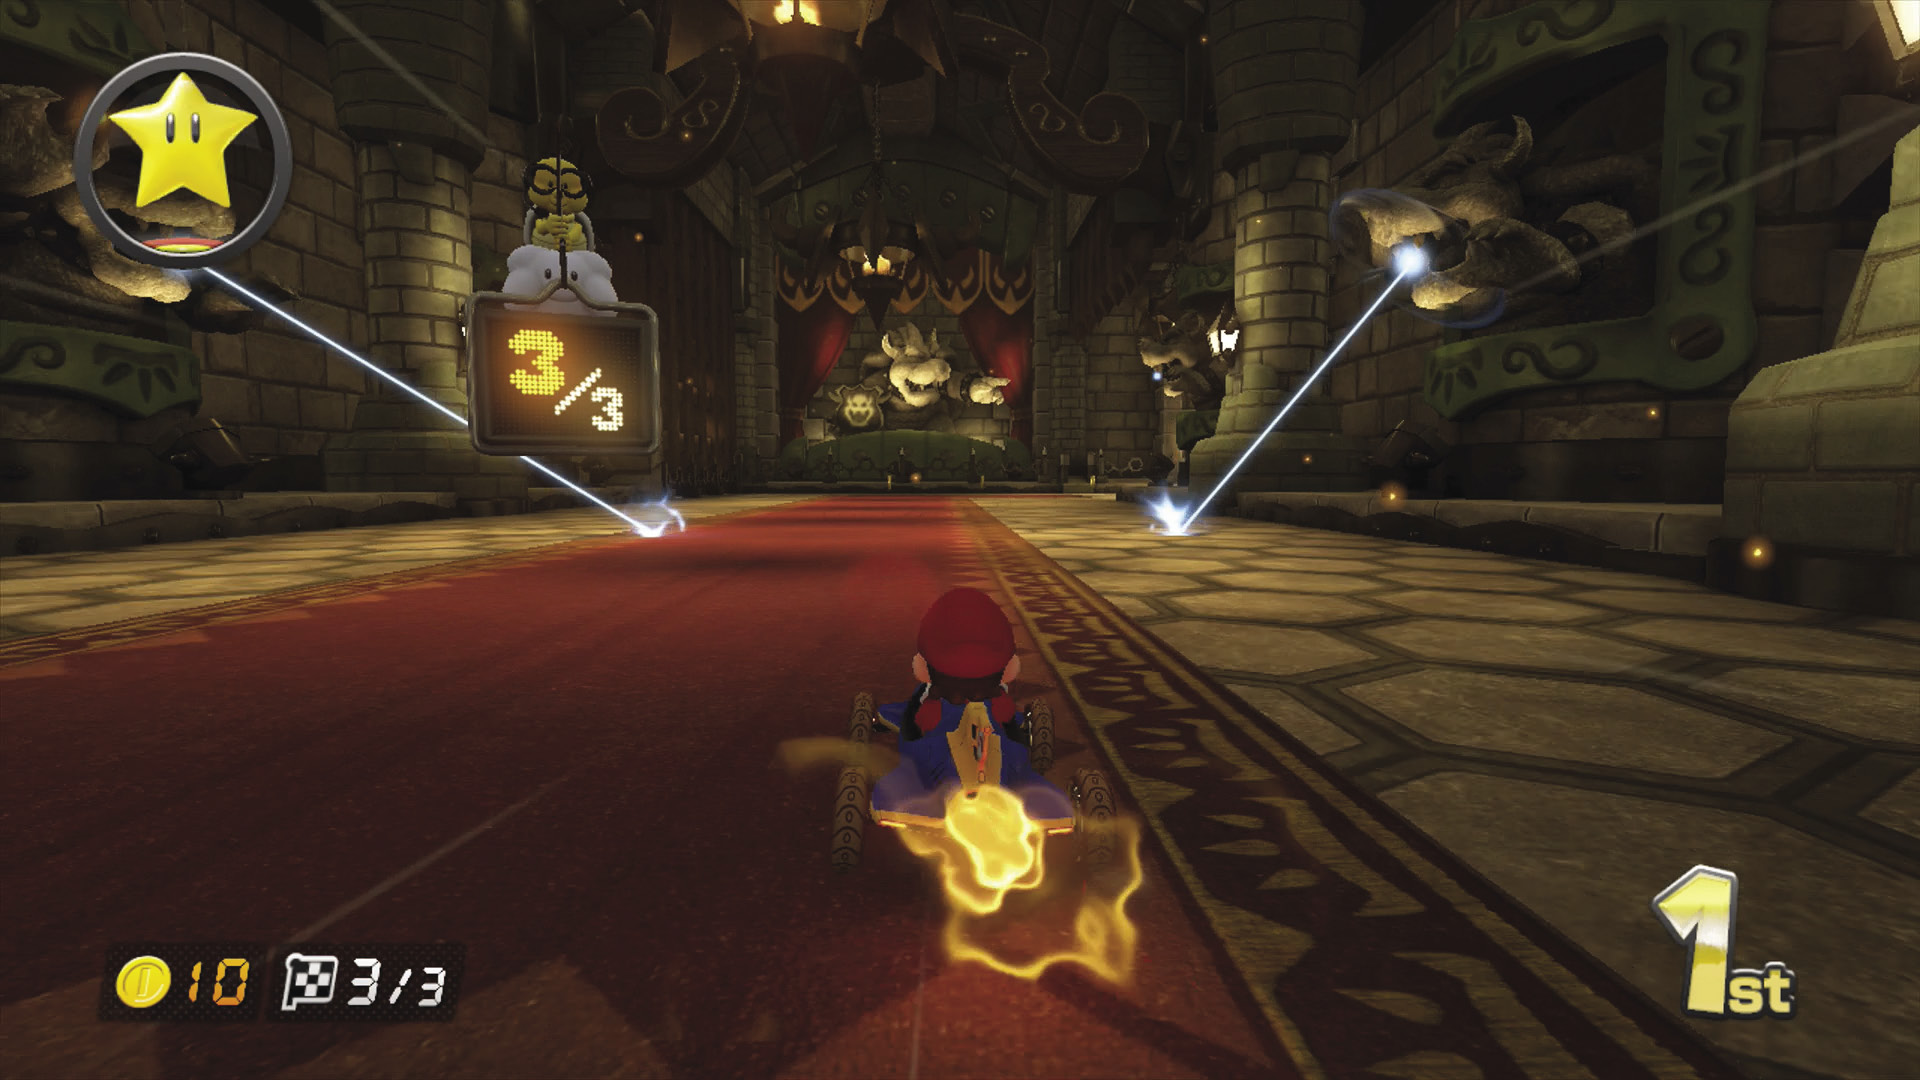
Jump Boost off the bridge leading into the castle itself. The corridor beyond will have multiple laser statues, but they are only active on Laps 2 and 3.
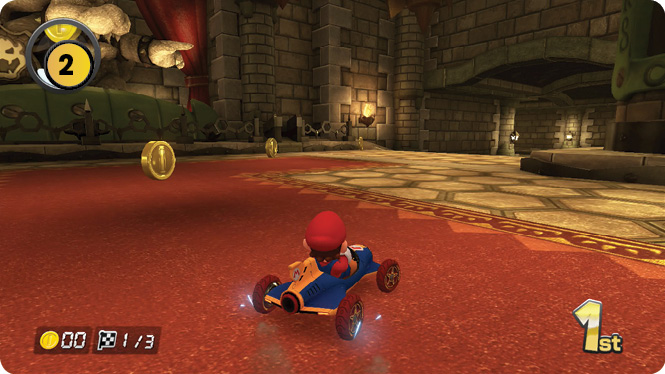
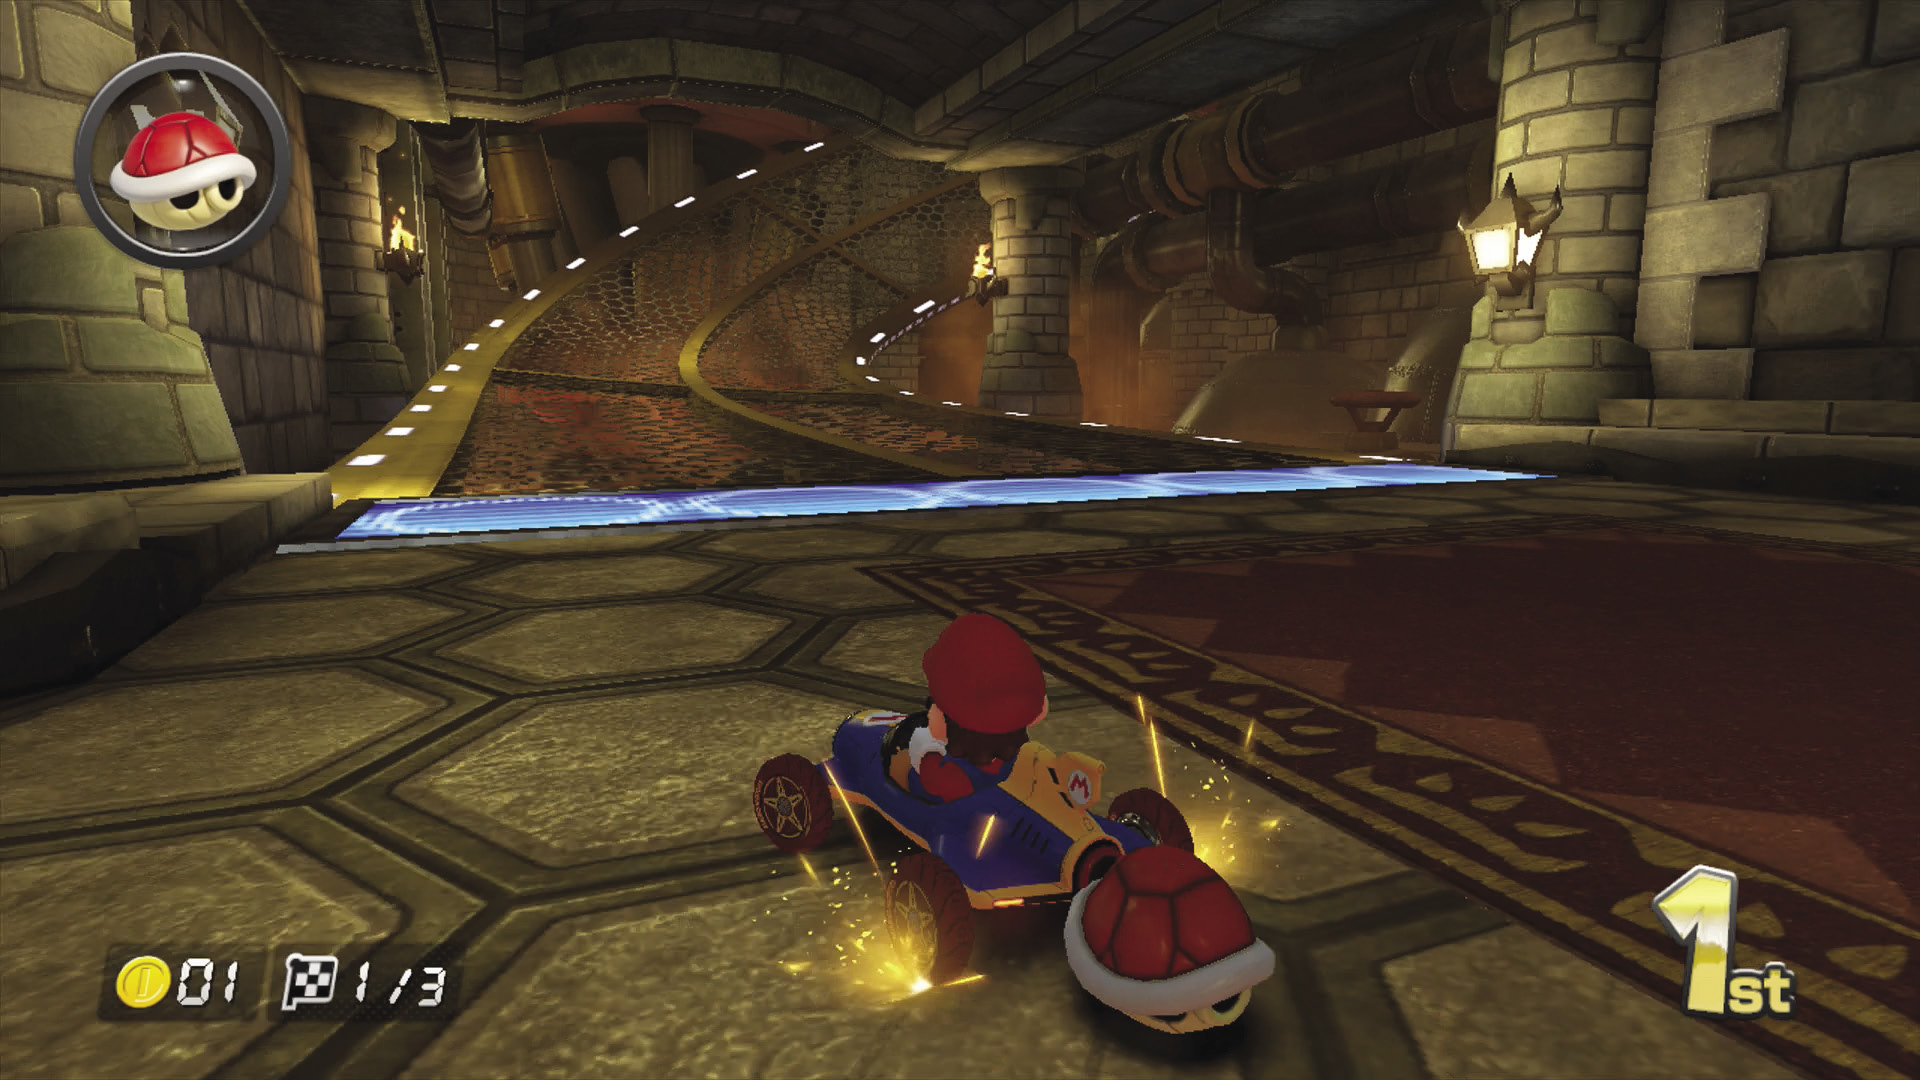
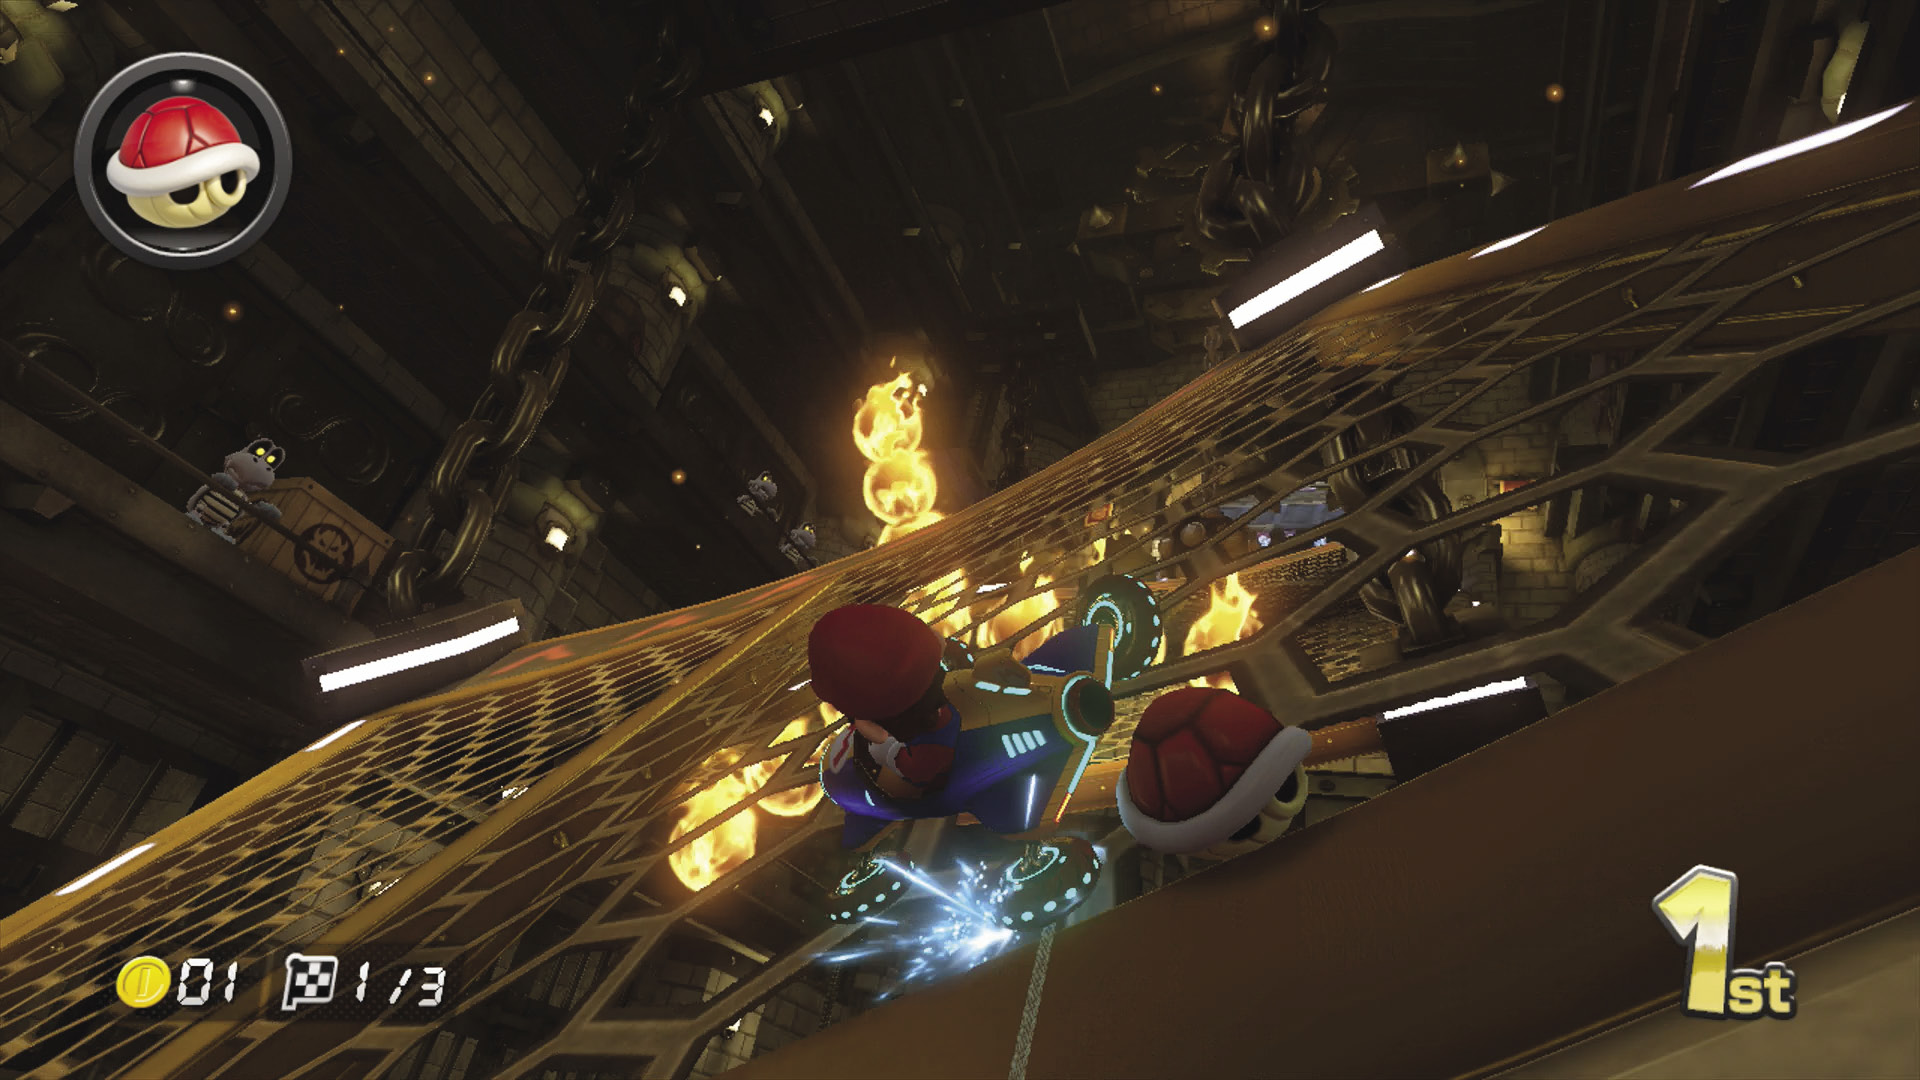
The first Fire Bar trap comes after a set of hairpin turns. You can Jump Boost off the ramp in front of the fire chain to help speed past it. The track just before any given trap is prime territory to set Bananas and force racers to take potentially unsafe paths to avoid your items and the traps!
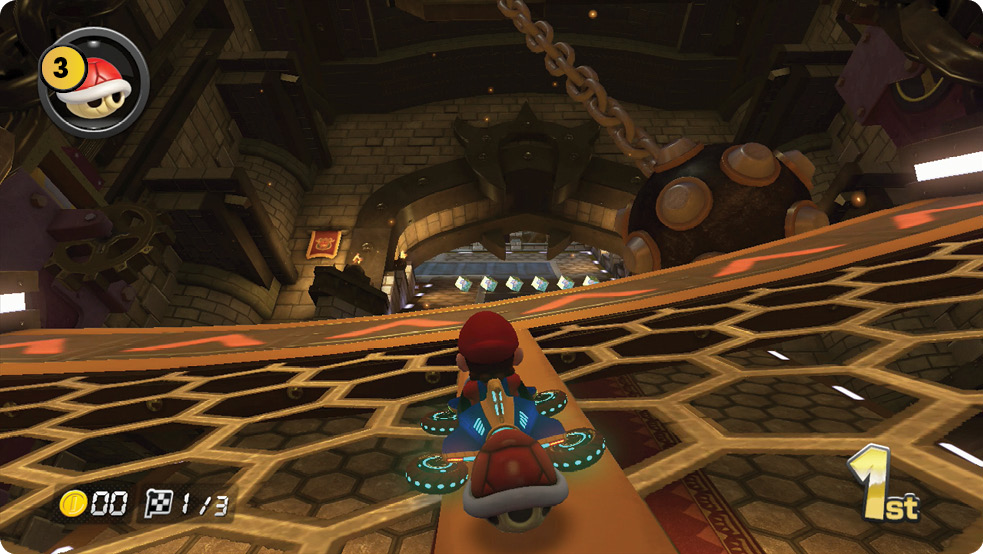
Make sure you align with the next part of the track after slipping past the fire chain. A similar setup awaits with a ball and chain. Touching it even slightly will cause you to spin out and lose Coins!
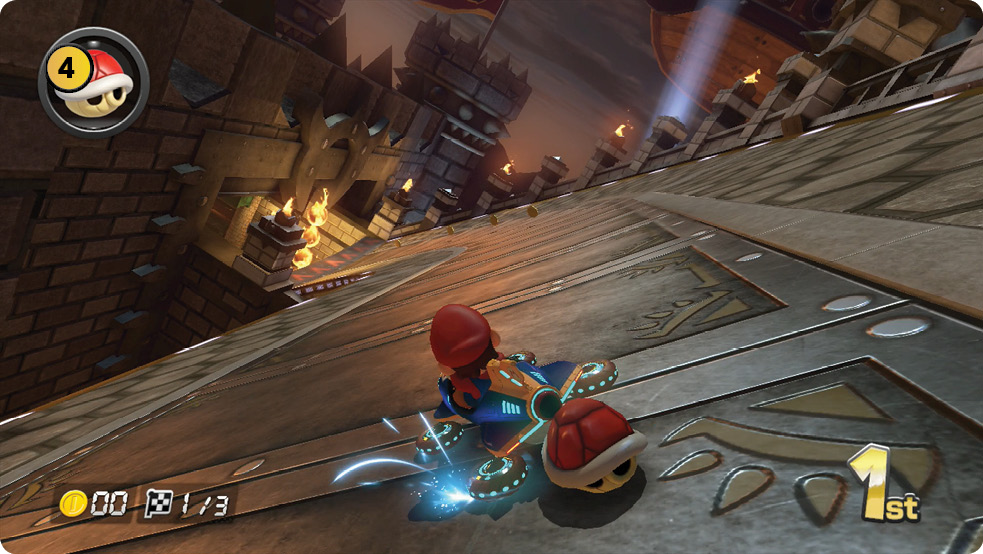
Another hairpin turn is just past the ball and chain, leading to another ramp and another Fire Bar trap.
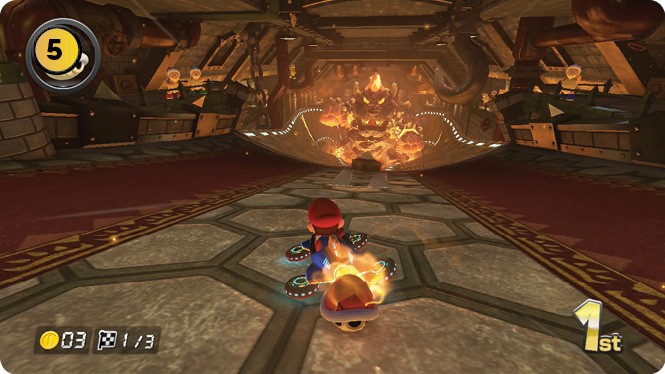
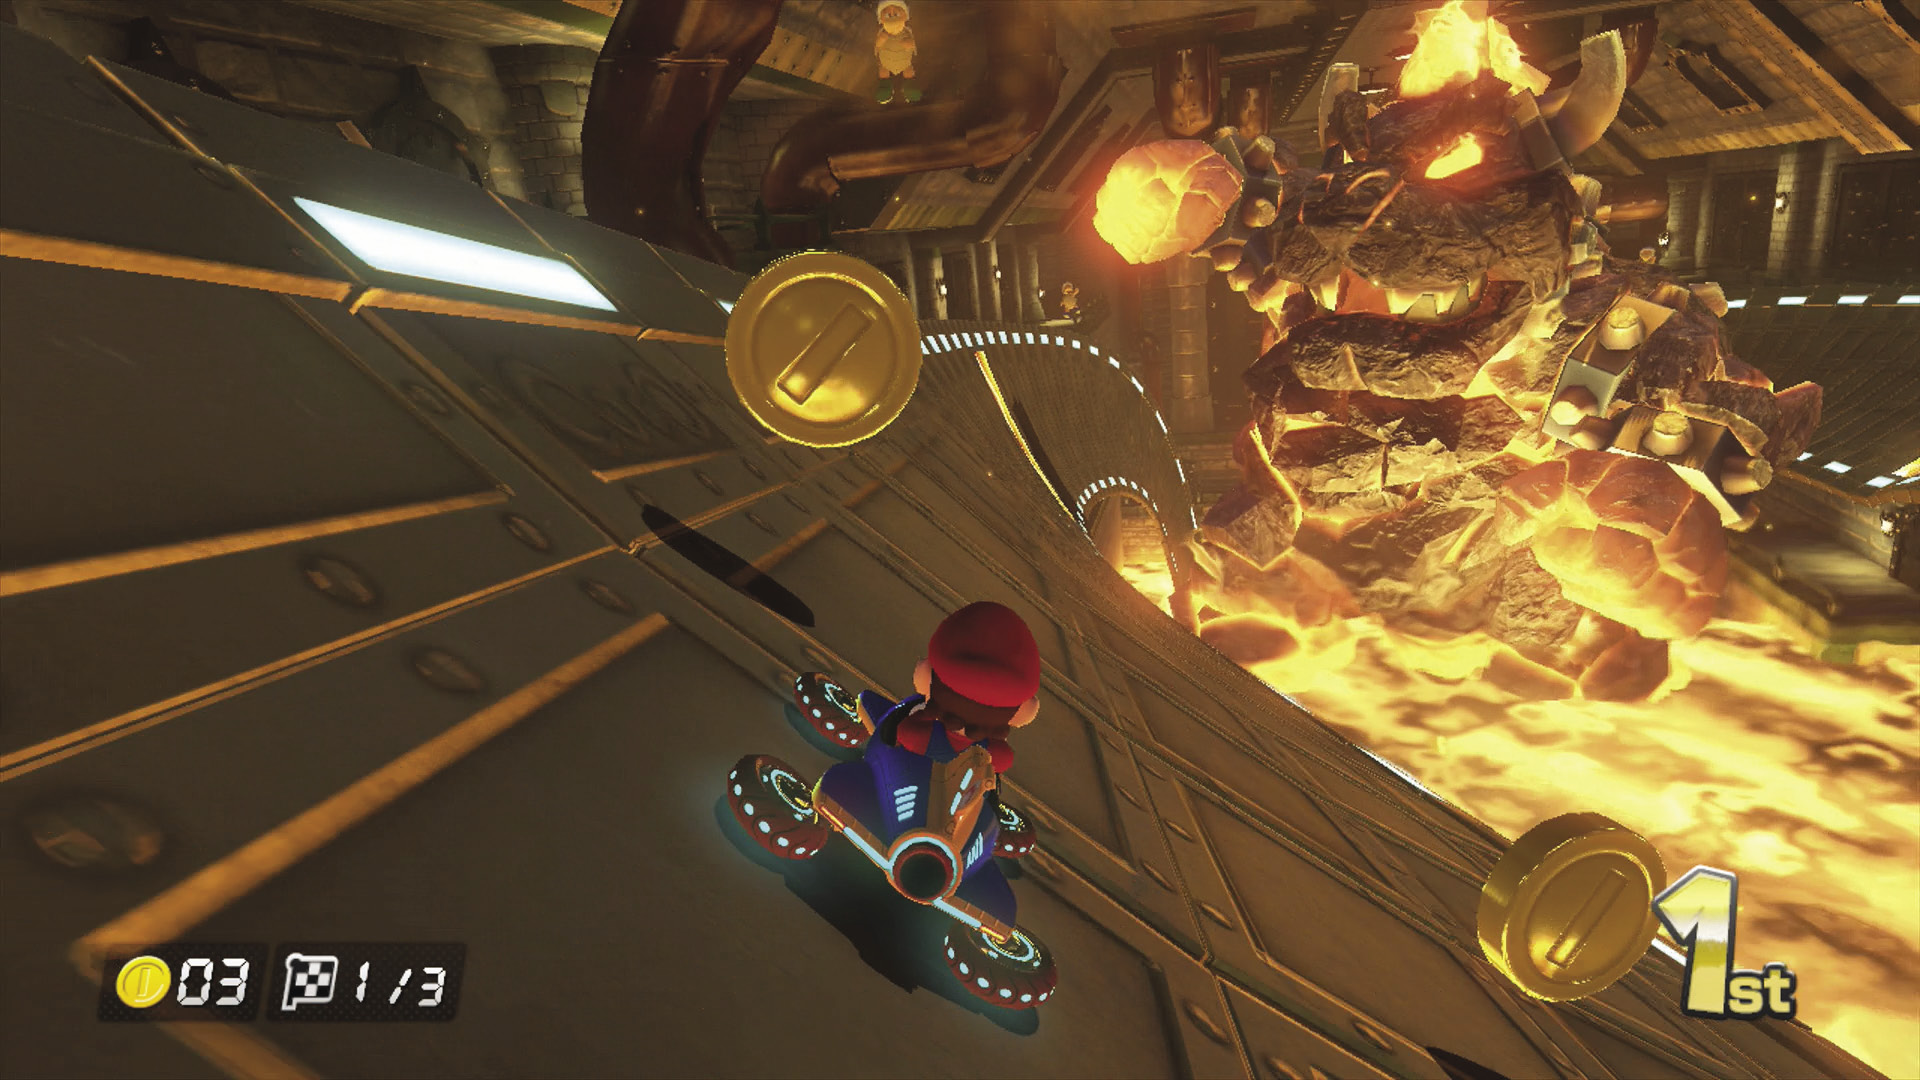
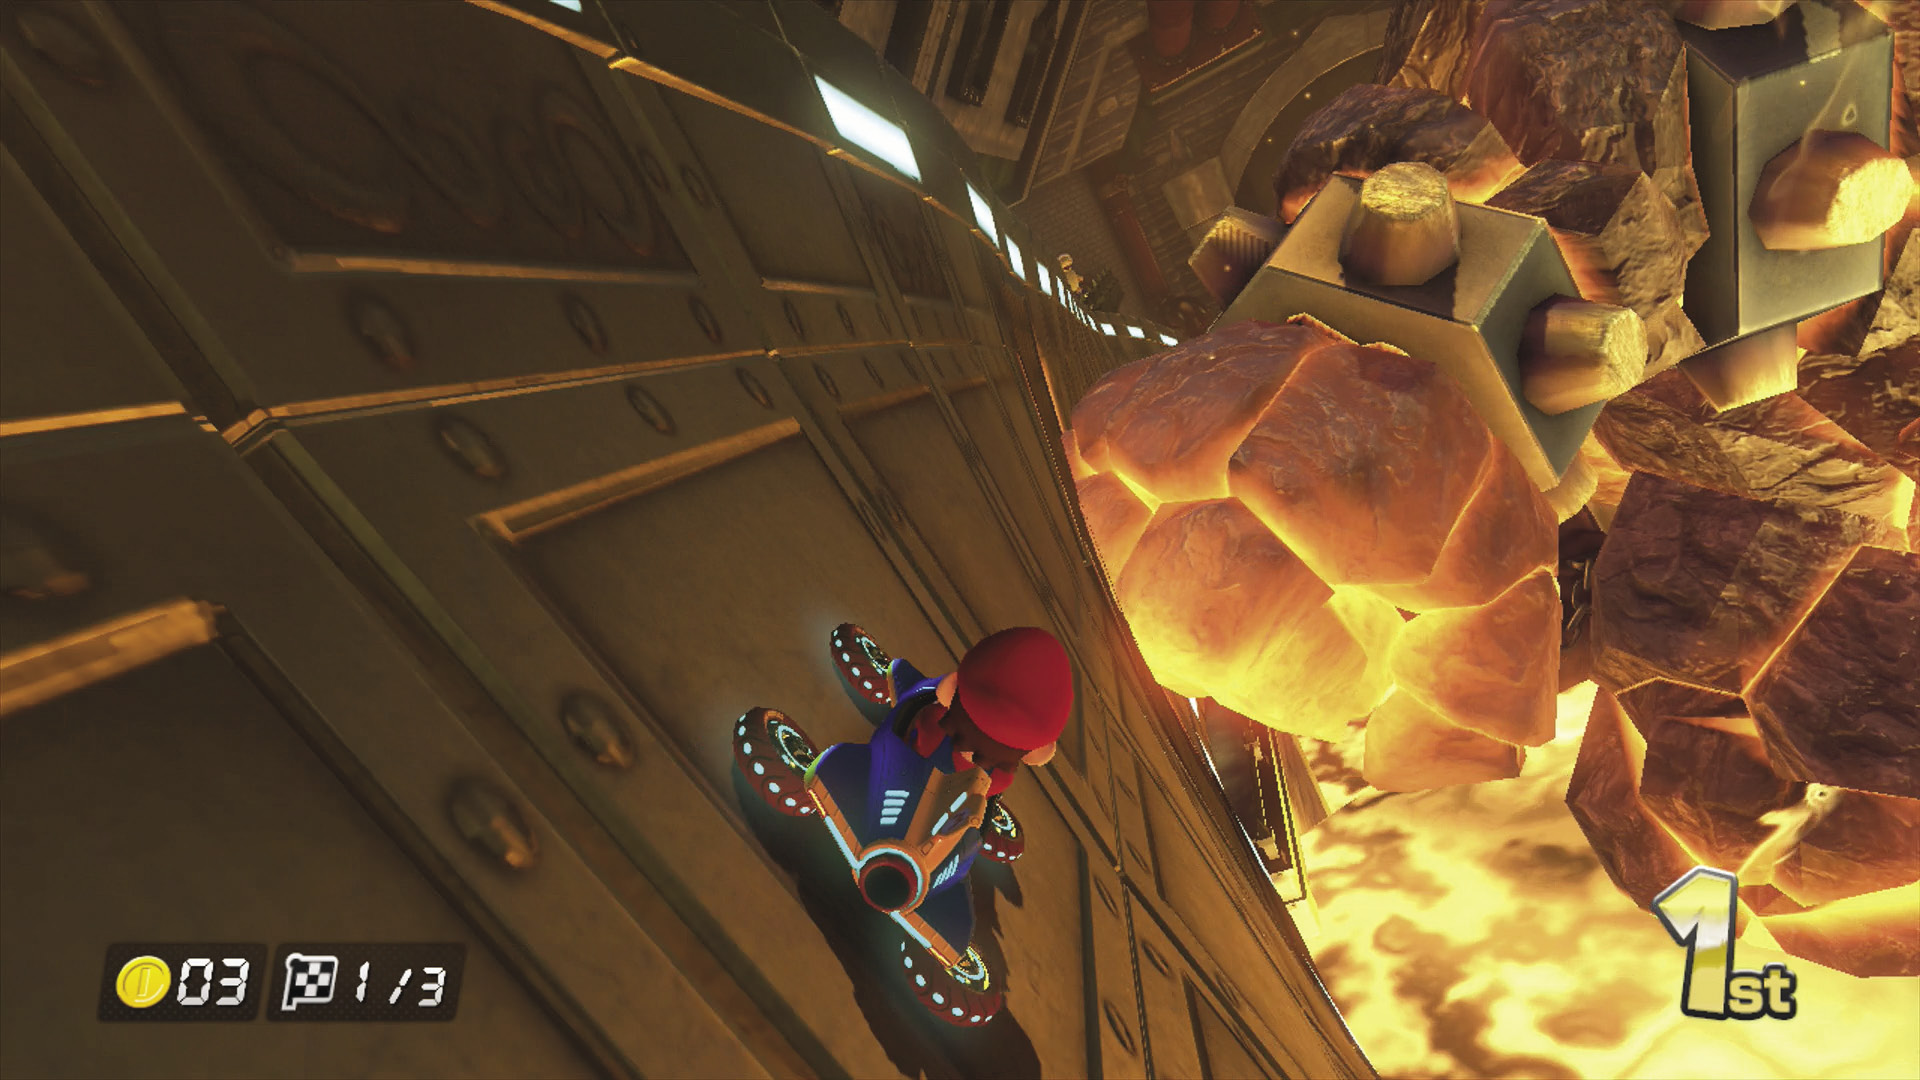
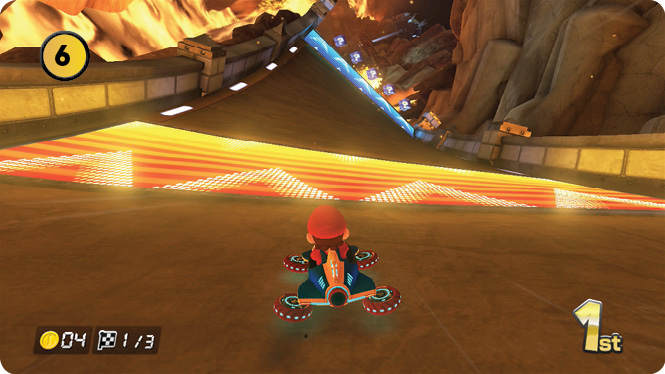
The course splits into two antigravity paths, with the Bowser monument punching away at both. You can Jump Boost off the undulating portions of track, sometimes repeatedly when you’re driving away from the statue. Just make sure the monument doesn’t flatten you with its fists!
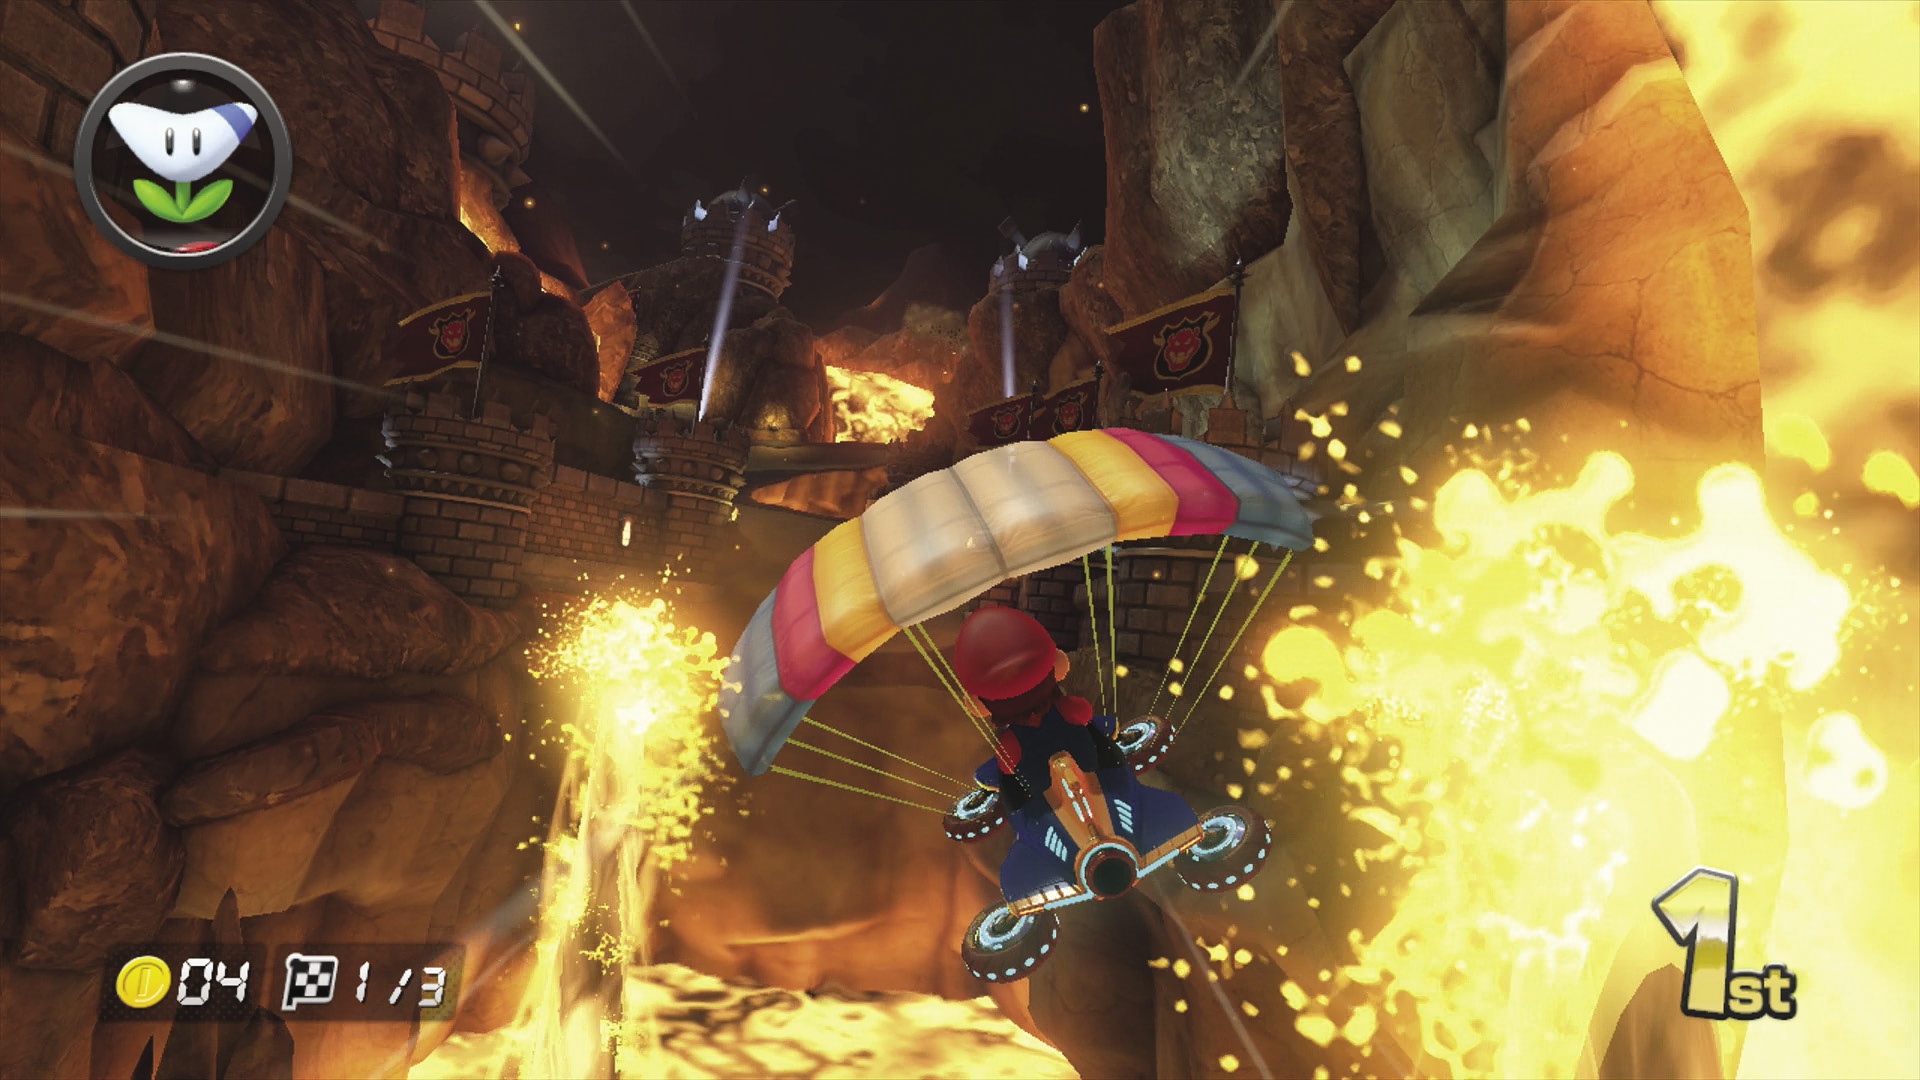
Regardless of your chosen path, both will launch you across a lava chasm. Make sure you don’t stray too low so you don’t hit the lava geysers, or fail to make the jump entirely!
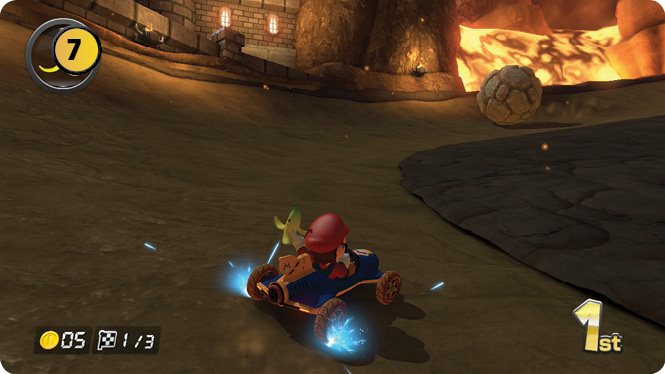
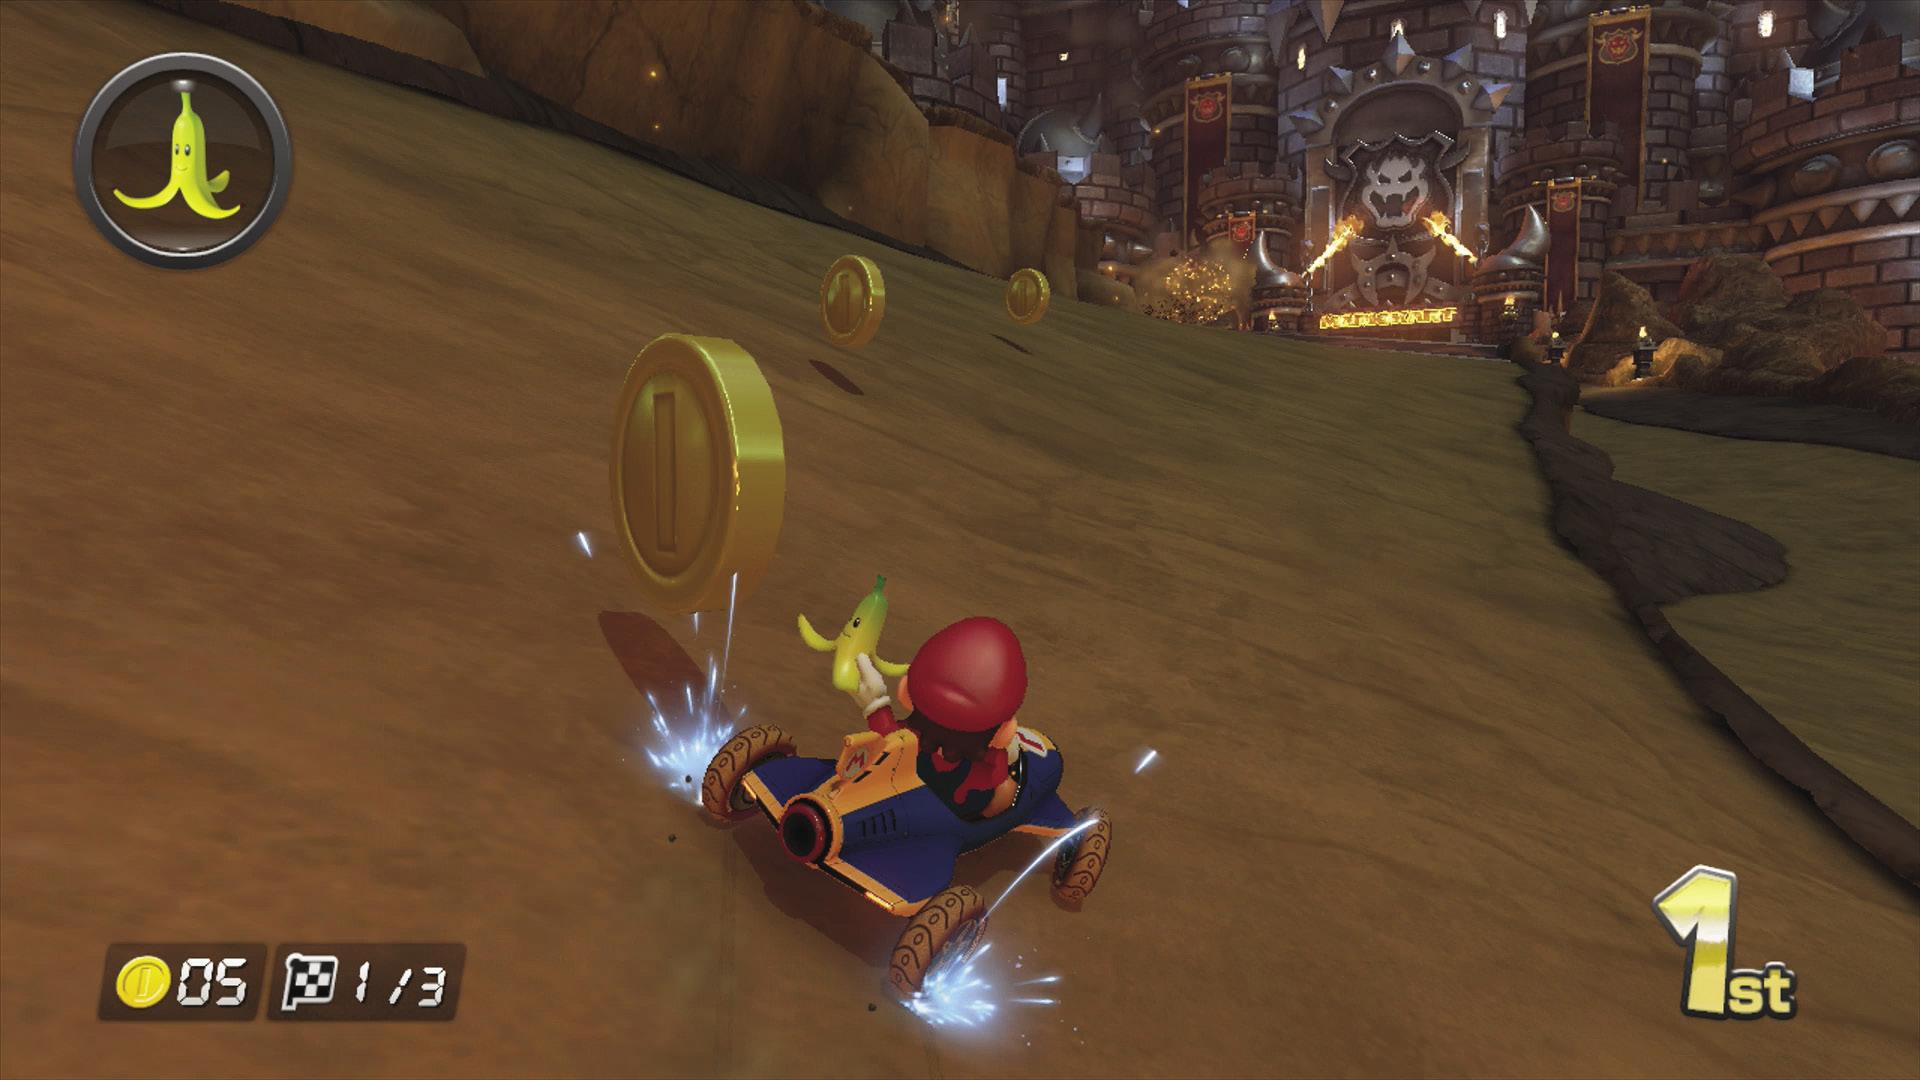
The last part of this course is a long right turn going uphill, while boulders roll down the hill. As you reach the end of the climb, you can choose to stay on the inside track, or take a raised part of the track for another ramp to Jump Boost off of.
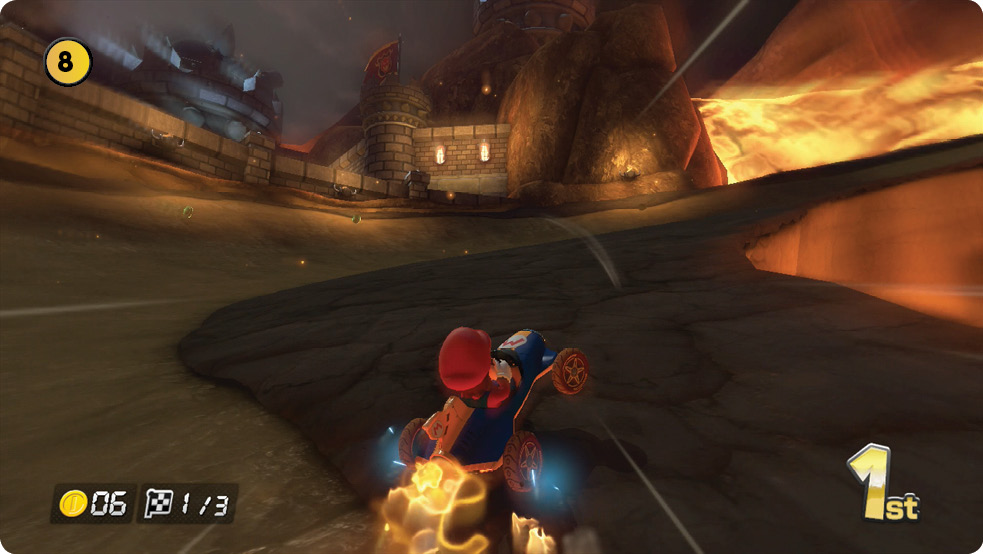
You can also cut a good chunk of the inside track by using a Mushroom across a portion of rough dirt on the right side of the track.
Time Trial Mode
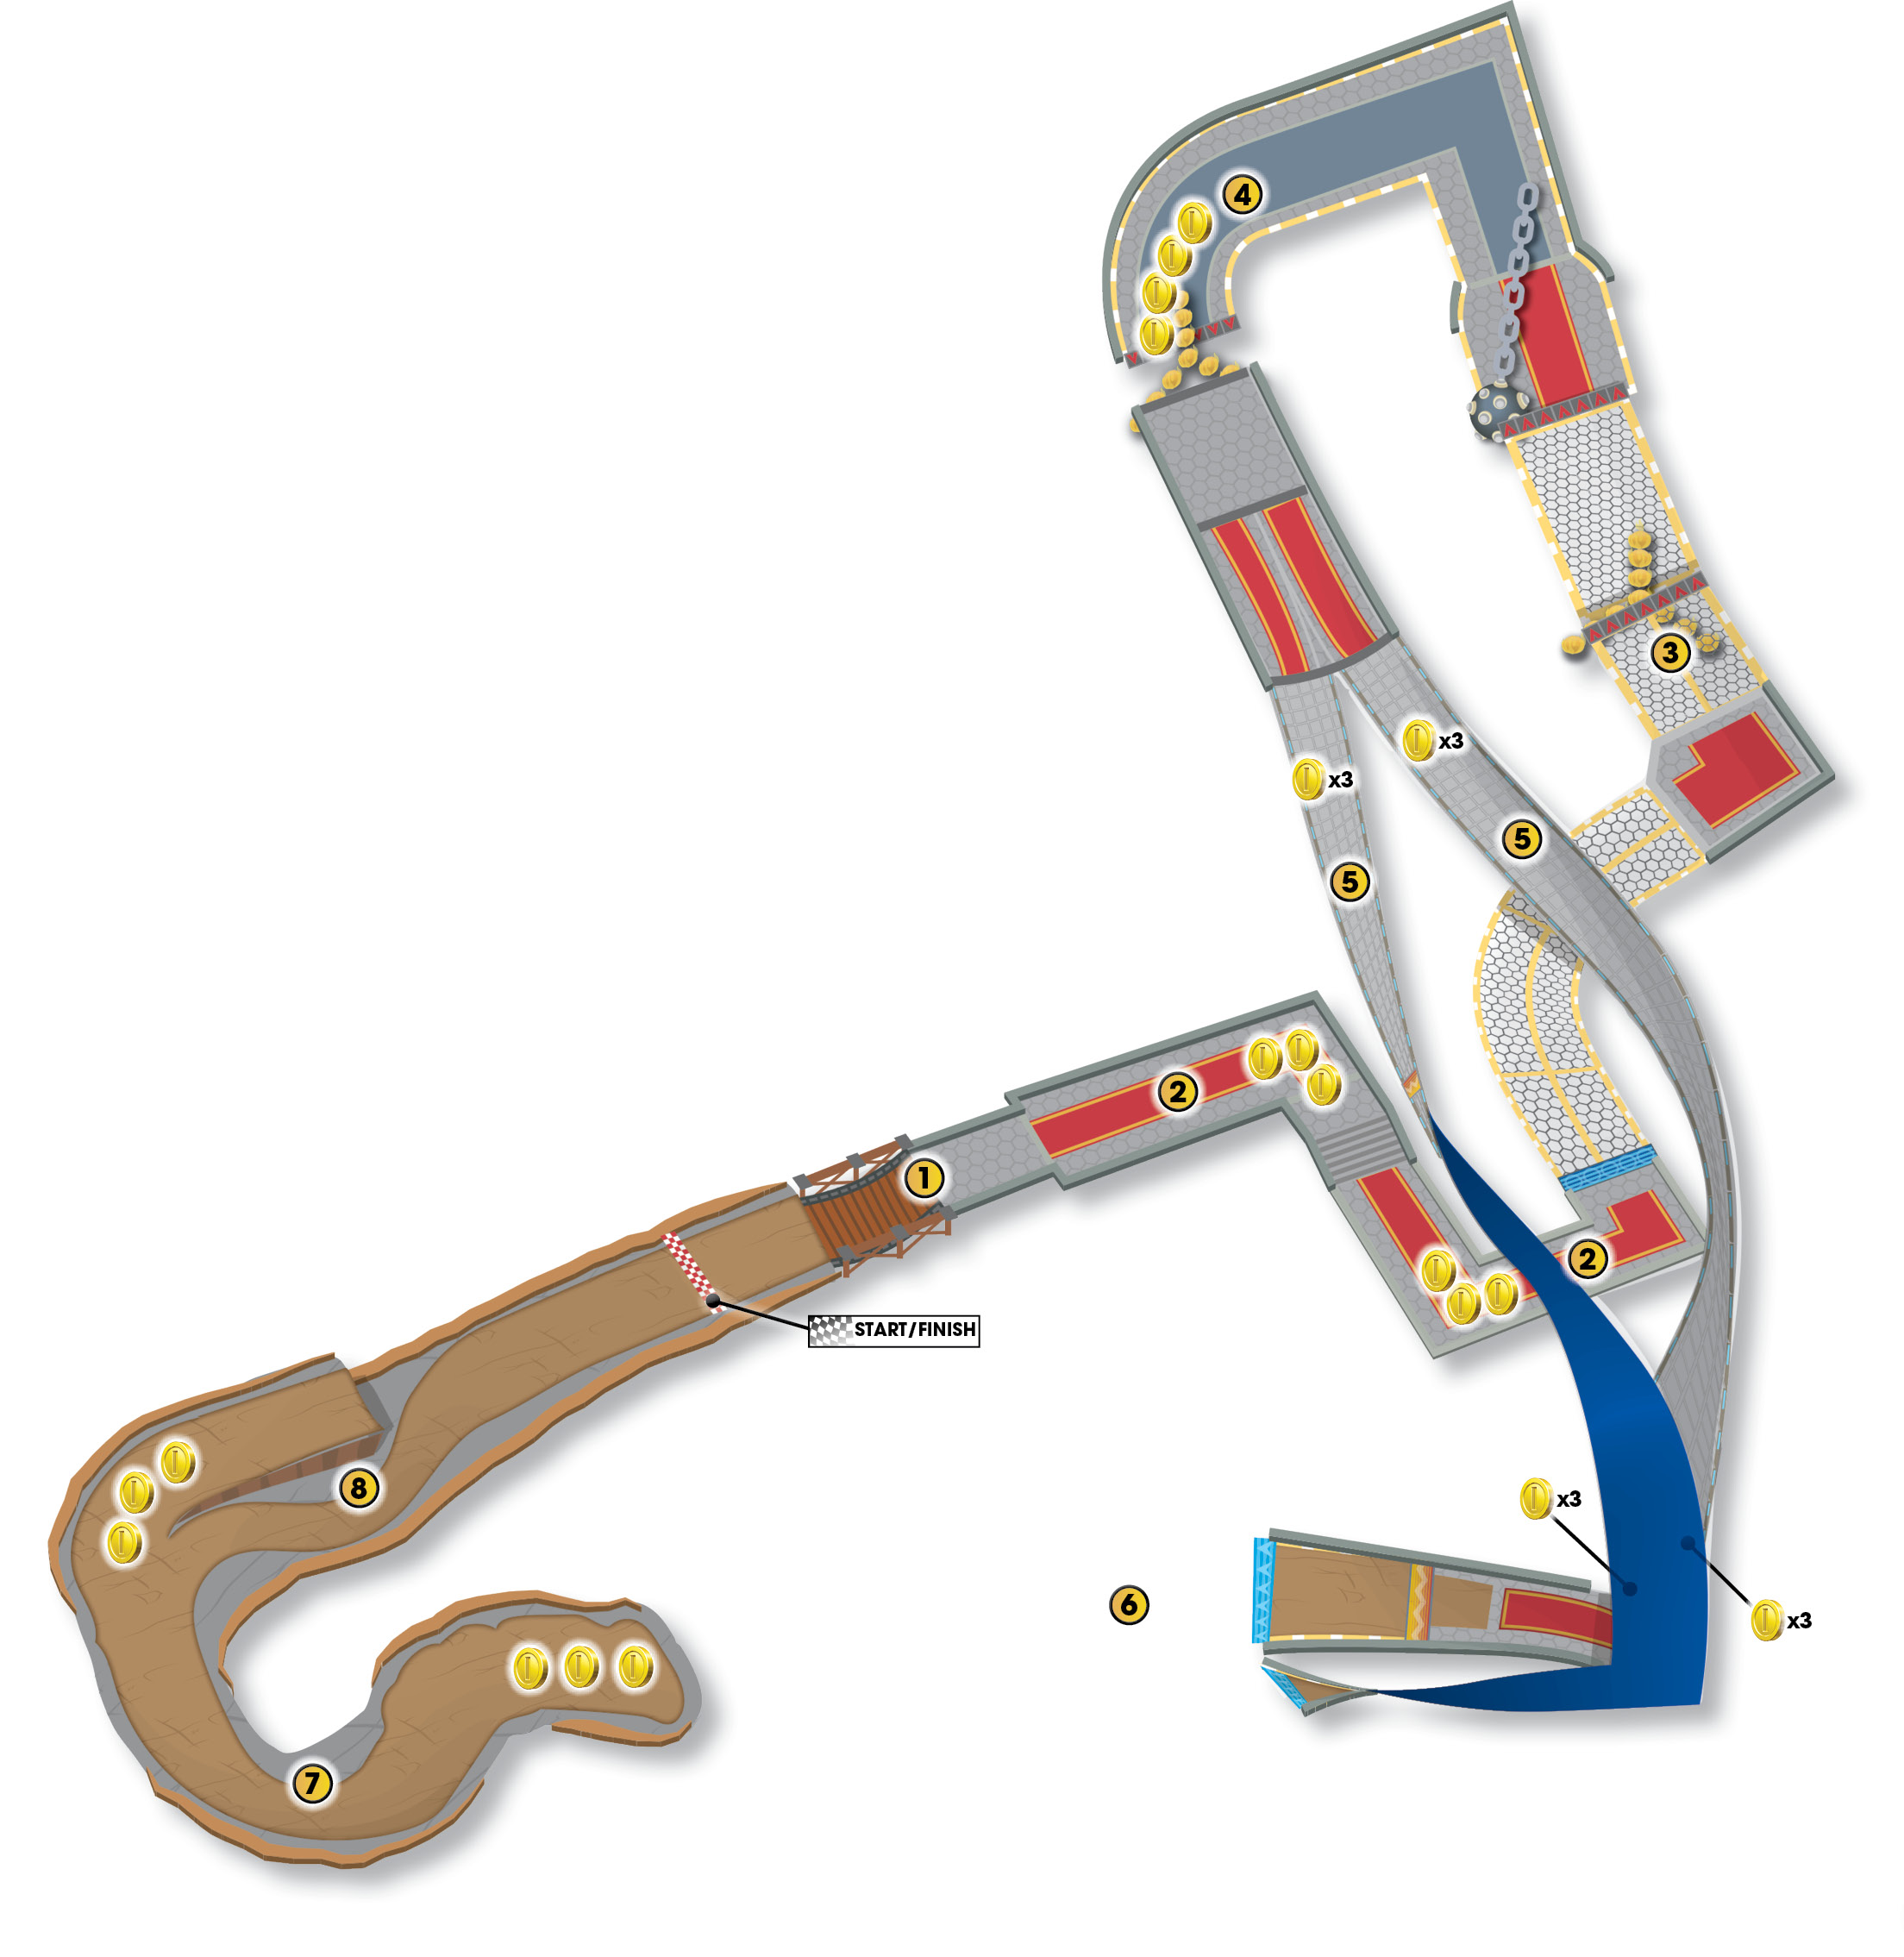
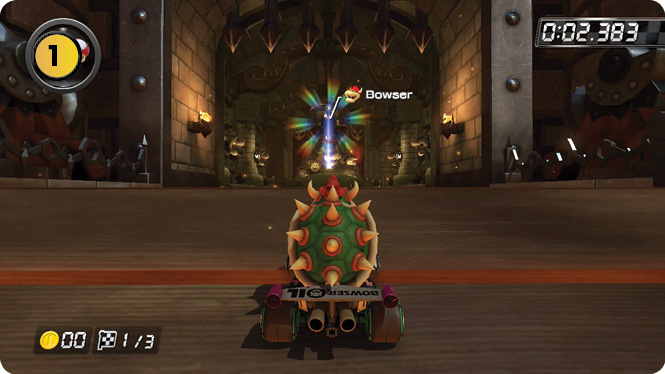
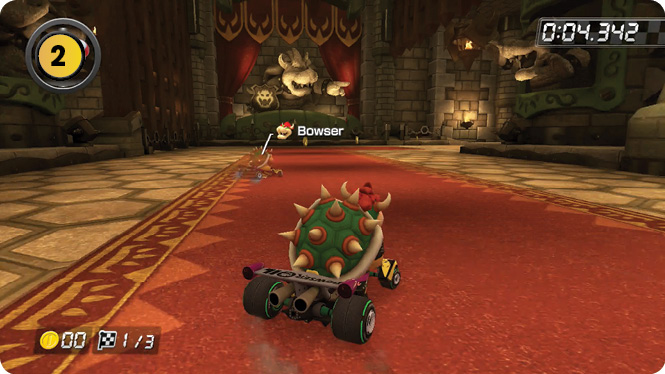
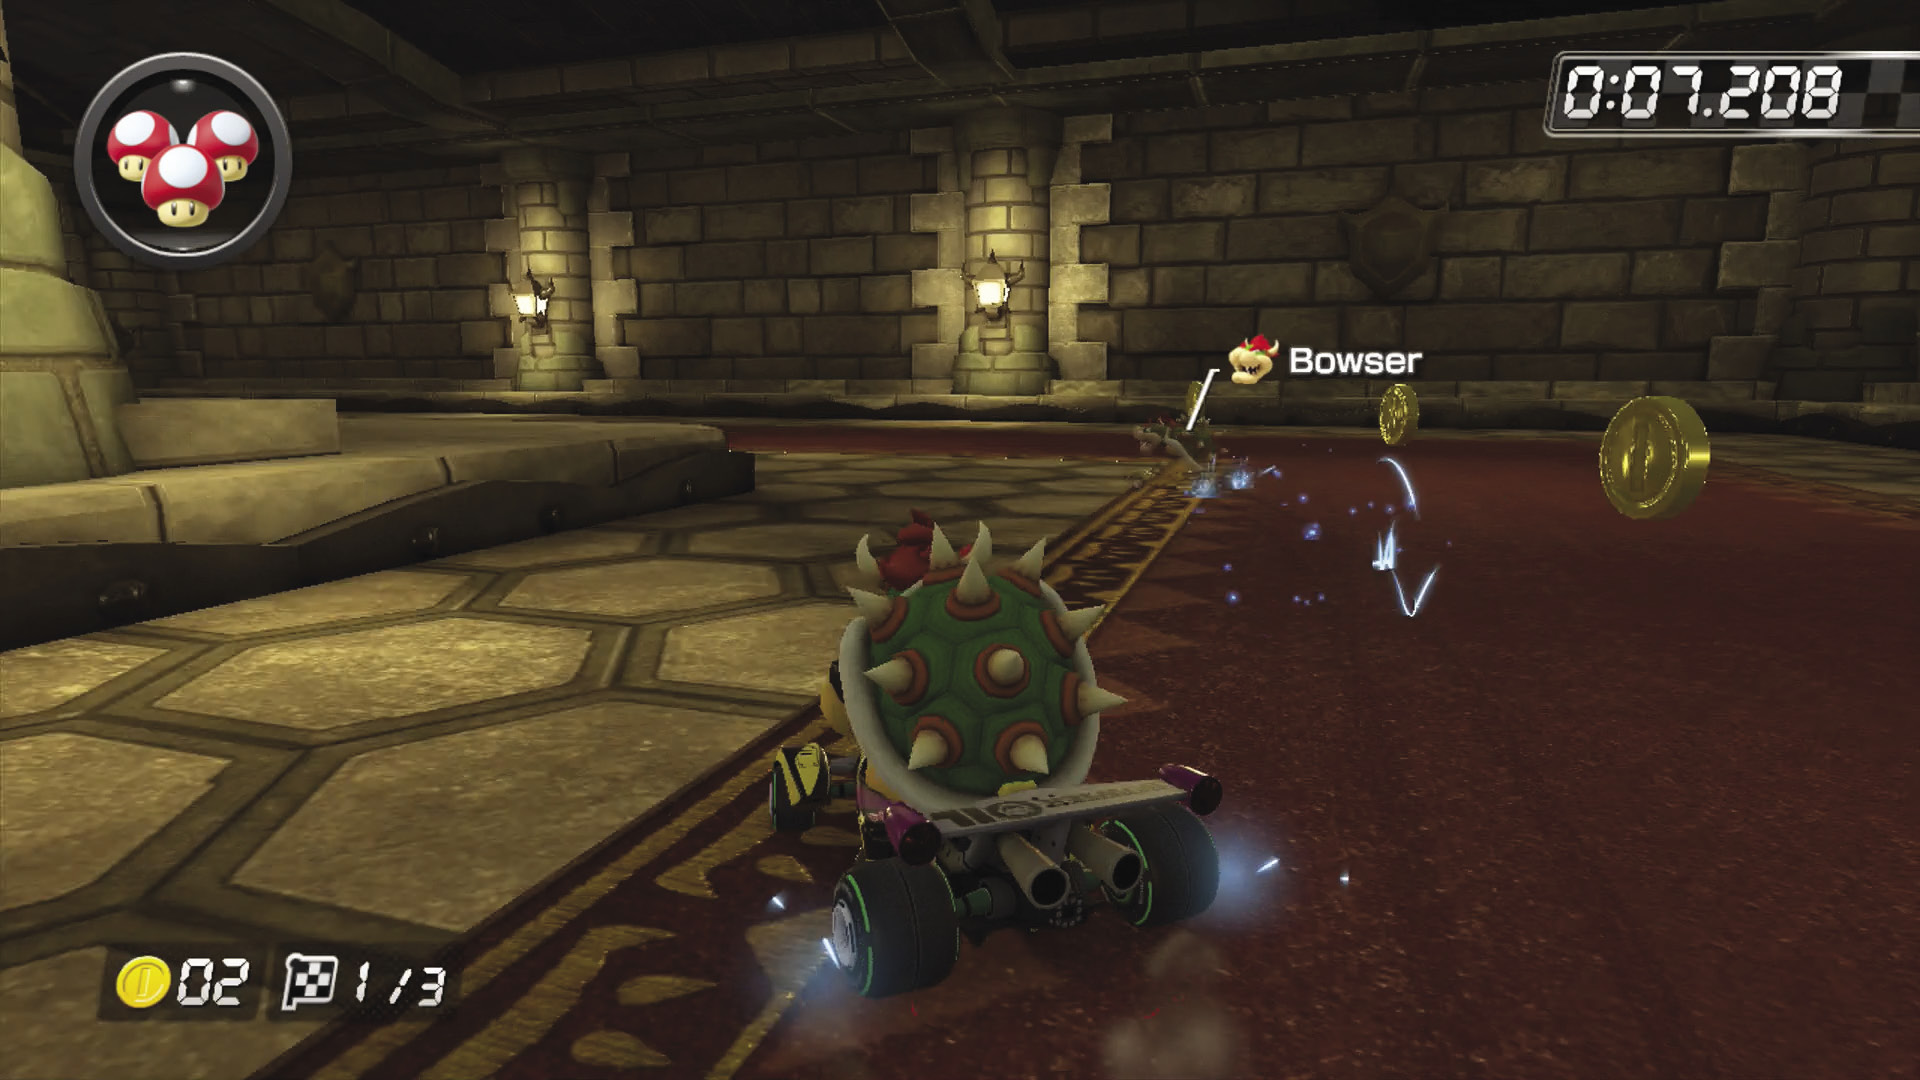
On Lap 1, the laser statues are inactive and the first turn to the right can be easily navigated to collect three Coins while drifting on through. Three more Coins can be found in the middle of the track on the second turn to the left.
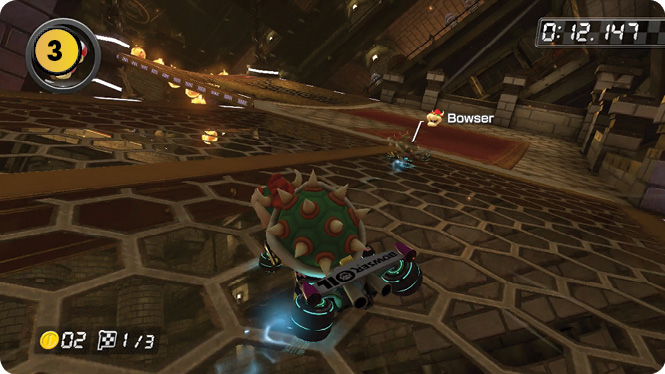
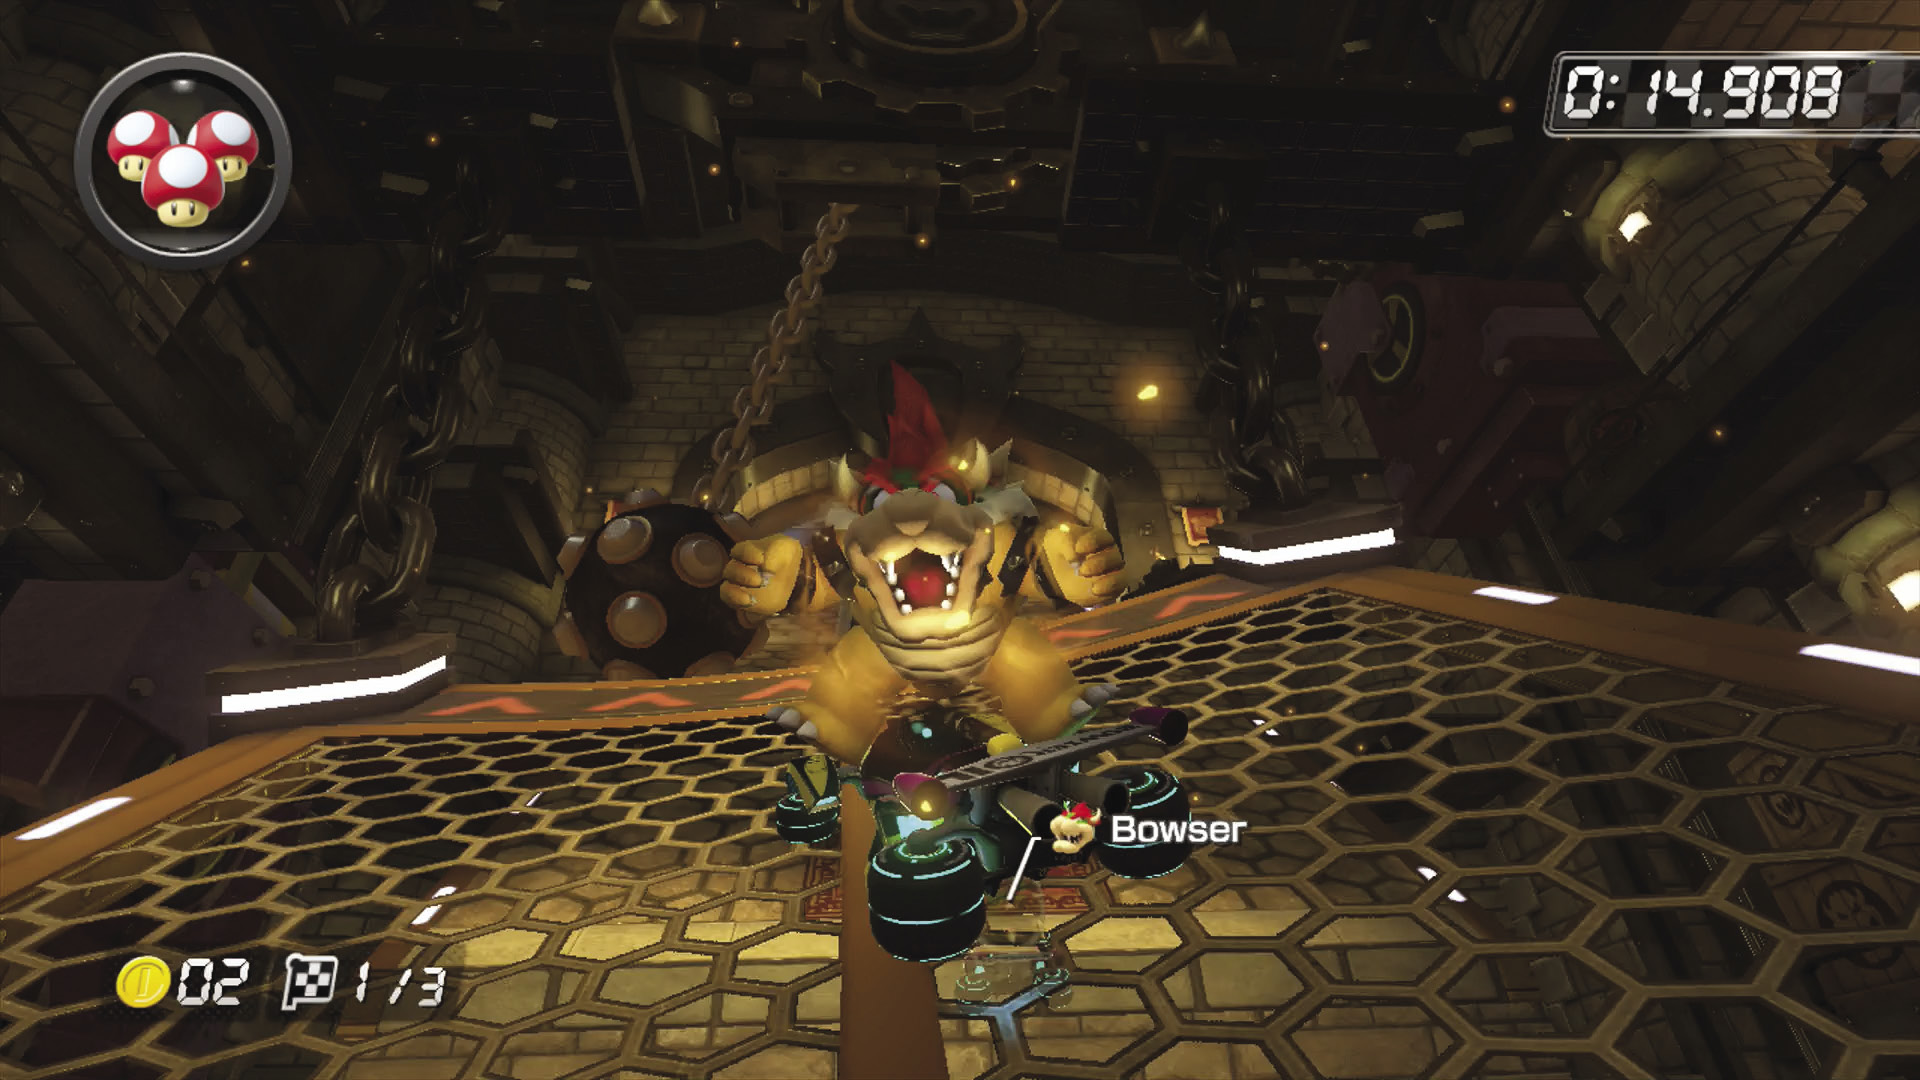
After a relatively simple S-curve, you have to navigate the Fire Bar/ball and chain gauntlet. Stay focused on the road ahead so as you slip past the traps (while Jump Boosting off the ramps in front of them), you’re aiming yourself towards safe racing lines.
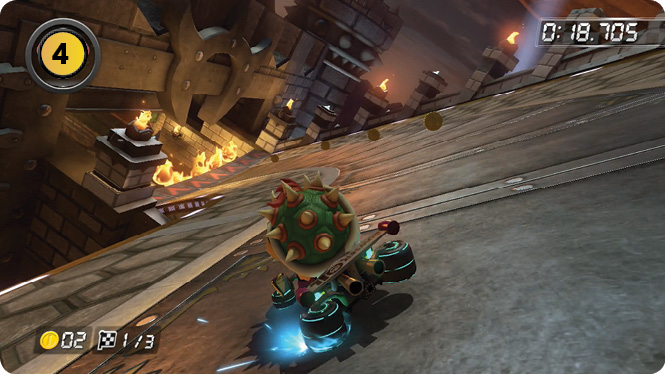
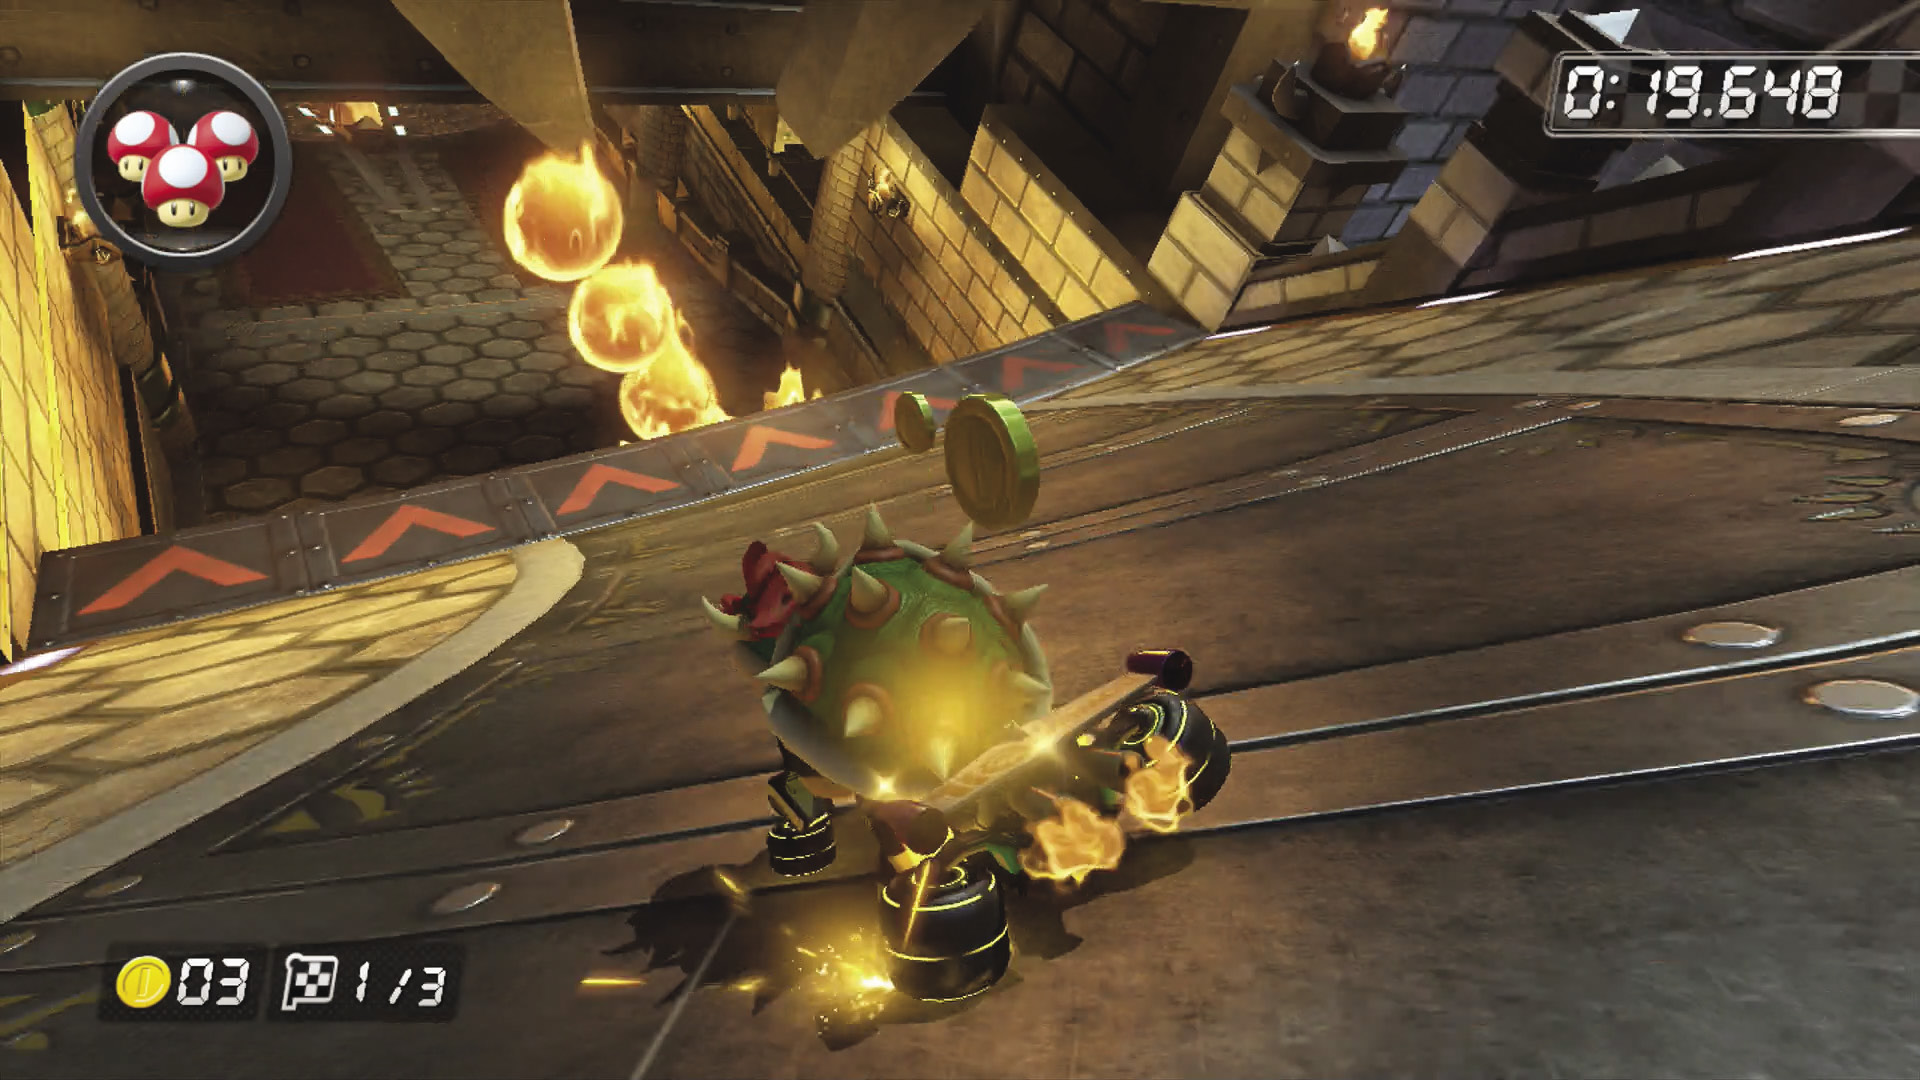
This long turn to the left has four more Coins to collect. Try to snag ‘em all on Lap 1, and on future laps cut this turn as tight as you can to the left side of the track. Be ready to avoid the upcoming Fire Bar trap!
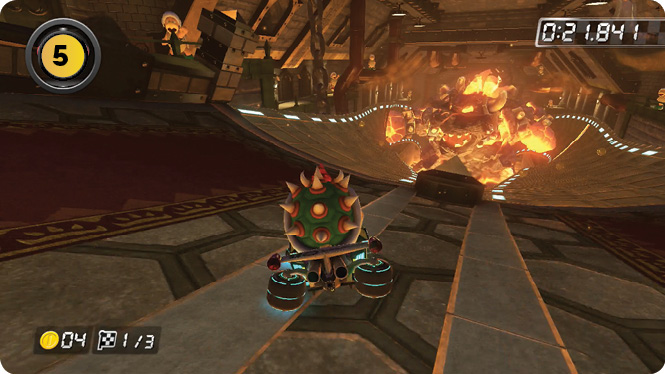
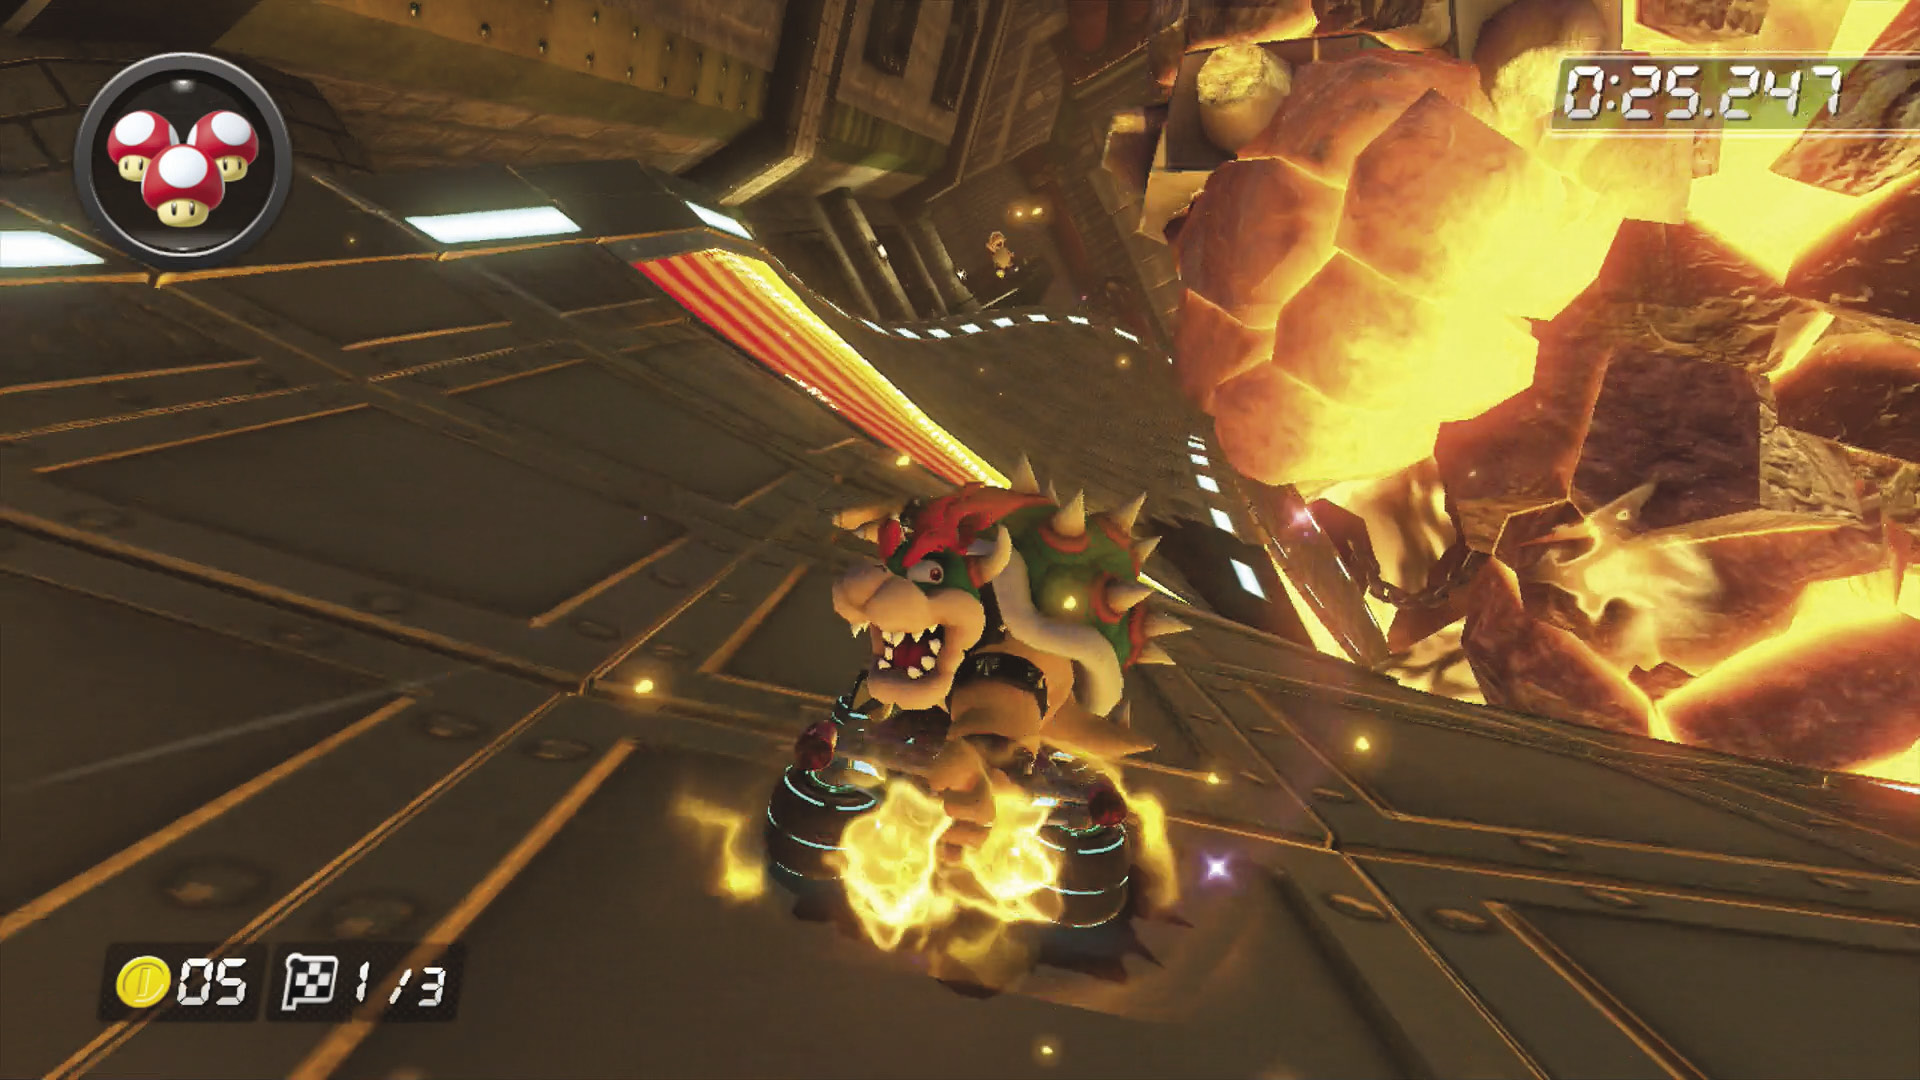
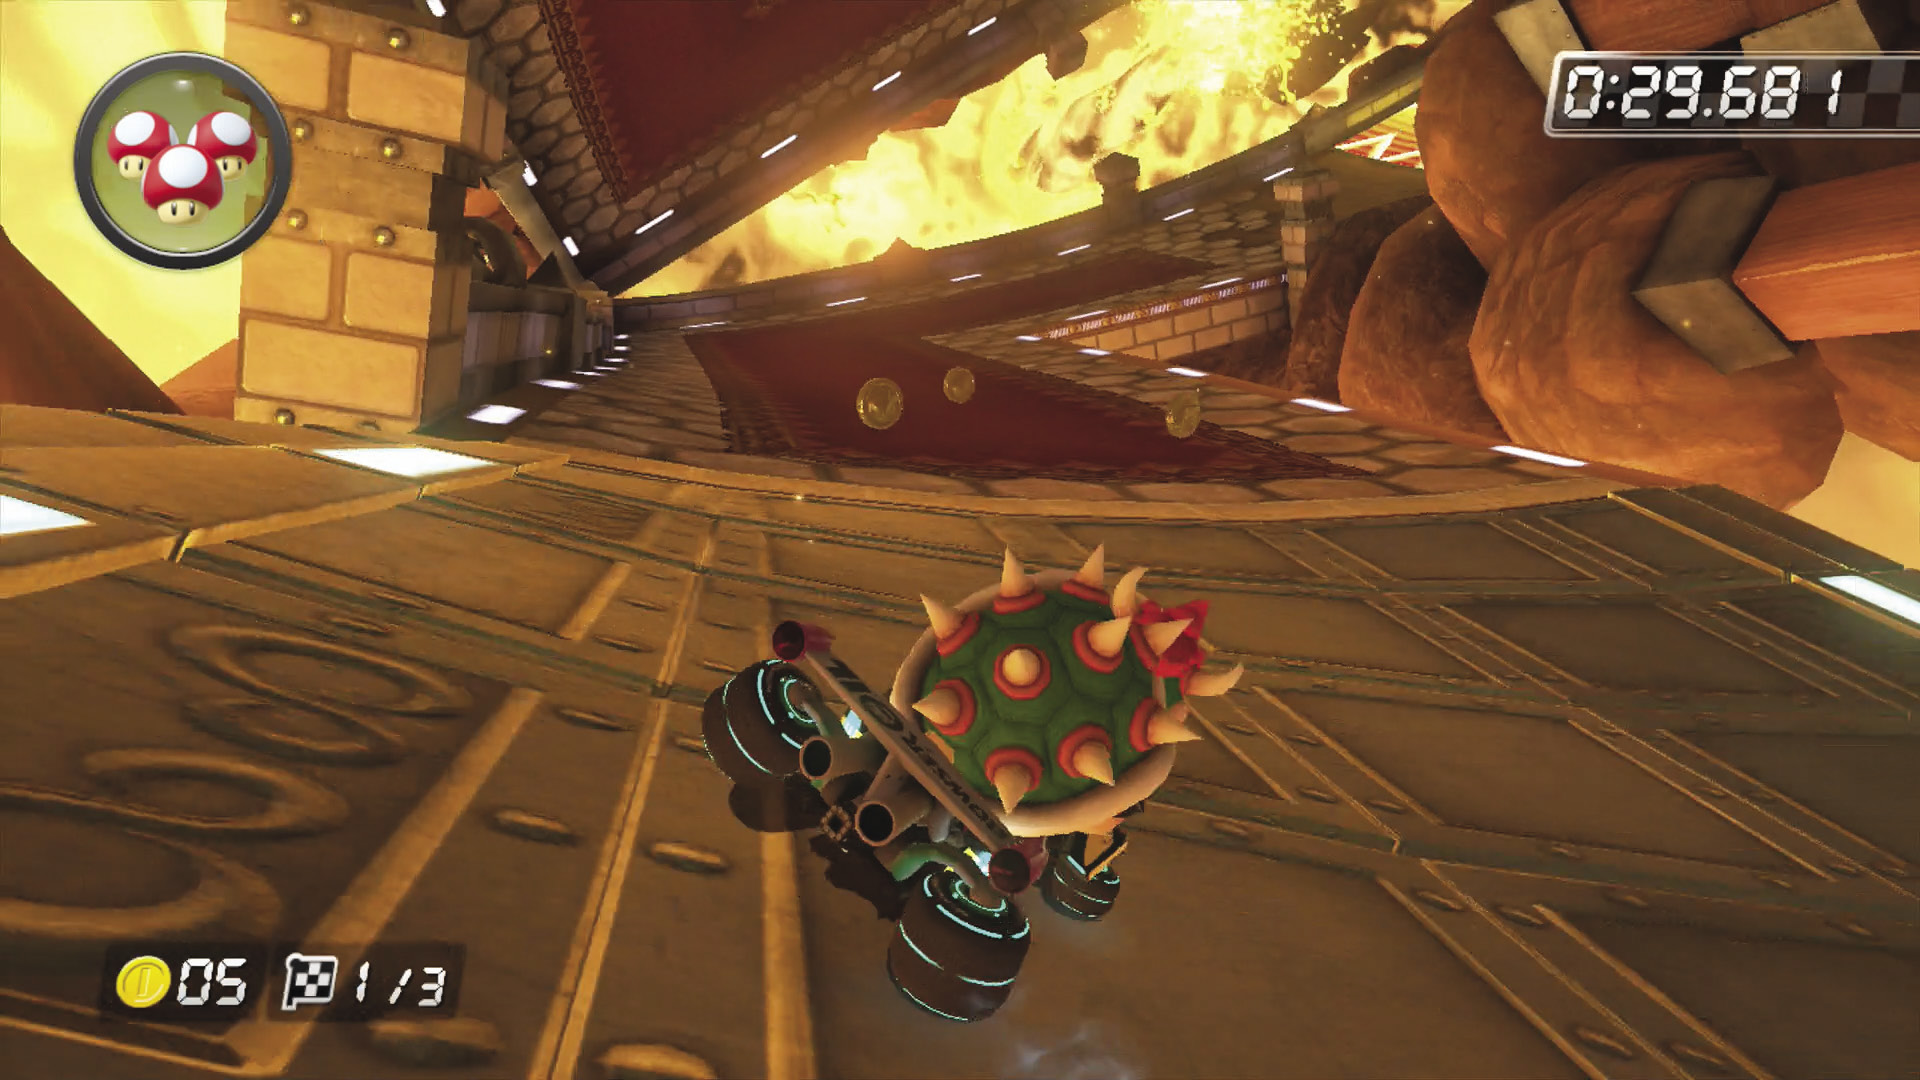
The split routes around the massive Bowser monument can be exploited for multiple Jump Boosts just after the monument punches them. Jump at the peaks of the hills rolling along the track. If you managed to catch up to the shockwaves going in your direction, you can even score multiple Jump Boosts! There are two rows of three Coins that you can collect from on each route.
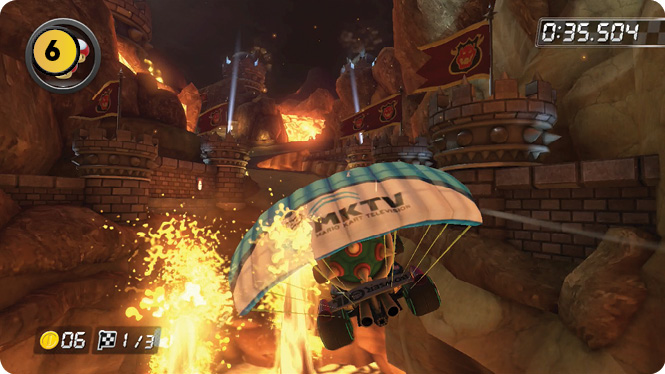
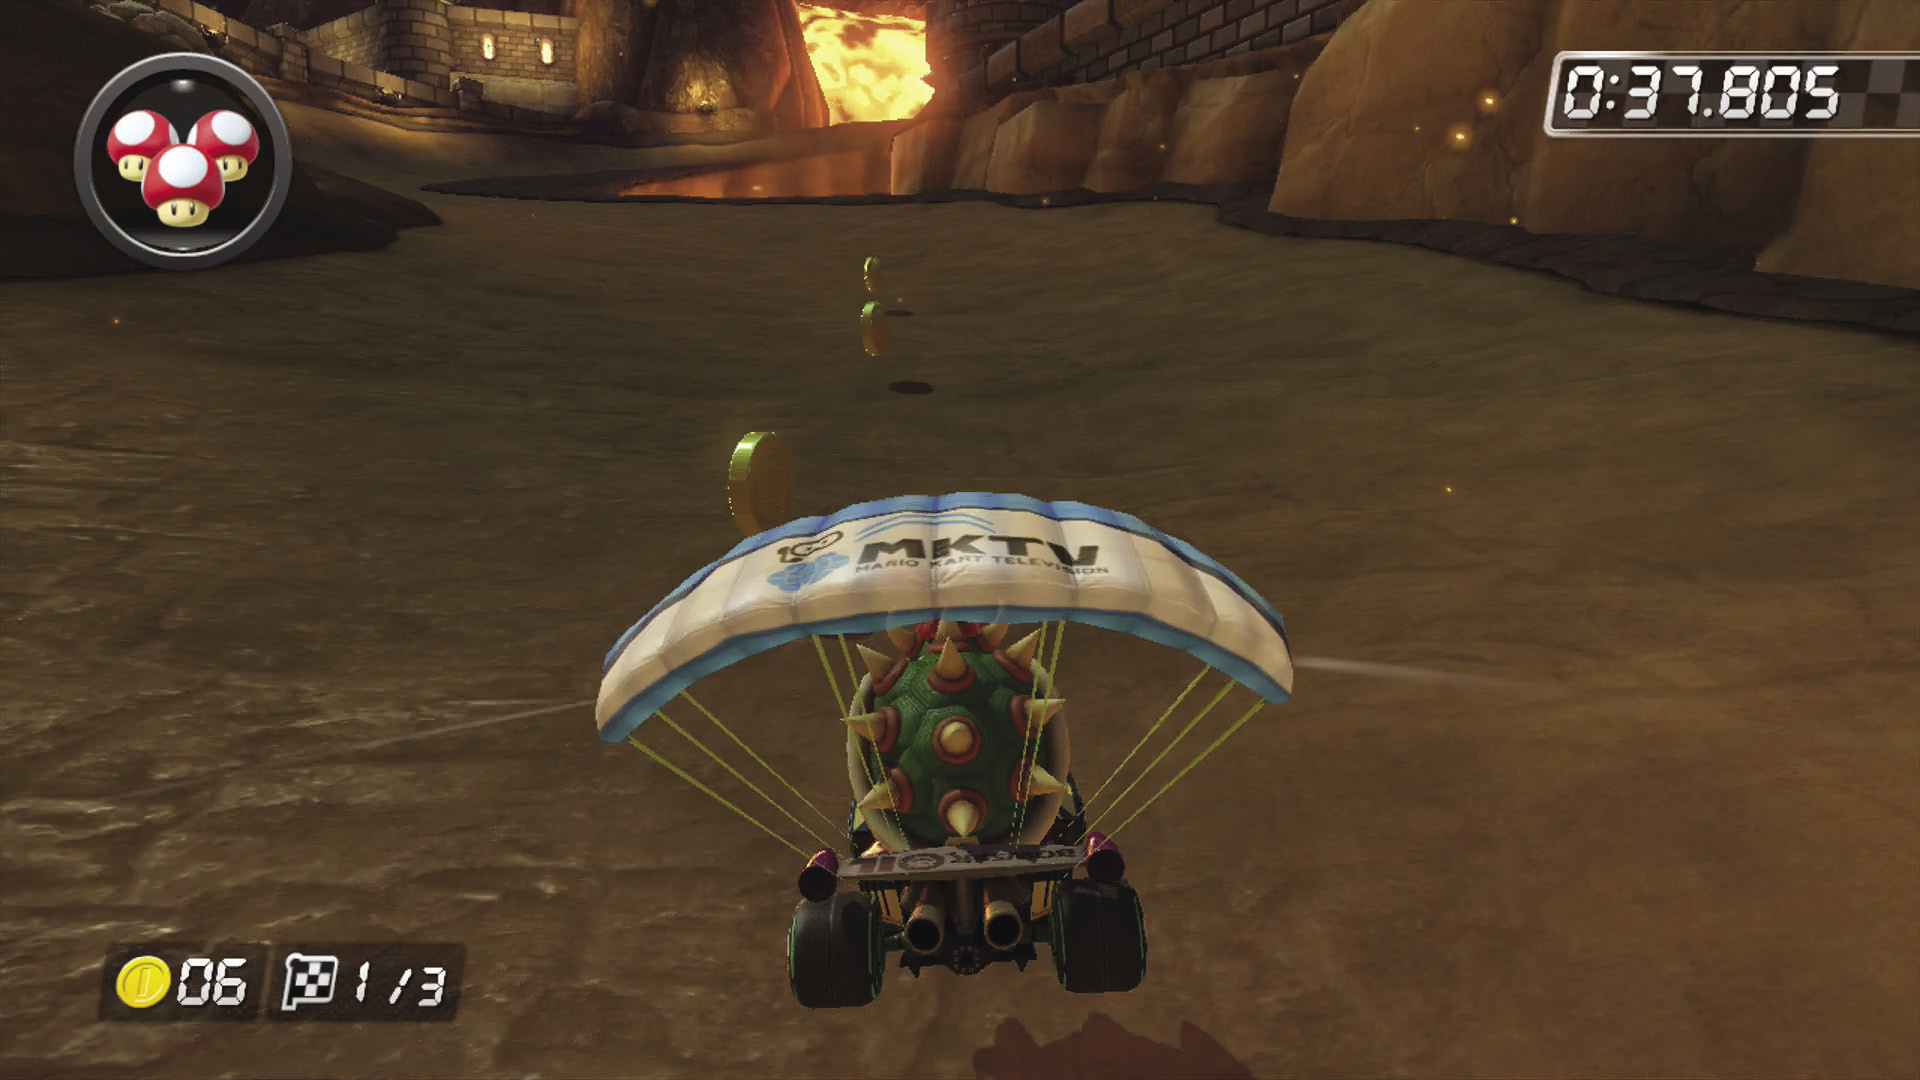
Be careful when gliding across the chasm here. Lava geysers will knock you out of the air if you’re too low. Try to center yourself with the track as you finish crossing the chasm. There are three more Coins to pick up if you need them.
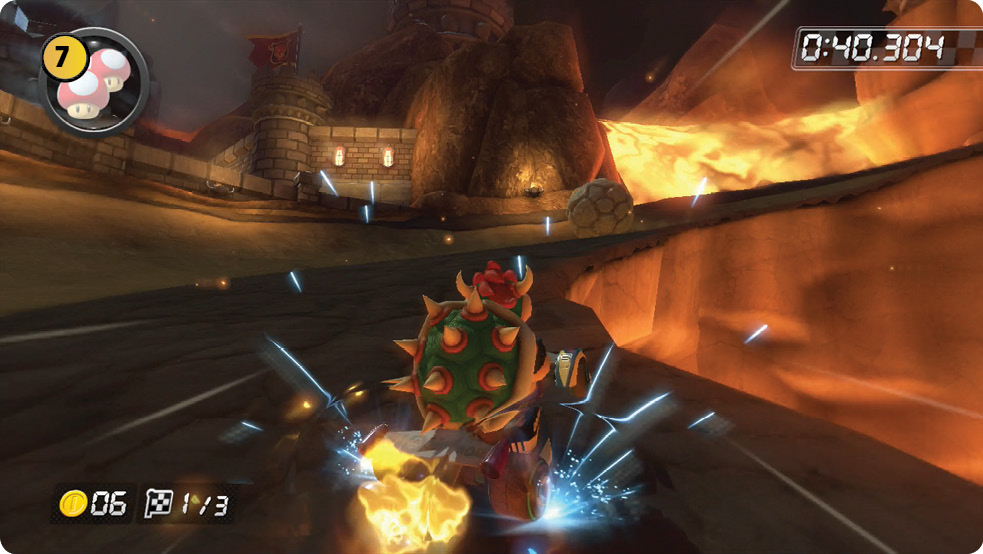
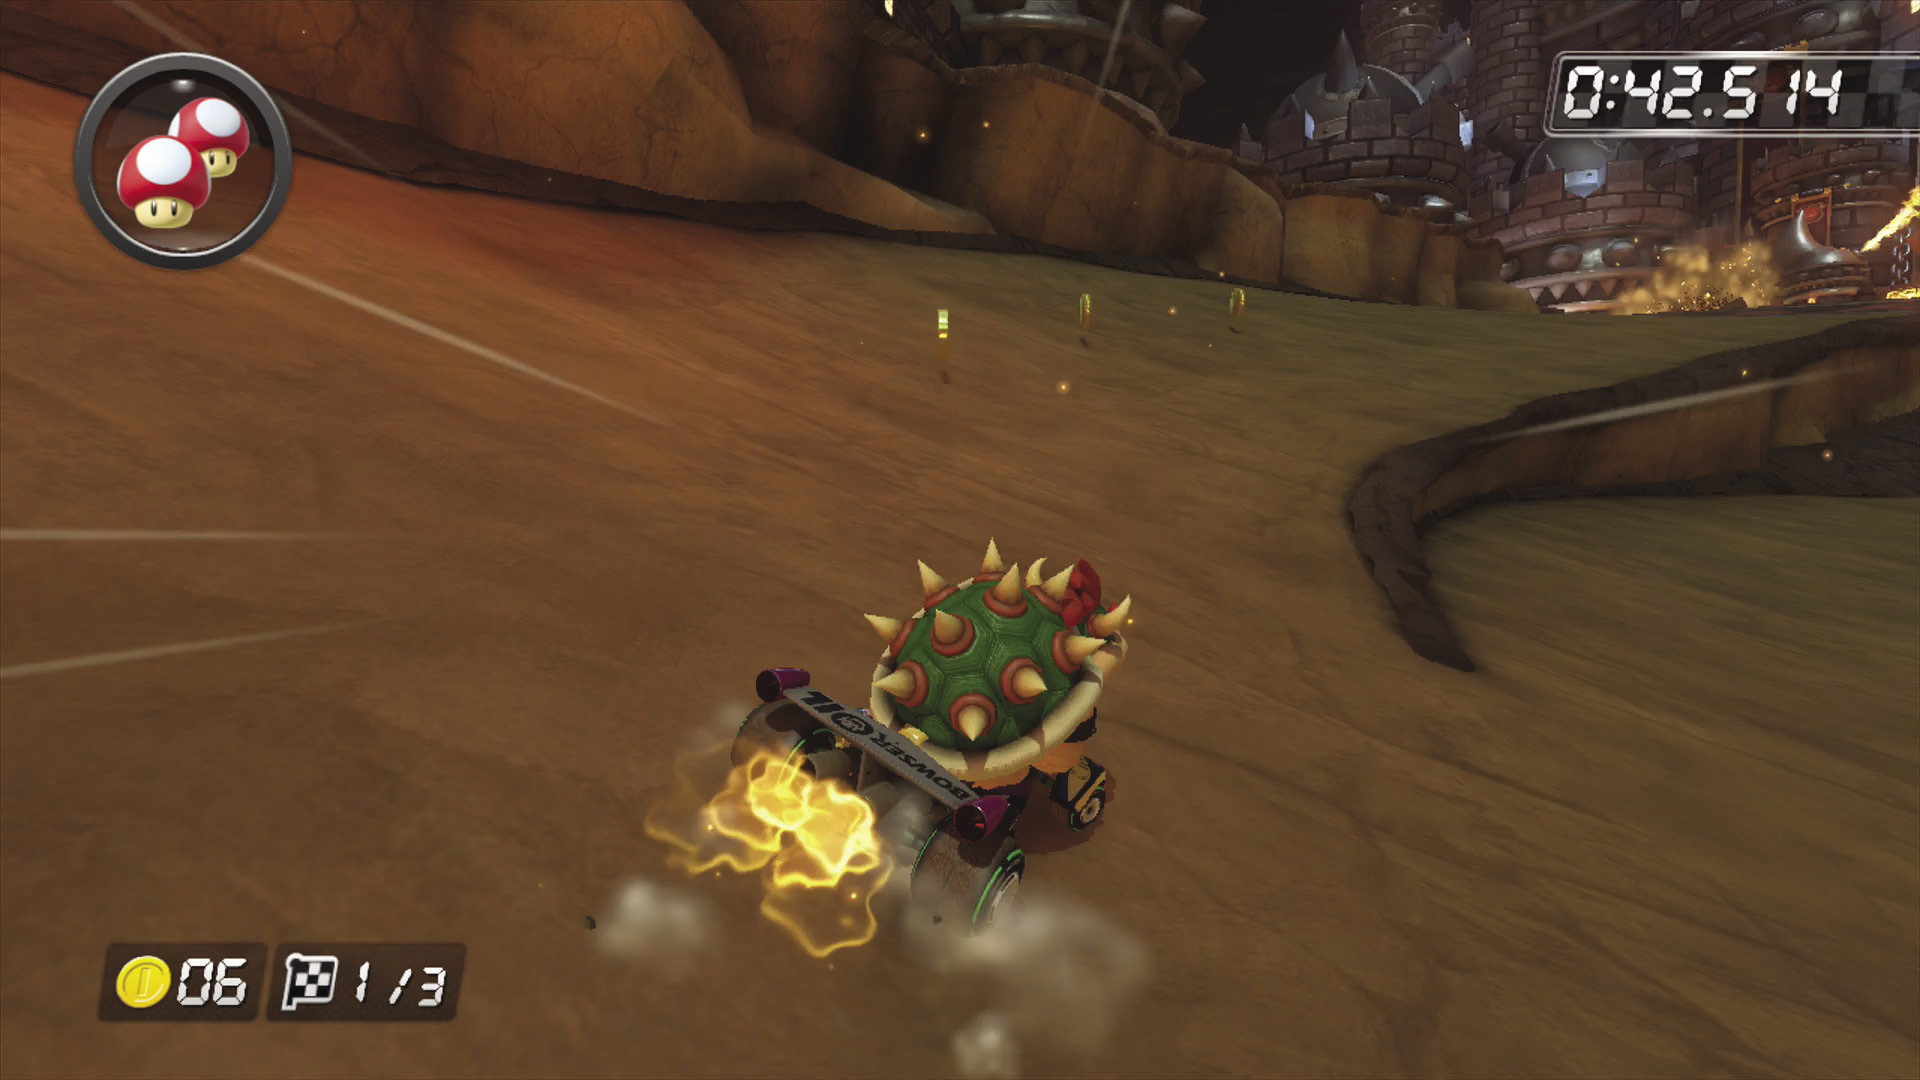
Cut across the rough terrain at this corner with a Mushroom to save some time. It also helps to be drifting to the right as you shoot over the rough ground to align yourself with the line of Coins headed uphill. Watch out for boulders rolling at you!
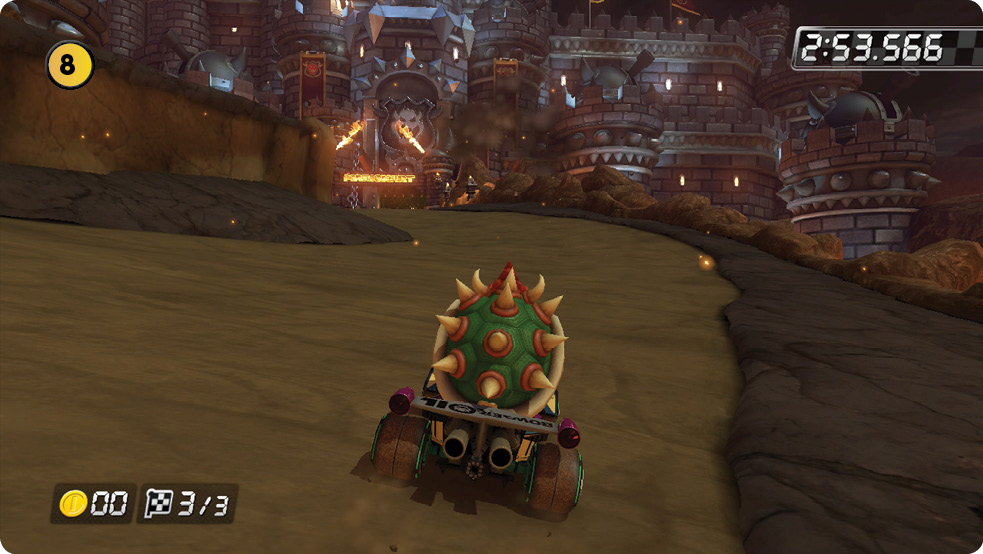
In the final stretch, the S-curve to the right of the ramp is actually faster to race through.
TM & © 2014 Nintendo.