
Lego Star Wars: The Complete Saga Guide Walkthrough Episode VI: Return of the Jedi
Chapter 6: Into the Death Star
This is it—the final confrontation, for better or for worse. With the help of Admiral Ackbar, the Rebels have amassed a mighty force to take on the Death Star. Unfortunately, the Empire is well prepared for the assault.
But now that Han Solo and his team have taken out the field generator supporting the Death Star, those brave Rebels have a fighting chance to save the day and bring peace back to the galaxy.
When you start this mission, the large Imperial fleet is in front of you. Not only do you have to take out four large Star Destroyers, but you also have to deal with the TIE interceptors buzzing around the area trying to shoot you down.
As soon as the mission starts, fly toward the large Star Destroyer in front of you. Fly over the top of the ship and blast the small gray satellite you see to add a LEGO canister to your collection.
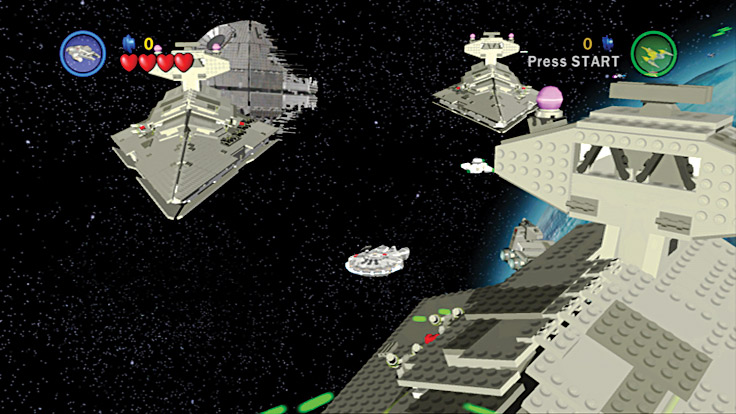
Those gray satellites floating in space hold LEGO canisters, so nab them.
After you acquire the canister, go to work destroying that craft. On either side of the ship are deadly turret guns. Fly in loops in front of the guns and keep blasting. Those strong guns take a lot of shots before they blow up.
Every time you destroy a turret gun, be sure to fly over where the gun was and collect the studs floating in space above that location. After you destroy all the turret guns on the large craft, you can concentrate on taking out the whole Star Destroyer.
Fly into space and target the TIE bombers buzzing around. They are the ships carrying the purple torpedoes behind them. Break the bombers apart. Now fly through the debris they leave behind and pick up their bombs.
Fly over the large Star Destroyer and head for the tall observation deck. When you get close, a purple reticle appears over the ship, so fire your torpedo. Each observation deck has two targets for you to fire at and destroy.
After you destroy the second target on the ship, the craft goes down for the count. Fly over the area where the Star Destroyer was and collect the loose studs that remain floating in space.
After you take out that first large Imperial craft, you still have three more to go: one to the right, one straight ahead, and one to the left. Fly for the one on the right first and destroy all the turret guns on its surface.
Collect the studs that are released after each gun is destroyed. After the last gun is gone, fire some purple torpedoes at the two reticles on the Star Destroyer’s observation deck.
After both reticles have been hit, the Star Destroyer drops out of space to its demise. Next, fly to the Destroyer that was in the middle of the other two Star Destroyers.
Fly across its bow and shoot the gray satellite you see to add another LEGO canister to your stash. Next, take out the turret guns, then fire some torpedoes at the control tower to turn that Star Destroyer into scrap metal.
Finally, fly to the left and engage the fourth (and final) Star Destroyer. Take out all the turret guns so that you can collect more studs, then fire two purple torpedoes at the reticles over the observation deck.
As the last ship drops out of space, grab the studs it leaves behind.
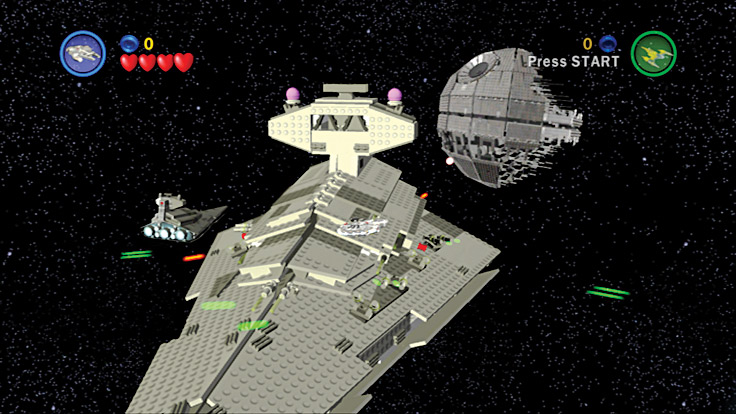
Take out those turret guns, because they leave behind valuable studs.
When you approach the Death Star, fly straight into the ventilation shaft ahead of you. As you fly, keep blasting your guns. Destructible wall and floor panels that release studs when they are destroyed line the shaft.
Also, be sure to destroy the brown pipes hanging from the ceiling and collect what they leave behind.
You’ll also find along the wall some turret guns that can be destroyed for more studs, but they are more trouble than they are worth, so speed past them.
As you fly through the shaft, enemy TIE fighters swarm around you and try to take you out. Keep moving and blast them before they can blast you.
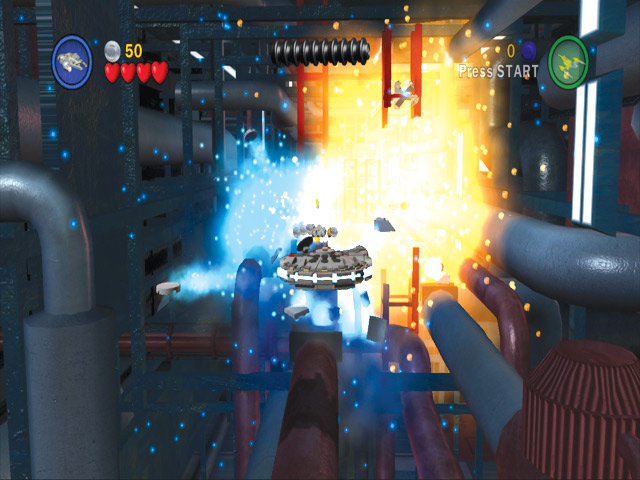
Hit the wall and floor panels to find some hidden loot.
Farther down the shaft, you eventually get to a purple torpedo dispenser. Fly over the dispenser and collect three torpedoes, then continue moving down the shaft.
When you see three purple reticles in the shaft ahead, fire your torpedoes until all three targets are history.
Collect the loot that floats in the air after each one is hit. After you destroy the third target, a LEGO canister appears in the shaft ahead. Add it to your stash.
A little farther down, the shaft is blocked by an impenetrable force field. Surrounding the barrier are four more purple targets that you need to destroy. Return to the torpedo dispenser and load up on bombs, then head back to the targets and fire away.
When you need more torpedoes, just return to the dispenser and repeat. After the fourth and final purple target has been destroyed, the force field disappears and you can continue flying down the shaft.
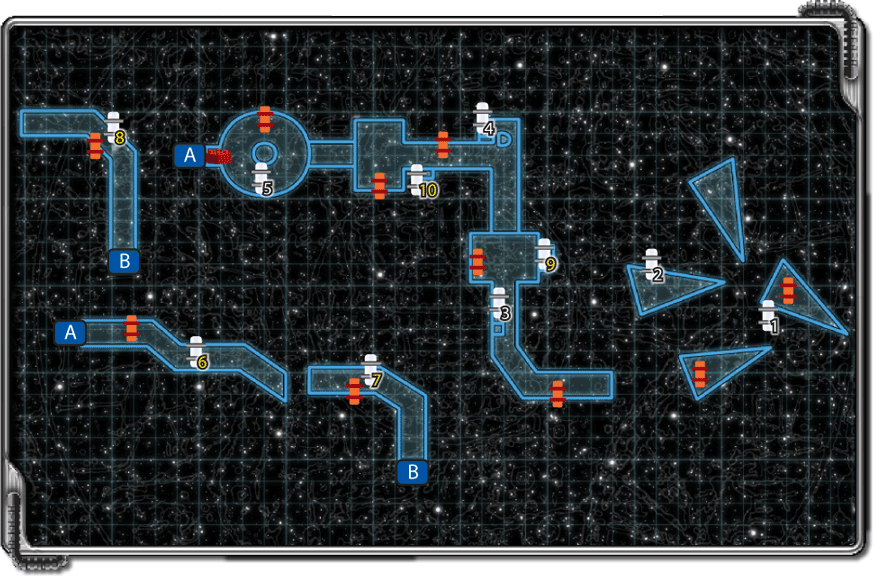
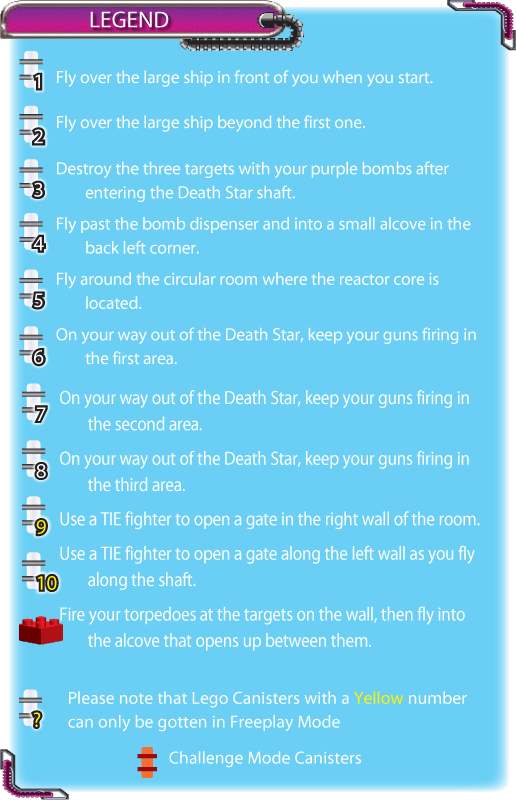
The next part of the shaft bends to the right, where you find a torpedo dispenser. Fly past the dispenser and into the back left corner. There you find a tiny, hard-to-see alcove with a LEGO canister to collect.
Head back to the dispenser and load up, then follow the shaft as it bends to the north. As you fly along this new passage, shoot the orange wall panels and snatch the loot that comes out.
The shaft leads you to a room where the door to the next area is locked. On both sides of the door are hidden missile launchers. When you get close, the launchers come out and fire their payloads at you.
Move to the launcher on the right; when it opens up, fire your purple torpedoes at it until the missile launcher explodes. Do the same thing to the launcher on the left. With both launchers destroyed, the door in the back wall unlocks and opens.
Fly through the opening between the two destroyed missile launchers. You’re now in a circular room with the Death Star’s reactor core in the center.
Fly around the room and shoot the gray satellite to add another LEGO canister to your collection. Now fly along the outer wall. You find two purple targets over which a purple reticle appears when you get close.
Fire purple torpedoes at both targets to destroy them and open an alcove between them. Fly into the alcove and grab a red power brick.
Also along the outer wall are some red and white panels. Each panel hides a wall socket that’s connected to the reactor core at the center of the room. Slowly fly toward a panel, and it opens up to reveal a socket in the wall.
Quickly fire your blasters to destroy the socket—if you get too close, the socket zaps you and renders you helpless for a few seconds.
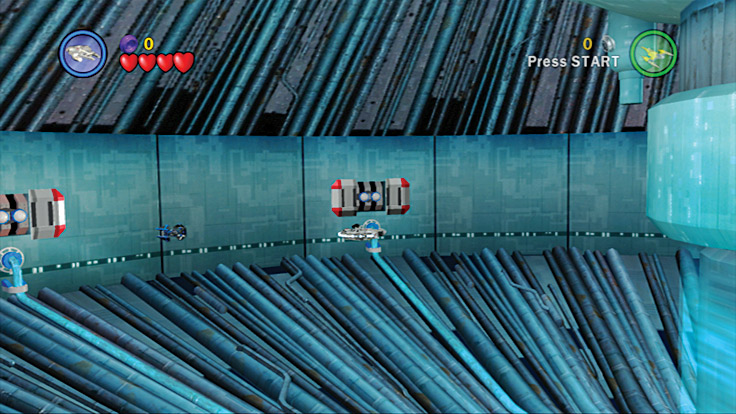
Blast the wall sockets hidden behind each red and white panel.
Continue to fly around the circular room and take out all the electrical sockets in the wall. After you destroy the last one, the protective force field around the reactor core at the room’s center disappears.
Fly toward the core to see it spinning. Wait until you see the blue part of the core, then fire your blasters at it until the casing around the core is destroyed, leaving studs and a power up to collect.
Pick up the purple torpedo that is left behind after the explosion, and fire it at the remainder of the core.
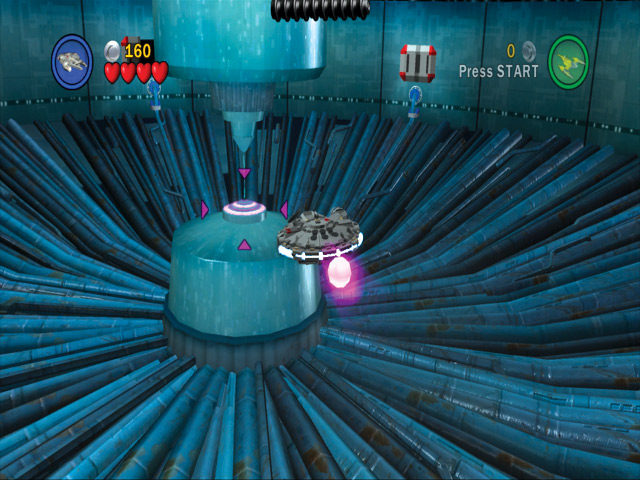
Blast the blue panels of the inner core to destroy the whole thing.
You did it! The Death Star is going to blow. Unfortunately, you’re still in it! Follow the shaft you’re in to get to safety. Keep your foot on the pedal because the fire from the core explosion is following right behind you.
If it catches up to you, you’ll crash and burn. As you fly, keep shooting your blasters. This not only destroys any objects that could get in your way and slow you down, but also gives you some extra studs.
If you continuously fire your guns, you can also destroy three LEGO canisters located in the shaft on the way out. If you happen to miss one, you can go back and get it in Freeplay mode.