
Lego Star Wars: The Complete Saga Guide Walkthrough Episode III: Revenge of the Sith
Chapter 2: Chancellor in Peril
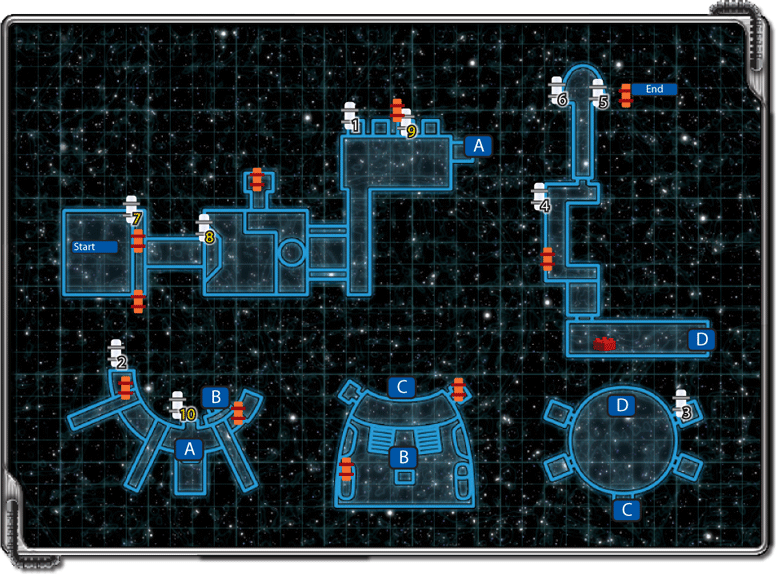
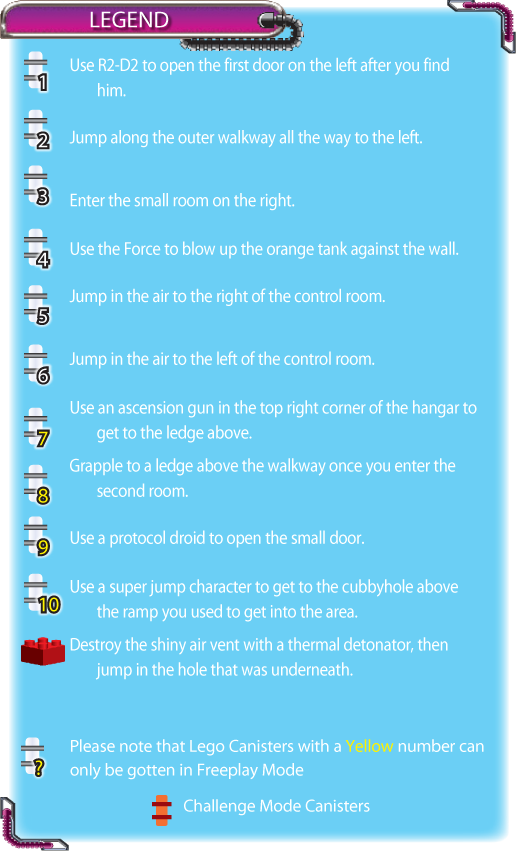
Flying those starships out in space was dangerous business. You could have been killed.

The landing in Dooku’s hangar wasn’t any safer, thanks to Anakin and his erratic behavior. Hopefully you can find Palpatine without too much trouble.
Use the Force on the two vehicles to find some valuable studs. Next, smash the yellow box in the hangar’s middle for more valuables.
Before you run down the hallway in front of you, use the Force on the secret compartments to the left and right of the hallway entrance. Collect all the good stuff that spills out.
After you enter the hall, Grievous takes off running, and a whole mess of security battle droids come out to stop you. Stay back and use your lightsaber to deflect their shots back at them until all the droids are junk.
Smash the yellow boxes on the ground to find some studs. Use the Force on the red levers to reveal hidden loot.
Use the Force on the blue levers to open an overhead compartment near the hall’s end, spilling studs. The door at the end is closed, so use the Force on it to bust it open and continue.
Use the Force on the levers at the start of the new hallway and collect all the studs that spill to the ground. More droid guards try to stop you as you head forward. Use your lightsaber again to make short work of them.
Pull two more levers in the hallway, then fall to the area at the end. Use your lightsaber to deflect more enemy shots back at the shooters. The super battle droids take a few extra hits, but they eventually crumple just like the others.
Collect the LEGO studs under the walkway you just fell from, then head to the room’s other side. On the walls to the left and right of the next pile of studs are some loose LEGO blocks.
Use the Force on each set to create platforms above the stud pile. Now collect the studs and jump up the newly created platforms to reach the upper walkway.
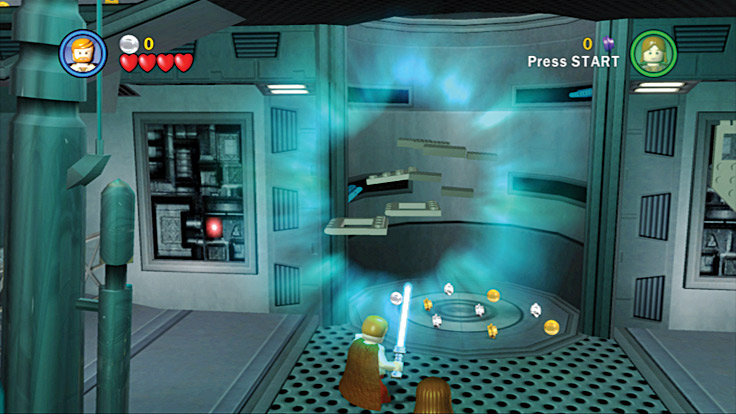
Use the Force to create platforms out of the loose LEGO elements in the side walls
You’re quickly greeted with enemy blasters. Block those shots with your lightsaber, then disassemble the shooters. Collect the studs on the ground, and use the Force on the nearby yellow grates to reveal the tunnels behind.
Before you go that way, follow the walkway as it curves around to the right; drop the droideka at the end. Run into the room it was guarding and use the Force on the equipment at the end to get some major loot.
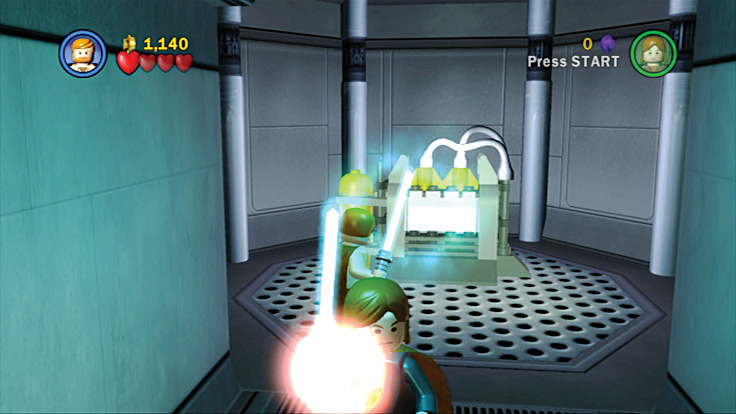
Don’t forget the hard-to-see LEGO canister on top of the equipment.
Backtrack along the walkway and head through one of those tunnels you exposed. It doesn’t matter which one you choose; they both head to the same place.
Unfortunately, that place is crawling with battle droids and droidekas, so get ready for a fight. Deflect all the enemy shots back at the shooters until the hallway is clear.
Run into the next room, and two more large squads of battle droids greet you. Use your weapon to take out these fools the same as the last. After the last one is turned into broken parts, R2-D2 comes out of his hiding place to join you.
It’s time to use your new friend. Use R2-D2 to open the door to the left of his hiding spot. There you find a small room that has LEGO studs and a LEGO canister. Have R2-D2 open the last door on the right.
Now, as one of the Jedi, use the Force to move the equipment from that small room to the room in the right wall.
Grab the studs along the right wall, then use the Force on the equipment you just moved to create a huge explosion and cause a ramp to fall down ahead.
Head up the ramp you just created and block the laser blasts from the two droids you find. Break them into pieces and jump on the raised walkway to the left. From there, double jump along the wall to grab a blue stud floating in the air.
Pick up the lesser studs on the ground as you head left. Run until the walkway ends and grab the LEGO canister before heading back to the ramp’s top.
Now it’s time to check out what’s on the area’s right side. Collect the studs on the walkway and use the Force on the loose LEGO in the wall to create a platform nearby.
Use the platform to jump to the ledge above. Use the Force on the switch on the wall to turn on the fans in the area.
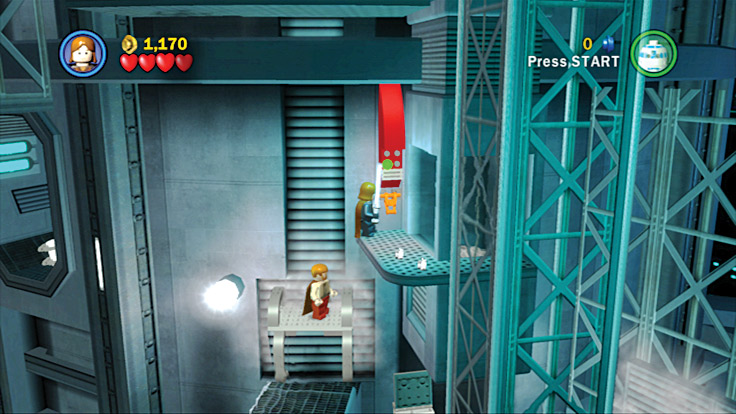
After you use the Force to turn on the fans, everyone can ride the breeze to the top walkway.
Step to the right and a blast of air carries you to a walkway above. Use your lightsaber to put the droideka down, and grab the studs around you. Use R2-D2 to access the lock on the wall and run through the door that opens to the left.
You finally found Chancellor Palpatine—and Count Dooku and his droids! Before you have time to free Palpatine, Dooku charges you.
Block his lightsaber hits, then use your double jump attack to land on his head and take away some of his health.When he blasts you with electricity, switch to your other character and attack.
He can’t take it and flips away to the room’s other side, leaving his droids to deal with you. Deflect their shots back at them until none are left standing.
Without any droids to interfere, scour the bottom area for studs. Use the Force to blow up the small pieces of equipment lying around the area, leaving behind more studs.
After the bottom area is stud-free, run up the center stairs to confront Dooku again and grab the power up on the ground. Let him charge in, then get him with another double jump attack.
He flies across the room where you must hunt him down and hit him again. Keep up the attack until you defeat him and Chancellor Palpatine is set free.
To the left or right of where Palpatine was held captive are small platforms you can jump on. From there, jump to the ledges along the wall to load up on studs. Enter the side rooms at the top platform to find even more goodies
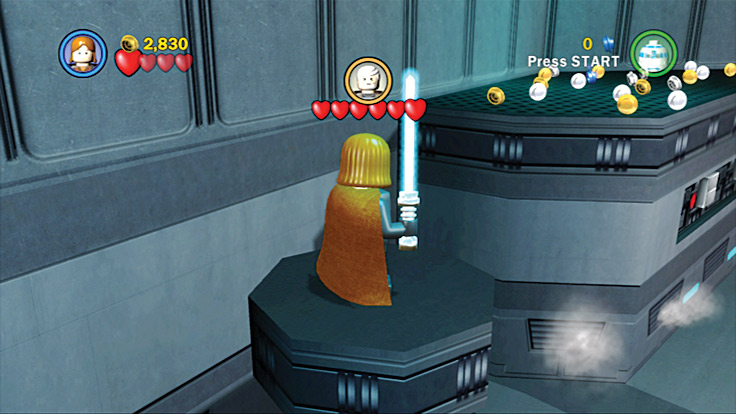
Use the small posts on the room’s side to reach the ledges loaded with studs.
Run into the room at the top of the stairs and collect the studs on the ground. Use the Force to detonate the box in the room for some treasure, then have R2-D2 unlock the door in the left wall.
Collect the valuables, then head into the unlocked door on the room’s other side for a LEGO canister.
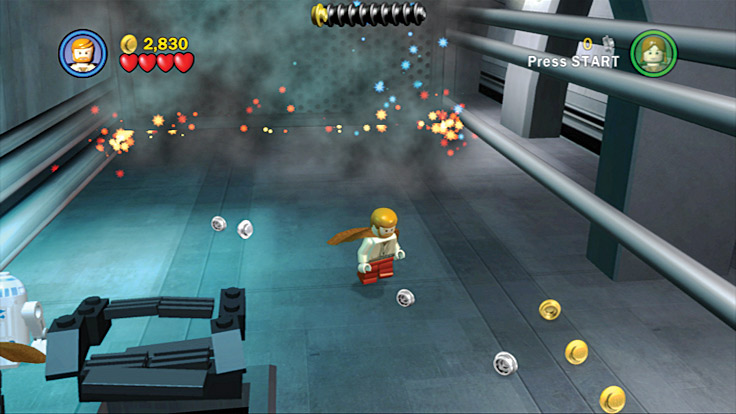
Follow the studs. They’ll lead you to safety.
With the room clean, head through the door at the room’s end. As the damaged cruiser tumbles onto its side, you’re forced to run up a lift shaft, pursued by the rising lift; run for it!
As you run, vents in the ground bust open, releasing steam. Don’t step on the vents or you get pushed to the ceiling and lose your life. Don’t let the lift catch up with you or you lose your life.
Just run toward the screen and follow the trail of LEGO studs. Take your time as you run because the wall behind you doesn’t move that quickly. Finally, you reach a door at the hall’s end that is safe from the moving wall.
Use R2-D2 to activate the switch on the wall, and the movable wall that was pushing you forward moves back to its original position. Backtrack and collect any studs that you missed.
Follow the next hallway, collecting studs until you reach the next room and a sharp drop-off. Use a ledge along the wall to cross to the other side. Use the Force on the first two yellow knobs you find to release some studs in front of you.
Continue down the ledge until you reach the steam blocking your path. To shut off the steam, turn the yellow knob using the Force, then continue. You immediately come to more knobs to turn using the Force. You are rewarded with more studs.
Follow the ledge until you reach more steam. The shut-off knob is on the other side of the steam, so use R2-D2—he can move under the steam without getting hurt and can access the shut-off switch.
Everyone can now cross. Change back to Anakin and hack the wall behind the switch R2-D2 just accessed to get some hidden goods.
Jump over the beam blocking your path and use the Force to turn the yellow knob. After you do, stand back because the orange tank above it explodes, revealing a LEGO canister in the wall behind it.
Grab the canister and the rest of the studs along the walkway. After you have R2-D2, unlock the next door, then head on through.
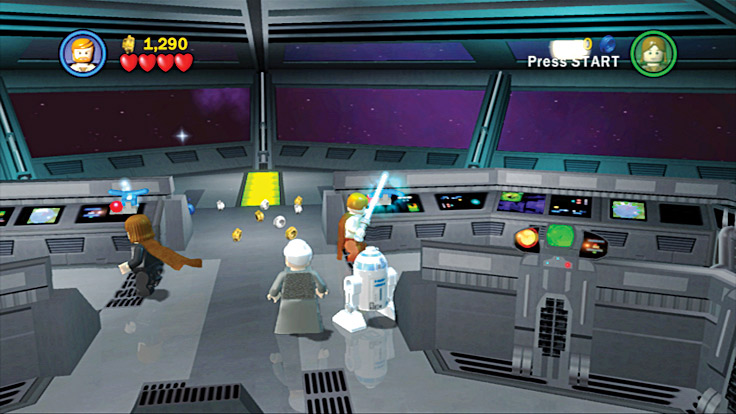
Pull the levers on the control panel to get out of there.
You finally find General Grievous and his bodyguards. He’s not too happy to see you and runs away, leaving his bodyguards to fight you.
Those two guys look impressive with their spinning weapons, but they aren’t too hard to defeat. Grab the power up along the left wall. Start hacking them with your lightsaber, and they fall to pieces in a hurry.
Head down the hall, picking up studs as you go. When you reach the control room, a swarm of battle droids greets you. Deflect their shots and take them down with ease.
Run to the left and right of the control room entrance and grab the LEGO canisters in the air. Search the front of the ship for valuable studs.
Run to the main controls of the ship and use the Force to activate one of the levers. As you do so, the other Jedi will use the Force on the other lever.