Lego Star Wars: The Complete Saga Guide Walkthrough Episode V: The Empire Strikes Back
Chapter 1: Hoth Battle
Why is Darth Vader so obsessed with finding Luke Skywalker? He even sent a probe droid all the way to the icy world of Hoth. Unfortunately for the Rebels, that is the exact location of their new hidden base.
The Empire is not too thrilled with what happened to the Death Star and it has sent troops to the remote planet to take care of business. All kinds of ground troops arrive to crush the Rebels.
Luke is going to have to be extra careful while driving the snowspeeder to repel this massive threat.
The area is crawling with a whole mass of troops and vehicles working for the Empire. While the AT-STs are the largest and easiest enemy to see in this area, the Imperial probe droids and speeder bikes are more nimble and can maneuver easily.
All of your enemies have deadly blasters and orders from the man in black to send you to an icy grave.
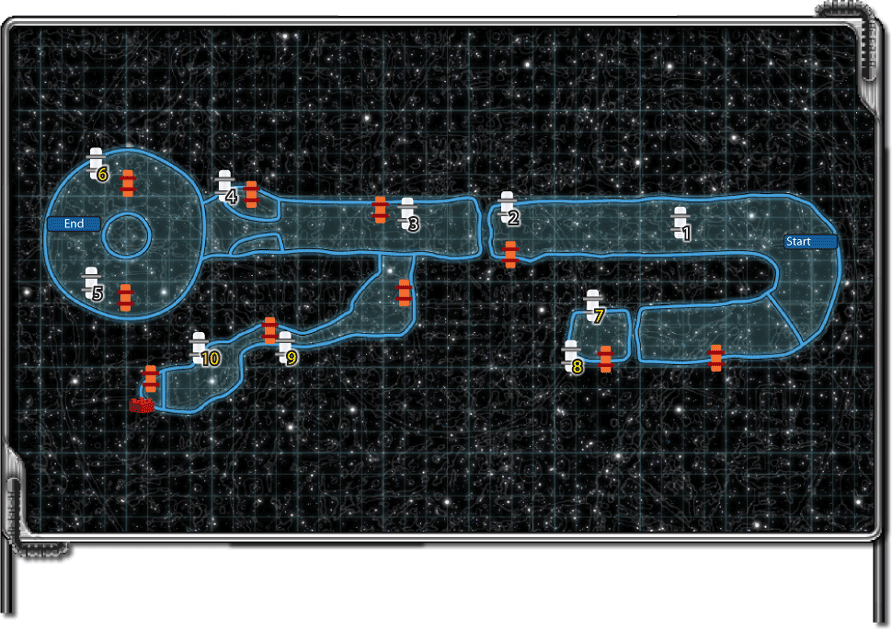
Once you hit the snow, steer your craft down the left path. Along the way, you’ll see a bomb deployment pad along the left canyon wall.
When you get close enough, a red reticle surrounds the bomb, indicating that you can grab it with your tow cable. Because you don’t need the bomb yet, continue flying forward until you hit a locked red gate that only TIE fighters can open.
Blast the enemies you see and the gun turrets on the ground and collect any goodies that spill out. Because this way is blocked for now, backtrack to your starting location and follow the icy canyon north.
At the beginning of your journey north, you see a second bomb deployment pad on the left wall. Ignore it for now and blast any enemies that get in your path.
Also shoot all the turret guns you find because they hide valuable hearts and studs. As you move north, shoot the large gray rock formations along the path to uncover lots of hidden studs and hearts.
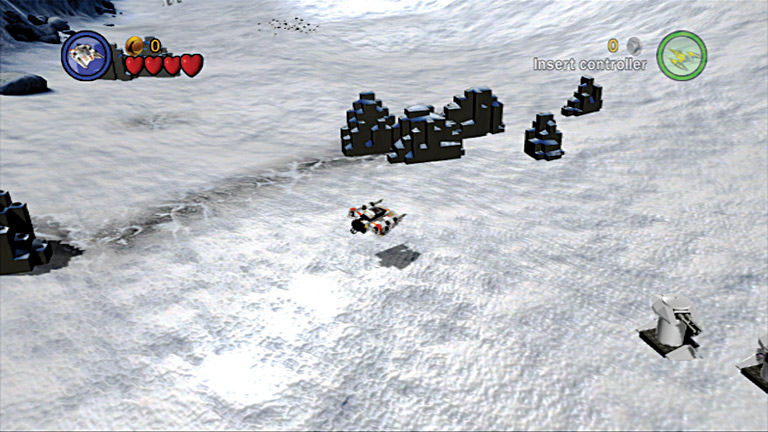
Blast those large gray rock formations because they hold plenty of secret stuff.
Once you return to the locked gate you opened using the TIE fighter, use the snowspeeder to grab a bomb from the dispenser.
Slowly return to the large white wall, carefully keeping yourself and the bomb you’re carrying on the snowy path so you don’t slip into the chasms along the way.
When you get to the end of the canyon, release the bomb you’re towing into the white wall to open the cave entrance.
When you enter the cave, you can see that the enemy got there first. Race into the cavern and blow up those walkers and the speeder bikes. Destroy all the enemies in the cave, including the AT-STs, and you are rewarded with a LEGO canister.
When your enemies are gone, fire your blasters at the small tanks along the walls of the cave. Hidden inside are valuable studs, and a tank on the right wall even has another LEGO canister. Clear out the cave before you return to the canyon outside.
Along your journey north through the canyon, you’ll see large white walls on the sides. Fly back to the last bomb dispenser you passed and grab a bomb using your tow cable.
With the bomb trailing behind your craft, steer toward one of the large walls. Quickly fly your craft toward the wall, then release the tow cable to send the bomb rolling toward your target.
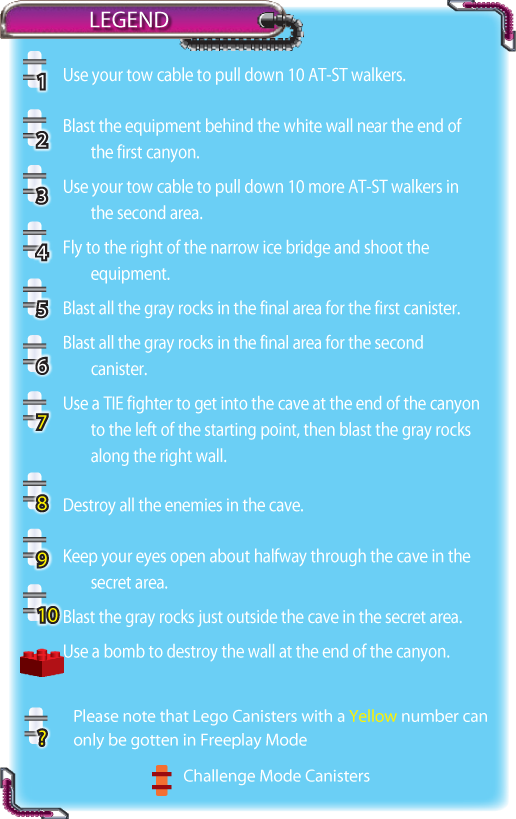
With a direct hit, the wall shatters, leaving behind hidden treasure for you to pick up. Use your tow cable to pull down 10 AT-STs, and a LEGO canister appears to the north.
Fly up the path and clear out all the AT-STs, probe droids, and speeder bikes before they can hurt you. Also blast all the gun turrets and gray rock formations so you can collect all the studs they were hiding.
Blast the equipment behind the white walls near the end of the canyon to the north, and you’ll find a LEGO canister.
At the end of the canyon is a closed gate, so backtrack and grab a bomb before returning. Release it at the closed gate when you get near. After the gate shatters, fly into the new opening.
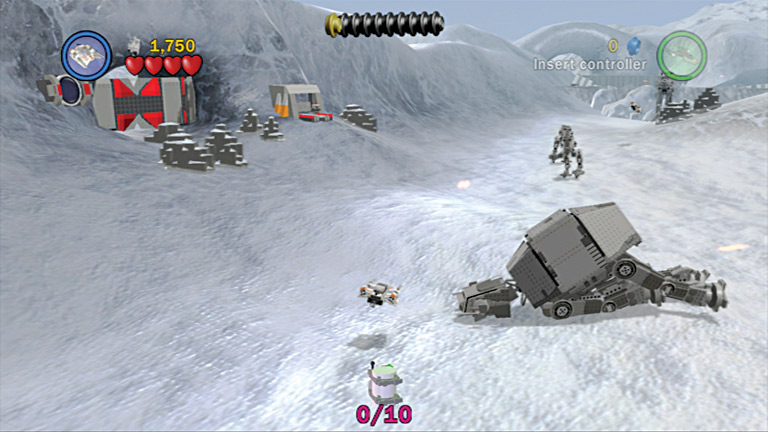
Destroy the large white wall and grab the canister hidden behind it.
As soon as you fly into the next canyon, shoot the gray rocks on the ground for studs and a power up. Behind the rocks is a very large AT-AT walker.
Before you start to tangle with that beast, fly around it and defeat any Imperial probe droids or speeder bikes that are flying around the area trying to shoot you. Use your tow cable to pull over 10 more AT-STs and a LEGO canister appears nearby.
With the little guys out of the way, you can now deal with the AT-AT walker. Fly in close to its legs and fire your tow cable. When the cable is deployed, it’s time to fly loops around the walker’s legs.
Keep flying in circles until the legs are all wrapped up and the whole vehicle crumples to the ground. Another bomb dispenser is on the canyon wall nearby.
Grab a bomb with your tow cable and drag it back to the downed AT-AT walker. Release the bomb to send it rolling into the AT-AT’s helpless bulk.
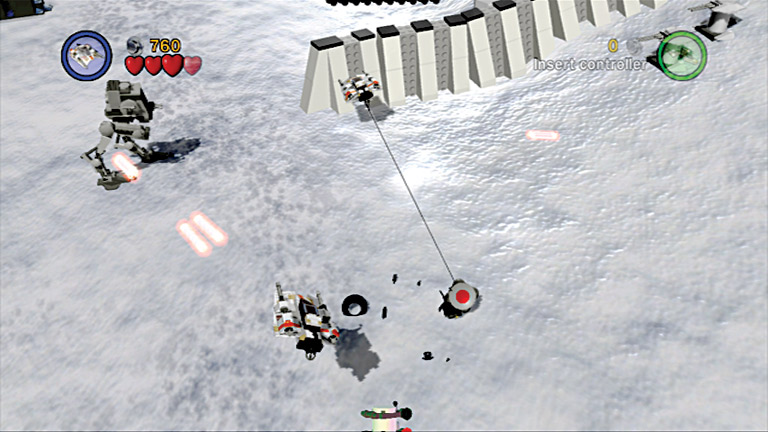
You have to trip up the AT-AT walker with your tow cable before you can drag a bomb into it.
Destroy the dark-gray rock formations near the bomb dispenser and collect the valuables that spill out. Continue to follow the canyon until you see another large walker.
Again, hog-tie it with your tow cable, then slam a bomb into its body to destroy the walker. The blast melts the ice and snow behind it, revealing a large gray wall. It’s time to grab another bomb and destroy this wall.
After you destroy the wall, shoot the dark-gray rocks on the left canyon wall to find many studs. Fly around the newly opened area and destroy all the swarming enemies.
With the majority of enemies cleared out, head back and grab more bombs to destroy the white walls in the area. Continue to shoot all the turrets and gray rocks for even more loot.
At the end of the canyon are a narrow ice bridge and a large gray wall blocking the exit. When most of the white walls are gone, return to the bomb dispenser and grab one more bomb.
When you get close to the end of the canyon, reduce your speed and steady the bomb so that it trails directly behind you. This way, you can keep it on the ice bridge.
Once you get to the other side, send the bomb into the gray wall to open up a new passage. Before you move forward, fly to the right and shoot the container in the corner for another LEGO canister.
When the canister is part of your collection, shoot the gray rocks that were on the other side of the wall that you demolished and continue forward.
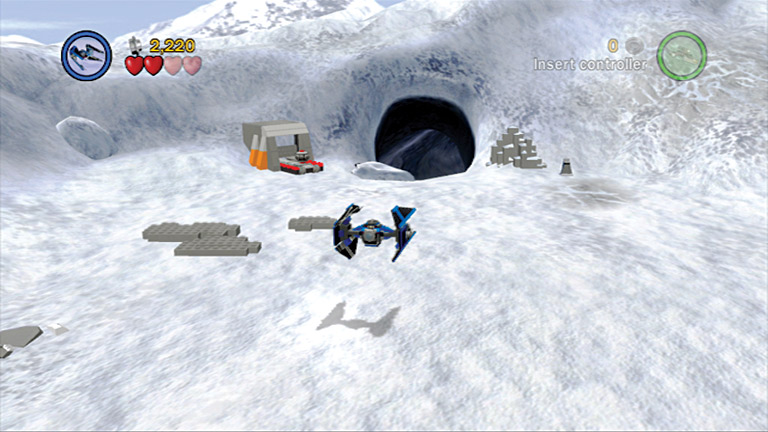
The ice bridge is narrow, so go slowly to keep the bomb behind you.
Now you’re in a large, circular battlefield. As soon as you enter the area, 11 probe droids buzz in to get in your way. Circle the battlefield and drop all those droids unlucky enough to get caught in front of you.
Other enemies are present too, but focus on the droids for now. As you fly around dropping droids, blast all the dark-gray rock formations to uncover two hidden LEGO canisters.
Blast all the turret guns on the ground to pick up more studs and hearts as well. Once all the probe droids are nothing but debris, 11 AT-STs come marching in to greet you.
Once again, the area is full of all kinds of enemies, but you must concentrate your fire on the AT-STs. After you destroy all 11, the big guys move in—AT-AT walkers.
Two large walkers move slowly into the area to join the already-crowded battlefield. Choose one of the walkers and eliminate all the other enemies swarming around it. Next, use your tow cable to tie up the walker’s legs.
Once the beast goes down, grab a bomb from the dispenser in the area and slam it into the body of the AT-AT walker to destroy it. Repeat this process for the other walker as well.
When the two walkers are history, more enemies enter the battle. Fly around the area and eliminate four probe droids, six AT-STs, and one more AT-AT walker to finish this mission.
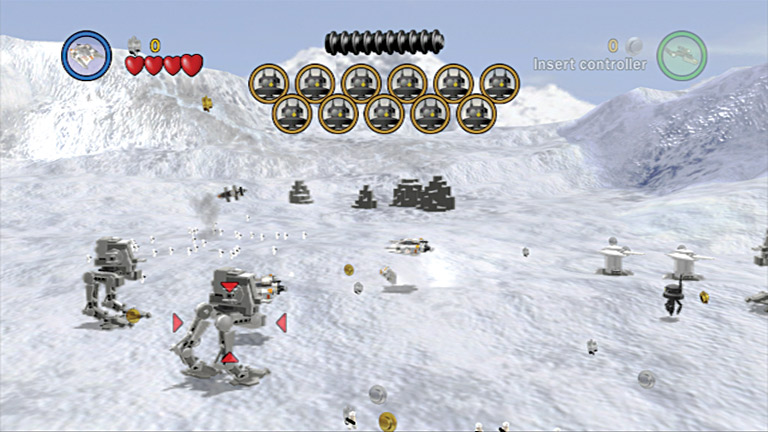
The small battlefield gets crowded as you hunt down the AT-STs you need to destroy.