
Lego Star Wars: The Complete Saga Guide Walkthrough Episode IV: A New Hope
Chapter 6: Rebel Attack
It was no easy matter getting the Death Star plans to the Rebel Alliance on the moon of Yavin 4. Unfortunately, the Empire was able to track the Millennium Falcon right to the secret base.
With the Death Star closing in, the Rebels were able to analyze the plans and find that there is a fatal flaw in the Death Star design. This could be the only chance to destroy the Death Star and put a major hurt on the Empire.
It’s time for Luke and his friends to fly their spacecraft to try to save the rest of their Rebel friends.
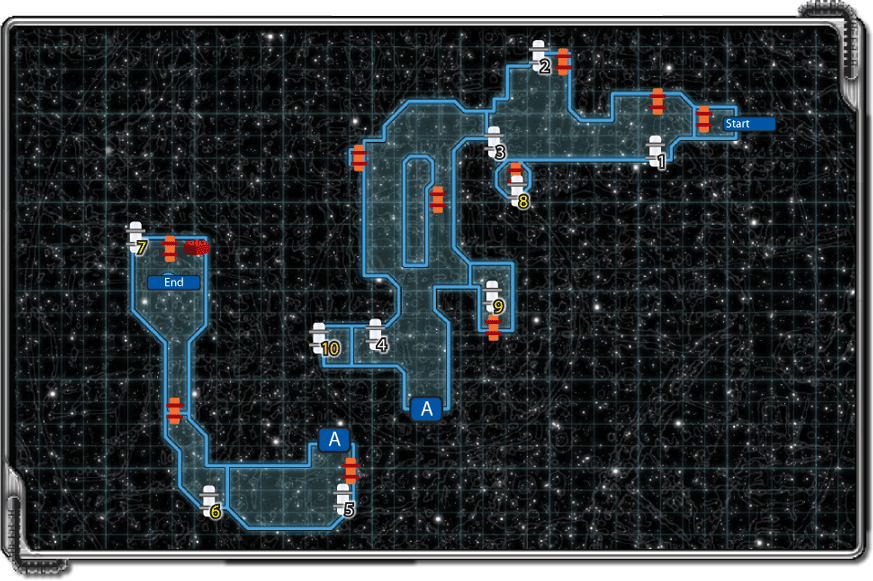
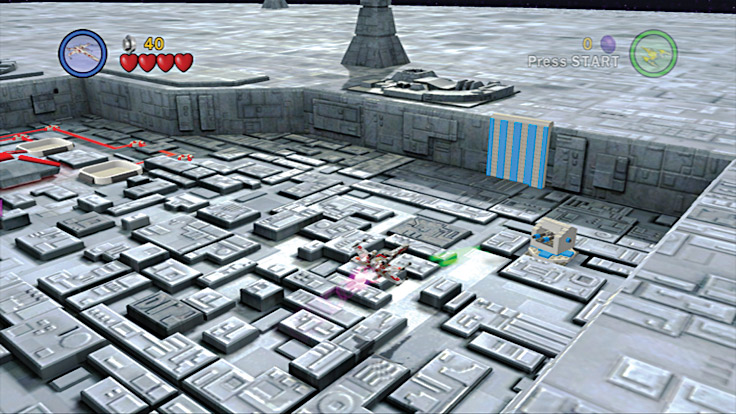
Once you descend to the surface of the Death Star, you start in a safe area away from enemy fire. Shoot the blue panels on the walls, as well as the one on the surface to uncover hidden studs and hearts.
In the back of the area is a pink force field preventing you from flying any farther. On the left side of the force field is a purple bomb dispenser. Fly over the dispenser to pick up a purple bomb that will trail behind your craft.
When you have your bomb in tow, fly toward the center of the force field until you see a purple reticle appear on the ground over the force field controls.
Fire your bomb in the general direction of the purple target. When you score a direct hit, the force field disappears.
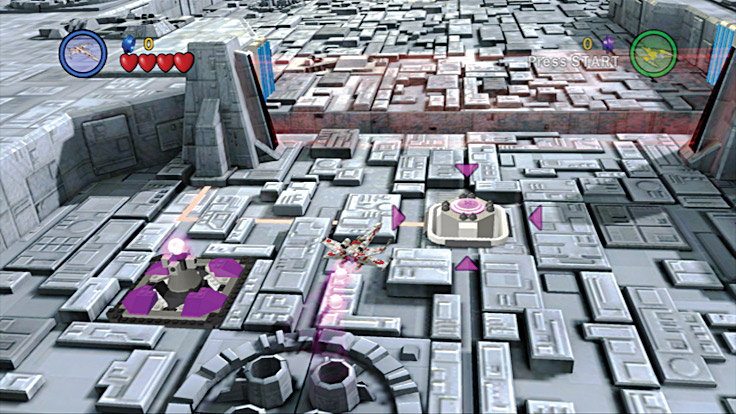
Fire the purple bombs at the force field controls.
Unfortunately, the other areas of the mission have enemy TIE fighters that fly in to shoot you down. The good news is that their guns don’t fire very far and you are faster than they are. This helps you avoid getting hit. While you dodge enemy blasts, head to the center of the area and shoot the satellite dishes on the ground.
Doing so breaks the chute between them from which the TIE fighters emerge. Now head to the right wall and blast the turrets trying to shoot you and collect the studs they leave behind.
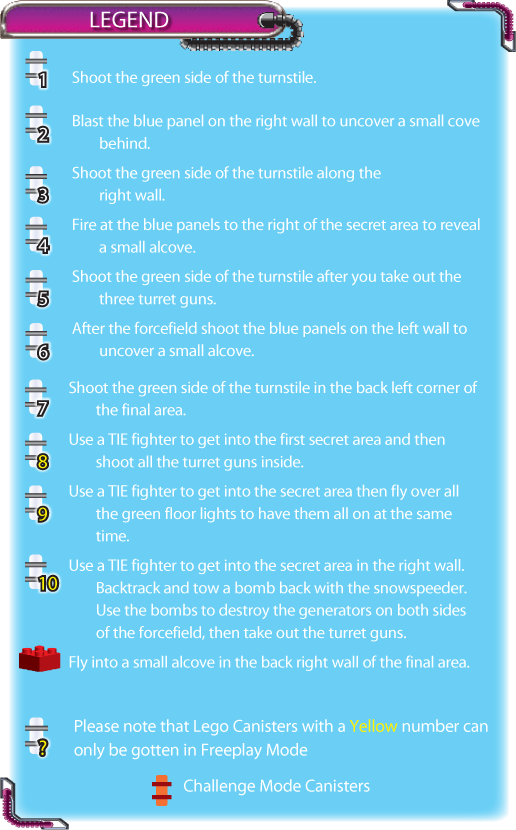
Next, fly to the left wall near the force field you destroyed earlier. When you get close, a red-and-green turnstile rises from the surface. Shoot the green side to swivel the turnstile.
A LEGO canister rises from the surface directly in front of it. Shoot the canister to add it to your collection. Fly around the area shooting all the blue panels to collect extra studs.
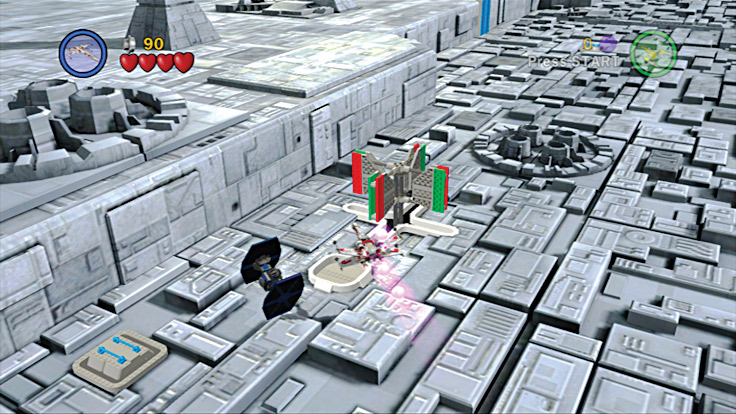
Shoot the green blades of the turnstile to get your first canister.
Fly to the north and over the small groove in the Death Star. On the other side, quickly destroy the turret and collect the valuables it leaves behind. Fly to the far right wall to find another turret.
Blast the gun to pieces, then shoot the blue panels behind it to reveal a small alcove. Fly inside to collect another LEGO canister.
Shoot the blue panels behind the turret gun to get another hidden canister.
To the north of the canister you’ll find more purple force field controls. Fly to the area’s center to pick up some purple bombs and fire them at the purple reticles that appear over the force field controls.
After each control to the force field is destroyed, collect the treasures that it leaves behind.
After the last control is gone, the force field at the top of the screen disappears and you can blast the gray-and-blue wall behind it. Be sure to destroy all the blue walls and floor panels before you continue.
Enter the next area and fly to the right to destroy the two turret guns trying to drop you. To the north, the path splits, so follow the left path for now.
As you fly, shoot all the blue panels you find and a row of three turrets along the right wall. After you destroy the turrets, you find another bomb dispenser. Collect as many bombs as you can. You’ll need them shortly.
Farther up the path, you’ll find a couple of satellite dishes on the ground; destroy them. To the left of the satellite dishes is a wall that can only be opened by a TIE fighter.
But if you fly to the right of the wall, a turnstile rises out of the surface. Fire at the green side to spin the turnstile until a LEGO canister rises next to it. Shoot and collect it.
The main path heads to the north, but you still have business to attend to near the right. Over there, you find more force field control panels at which you can launch your bombs.
Before you get to those panels, blast the turret guns in the area. When you need more bombs, fly to a dispenser directly south.
Once the controls are destroyed, continue to fly south, destroying satellite dishes and blue panels as you go until you see another locked gate in the right wall.
The path south loops back to where you were before, so fly back north to the force field controls you just destroyed.
Head back toward the destroyed controls, then follow the path north over a canal and into the next area. Fly your X-wing to the right wall and destroy the turrets shooting at you.
Next, fire at the blue wall panels to the right of the locked red gate. Fly into the alcove behind the panel to add another LEGO canister to your collection.
With that canister added to your stash, fly to the area’s center and destroy the turrets and satellite dishes on the surface for studs and a power up.
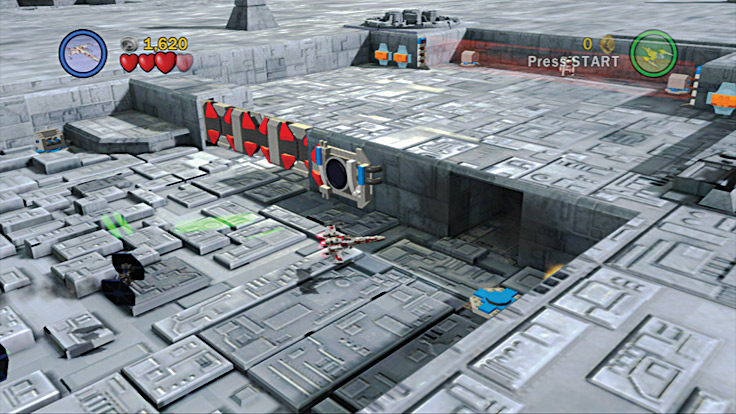
Here’s another canister to add to your collection.
Now follow the left wall to the north; you’ll find the controls to the next force field ahead. Fly to the right side to collect the bombs you need.
Destroy all four controls to shut down the force field so you can shoot the blue-and-gray wall blocking your way to the north.
Fly into the next area and move to the wall on the left where you’ll find a row of three turret guns.
Break them to bits with your blasters, then continue to follow the wall on the right until another turnstile rises from the Death Star.
Once again, shoot the green side to spin it around, causing a LEGO canister to appear in front of it. Collect your prize.
Continue to follow the wall to find some force field controls and many laser turrets. Ignore the controls for the moment and destroy all the turrets first.
With the guns out of commission, follow the right wall to the bomb dispenser to grab some bombs to blast the force field controls until they are no more.
Now fly to the center of the area and destroy the satellite dishes next to the TIE fighter chute for studs and a power up. After the dishes are destroyed, head for the right wall and destroy more turrets.
Now you can grab more bombs to use on the next set of force field controls.
Now that the last set of controls is garbage, the force field to the north disappears. Shoot out the wall behind the force field and head north.
After you pass the force field you just destroyed, shoot the blue panels on the short left wall to uncover a hidden alcove. Fly into the alcove to get another LEGO canister.
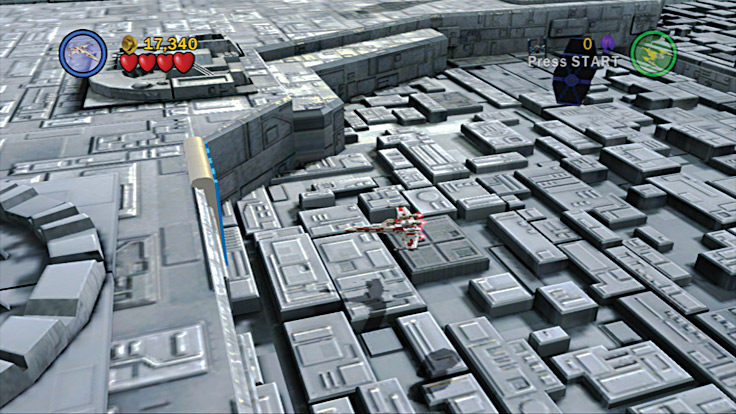
Shoot out the hard-to-see blue panels to find a secret canister.
This is it, the final straightaway! As soon as you enter the straightaway, you pick up a bomb. Fly quickly while shooting at the laser turrets mounted on the walls.
Keep your speed up, and Vader, who is trailing behind you, won’t be able to hit you.
As soon as you get to the area where you need to drop your bomb, Han Solo comes out of nowhere in the Millennium Falcon to blast Vader off your tail. This gives you one less thing to worry about in the final area.
As soon as you enter the area at the end of the narrow passage you just flew through, drop your speed. In the center of the area is your target, but it is covered by a force field that you must deactivate.
To the north, west, and east of your target are holes containing turret guns. Once you fly over the holes, the turret guns will come out and start shooting.
Starting at the left side, carefully loop over the corner hole to get the gun to come out. Blast it apart, then fly over another turret gun hole to get the next to come out so you can demolish it.
Continue this method and take out all 12 turret guns that are surrounding your target one by one. After the last turret gun is destroyed, the force field is deactivated.
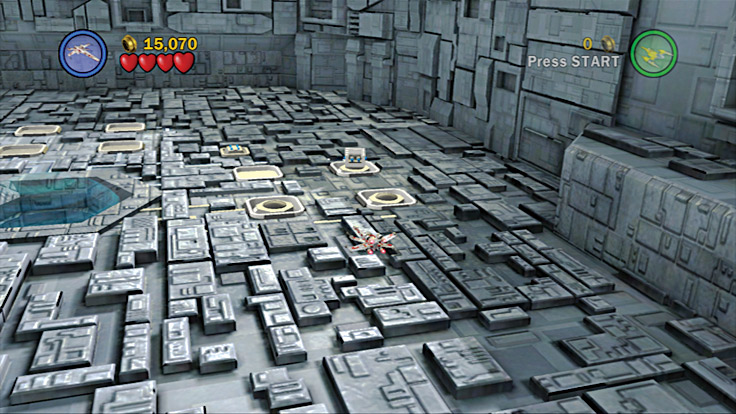
Eliminate the guard turrets one by one to drop the force field covering your target.
Before you go firing at your target, first fly to the back-left corner to cause a turnstile to rise from the surface. Again, shoot the green sides to spin the machine; a LEGO canister also rises from the surface.
Next, fly to the back-right corner. There you’ll find a hidden alcove with a red power brick to add to your collection. With the area clear, fire your bomb at the purple reticle at the center of the area to blow this joint.
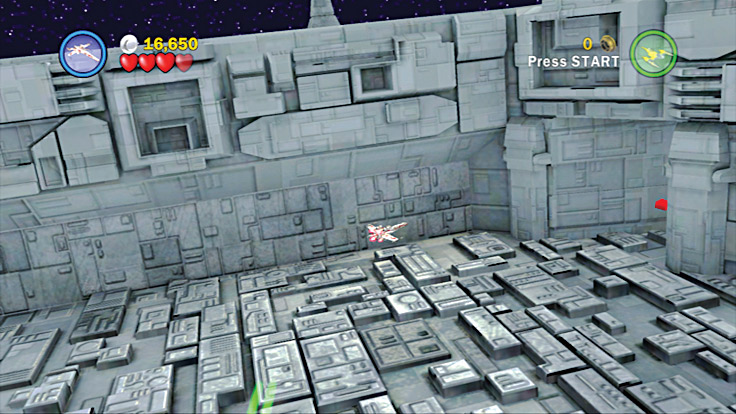
Grab the red power brick hidden in an alcove in the back right wall.