Lego Star Wars: The Complete Saga Guide Walkthrough Episode IV: A New Hope
Chapter 5: Death Star Escape
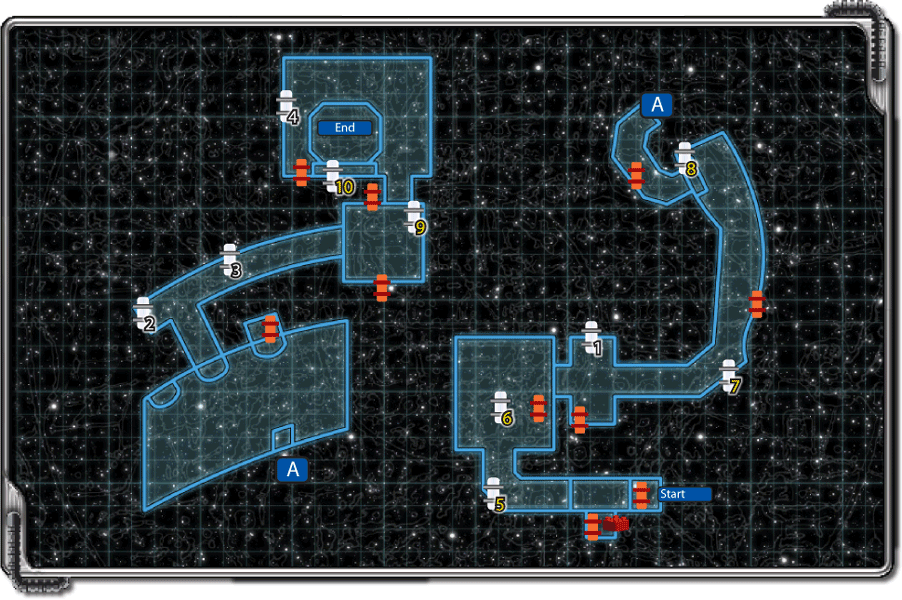
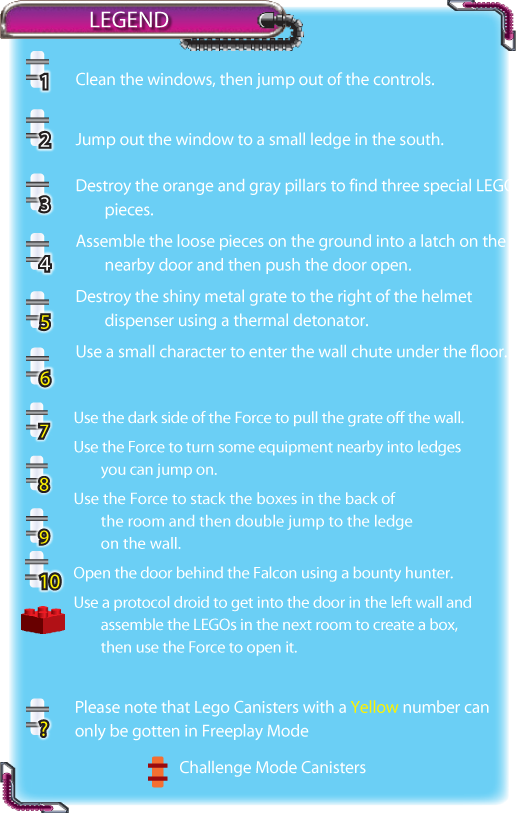
The rescue mission hasn’t gone according to plan. The heroes were almost done in by blaster fire, then they ended up in the garbage, and then the walls almost crushed them.
It’s a good thing R2 was able to stop the trash compacter in time. The stormtroopers haven’t caught them yet, so the rescue mission is still on. It’s time to find a way out of the trash.
To start, assemble the LEGOs near the back wall to form a small platform. From there, pull the lever on the wall, opening the door in the wall for you to use as an exit.
Follow the corridor as it bends to the right, shooting guards and collecting studs along the way. Use the lever on the left wall to get a stormtrooper helmet as you go.
Follow the corridor to the next room, then run along the upper walkway to the wall in the back. Pull the lever twice to move a hook along the ceiling. A red circle swirl pad appears on the ground behind you.
Use your ascension gun at the circle to swing to a floating platform over the room. Grab the studs you find, then drop to the floor and grab the power up.
Many stormtroopers are waiting for you, so you’ll have to shoot quickly and take them all down.
Move around the edges of the room, collecting studs as you blast open all the containers. On the left wall is a blue piece of machinery that you can push to the north until it won’t go any farther.
Now push it to the right until you cover up the red flashing button on the floor. This connects the piece of machinery to the red and green turnstile next to it. Now push the green side of the turnstile to raise part of the blue machinery.
Run to the right and use the red circle swirl to grapple back to the walkway you were on when you first entered the area.
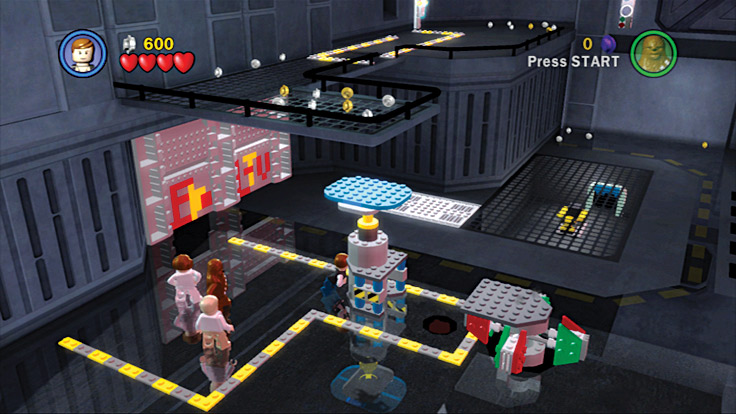
Move the blue machinery over the red flashing button to create a platform.
Run to the lever on the back wall again and pull it one more time to move the hook along the ceiling. This causes the red circle swirl to move to the other side of the upper walkway.
Find the swirl and use it to grapple to the machinery on the other side of the room. Be sure to press forward as you swing so you don’t come up short.
From atop the blue machinery, jump to the walkway in front of you and grab all the studs you see. Along the wall in the back of the walkway is another lever to pull.
Out comes a box to push along the floor to the left until you can’t push it any farther. When it stops, push it over the edge of the walkway where it crashes through the floor at the bottom.
Drop into the hole in the floor and jump into the little cart you find there. Ride the cart out of the hole you created to the center of the room. Leading to the back wall are a series of red and green lights.
Line up your cart with the lights and ride across them as quickly as you can. If you do it fast enough, all the light switches are activated and a walkway extends along the upper back wall.
Return to the corridor by which you entered the room and put on a stormtrooper mask, if you don’t already have one.
From the starting walkway, use your ascension gun to get to the blue platform you raised earlier, and then jump to the walkway on the other side of the room.
Follow the walkway to the back wall where you can access the activation panel to open the door.
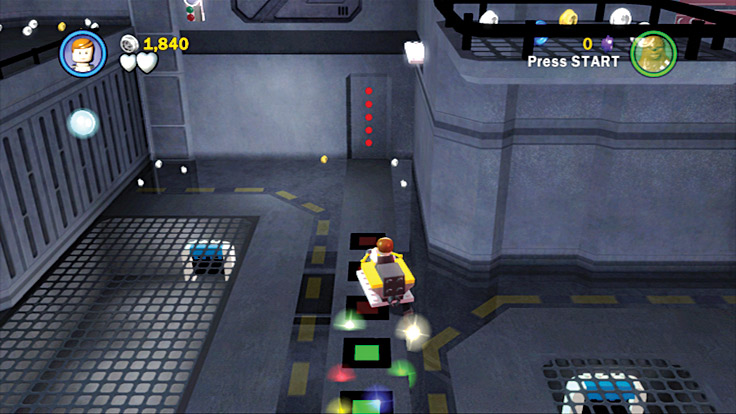
Quickly drive your little cart along the lights on the floor.
When you get to the next room, blast the guards on the left before they can shoot you. Along the right wall, some happy stormtroopers are washing the outside window.
Jump into the window washing controls next to the large window and move the controls to the left and right to move those window washers around. That causes them to clean the entire window.
Once it’s clean, jump out of the controls and the window shatters. A LEGO canister appears on the ground. Grab the canister, then blast the wall panels for some loot.
Run down the next corridor and put the LEGO pieces together next to the closed door. After the assembly is complete, pull the lever to open the door. There you find some stormtroopers waiting for you.
Blast them to pieces, then pull the levers on the wall. This opens the next door, where you find more guards waiting to take you down.
Turn those guys into spare parts, then push the blue box along the path all the way into the slot in the wall of the next room. After the blue box is secure in the wall, pull the wall lever to open the next door.
Run down the next corridor, collecting blue, gold, and silver studs as you go, and shooting any guards that rush you.
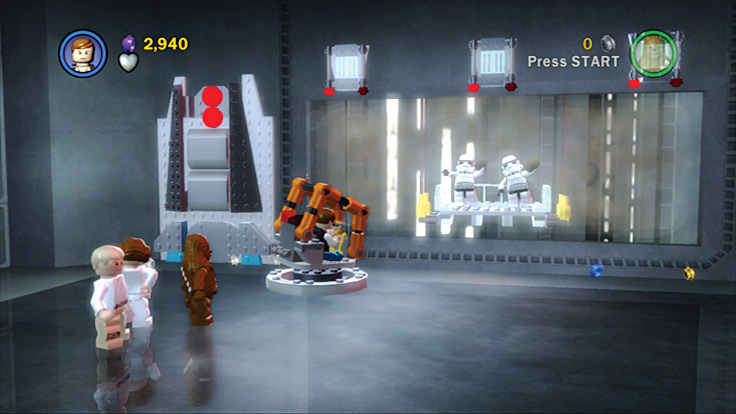
Give those window washers a hand and move them around the large window to thoroughly clean it.
Follow the walkway along the wall in the next room until you arrive at a drop-off and three levers on the wall. Shoot the wall panels to find some studs, then pull the levers.
A blue platform starts to rotate out of the wall. Jump on it as it swings around so you can jump to the other side of the walkway. Shoot the guards on the other side and run to the red circle swirl on the ground.
Grapple to the platform above and pull the lever. Doing so causes a box to drop to the walkway below you.
Drop down to the broken box and assemble the loose LEGOs to start an elevator moving up and down along the wall. Ride the elevator to the top-left walkway and pull the lever at the end to get a stormtrooper helmet.
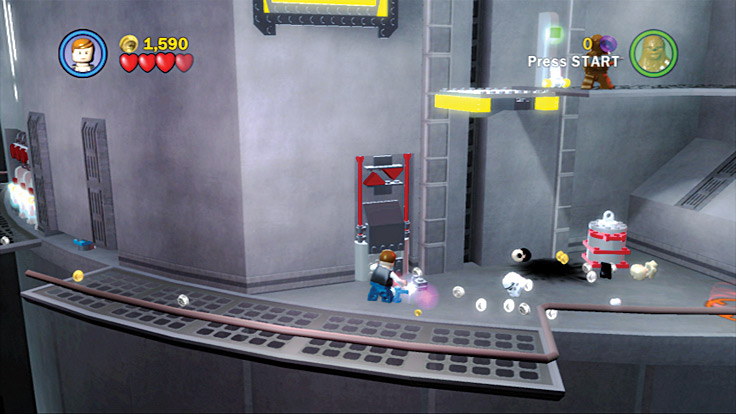
Push the box to the ground so that you have the pieces to get the elevator going.
Shoot the wall panel for studs. Ride up to the next ledge on the right and collect some valuable studs.
Now ride the elevator all the way to the top where you can use your stormtrooper disguise to access the activation panel and open the door.
Stormtroopers keep pouring into the area, so destroy them as soon as you spot them to avoid taking any damage.
Follow the corridor as it wraps around to the right. Keep your blaster ready and shoot all the guards that get in your way. Move up the ramp and through the door at the end to wind up on a tiny ledge leading to nowhere.
Quickly pull the levers on the sides of the doors to prevent any guards from sneaking up behind you. Guards on a platform in the distance start shooting at you, so stand behind your friends for cover.
Assemble the LEGOs on the ground to create a red circle swirl and grapple across the chasm in the middle of the room to a small ledge across the way.
Run into the nearby hallway and pull the lever in the back to get a new stormtrooper helmet. Return to the platform and assemble the LEGOs to make a new circle swirl platform. From there you can grapple to another platform to the north.
As soon as you land, shoot the stormtroopers on another ledge to the north. Wearing your stormtrooper helmet, open the door using the activation panel and go through.
Follow the hall until you get to a large corridor and can see a stormtrooper running away to the north. First, walk to the south until you get to an open window.
Jump to the small ledge on the left to grab a LEGO canister for your collection. Return to the corridor and blast the orange pillar on the left wall to find one of three special bricks hidden around the area.
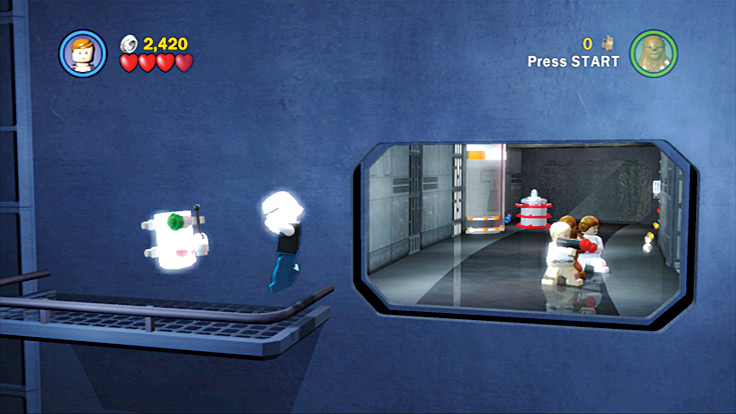
Jump out the window to find the hidden canister.
Blast the controls to the right of the door to the north to open it up, revealing another part of the corridor. Destroy all the orange and gray pillars.
You’ll find the other two special LEGO pieces, causing a LEGO canister to form next to the wall. Add it to your collection.
Shoot the controls to the right of the next door to open it and you’ll see that stormtrooper still running scared in the distance.
Continue moving down the hall, collecting studs as you go. When you get to the locked door, blast the controls to the right to open them. You might regret doing this because you find a whole army of stormtroopers on the other side.
Stay in the corridor and start firing. With your natural ability to avoid enemy fire you should be able to whittle away the enemy ranks.
Next, run into the room and smash the equipment on the right side for a power up, then fire at the guards along the upper walkway in the back of the room.
When they are gone, pull the levers on both sides of the room to shut the doors and block more enemies from entering.
While the doors are temporarily closed, run to the room’s back left and put the LEGO pieces together to form a closed door in the wall.
Collect all the loose valuables on the ground in the back of the room, then blast the new door you created to get out of there. Follow the hallway until you get to the left side of the hangar.
Grab the studs to the right of the hangar entrance and pull the lever on the wall. This causes a grate in the floor near you to break, and powerful steam to come out.
Break the container near the entrance for a power up, then clean the stormtroopers out of the place. After the last one is gone you can explore.
Break all the containers you see and collect all the studs as you move to the right side of the hangar. Assemble the LEGO pieces on the right wall to form a door latch. Push this latch to the north to slide the door open.
Inside, you find your droids and a LEGO canister. Destroy all the containers on the hangar’s right side and grab all the studs on the ground as you head to the back wall.
Along the back wall you’ll find a blue piece of equipment. Jump onto the ledge it rests on and push it to the right. When it gets to the end, it bursts into pieces that you can use to build a red circle swirl pad.
Grapple to the ledge above and pull the lever. This raises a platform below the floor in the center of the room. That’s where the Millennium Falcon is parked.
Jump down to the pad you created and get your gun ready. Stay close to the pad and drop all the stormtroopers who rush in to shoot you.
Don’t touch the pink force field in the center of the hangar or you die.
Follow the back wall to the left of where you found that blue piece of equipment to find an activation panel.
Use R2-D2 to access the panel, and the Falcon is raised a little bit higher in the center of the hangar. Once again, get near the circle swirl pad and blast the enemy troops that try to take you down.
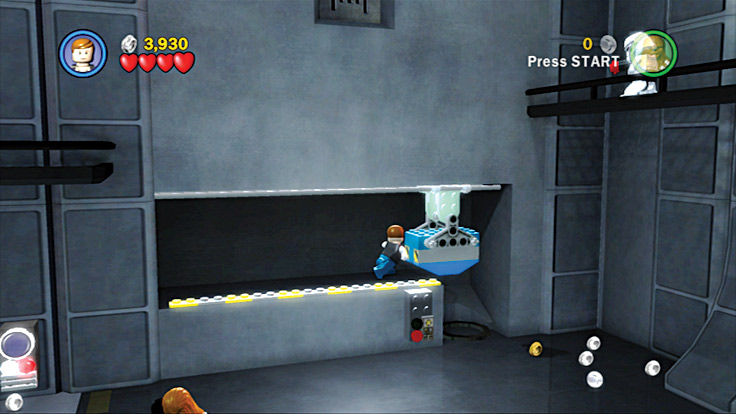
Push that blue piece of equipment all the way to the right.
Move to the left wall of the hangar and have R2-D2 access the panel on the wall. This raises a platform nearby with a little cart on in.
Jump in the cart and ride it to the room’s center where you see the red and green lights on the floor.
Line up your cart in front of the first light, next to the guard rail separating the lights from the pink force field. When you are in position, race your cart across the lights.
If you go fast enough, all the lights are activated at once and the Falcon will raise a little higher toward the level of the hangar floor.
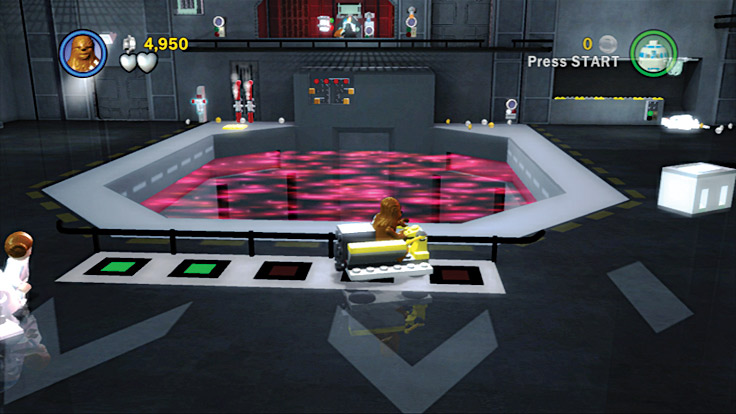
Use the guard rail next to the lights to steer in a straight line across them.
Another wave of stormtroopers comes in to stop you. Jump out of the cart and use your friends as cover while you take the stormtroopers out one by one.
Run back to the entrance of the hangar and walk C-3PO onto the steam coming out of the ground. This boosts him to the ledge above where he can access the activation panel on the wall.
This raises the Millennium Falcon all the way to the floor of the hangar and turns off the pink force field that covered the top of it. Walk to the right of the ledge and fall over the side where there is a break in the railing.
Switch to a character with a blaster and shoot at all the incoming stormtroopers. After the last one falls dead, head to the left of the Millennium Falcon and run up the ramp leading inside.