
Lego Star Wars: The Complete Saga Guide Walkthrough Episode IV: A New Hope
Chapter 2: Through the Jundland Wastes
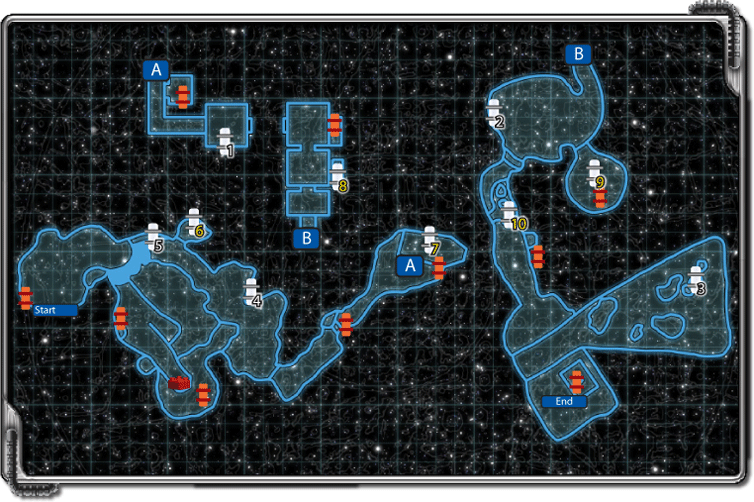
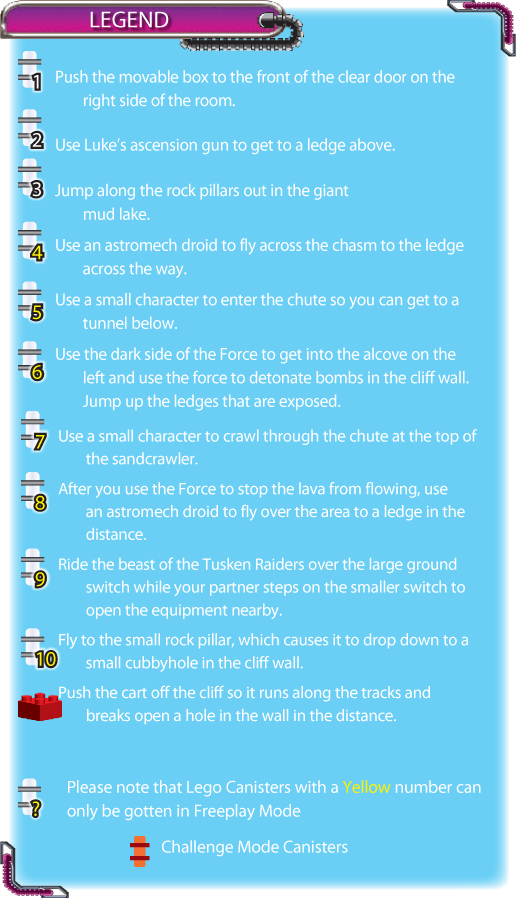
Maybe going looking for the droids alone wasn’t such a smart idea—especially because so many dangerous Tusken Raiders are lurking about.
It’s a good thing that old Ben Kenobi was out and about to save young Luke’s life. Now they must get out of the area and find safety away from those Sand People.
From your starting location, head to the left and assemble the pile of LEGO bricks into a nice little castle. After your work is complete, break it apart for some hidden loot.
Continue along the wall to the left and bust open all the containers and equipment you find. Pick up the spilled studs on the ground as you go. Use Ben Kenobi to climb the rock ledge along the cliff wall in the back.
Follow the ledge along the cliff. Double jump when you get to the end to reach another ledge farther to the right. There, you find a prized blue stud for your collection.
By now you’re sure to have made your presence known to the local Tusken Raiders. They come jumping down from the cliffs to chase you off their lands, so use your lightsaber to cut them down.
When you get a moment of peace, break the fence boards surrounding the Sand People’s riding beasts to discover some hidden loot. Jump on the back of one of the riding beasts. From there, you can jump to the cliff ledge behind you.
Grab all the studs you find before dropping to the ground to fight more Tusken Raiders.
As you fight the Sand People, maneuver to the right until you get to a deep chasm blocking your path.
Use Luke’s blaster to drop the fools on the cliff wall in the distance, then shoot the LEGO pile in the cliff wall on the left.
Not only will you get to collect LEGO studs that spill out, but you also can jump on the rock over the LEGO pile you destroyed to get to a bridge that crosses the chasm.
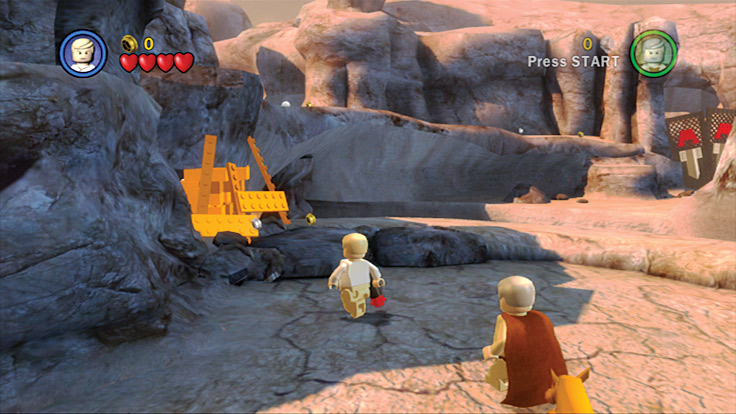
To cross the chasm, shoot out the LEGO bricks in the cliff wall.
As you cross the bridge, be sure to pick up the studs in your path. On the other side, you’ll find some LEGO pieces to assemble to make a red circle swirl pad.
As you put the thing together, more Sand People charge at you, so blast them as soon as you complete the construction. When the area is clear, use the ascension gun to get to the ledge above and collect more studs.
Move farther down the canyon, collecting more studs along the way. Soon you come to some strange-looking plants along the right wall. Use the Force to destroy the plants and grab the blue stud. Tusken Raiders try to rush your position, so blast them as they approach.
Move to the alcove in the rock wall to the left, collecting the studs along the way. Then break all the equipment you find for even more goodies. Some nearby boulders have some LEGO parts next to them.
Ben Kenobi can use the Force to stack them on top of each other on the boulders. After you have three stacks, break the LEGO pieces you just stacked for some hidden studs and a power up. Before you move on, collect the studs behind the boulders as well.
The Sand People keep charging in on you from the hillside up ahead, so keep blasting them as you move forward. After you take out another wave, run to the right wall to collect studs and use the Force to pull some LEGO pieces out of the sand.
When all the pieces are free, combine them to form a chest that spills studs out onto the sand.
Next, use the Force to create a ramp and a satellite dish on the dirt hillside, and collect the studs on the ground as you move up the ramp and into the next part of the canyon.
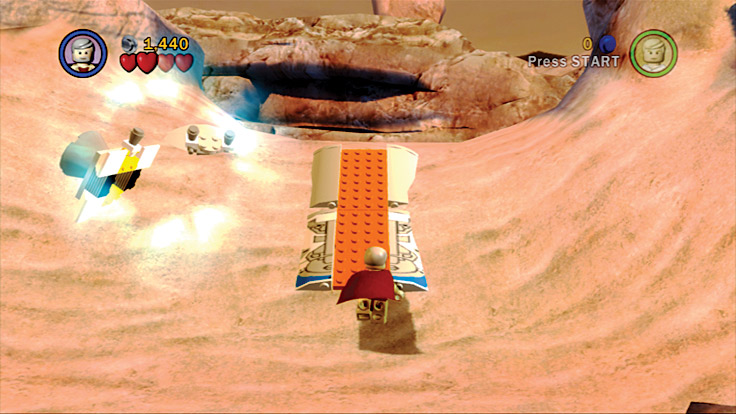
Use the Force to create a walkway up the dirt hillside so you can keep moving.
After you enter the next canyon, run to the right to find a pile of LEGO bricks. Before you do anything, shoot the Tusken Raiders in the distance who keep firing at you.
When they’re dead, run past the LEGO pile to the cliff wall and follow it to the right. The wall leads you to more studs, including a valuable blue stud.
Continue to collect studs around the area, then return to the pile of pieces and assemble them to make a movable box.
First, push the box to the right so that Ben Kenobi can double jump from its top to the nearby ledge to collect some loot. With the loot in hand, drop down and continue to push the box to the very end of the checkerboard pattern.
Use the box to jump to the ledge above, and then to another ledge to the left.
If you try to walk through the mud that blocks your path instead of jumping to the ledge above, you will die instantly.
Follow the ledge back to the canyon floor, where you find more LEGO pieces to put together. Once assembled, they form a platform with a red circle swirl.
Use your ascension gun to get from there to a hidden ledge above, where you can collect a blue stud. Drop down and follow the canyon to a large opening and a Jawa sandcrawler.
Follow the right cliff wall until you find a shovel in the sand. Use the Force on it to dig up some hidden LEGOs. Assemble the LEGOs and you’ll create a droid and uncover loads of studs.
Destroy the droid you created, then advance up the ledges in the right cliff wall, collecting studs along the way until you get to the blue stud at the top.
To get the blue stud on the top of the ramp you have to ride the large beast over and jump off of its back to the top of the ramp.
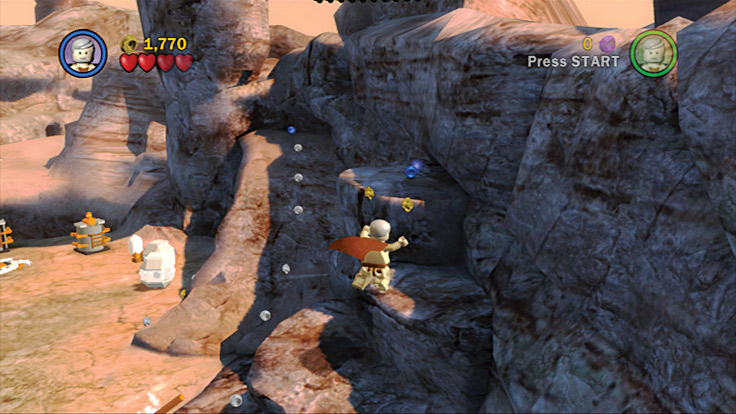
Scale the cliff wall for some valuable studs.
Back on the ground next to the dirt ramp, you’ll find lots of things to destroy. Blast all the equipment and containers you find and collect the studs that spill out. Some LEGOs litter the ground.
Each pile can be turned into a fully functioning droid and some studs to add to your pocket.
With that area clear, move to the left, where you’ll find two large blocks that Ben Kenobi can stack using the Force. When the blocks are stacked, go under the sandcrawler and shoot the brown grates to reveal some blue studs.
Now keep going to the left and put together the LEGO bricks on the ground to create a red circle swirl pad. Before you grapple up, run to the right to break more equipment and collect more studs along the left wall.
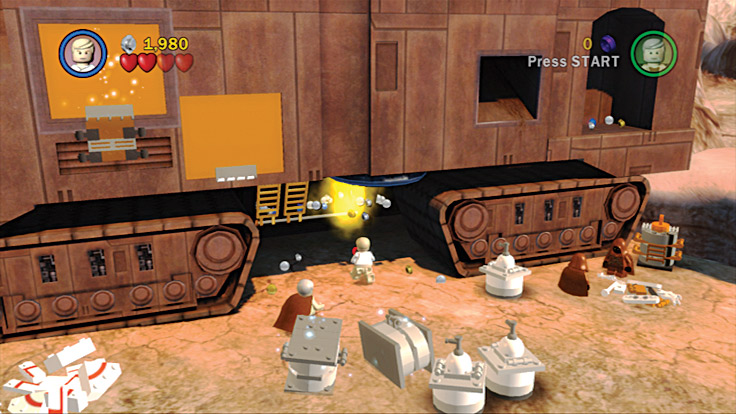
Smash the brown grates under the sandcrawler to find some valuable studs.
Return to the red circle swirl pad and have Ben Kenobi use the Force to lower a platform above. Luke can then grapple to the new platform and pull the lever there to lower another platform that Ben can use to get to the same location.
After Ben gets up there, have him use the Force again to lower another platform above. Double jump to the new platform and pull the lever you find. This lever activates a small elevator to the right. You need to jump onto it to get to the top of the vehicle.
At the top, pull the levers near the elevator. This activates the suction entrance under the sandcrawler. With the entrance activated, move to the left and follow the inside wall to find a blue stud.
Next, move to the right and smash the four pieces of equipment on the roof and collect the loot that is exposed.
Don’t stand on the piece of equipment that is closest to the levers you pulled because a chute located under it could send you back to the ground.
Now, move to the edge of the sandcrawler to the right of the roof chute you just discovered and jump over the edge.
Push the controls toward the vehicle, and you should land among a pile of studs. Fall to the ground, then move under the sandcrawler and under the entrance chute.
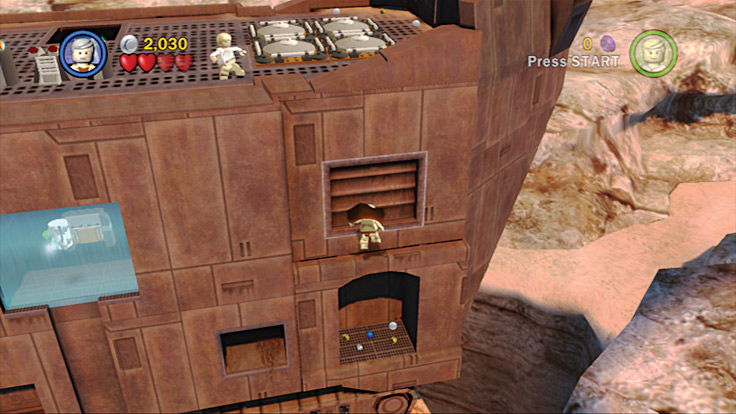
Jump over the edge of the vehicle so you can land on a ledge full of studs.
If you have trouble getting the studs on the side of the sandcrawler, you can always go back to the area’s entrance and ride the large beast back. From its top, you can jump to the ledge with the studs.
When you are inside the sandcrawler, it is time to get to work. Follow the path to the right until you see a pile of LEGOs on the floor. Put them together to form an activation panel on the wall, which only a protocol droid can use.
Continue down the hall and blast the gray and orange containers in the corner. Collect the loose studs on the ground, then blast the flashing red wall panels for even more loot.
Under those containers are some loose pieces you can put together to create a droid. Once it is assembled, LEGO studs scatter on the floor.
The next hallway is lined with red bars covering yellow wheel cranks. Destroy each bar, then use the Force to turn each wheel. After each wheel is turned, a compartment above spills studs onto the floor; collect them all.
After the last wheel is cranked, two containers down the hall open, exposing blue studs.
Run into the next room to discover a room full of droids. First blast all the red flashing wall panels and explosive containers, and collect all the loot that spills out.
Next, move around the room and put together all the LEGO piles you find to create more droids and collect more studs. When the room is clear, move to the back and pull the lever on the wall. A movable box is transported to your right.
Push the box along the path and into the red slot on the right side of the room. As soon as the box is inserted into the red slot in the floor, it explodes, opening the door behind it. When the door is open, you can climb in and get a LEGO canister.
Return to the lever on the wall and activate it to get another movable box. This time, push the box to the left side of the room where you have three more doors to open. Repeat the same technique you used the first time and open all three doors.
You’ll collect more blue studs and set R2-D2 free. When the room is stud-free, use R2 to access the activation panel at the room’s center. This opens the door to an elevator leading up.
Enter the next room and move to the right of the doorway through which you entered. Under the grate, you’ll find three caps on the ground. Remove each one by using the Force and collect the goodies that pour out.
Next, look to the left of the door and blast open the explosive containers for more hidden studs.
At the room’s center are some rows of circles on the ground. Step on each one to turn them green and cause some levers to appear at the end of the row. Pull the levers. The gate at the center of the room opens.
To the left of the left lever you’ll find more caps on the ground. Use the Force to open them and collect what’s inside before you leave.
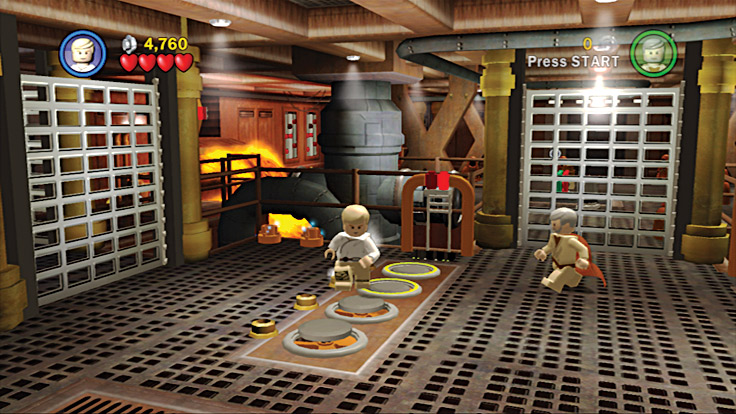
Step on the floor switches to activate some levers nearby.
The next room has C-3PO in a cage and a giant green turnstile at the center. Push the turnstile with your body. You’ll see a black suction tube move over the first cage.
The suction tube is directly over a cage when the light at the top of the cage turns green.
Once the light turns green, an activation panel opens up to the left of the cages. R2-D2 can then activate the panel, and the droid in the cage under the suction tube will be sucked up.
It then slides down a chute to the left of the room and is free of its cage. Push the turnstile until the suction tube is directly over C-3PO, then R2-D2 can use the activation panel nearby to suck him out.
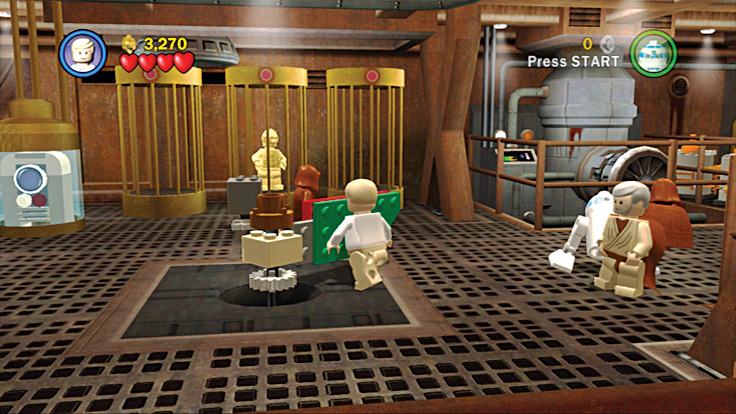
Turn the green turnstile until the light on C-3PO’s cage turns green.
A door to the left with the picture of a protocol droid on the activation panel leads to the way out, but you have business to take care of first.
Move around the room and collect all the studs you find, including blue studs behind the X-shaped support beams.
To the right of the exit door are some more caps on the floor that can be removed using the Force.
Before you leave, head back to the area where you first entered the sandcrawler and assembled the activation panel with the picture of a protocol droid on it. Use C-3PO to open the door. Inside, blast the explosive containers in the back of the room.
Collect all the studs on the ground, then have R2-D2 use the activation panel to the left of the door through which you came. This causes the piece of machinery in the alcove to be moved into the room.
From there, use the Force to move the grate on the side of the room and create a pile of LEGO pieces on the floor. Assemble the pieces to form a yellow tank that fits together with the other piece of machinery you just moved.
When everything is complete, use the Force on the new object, and a load of valuable blue studs spews forth for you. After you collect the studs, move to the back of the room and use the Force on the antenna on the floor to attach it to the television.
Use the Force on the circles on the right of the TV to change the channel. Then use the Force on the cups on the table and the chairs around it to reveal more hidden treasures.
After you collect all of your loot, go back to the locked door you left behind.
Use C-3PO to access the activation panel and move into the next room. Shoot the explosive containers and the red flashing wall panels to uncover some valuables to collect.
Use the Force to pull down some stairs on the left wall so C-3PO can climb up and access the panel there. Doing so releases some studs and some loose LEGO pieces. Put the pieces together to form a droid.
On the other side of the room, you’ll find more pieces to assemble into another droid. Finally use the Force to destroy the four small beams in the back of the room. Destroying these opens the door for you to get out.
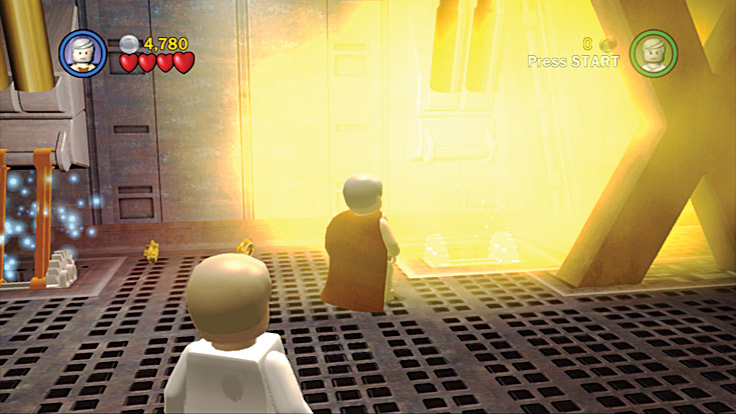
Those small beams are the only things keeping you from the outside world.
Once outside, head down the Jawa ramp to the dirt trail. Run up the dirt ledge on the left, collecting studs as you go. With the loot in hand, drop to the trail below and destroy the rock pile against the trail’s left side.
Run into the short cave hidden behind the rocks to find some blue studs. Exit the cave and blast the equipment you find for more treasure.
The next area has plenty of deadly mud pits that can take you out if you get too close. Luckily, these Tusken Raiders can dry out the mud. After you drop from the ledge, take out any enemies in the area and run to the cliff wall on the right.
Over there, C-3PO can activate a machine to suck the water out of the ground, making it safe to walk across.
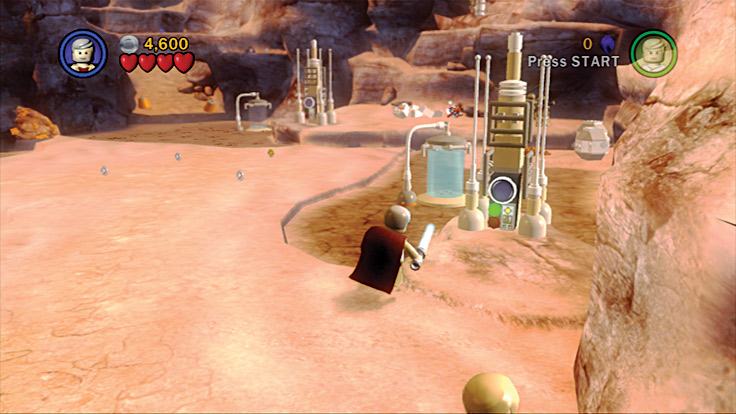
Use the nearby machine to suck the water out of the dangerous mud.
After the water has been sucked out of the mud and into a nearby container, you can walk safely across the ground. Now break open the container with the water to cause some plants to grow.
Use Ben Kenobi to double jump from the top of the plants onto the nearby ledge for some hard-to-reach studs. Return to the ground and use the Force to bust those plants out of the ground, revealing hidden loot.
Check the nearby cave for loot, then put the pile of LEGOs together to form a ramp that C-3PO can ascend.
At the top of the ramp you made, use the Force to move a hook to the ledge above, then put the pile of LEGO bricks together to form a red circle swirl pad.
Use Luke’s ascension gun to grapple to the top for some much-deserved studs and a well-earned LEGO canister.
After collecting the studs, drop to the ground where you’ll find another machine that sucks the water from the mud. After C-3PO activates the machine, the ground is safe to cross. Bust open the water tank, and the plants spring to life.
Use the Force to demolish those plants and turn them into studs and LEGO bricks. After you collect the studs, put the LEGO pieces together to form a platform. The dirt ramp nearby has two pieces of equipment on it that you must move using the Force.
After you move them, you can use the Force to put the platform you created on top. From there you can jump on the platform and onto the rock bridge for some well-deserved goodies.
Drop down from the dirt bridge you were on and run up the ramp from which you pulled those LEGO pieces.
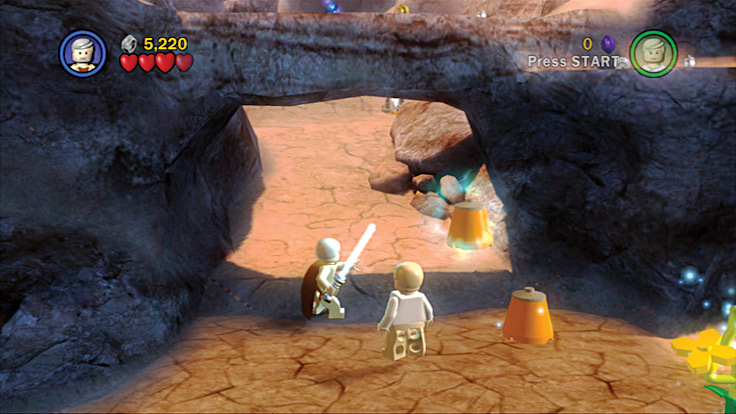
Stack the LEGO pieces you find using the Force so you can jump to the ledge above.
It’s time to move on. Head up the dirt ramp that goes under the rock bridge you were on earlier. Once you get to the other side, shoot the Tusken Raiders that start shooting at you.
When the threat of getting shot is over, use the Force to move a pile of LEGOs from the right cliff wall to make steps up ahead. Run up the stairs you just made and grab the studs on the ledge you find.
Next to the stairs are some large, dark brown rocks. Double jump until you get to the top of the second rock, and from there, to the ledge where you can collect some goodies.
While you’re over there, use the Force to move some LEGOs in the cliff wall over to the other side of the canyon to create a bridge. Backtrack the way you came, then head for the newly formed bridge.
As you cross, jump into the cave in the cliff wall over the bridge for a valuable blue stud.
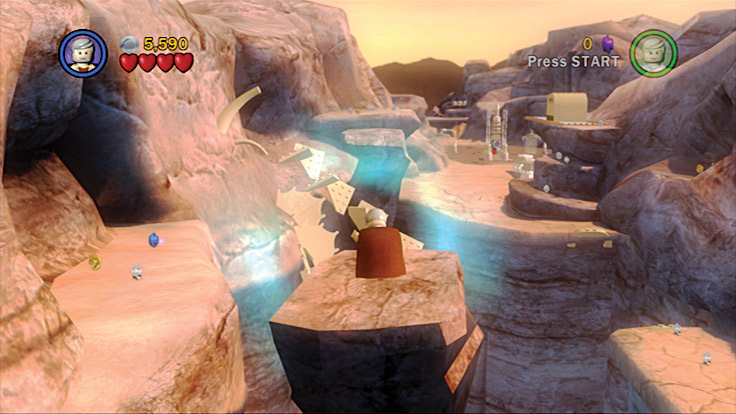
Get over to the ledge so you can move the LEGOs in the cliff wall with the Force.
After you cross the bridge, more Sand People appear for you to take down. Blast them, then jump up the stone steps to the right. When you get to the top, push the movable box all the way to the end until it falls to the ground and breaks apart.
Drop down to the canyon floor and smash the containers for hidden loot, then double jump up the left canyon wall to reach a ledge with some more goodies for you to grab.
Drop to the canyon floor again and use the Force to turn that broken box into a small bridge. From there, C-3PO can access the equipment to suck the water out of the mud.
When the area is safe to cross, smash open the water containers to cause some plants to grow.
Pull out the plants using the Force, then assemble the LEGOs on the ground to form a ledge on the cliff wall. Use the ledge to double jump to the ledge above.
Collect all the studs from that ledge, then double jump to the ledge in the distance that has the blue stud on it.
With your pockets full of studs, return to the dried mud pit and use the plants on the right side to get to the ledge above them. When you are done collecting studs, return to the plants and use the Force to bust them open for more treasure.
Move to the next canyon beyond the dried mud pit. You’ll find two seeds on the ground. Use the Force to turn them into palm trees, then cut them back down and collect the studs.
Head farther into the canyon and break any container you see to find some more valuables.
Blast all the LEGO dirt piles along the way and explore the shallow caves hidden behind the piles to find some blue studs. At the end of the canyon, climb the dirt ledge on the right side until you arrive at the top.
There, use the Force to open some containers for more studs. Drop to the floor and run to the end of the canyon.
You are now on the shore of a dangerous mud lake. Run to the top of the screen and break the equipment you find. Next, run to the bottom of the screen and use the Force to turn some more white caps for some hidden goodies.
When the shore is clear, fix the landspeeder by putting the loose LEGO pieces back together. Use Ben Kenobi to jump in and take a ride north. The first island you reach has another broken landspeeder.
Jump to the island and fix it up. Before you jump back in your landspeeder, collect any studs you see.
With that island clear, jump in the landspeeder and drive to a small chunk of land to the northeast. Grab the studs on the ground, then head north to another island. Smash the containers and grab the studs.
Then put the pile of LEGOs together. Use the Force to assemble the remaining pieces to form a minishuttle that flies off after it’s assembled. Now head to the last island to the west. Assemble the LEGOs on the ground to form a red circle swirl pad.
Use your ascension gun to grapple to the rock pillar in the distance. Jump down along the tops of the pillars and grab all the studs you find, as well as a LEGO canister. Get back to your landspeeder and return to the shore where you left your friends.
Take your landspeeder across the mud to the other side, where you’ll find a small wooden dock. Next to the dock is a pile of LEGO pieces that, once assembled, form a lever. Pull the lever after you make it.
A bridge rises out of the mud for your friends to cross. This side of the mud has a small dwelling in the center and lots of things to do.
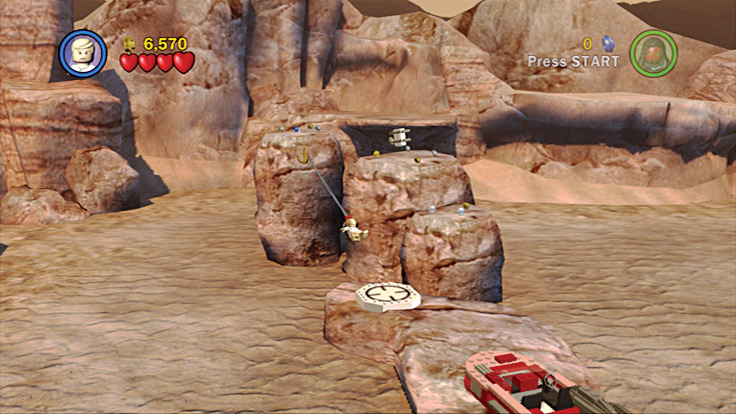
Grapple to the top of the rock pillars to get some hard-to-reach treasures.
When your friends cross the bridge, move toward the dwelling nearby to find that some stormtroopers beat you there. Use your weapon and quickly dispose of those stormtroopers.
Now, smash all the equipment you find around the lake for some studs and a power up.
Go past the front of the dwelling. Use the Force to move the shovel you find and dig up some buried pieces. When all the pieces are dug up, put them together to make a treasure chest. Use the Force to open it up and it spews forth many valuables.
Next, move to the right of the treasure chest, past the giant lizard, and on to the hanging laundry. Blast everything hanging from the line and collect anything that falls to the ground. Next to the laundry is an activation panel for R2-D2 to access.
This causes the sprinklers in the nearby fence to turn on and some plants to grow. Jump into the fence area and assemble the LEGO pile into a lawnmower. After the lawnmower is done, destroy the fence and use the Force to pull out the plants.
Behind the place where the fence used to be are some white caps on which Ben can use the Force to uncover more studs.
Go back to the giant lizard you passed earlier and hop on its back. Ride the beast back to the side of the dwelling where you can dismount. Dismounting off the animal boosts you into the air so that you can land on the roof.
There you can collect many valuable blue studs. Drop to the ground and step on one of the four red switches on the ground. Your friends will step on the others.
This activates a lever on the side of the dwelling. Pull that lever to open the nearby door that you can use to enter the abode.
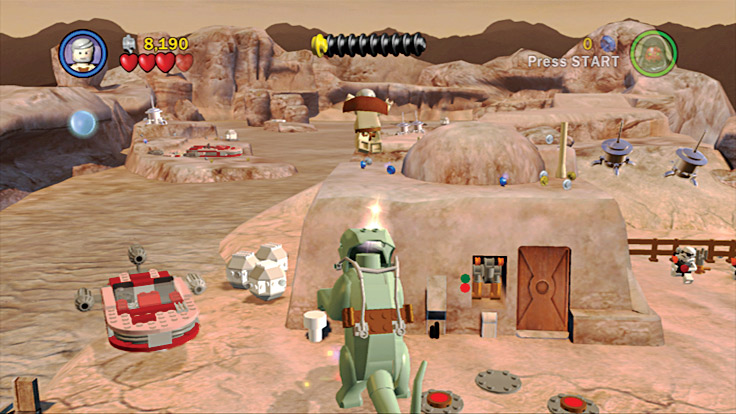
Ride the giant lizard (the dewback) over to the building so you can jump down from its back and onto the roof.