
Lego Star Wars: The Complete Saga Guide Walkthrough Episode V: The Empire Strikes Back
Chapter 3: Falcon Flight
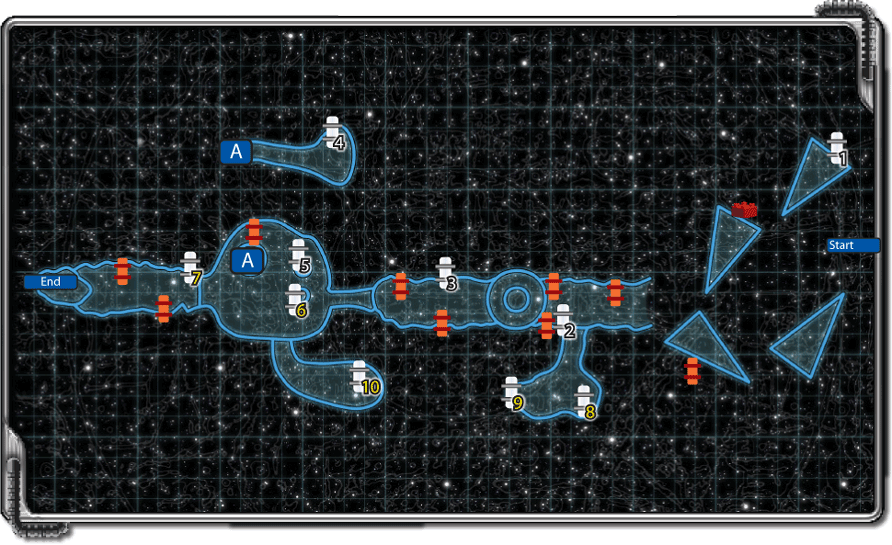
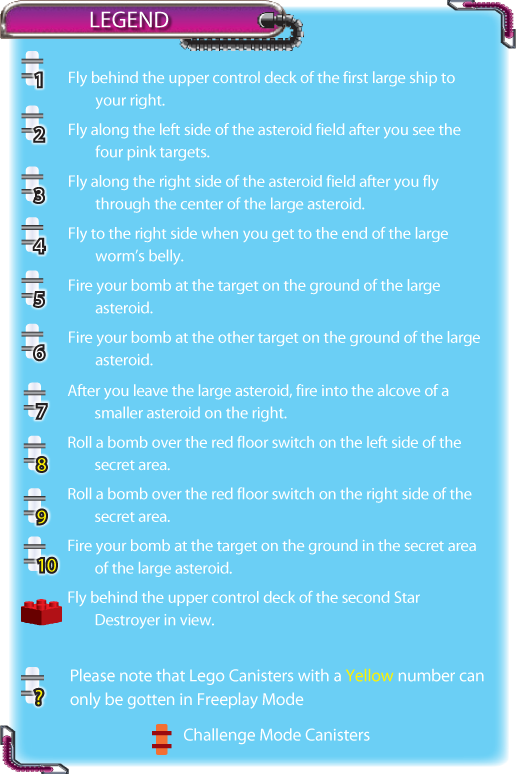
Just when Han Solo and his crew thought they were out of trouble, the Empire reared its ugly head. While the ground forces were invading Echo Base on the surface of Hoth, the Imperial fleet was waiting out in space for anyone trying to escape.
These aren’t just TIE fighters, but Star Destroyers as well. It’s going to be a difficult fight, and if you want to live, you’ll have to bring out your best.
Four Imperial Star Destroyers have the escaping Rebels surrounded while the Empire sends in the TIE fighters to cut them down. Your first mission is to take out the four turret guns on each of those big ships.
Head to the first Star Destroyer on the right and fly behind the upper control tower on the ship. Hidden up there is a LEGO canister for your collection, so blast away. After you have the canister, it’s time to take out those guns.
The turret guns are lined up on each vessel, so fly in a loop toward the end of the row and fire at the first gun. Keep flying in circles in front of the first gun to avoid taking fire as you blast it.
After a few hits, the gun explodes and you can get to work on the next one in the row. Be sure to fly in and collect the studs that each gun leaves behind.
After you destroy the four guns on the first ship, speed to the next Star Destroyer in view. Fly behind the upper control deck like you did on the first ship and collect the red power brick that is hidden up there.
Fly along the deck of that ship and destroy the four guns you find. Destroy the remaining eight turret guns on the last two Star Destroyers to teach the Empire a lesson it will never forget.
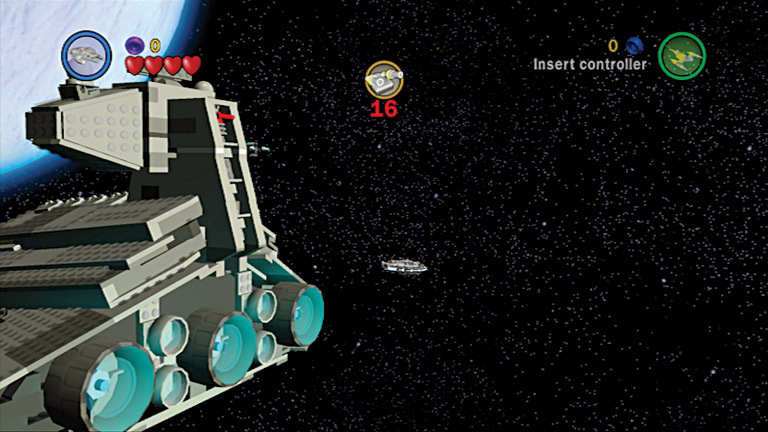
Maneuver your ship behind the control towers of the first and second ships to collect a canister and a red power brick.
The asteroid belt is a very dangerous place to be flying around, but desperate times call for desperate measures. Unfortunately the Empire wants you really badly and they follow you in.
As you fly into the belt, blast all the asteroids with blue and black metal chunks sticking out of them. As the asteroids explode, they leave behind pink bombs for you to pick up, as well as gray LEGO chunks.
Shoot these chunks to find valuable studs and hearts. A red gate in the left asteroid can only be opened using a TIE fighter, so skip it for now.
Continue to follow the asteroid field until you find a really big chunk blocking your path. It has four pink targets in an alcove at its center.
When you get close to the large asteroid, fly your craft to the left and follow the wall of large asteroids. When you see the little gray satellite, blast it to get a LEGO canister added to your collection.
Now shoot more small asteroids in the area to collect some bombs, then head for the targets in the alcove. When the pink reticle lights up, fire your bomb.
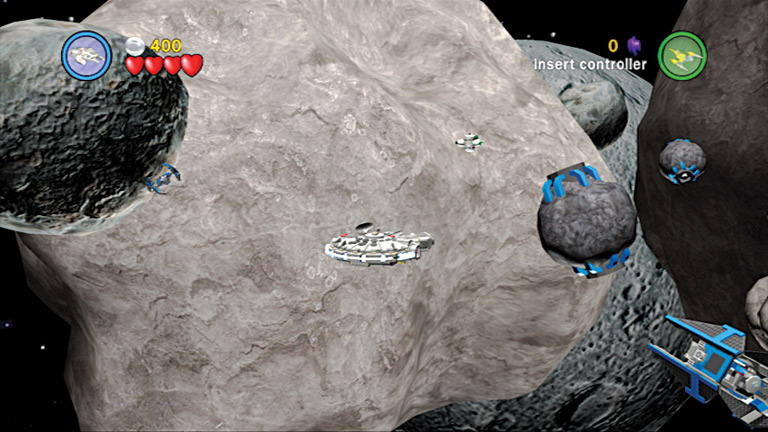
Shoot at the satellite along the wall of large asteroids on the left to find a hidden canister.
After you destroy all four targets in the alcove of the large asteroid, a tunnel opens up through its center. Fly through to the other side, where you are again greeted with more small asteroids and TIE interceptors.
Continue to blast the asteroids for hidden loot as you fly along the right side of the asteroid field. A large asteroid on the right side juts out into the field, partially obscuring your view ahead.
Right in front of it is a satellite for you to blast. Do so; you’ll collect another hidden LEGO canister.
Continue to fly along the asteroid field until your path is once again blocked by a very large chunk of rock. At the center of the asteroid is an alcove with four targets in it.
Get some bombs from the small asteroids in the area and go into the alcove. Fire when you see the reticle to blow up your targets. After all four targets are gone, a tunnel opens up in the large asteroid for you to travel through.
The tunnel leads you to a large crater in this giant asteroid. Collect the studs on the ground, then fly into the giant hole on the surface. That was no cave you just flew into—it was a space worm!
And it just closed its mouth behind you, so keep flying forward. When you get to the bottom of the path and can’t go any farther, shoot all the junk on the ground to uncover hidden studs and bombs to collect.
Shoot the container on the right side to add a LEGO container to your stash. After you clean out the bottom area, the worm unclenches its teeth, so you can race back out of this worm to the crater.
Along the large crater floor you’ll find two targets to hit. Fire your bombs when a reticle appears over them. After they explode, collect the valuable studs and a LEGO canister that appear in each.
One of the side walls of the crater has a tunnel blocked with rubble. Luckily, the rubble has some targets on it at which you can fire your bombs.
When you run out of bombs, fly back into the worm and shoot the debris inside to pick up three more bombs. Return to the surface and shoot the remaining targets to unblock the tunnel and fly inside.
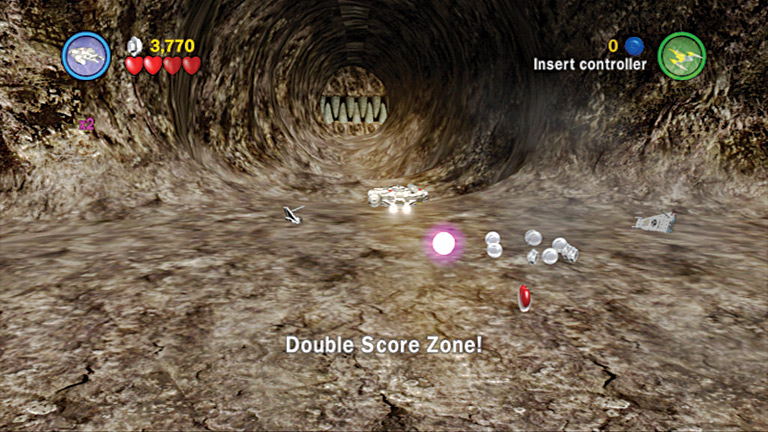
This worm’s previous meals provide you with lots of good stuff.
The tunnel out of the crater leads your craft back into space toward more asteroids and enemy ships. Fly the Falcon to the large asteroid on the right and fire into the alcove on its side to find another LEGO canister.
At the end of the asteroid field is a larger asteroid with pink targets on it. Shoot the smaller asteroids in the area to collect some pink bombs, then fire them at the pink targets when you get close.
Destroy all the targets on the large asteroid and the rock explodes. With your path clear, head out into open space toward the Star Destroyer waiting for you.
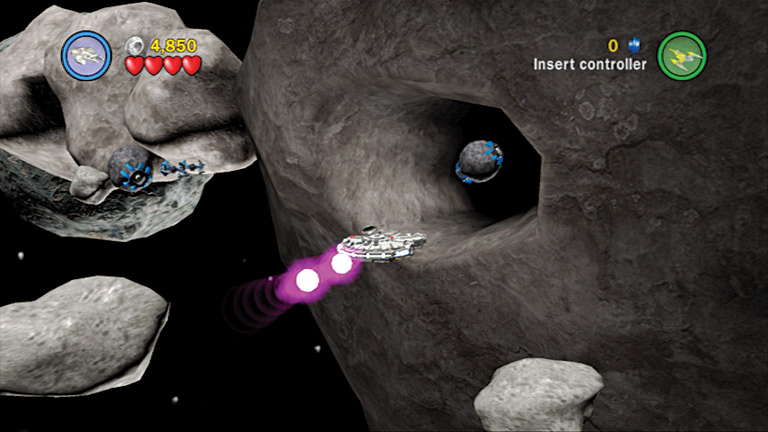
The alcove in the large asteroid holds a canister for you.
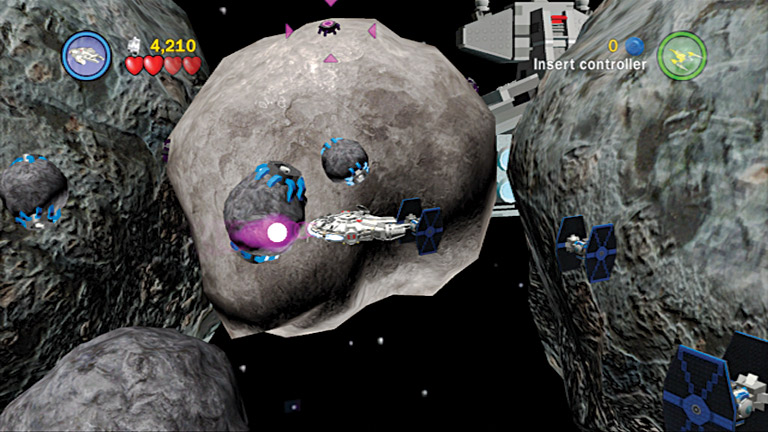
Shoot some bombs at the targets on the large asteroid to blow it to rubble.