Lego Star Wars: The Complete Saga Guide Walkthrough Episode V: The Empire Strikes Back
Chapter 6: Betrayal over Bespin
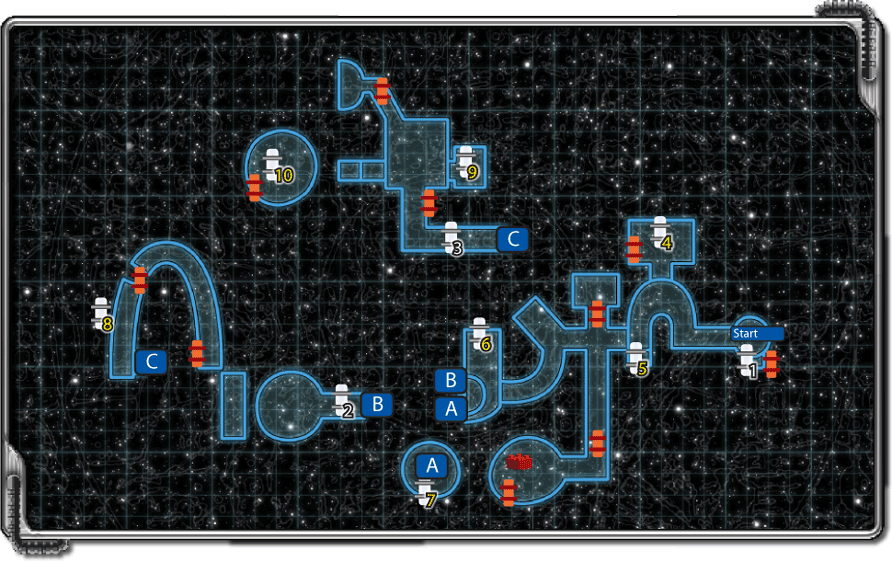
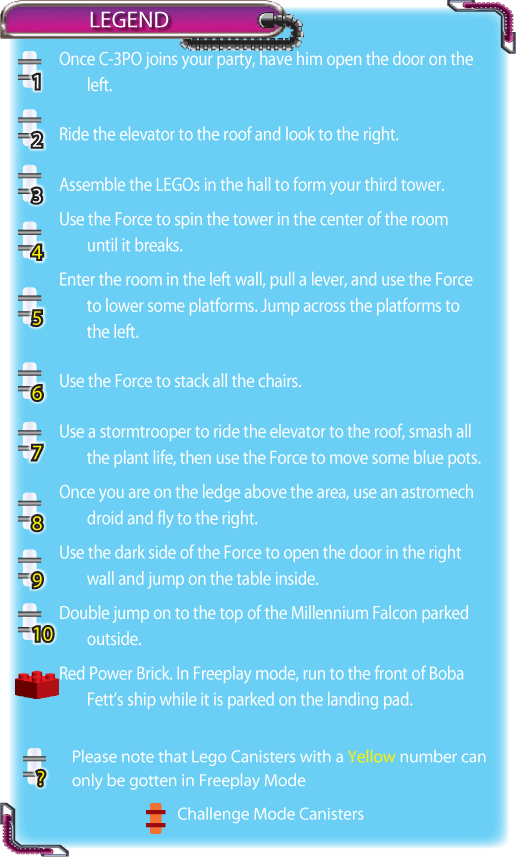
Friends are hard to come by around the galaxy as Han Solo and his Rebel friends found out the hard way. Darth Vader and Boba Fett set the perfect trap to catch the Rebels and they used Lando to do it.
Even though Lando had to go along with the Empire’s plan to catch Han Solo, it doesn’t mean he is in league with them.
As soon as the opportunity arises he sets Chewbacca and Princess Leia free in the hopes of rescuing Han from Boba Fett before he can leave Cloud City.
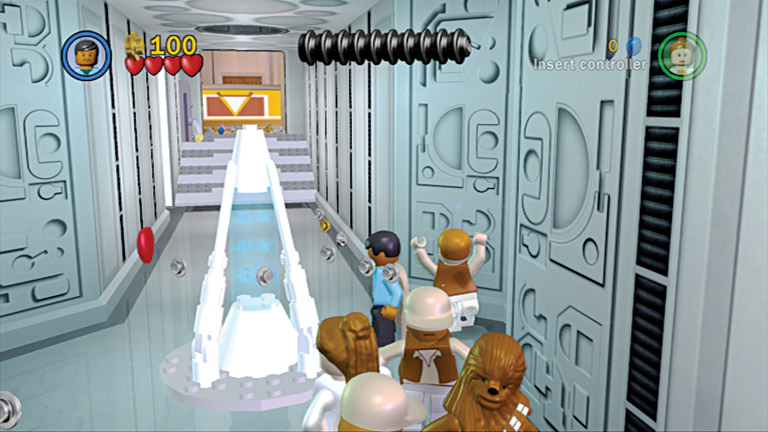
As soon as you start this mission, Boba Fett is firing at you from down the hall while upset citizens of Cloud City run around in a panic. Let your natural ability to dodge blaster fire help you as you fire at Boba.
He takes a few hits and runs off down the hall. As soon as he runs away, stormtroopers charge at you, so blast them to pieces. The door in the wall to the left can only be opened by a protocol droid so head down the hall after Boba Fett.
When you get to the loose LEGOs in the path, you see Boba at the end of the hall. Blast him again until he runs away. When the coast is clear, put the LEGO pieces together to build one of three towers around the area.
Collect all the studs on the ground, including a blue one to the right of the tower you built, then advance to the end of the hall.
Blast the metal grating on the left wall to uncover a lever. Pull the lever to make the ramp in front of you turn into some stairs; climb them to get to the next room.
Grab the studs in the room at the top of the stairs and head to the right. Immediately you see Boba Fett, and immediately he starts shooting at you.
Give him a taste of his own medicine and fire back until the coward runs off down a side hallway. Follow him down the hall and into the next room where he’s waiting for you.
Shoot Boba Fett as he hovers above the ground to knock him back to earth. Only when his feet are touching the floor can your blasters hurt him. As soon as he starts to hover again, shoot him back down again where you can actually hurt him.
Keep shooting him until he takes enough damage and decides to run back out of the room you just entered. When you get back to the main room, you see him enter a door at the end right before stormtroopers charge in to stop you.
Shoot them down, then follow Boba Fett through the open door. The door next to it can only be opened by R2-D2.
Put the loose LEGOs together to make one of the hidden towers in the area.
That doorway leads to more citizens running around in a panic and one bounty hunter with an itchy trigger finger. Blast Boba to make him run off down the hallway to the left.
The hallways to the right and straight ahead have doors that can only be opened by droids, so you better follow Boba Fett. Blast all the white wall panels to reveal hidden goods.
As you move toward the next door, take out the stormtroopers charging at you. After you go through the door, you see the bounty hunter again, so blast him before he hits you.
Follow him as he runs down the hall and shoot him again when he stops at the end to make him run through a door to the right.
When you get to the end of the hall where Boba Fett just fired at you, some stormtroopers enter the area to blast you. First shoot the stormtroopers in front of you, then get the ones that followed you down the hallway.
When the coast is clear, assemble the LEGO pieces in the room’s center to make the second of three towers located around this part of Cloud City. Grab the studs that scatter on the floor and head through the open door to the landing platform outside.
Boba Fett might have gotten away with Han Solo, but it’s good to see R2-D2. There’s nowhere to go outside, so collect the studs at your feet and go back inside.
As soon as you walk through the door, some stormtroopers try to rush you. Blast them quickly to get rid of them. Backtrack down the hall you came through until you see gas blocking your way.
Use R2-D2 to access the activation panel on the right wall to shut off the gas. Some more guards rush you from the hallway ahead, so shoot them until they are all dead. With the hallway free of gas and guards, you can continue.
Follow the hallway until you get to the room with the locked doors that only the droids can open. Skip the one with the picture of C-3PO on the activation panel and find the one with the picture of R2-D2.
Use R2 to open the door, then go inside. Blast the purple boxes around the room, as well as the pile of spare parts at the room’s center. Also, be sure to drop the Ugnaughts in the back of the room as well before they shoot R2.
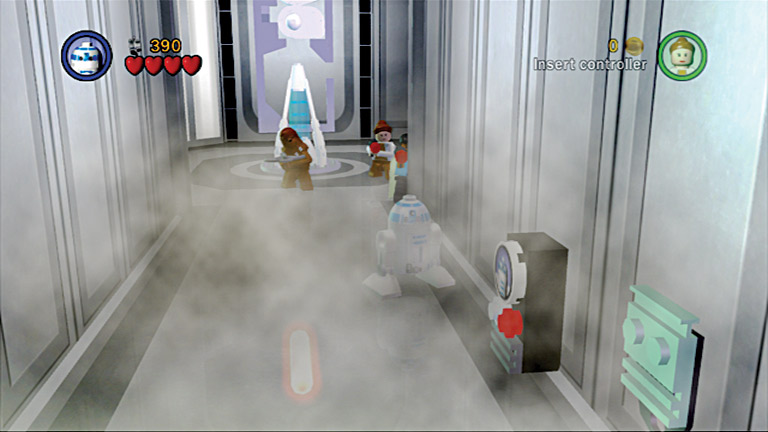
Have R2-D2 use the activation panel on the wall to turn off the deadly gas.
Now that the room is clear, push the machinery located in between the red and gray track along the floor. Push it all the way to the wall where the posts on the machinery fit with the holes in the wall.
This fixes the lever on the wall to the right and makes it usable. Pull the lever to start the conveyer belt next to you; many golden pieces come tumbling down into the room. Put all those loose pieces together and you make...C-3PO! What happened to him?
Now that you’ve fixed C-3PO, get moving again. Outside the door that R2 just opened is a door that only a protocol droid can open.
Before you open the door, return to the area where you started this mission and use C-3PO to access the activation panel on the left wall to open the door.
Grab the LEGO canister inside and pull the lever on the right wall if you want to change your look with a new hat or hairdo.
After the canister has been added to your collection, return to the locked door you just skipped. Use C-3PO to open the door and go inside where you will immediately have to shoot the guards that try to shoot you.
When the area is secure, shoot the equipment hanging from the ceiling to the right. After all the equipment comes crashing to the ground, it leaves behind a pile of loose LEGO pieces. Put the pieces together to form a mini car.
After you put the car together, put on a stormtrooper helmet from the helmet machine against the wall. Next, follow the hallway to the left and pick up the studs on the ground as you go. Shoot all the stormtroopers that try to stop you.
The room at the end of the hall has two elevators: One for bounty hunters and one for stormtroopers. Before you take a ride, shoot the stormtroopers in front of the elevators, as well as those lounging in the room to the right.
Once the area is clear, and while still wearing your helmet, use the activation panel to ride the elevator up.
The ride in the elevator takes you to a walkway outside. Grab the LEGO canister to the right of the elevator when you get out, then follow the walkway to the round landing pad ahead, which is heavily guarded.
Shoot the blue boxes on the left to get a power up, then concentrate on the guards. As you shoot the guards stationed there, more drop down to blast you. Keep firing and use the boxes around the area as cover until every last enemy is history.
Some LEGO pieces fall to the landing pad. Shoot any boxes still intact around you, then put those loose pieces together to make a red circle swirl pad.
Collect any studs on the ground, then use your ascension gun to swing to the walkway along the wall in the back of the area. Grab more studs on the ground.
Then jump into the crane. Move the head of the crane over the droids back on the landing pad. Use the crane to lift up the droids one by one to bring them over to the ledge with you.
When everyone is across, use the red circle swirl on the other side of the walkway to grapple to the ledge above you. Assemble the LEGO pieces on the ground to make a lever on the wall.
Pull the lever to lower the elevator nearby so the droids can use it to get up to you. With the elevator lowered, follow the walkway to the right until you get to a conveyer belt.
Jump over the red beam crossing the conveyer belt and step on the button on the ground. This stops the conveyer belt from moving and allows the rest of your party to catch up.
Follow the narrow ledge as it wraps around the building until you get to some equipment that blocks the path of the droids. Use R2-D2 to fly around the blockage to the other side of the ledge.
On the other side, he can follow the side of the building and fly to another ledge across the way.
Once he activates the panel on the wall over there, a blue and gray bridge comes out so everyone but C-3PO can cross. Shoot the troopers that drop down on you.
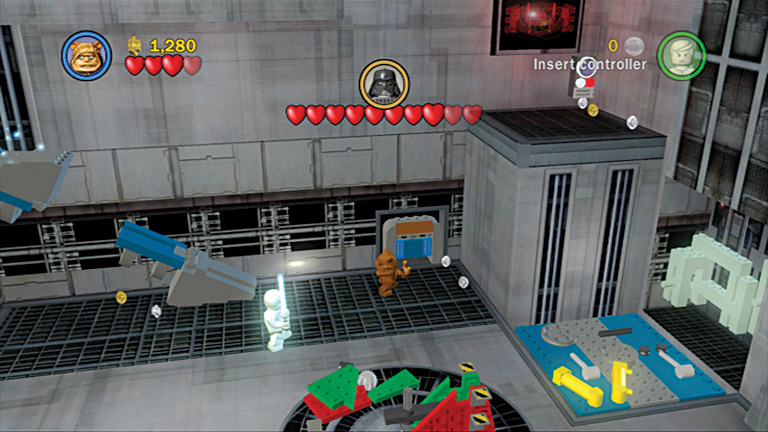
Fly R2 around the equipment blocking the path so he can get to the other side.
Now that most of the characters can cross the bridge, have Princess Leia use her ascension gun on the red circle swirl near the activation panel to get to a ledge above.
Run to the left of that short ledge and shoot the equipment on the wall. The debris rains down on the path below and destroys the blockage that is stopping C-3PO. Now he can rejoin your group.
The rest of the walkway is blocked with two movable orange boxes and a stationary blue one. Blast the blue box, then push the two orange boxes into the right.
After you move the orange boxes, the rest of your team should be able to get by to the door. C-3PO can use the activation panel on the wall to open the door.
Inside the hallway beyond the door are more stormtroopers. Drop them quickly when they start shooting at you. Move down the hall shooting any more troops that charge into the area.
When you get to the center of the hall, assemble the loose LEGOs you find to form the third of three towers in the area. A LEGO canister appears next to you; add it to your collection. Shoot the white wall panels as you go to uncover hidden loot.
Continue down the hall and shoot more stormtroopers that rush in to greet you. Follow the hall as it bends to the right and run past the red circle swirl on the ground—you don’t need to use it yet.
The main hallway ahead is blocked by deadly gas and a small hall to the left has a door that only R2 can open.
Skip the side hall for now and use R2 to roll through the gas and use the activation panel on the left wall. This shuts off the gas and makes it safe for everyone to join you.
Follow the rest of the main hall as it bends to the left until you get to a small room looking out at the Millennium Falcon on the landing pad.
Step on the red floor switches on both sides of the room to turn them green and fix the levers at the center of the room. Pull the levers to make a bridge extend out to the landing pad outside.
Now backtrack to the locked door you recently skipped and have R2-D2 access the activation panel on the wall to open it. Run outside and across the bridge to get to the Falcon .
As soon as you step on the landing pad, stormtroopers drop from the sky to stop you. Blast each and every one until the coast is clear. Run up the ramp on the left of the Falcon to blow this joint.