
Build, Discover, Survive! Mastering Minecraft, Revised and Expanded Guide Creatures Big and Small
Expanded Creature Entries
Passive
Bat
| Aggression | Spawn Location | Items | Health | Attack Damage | Experience Value | Tameable? | Rideable? | Notes |
|---|---|---|---|---|---|---|---|---|
|
Passive |
Very Low Light Areas, Deep Caves |
None |
6 |
None |
None |
No |
No |
N/A |
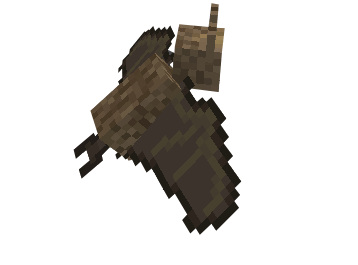
Bats are spawned in dark caverns of the Overworld. You can hear them flying around in these areas, but they don’t have any loot to worry about. It’s usually best to leave them alone, because they pose absolutely no threat to your character.
Chicken
| Aggression | Spawn Location | Items | Health | Attack Damage | Experience Value | Tameable? | Rideable? | Notes |
|---|---|---|---|---|---|---|---|---|
|
Passive |
The Overworld |
Feathers, Raw Chicken, Eggs |
4 |
None |
1-3 |
No |
No |
Produces eggs over time, and yields Cooked Chicken if slain by fire |
Chickens are very useful to raise for meat and their Feathers. You can breed a fairly large supply of them without much time investment.
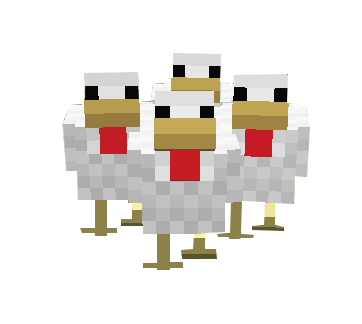
Pen in a large group of Chickens and periodically walk through your pen to pick up the Eggs that the Chickens lay. If you carry Wheat Seeds in your hand, Chickens will follow you, making it easier to lead them to your barn/pen area.
Use seeds of any type to get Chickens to breed. Feed the seeds to your Chickens as often as every five minutes, and watch them create a new generation of livestock. Another way to spawn Chickens is to throw their Eggs at any creature or hard surface. When they break, there is a 12.5% chance that a Chicken will appear. In very rare cases, multiple Chickens can spawn from a single egg!
Chicks take 20 minutes to mature and can then be used for breeding, meat, or whatever else you have planned.
By using Hoppers and Dispensers, you can create automated Chicken breeding facilities.
Cow
| Aggression | Spawn Location | Items | Health | Attack Damage | Experience Value | Tameable? | Rideable? | Notes |
|---|---|---|---|---|---|---|---|---|
|
Passive |
The Overworld |
Leather, Raw Beef, Milk |
10 |
None |
1-3 |
No |
No |
Yield Steak if killed by fire, and yield Milk with a Bucket |
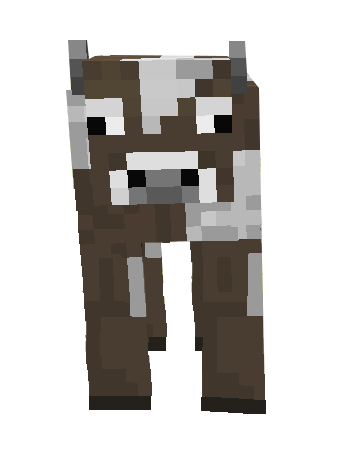
Cows are valuable additions to your operation, because they are a source of meat, Leather, and Milk (which can be used to cure Poison). It’s always good to build a barn for these creatures as soon as you find them and bring them back to your home.
Cows can be found in groups while exploring the Overworld. When you find them, use a Lead or carry Wheat to lure the Cows where you want them to go. Fence them into a safe area, and then bring additional Cows from their herd back to the same place. Once you have a decent group, start your breeding program. Feed Wheat to the Cows to get them to reproduce. You can breed Cows as often as every five minutes. It takes 20 minutes for calves to grow up and become mature Cows.
To save time with adult Cows that are being slaughtered, use fire to cull them and produce Steak instead of Raw Beef. Flint and Steel works well for this purpose.
Horse
| Aggression | Spawn Location | Items | Health | Attack Damage | Experience Value | Tameable? | Rideable? | Notes |
|---|---|---|---|---|---|---|---|---|
|
Passive |
The Overworld |
Leather |
15 |
None |
1-3 |
Yes |
Yes |
Also can drop any equipped item when killed (including Saddles, Horse Armor, and Chests) |
Several types of Horses inhabit the Minecraft universe. Horses, Donkeys, and Mules are the normal varieties of these creatures, but using the PC commands can also spawn Undead and Skeletal Horses.
Search for Horses and Donkeys in areas of plains and savannah. Once you find them, you can tame these useful creatures by riding them a few times and then putting a Saddle on them. Horses can be tethered with a Lead to bring them with your character, or ridden if they are saddled.
Mules are not found in the Overworld on their own. Instead, these are created only when Horses and Donkeys are used in breeding. Mules are sterile and cannot be used for breeding on their own. Though you can’t armor Mules or Donkeys, it is possible to load them with Chests for extra carrying capacity.
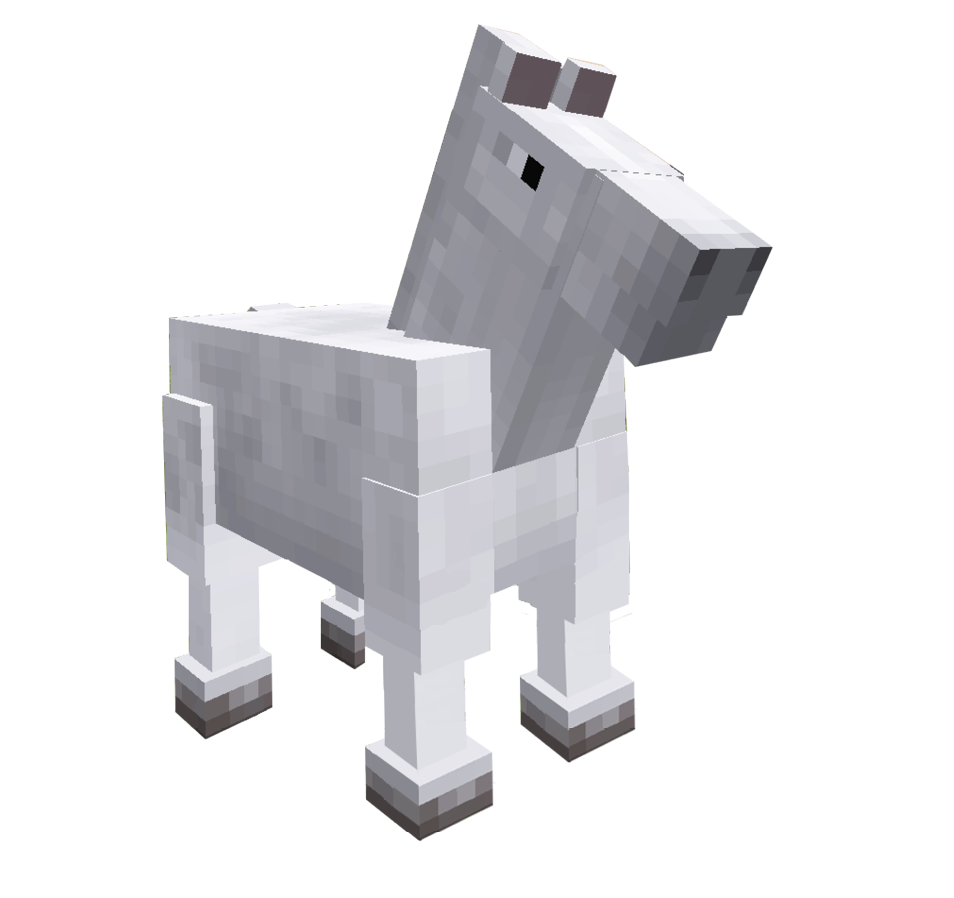
The taming process for Horses and Donkeys is somewhat involved. Approach these creatures with an open hand and interact with them to ride the creature briefly. They often toss you off pretty soon, but eventually they’ll get used to you and get a happy little animation. That’s when you can saddle them for long-term use.
Several different foods heal Horses and improve your chances to tame them, as listed here:
| Food | Heals | Speeds Growth By | Improves Taming Percentage By |
|---|---|---|---|
|
1 |
30 sec |
3% |
|
|
2 |
1 min |
3% |
|
|
3 |
1 min |
3% |
|
|
4 |
1 min |
5% |
|
|
7 |
3 min |
3% |
|
|
10 |
4 min |
10% |
|
|
20 |
3 min |
N/A |
Once you have a Horse/Donkey of your own, Shift-click on it to open its inventory. That’s where you put the Saddle and either Horse Armor or a Chest. Riding a tamed Horse is very fast, and it can jump higher than your character. Use these creatures to explore the world much more quickly than you otherwise could. Because Saddles and Horse Armor are found in dungeons and temples, you won’t often be able to tame Horses early in the game.
To breed Horses, feed two of them Golden Apples as often as every five minutes. Foals take 20 minutes to grow up and gain some of their parents’ stats. Because of this, it’s smart to choose only your best Horses for breeding purposes. Compare health between Horses, and ride them to get a feel for which Horse is the fastest—there are differences between them!
Mooshroom
| Aggression | Spawn Location | Items | Health | Attack Damage | Experience Value | Tameable? | Rideable? | Notes |
|---|---|---|---|---|---|---|---|---|
|
Passive |
Mushroom biomes in the Overworld |
Red Mushrooms, Leather, Raw Beef, Milk, Mushroom Stew |
10 |
None |
1-3 |
No |
No |
Very useful creatures, but hard to find |
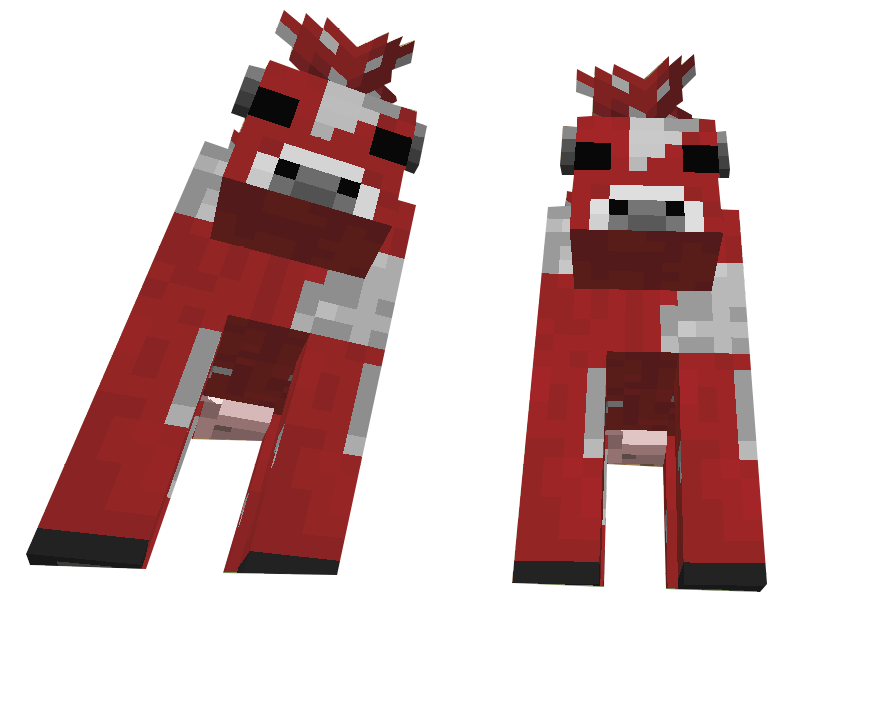
Mooshrooms are amazing. They drop and create a wide range of items, making them almost a one-stop-shop for food, poison curing, and crafting goods. The only downside to these beasts is that they’re very hard to find. Mooshrooms are a type of cattle that appear only in Mushroom biomes. You can breed them with Wheat and they’re easy to take care of, so it’s simply a matter of finding a herd.
Shear Mooshrooms to collect Mushrooms from them. Use a Bucket on them to get Milk, or a Bowl to get Mushroom Stew. Cull them for Leather and Raw Beef (or Steak if they’re killed by fire). You can’t go wrong.
Ocelot
| Aggression | Spawn Location | Items | Health | Attack Damage | Experience Value | Tameable? | Rideable? | Notes |
|---|---|---|---|---|---|---|---|---|
|
Passive |
Jungle biomes of the Overworld |
None |
10 |
None |
1-3 |
Yes |
No |
Creepers are scared of them and will run away if one is nearby |
Ocelots are felines that can be domesticated. Look for Ocelots in jungles around the world. To tame them, use Raw Fish to lure the Ocelot toward your character. Walk until you’re roughly ten blocks away from the creature, and then stop moving while holding onto your fish. Give the Ocelot time to notice you and see the fish in your hand.
Be patient to avoid scaring the Ocelot away—let it come to you! Any major movement will likely to scare the Ocelot and reset the taming process. When the Ocelot wanders over, feed the Raw Fish to it. It sometimes takes several feedings to tame your Ocelot. Once the process is complete, the Ocelot changes into a domesticated Cat and gains a new appearance.
Breed Cats by feeding them Raw Fish. As usual, you can breed animals only every 5 minutes, and their offspring take about 20 minutes to grow to maturity. Be careful with your kitties. They aren’t terribly tough, they cannot be armored, and they won’t last long in the wild if they’re attacked or if they wander into a dangerous location. It’s safest to leave your Cats at home so they don’t get into too much trouble.
Pig
| Aggression | Spawn Location | Items | Health | Attack Damage | Experience Value | Tameable? | Rideable? | Notes |
|---|---|---|---|---|---|---|---|---|
|
Passive |
The Overworld |
Raw Porkchop |
10 |
None |
1-3 |
No |
Yes |
Can be saddled and ridden; drops Cooked Porkchops if killed by fire |
Pigs are another type of livestock that you can breed, slaughter for food, or even ride. Several special attributes make these porcine creatures stand out. Lure Pigs back to your farm with Carrots; you also use Carrots to breed Pigs, so a nice Carrot garden is a must if you want to keep a large number of Pigs. Carrots sometimes drop when you kill Zombies, so hunt the creatures of the night if you want to start your garden.
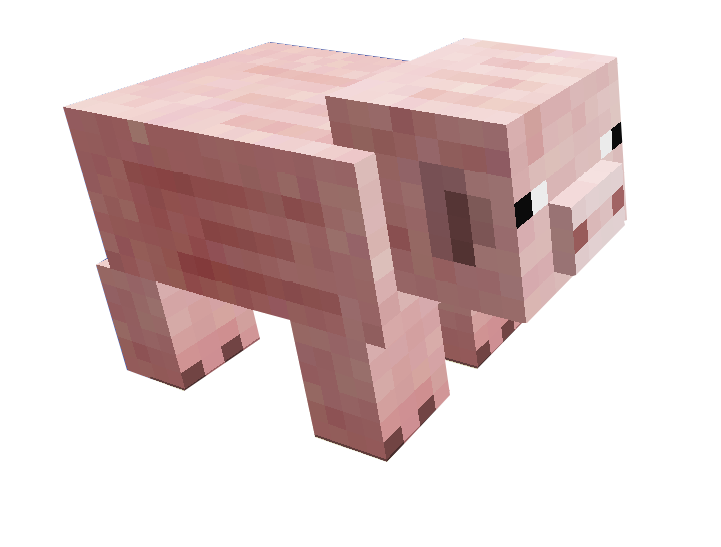
Once you have Pigs in a nice pen, breed them in the standard timing cycle. It takes five minutes before adults can breed again after their feeding, and 20 minutes for Piglets to grow to adulthood. Consider covering your pen with a roof. Pigs that are struck by lightning turn into Zombie Pigmen, and they aren’t quite as edible.
If you have a Saddle and want to ride a Pig, craft a Carrot on a Stick and use it to control the Pig while you ride it. Few things in the world offer as much fun as charging around the wilderness with your trusted Pig mount.
Rabbit
| Aggression | Spawn Location | Items | Health | Attack Damage | Experience Value | Tameable? | Rideable? | Notes |
|---|---|---|---|---|---|---|---|---|
|
Passive |
The Overworld |
Rabbit Hide, Raw Rabbit, Rabbit Foot |
10 |
None |
1-3 |
No |
No |
Can be bred; may appear in an aggressive “Killer Rabbit” variant |
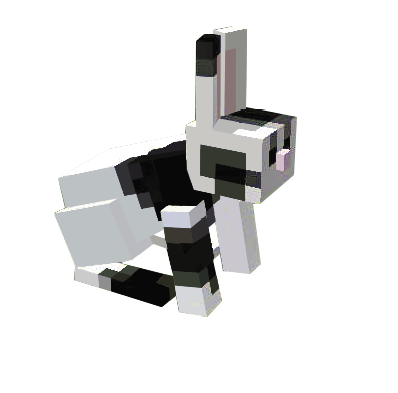
Rabbits are normally peaceful animals that hop around meadows. They’ll avoid you if attacked, and can be harvested for Hides, food, or sometimes a Rabbit’s Foot (useful in potion making). Breed them with Dandelions or Carrots to create a nice population of these animals, and give them about 20 minutes for new Rabbits to grow up.
Killer Rabbits have a more aggressive look; they have different eyes and a bold, white pelt. They’ll jump toward your character and attack quite viciously. They have a mean streak a mile wide, but can be fought off if you stay calm, face them, and smack them each time they get close to your character.
Sheep
| Aggression | Spawn Location | Items | Health | Attack Damage | Experience Value | Tameable? | Rideable? | Notes |
|---|---|---|---|---|---|---|---|---|
|
Passive |
The Overworld |
Wool |
8 |
None |
1-3 |
No |
No |
Shearing Sheep yields more Wool than killing them |
Sheep aren’t the most useful livestock in Minecraft. They cannot be used for food, so Wool is all you get from them. Sheep drop Wool when slain, but this isn’t a very efficient process; you get only one Wool per Sheep this way. Instead of killing the little guys, keep them in a barn and shear them instead. Shears are crafted with Iron, and they let you clip Sheep safely. You get far more Wool per Sheep, even on the first clipping, and their Wool regrows as long as the Sheep have access to grass for food.
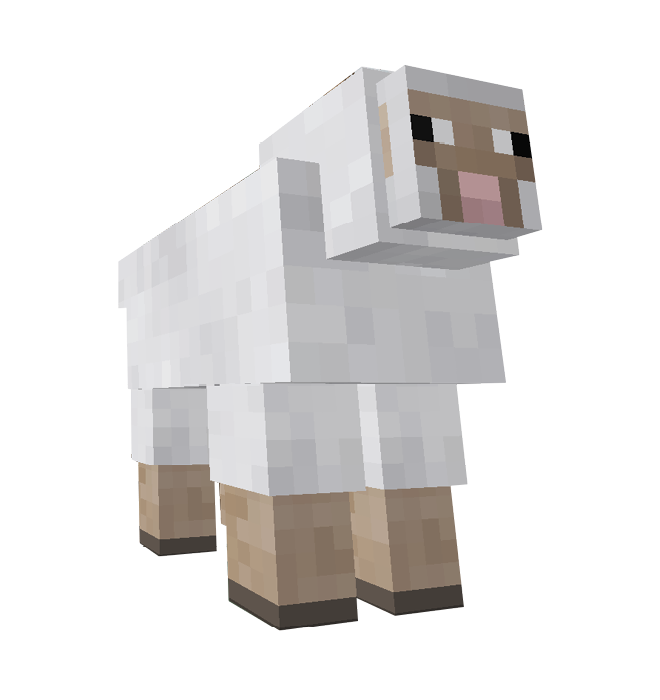
You can dye Wool with any dyeing agent, but you can also dye the Sheep itself so that all of the Wool from its next clipping matches the dye’s color. Future clippings revert to the Sheep’s natural color, which varies between several shades.
Squid
| Aggression | Spawn Location | Items | Health | Attack Damage | Experience Value | Tameable? | Rideable? | Notes |
|---|---|---|---|---|---|---|---|---|
|
Passive |
Water Blocks in the Overworld |
Ink Sac |
10 |
None |
1-3 |
No |
No |
Can’t swim up waterfalls |
Squid appear in large bodies of Water and are peaceful creatures. They happily swim around and don’t cause any trouble, despite their dangerous appearance. The only items they drop are Ink Sacs, which are used to create a dark dye. Hunt Squid when you need these items, but otherwise it’s fine to leave them alone.
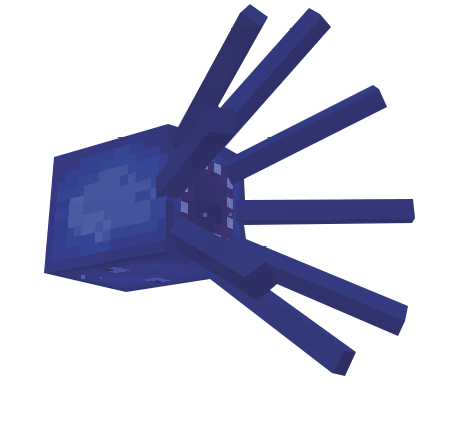
Squid cannot swim up waterfalls, so there are numerous ways to trap them in large groups, where they can be killed later, used as decoration, or whatever else you have in mind.
Villager
| Aggression | Spawn Location | Items | Health | Attack Damage | Experience Value | Tameable? | Rideable? | Notes |
|---|---|---|---|---|---|---|---|---|
|
Passive |
Villages in the Overworld |
None |
20 |
None |
None |
No |
No |
Trade with varied inventories |
Villagers appear in small towns located in some of the Overworld’s plains, savannahs, and deserts. These villages offer exploration and places to trade for characters, and you won’t be attacked unless you start any trouble. In that event, Iron Golems often defend Villagers that are under attack.

Interact with Villagers to try to trade with them. They accept Emeralds as payment, but those are rare gems. Most of the time, you’ll do well by giving items to Villagers and trading their goods around until you get the items you want. There are several types of Villagers: Farmers, Librarians, Priests, Blacksmiths, Butchers, and regular Villagers. The items each Villager carries are determined by their profession. Interact with Villagers by clicking on them to see what they’re carrying and their profession.
To gain Emeralds without mining Extreme Hills for hours at a time, you need to trade Villagers items that they require. Do not purchase generic items that you already have; the cost is very high in terms of time you invest gathering Emeralds. Instead, save your Emeralds and wait for special items to become available, including Diamond tools, Chainmail, Bottles of Enchanting, Pumpkins (only if you haven’t found them yet), and so forth.
Villagers have children if their towns start to lose too many people, often to Zombie attacks. If you want a town to have a larger population, add Doors to buildings in the village. The more Doors there are the more people want to live in that town. That’s just how Villagers are.
As of version 1.8, Villagers that are struck by lightning turn into Witches. Watch out! They’ve also learned how to harvest crops, so you can’t always rush into town and find an entire field of free goodies to steal (a pity, but I guess Villagers have to eat too!).
Snow Golem
| Aggression | Spawn Location | Items | Health | Attack Damage | Experience Value | Tameable? | Rideable? | Notes |
|---|---|---|---|---|---|---|---|---|
|
Passive to players |
Created by players |
Snowball |
4 |
0 Normally |
None |
No |
No |
Throws Snowballs that push back targets; these Snowballs can damage Blazes and the Ender Dragon |
Snow Golems are creatures that you create! Stack two Snow blocks and place a Pumpkin on top of the stack. These creatures use Snowballs to defend the area from hostile monsters. Their attacks are ranged but don’t do any damage to most targets; they hurt Blazes because Snowballs always damage Blazes. This is also true for the Ender Dragon.
Instead of killing targets, Snow Golems are more of a distraction. They push enemies back and draw their attention. Place them at your property’s outer edges so monsters stay near your perimeter instead of coming forward to harass your main buildings.
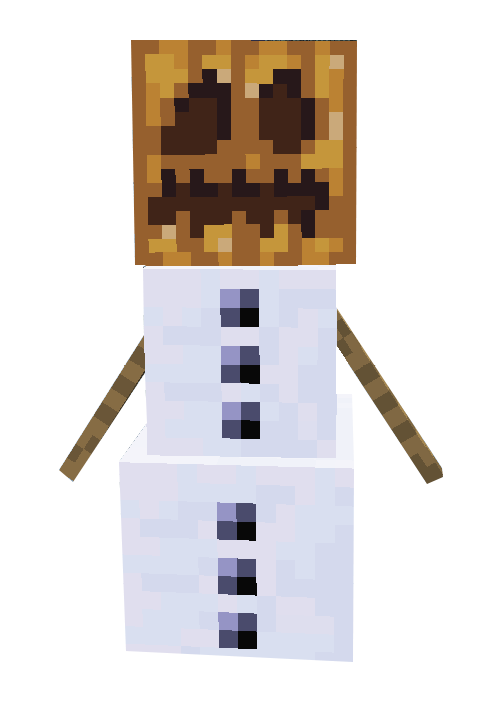
Snow Golems take damage over time when they’re in warmer areas.
Iron Golem
| Aggression | Spawn Location | Items | Health | Attack Damage | Experience Value | Tameable? | Rideable? | Notes |
|---|---|---|---|---|---|---|---|---|
|
Passive to villagers |
Spawn in Villages |
Iron Ingot, Poppy |
100 |
7 |
0 |
No |
No |
Attacks players that go after them or their villagers |
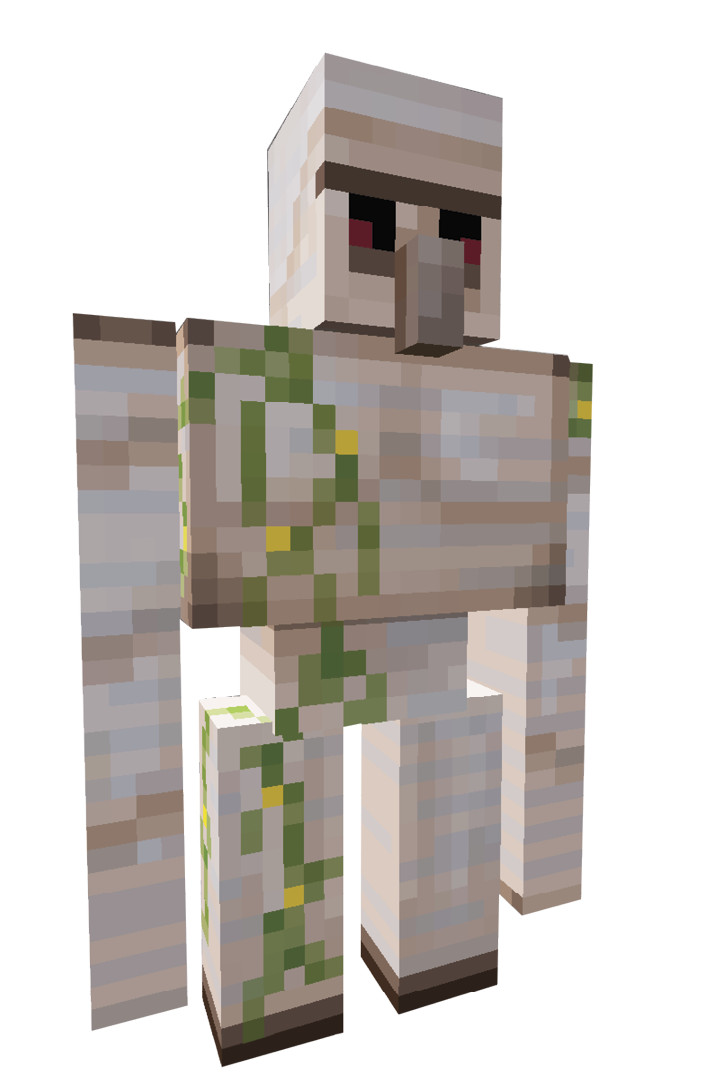
Iron Golems are defensive creatures, just like Snow Golems. The difference is that these creatures are much tougher, can damage their enemies, and can even hurt your character. If you attack a village that is protected by Iron Golems, you’ll get their attention. They’ll chase after your character and attack if they get close. Run away to lose their interest, and then return at leisure—Iron Golems have short memories.
To create an Iron Golem, you need either a village or a ton of Iron. To create one directly, forge four Iron blocks and place them in a T-formation: one block on the ground with three blocks horizontally above it. Then add a Pumpkin to the top of the T. This is very expensive but makes a strong guardian that loves to attack monsters. If a village is nearby, simply wait for Iron Golems to appear on their own. This costs you nothing! They can then be farmed for their Iron, making it possible to generate Iron over time without having to mine. That’s nifty.
Iron Golems can’t be drowned, but regular battle damage and Lava kills them just fine. Or you can suffocate them in Gravel or Sand. This is slower but gets the job done.
Neutral
Cave Spider
| Aggression | Spawn Location | Items | Health | Attack Damage | Experience Value | Tameable? | Rideable? | Notes |
|---|---|---|---|---|---|---|---|---|
|
Neutral |
Abandoned Mine Shafts |
String, Spider Eyes |
12 |
1 + Poison |
5 |
No |
No |
Passive in bright light |
Cave Spiders are tiny monsters that live in the darkness below the Overworld. They fight and move much like regular Spiders, but they have poisonous bites (on most difficulty levels) and can squeeze through any gap in buildings, walls, etc. You have to completely block off an area to ensure they don’t get into your safe rooms.
As with both types of Spiders, you should retreat while you fight these creatures. Attack them while backing up to limit their number of attacks against you. Having Milk around is useful in case you get poisoned, and keep yourself well fed so you regenerate health as quickly as possible after the fight.
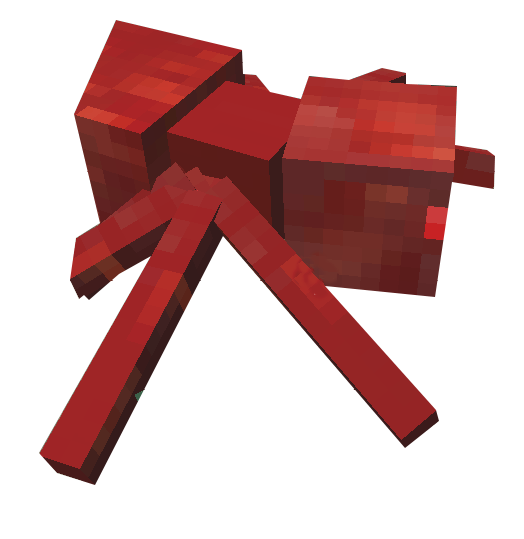
Lure Cave Spiders away from tight areas, mine shafts with cobwebs, and other difficult places to navigate. Fight them in a place where you can get your back against a wall and force the enemies to come toward you in a straight line. Thus, you won’t be overwhelmed by multiple creatures.
Enderman
| Aggression | Spawn Location | Items | Health | Attack Damage | Experience Value | Tameable? | Rideable? | Notes |
|---|---|---|---|---|---|---|---|---|
|
Neutral |
The Overworld or The End |
Ender Pearls |
40 |
7 |
5 |
No |
No |
Attacks when damaged or if you look them in the eyes |
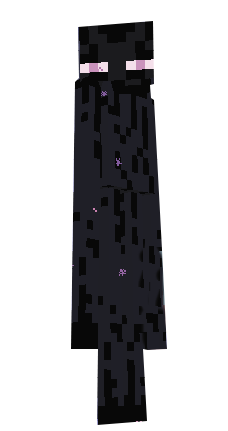
Endermen are dark beings from a world beyond our own! They spawn heavily in a place called The End, but they can appear in the Overworld as well. Though they’re neutral by default, Endermen are easy to antagonize, and they attack your character viciously if you hit them or even look them in the eyes. Avoid this by staring at Endermen’s feet or by wearing a Jack-o-Lantern on your head so Endermen don’t know where you’re looking.
Ranged attacks don’t work against Endermen; they blink out of existence for a moment and reappear somewhere else—behind you as often as not. This, combined with their higher damage and health, makes them incredibly dangerous opponents when you aren’t accustomed to fighting them. For the greatest chance of victory, wear armor, stare near the ground, and take consistent swings to chop your Enderman target to ribbons. Attacking an Enderman’s legs prevents it from teleporting, so this secures your kill while protecting your character from teleporting attacks to your back.
When they’re not being attacked, Endermen wander the world, pick up blocks and move them around, and just kind of act like weirdos. Their ability to teleport allows them to spawn in strange places. You might find them down in your mines, outside, or even within your own home! That’s scary stuff. If you hear something moving around indoors, it’s probably one of them. Endermen come inside most often when it rains; water hurts them, so they teleport anywhere safe. If your house is nice and dry, it makes a good target.
Spider
| Aggression | Spawn Location | Items | Health | Attack Damage | Experience Value | Tameable? | Rideable? | Notes |
|---|---|---|---|---|---|---|---|---|
|
Neutral |
Low light areas of the Overworld |
String, Spider Eye |
16 |
2 |
5 |
No |
No |
Neutral in brighter light; can also climb most blocks |
Like many Overworld monsters, Spiders appear during nighttime and thunderstorms, wherever illumination falls to extremely dim levels. Spiders don’t burn up in sunlight, though they become more docile and won’t attack characters unless provoked. Though they aren’t terribly dangerous as single attackers, Spiders are still tricky customers. They fit through single-block openings, can climb over your walls, and make general nuisances of themselves even if they can’t get inside. They can also get into your farm field, crush your plants, and must be cleared out manually later on.
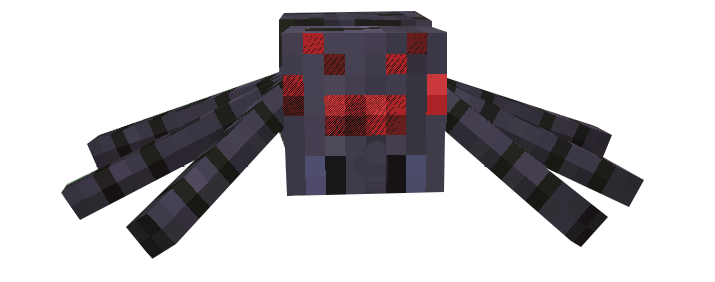
Back away from Spiders and fight them while retreating so they can’t jump on you as easily. They take only a few hits to kill, so that’s a plus. It’s easiest to fight these enemies in narrow areas where they can’t get around to your side. Make them come through a tunnel or doorway to get to you so it’s easier to hit them.
If you’re desperate for food early in a game, Spider Eyes are poisonous but edible. Spiders also drop String, which can be used to make a Fishing Pole, allowing you to get more food from any body of Water.
Wolf
| Aggression | Spawn Location | Items | Health | Attack Damage | Experience Value | Tameable? | Rideable? | Notes |
|---|---|---|---|---|---|---|---|---|
|
Neutral |
In Forest and Taiga biomes of the Overworld |
None |
8 wild, 20 when tamed |
2 wild, 4 when tamed |
1-3 |
Yes |
No |
Tamed with Bones; healed with food |
One can find Wolves in several areas: forests and various taiga biomes. Growling Wolves are hostile and must be treated carefully. Other Wolves may be wild but are friendly enough to approach. Unless attacked, peaceful Wolves will not attack your character.
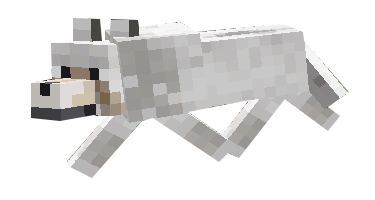
Hunt Skeletons for Bones if you’d like to tame a Wolf. Feeding Bones to friendly Wolves is how you tame these creatures. Sometimes the first Bone does the trick, but it might take several more to get the Wolf’s loyalty. You can tame more than one Wolf, so feel free to try to establish an entire pack for yourself. After they’re tamed, Wolves get more health and can deliver more damage, and they won’t attack you even if you accidentally hit one of them. They’re sweetie pies.
Increase the size of your pack by feeding raw meat to your Wolves. Like most livestock, feeding them causes breeding behavior, as long as two or more Wolves are fed together. Bring spare food to give to the offspring to give them more health. Note that any type of raw meat does the trick, including Rotten Flesh.
Zombie Pigman
| Aggression | Spawn Location | Items | Health | Attack Damage | Experience Value | Tameable? | Rideable? | Notes |
|---|---|---|---|---|---|---|---|---|
|
Neutral |
Rotten Flesh, Gold Nugget, Gold Ingot |
20 |
9 |
5 |
No |
No |
Can drop Golden Swords; attack in packs when provoked |
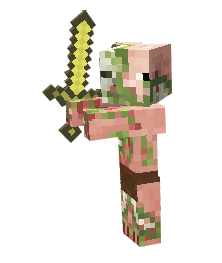
In most versions of the game, Zombie Pigmen spawn near Nether Portals or more commonly inside the Nether. They’re involved with the Nether Reactor in the Pocket Version. It’s possible for lightning to turn a regular Pig into a Zombie Pigman, though this is not a common occurrence.
Zombie Pigmen don’t attack your character on sight. They’re surprisingly chilled out for rotting, undead monsters. As long as you don’t hurt them or stand nearby when they take damage from fire, you’ll be okay. Give them some space and avoid trouble. Hurting Zombie Pigmen causes them to become aggressive, and they bring every other Pigman in the area with them. This produces large battles that pose substantial risk to your character unless you retreat to a safe corridor and fight defensively. Be wary! Zombie Pigmen are fast runners, so it’s hard to escape from them once they’re angry. Sprint toward safety and hope for the best.
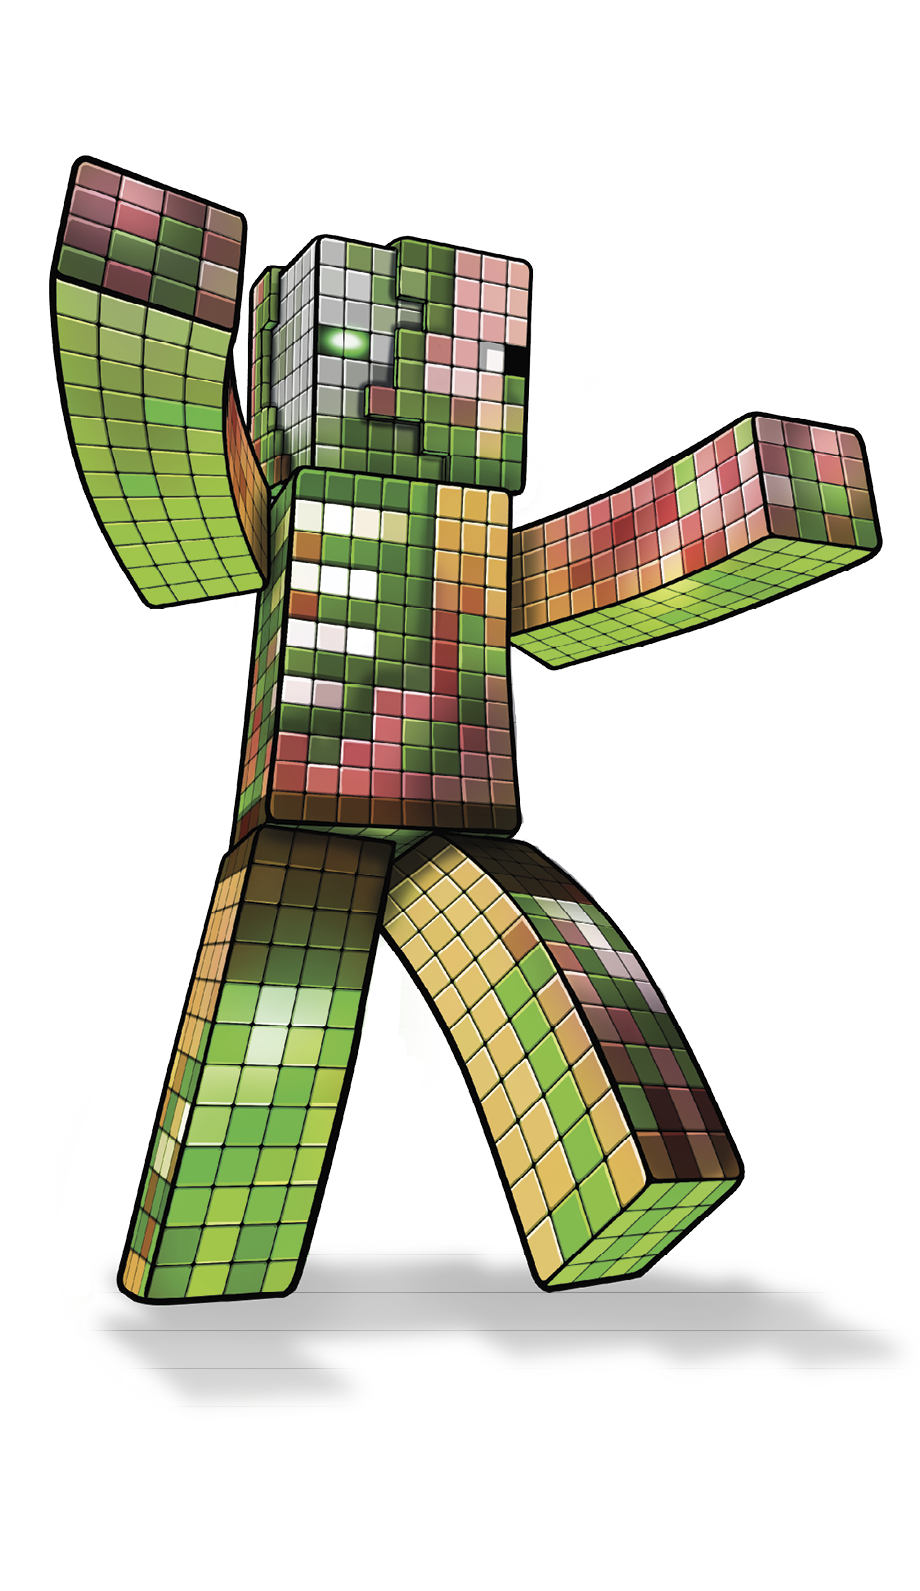
Zombie Pigmen drop a variety of golden items when they die, so farming them has value if you need Gold Nuggets, Gold Ingots, or a rare armor drop. Zombie Pigmen can pick up and equip weapons and armor, so don’t leave anything useful on the ground unless you want to arm a local militia of undead piggies. For maximum safety, you can kill groups of Zombie Pigmen by walling yourself into a tunnel and shooting outward at enraged targets.
Aggressive
Blaze
| Aggression | Spawn Location | Items | Health | Attack Damage | Experience Value | Tameable? | Rideable? | Notes |
|---|---|---|---|---|---|---|---|---|
|
Aggressive |
Nether Fortresses |
Blaze Rod, Glowstone Dust (not in PC version) |
20 |
5 at range, 6 up close |
10 |
No |
No |
Can be damaged by rain, Water, or Snowballs |
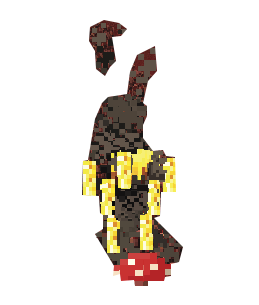
Blazes are ranged monsters that live in the Nether. Their fire attacks shoot in bursts of three, giving you several seconds afterward to dash between cover or to charge your opponent. Take cover when you see a Blaze, and ready a Bow or some Snowballs to throw at your target. Pop out from cover, shoot, and hide again. Repeat this unless the Blaze gets close to your area, at which point you should switch to your Sword and ambush it for the kill.
Don’t trade blows with a Blaze. Their attacks hit extremely hard and deal fire damage to your character. Fire Resistance makes such battles easier, but you still need to be quite careful around these opponents. Put up a barrier of Cobblestone so Blazes can’t hit you even if they attack in an open walkway. Make it so Blazes have no choice but to give up their ranged advantage.
Also, watch your sides. Blazes fly, which means they’re happy to suspend themselves over large drops so you can’t get to them. Block all angles of fire to know where the Blazes will move.
Chicken Jockey
| Aggression | Spawn Location | Items | Health | Attack Damage | Experience Value | Tameable? | Rideable? | Notes |
|---|---|---|---|---|---|---|---|---|
|
Aggressive |
Low light areas |
Rotten Flesh, and Chicken items |
20 for Jockey, 4 for Chicken |
3-6 depending on Jockey’s health |
5 for Jockey, 1-3 for Chicken |
No |
No |
Jockeys do more damage when they get hurt |
Tiny Zombies sometimes spawn on top of a Chicken. They ride the Chicken around like a mount and attack your character as aggressively as they can. It’s a funny sight, but you still have to be careful and avoid serious damage.
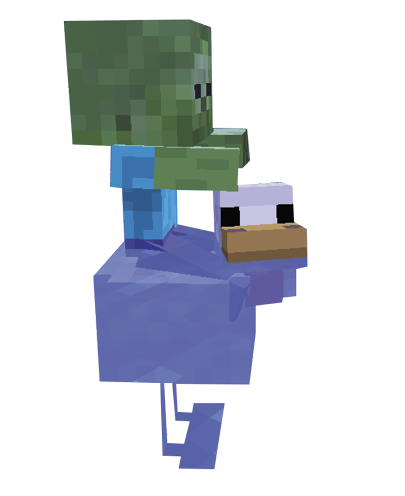
As usual, a fighting retreat is a good response when a Chicken Jockey attacks. They don’t have too much health, so you have to hold them back for only a short time. Don’t try to flee, because these guys chase you fast and far. Fight it out and get your kill. The good news is that you aren’t likely to see any more on their way, because they’re so rare in the first place.
Creeper
| Aggression | Spawn Location | Items | Health | Attack Damage | Experience Value | Tameable? | Rideable? | Notes |
|---|---|---|---|---|---|---|---|---|
|
Aggressive |
Low light areas |
Gunpowder, Music Disc |
20 |
49-97 |
5 |
No |
No |
Deal more damage if charged by lightning; yield Music Discs if slain by a Skeleton |
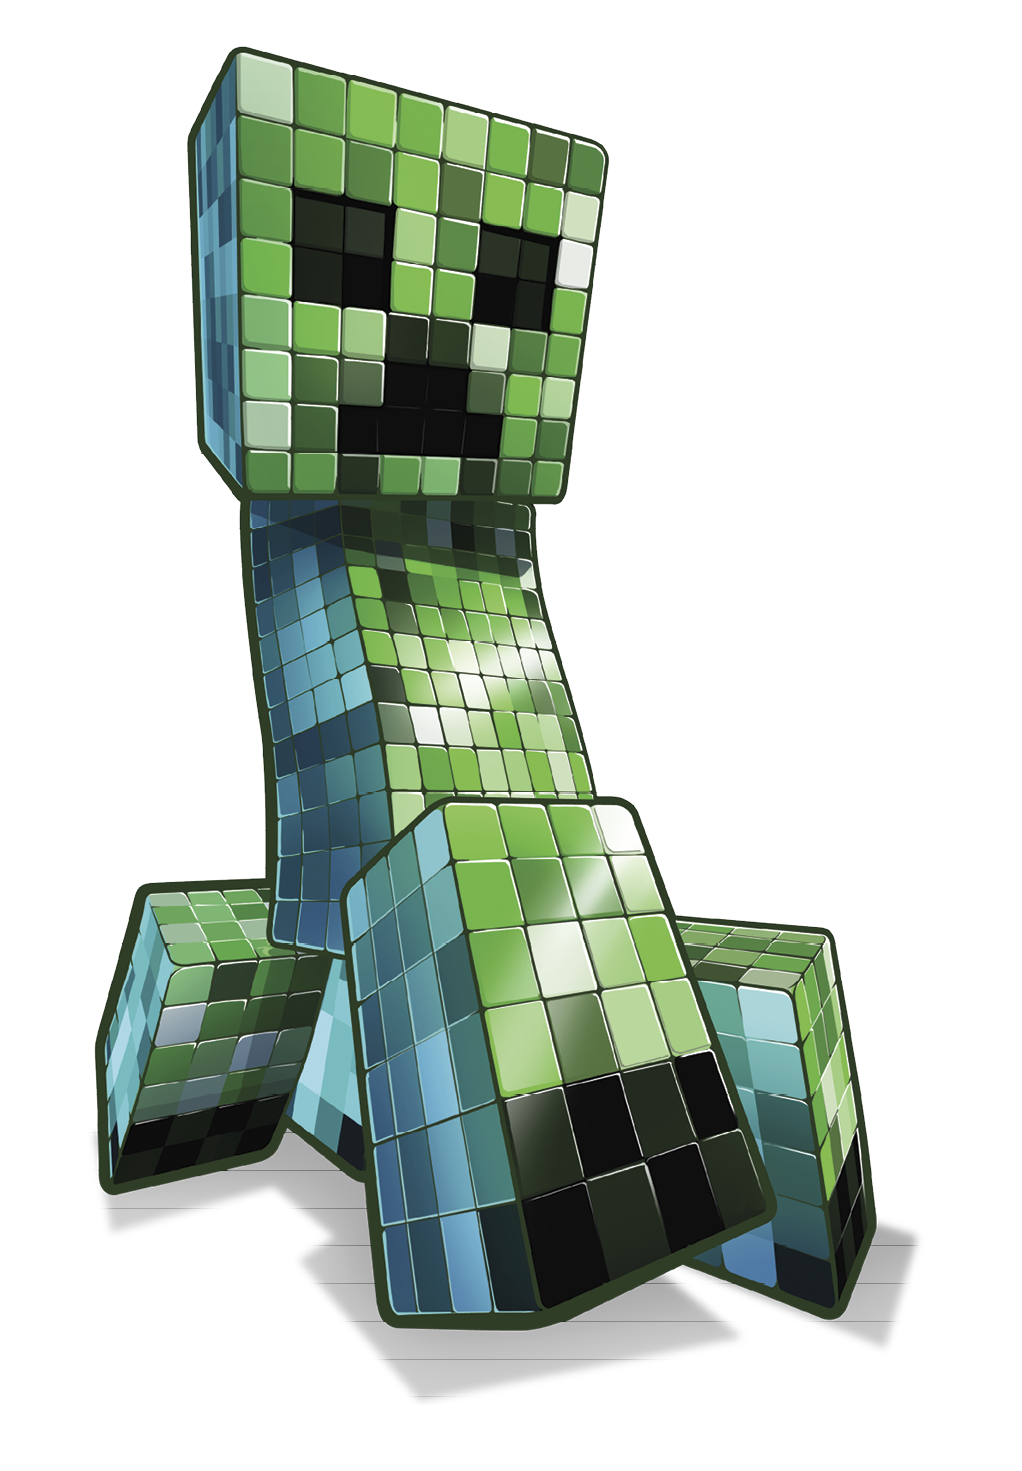
Perhaps the most iconic monster in Minecraft, Creepers are nasty pieces of work. They don’t attack you directly. Instead, they move toward your character and then explode when they get close enough. You know one is in the area when you hear an occasional kind of grunty noise. Once Creepers start their explosive attack, you hear a distinct hiss. If you hear this noise and can’t see the Creeper, run forward immediately. The farther you get from the blast, the lower the damage you take.
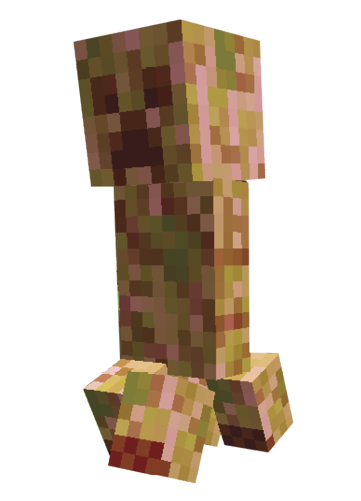
Creepers are afraid of Ocelots and Cats, so having one around offers some protection against these surprise attackers. Even without that, vigilance is your best friend against Creepers. They’re somewhat slow moving, and spotting them at range makes it much easier to avoid the enemies, kill them with Arrows, or set up a very careful melee ambush. If you’re extremely careful, hit-and-run methods work well against Creepers. Knock them back with a single attack, and retreat to prevent them from detonating; they stop their explosion if you get far enough away before the point of no return.
Lure Creepers into Lava or bodies of Water to kill or isolate them. Their explosions don’t damage blocks if Creepers are submerged, so this makes them much easier and safer to fight, even if your character is still at risk. At a minimum, stay away from your house and fields when Creepers are near, or stay away from the walls at night, even if you don’t see a Creeper. One explosion can kill you or obliterate whatever you have nearby. Either of these outcomes is horrible to deal with.
In really special cases, you might see a Creeper with a strange aura around it. This is a Creeper that has been struck by lightning. Charged Creepers produce much deadlier explosions. Don’t try to detonate one manually, even on Easy difficulty. Use a Bow and be safe.
Ender Dragon
| Aggression | Spawn Location | Items | Health | Attack Damage | Experience Value | Tameable? | Rideable? | Notes |
|---|---|---|---|---|---|---|---|---|
|
Aggressive |
In The End |
The Overworld Portal, Dragon Egg |
200 |
10 |
12000 |
No |
No |
Healed by Ender Crystals |
The Ender Dragon is a unique monster that appears only in The End, a special world that can’t be accessed until you complete a number of goals. Our explanation for getting to The End appears in the “You Can Do Anything with a Little Practice” chapter.
Fighting the Ender Dragon is difficult. You face an opponent with massive health, mobility, and damage output. Endermen in the area attack if you look at them during the fight. To make matters worse, crystals in The End heal the Ender Dragon, making it practically impossible to kill until you destroy the crystals. Wow.
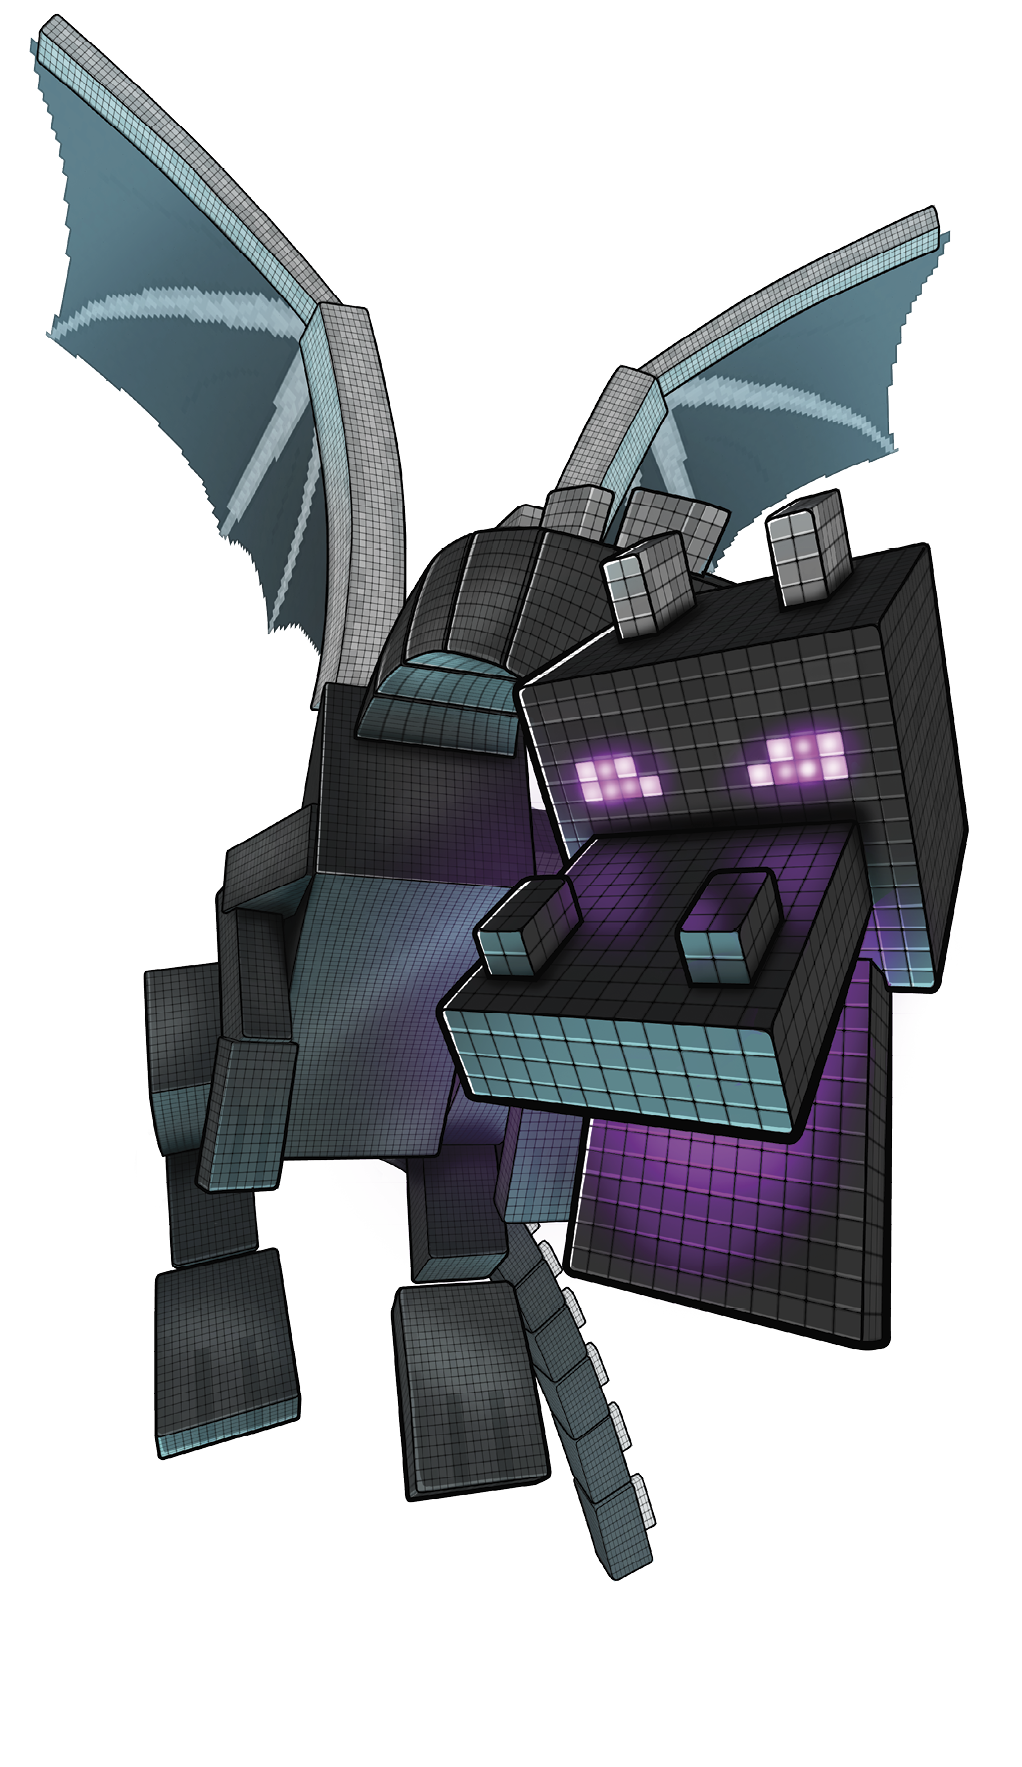
Avoid the Ender Dragon’s charge attack, and know that it can dive through or destroy most blocks. You can’t hide from this sucker! Dodge its charges and use the time between them to get to those crystals. Once they’re trashed, shoot at the Ender Dragon from behind after it passes you in a charge. Keep your health topped off as best you can. As with the trip to The End, this is covered at greater length in the “You Can Do Anything with a Little Practice” chapter.
Endermite
| Aggression | Spawn Location | Items | Health | Attack Damage | Experience Value | Tameable? | Rideable? | Notes |
|---|---|---|---|---|---|---|---|---|
|
Aggressive |
Anywhere |
None |
8 |
2 |
3 |
No |
No |
Have a 5% chance of appearing after you throw an Ender Pearl |
Endermites are a monster that was added in the 1.8 update to Minecraft. They’re incredibly small but nasty little things. You find them after throwing Ender Pearls, but there isn’t a very high chance for them to appear (only 1 in 20). They don’t take much damage, so cut them down as soon as possible.
Ghast
| Aggression | Spawn Location | Items | Health | Attack Damage | Experience Value | Tameable? | Rideable? | Notes |
|---|---|---|---|---|---|---|---|---|
|
Aggressive |
The Nether, out in the open |
Gunpowder, Ghast Tears |
10 |
17 |
5 |
No |
No |
Their shots cause an area-of-effect explosion of fire |
Ghasts live in the Nether. They’re flying, white balls of fluff that fire explosive shots at your character. Their damage output is very good, and their area-of-effect fire blasts set tons of Netherrack on fire, making it hard to move safely when you fight Ghasts.
These monsters also have great vision. They spot you from far away, so sneaking past them isn’t easy. You usually have to hit them with Bow attacks instead. Kill them by aiming around their tentacles. If you’re really lucky and brave, use a melee attack to bounce Ghasts’ fireballs back at them. This is effective but very hard to pull off without substantial practice.
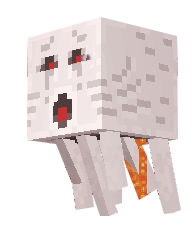
Never get close to Zombie Pigmen while dealing with Ghasts. The explosions from these fire attacks can enrage the Zombie Pigmen, and they’ll blame you for their suffering!
Guardian and Elder Guardian
| Aggression | Spawn Location | Items | Health | Attack Damage | Experience Value | Tameable? | Rideable? | Notes |
|---|---|---|---|---|---|---|---|---|
|
Aggressive |
Underwater |
Prismarine Crystals, Prismarine Shards, Raw Fish |
30 |
6 |
10 |
No |
No |
Have a ranged attack and defensive spikes |
|
Aggressive |
Underwater |
Prismarine Crystals, Prismarine Shards, Raw Fish |
80 |
8 |
10 |
No |
No |
Have a ranged attack and defensive spikes |
Guardians are aquatic creatures that have a powerful laser attack and vicious spikes that wound anyone who attacks them in melee. The spikes retract when Guardians are swimming, so you can attack them safely at that time, but it’s hard to sneak up on them unless you are Invisible. During battle, Guardians look directly at their intended target, charge their laser eyes, and then fire after a few seconds. This attack does strong damage if you don’t have any armor, but it’s quite survivable as long as you have decent gear.
Water Breathing, enchanted armor, and patience are all useful for killing these pesky targets. They’re dangerous to burn down quickly because of the spikes. It’s better to fight near obstacles so you can block the laser and come out for free hits afterward.
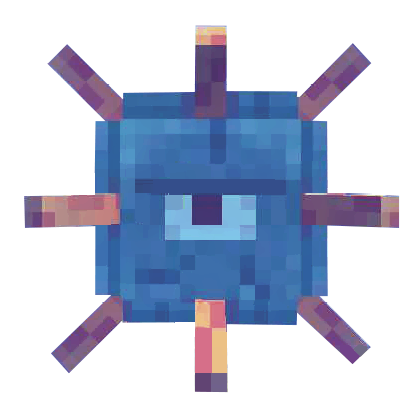
Guardians can drop a variety of fish, depending on your luck. This is similar to the effects of fishing, so it’s random which type of fish you receive.
Elder Guardians have higher stats and inflict Fatigue on players that get too close to them (this has a 50-block range and occurs once per minute to an individual target). Elder Guardians only appear near and within underwater monuments, so if you’re hit with the Fatigue, you know that you’re getting close to a monument and should find the body of water that it’s in. Once you kill the three Elder Guardians that protect each underwater monument, they’re gone forever. Bring friends, or use potions and higher-end equipment to kill the Elder Guardians as best you can. They’ll be in different sections of the monument, so you won’t get rushed by the entire trio. The standard layout is to find an Elder Guardian at the top of each monument and then another in each of the two wings of the temple.
Magma Cube
| Aggression | Spawn Location | Items | Health | Attack Damage | Experience Value | Tameable? | Rideable? | Notes |
|---|---|---|---|---|---|---|---|---|
|
Aggressive |
Magma Cream |
16 |
6 |
4 |
No |
No |
Split into smaller and weaker Magma Cubes as they take damage |
Magma Cubes are Slimes from the Nether. They are fairly slow, hopping creatures that do damage by bouncing into you. They split into smaller monsters when they take damage, making it harder to defend against the whole bunch.
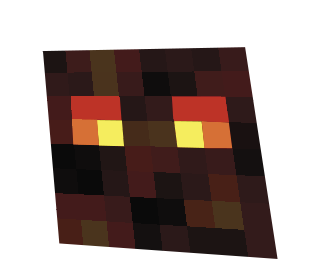
Focus on individual, smaller Magma Cubes to weaken their force. Don’t try to kill everything at once, or you’re forced to fight quite a few smaller Magma Cubes without a break. Bow attacks are much safer against Magma Cubes, and the monsters certainly don’t dodge well. However, it is fun to use your Sword on them if you’re cautious and a little gutsy. This cuts down on Arrow use dramatically, because Magma Cubes have quite a bit of total health to shoot through.
Silverfish
| Aggression | Spawn Location | Items | Health | Attack Damage | Experience Value | Tameable? | Rideable? | Notes |
|---|---|---|---|---|---|---|---|---|
|
Aggressive |
Spawn inside special blocks or from Monster Spawners |
None |
8 |
1 |
5 |
No |
No |
Silverfish blocks take slightly more time to break |
Silverfish are hidden monsters that live inside fake blocks. They’re found deep inside the Overworld, waiting for you to mine them. Blocks that seem to take longer than usual to mine are actually Silverfish. Once they’re uncovered, they attack and cause other Silverfish in the area to break out of their blocks and charge you. This sometimes leads to very large and dangerous battles.
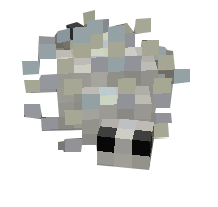
Retreat to a defensive area when a Silverfish appears. You can get onto a two-block pillar and kill the Silverfish safely up there. Or, you can lure them into a spot in a narrow corridor that is somewhat safe. As long as all the Silverfish are on one side of the passage, it’s fairly easy to dispatch them. Getting surrounded is the main thing to avoid when you fight these pests.
Skeleton
| Aggression | Spawn Location | Items | Health | Attack Damage | Experience Value | Tameable? | Rideable? | Notes |
|---|---|---|---|---|---|---|---|---|
|
Aggressive |
Low light areas of Nether Fortresses or the Overworld |
Arrow, Bone |
20 |
3 with Bows, 2 with Swords |
5 |
No |
No |
Sometimes drop their Bows when killed |
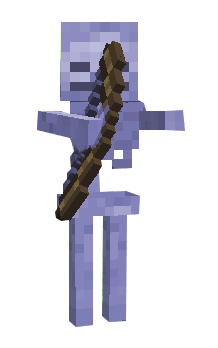
Skeletons are the biggest annoyances in the Overworld when you’re topside, and they’re pretty frustrating down in the mines as well. Skeletons have ranged attacks that are fast, accurate, and painful. Their Arrows push you back, making it harder to reach the Skeleton and possibly knocking you off ledges, into Lava, or otherwise causing problems.
Whenever possible, use cover to lure Skeletons toward you. Up close, they’re fairly weak and easy to kill. They also drop great treasure; Bones are used to tame Wolves and grow crops, and the free Arrows sure aren’t bad either. Sometimes Skeletons even drop their Bows. So, they’re valuable enemies to fight, even if they are jerks.
Don’t stand on narrow ledges or near dangerous obstacles when facing Skeletons. If you hear their Bows twang, immediately find cover and figure out where the enemy is firing. Use your Bow to counter them if they don’t come forward, such as when they’re across a chasm. Alternatively, tunnel into the rock, come around to a safe area, and approach them that way. They can’t shoot through solid blocks!
The absolutely worst fight with a Skeleton is in Water when you have only a Sword. The Water slows you down, and this, combined with the push back from Skeleton’s ranged attacks, can effectively keep you from getting to your enemy. At this point, it’s best to retreat and wait for a better situation.
Slime
| Aggression | Spawn Location | Items | Health | Attack Damage | Experience Value | Tameable? | Rideable? | Notes |
|---|---|---|---|---|---|---|---|---|
|
Aggressive |
Lower areas of the Overworld |
Slimeball |
16 |
4 |
4 |
No |
No |
Breaks into smaller Slimes when damaged |
Slimes appear in Swamps (often at night) or in deeper sections of the Overworld. You hear them from great distance because of the telltale squishing noises they make when they jump around. The Slimeballs they drop are pretty useful, so Slime hunting is periodically a worthwhile pursuit. If you find Slimes at a location once, you’ll likely bump into them again there in the future. They are somewhat predictable in their spawns. So, mark these areas well and return later for more hunting.
To kill Slimes, use Arrows at range, or approach them carefully with your Sword out. Attack several times in melee, back off, and repeat the assault when you see how the Slime splits apart. Kill smaller Slimes before dealing with larger ones because you don’t want to coat the entire area with little hopping menaces; that increases the chance of taking damage.
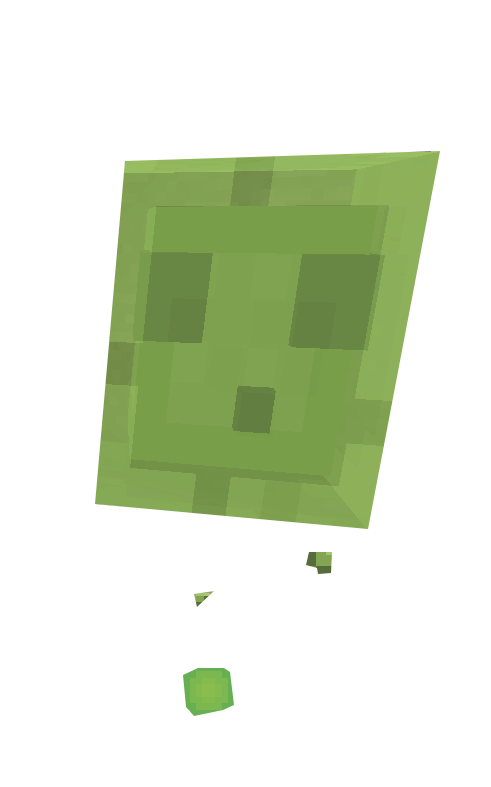
Slimes spawn even if it’s light in the area, so even well-lit Dungeons can have spawns if the conditions are right for Slime growth.
Spider Jockey
| Aggression | Spawn Location | Items | Health | Attack Damage | Experience Value | Tameable? | Rideable? | Notes |
|---|---|---|---|---|---|---|---|---|
|
Aggressive |
Low light areas of the Overworld |
Bone, Arrow, String, Spider Eye |
20 for Skeleton, 16 for Spider |
3 for Skeleton, 2 for Spider |
10 total |
No |
No |
These are rare spawns, so you don’t see them often |
Chicken Jockeys are cute and a little dangerous. However, Spider Jockeys aren’t cute at all—they’re just creepy. You have to deal with a Skeleton that has greater mobility and a Spider that’s ready to attack you as well. It’s a mean duo.
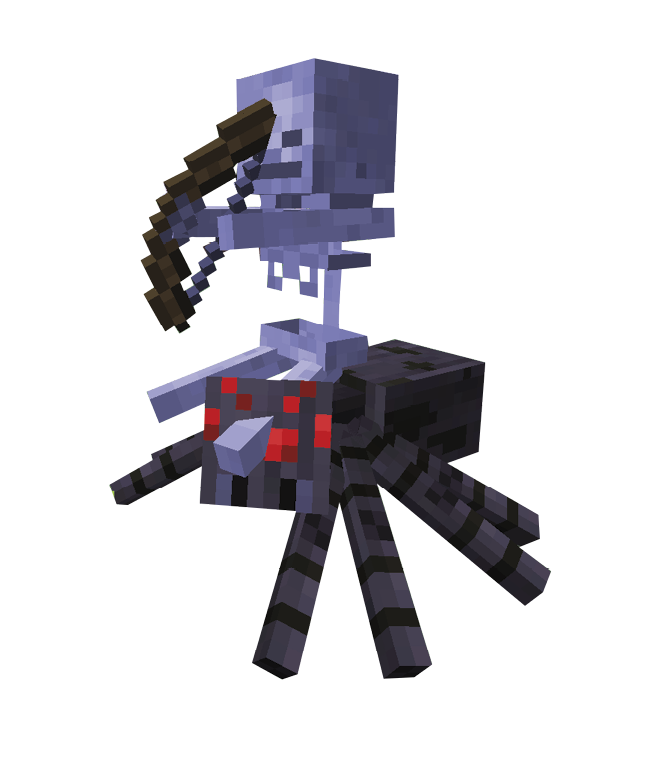
The Spiders can move on their own, so these Jockeys move like Spiders. The Skeletons only control their ranged attacks, which are as accurate as ever. To play it safe, sprint toward cover and ready your best melee weapon. Eat while you wait if necessary, and then ambush the Spider Jockey when it turns the corner. At close range, you can kill these guys. Still, expect to take damage, so don’t even try this fight if your health is low, your armor is poor, or if you’re nervous.
Witch
| Aggression | Spawn Location | Items | Health | Attack Damage | Experience Value | Tameable? | Rideable? | Notes |
|---|---|---|---|---|---|---|---|---|
|
Aggressive |
Low light areas of the Overworld |
Glass Bottle, Glowstone Dust, Gunpowder, Redstone, Spider Eye, Stick, Sugar |
26 |
Potions of Poison and Harming |
5 |
No |
No |
Rarely drop potions when killed |
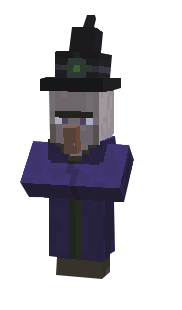
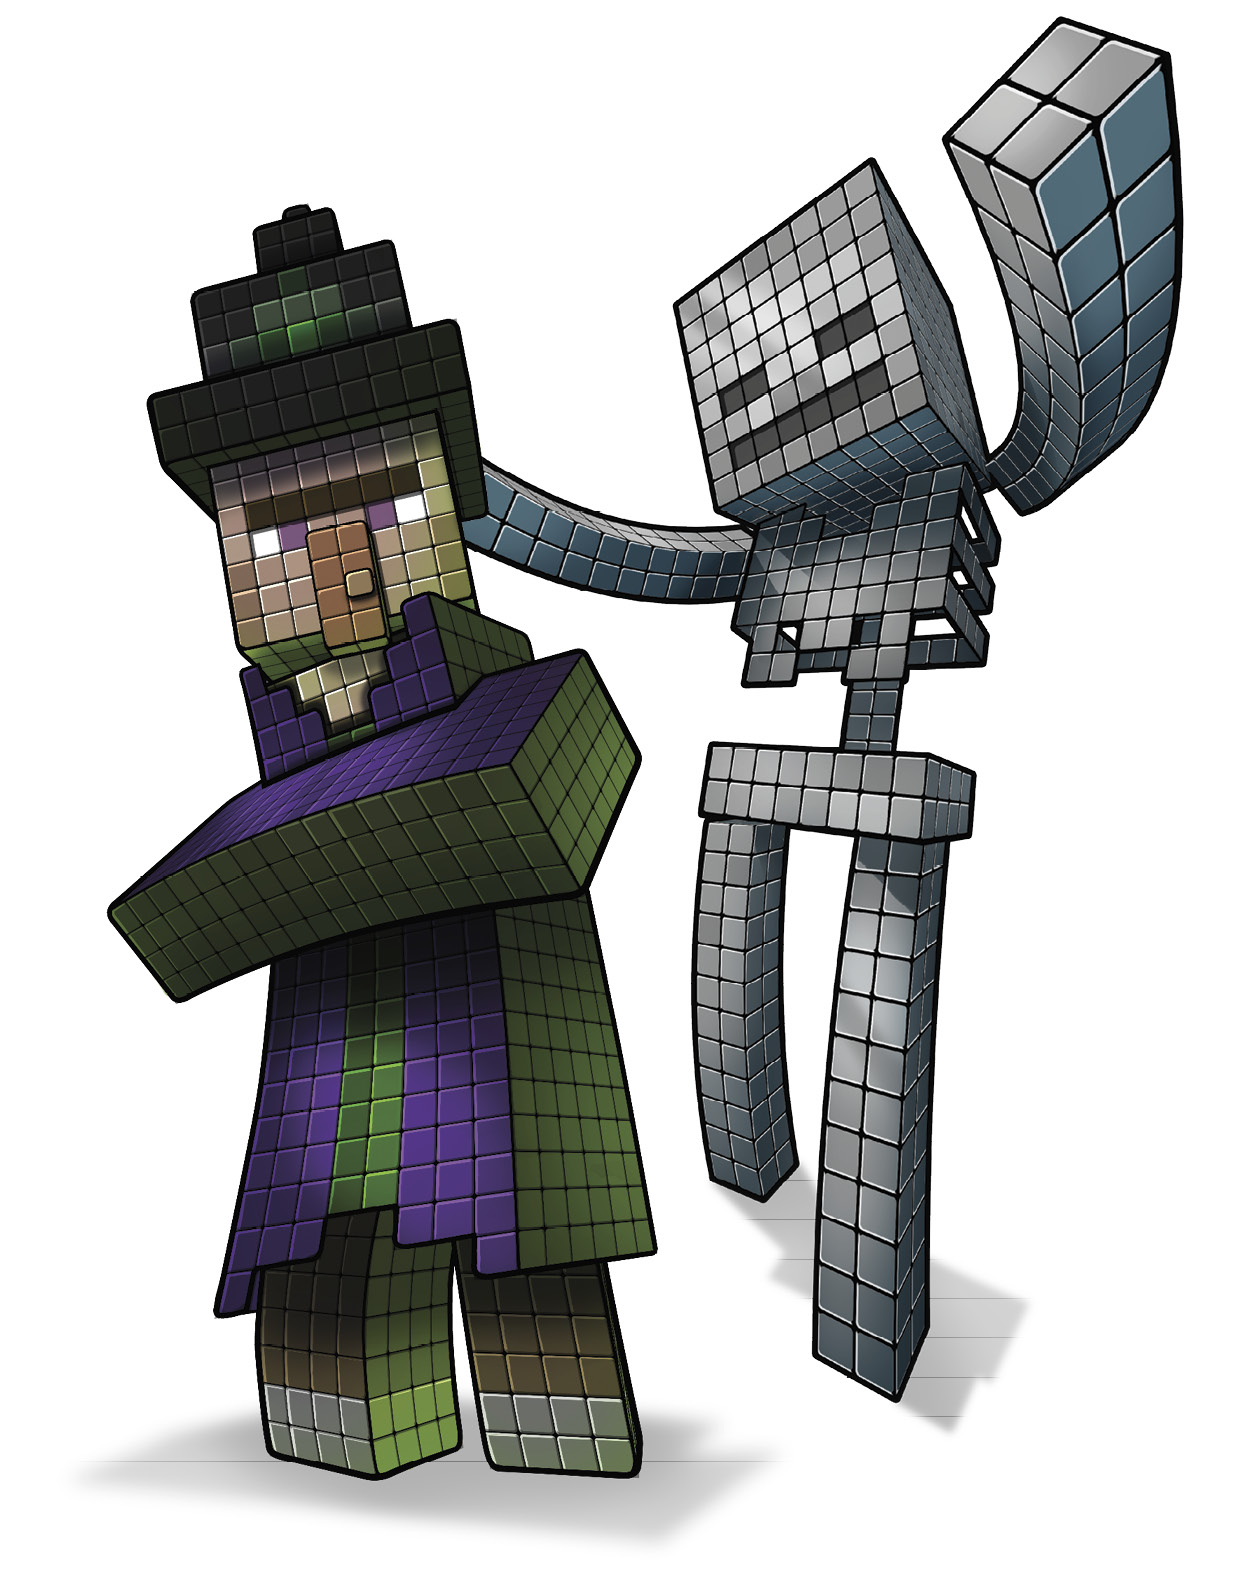
You don’t see Witches as frequently as many monsters in the Overworld, and that’s a good thing. These humanoids have potions that can hurt or poison your character, or protect the Witch from harm. Witches can heal themselves and speed their movement, so they have a little bit of everything. Good weapons are very important when you fight a Witch; they have enough health that any damage improvement makes a big difference. Iron Swords are advised!
Because Witches use Harm and Poison attacks, you want to kill them quickly. The longer the fight, the bigger your disadvantage becomes. If you can’t eliminate a Witch quickly and become poisoned, mount a sprinting retreat to put cover between your character and the Witch, so additional potions don’t hit you.
If you have really good timing, lure a Witch toward a corridor or house with a Door. Keep the Door closed until the Witch is nearby. Open the Door, hit the Witch, and close the Door. Wait a moment and then repeat the process. Witches take a moment to unleash their potion attacks, so this technique is fairly reliable if you have good reflexes.
Wither
| Aggression | Spawn Location | Items | Health | Attack Damage | Experience Value | Tameable? | Rideable? | Notes |
|---|---|---|---|---|---|---|---|---|
|
Aggressive |
Summoned by player |
Nether Star |
300 |
8 |
50 |
No |
No |
Created with SoulSand and Wither Skeleton Skulls |
Withers are major enemies, much like the Ender Dragon. Don’t go up against these guys unless you’re ready for a serious fight and know what you’re doing. For a full strategy on killing these guys, look in our section covering the Nether in the “You Can Do Anything with a Little Practice” chapter.
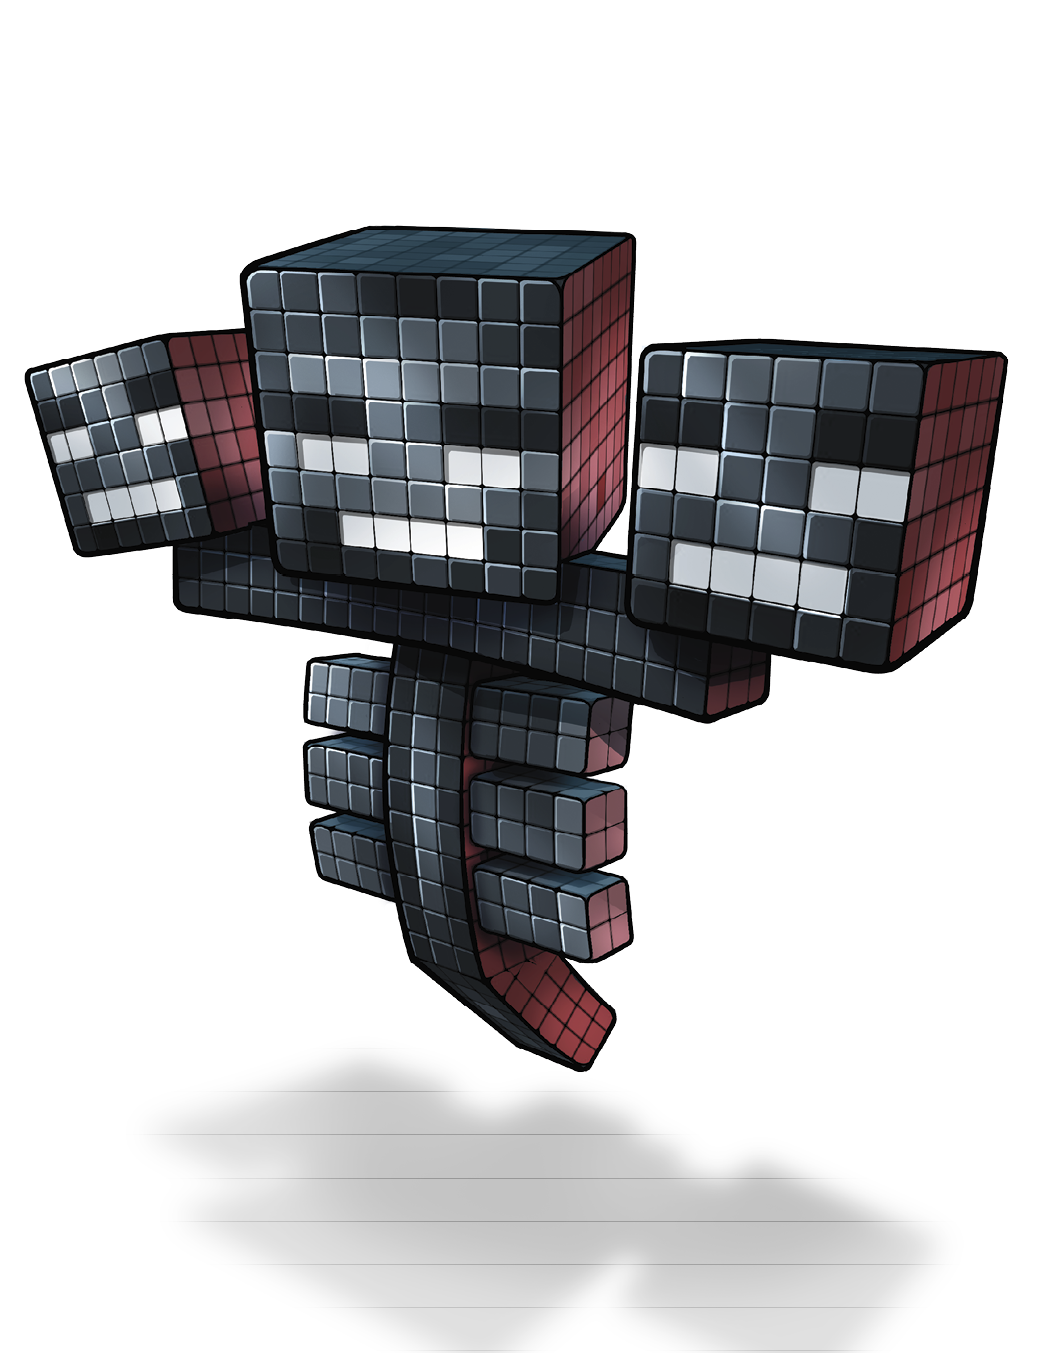
One can summon Withers by creating an altar of Soul Sand in a T-formation. Place a Wither Skeleton Skull on all three upper blocks of Soul Sand. When you do this, the altar summons a Wither. Make sure to avoid fighting these monsters near your home; they do horrific damage to the land around them. We strongly recommend fighting them deep underground or far away from home.
Wither Skeleton
| Aggression | Spawn Location | Items | Health | Attack Damage | Experience Value | Tameable? | Rideable? | Notes |
|---|---|---|---|---|---|---|---|---|
|
Aggressive |
Nether Fortresses |
Coal, Bone |
20 |
7 |
5 |
No |
No |
Can drop Wither Skeleton Skulls and Stone Swords |
Wither Skeletons guard Nether Fortresses, special areas within the Nether. Unlike generic Skeletons, these undead foes favor melee weapons. They’re extremely deadly, dealing high damage up front and causing a damage-over-time effect as well. You need solid armor, full health, and hopefully a full hunger bar to go against Wither Skeletons.
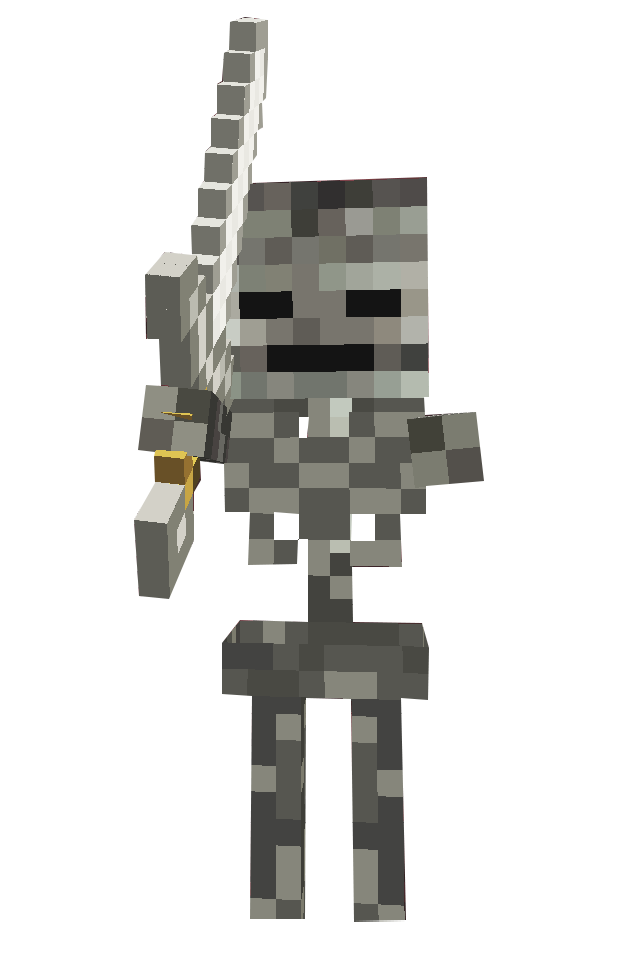
Arches that are only two blocks high are too small for Wither Skeletons to pass through. If you see a Wither Skeleton ahead, place blocks behind you to form a barrier that has just enough room for your character to run through. Shoot at the Wither Skeleton, bring it to the low arch, and then keep hitting it with Arrows. Hit-and-run attacks also work, if you’re careful. Another classic move is to attack while backing up. This is effective against many monsters, and it’s very good against Wither Skeletons, as long as you don’t fall off a ledge or Blazes and/or other Wither Skeletons don’t attack you at the same time.
Keep equipment off the ground when you go through Nether Fortresses. Wither Skeletons are quite happy to pick up Bows or Swords, and they’re evil when they get their bony hands on either.
Zombies and Zombie Villagers
| Aggression | Spawn Location | Items | Health | Attack Damage | Experience Value | Tameable? | Rideable? | Notes |
|---|---|---|---|---|---|---|---|---|
|
Aggressive |
Low light areas of the Overworld |
Rotten Flesh, Iron Ingots, Carrots, Potatoes |
20 |
2-4 |
5 |
No |
No |
Take damage from Splash Potions of Healing |
|
Aggressive |
Low light areas of the Overworld |
Rotten Flesh |
20 |
1-6 |
5 |
No |
No |
Can be cured with a Splash Potion of Weakness |
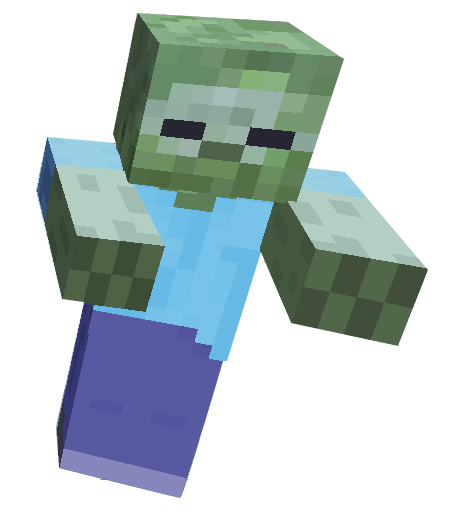
There are several types of Zombies in Minecraft, though the techniques to deal with them are similar. Zombies, Baby Zombies, and Zombie Villagers are all pretty much mindless, undead horrors. They move toward your character, moaning and trying to kill you with slow melee attacks. Baby Zombies have higher walking speed, but that and their short stature is the only significant distinction.
Zombies can spawn with equipment or pick up things they find. Well-equipped Zombies are more dangerous, so watch out for them. Kill those Zombies first when fighting a group. And speaking of groups, it’s rare to encounter just a single Zombie. They often appear with several allies, so back off until you see where all your enemies are standing. Lure them into lining up for the fight by retreating until all the Zombies are somewhat close together. Then attack and retreat as you thin their ranks. Zombies with helmets are very lucky; sunlight doesn’t cause them to burst into flames (until the helmet itself is destroyed). Pumpkins serve the same role.
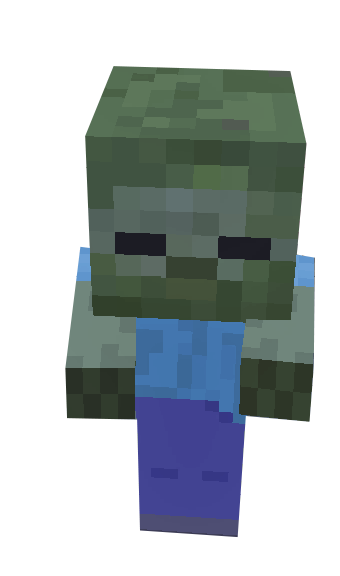
Villagers that are killed by Zombies have a chance of turning. If they rise as Zombie Villagers, there is still some hope. A Splash Potion of Weakness leaves the Zombie Villager in a vulnerable state. Feed it a Golden Apple afterward and wait a moderate amount of time; the Zombie Villager will return to life.