Build, Discover, Survive! Mastering Minecraft, Revised and Expanded Guide Bigger and Better Projects
Next Up: A Mountainous Undertaking!
Any project in Minecraft is all about taking the picture in your head and assembling it bit by bit. It undergoes revisions, runs into unexpected problems, and occasionally requires some creative reworking of the original idea. But in order to create, you must first imagine what you want to do. Anyone can dig a hole in the ground and call it a house (and all of us have at the start!), but when you want to go bigger, you’ll need to spend some time getting in touch with your inner dreamer.
Large scale projects take time, and even in Creative Mode you can spend hours (if not days) just working on clearing out an area, or laying the groundwork for a later build. It’s not all drudgery, though! In addition to the incredible feeling of accomplishment that comes at the end when your creation is finished, there are small moments of intense satisfaction to be found along the way as you tear apart the landscape and shape it to your needs.
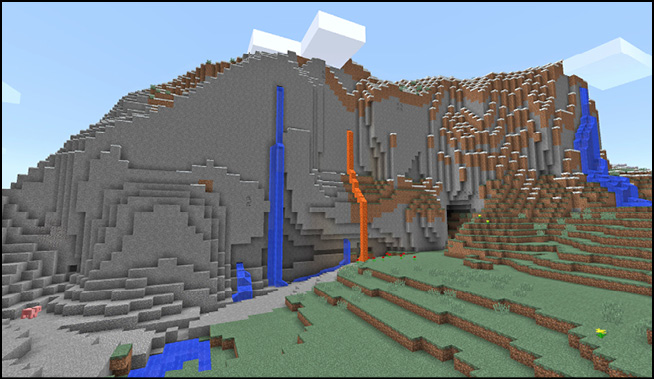
For instance, have you ever wanted to blow up a mountain, and then build a fortress inside? We did! The goal of this build was to carve a space out of the rocky innards of a mountain (using lots of TNT), and then build a large base within the rocky shell.
Demolitions and Groundwork
The first step in hollowing out this mountain was getting a handle on the size. Creative Mode is incredibly useful for a build of massive size. Not only do you get access to all of the necessary building materials, but you can destroy any block without specialized tools or waiting for it to break. You also get access to the single most useful tool in all of Minecraft: the ability to fly. This lets you get all sorts of different perspectives on your creation and lets you get to all of the little nooks and crannies speedily. You don’t have to use it, but it makes your life a lot easier.
Taking to the air provided us a better perspective on the mountain, which influenced the build. In this case, a flyover revealed that while the mountain was tall, it was kind of skinny (for a mountain range).
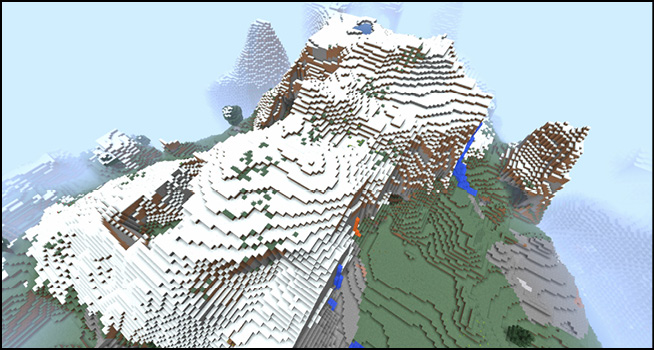
Any build inside this mountain would need to incorporate a lot of vertical building. The original idea was to hollow it out and then build a fortress inside, but the skinniness of the mountain meant that a sprawling horizontal build would be a lot harder to pull off. However, a build that rose from the bottom of the mountain to the top would have lots of space to work with.
Swinging around to the back of the mountain revealed that it had two large hollows already present. This provided access to the interior and a way to start hollowing it out.
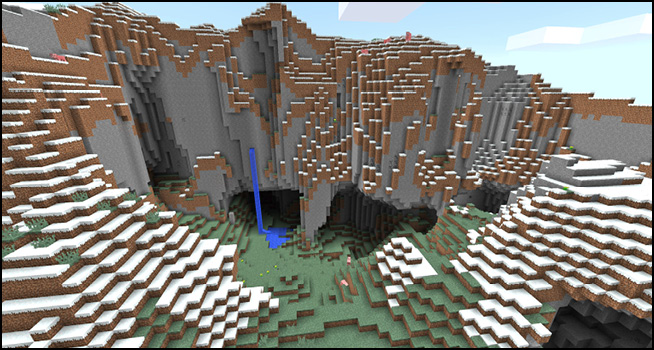
When planning a large build, think about how much the existing landscape needs to be altered. For instance, it is one thing to say, “I’m going to hollow out a mountain,” and another to spend hour after hour removing rock and dirt from your build site before you can even lay down a block. Carefully examining the site for potential problems at the start can really save time later.
It didn’t look like there were any further geographical complications from the outside. So this is where we decided to begin our work. Let the blasting commence!
Potions of Night Vision are incredibly useful in this sort of work. You’ll have to light the area later, but during the build itself, keep that little bottle handy in your hotbar!
Getting an idea of how much stone is actually involved here becomes apparent during the initial drill to the top of the mountain. Widening the initial hole could be accomplished through carefully spiraling outward, or you could use TNT to blast your way to a better, more open future.
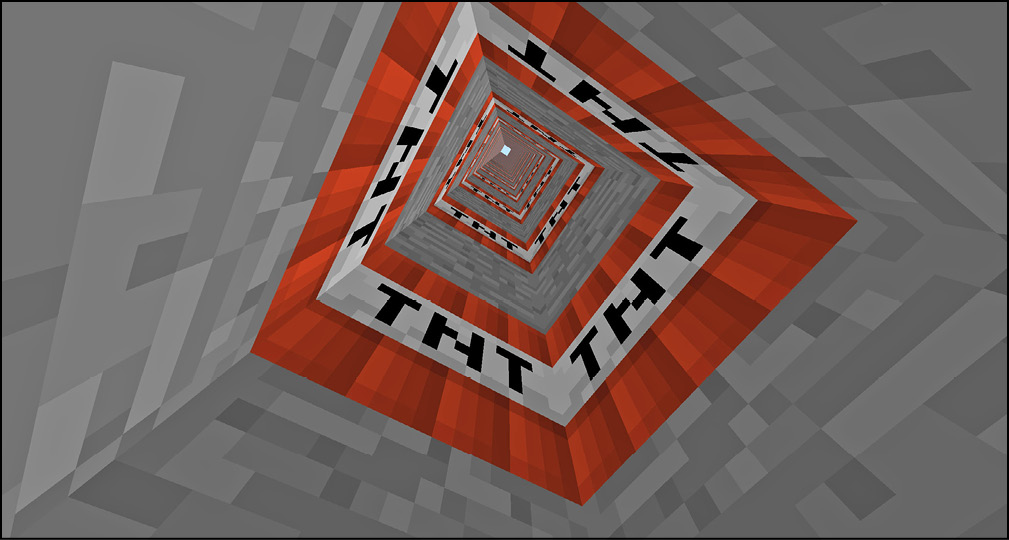
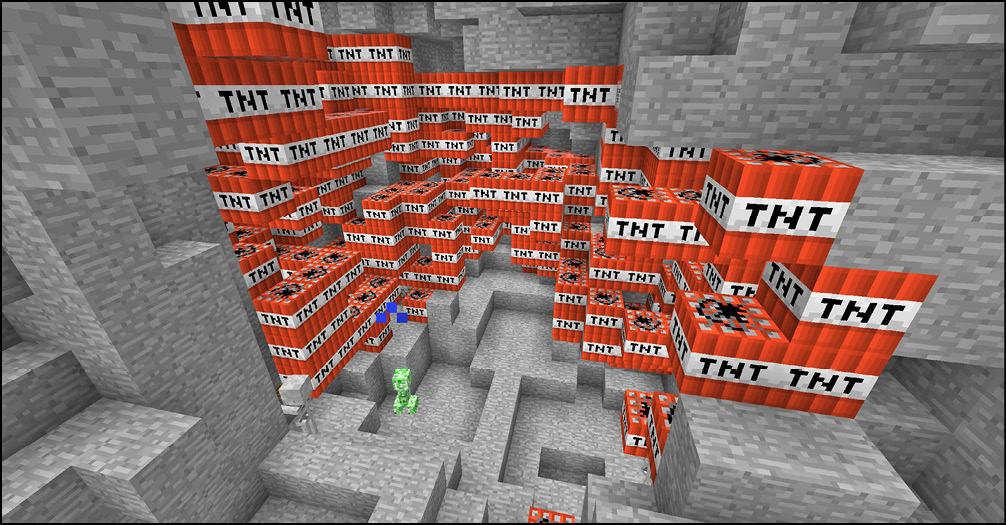
As the hole widened, layer by layer, the clock ticked away. People have limited amounts of endurance when it comes to crafting, and during a large scale build, you need to be careful to take breaks and save. It’s all about finding that point where you are doing more harm than good! Every build has a point where you want nothing more than to set fire to the whole thing. And when working with TNT, there will absolutely be times when the urge to keep filling a room with more and more TNT becomes overpowering.
Save the game, make a copy of your world, and take a deep breath. Then light the fuse! You have to be able to blow off some steam during a big build, so take some time to revel in destruction. Just make sure to save first in case you end up trashing your own work! Backing up your save files is quite valuable, especially if you reach milestones in the project that are especially successful. “I can always fall back to this later if things don’t work out.”
Construction Begins
With a large area now successfully carved out of the mountain, construction could begin. It was time to start thinking about building materials and light sources!
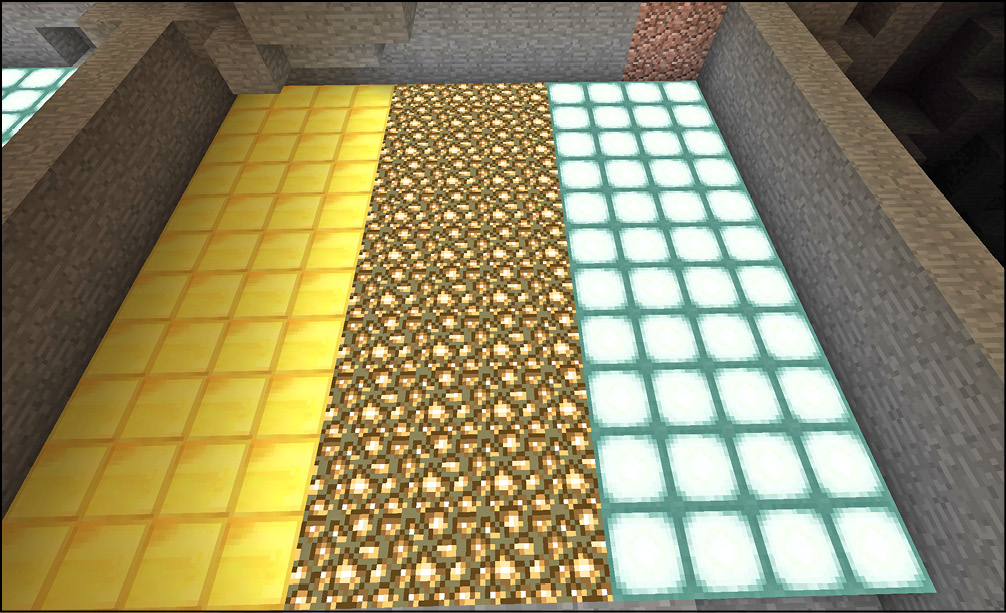
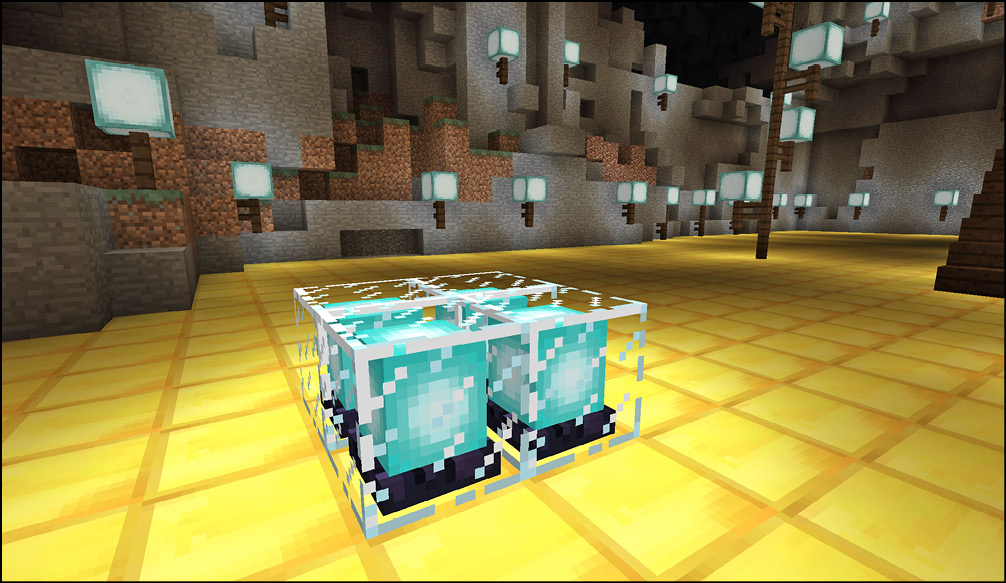
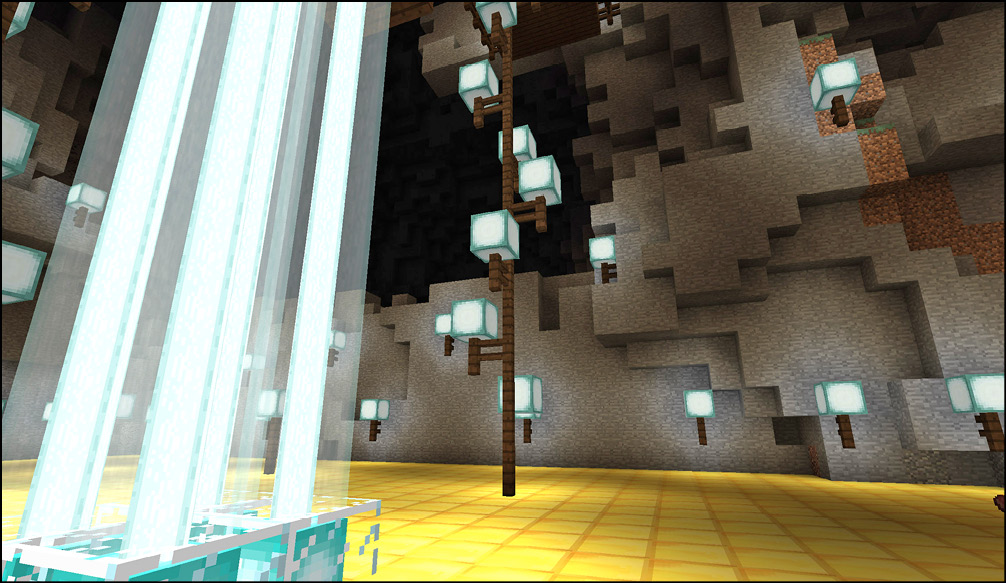
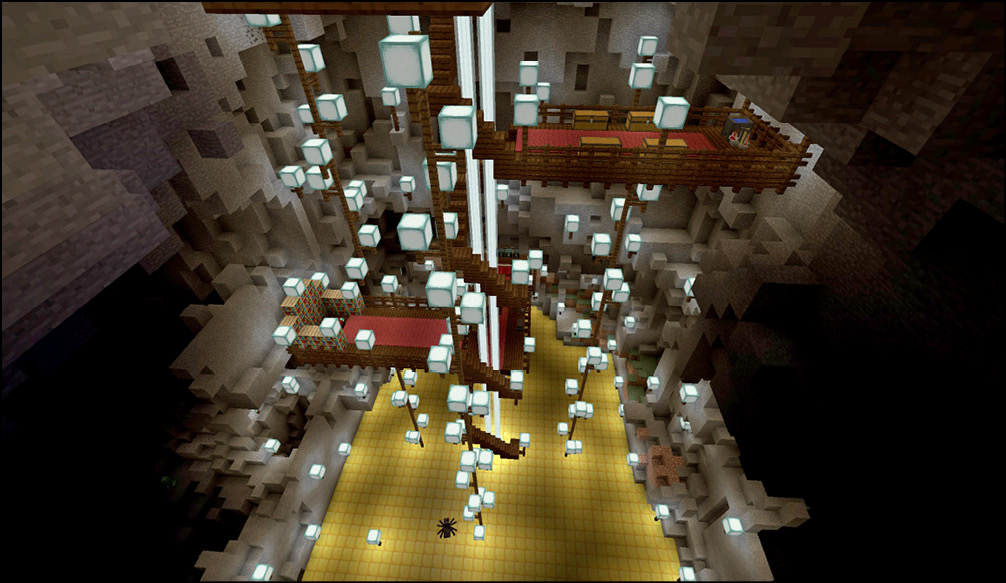
I wanted to use the Sea Lanterns for my lighting, as they provide as much light as Glowstone and Redstone Lamps. They don’t really work as flooring, though. Glowstone doesn’t really look good as a flooring material either (especially with the Sea Lanterns as an additional light source), so I went with Gold Blocks. The solid color and strong contrast really worked well in the end. It gives the place a Hall of the Mountain King feel, and that’s pretty cool.
A strong central feature would really unite the build. The mountain has a lot of vertical space, so creating a central feature that everything else could wind around would really pull it all together. We had a lot of options, like a central lava fall, or a central light fixture, or a massive stalactite or stalagmite. However, the Gold Block flooring provided an unforeseen bonus; it allowed for the construction of a Beacon!
Beacons send a column of light into the sky, which would work really well as a central feature for this build. Beacons need to be built on a pyramid of Gold, Diamond, Emerald, or Iron Blocks. With our floor made entirely of Gold Blocks, this won’t be an issue.
Beacons need an unobstructed view of the sky in order to turn on, but a quick flight to the top of the mountain removed the last few blocks that were in the way. A few Glass Blocks later, and the Beacon was lit!
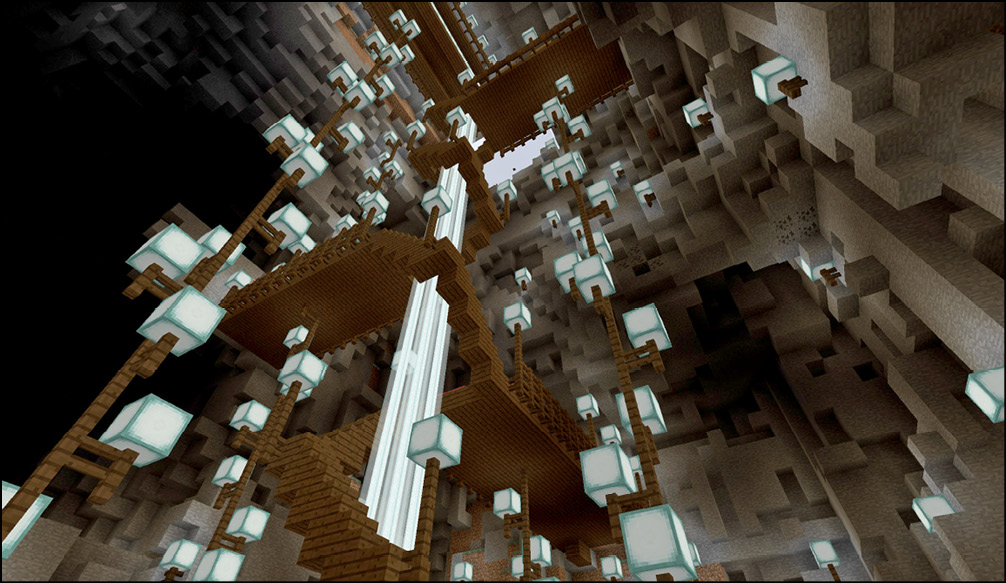
Lighting the rest of the interior was a matter of stringing Sea Lanterns on the walls, and building vertical spirals of Sea Lanterns to the ceiling on Dark Oak fence posts.
Setbacks and Problems
Midway through the build, I ran into an unexpected problem. I had way too many monsters wandering around my build. Sure, it was Creative Mode, but I wouldn’t really feel like the place was mine until I cleared them out and figured out how they were getting in.
As I flew around, I found lots of little nooks and crannies in darkness where the monsters could spawn, as well as several small holes in the retaining walls—during the demolitions I had occasionally gotten too zealous with the TNT and blown holes that were a bit too big for what was needed. In addition, there were several open holes to the outside in the ceiling and the sides that were allowing monsters to just wander in!
Three hours of work later, I had sealed all the outside holes and made sure that anywhere that wasn’t lit well was a sheer drop to the floor. So anything that did spawn in the dark places would have nowhere to go but a sheer drop and a sudden stop.
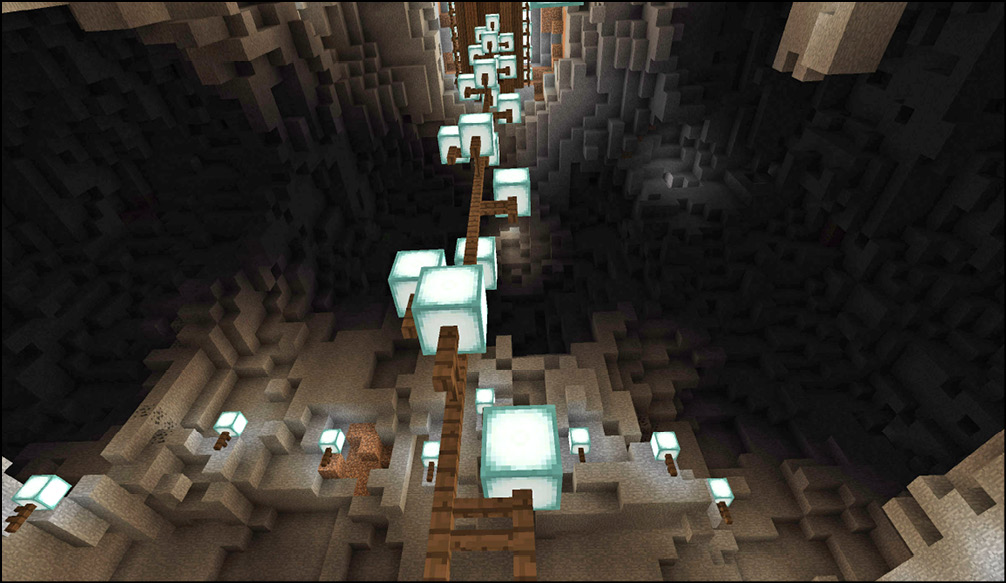
This is one of those instances where a bit more thought ahead of time would have made a difference in the initial demolitions. I was aware that dark areas spawned monsters, and I would need a lot of light to deal with the large open space that I was creating. However, during the actual demolitions, and during the construction, I was using Potions of Night Vision constantly. To me, the area was brightly lit (regardless of the actual light level), and so the whole problem slipped under my radar until late in the build. I also got a little TNT happy during demolitions and broke through the walls a few times. Patching the holes wasn’t as much fun as making new ones with TNT, so I put it off until later. Both of these issues were relatively small and could have been dealt with much earlier—putting them off meant I had to stop everything mid-build!
Stairway to Progress
With my Beacon lit, and the lighting poles in place, construction resumed. The next step was to build a spiraling wooden staircase around the Beacon, following the light toward the ceiling. At regular intervals, platforms would be constructed to allow for living spaces. Dark Oak was the best wood for the purpose, as it provided a strong contrast with the Sea Lanterns and Gold floor.
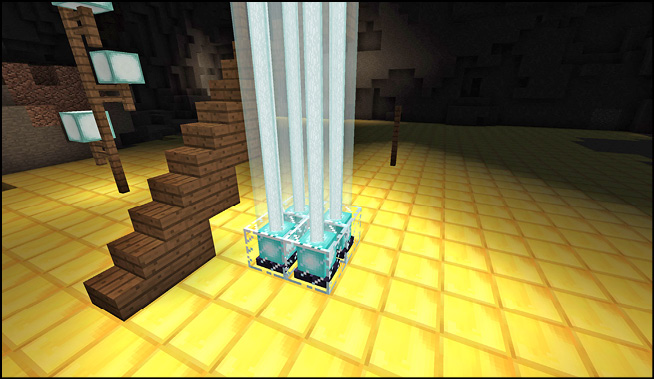
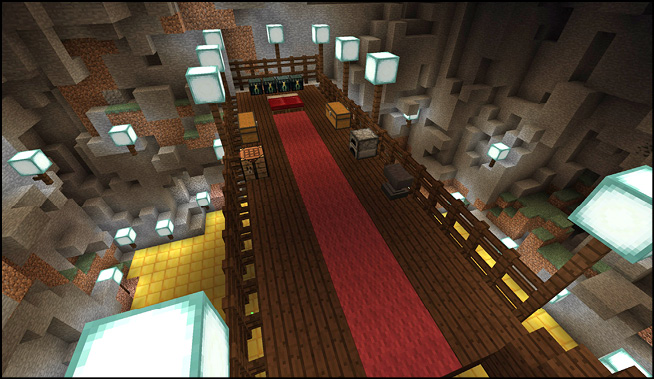
The first platform was going to be the living platform. Every fortress needs a place for the lord of the castle to sleep, so a bed was a foregone conclusion. However, it looked all alone by itself on such a large platform!
A nice red carpet added a touch of color, and a variety of chests and crafting stations guaranteed that anyone who lived in this fortress would have everything they needed to expand if they wanted to go to Survival Mode later on. It was a touch too dark, so a few more Sea Lanterns completed the platform.
Switching From Creative to SurvivalIn the PC version of the game, you can switch a world to LAN Mode to open things to your friends and others. While doing this, you can also change the game’s mode. This is a viable way to transition to Survival Mode after a major build is completed. |
A few more turns on the staircase and it was time for another platform. This was going to be the library platform, with an Enchanting station and lots of Bookcases. The red carpet worked so well on the previous platform that I kept the theme with this one.
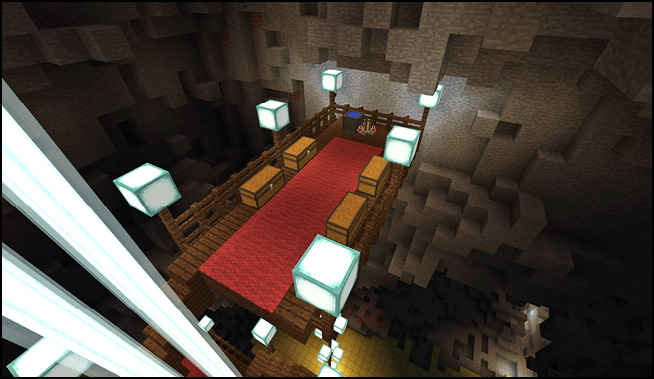
Moving up a few more turns led to the third platform, which was going to be all about potions and brewing. A Brewing station, Cauldron, and plenty of Chests ensured that anyone who wanted to make potions would have all the materials at hand!
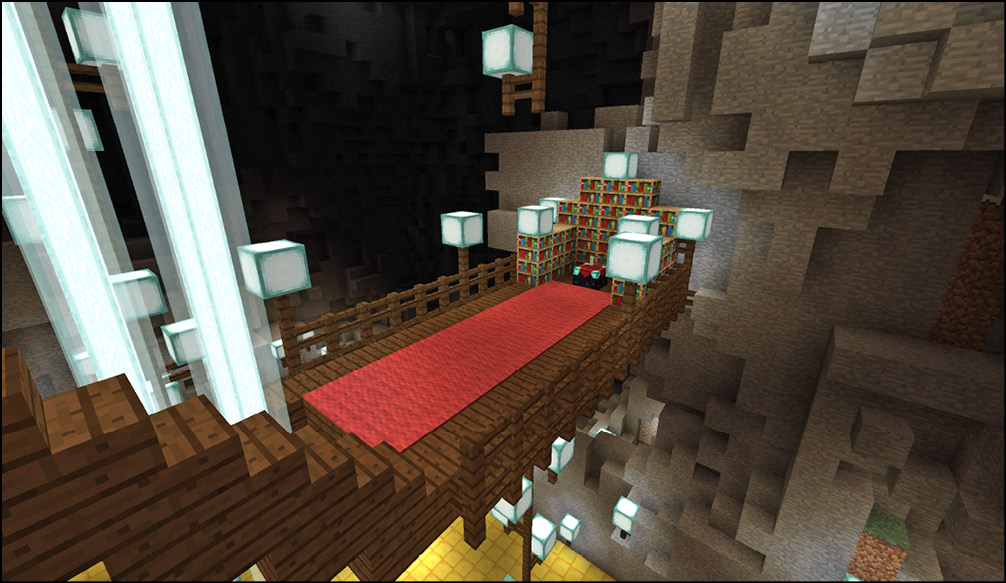
None of these platforms took all that long because of all my preparation. I had a strong idea of what I wanted for each one, and all the materials and space that I needed. All I had to do was make a few measurements, to keep the widths consistent, and everything just clicked into place!
The Final Platform
The last platform was going to be a bit different. Initially, it was going to be an observation deck at the very top of the mountain. But as I was building the staircase, I decided it would be the perfect place for a garden. Most gardens end up on the ground level of a build, but there was no real reason why it couldn’t be on top. And the proximity to the surface meant it would be extremely easy to knock a hole in the ceiling to let in additional light. Besides, everyone needs fresh vegetables, even people who live inside mountain fortresses!
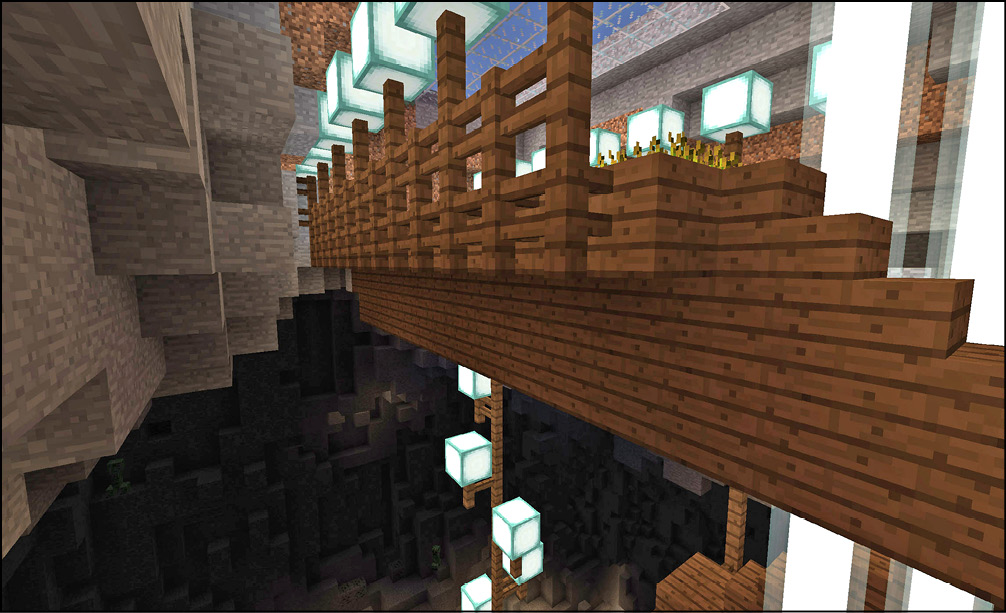
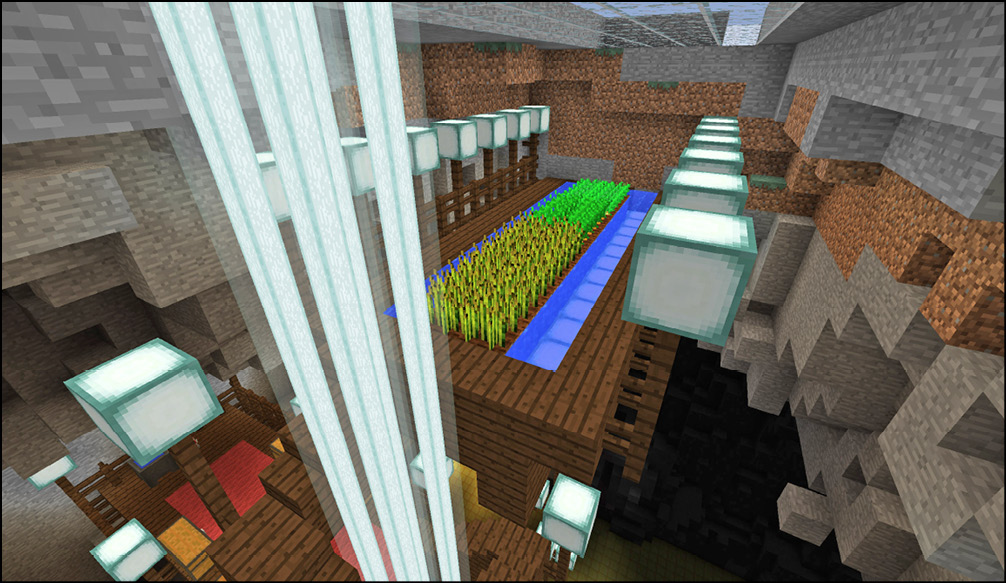
The platform for the garden was extra-thick, so a water channel could be built (and so it wouldn’t leak). Because the top of the mountain was so near at hand, it was a simple matter to create a hole and use glass blocks to provide natural light.
Shortly after finishing the platform, the water blocks started freezing. The top of the mountain was a chilly, snow covered place, and the water was freezing from the cold! The quickest solution was to put Sea Lanterns beneath each water block to make sure that it stayed melted.
With the water flowing and the crops flourishing, the final platform was complete!
Home Sweet Mountain Home
With the platforms complete and the Sea Lanterns pushing back the darkness, everything looked good! If I wanted to expand on the mountain fortress, there were plenty of possibilities—underground railways, secret dungeons, and so forth—but this was the core of the build. Very fun.