Build, Discover, Survive! Mastering Minecraft, Revised and Expanded Guide Before We Start
The Menus
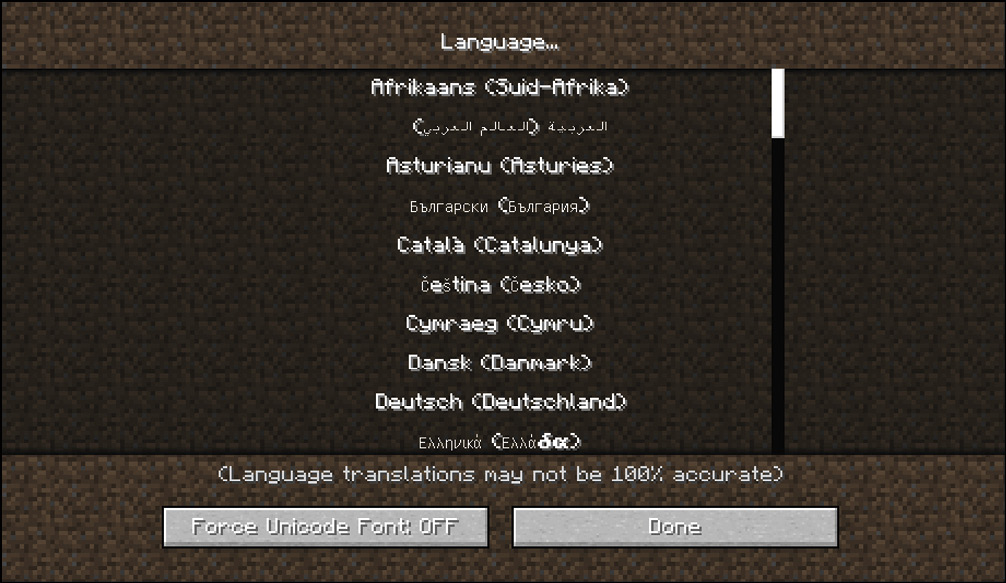
We’ll start as the game loads. You first arrive in a menu that displays the title of the game and several options. If you don’t want the game to display text in English, look at the button on the lower left (with a blue world icon on it). This controls the language displayed in the game. Minecraft has been translated into quite a few other languages, so you’re likely to find what you need! Change this whenever you like; the language can be changed back in the same manner. You can even change the settings to display text in Pirate speak. Yarr!
Next, look at the Options menu, toward the bottom. You can access this menu while you’re playing or when you’re just sitting in the menu. There are quite a few controls here, so we have a few things to cover. Some are mentioned elsewhere in the guide because of their relevance to different subjects, but we’ll also talk about all of the options right now.
FOV
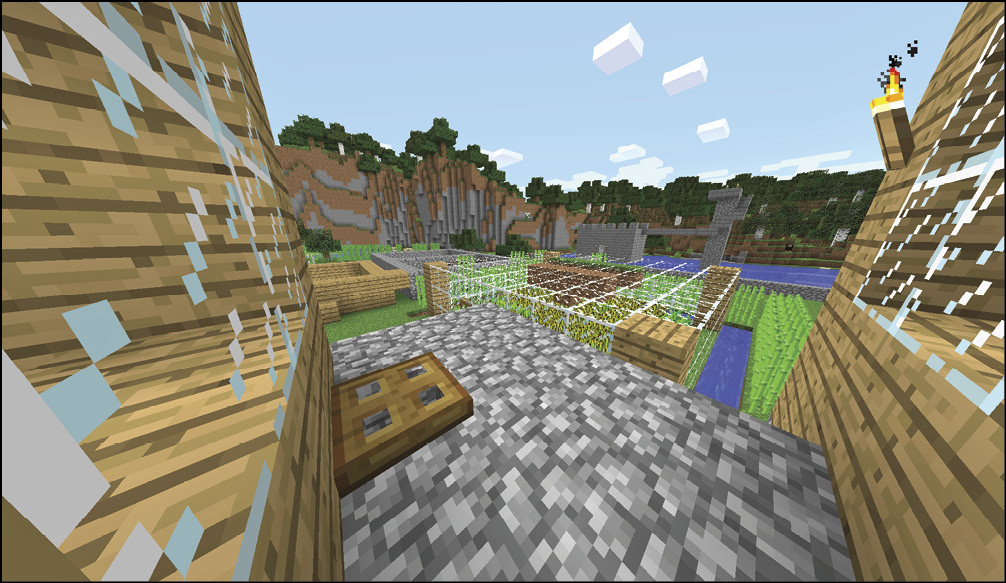
FOV stands for Field of View. This determines how much of the game world your character sees at a given time. Set this really high if you’d like to see a huge amount of the world around your character. Set it low if you want to look closely at things that are directly in front of you.
Because this isn’t a game with much shooting, the default FOV works really well. It’s a good balance of vision around your character.
Difficulty
Choose between Peaceful, Easy, Normal, and Hard difficulties. These settings control the damage output of monsters and a number of additional factors as well. Peaceful Difficulty turns off monster damage entirely. After that, raising the Difficulty meter makes the game harder and harder. Damage on Hard is sometimes more than twice what it is on Easy.
Difficulty Changes the Following Game Settings
- Chance for Villagers to turn into Zombies when slain by Zombies
- How often monsters appear with weapons (and if those weapons are enchanted)
- If monsters attempt to pick up dropped items
- If Spider attacks have status effects
- The rate at which Zombie Pigmen come out of Nether Portals
- Whether Zombies appear with additional Zombie allies
Music and Sounds
Use this submenu to control the volume of various game elements. If you want music to be off (or quieter), come here. The same is true for weather noises, monsters, other players, blocks, the environment, and so forth.
If anything bothers you, slide these bars around to find out how to silence the sound that you don’t like. Otherwise, you don’t need to mess with this submenu.
Super Secret Settings
This odd button in the Options menu lets you influence how the game is displayed. Most of the possibilities are strange-looking and make Minecraft somewhat harder to play, but it’s fun to mess around with them.
Broadcast Settings
This submenu lets you link your game account with a Twitch account, so you can stream Minecraft online. This is a somewhat advanced thing to do, so you don’t have to try it when you’re a beginner. We’ll talk more about that later.
Video Settings
Come to Video Settings if you want to tweak how much detail is rendered in Minecraft. You can control whether the game looks as pretty as possible or runs as quickly as you’d like. Very strong systems can run everything in Minecraft without sacrificing any quality, but people run this game on a wide range of computers.
If the game doesn’t feel like it’s running quickly, turn down settings like Anisotropic Filter or Particles, and switch Graphics to Fast. You should also lower the Render Distance.
If your computer is running Minecraft wonderfully, then turn everything up and see if the game still runs fine. Go ahead and enjoy the game even more!
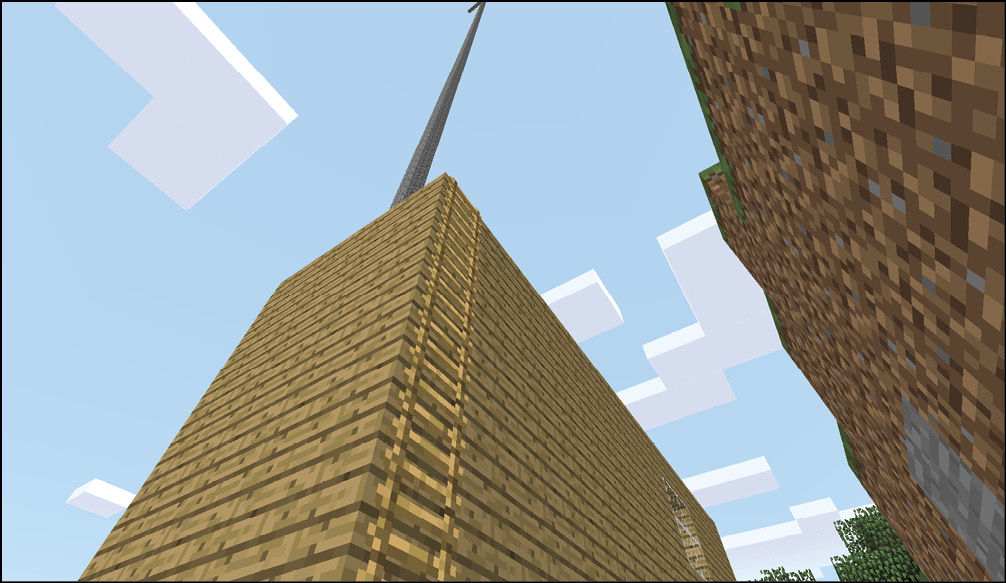
If your system can handle it, adjust the Graphics and Render Distance settings to see the in-game world at its best.
Controls
The Control submenu is the most involved menu in the group. It lets you influence how you move your character, break blocks, build things, and so forth. You can flip the mouse so that it acts more like a joystick; turn on/off Touchscreen Mode; or switch the keys that control your character.
Because our book handles all versions of Minecraft, we don’t know how you’ll assign your keyboard controls, or if you’re even going to use a keyboard! Therefore, we won’t say things like, “Press Left Control to do this.” Instead, we’ll talk about the game’s actual commands, like this:
“Sprint to get away from the Creeper.”
“Break three blocks of Stone and look in your inventory after you pick them up.”
“Stack blocks together until you’re happy with how they look.”
Because of this, it’s very important that you learn what the commands are before going deeper into the book. Here they are!
Minecraft Commands
| Command Name | What It Does |
|---|---|
| Attack/Destroy | Uses your hands or the object you’re holding to hit anything in front of your character. |
| Drop Item | Drops the item that you are currently holding. |
| Pick Block | If you’re looking at a type of block, this switches so that your character holds any blocks of that type that are in your inventory. |
| Sprint | Move at higher speed, but causes you to get hungry much faster. |
| Use Item/Place Block | Places a block that you’re holding on the ground where you are looking. Or tries to activate any Doors, Levers, or controllable objects in front of your character. |
| Hotbar Slot (1-9) | Switches what you’re holding to the item that is located on your hotbar at the bottom of the screen. There are nine of these slots. |
| Inventory | Opens your inventory and shows you what your character is holding. Your hotbar slots are also shown there. |
| Take Screenshot | Grabs a picture of the game. |
| Toggle Cinematic Camera | Makes the camera move in a slower, panning fashion. |
| Toggle Fullscreen | Switches between a windowed view of the game and a full-screen display. |
| Toggle Perspective | Lets you decide whether to look at the world from a first-person perspective or from one of two third-person perspectives. |
| Jump | Causes you to jump; this also causes your character to get hungry faster. |
| Sneak | Lets you move quietly and slowly, preventing your character from falling off of ledges. Very useful! |
| Strafe Left | Walk to the left. |
| Strafe Right | Walk to the right. |
| Walk Forward | Go forward. |
| Walk Backward | Go backward. |
| List Players | See a list of the people who are playing on the same server. |
| Open Chat | Lets you type in anything you want and then shows the message to everyone on the server. “Hi guys!” |
| Open Command | Lets you type in a command to control the game world. |
| Pause Stream | Stops showing your game on Twitch; press the button again to resume your stream. |
| Push to Talk | Use this to broadcast what you’re saying to people on your stream. |
| Show Stream Commercials | Starts commercials on your stream, if that is set up. |
| Start/Stop Stream | Begin or end sessions with this command. |
Language
This opens the same menu that you accessed from the world icon back in the game’s front menu.
Multiplayer Settings
This submenu is primarily focused on the way text displays when you join multiplayer servers. To make the screen easier to read on those servers, you can always turn off Colors, Web Links, or even the entire Chat system.
Resource Packs
Resource Packs modify the game in a variety of ways. We’ll go over these at the end of the book, so you’ll know what they do and how to set them up.
Snooper Settings
Turn this off if you don’t want the game to send information about your play to Mojang. Or, turn this back on if you’re cool with that. Leaving the Snooper mode on does not influence gameplay in a major way, so there isn’t a substantial downside to turning it on or off.
Single Player
This menu lets you create a new world or return to one that you’ve already made. We’ll walk you through that in the next chapter, and it’s a very intuitive process.
Multiplayer
When you first open the Multiplayer menu, there won’t be any servers available. Instead, you have to go online and look up places to join. Search the internet with your browser, and use “Minecraft Servers” to find lists of them. When you go, copy their IP addresses, and come back to the Multiplayer menu.
Now that you’re here with an IP address, press “Add Server” and paste the IP you found into the empty bar. Press “Done,” and then you can enter that server from the Multiplayer menu in the future without having to do anything special. The game even searches ahead of time to tell you how many people are already playing on that server.
You’re free to add as many or as few servers as you like. We’ll talk about multiplayer servers and etiquette in a later chapter, “Playing with Your Friends.”
Minecraft Realms
This is a paid service that lets you set up multiplayer servers more easily. If you don’t know much about multiplayer servers but still really want to have a world of your own for others to play in, this is an option. Just know that it costs money to use.