
Build, Discover, Survive! Mastering Minecraft, Revised and Expanded Guide Before We Start
Controlling Your Character
Once you’re in game, put the commands to good use by wandering around the world and messing with everything you find. Let’s quickly explain what everything on the screen means and how to control your character.
Understanding the Interface
Minecraft has a fairly simple display, so it doesn’t take long to understand it. Most of the screen is taken up by a view of the game world itself. You can see what’s in front of your character, and that’s how you decide where to go and what to do. Easy enough.
At the very bottom of the screen are nine grey boxes. These represent your hotbar slots! Pressing the keyboard keys that are bound to those hotbar slots lets you switch between items quickly once you assign objects to the slots. For example, you can put a Pickaxe in “1,” a Shovel in “2,” an Axe in “3,” and so forth. Doing this makes it easy to use all of your tools quickly and efficiently.
What to Put in Your HotbarBy default, consider anything that you use the most. We suggest Pickaxe, Shovel, Axe, Sword, Torches, some type of food, a construction material (Dirt or Stone), and whatever else you need. 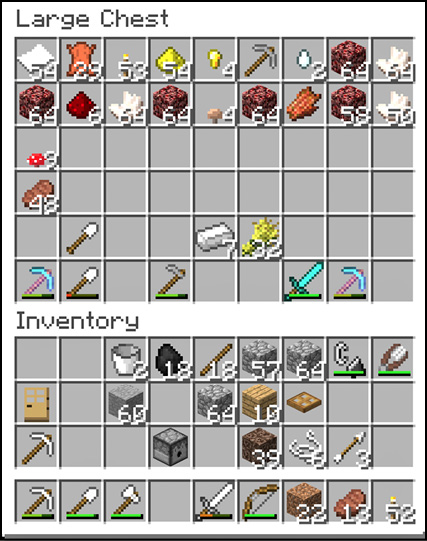
|
To change your hotbar assignments, go into your inventory and drag items to the bottom row. That’s where your hotbar slots are located. Move items around so that similar tools are together and can be accessed without delay.
Above your hotbar is an experience bar. This fills as your character gets orbs of experience. These are gained by killing creatures, breeding animals, refining metals in a Furnace, gathering certain minerals, and so forth.
When the bar completely fills, your character gains a level. This doesn’t raise any stats, like it would in some role-playing games. Instead, levels are there so you can enchant objects later on. That’s more advanced play, so we’ll talk about that in the “You Can Do Anything with a Little Practice” chapter.
There are three sets of icons above your experience bar. The red hearts display your character’s health. As you take damage from fire, falls, monster attacks, poison, or hunger, the hearts disappear. If all of them go away, your character dies and then respawns at either your starting point or the last Bed that you used. In Hardcore mode, even a single death is permanent, so you’re gone forever.
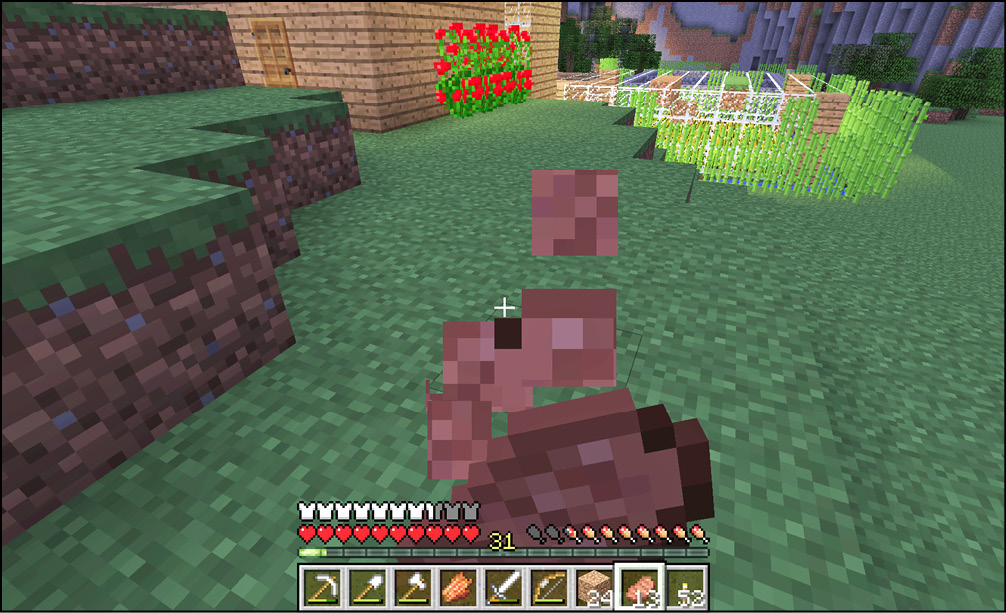
The meat and bone icons represent your hunger meter. They deplete over time, as well as when you heal from damage or exert yourself by jumping and sprinting. Refill hunger by eating food. Characters regenerate health when only their hunger meter is nearly full, so it’s wise to keep your meter at nine or ten pips as often as possible.
The last icon set shows a number of shirts. They depict your armor. The more shirts there are the better protection from monster attacks your character possesses. Craft leather or metal armor when possible, and wear it to protect yourself. If any of those shirts suddenly disappear, it likely means that a piece of your armor just broke. Replace it!
Movement
Now that you know the interface, try moving around. Walk forward, backward, left, and right. These commands are as basic as they come, so it shouldn’t take long to understand them.
Double-tap the movement keys (i.e., press them twice in the same direction as quickly as you can). This tells your character to sprint in that direction. It burns through your food quickly, but sprinting can save your life when a Creeper is about to explode or when you just need to get somewhere quickly. When night is falling and you’re away from home, sprinting is often a good idea.
When you’ve mastered basic movement and sprinting, try jumping. Your character can hop up a single block’s worth of height. If you have to go any higher than that, either dig through blocks that are more than one space above you, or build a ladder with Sticks to climb up vertical faces of mountains, trees, or whatever.
Breaking and Gathering Blocks
Once you’re moving around the world, it’s time to gather materials. Do this by hitting things until they break. The most basic gathering action is to walk up to a tree and attack it with your bare hands until the block of Wood breaks and falls to the ground in front of you. Collect these resources by walking directly over them; your character even picks up items automatically if they’re on the ground nearby. This creates a happy “pop” sound to let you know you grabbed something.
Use your hands to break easier materials, like Dirt, Grass, Flowers, Wood, and whatnot. It’s not especially fast, but it works well enough. Once you do a little bit of crafting, you get to make tools that allow faster resource gathering.
Whether you’re using tools or your fists, the basics of gathering never change. Approach the block that you want to gather, attack it with your hands or tools, and keep hitting the block until it breaks. Rinse and repeat. When objects are damaged by your attacks but not destroyed, they’ll almost immediately heal. That’s why you have to hold the Attack button until the job is done. Test this by hitting a tree for a couple seconds and then stopping. Notice that the cracks in the Wood disappear almost immediately. The same is true for Stone and other minerals.
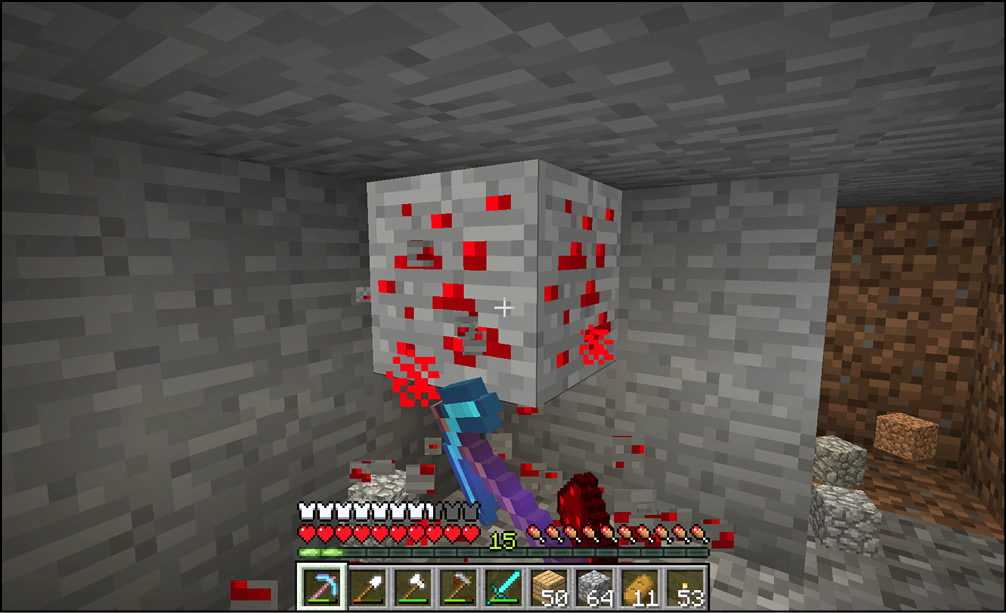
If you try to break blocks that are really hard, you might not even be able to break them. Or, you won’t be able to gather anything even when you succeed. For example, it’s possible to break Stone with your bare hands. This takes a very long time, and then when the Stone breaks, no resources fall to the ground. That’s because you need a Pickaxe to break Stone. You might even need specific types of Pickaxes to harvest certain resources. More advanced metals and minerals can’t be gathered without Iron or even Diamond Pickaxes!
Placing Blocks
After gathering materials, such as Wood, the items appear in your inventory. Place them in a hotbar slot to make them easier to work with. Then switch to the hotbar slot in question by pressing the shortcut key that you bound in the Options menu.
Selecting a hotbar slot with an item essentially equips that item. If it’s a tool or weapon, your character holds it up and gets ready to attack with it. Other objects are held but still act like regular fists if you attack anything.
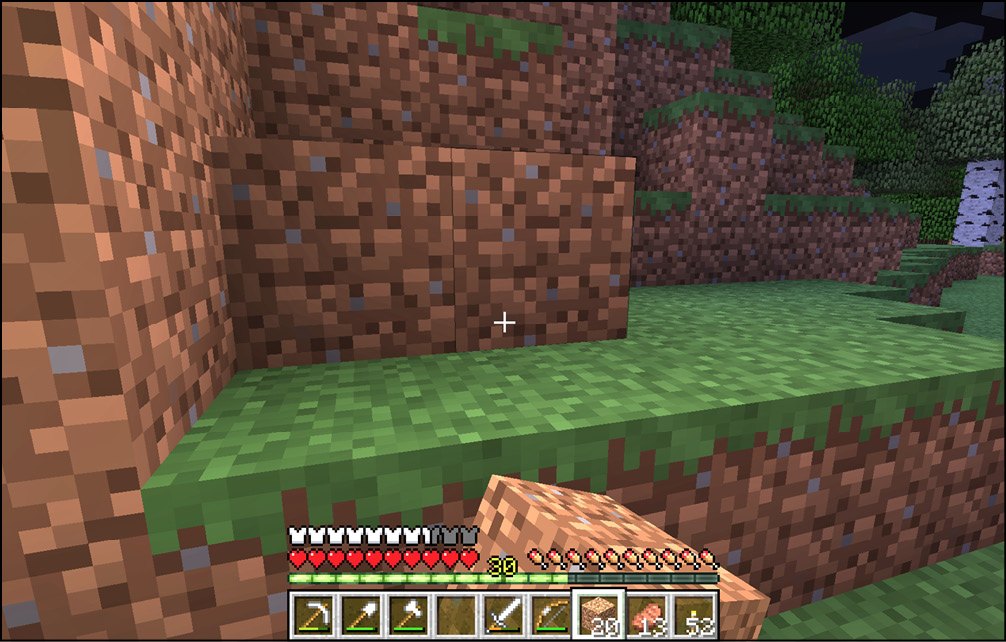
Some materials can be placed back into the game world. Blocks of Wood, Stone, Planks, and metals all fall into this category. Select these items on your hotbar and use the “Place Block” command to put the object directly in front of your character. This command is how you place furniture and building materials in the world.
Put Wood blocks down in front of your character. Look! You can make a basic wall like this. But that takes a long time. There must be a better way to get building materials, right? Let’s talk about that.
Basic Crafting
You can now jump, sprint, move around, break blocks, look through your inventory, and place blocks around the world. Let’s finish this puzzle. Crafting gives you the power to change materials and do thousands of interesting things. The Console and Pocket versions of Minecraft simplify crafting, so we’ll teach you the PC method because it’s the hardest version to learn. If you can craft on the PC version of Minecraft, you can handle any of the other versions without difficulty.
In the PC version of Minecraft, you have a 2 x 2 space in your inventory. It says “Crafting” above it, so you know exactly where to look. To the right of the four crafting spaces is a single square where the output from your crafting appears.
To make an item, put materials into the crafting boxes and find the right recipes to produce what you need. Experiment as much as you want, but don’t get worried. Our item chapter, “Tools, Resources, and Consumables,” lists everything you need to build all of the items in the game.
Also, we list common recipes again in some sections of the guide where they’re especially important.
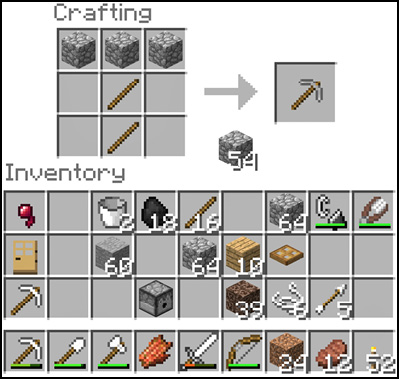
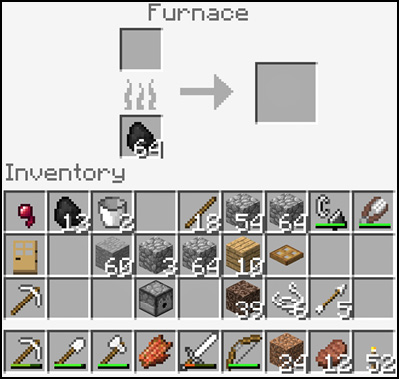
As a quick test of crafting, put a block of Wood into the crafting squares. It doesn’t matter which of the four spaces you use. Just put a piece of Wood into one of them. Behold! A Wood Plank icon appears on the right. Your regular Wood block is turned into four Wooden Planks by this very simple crafting recipe. Highlight and grab the Wood Planks to put them in your inventory, and then use them as you see fit.
You can convert multiple items at the same time by stacking them on top of each other. For example, put ten blocks of Wood into the same crafting square. As before, the Wood Planks appear as a result. Click on them again and again to retrieve as many of the Wood Planks as you need.
Press Shift and click on the results to craft as many items as possible instantly. Shortcuts like this allow you to craft quickly and efficiently when making huge stacks of specific items.