
Build, Discover, Survive! Mastering Minecraft, Revised and Expanded Guide Bigger and Better Projects
Sample Project: Chichen Itza
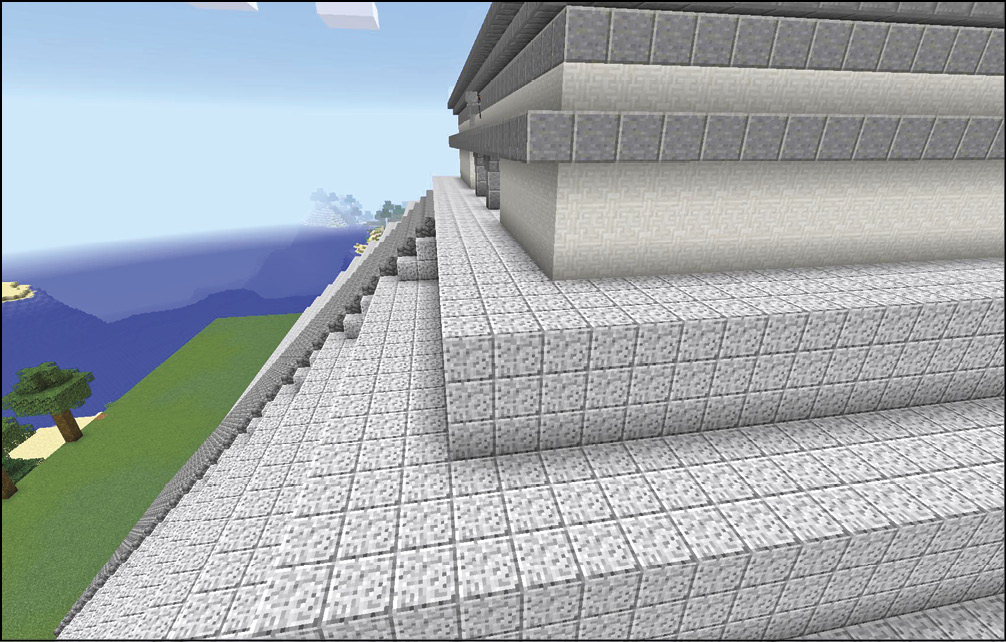
Our first example is a fairly simple project. While still large as a build, we wanted to show something that could be done in a single day with just 4-8 hours of work. That’s long enough to give you an idea of the principles of larger builds, without getting too daunting.
We chose a classic building, El Castillo of Chichen Itza, because it’s such a cool and recognizable image. A number of people have created this building in Minecraft, so it’s kind of a “Hello World” for people who want to try out larger buildings.
History of Chichen Itza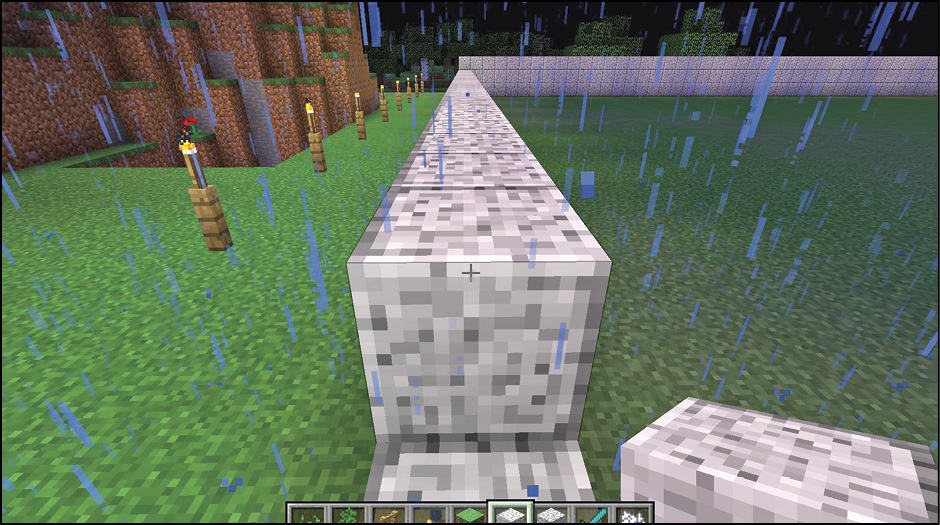
In ancient times, Chichen Itza thrived as one of the largest Mayan cities in the Yucatan Peninsula of Mexico. The Mayan civilization was the greatest power of the early Mesoamerican region, and, at their height, the Mayans controlled a third of Mesoamerica. They are known for their calendar system, art, and architecture. They also recorded their history with language on the walls of their cities or temples, upon pottery, and in screenfold books, although most of those were destroyed. Chichen Itza (translated name “At the mouth of the well of the Itza”) was originally settled somewhere between 415 and 455 C.E., but the city grew to prominence around 600 C.E. At this time, much of the Mayan civilization was in decline, but it remains a mystery as to why (although long-term drought certainly played an important role). Nonetheless, people were fleeing their established homes to the south and flooding into Chichen Itza, which boasted a plentiful water source. Because of this influx, Chichen Itza became a huge political and cultural center, with the city-state dominating the local area. The second settlement of Chichen Itza occurred when it was conquered in the 10th century by the Toltecs, under the King of Tula, Ce Acatl Topiltzin Quetzalcoatl. The Toltecs were not benevolent conquerors; instead, they subjugated the local population with such ferocity that even their ruling descendants regarded it with both awe and terror. The Mayans themselves were not a gentle civilization, so this must have been quite harrowing. As an example, the Toltecs believed in human sacrifice, and although this was probably done by the Mayans occasionally, this was rarely, if ever, practiced by Chichen Itza residents before the Toltecs took them over. After the conquest of Chichen Itza, the city architecture became a fusion of both Mayan and Toltec elements (called Maya-Yucatec). One of the prime examples of this style is the central pyramid that dominates the city. This pyramid is called El Castillo, and it’s a temple dedicated to Kukulkan (a serpent deity closely linked to the Toltec/Aztec god Quetzalcoatl). We encourage you to examine other monuments in Chichen Itza, most notably the Temple of the Warriors, which is surrounded by a huge number of impressive stone pillars called the Group of a Thousand Columns; El Caracol, which may have been an early astronomic observatory; and the Cenote Sagrado, which is a natural sinkhole filled with water that was used as a sacred pilgrimage site and sacrificial center. The end of Chichen Itza as a thriving city is unknown. However, by the 13th century, there was no new construction. When the Spanish conquistadors arrived in Chichen Itza, they found a small local population, but certainly no grand metropolis. Most of the city itself had been claimed by the surrounding wilderness. By 1588, Spain had taken all of the Yucatan, and Chichen Itza became a (admittedly impressive) cattle ranch. It wasn’t until 1841 that the site was excavated, revealing its archeological importance. Today, Chichen Itza is owned by the state of Yucatán, and the site’s stewardship is maintained by Mexico’s Instituto Nacional de Antropología e Historia (National Institute of Anthropology and History). An estimated 1.2 million tourists visit the ruins every year, making it the second most-visited archaeological site in Mexico. Even the pyramid of Chichen Itza conjures fantasies of forgotten ancient ruins buried in the jungle, and we’re sure that it will continue to inspire creators for many years to come. |
Preparation and Research
The early stages of a build are quite important. Plunging directly into your construction can waste hours because of awkward measurements, poor materials, or myriad other mistakes. Taking an hour or two to figure out what you’re doing is well worth the time. The bigger the project, the better your planning needs to be. This is true with single-player builds, and even more accurate when other players join the process. Having multiple people work together can be tricky because someone might not be as careful and end up making your projects with the wrong number or incorrect types of blocks.
So sit down and look at the types of buildings that are inspiring you. In our case, we’re doing the classic pyramid of El Castillo. There are tons of pictures of the real building to peruse, so that’s where we began. We also read through a wiki about the building to get the proper dimensions of the structure. You don’t have to follow the proper scale, but doing so makes it easier to try and recreate a building that exists in the real world. You’re less likely to have the dimensions feel off in the final product. While making our building, we left pictures of El Castillo up in our browser, and Alt-Tabbed back and forth to it frequently to make sure things looked decently similar. This helped tremendously while working on the upper temple. Our original looked very bland and didn’t approximate some of the outer features at all. With some thought, we found a few ways to create additional elements that came much closer to the real temple. Inverted staircases really made the upper roof pop, and then we used Andesite blocks above the openings to mirror the darker highlights on El Castillo.
We see that El Castillo is 24 meters high and has a 6 meter temple on top of the pyramid. It’s also 55.3 meters across on its sides. There are nine tiers on the pyramid. We can’t make those measurements perfectly within Minecraft, but we can do a decent job of it.
To come close, we’re going to make each level three blocks high. That gives us 27 blocks of rise, which is going to feel really close to the 24 meters of the actual building. Minecraft blocks take two on top of each other to equal the height of a fully grown person, so saying that they’re about a meter high feels adequate. Thus, for reference, we’re saying that Minecraft blocks are a cubic meter.
Writing your measurements down on paper, or in an electronic document, really helps at this stage. Graph paper is awesome because it’s exactly what people use when they’re trying to build something with specific dimensions. There are free downloadable pieces of graph paper that you can print, so you won’t need a trip to the store unless you want to go out.
After our research, we write down that our levels are three blocks high, with nine total tiers. Then we decide to make the sides 60 blocks each. Again, that isn’t exactly the same as El Castillo’s 55.3 meter sides, but it’s very close and even.
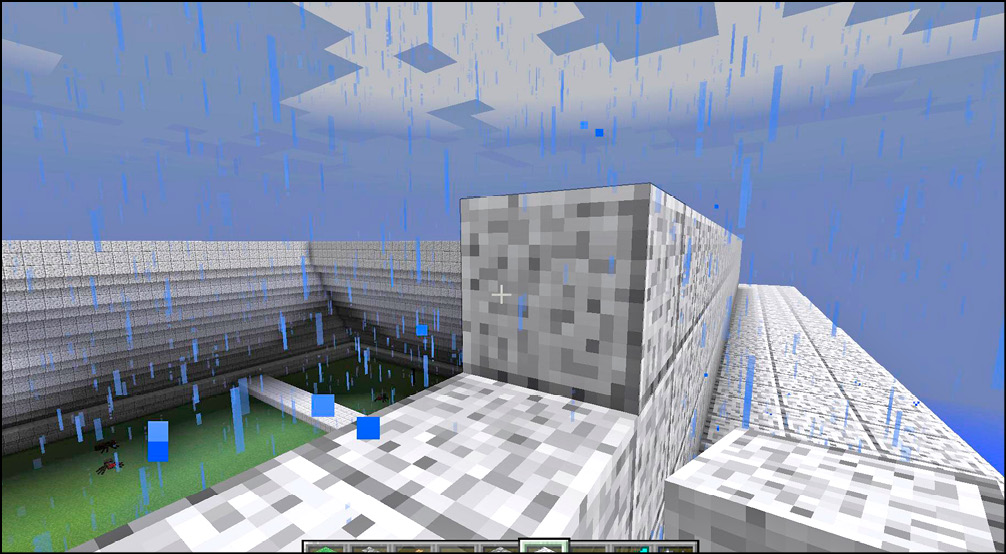
Our foundation will thus be a large square measuring 60x60 blocks of whatever material we’ll be using. To do this fully, we’d use 3,600 blocks of material. However, we have options there. It’s possible to build over open air in Minecraft, so we can create the outer foundation and leave the interior of the pyramid empty. Or we could even make interior rooms, just for fun.
Another option, for people who want to make a building more realistic, is to create the outer sections of your building with special materials (we’ll be using Diorite for our exterior), but use Cobblestone or another ultra-common material for non-visual structures. It’s a way to save on your best materials if you’re building something in Survival Mode.
Creative or Survival Mode?There isn’t a right or wrong answer regarding builds in Creative or Survival Mode. It’s obviously a more challenging task to work in Survival Mode. You have to contend with monsters, limited resources, and the time it takes to gather the necessary materials. For any build, there is a massive feeling of accomplishment when you finish your work in Survival Mode. However, Creative Mode has a strong place as well. Though easier to work with (by far), it allows people to come together and experiment with all of the blocks in the game without needing to worry about the hours it takes to mine everything. Make gigantic cathedrals of Diamond and Obsidian. It’s just as easy in Creative as making a wall of dirt. But in Survival, that type of undertaking is going to be brutal, even with multiple people working together. Go with whatever motivates you the most. Almost all of our own work is done in Survival, though recreating El Castillo was done in Creative due to time constraints. |
Sticking to Your Measurements
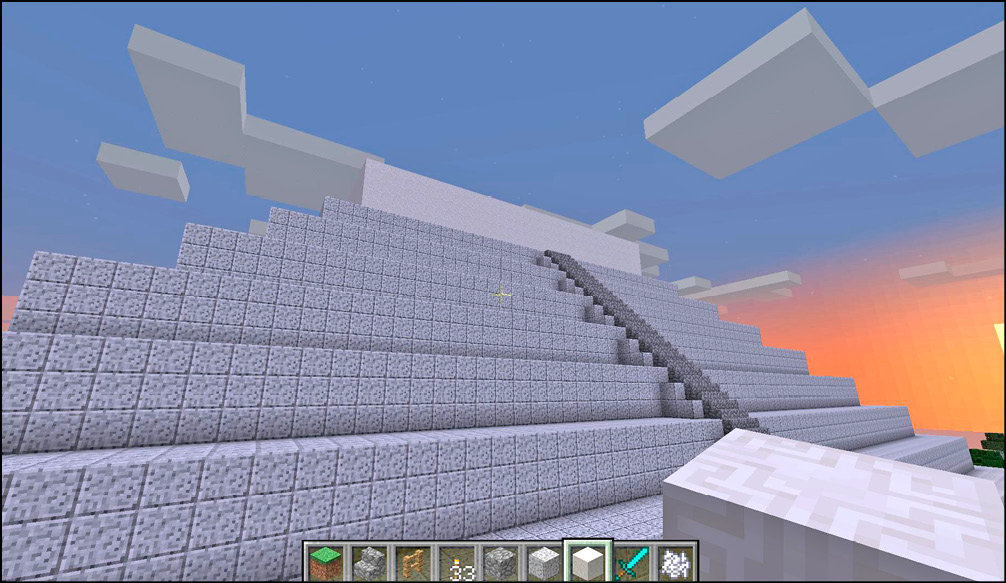
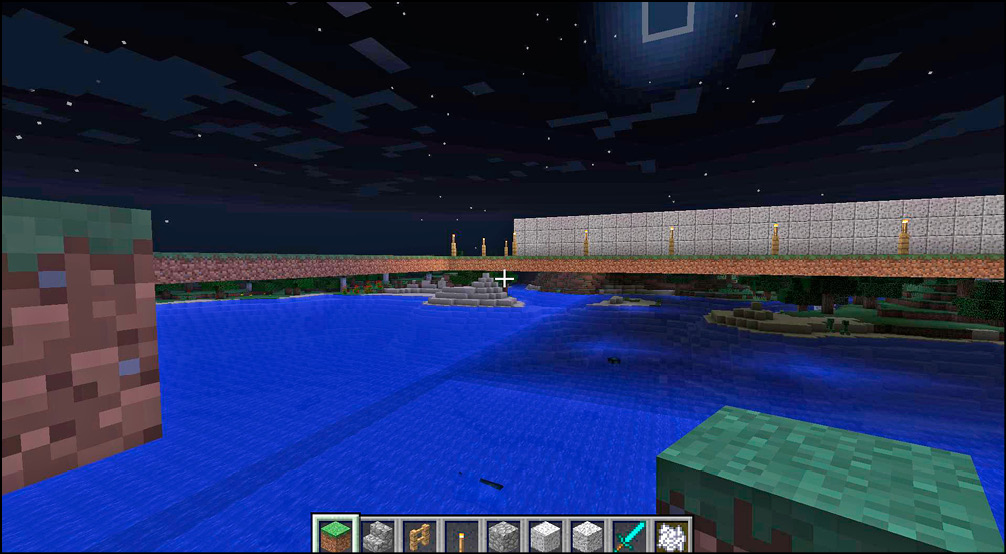
Even with a plan in place, you need to be very rigorous about laying your foundation. Our plan of a pyramid with 60x60 sides is a rather easy one to stick to, but lose count when you’re setting things up and suddenly you’re lopsided. To help avoid this, use milestones when making runs that are relatively large. Every 10 or 20 blocks, place a torch. This makes it much easier to quickly assess your distances in the future. That comes in handy even after the blocks are on the ground, so leave your markers until the project is entirely done. For example, you can easily put your staircases off-center if you don’t carefully find the middle point of your walls. Having the torches makes it much faster to figure out where to start placing those elements.
Maybe it goes without saying, but counting is a powerful way to stay on your measurements while putting down blocks. If you’re easily distracted, make sure to go back and recount the final product to ensure that you didn’t get a bit creative with the math. It’s slower this way, but it avoids looking at your finished building and saying, “That wall is three blocks too long. Oh, crud. This will take forever to fix.” In tiny builds, a correction takes seconds, so who cares if you do something wrong. But the larger the build, the more time it’ll take to correct something.
Our Actual Build
We chose Diorite as our primary building material because it gives the closest visual look to El Castillo. The color is very good, and the texture of the rock is closer to the rather smooth stone of the pyramid. The temple on top has a different appearance, so we switched to Chiseled Quartz blocks there. This sets the temple off and gives some variety to the structure. For an Egyptian pyramid, we’d probably go with a traditional Sandstone set, unless you’re adding the limestone cap. For those, I’d try Nether Quartz again—it’s so nice and bright.
Let’s take a moment to talk about the problems that we had, even with a relatively simple project like this. El Castillo was a one-day project, and we’d estimate that almost an hour was still wasted on small mistakes, inefficient construction, and only decent planning. There is always room for improvement.
What did we do right, and what did we do wrong?
One of us (and by that, I mean me) didn’t check our torch milestone markers when making a staircase. “This looks like the middle, and it’s right next to a torch.” Yup. The wrong torch. So one of our staircases is off-center. We decided to leave that in, because it’s a great example of what happens when you get fast and free with your measurements.
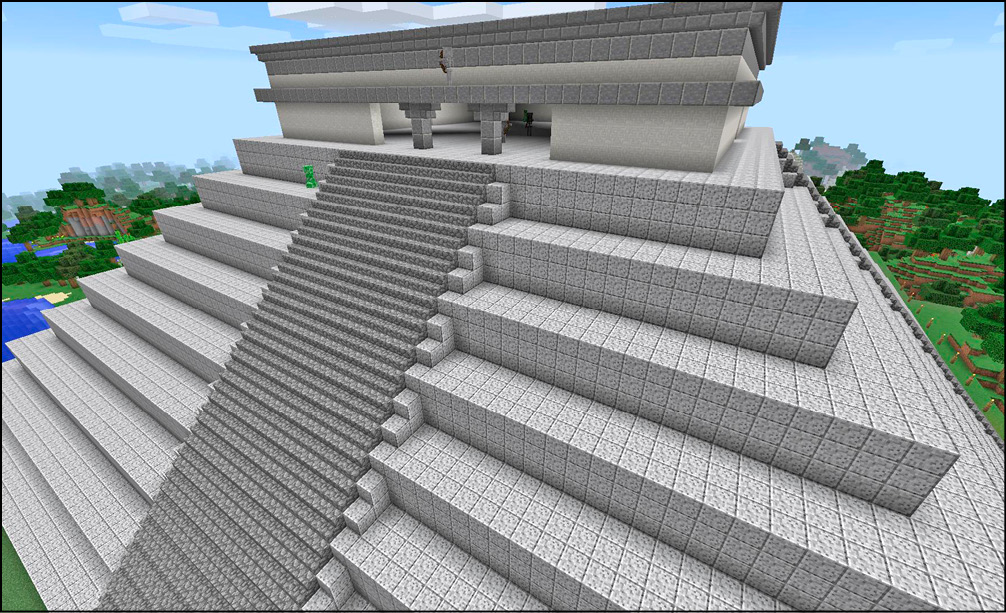
But all in all, the final product was almost exactly what we wanted to make. The overall appearance of the building is quite nice, the dimensions feel solid, and the pyramid is great to walk around and explore. We were especially happy with the stairs, once we widened them a little.
To keep things uniform, we show all of our screenshots without Resource Packs or shaders installed, but El Castillo looks amazing when you add proper shadows and watch the sunset. So nice.
El Castillo is just one of our projects. Now it’s time to talk about another (one that’s even more ambitious)!