
WWE '12 Guide Essentials Basic Controls & Match Types
Controlling Your Superstar
WWE ’12 brings with it a complete redesign of the game controls, or perhaps more accurately, a throwback nod to the controller setup of the past. With fresh features infused, both WWE game fans and fighting game fans will relish the return to using the face buttons.
Once you wrap your head around the new button map, converting your gameplay habits to this setup will be a breeze.
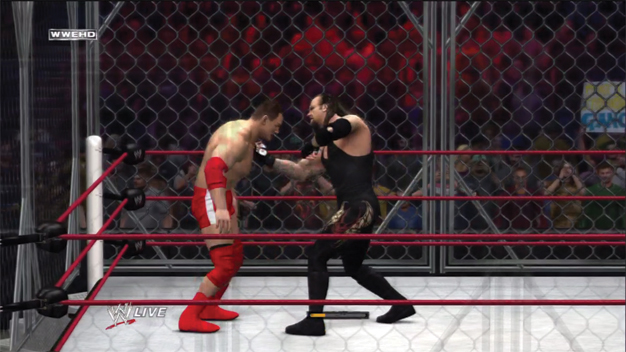
Transitioning between strikes and grapples is super-intuitive in WWE ’12.
Controls Quick Reference
|
Action/Move |
Xbox 360 |
PlayStation 3 |
|---|---|---|
|
Move |
L |
L |
|
Run |
Hold LT and move L |
Hold L2 and move L |
|
Strike |
X |
Square |
|
Grapple |
A |
X |
|
Move/turn opponent |
R | R |
|
Submission |
Hold A then button-mash |
Hold X then button-mash |
|
Reversal |
RT | R2 |
|
Irish Whip |
L + B |
L + Circle |
|
Taunt |
D-pad |
D-pad |
|
Signature/Finisher |
Y |
Triangle |
|
Drag opponent |
LT + RT |
R2 + L2 |
|
Pin grounded opponent |
B |
Circle |
|
Climb/pick up |
LB |
L1 |
|
Limb-Targeting System |
Hold RB |
Hold R1 |
Basic vs. Match Type Controls
Here, we break down the “Basic Controls Tutorials” and “Match Types and Controls” in separate sections. We classify basic controls as controlling your Superstar in the ring—what will be your movement and Move-Set actions.
The match controls include using objects and interacting with the specific environment in each match type to help you achieve objectives within that match type.
Example: If you want to know how to climb a ladder and grab the hanging prize in a Ladder Match, visit the “Ladder Match” section under “Match Types and Controls” for a detailed breakdown of controls for that kind of match.
In the descriptions that follow, the controls are the same for every Superstar and Diva—only the moves in the Move-Sets are different. So, what John Cena will do for a chain grapple is going to differ from what Rey Mysterio does, but what you press on the controller will be the same.
If a Superstar’s Finisher is a submission, don’t worry; Finishers are all controlled the same way!
States of Being
You and your opponent will face each other in the ring in multiple states as the match progresses, and each state allows for certain moves to be performed. Each of these different situations opens different moves in your Move-Set.
When looking at a particular move or a Finisher, take note of the situation required to pull off the maneuver. In the screenshots here we are Randy Orton and the opponent is Sheamus.
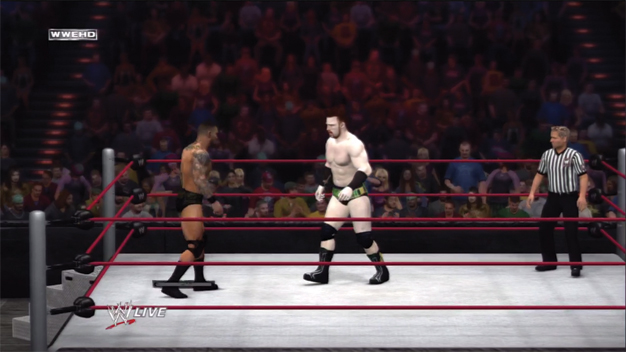
Standing
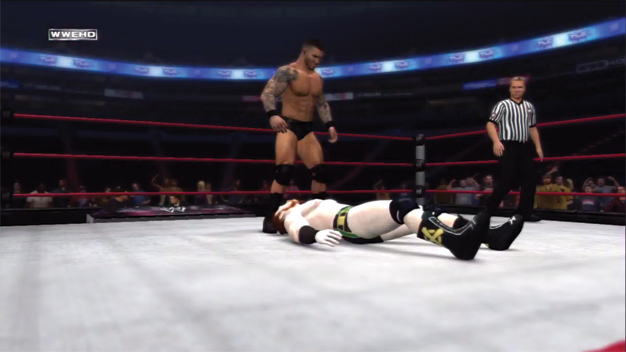
Grounded
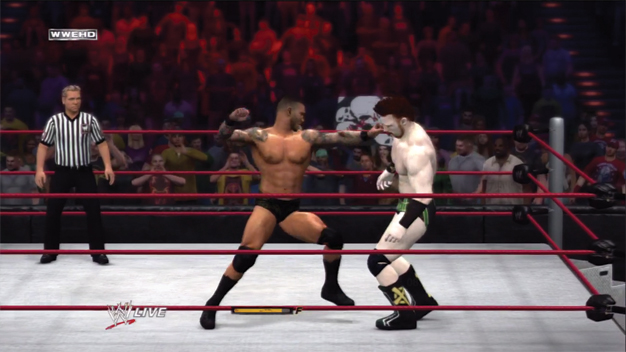
Standing groggy
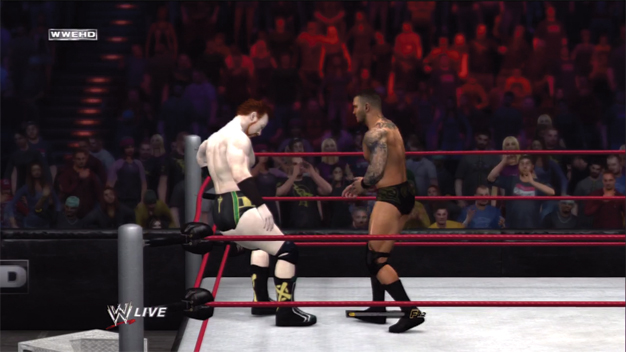
Groggy against ropes
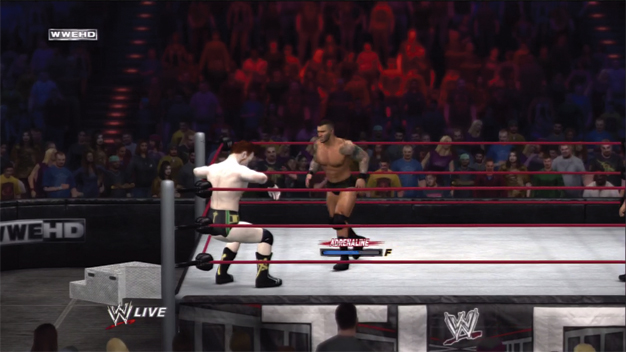
Groggy in corner
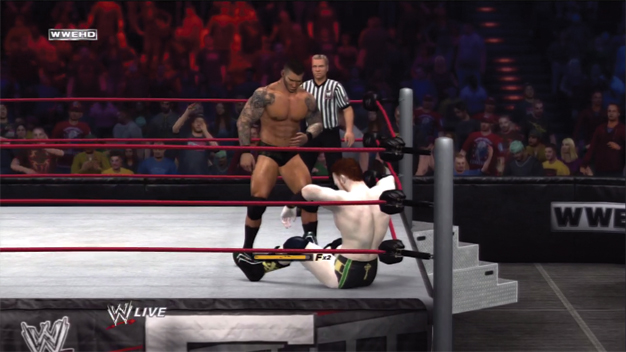
Groggy seated in corner
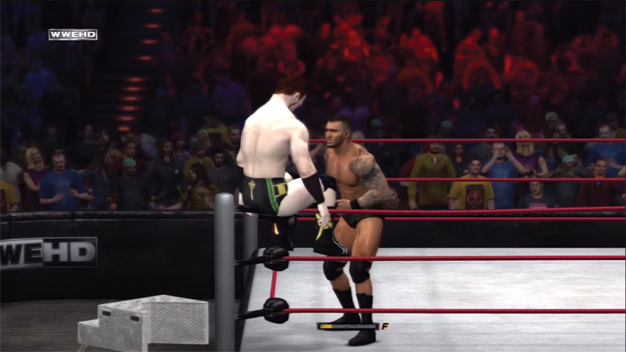
Groggy seated on top rope
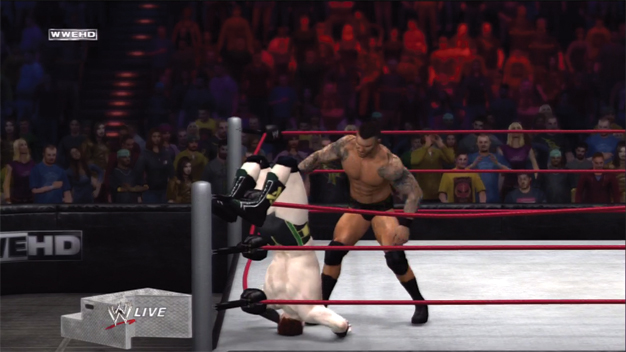
Tree of Woe
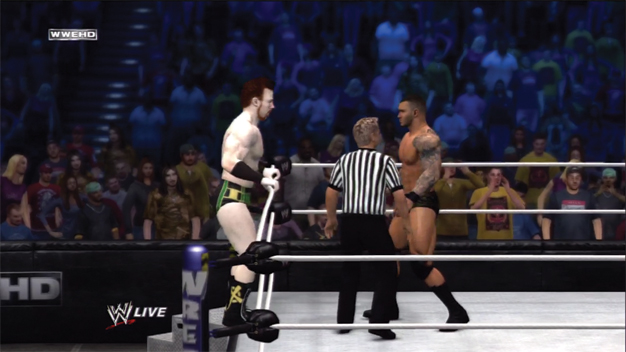
On apron
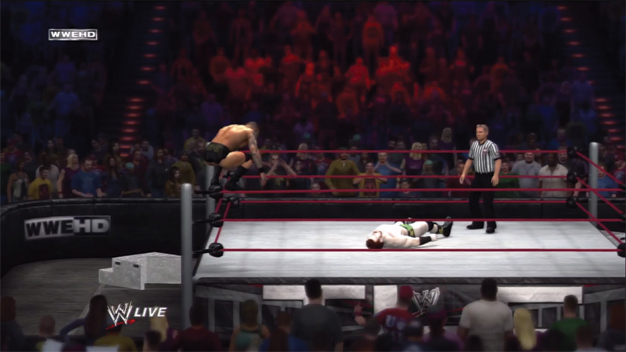
Attacking from top rope (turnbuckle)
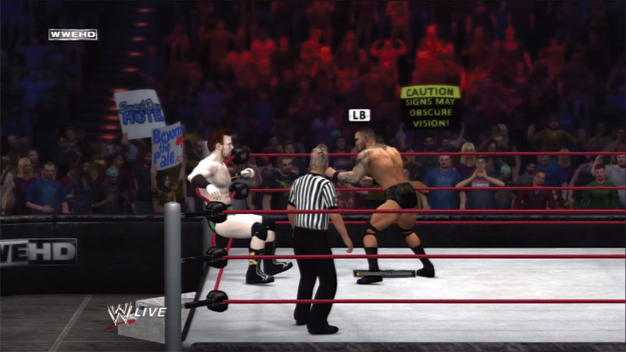
Rebound from Irish Whip
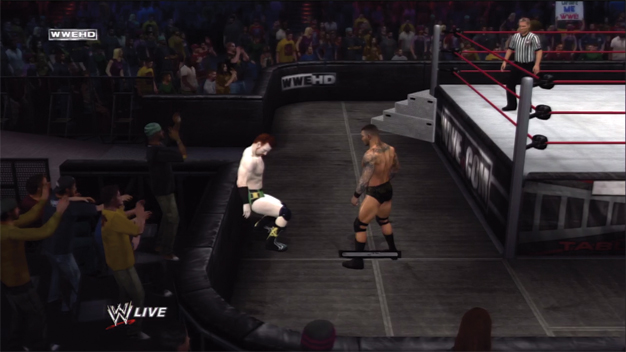
Irish Whipped against object
Basic Controls Tutorials
These are the basic actions performed in most game situations. Some Superstars perform the same move with multiple assigned button presses. Consult the in-game Move-Set creation to identify moves for each Superstar.
Movement
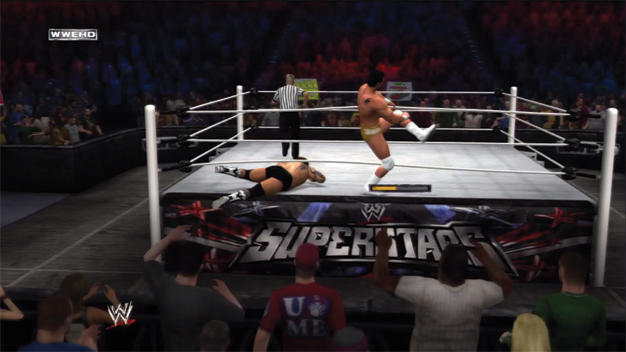
Moving around the ring area, and other parts within the game, is fairly straightforward—to get started. As you improve, you’ll want to combine these movements into your move combinations and seamlessly incorporate using the ropes, apron, turnbuckles, and ringside objects in your matches.
|
Action/Move |
Xbox 360 |
PlayStation 3 |
|---|---|---|
|
Move Superstar |
L |
L
|
|
Run |
Hold L and move LB |
Hold L and move L |
|
Enter/exit ring |
L toward ropes + LB |
L toward ropes + press L1 |
|
Step on apron |
L toward ropes + tap LB |
L toward ropes + press L1 |
|
Climb turnbuckle |
Run toward turnbuckle (far) or L + LB (close) |
Run toward turnbuckle (far) or L + L1 (close) |
|
Lift grounded opponent |
Push R stick up |
Push R up |
|
Lift grounded opponent to face opponent’s rear |
Push R down |
Push R down |
|
Turn grounded opponent over |
Push R left, push R right |
Push R left, push R right |
|
Turn standing groggy opponent |
Push R left, push R right |
Push R left, push R right |
|
Turn groggy opponent in corner |
Push R left, push R right |
Push R left, push R right |
|
Lift groggy opponent in corner to top rope |
Push R up
|
Push R upi |
|
Place groggy opponent in corner in Tree of Woe |
Push R down
|
Push R down |
|
Place groggy opponent on ropes to middle rope position |
Push R down |
Push R down |
|
Drag opponent |
LT + RT |
R2 + L2 |
|
Change target opponent against multiple opponents (target settings set to manual) |
LB
|
L1 |
Strikes
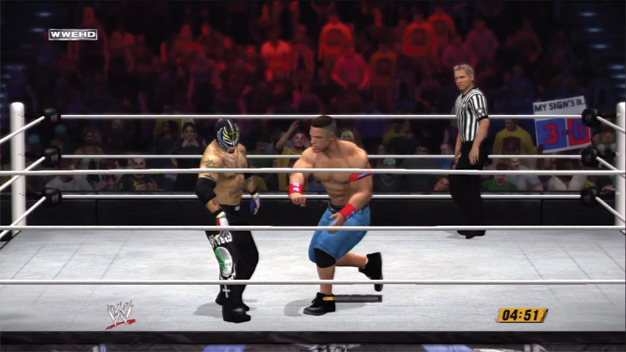
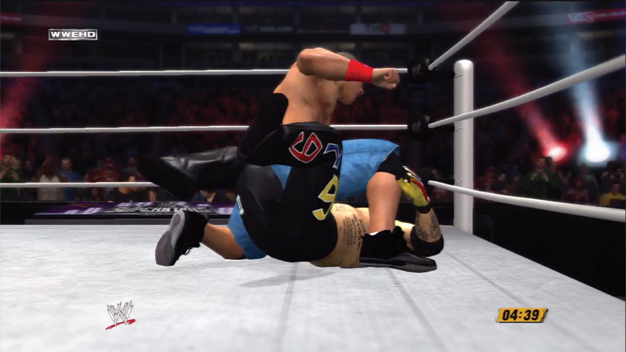
Strikes can be performed in almost every scenario within a match, and pressing or holding the strike button will initiate the strike assigned to that scenario in the Superstar’s Move-Set.
|
Action/Move |
Xbox 360 |
PlayStation 3 |
|---|---|---|
|
Strike |
X | Square |
|
Strike combo |
X, X, X, X |
Square, Square, Square, Square |
|
Alternate strikes |
L any direction + X |
L any direction + Square |
|
Strong strike |
Hold X |
Hold Square |
|
Strong strike 2 |
L any direction + hold X |
L any direction + hold Square |
|
Gut kick |
L to a corner + X |
L to a corner + Square |
|
Running strike |
Run + X |
Run + Square |
|
Running strike 2 |
Run + hold X |
Run + hold Square |
|
Striking a grounded opponent |
X |
Square |
|
Running strike to grounded opponent |
Run + X |
Run +Square |
|
Diving attack from turnbuckle |
Climb turnbuckle, X |
Climb turnbuckle, Square |
|
Diving attack from turnbuckle 2 |
Climb turnbuckle, L any direction + X |
Climb turnbuckle, L any direction + Square |
Grapples
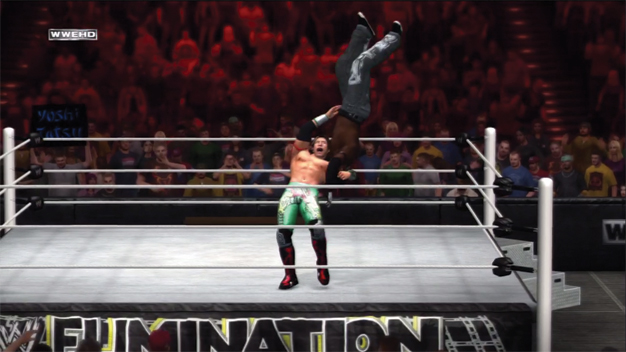
Use A on the Xbox 360 or X on the PlayStation 3 to initiate grapples in different scenarios. Just as with strikes, using the left analog stick in conjunction with the grapple performs a different move from the Superstar’s Move-Set.
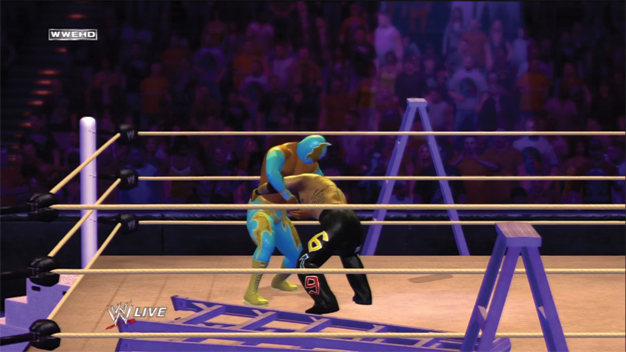
You can reposition to different holds with the right analog stick. If you “tie” your opponent in moving in for a grapple, you’ll initiate a collar-and-elbow tie-up button-mashing mini-game.
The Superstar who comes out on top will move into a chain hold position. If it’s deemed a tie, the Superstars will push off and return to a standing, neutral position.
|
Action/Move |
Xbox 360 |
PlayStation 3 |
|---|---|---|
|
Collar-and-elbow tie-up |
Mash A |
Mash X |
|
Engage front facelock |
Push L up + A |
Push L up + X |
|
Engage side headlock |
Push L left + A |
Push L left + X |
|
Engage wrist lock |
Push L right + A |
Push L right + X |
|
Engage waist lock |
Push L down + A |
Push L down + X |
|
Reposition to front facelock |
Push R up |
Push R up |
|
Reposition to side headlock |
Push R left |
Push R left |
|
Reposition to wrist lock |
Push R right |
Push R right |
|
Reposition to waist lock |
Push R right |
Push R right |
|
Chain grapple |
L in a direction + A |
L in a direction + X |
|
Pull-back strike from hold |
X |
Square |
|
Groggy grapple |
L in a direction + A |
L in a direction + X |
|
Groggy grapple from behind |
L in a direction + A |
L in a direction + X |
|
Running grapple (facing) |
Run + A |
Run + X |
|
Running grapple (behind) |
Run + A |
Run + X |
|
Drag a held, groggy, or grounded opponent |
Hold RT + hold LT then L |
Hold R2 + hold L2 then L |
|
Move groggy opponent against ropes to second rope |
Push R down |
Push R down |
|
Move groggy opponent in corner up onto top turnbuckle |
Push R up |
Push R up |
|
Move groggy opponent in corner into Tree of Woe |
Push R down |
Push R down |
Reversals
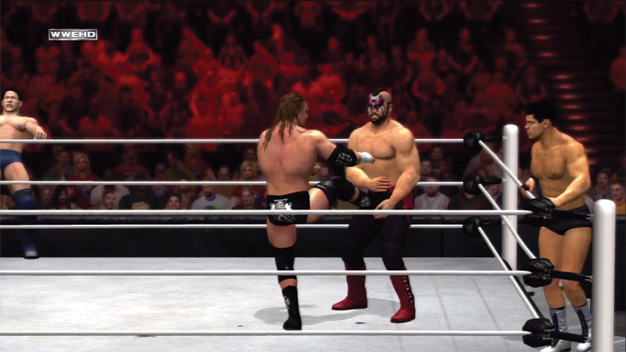
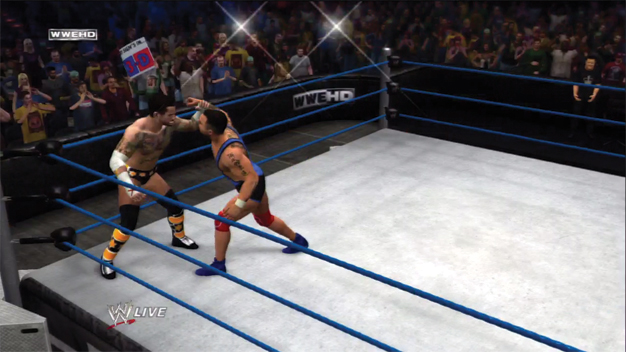
Any time your opponent wraps you up or strikes at you, see it as an opportunity to reverse the move to gain control.
The game is by default set in the Options menu to flash a reversal indicator over your Superstar’s head when you have the chance to reverse—pretty much any time your opponent is in a dominant position but isn’t in the middle of a move animation.
Reversing a move is another series of complex formulas that takes into account Superstar attributes, damage taken, and match situations. You can adjust the reversal success slider bar for both the player and the AI from Options -> Gameplay -> Match Options -> Balancing.
|
Action/Move |
Xbox 360 |
PlayStation 3 |
|---|---|---|
|
Reversals |
RT |
R2 |
Irish Whips
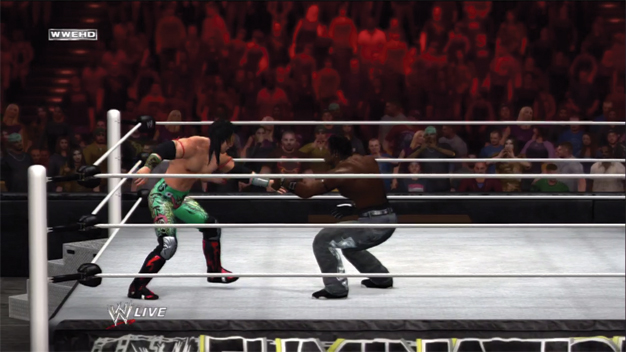
Irish Whips are very significant for both controlling and scoring big damage to your opponent. When you sling your opponent into a corner in the ring, they can enter a groggy state or bounce off damaged heavily (if you have the Hammer Throw ability).
Outside the ring, whipping an opponent into an object like a fence or the corner post does damage and causes them to slump against the object. If you Irish Whip a Superstar or Diva into the ropes from a distance, you can execute an Irish Whip rebound strike or grapple.
If you are close to the ropes, you can whip your opponent out of the ring completely (onto the apron or down to the ground ringside).
|
Action/Move |
Xbox 360 |
PlayStation 3 |
|---|---|---|
|
Irish Whip to ropes or object |
L toward far ropes + B |
L toward far ropes + Circle |
|
Irish Whip to corner |
L toward corner + B |
L toward corner + Circle |
|
Irish Whip out of ring |
L toward close ropes + B |
L toward close ropes + Circle |
|
Irish Whip back into ring from ringside |
L toward apron + B |
L toward apron + Circle |
|
Leapfrog/duck rebounding opponent |
LB on the rebound |
L1 on the rebound |
Using Objects
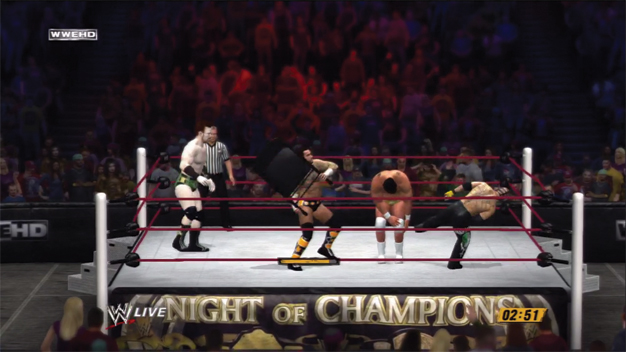
You can grab a chair from under the ring.
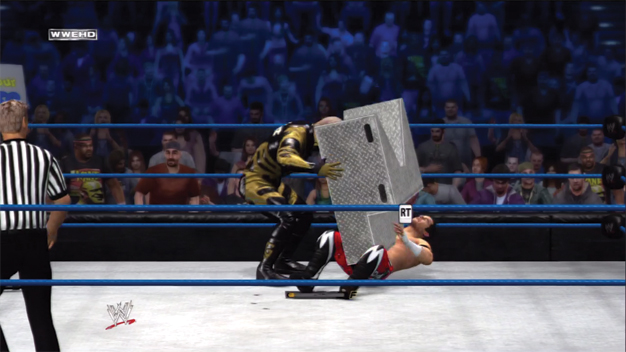
Pick up loose objects like stairs.
Objects can be key components of certain matches, by either using them to complete objectives or simply wearing opponents down with heavy damage. You can grab and use any object that moves, including the ring stairs.
To search for an object, approach the middle of the ring from ringside and press the pick up button to reach under and grab a chair or other object. You can strike with it five times before your Superstar drops it.
If your Superstar gets hit while holding it, they’ll drop it. A successful reversal will pry the object from the Superstar’s hands.
|
Action/Move |
Xbox 360 |
PlayStation 3 |
|---|---|---|
|
Get object |
LB |
L1 |
|
Strike with object |
X |
Run and Square |
|
Running strike with object |
Run + X |
Run + Square |
|
Perform action with object |
A |
X |
Limb-Targeting System
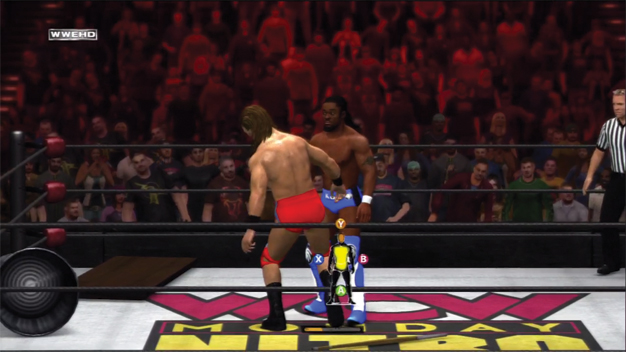
The limb-targeting diagram can be called up when you’re in control.
WWE ’12 brings with it a new Limb-Targeting System that allows the player to specifically target areas of the body to achieve certain outcomes within a match. As matches wear on and Superstars take damage, they may begin to favor an arm, or hold their head or ribs.
The player now has control of these damage areas and can reap the in-ring benefits that surface when an opponent is this specifically damaged.
When in a grapple or against a standing groggy opponent, activate the limb-targeting diagram and press a button that corresponds with the body part you want to attack. Against a grounded opponent, move to the body part and press strike or grapple to inflict damage.
As you inflict damage to a body part, you’ll see that part of the diagram move from transparent to yellow, then orange, and finally to critical red. When Superstars take critical damage there will be side effects. Their performance will most definitely slow and they’ll be vulnerable in different ways.
Use the diagram when your opponent is standing groggy to check their damage.
|
Action/Move |
Xbox 360 |
PlayStation 3 |
|---|---|---|
|
Activate limb targeting |
Hold + RB |
Hold R1 |
|
Attack the head |
Hold RB + Y |
Hold R1 + Triangle |
|
Attack the arms |
Hold RB + X or B |
Hold R1 + Square or Circle |
|
Attack the legs |
Hold RB + A |
Hold R1 + X |
Targeting the Head
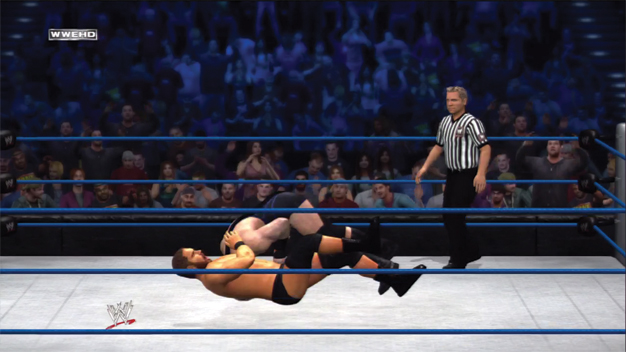
Critical damage to the head results in an increased probability of transitioning into a standing groggy state and an increased chance of being submitted.
Targeting the Arms
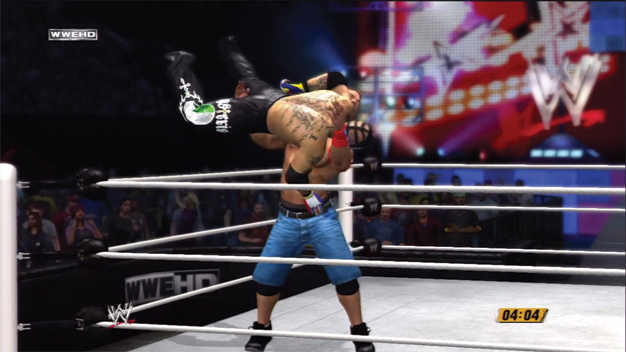
Critical damage to the arm results in an increased chance of being submitted.
Targeting the Legs
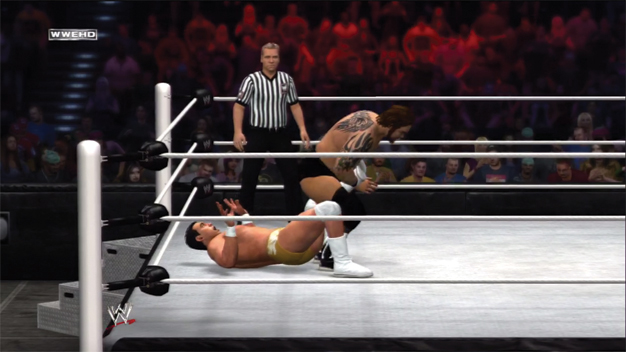
Critical damage to the legs results in a reduced walking speed and an increased chance of being submitted. The Superstar will also randomly collapse if he or she attempts to run (which is hilarious, by the way).
Midsection
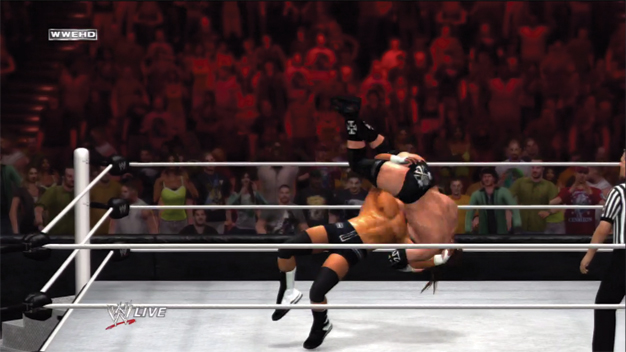
There’s no specific button in the Limb-Targeting System to target the midsection, but it will turn red when it takes damage.
Throughout the course of a match, the midsection takes the brunt of it, so it often turns red by the time you’re ready to finish the opponent with a pin or submission.
Critical damage will result in a reduced adrenaline meter, groggy grapples from a gut kick, and an increased chance of being submitted.
Momentum and Taunts
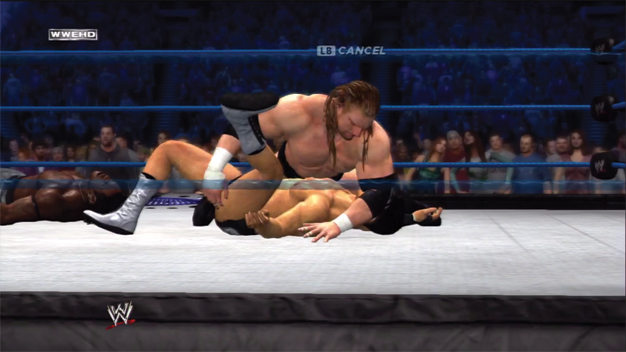
Gaining momentum in the match is crucial for not only making sure you are the one in position to do the manhandling, but also for opening up powerful Signature moves and Finisher moves. Gain momentum quickly by scoring on your opponent with a variety of attacks, reversing attacks, and taunting.
The momentum system is based on formulas, and they favor variety. If you repeat a taunt over and over, you’ll notice that the amount your momentum increases lessens with each repeat until you aren’t rewarded at all for that taunt. Vary your taunts by using all directions on the D-pad equally throughout the match.
|
Action/Move |
Xbox 360 |
PlayStation 3 |
|---|---|---|
|
Taunt |
D-pad any direction |
D-pad any direction |
|
Wake-Up Taunt to grounded opponent |
D-pad up with store Finisher |
D-pad up with store Finisher |
Signature Moves and Finishers
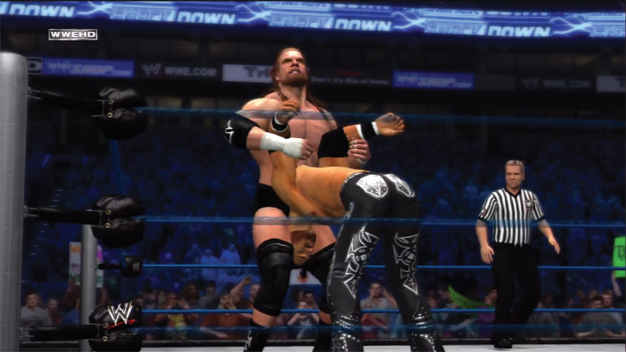
Every Superstar has at least one Signature move and one Finisher assigned. When you build up your momentum all the way, you open up your Signature move.
Perform a Signature successfully and you’ll open up a fiery F icon representing a Super Finisher that will score more damage than a normal Finisher.
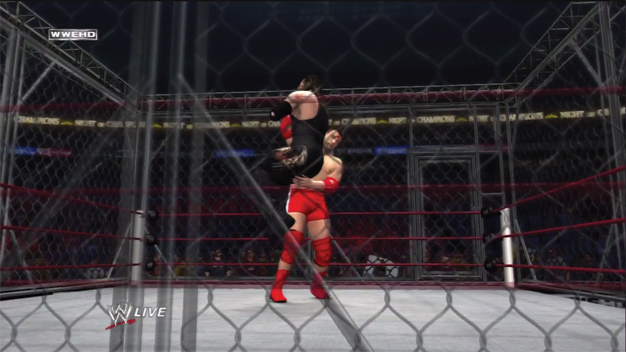
After a few seconds this fiery F will revert to a normal Finisher F icon. Signature moves and Finishers are situational—your opponent may have to be grounded or standing—so there may be a bit of setup involved to execute them.
Look for the Finisher button prompt to appear when you’re in the right position. When you have a stored Finisher, you can use a Wake-Up Taunt to have your grounded opponent stand up groggy.
|
Action/Move |
Xbox 360 |
PlayStation 3 |
|---|---|---|
|
Signature Move |
Y when Signature available |
Triangle when Signature available |
|
Wake-Up Taunt |
D-pad up with stored Finisher |
D-pad up with stored Finisher |
|
Store Finisher |
R3 when Signature available |
R3 when Signature available |
|
Normal Finisher |
Y when F icon present |
Triangle when F icon present |
|
Super Finisher |
Y when fiery F icon present |
Triangle when fiery F icon present |
Pinfalls
There basically two ways to finish your opponent in the ring: pinfalls (pins) and Breaking Point Submissions. Every Superstar can pin an opponent, and some can transition a grapple move into a pinfall attempt and hold it for a count.
When you approach a grounded opponent, press the pin button to call for a count and end the match.
|
Action/Move |
Xbox 360 |
PlayStation 3 |
|---|---|---|
|
Pin |
B near grounded opponent |
Circle near grounded opponent |
Breaking Point Submissions
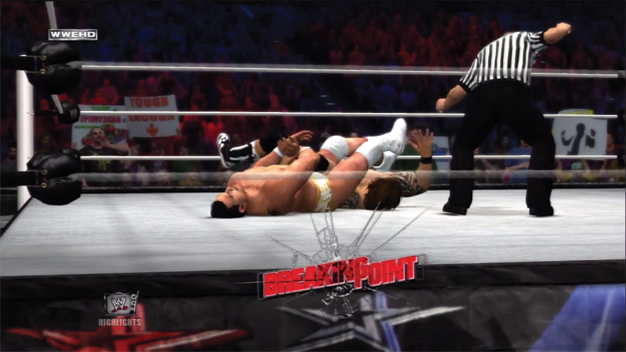
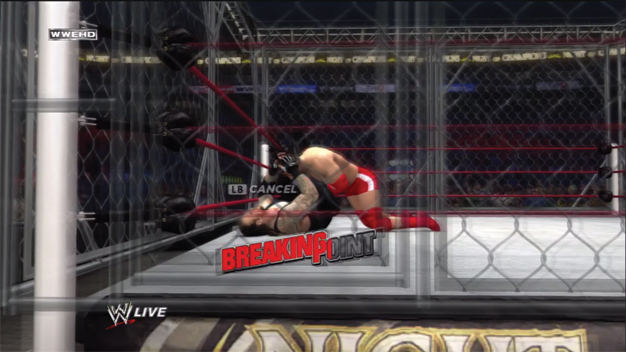
This is a new feature in WWE ’12 and can be difficult to achieve if you don’t fully understand how to break your opponent down and make him or her vulnerable for a submission. When you engage in a submission attempt, a button-mashing mini-game will show up on screen.
An outline of the words “Breaking Point” serves as the meter for the mini-game, and the objective is to win the mash by having the words fill with red.
Submission attempts early in a match are going to be easily stuffed—you’ll notice that the further along you are in damaging your opponent, the more of the “Breaking Point” that will be filled when the mini-game starts. Reference the “Limb-Targeting System” section of this chapter for details on how to break down body parts.
|
Action/Move |
Xbox 360 |
PlayStation 3 |
|---|---|---|
|
Engage Breaking Point Submission |
Hold A |
Hold X |
|
Win mini-game |
Mash A, X, B, Y |
Mash X, Square, Circle, Triangle |