
Super Smash Bros. for Nintendo 3DS Guide Stages
Stage Descriptions
Arena Ferox
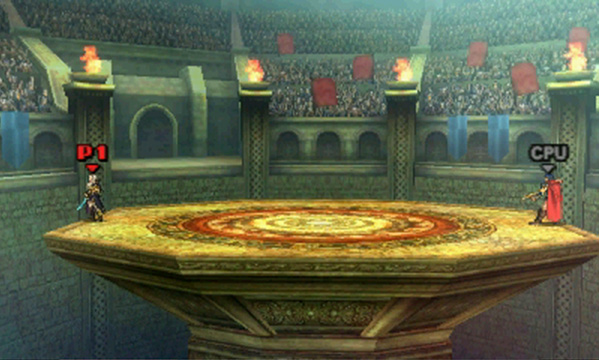
- Inspired by: Fire Emblem: Awakening
- At first glance, Arena Ferox appears to be a fairly straightforward battleground. Over the course of a battle, however, this stage cycles through a series of elaborate platform configurations. Some platforms can even be destroyed!
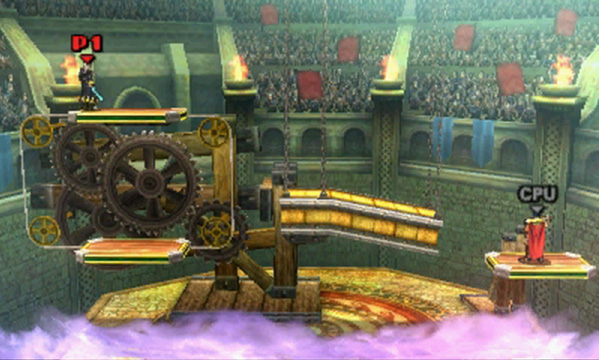
During the battle, watch for the purple mist that signals an incoming set change. If the mist appears while you’re standing on a temporary set piece, make sure you’re located safely above the main platform before the impending transition.
Balloon Fight
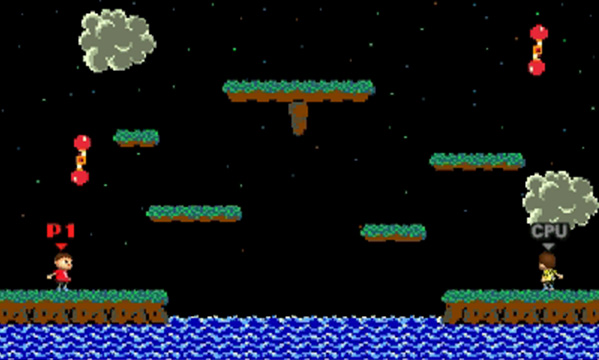
- Inspired by: Balloon Fight
This stage contains a randomly selected arrangement of platforms and hazards. Though specific locations will vary, you can expect each variation to include two clouds, at least one flipper, and a water hazard near the bottom of the stage. Touching a flipper will cause it to spin, knocking the player away and resulting in light damage. Getting too close to the water will lure a giant fish out of hiding. If this fish grabs you, it will drag you into right into the water hazard.
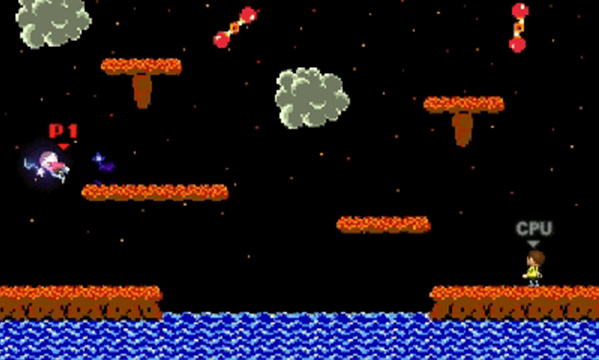
Every so often, a cloud will release a lightning spark—take care to avoid these slow-moving hazards as they bounce around the area. This stage does offer one more unique feature: fighters can move past the screen’s left and right edges to appear on the opposite side of the stage!
On this stage, players can actually move past the left or right.
Battlefield
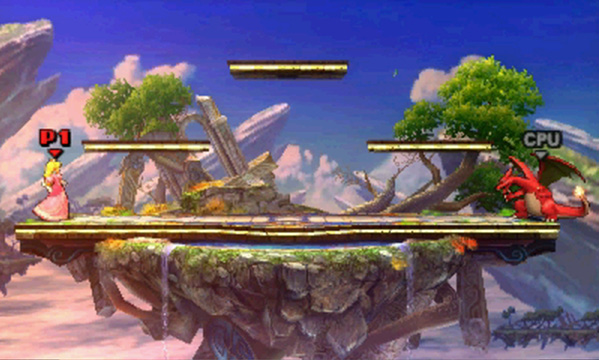
- Inspired by: Super Smash Bros.
Battlefield is one of the game’s more straightforward stages. All of the available platforms are static and permanent, offering a few tactical options without the distractions of more complicated stages. Aside from a subtle (but constant) shift between day and night, this stage remains unchanged for the duration of a battle.
Boxing Ring
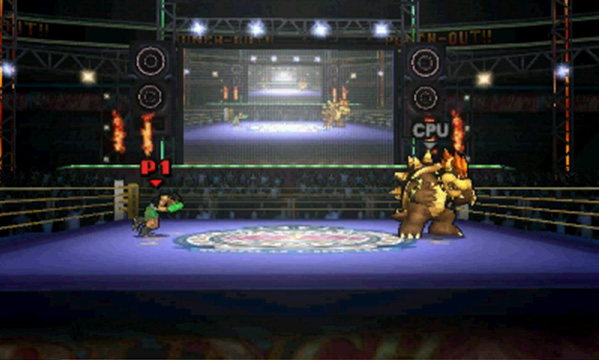
- Inspired by: Punch-Out!!
This stage consists of a boxing ring at the center of an indoor arena. While the ring provides a nice, open space to battle your opponents, this stage offers a surprising number of tactical options.
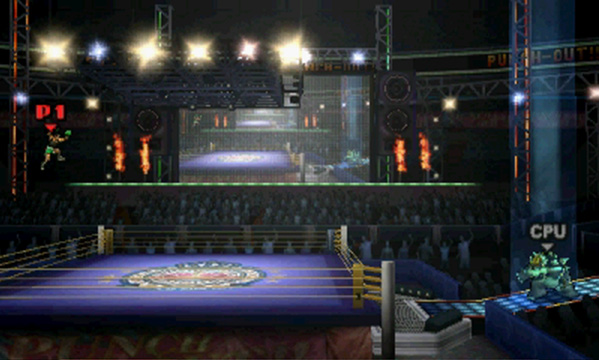
There are entrance ramps located on both sides of the stage, meaning you’ll have to launch an opponent well past the ropes to score a knockout. Jumping on the ropes will launch you into the air, allowing you to reach the lights hanging above the ring. These lights can serve as an additional platform or as a fighter-activated hazard—dealing damage to the hanging lights will cause them to break loose and fall on any fighters beneath them.
Brinstar
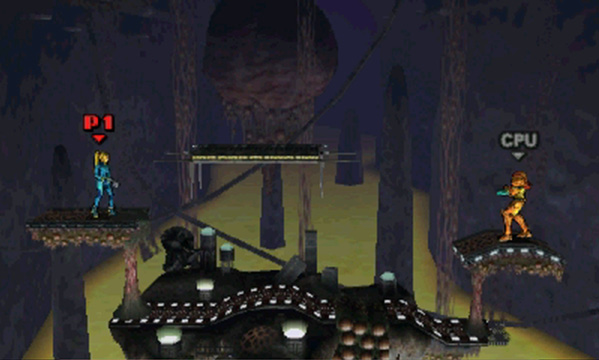
- Inspired by: Metroid
This stage contains a cluster of platforms suspended within a cavern. Over the course of a battle, the cavern occasionally fills with acid, rendering any submerged platforms unusable. Any fighters who touch the acid will be launched into the air with a damaging attack, so move as needed to keep clear of this environmental hazard. There’s a weak spot near the center of the lowest platform—destroying this spot will temporarily split the platform in half.
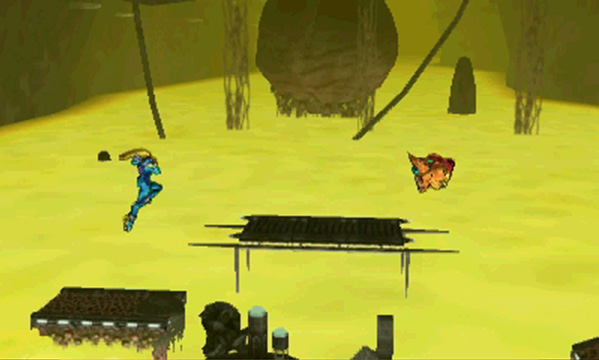
The platforms tremble each time the acid level rises or lowers. At its highest point, the acid covers the three lower platforms, leaving a single platform as the only safe perch.
Corneria
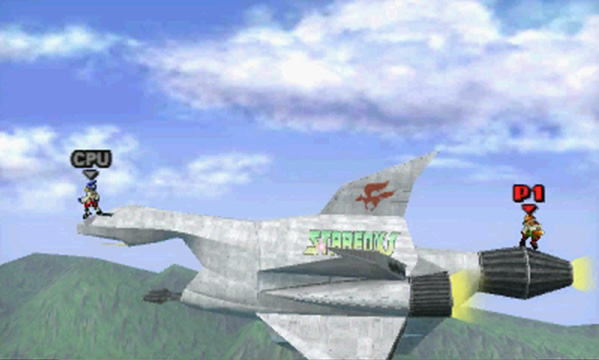
- Inspired by: Star Fox
This stage features a large ship—known as the Great Fox—which serves as a mobile battleground. Most of the action will take place along the ship’s hull, but in an emergency, the Great Fox’s front-mounted cannons can be used as a platform. Be careful, though! You don’t want to be anywhere near these weapons when they’re fired.
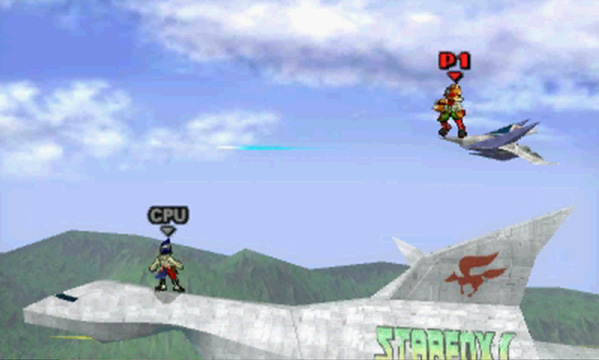
Every so often, an Arwing or Wolfen appears in the area. As one of these smaller ships moves through the area, it attacks with a series of laser blasts. These attacks aren’t targeted at specific players, so it’s generally best to stay out of the line of fire. These smaller ships also can also be used as platforms while they remain in the area.
Distant Planet
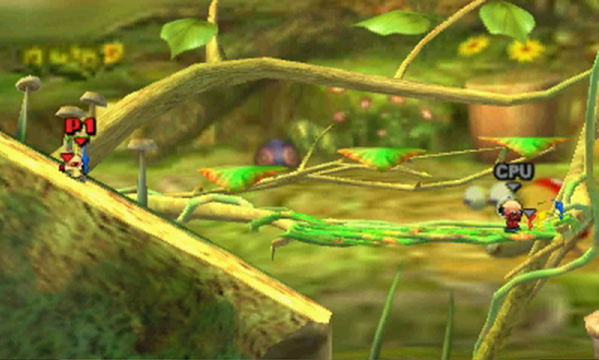
- Inspired by: Pikmin
As opposed to the rigid platforms found in most areas, the leaves and vines found in this stage sag under heavy weight. More important, however, this stage contains a number of unique items and hazards. Sprouting flowers produce numbered Pellets that can be used in combat. Attack a flower to free its Pellet, then toss the Pellet at an opponent—Pellets with larger numbers deal more damage! You can even throw a loose Pellet into an Onion (one of the onion-shaped vehicles that occasionally appear) to produce useful items.
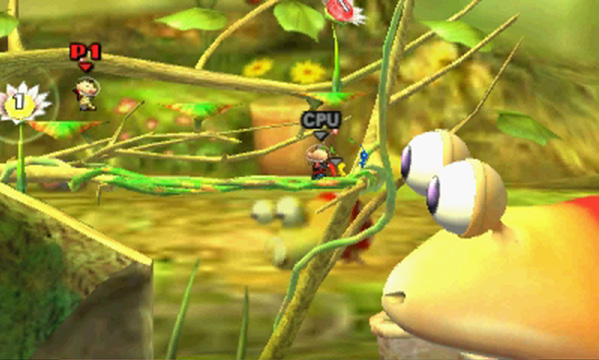
Every so often, a Bulborb appears to the right of the platforms. While its jaws are open, you can force an opponent into its mouth for a quick KO. While a Bulborb’s mouth is shut, the creature’s head can be used as a temporary platform—just make sure you return to the relative safety of the leaves and vines before the Bulborb moves off-screen. Standing on the Bulborb’s nose is never wise; the creature will eat any fighters who wander too close to its mouth. During heavy rain, try to avoid the slope to the left of the platforms; the runoff is strong enough to carry unprepared fighters right off the stage.
Dream Land
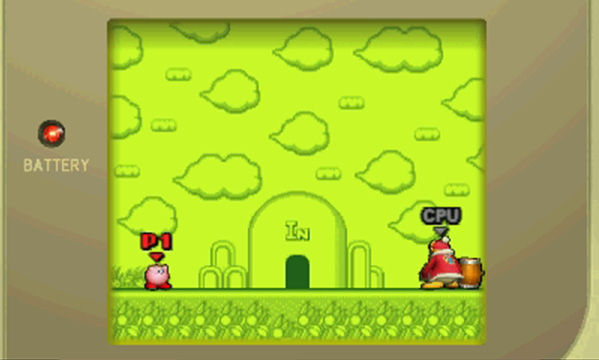
- Inspired by: Kirby’s Dream Land
This stage features a small viewing window, scrolling areas, and multiple set changes. While the scenery is static, use the available platforms and items to your advantage. Whenever a pointing hand appears at the edge of the screen, however, start moving in the indicated direction to avoid slipping off-screen.
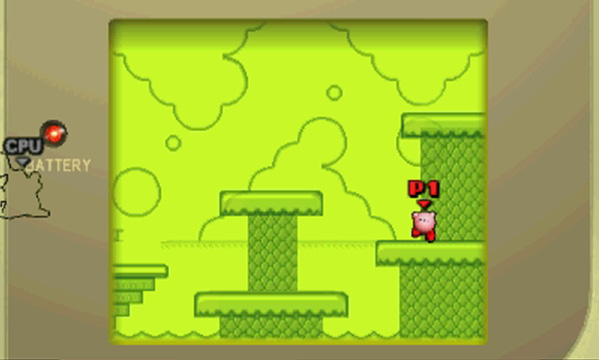
During set changes, the existing scenery fades away as new platforms appear in the area. During these transitions, try to identify and avoid any new hazards or pitfalls that materialize beneath you.
Final Destination
- Inspired by: Super Smash Bros.
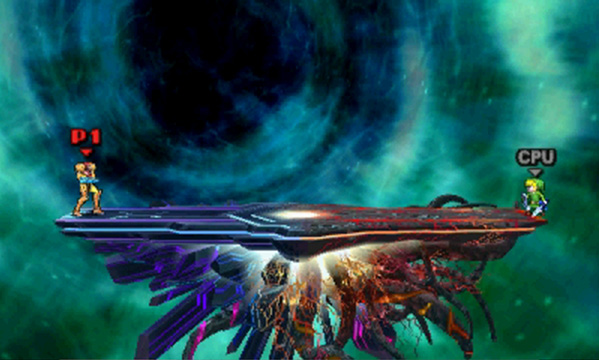
Final Destination is the game’s most straightforward “normal” stage. It features one large platform at the center of the area, eliminating any of the terrain advantages found in other stages. Aside from the cycling background transitions, this stage remains unchanged over the course of a battle.
Find Mii
- Inspired by: Find Mii
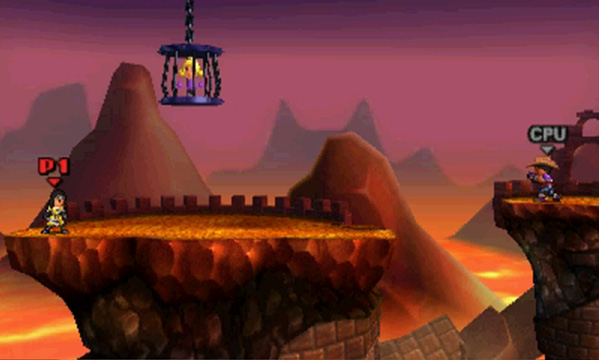
This stage contains two platforms, one of which is beneath a suspended cage. This cage can be used as a platform, but it can also be destroyed to free the imprisoned Mii. Soon after a battle begins, a large green dragon-like creature known as the Dark Emperor appears.
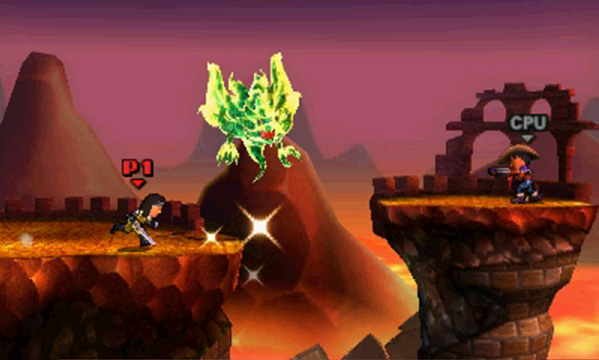
The Dark Emperor uses magic to temporarily strengthen or weaken affected combatants. More important, the Dark Emperor has the ability to destroy one of the available platforms. When the stage trembles, look for the sparkling lights that appear on one of the platforms—the indicated platform will survive the tremor, while the other platform sinks off-screen. The Dark Emperor only stays in the area while the Mii is imprisoned; destroying the cage will force this enemy out of the stage. When the Dark Emperor is defeated, the fighter who landed the final blow is rewarded with a power-up.
Flat Zone 2
- Inspired by: The Game & Watch series
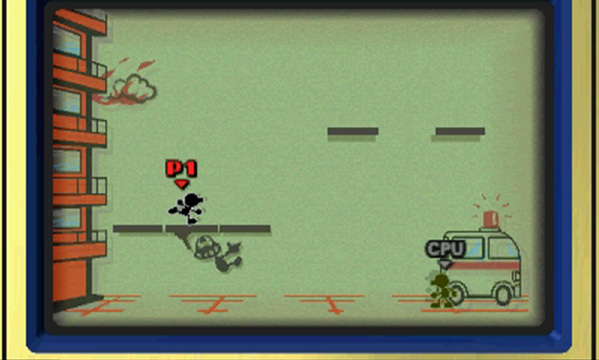
This stage features dramatic scene changes, and each of the available sets is inspired by a different game from the Game & Watch series. Over the course of a single battle, the frequent transitions place fighters in various randomly selected environments.
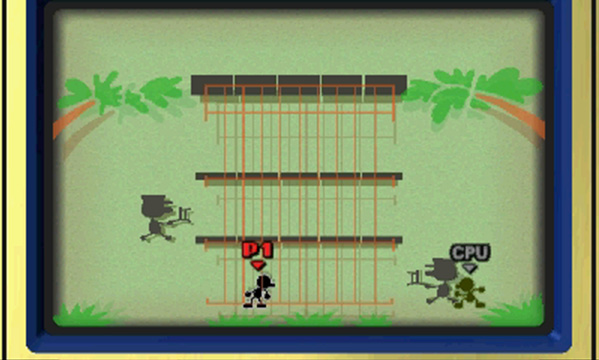
While some sets contain harmless elements like trampolines and shifting platforms, others feature unique hazards. Be particularly wary of the falling food items found in the kitchen and the chair-wielding animal tamers that guard the lion cages. Each time the battle moves to the kitchen, however, you can defeat the Chef to trigger a faster stage transition!
Gaur Plain
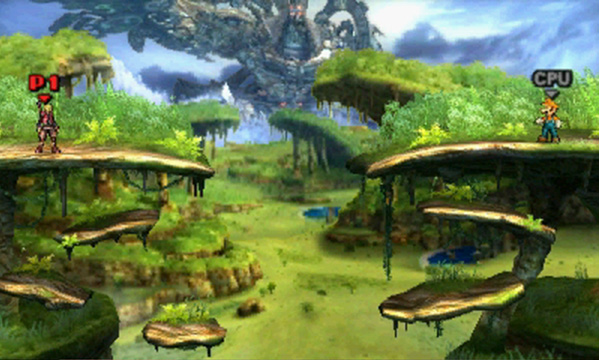
- Inspired by: Xenoblade Chronicles
This stage features a cluster of small platforms floating beneath two large platforms. The background cycles between day and night, but the stage remains otherwise unchanged over the course of a battle.
Gerudo Valley
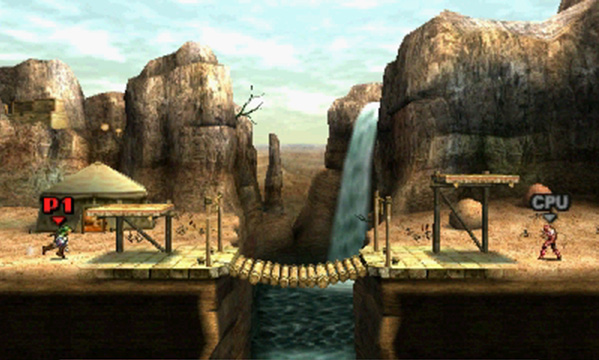
- Inspired by: The Legend of Zelda: Ocarina of Time
The gap at the center of this stage effectively divides the battleground into two separate areas. The bridge over the gap is fragile and can break several times over the course of a single battle. Standing on the bridge (or attacking it) can destroy it fairly quickly, but the ropes holding the bridge together will occasionally snap on their own. There are two small platforms hidden beneath the bridge; they can be handy in a pinch, but they’re fairly fragile. Be careful!
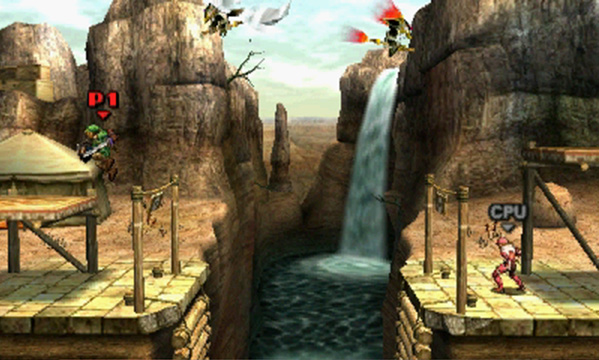
Kotake and Koumeappear each time the bridge is broken. Shortly after these two circle the area, one of them retreats while the other initiates an elemental attack. If Kotake, Sorceress of Ice, attacks, the right half of the stage is blanketed with shards of ice. If Koume, Sorceress of Flame, attacks, the left half of the stage is set ablaze. Each time one of these characters initiates an attack, move away from the targeted area.
Golden Plains
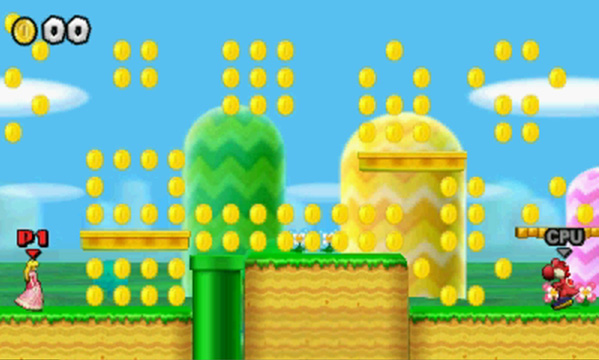
- Inspired by: New Super Mario Bros. 2
This colorful stage features moving platforms, scrolling areas, and collectible coins. This area also contains scale-like platforms suspended from pulleys. Standing on one of these platforms will force the attached platform upward. The contraption breaks if either of its platforms touches a pulley, so be careful! During a battle, watch for the arrows that appear near the bottom of the screen—these signal the active area is about to move. Head in the indicated direction to avoid suffering a KO as the current area scrolls off-screen.
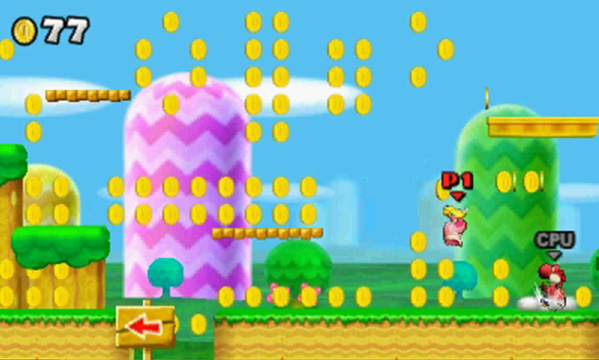
Any coins you collect are added to the tally in the upper-left corner of the top screen. When a fighter collects 100 gold coins, he or she turns to gold. The effect is temporary, but gold fighters enjoy increased power and immunity to flinching. Hit P-Switches to reveal hidden blue coins, and pass through Red Rings to reveal red coins. Collecting a blue coin will add a single gold coin to your tally, but each red coin you collect is worth five gold coins!
Green Hill Zone
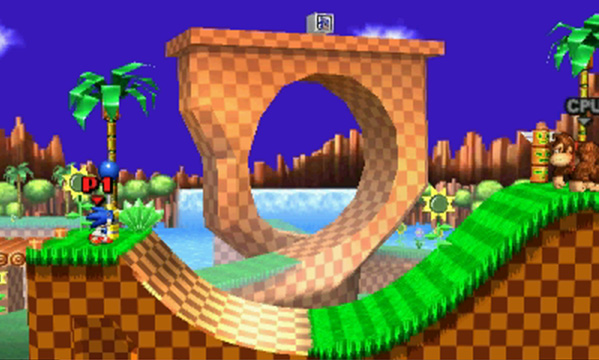
- Inspired by: Sonic the Hedgehog
This stage features uneven terrain and some unique hazards. Watch for the Point Markers that occasionally emerge from the ground. When a fighter hits one of these objects, it spins around, striking any nearby opponents.
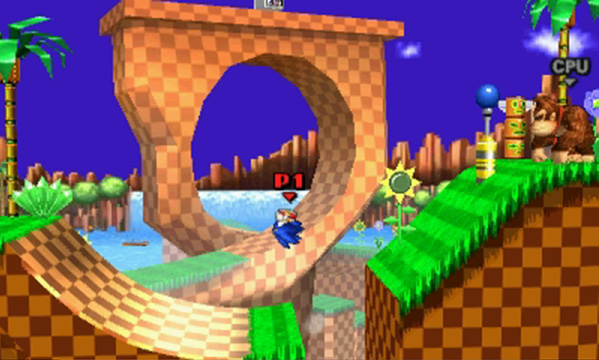
The most severe hazards are the gaps that periodically appear in what appears to be solid ground. If the area under your feet begins to crumble, move quickly to get clear of the newly formed pit. Fighters can also focus their attacks on the ground to create fresh gaps in strategically useful areas.
Jungle Japes
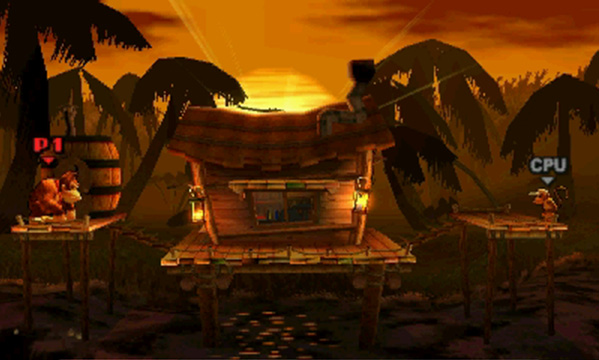
- Inspired by: Donkey Kong 64
This stage features a fast-moving river below a cluster of platforms. Any fighter who touches the water will be swept off-screen for a quick KO. The available platforms are fairly close to the river, so it’s important to recover from any slips or falls as quickly as possible. Watch out for the fish that sometimes leap out of the water—getting hit by one of these creatures results in an instant KO.
Living Room
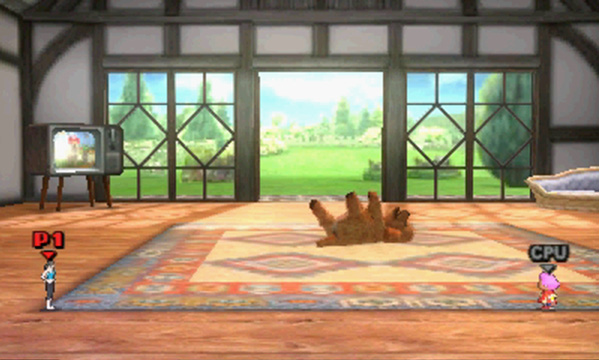
- Inspired by: Nintendogs + Cats
At first glance, this large indoor stage may seem like a relatively simple setting. Over the course of a battle, however, fighters must deal with background distractions, falling hazards, and frequent terrain changes.
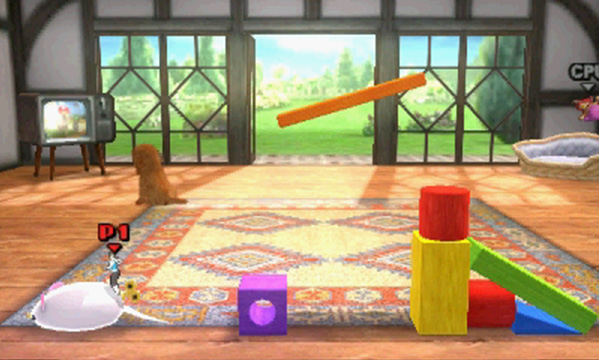
Watch for the shadows that appear on the floor—these indicate a fresh batch of blocks and household items have appeared above the battleground. Stay clear of these shadows to avoid taking damage from falling objects. As these objects land, they serve as temporary platforms and obstacles. Take advantage of the available terrain until the objects vanish, then watch for more shadows to appear and repeat the process.
Magicant
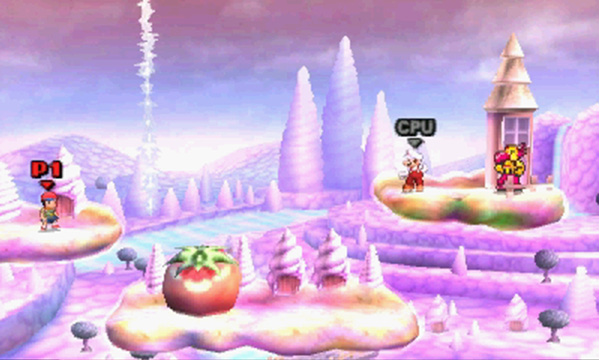
- Inspired by: EarthBound
In addition to its fixed platforms, this stage features a variety of moving elements. Over the course of a battle, the mountaintop near the bottom of the screen slides back and forth across the stage, temporary obstacles appear, and a series of Flying Men appear from their tower. Each Flying Man fights for the first player who touches him, so you’ll have to be fast to gain these allies. Defeat hostile Flying Men to remove them from the battle. Up to five Flying Men can appear over the course of a single battle.
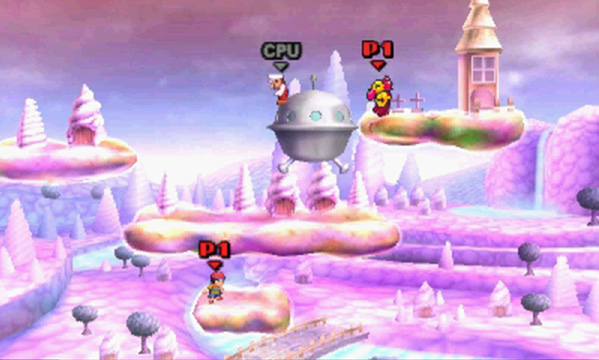
The spaceship that occasionally appears can be used as a temporary platform, but make sure you hop off before it carries you off-screen. After a giant tomato or iron octopus appears on a cloud, it begins sinking through the platform. Standing on one of these objects will speed up the process.
Mushroomy Kingdom
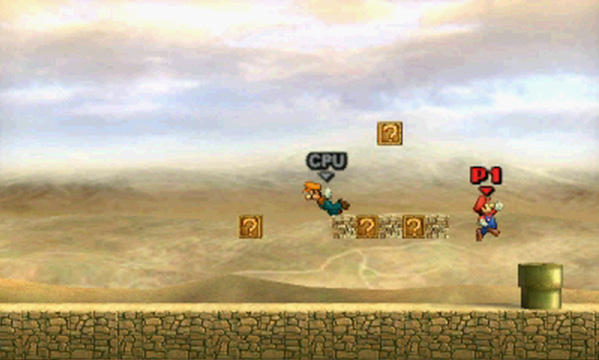
- Inspired by: Super Mario Bros.
This scrolling stage features destructible platforms, hidden items, and a variety of obstacles. Smash through Brick Blocks to destroy them, and hit ? Blocks to free helpful items. Revealed items can be used by any fighter, so move quickly to claim them.
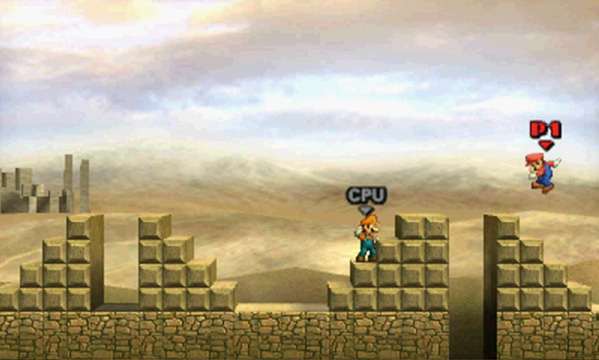
As the stage scrolls, watch out for new obstacles and hazards. Stay alert, and keep pace with the active area to avoid suffering a premature KO.
Mute City
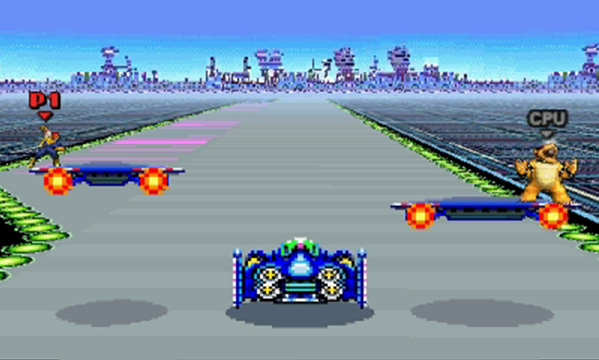
- Inspired by: F-Zero
In this stage, fighters must battle atop racing F-Zeros. Falling onto the track results in significant damage and launches the unfortunate fighter into the air.
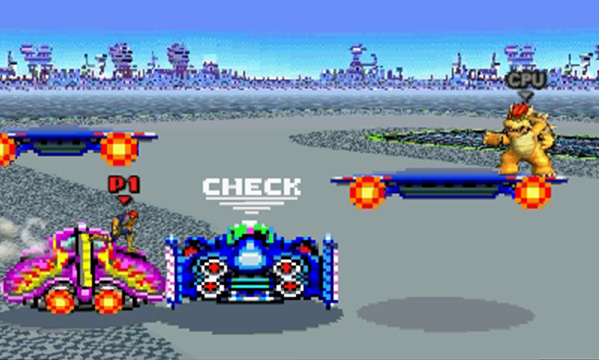
The vehicles on the track can be used as platforms, but watch for the “check” alert that appears when two racers are battling for the lead. This warning means the indicated vehicle is about to be knocked from the track. Abandon a marked F-Zero to avoid taking damage from the impact and to prevent the jostled vehicle from carrying you off-screen.
PAC-MAZE
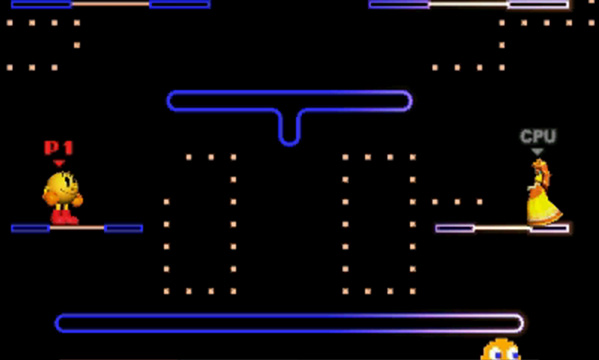
- Inspired by: PAC-MAN
This stage is loaded with numerous platforms, roaming ghosts, and—perhaps most important—collectible dots. Steer clear of the ghosts, but try to collect any available dots as you move around the stage.
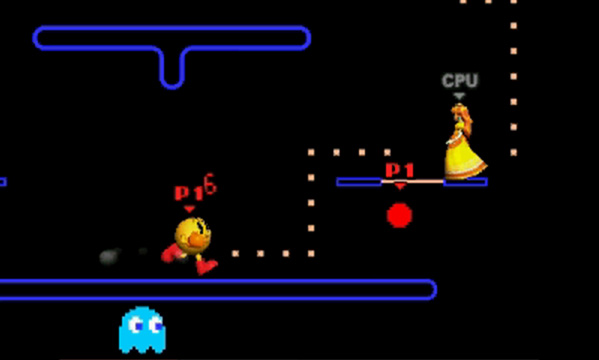
Each time a fighter collects 100 dots, he or she is rewarded with a Power Pellet. Over the course of a battle, earn and collect Power Pellets for temporary boosts to your combat abilities. As an added bonus, the roaming ghosts are vulnerable while any fighter is affected by a Power Pellet. Collecting fruit adds to a fighter’s dot count, and unassigned Power Pellets occasionally appear. You can even destroy an opponent’s Power Pellet to prevent your foe from collecting it!
Paper Mario
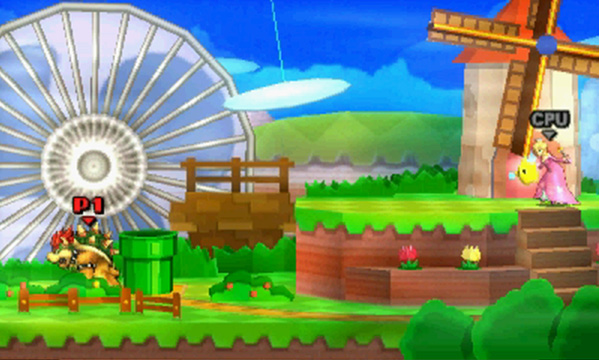
- Inspired by: The Paper Mario series
Over the course of a battle, this stage cycles through a series of distinct scenes, each of which contains its own platform arrangements, hazards, and environmental distractions. On the windmill set, for example, watch out for the large fan that appears in the background; once its blades start spinning, the resulting wind pushes fighters across the stage and makes it significantly easier to launch damaged opponents past the stage’s right border.
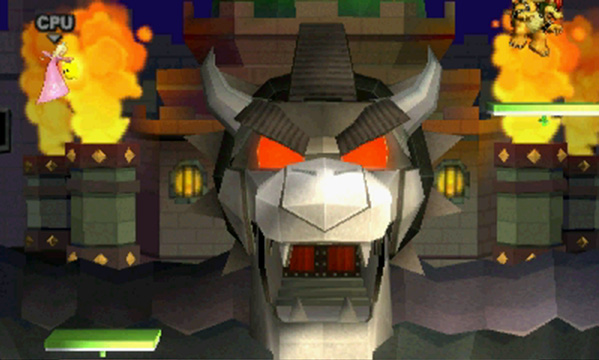
Scene transitions are particularly dangerous, as most sets contain multiple falling hazards. It only takes a short time for a complete transition, so move onto new platforms as soon as they become available.
PictoChat 2
- Inspired by: PictoChat
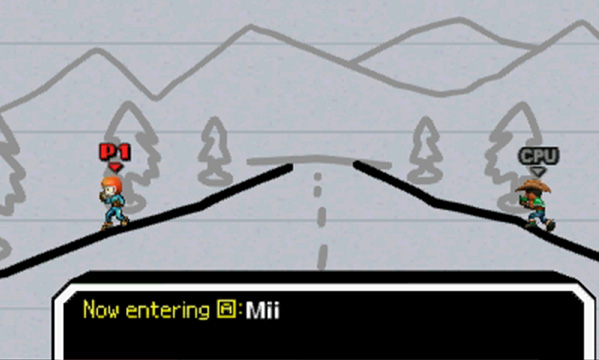
This stage features a series of scenes composed of interactive doodles. Each doodle only lasts a short time, but the large platform along the bottom of the stage remains in place for the duration of a battle. Depending on the scene, doodles can serve as platforms, obstacles, hazards, and more.
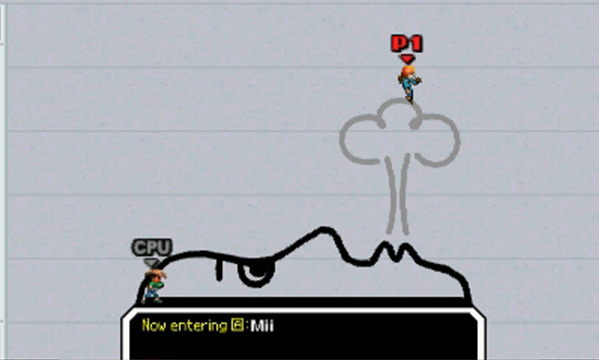
Although some doodles are simply background elements, most of them have very real effects while they are active. Gusts of wind can propel fighters into the air, falling objects can deal damage, precarious platforms can crumble under a fighter’s weight. These constantly changing elements offer some interesting gameplay options, but be prepared for sudden scene changes.
Prism Tower
- Inspired by: Pokémon X and Pokémon Y
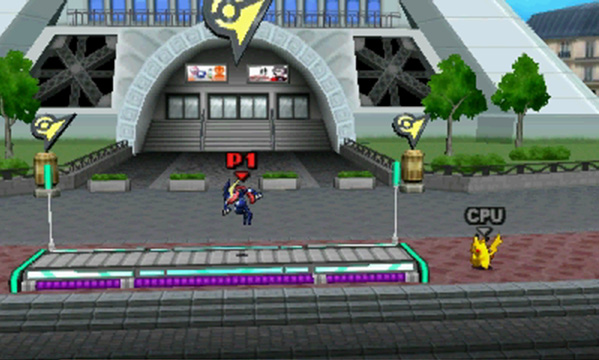
On this stage, a large platform moves the battle off of the ground and around Prism Tower’s exterior. As you’re carried around the area, the view can be distracting—make sure you focus on your opponents, and watch for the platform shifts that occur throughout the stage.
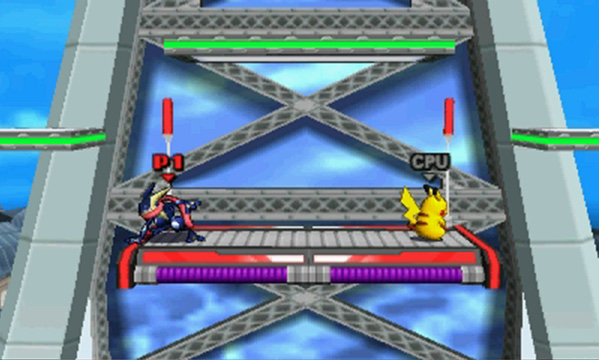
The main platform appears shortly after the battle starts. Once it does, hop on to avoid being left behind. The main platform then stops at a several locations, some of which odder additional platforms. Flashing red lights indicate that platform is about to vanish or change shape. When in doubt, move near the center of the main platform to avoid falling.
Rainbow Road
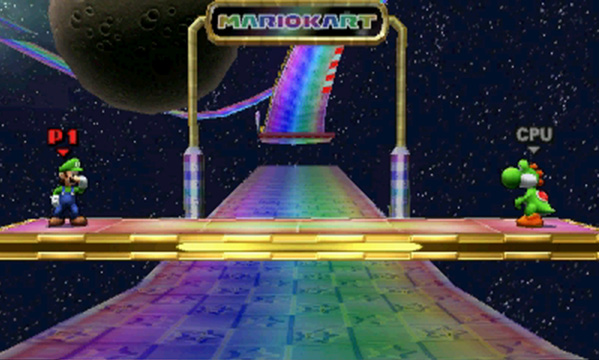
- Inspired by: Mario Kart 7
On this stage, fighters are carried to various points along an elaborate track. Each location offers unique terrain. Between stops, however, the action is contained to a single large platform.
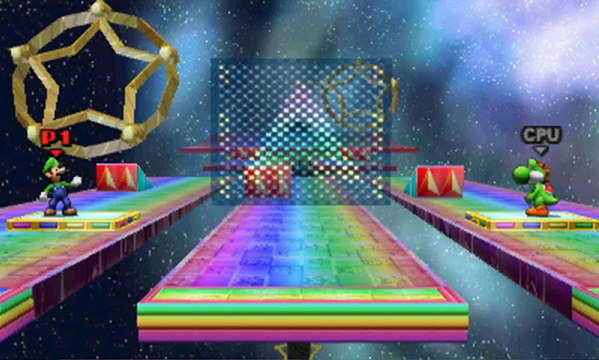
You spend a relatively short time at each location, so watch for the boost pads that indicate impending transitions. Soon after these animated arrows appear in the background, the main platform returns to the area; hop on to avoid being left behind. Keep in mind this is an active track—a warning sign appears whenever racers approach. Whenever this happens, clear the track to avoid incoming karts. While the platform is moving, any fighters who touch the road will be damaged and launched. Be careful!
Reset Bomb Forest
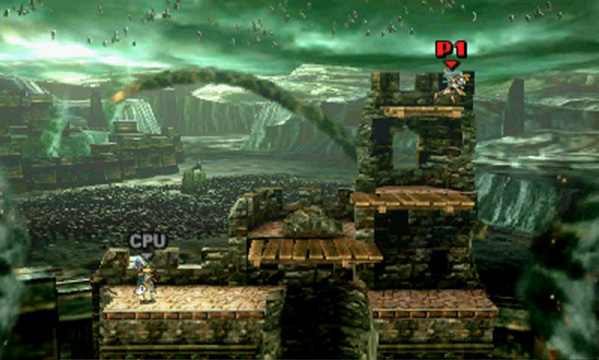
- Inspired by: Kid Icarus: Uprising
This stage transitions between two very different areas. Each battle starts in the ruins of a castle that contains several platforms and minimal distractions. Soon after Viridi appears in the background, however, an explosion significantly alters the scene.
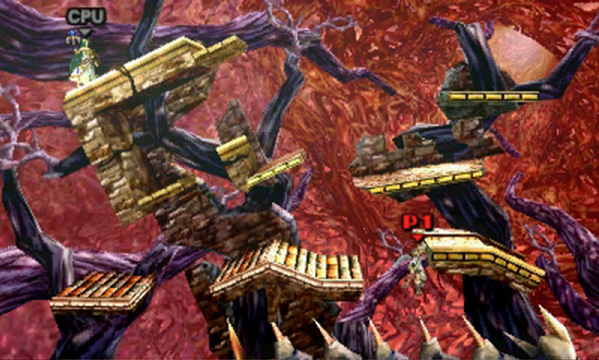
The second area contains a new cluster of platforms. These irregular platforms offer new tactical options, so adjust your tactics accordingly. In addition to this uneven terrain, the area contains a roaming Lurchthorn—avoid touching this creature as it passes along the bottom of the stage. All but the lowest platforms can be destroyed, so keep track of the available footholds. During prolonged battles, the stage continues to cycle between these two distinct areas.
Spirit Train
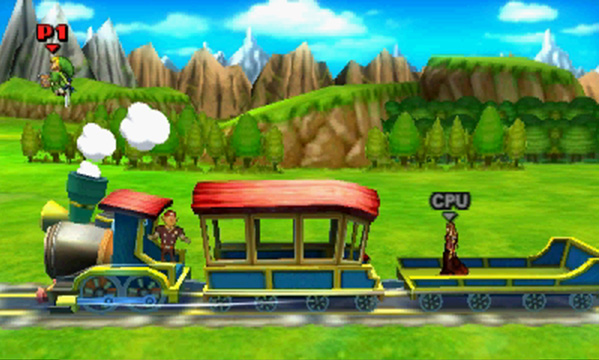
- Inspired by: The Legend of Zelda: Spirit Tracks
This stage features a high-speed train racing along a set of tracks. Over the course of a battle, new platforms and hazards move in and out of the area. Falling onto the tracks is, of course, dangerous—but landing behind the speeding train virtually guarantees a KO.
Each time the train’s caboose slips off-screen, it’s replaced with a new car. Watch for the arrows that indicate car switches or other potential hazards. Be particularly wary of the Dark Train whenever it appears—soon after the Dark Train leaps off the tracks, it comes crashing down in a random location.
3D Land
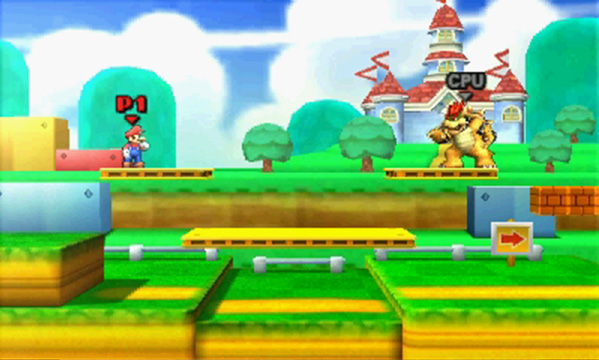
- Inspired by: Super Mario 3D Land
This stage features scrolling areas, moving platforms, and a variety of blocks. Keep pace with the active area to ensure you remain on-screen, and try to take advantage of new elements as they appear. Destroy Brick Blocks, hit ? Blocks to reveal hidden items, and use the Note Block to launch yourself high into the air.
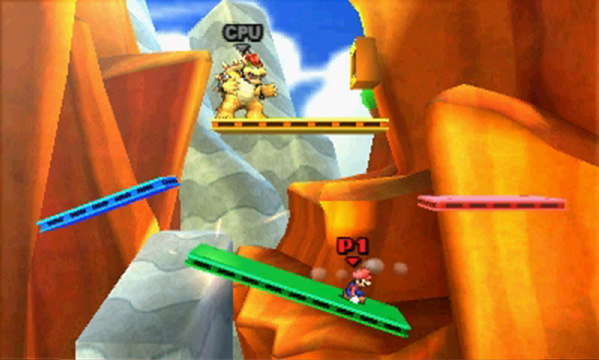
The playfield undergoes dramatic changes as it moves through the stage, so adjust your tactics accordingly. Many platforms rotate or shift while they’re on-screen, but all of them eventually vanish. Be sure you take advantage of new terrain as it becomes available.
Tomodachi Life
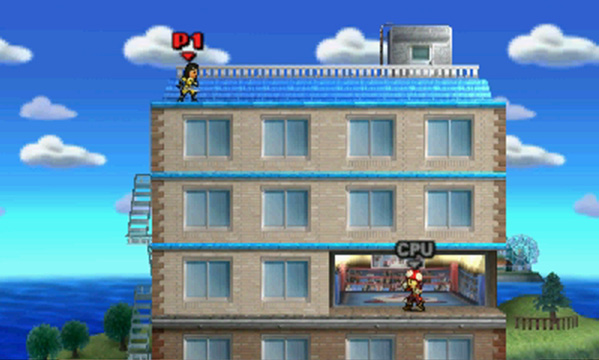
- Inspired by: Tomodachi Life
This stage features four long platforms mounted to a large apartment building. Individual rooms are revealed only when fighters are directly in front of them. The available rooms—and any Miis that inhabit them—are randomly selected for each battle.
Tortimer Island
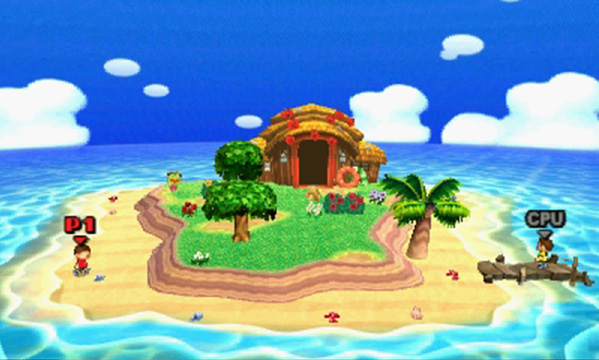
- Inspired By: Animal Crossing: New Leaf
This stage always features a small island, but the island’s specific layout is randomly selected for each battle. Regardless of the specific layout, however, it’s important to avoid the water at each edge of the island.
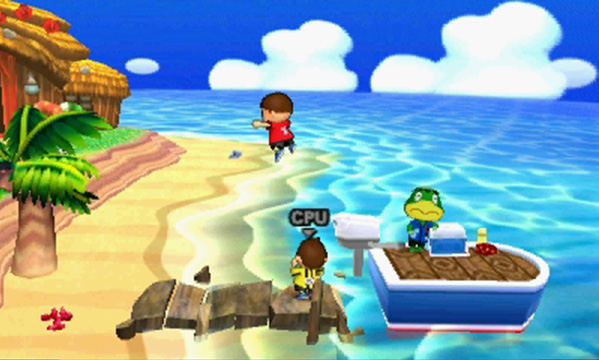
Over the course of a battle, you’ll often encounter stage-specific items like coconuts and durians. Most of these items can be thrown at your opponents, so use them wisely! Occasionally, Kapp’n docks his boat at the edge of the island. This vessel can be used as a temporary platform—just keep an eye out for the sharks lurking at the edges of the stage, and remember to abandon the boat before it heads back out to sea.
Unova Pokémon League
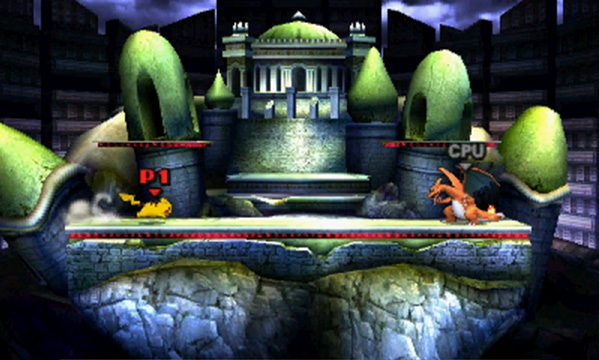
- Inspired by: Pokémon Black and Pokémon White
This stage features three platforms floating above a large pit. Stairs periodically appear at either edge of the stage, providing additional terrain as long as they remain in the area.
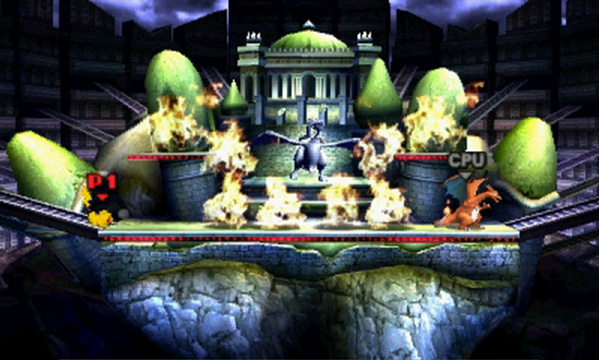
Soon after a battle starts, a randomly selected Pokémon appears in the area. Some Pokémon just sit back and watch the action, but whenever Reshiram or Zekrom appears, they attack the combat area. Reshiram’s Fusion Flare ignites various sections of the stage, and Zekrom’s Fusion Bolt can knock platforms askew. Both of these Pokémon can also destroy the stairs that appear at the edges of the stage. Stay clear of any Pokémon attacks, then adjust your tactics to deal with the aftermath.
WarioWare, Inc.
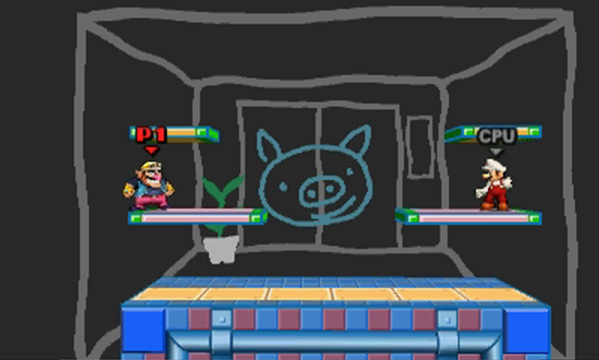
- Inspired by: WarioWare, Inc.
This stage features frequent stage transitions, cycling between an elevator set and a collect of randomly selected minigames. While in the elevator, fighters have access to a cluster of platforms. Before long, however, the elevator starts to move, and a minigame begins.
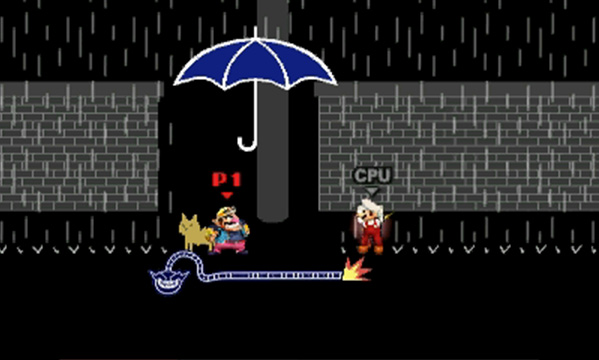
Each time the elevator doors open, look for the instructions that appear on the screen, then move, jump, attack, or taunt to accomplish the goal. Some minigames require precision timing, so watch the background for prompts. Otherwise, simply complete the objective within the allotted time. Fighters who successfully complete a minigame are granted temporary bonuses upon returning to the elevator set.
Wily Castle
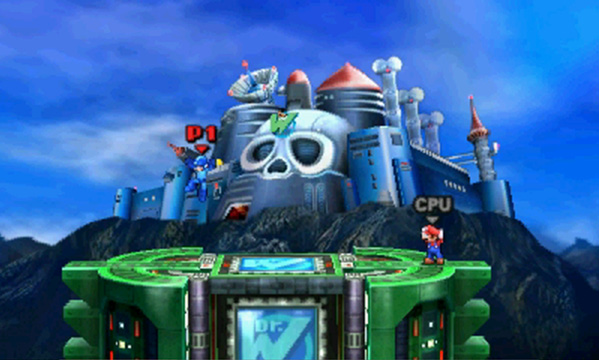
- Inspired by: Mega Man 2
This stage contains a single fixed platform, but additional temporary platforms appear over the course of a battle. This stage also features the Yellow Devil, a massive robot that occasionally emerges from the castle in the background.
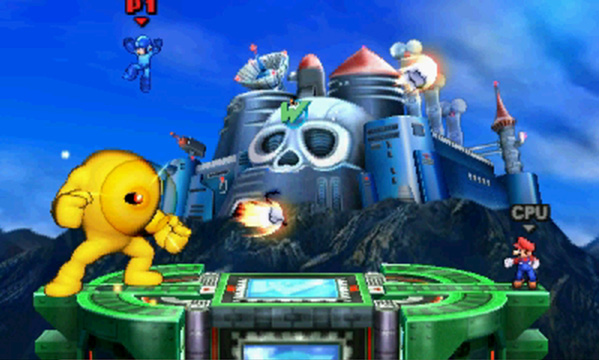
While the Yellow Devil is in the area, it fires a series of projectiles across the stage. After a few attacks, the robot usually moves to the opposite edge of the main platform and fires projectiles in the other direction. Fighters can dodge these projectiles or take cover behind the Yellow Devil until it leaves the area. Alternatively, fighters can attack the robot until it explodes—if you manage to deliver the finishing blow, the resulting explosion counts as your attack, damaging all nearby opponents.
Yoshi’s Island
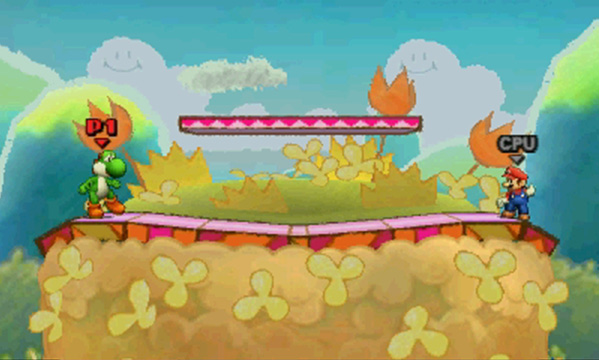
- Inspired by: Yoshi’s New Island
This stage contains two permanent platforms, the smaller of which tilts back and forth over the course of a battle. Fly Guys (flying Shy Guys) often appear in the area. Attacking Fly Guys forces them to drop any items they might be carrying.
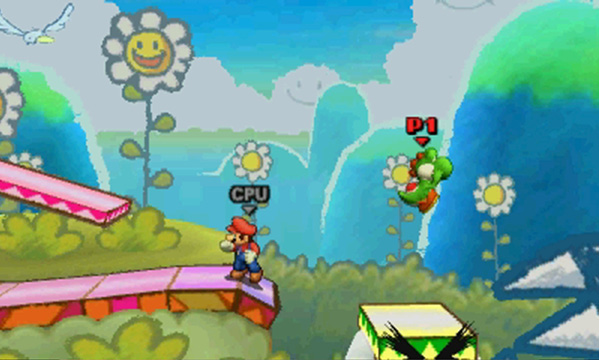
This area also feature’s frequent background changes and a small platform that sometimes appears on either edge of the stage. This temporary platform can be useful, but be careful—it never stays in place for long.