
Super Smash Bros. for Nintendo 3DS Guide Game Basics
How to Play
KOs
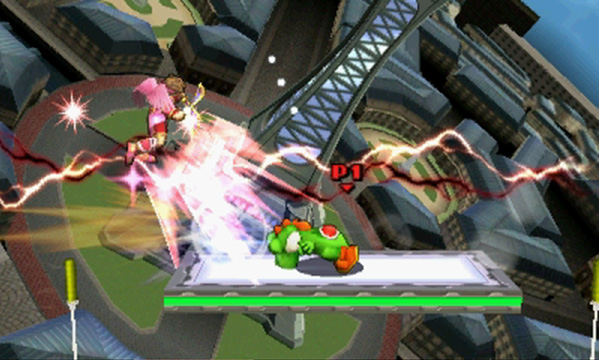
Super Smash Bros. offers a variety of game modes and match rules. The basics of combat, however, are almost always the same. Attack your opponents to increase their damage percentages—the more damage a fighter takes, the easier it is to launch him or her into the air. Launch an opponent clear out of the stage to earn a KO.
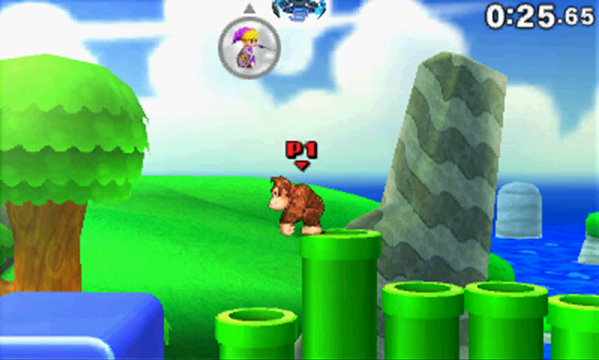
Being launched off of the screen can result in an instant KO, but it’s not a certainty. If a small window appears near the edge of the screen, it means the indicated fighter still has a chance to recover. This often happens when a fighter falls from a platform or fails to keep pace with a scrolling stage, but a window also appears when an off-screen fighter wasn’t launched hard enough to ensure a KO.
Combat Items
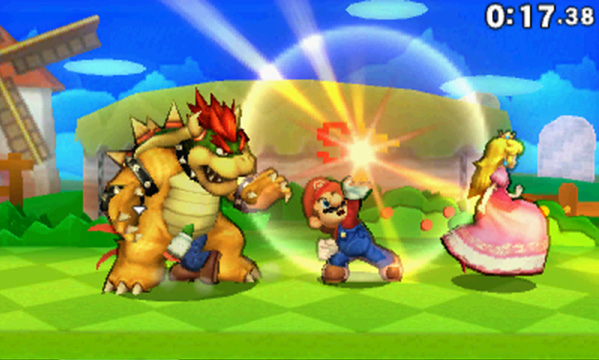
Most game modes include various items that can be used during battle. Whenever items are allowed, you can expect to find a variety of weapons, food, gear, and more. Try to grab an available item before one of your opponents has a chance to use it against you.
Collectible Items
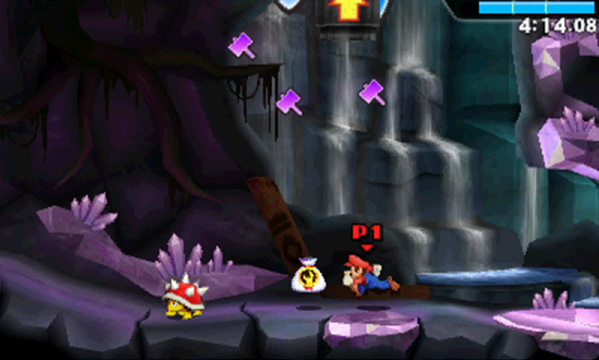
Collectible items can appear in most game modes. Grab these valuable items to access new features and options:
- Trophies: An uncollected trophy appears as a question mark mounted on a base. When you spot one, grab it to add the trophy to your collection. Visit the Gallery to view your trophy collection—you might just learn a thing or two about the game’s characters, enemies, and items!
- Custom Parts: If you spot a sack marked with a wrench icon, you can bet it contains a custom part. Collect these items to unlock equipment, headgear, outfits, and alternate Specials. Use the custom parts you collect to give your favorite fighters new abilities!
- Powers: A sack marked with a question mark contains a Power. Powers can only be used in Smash Run, but they can be found in any mode that drops collectible items. Add Powers to your fighters’ custom sets to improve your chances of a Smash Run victory.
- Gold: Grab any coins you spot to increase your available gold. You can use your collected gold to change the intensity of Classic, purchase extra time in Trophy Rush, and buy new trophies from the Shop.
System Mechanics
Despite it’s seemingly simple control scheme, the game contains a variety of complicated mechanics and techniques.
Default Controls
| Move | Circle Pad |
|---|---|
| Jump |  or or  |
| Attack |  |
| Special |  |
| Grab |  |
| Shield |  |
Basic Movement
Walk
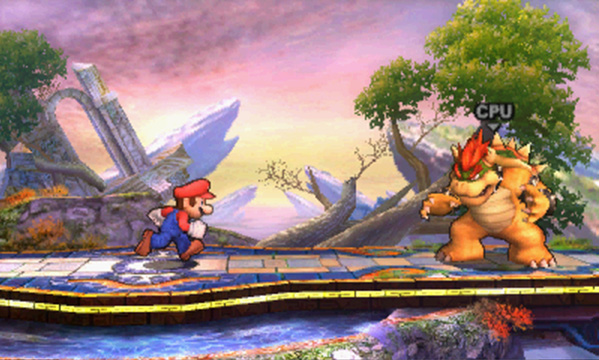
Slide the Circle Pad to the left or right to walk. Your speed varies depending on how far you slide the Circle Pad.
Dash
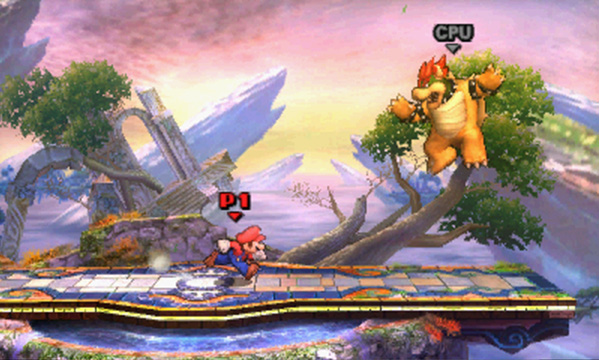
Flick and hold the Circle Pad to the left or right to dash. Release the Circle Pad to stop dashing.
Crouch
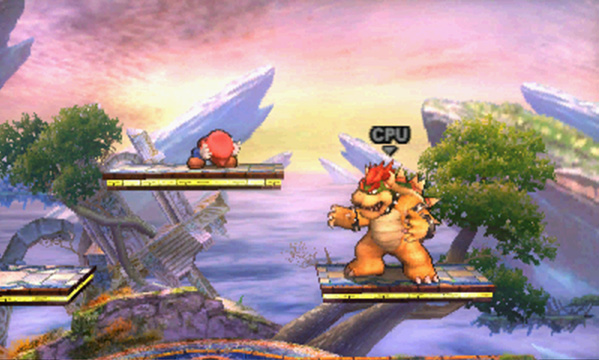
Slide the Circle Pad down to crouch. Crouching reduces the knockback effects from incoming attacks.
Drop
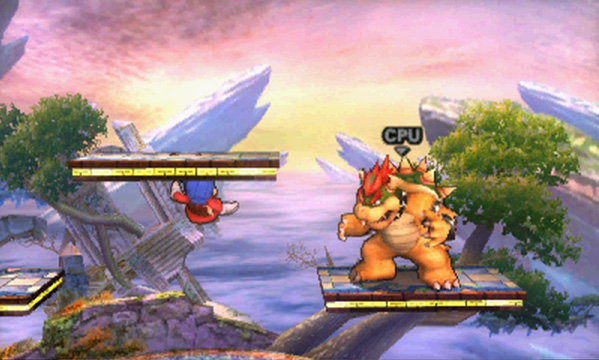
Flick the Circle Pad down to drop through thin floors and platforms.
Jump
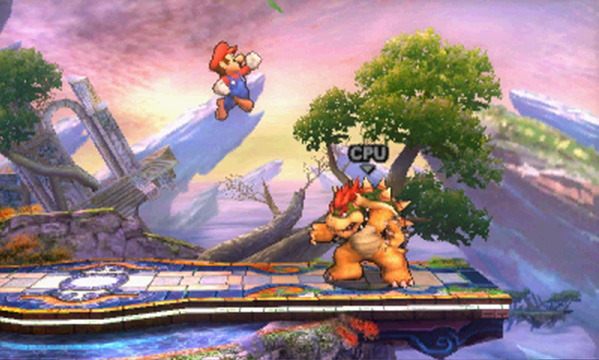
Press  or
or  to jump. Hold the button to perform an extended jump. While jumping, use the Circle Pad to steer your fighter through the air.
Air Jump
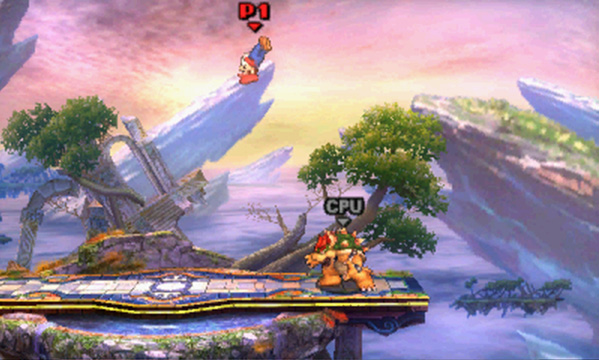
While in the air, press  or
or  to perform an air jump. All characters can perform at least one air jump before they’re forced to land, but some fighters can perform a series of air jumps.
Short Hop
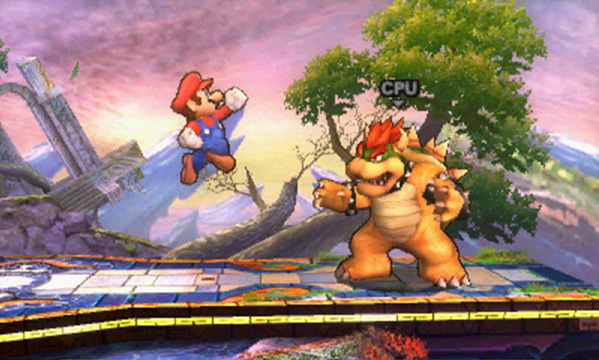
Quickly tap  or
or  to perform a short hop. This technique is especially useful when you want to perform a surprise aerial attack on a standing opponent.
Back Jump
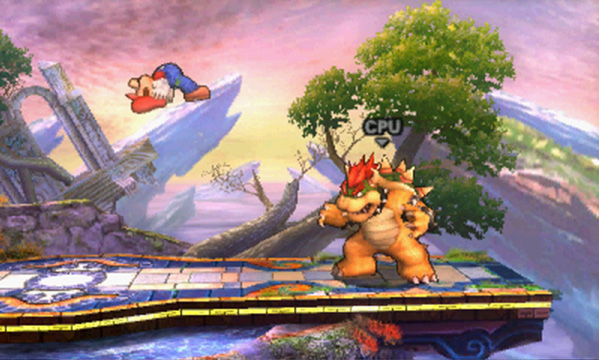
Simultaneously press  or
or  and flick the Circle Pad away from your target to perform a back jump.
Footstool Jump
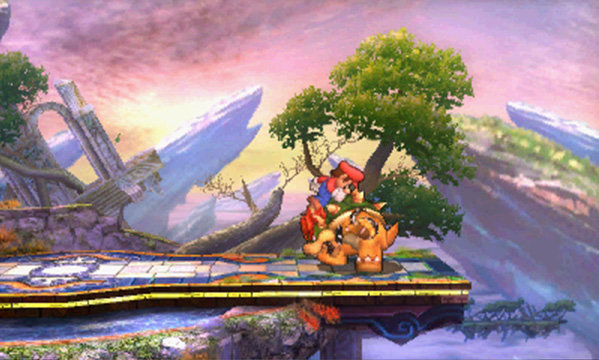
Hop onto an opponent and press  or
or  to perform a footstool jump. This move takes precision timing, but it gives your jump a considerable boost. You can even perform footstool jumps on airborne enemies to send them crashing to the ground!
Offensive Techniques
Neutral Standing Attack
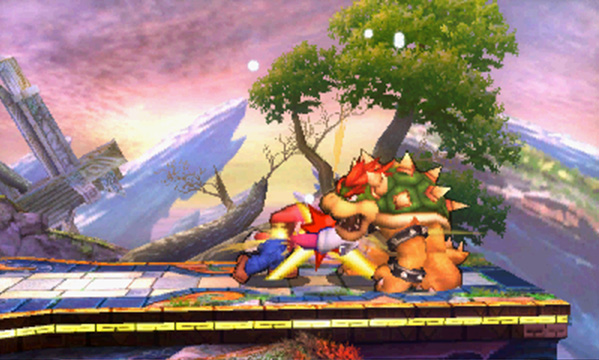
While on the ground, press  to perform a neutral standing attack (also known as a “standard attack”). This attack is essentially a quick jab, but it can usually be chained together to perform a fast combo. Depending on your chosen fighter, jab combos can be performed by holding
  or by tapping the button to perform a series of separate attacks.
Tilt Attacks
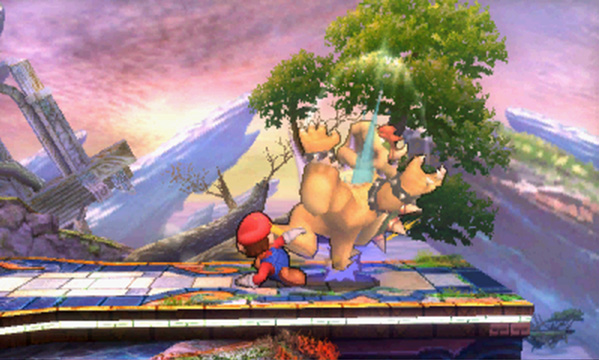
Each fighter has three different tilt attacks (also known as “strong attacks”): Up Tilt, Down Tilt, and Side Tilt. Gently slide the Circle Pad in one of the available directions, then press  to perform the corresponding tilt attack.
Smash Attacks
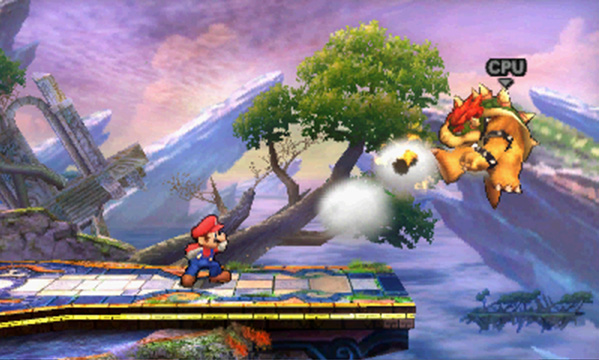
Each fighter has three different Smash attacks: Up Smash, Down Smash, and Side Smash. To perform a Smash attack, flick the Circle Pad in one of the available directions as you press  . Hold the command to charge a Smash attack for additional power. A successfully executed Smash attack deals heavy damage and launches your opponent.
Dash Attacks
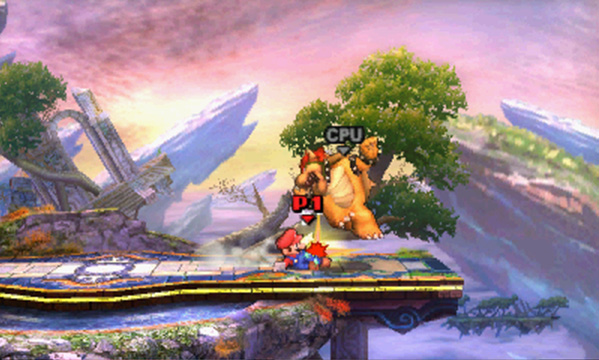
While dashing, press  to perform a dash attack.
Aerial Attacks
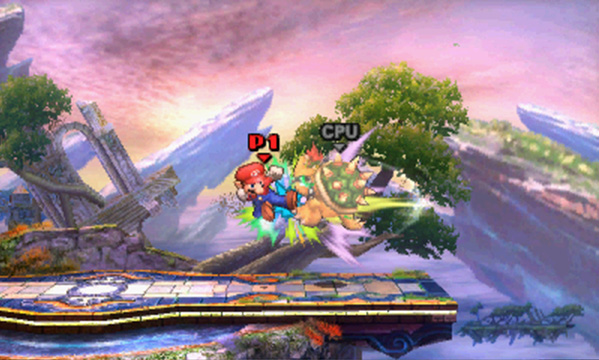
Each fighter has five different aerial attacks: Neutral Air, Up Air, Down Air, Forward Air, and Back Air. To perform a Neutral Air attack, press  while your fighter is airborne. To perform one of the other available aerial attacks, slide the Circle Pad in the desired direction and press
  while your fighter is airborne.
Special Attacks
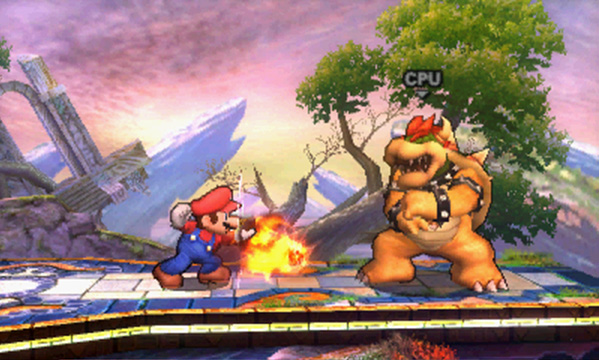
Each fighter has four different Special attacks (also known as “Specials” and “Special moves”): Neutral Special, Up Special, Down Special, and Side Special. Press  perform a Neutral Special. To perform one of the other available Special attacks, slide the Circle Pad in the desired direction and press
  . Special attacks can be performed on the ground or in the air.
Grab
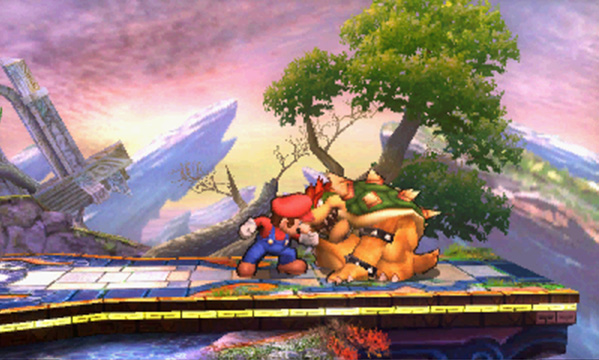
Press ( while facing a nearby opponent to perform a grab. Once you’ve grabbed an opponent, press  to attack.
Throw
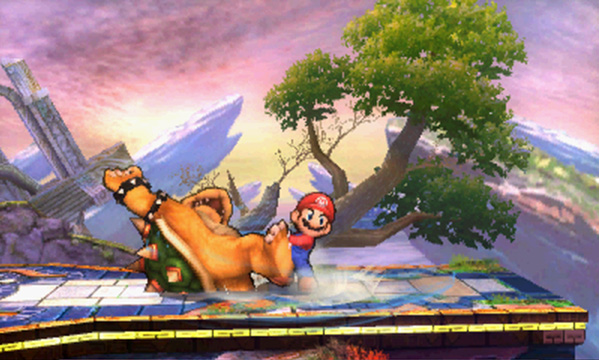
Press  to grab an opponent, then slide the Circle Pad to perform a throw. Each fighter can perform four different throws: Up Throw, Down Throw, Forward Throw, and Back Throw. Slide the Circle Pad in the appropriate direction to perform the desired throw. Use throws give yourself a bit of breathing room or to damage enemies while their shields are active.
Final Smash
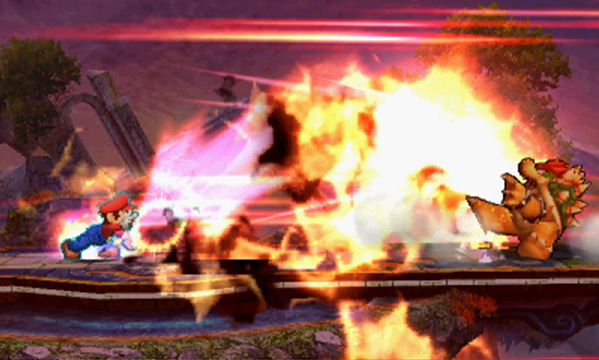
If you manage to break open a Smash Ball, press  to perform your fighter’s Final Smash—an extremely powerful attack that is unique to that character. Different Final Smashes have different ranges and area effects, so make sure you’re familiar with your fighter’s specific attack!
Defensive Techniques
Shield
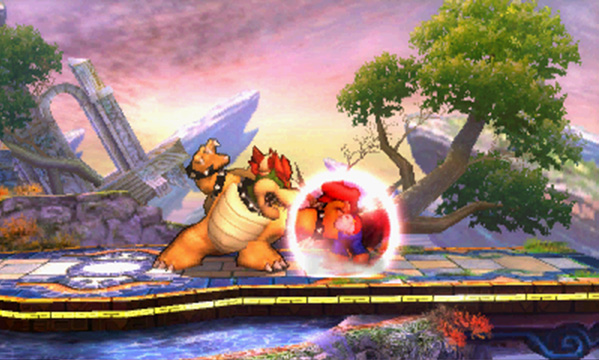
Press and hold  to activate your fighter’s shield. While active, the shield absorbs damage caused by most enemy attacks. The shield shrinks over time, and absorbing damage causes it to shrink much faster. If your shield breaks, your fighter will be stunned for a short time. Release ) to deactivate your shield. A weakened shield will slowly recharge when it isn’t in use. If you manage to activate your shield at the moment an attack lands, however, you’ll perform a Perfect Shield. A Perfect Shield blocks the attack without the usual shrinking penalty!
Dodge
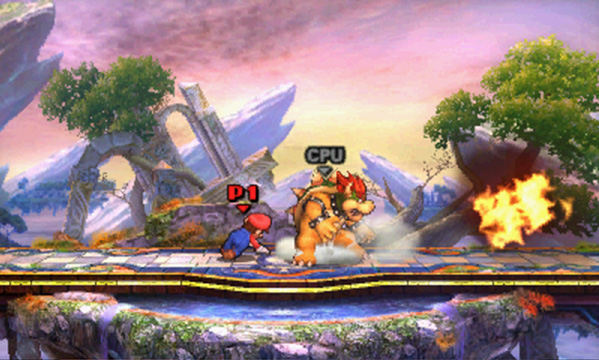
Press  as you flick the Circle Pad left or right to perform a dodge. This evasive roll allows you to avoid taking damage without compromising your shield, but it can also be used to slip behind an enemy for a well-timed counterattack.
Spot Dodge
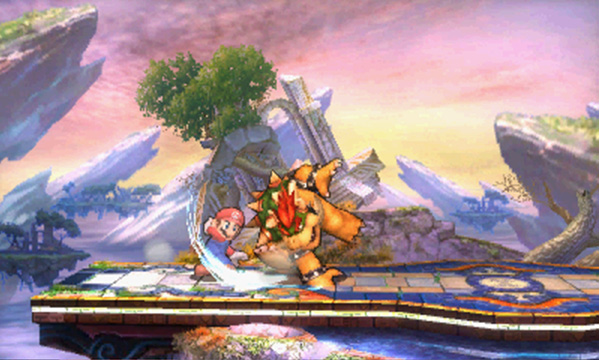
Press  as you flick the Circle Pad up or down to perform a spot-dodge. This move allows you to avoid taking damage without moving or compromising your shield. It only lasts a short time, however, so it’s best to use it against quick attacks.
Air Dodge
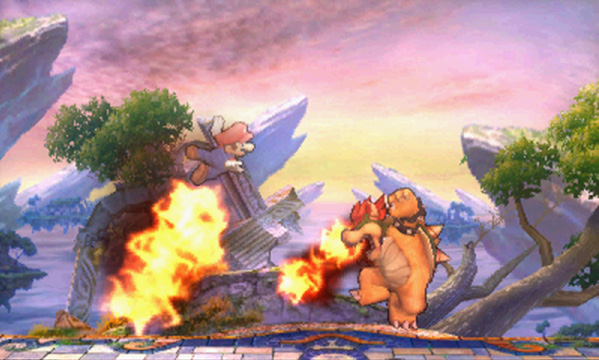
Press  while your fighter is airborne to perform an air-dodge. While air dodging, you can use the Circle Pad to steer the fighter just as you would at any other point in a jump. This move allows you to avoid damage for a short time, so use it wisely!
Fast Fall
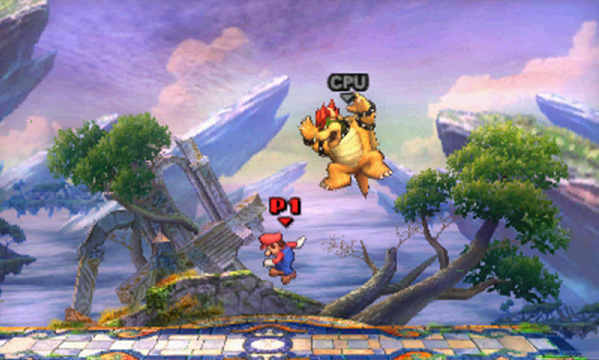
While your fighter is airborne, flick the Circle Pad down to perform a fast-fall. This allows your fighter to land as quickly as possible. Fast falling is a good way to avoid aerial attacks, but it’s particularly helpful when your fighter is suffering from a fall state.
Additional Techniques and Commands
Recovery
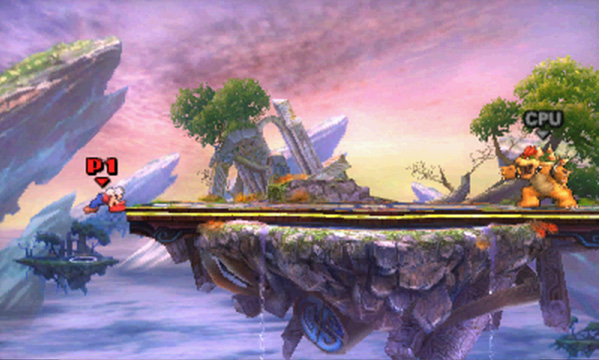
Each fighter has a combination of moves that can be used to recover from falls or from being launched. Recovery moves vary between fighters, but air jumps and Up Specials are usually your best options. It’s not always possible to recover from a big hit, but the right technique will improve your odds of success.
Edge Moves
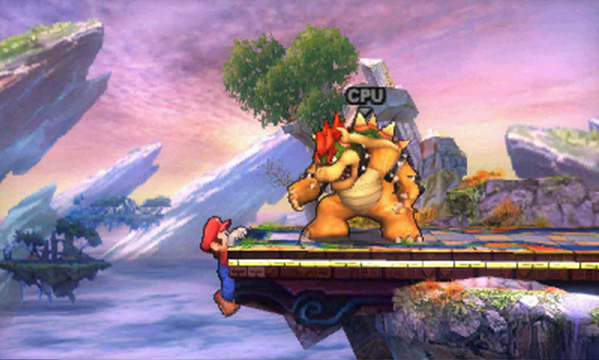
Your fighter will automatically grab the platform’s edge if he or she gets close enough to it during a recovery attempt. This triggers a brief period of invincibility and presents a few tactical options. Some fighters can even utilize moves or tools to grab platform edges from greater distances.
While grabbing the ledge, you can:
- Edge Roll: Press
 to roll back onto the platform as you dodge enemy attacks.
 - Edge Attack: Press
 to attack near the edge of the platform as you pull yourself up.
 - Edge Climb: Slide the Circle Pad toward the edge to climb up.
- Edge Jump: Press
 or
or  (or flick the Circle Pad up) to propel yourself over the platform. This option does not count toward your fighter’s air jump limit.
 - Release: Flick the Circle Pad down or away from the platform to release the edge. This option counts toward your fighter’s air jump limit, but it also allows you to follow up with a quick aerial attack or recovery move.
Taunt
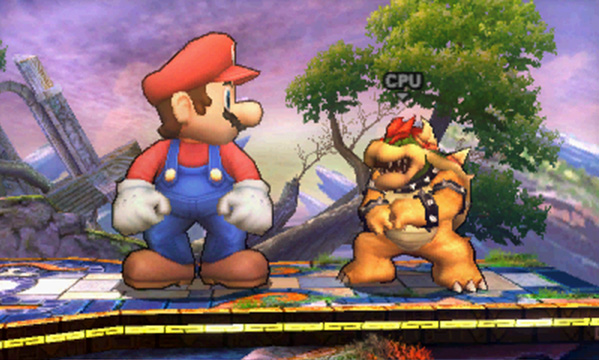
Each fighter has three different taunts: Up Taunt, Down Taunt, and Side Taunt. Press the +Control Pad in one of the available directions to perform the corresponding taunt. Taunting leaves your fighter vulnerable to attacks, so taunt wisely!
Item Use
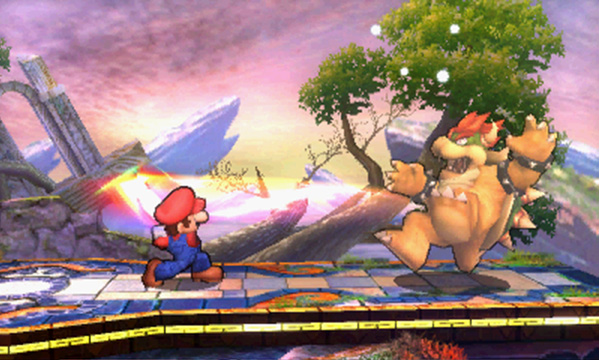
You’ll encounter a variety of items during combat, and individual items can have wildly different effects. Approach an available item and press  to pick it up. Some items will be automatically consumed or activated, but many items can be used manually by pressing
  while your fighter is holding them. Press
  to drop an unwanted item, or simultaneously press
  and flick the Circle Pad forward to throw the item. Press
  while dashing to throw an unwanted item even farther!