
Super Smash Bros. for Nintendo 3DS Guide Games & More
Solo
Solo Overview
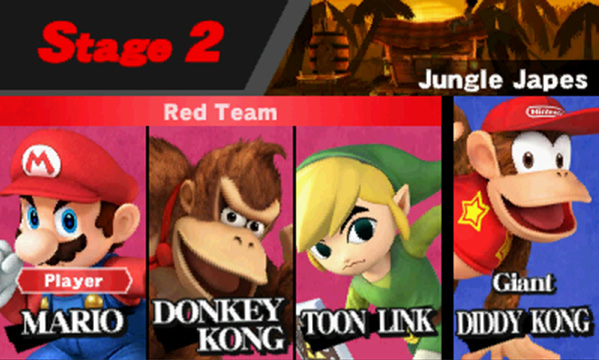
Solo contains a diverse selection of single-player offerings. You’ll find some fairly extensive game modes along with a variety of challenging minigames. Exploring these game modes is a great way to hone your skills as you earn gold, trophies, equipment, and more.
Solo Menu
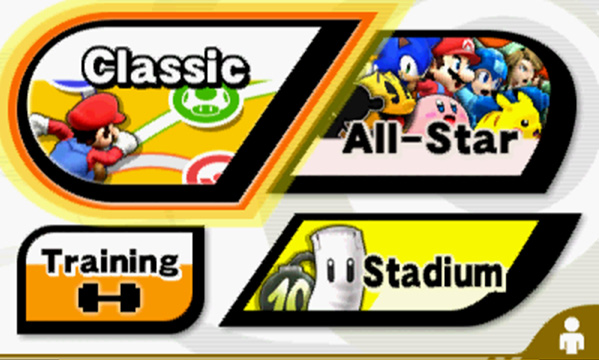
The “Solo” menu contains four selections:
- Classic: Choose your own path to victory! Classic pits you against familiar foes as well as a few enemies you won’t find anywhere else!
- All-Star: Time to fight everyone! In All-Star, you have one stock life to defeat every fighter on your roster.
- Training: Try out new fighters or hone your skills with an old favorite. Training includes enough options to explore every aspect of combat.
- Stadium: Defeat armies, destroy targets, or hit home runs as you explore the game modes found in Stadium.
Classic
Classic Overview
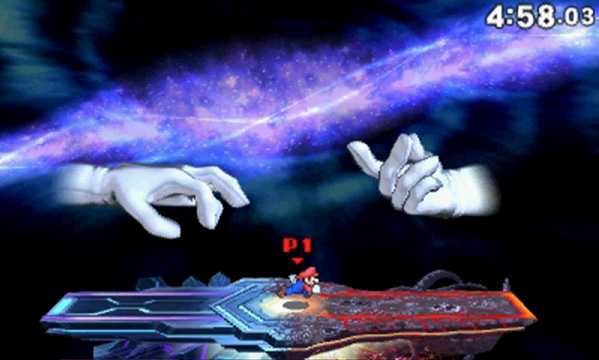
Choose your own path to victory in the Classic game mode! To clear Classic, you must win a series of six matches—the last of which pits you against one or more particularly powerful enemies. Each match has a five-minute time limit, so keep an eye on that clock! With plenty of opportunities to earn gold, equipment, trophies, and more, Classic is a great way to discover many of the game’s hidden elements.
Intensity
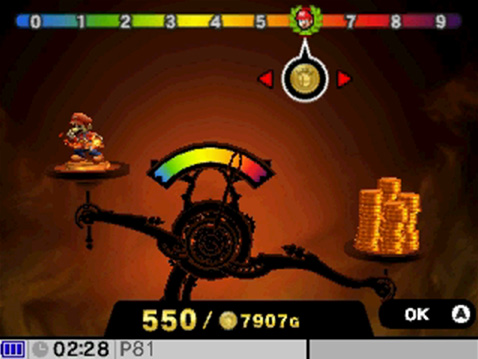
After choosing a fighter, you can spend gold to adjust the game’s intensity. The default intensity of 2.0 is the only no-cost option. Raising the intensity results in a more difficult game with the chance to earn better prizes. Lowering the intensity results in an easier game; doing so costs only a small amount of gold, but it will limit your potential prizes.
Intensity Thresholds
Increasing the intensity level has several effects:
- Opponents are harder to launch.
- Opponents are more aggressive and generally more effective.
- You have a greater chance to fight team battles without the aid of CPU allies.
- The reward roulette at the start of each battle grants more prizes.
In addition to these gradual effects, some specific elements are only available at or above certain intensity levels:
- If the intensity is set to 3.0 or above, you have the option to face both Master Hand and Crazy Hand in the final match.
- If the intensity is set to 5.1 or above, you have the option to face Master Core.
- If the intensity is set to 6.0 and above, Master Core cycles through three hostile forms.
- If the intensity is set to 7.0 and above, Master Core cycles through four hostile forms.
- If the intensity is set to 8.0 and above, you don’t have the option to avoid facing Master Core.
- Some hidden characters can be unlocked by using specific fighters to clear Classic at various intensity levels.
Selecting Stages
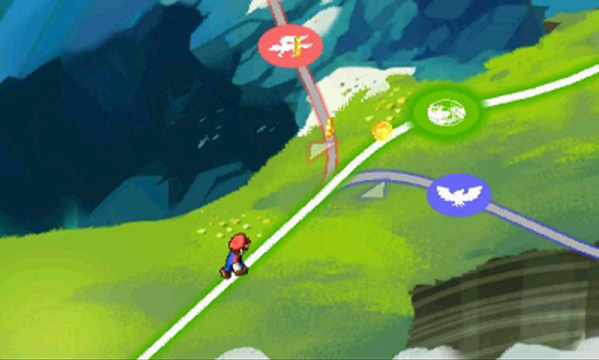
In a game of Classic, the available stages are connected by a series of branching paths. The color of each path usually indicates the relative difficulty of the next match:
- Blue paths often lead to the easier options.
- Green paths often lead to options of standard difficulty.
- Red paths often lead to the most difficult matches.
At intensity 3.0 and above, the black path near the end of the game leads to a stage containing both Master Hand and Crazy Hand. At intensities of 5.1 and above, this path also leads to Master Core.
Between matches, your fighter automatically follows the highlighted path to the next stage. To choose to change course, use the Circle Pad to highlight an alternate path before your fighter reaches the intersection.
Progressing Through Classic
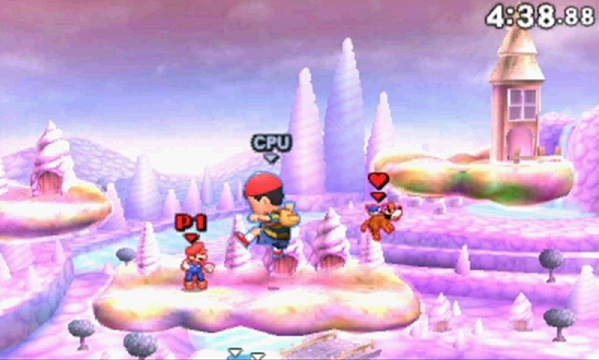
The matches that appear in Classic are, for the most part, randomly selected at the start of the game. In a given match, you might fight alone or with CPU allies; you might face a single opponent or a team of enemies; or you might stumble upon a giant or metallic variation of a familiar opponent.
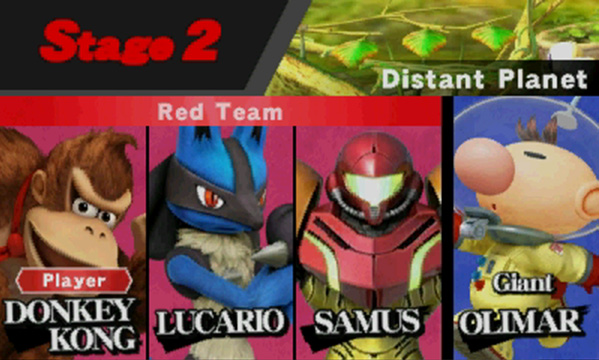
Whenever the reward roulette appears on the Touch Screen, check the Main Display for details about the upcoming match.
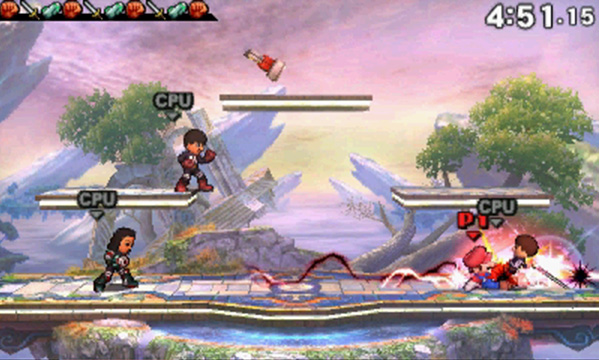
In a game of Classic, the fifth match always pits you against 10 enemies. These matches often feature the Fighting Mii Team, but there’s a chance you’ll face other characters from your roster. You’re clearly outnumbered during these battles, but compared to other match types, your opponents are significantly easier to launch.
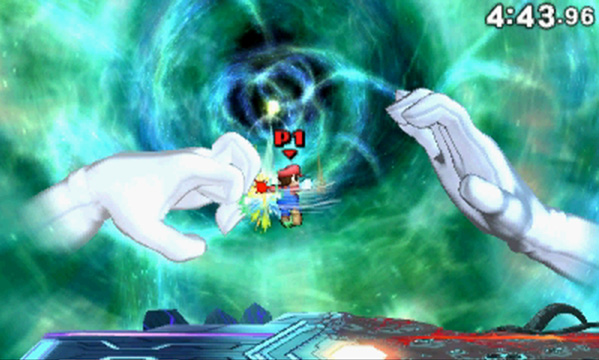
The sixth and final match always features Master Hand. At intensity 3.0 and above, you have the option to enter more difficult battles.
Master Hand
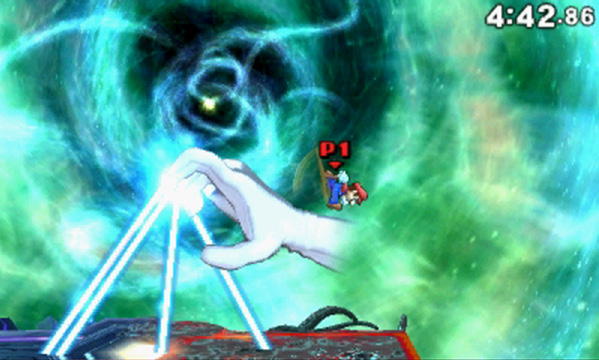
On his own, Master Hand is a formidable opponent with a wide variety of devastating attacks. Most of these attacks take some time to charge, however, making it fairly easy to identify and avoid incoming threats. A few of his attacks are fairly quick, though, so it’s often best to keep your distance until he commits to a move.
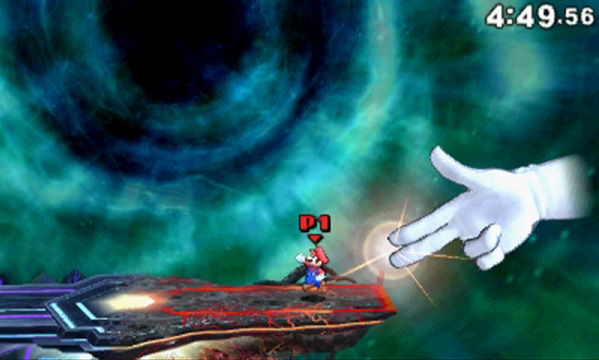
Master Hand’s elaborate attacks are easy to identify, so the results are fairly easy to predict. Whether he’s snapping his fingers for a short-range attack, clenching his fist to slam down on the platform, or tracking your movements as he charges a projectile attack, you simply need wait until just before he strikes, then activate your shield or dodge the attack.
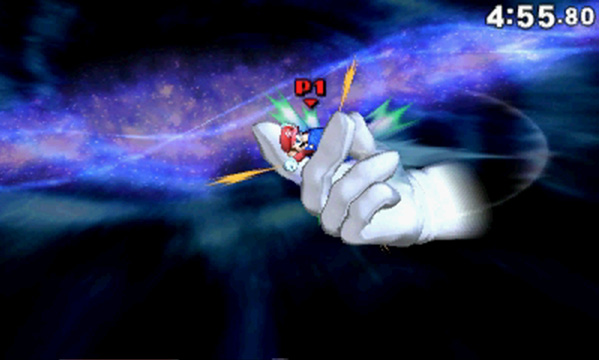
Master Hand is particularly vulnerable immediately after he attacks. This is the best time to go on the offensive, so move in and unleash one or two of your most powerful moves. It’s often safe to strike while he’s charging one of his moves, but make sure you allow enough time to get clear of the impending attack.
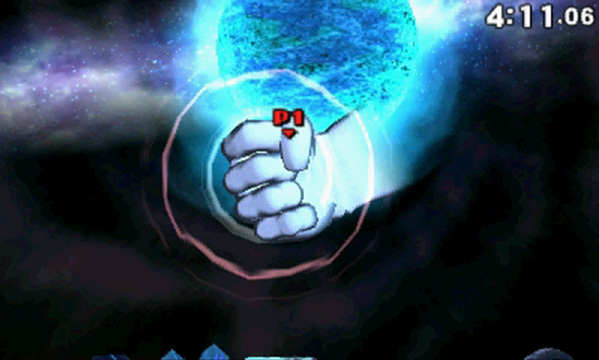
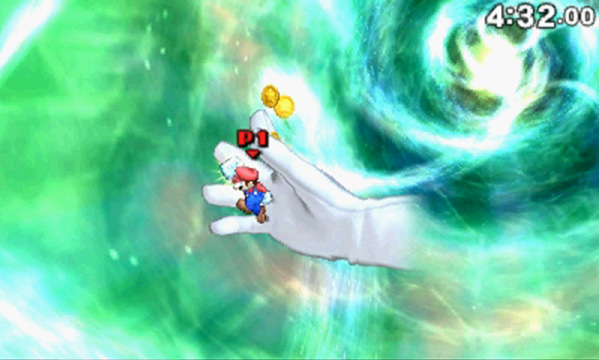
Master Hand is usually idle for several seconds between his attacks. You can deal a lot of damage during this time, but be careful—not all of his moves are easy to anticipate. Try to stick with your quick attacks and watch for any sudden movements; lingering near Master Hand can allow him to grab you right off of the platform. If this happens, quickly slide the Circle Pad back and forth until you break free of his grip.
Master Hand’s health is displayed on his Touch Screen portrait. Use this number to gauge your progress over the course of the battle. If you’ve opted to face Master Hand on his own, you must defeat him to end the battle and complete your Classic playthrough.
Master Hand and Crazy Hand
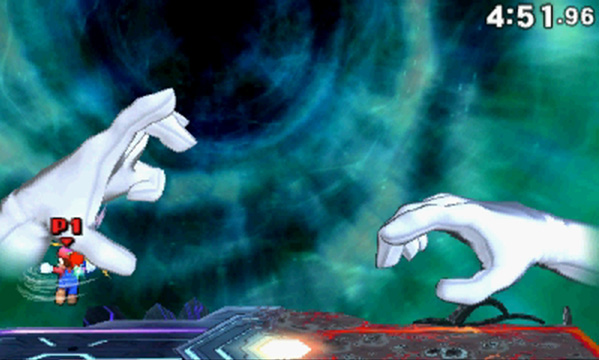
If your intensity is set to 3.0 or above, you’ll have the option to face both Master Hand and Crazy Hand in the final match. Master Hand and Crazy Hand do more than simply split your attention, however—these foes often coordinate their attacks, making it difficult to maintain a solid defense.
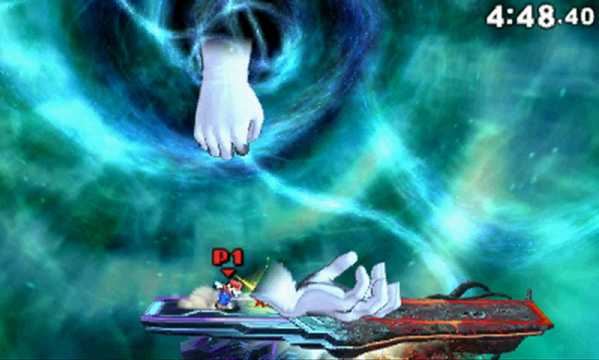
It’s important to attack whenever the opportunity presents itself, but make sure you pay attention to the entire battlefield. When one opponent seems vulnerable, there’s a good chance his partner is preparing an attack of his own. Avoid committing to slower moves unless you’re certain you have enough time to see them through.
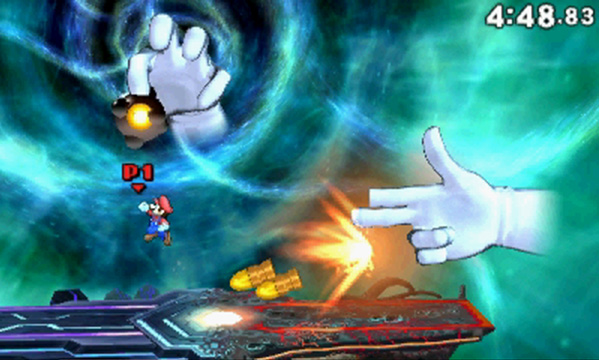
Master Hand and Crazy Hand often combine their attacks. Whether they attack simultaneously or in quick succession, the effect is generally the same—it’s much more difficult to stay out of harm’s way. Jumping away from Master Hand’s projectile attacks, for example, can put you right under Crazy Hand’s bombs. Any attempts to spot dodge or shield yourself, on the other hand, are unlikely to protect you for the duration of a coordinated attack.
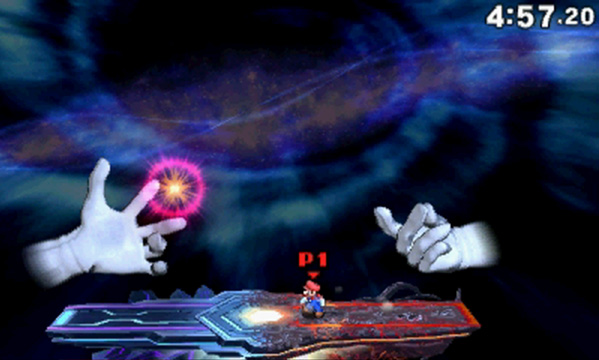
Surviving unscathed often means alternating between activating your shield and dodging. If both of your opponents are charging their attacks, use the time to weigh your defensive options. Whether you plan on dodging or activating your shield, try to be patient. Watch your opponents as they move around the area, and adjust your position as needed. Wait until they commit to their attacks, and then react accordingly.
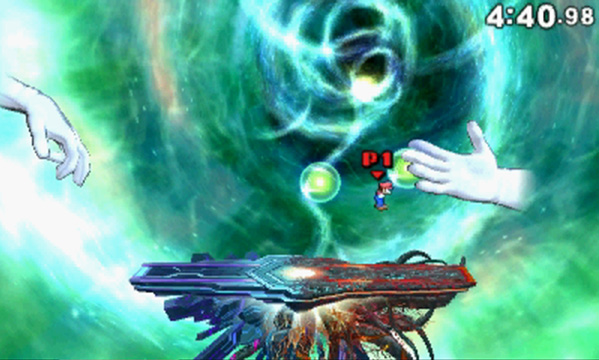
Jumping is an important part of every fight, but remember your defensive options are limited while you’re in the air. The more time you spend off of the platform, the more likely it is you’ll be caught in an extended attack. Before you commit to a big jump or an aerial attack, make sure you have a safe place to land. When all else fails, try to use the air dodge and fast fall techniques to avoid your opponents’ juggling attacks.
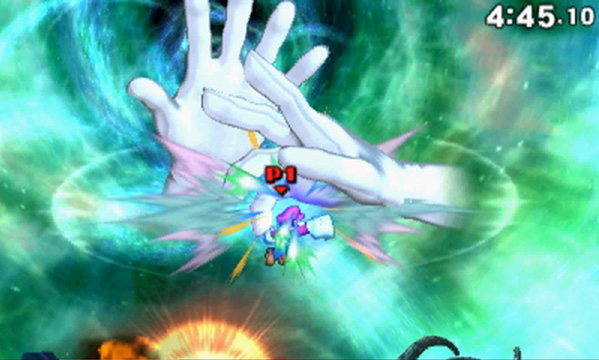
Master Hand and Crazy Hand share a single pool of health, so use the Touch Screen to monitor your progress over the course of the battle. At intensity levels of 5.0 and below, the battle ends when you defeat these opponents. At higher intensity levels, however, Master Core will step in if Master Hand and Crazy Hand fail to stop you.
Master Core
Your intensity level not only determines if you’re able to face Master Core, but it also affects exactly which forms Master Core will take during the battle. Regardless of your intensity level, however, you must deal damage to each of Master Core’s forms to progress through the battle and eventually defeat your enemy.
Giant Form
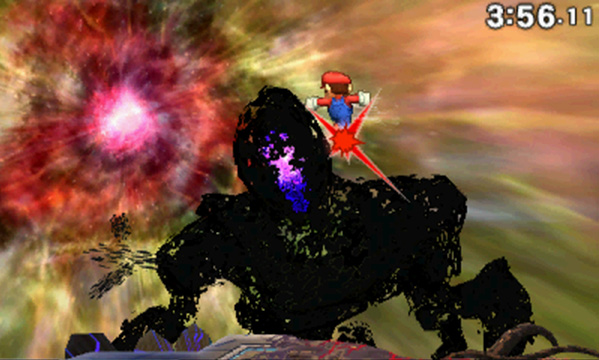
When the intensity is set to 7.0 and above, Master Core first appears as a shadowy giant. While in this form, he’s capable of several attacks, most of which affect the bulk of the battlefield. When you’re not busy defending yourself, move below the giant’s head and attack upward. It takes a few seconds for the giant to recover from its own attacks, so you should have enough time to use your fighter’s more powerful attacks.
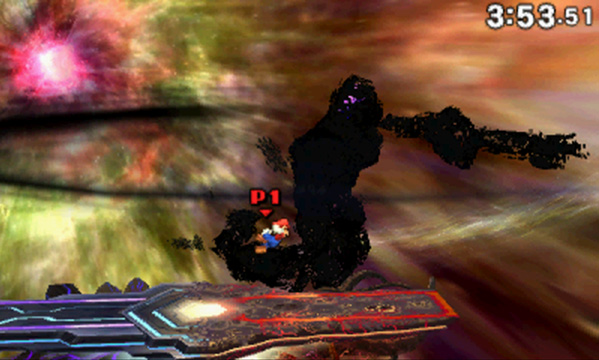
Soon after the giant sweeps its arm through the area, a large beam speeds toward you. This beam moves very quickly, so a well-executed dodge should allow you to avoid taking damage. Until you have the timing down, however, it’s best to simply shield yourself from the attack.
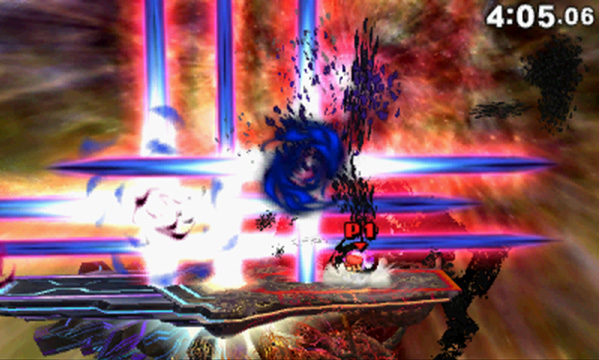
Watch for the growths that sometimes appear on top of the giant’s head. Soon after they do, the giant smashes down on the platform and releases them into the air. Once the shadowy blobs are in place, each of them detonates, releasing horizontal and vertical beams in the process. Position yourself to avoid all of the beams until they fade, and then resume your attacks.
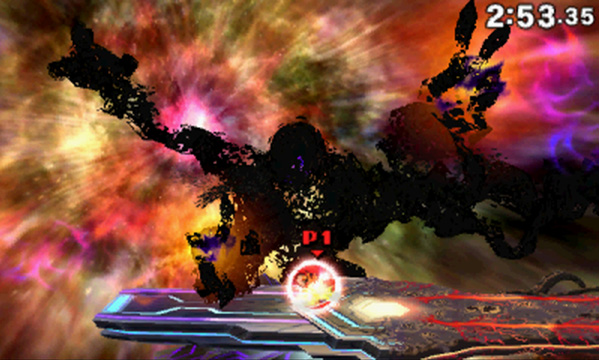
When the giant sprouts extra arms, two of its hands begin to glow. Evade these glowing fists to avoid being temporarily absorbed into the giant. Shielding yourself also prevents the giant from grabbing you, but just make sure your shield is only active when you’re in imminent danger.
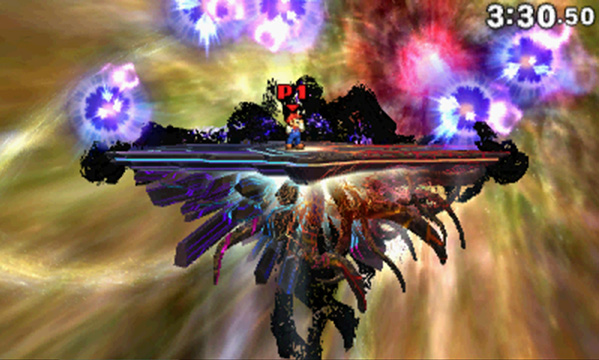
When the giant releases a swarm of energy orbs, try to position yourself directly under one of the available gaps. This improves your chances of avoiding damage when the giant lifts the platform into the air. The orbs roam for the duration of the attack, though, so be prepared to shield or dodge as necessary.
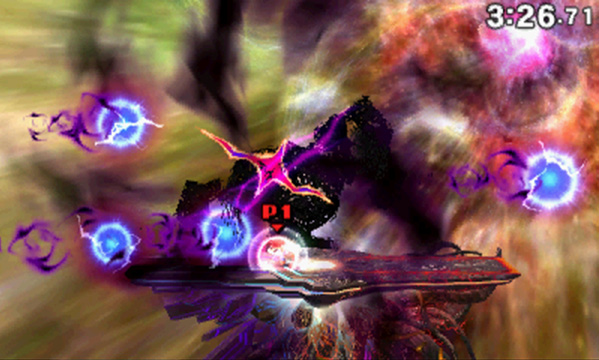
The giant sometimes creates a tear in the space near its head. Move away as soon as this happens, then activate your shield to avoid being pulled into the tear. During this attack, energy orbs travel through the area. Allowing even one of these orbs to touch you will significantly weaken your shield—if you’re forced to dodge an orb, reactivate your shield as soon as you’re clear.
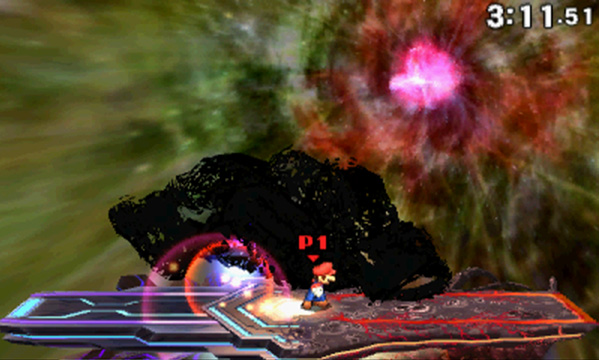
When the giant clutches its head and writhes around, this signals an impending burst of energy. Watch for the small waves of energy to appear, then activate your shield to avoid the incoming attack.
Monster Form
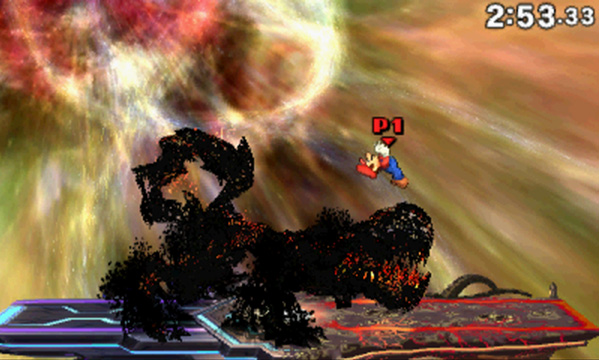
When the intensity level is set between 6.0 and 6.9, Master Core first appears in the form of a beast-like monster. At intensity levels of 7.0 and above, this monster form appears after you defeat Master Core’s giant form. While in this monster form, Master Core has a few distinct attacks. They’re fairly easy to identify, but they can sometimes be difficult to avoid. Between the monster’s attacks, however, you should have enough time to deal significant damage.
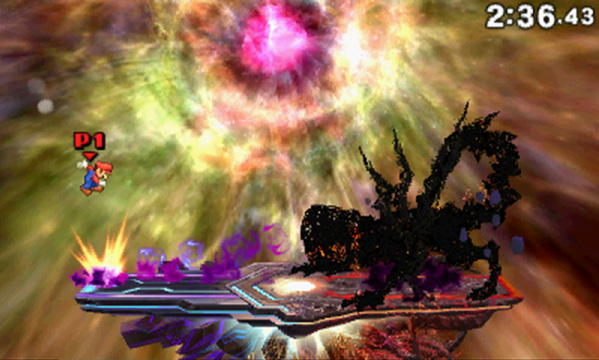
Soon after the monster sprouts spikes on its back, a trail of dark energy appears. When this trail reaches your position, spikes erupt from the platform. If you’re on the ground, activate your shield or dodge away from the spikes just before they emerge. If you’re caught in the air, use your recovery moves to land safely away from the spikes.
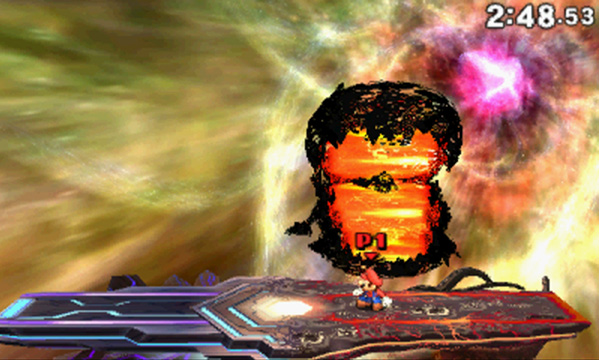
Each time the monster leaps into the background, it hooks back and snaps its jaws as it returns to the platform. Activate your shield or dodge away from the attack just before the monster reaches you.
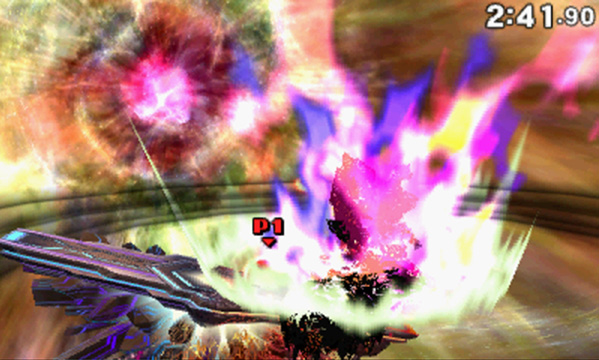
Sometimes the monster leaps straight into the air and comes crashing down with enough force to tilt the platform. If you are near the point of impact, activate your shield to avoid taking damage. If you manage to get clear of the initial hit, jump up to maintain control of your fighter as the platform tilts upward.
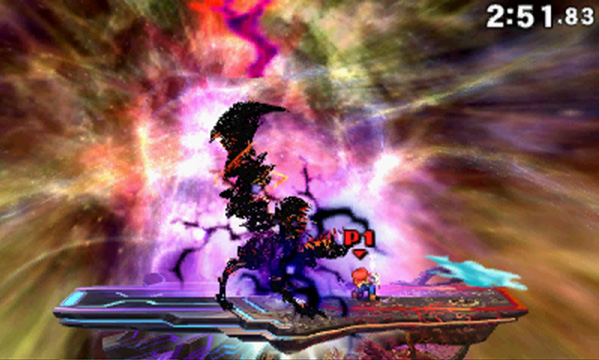
If the monster uses its tail to summon a bolt of dark energy, move away to avoid the impending eruption. If that’s not possible, activate your shield to avoid taking damage.
Blades Form
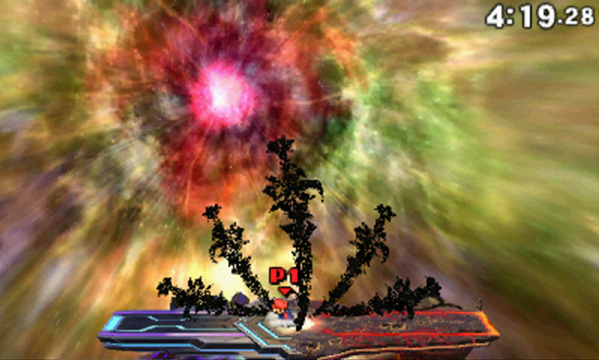
If your intensity is set between 5.1 and 5.9, Master Core first appears in the form of five shadowy blades. At higher intensities, he changes to this form after you’ve dealt enough damage to his monster form. While in this form, Master Core can attack as individual swords or as a single cluster of blades. Additionally, this form summons dangerous orbs of dark energy. These floating blades often hover to high above the platform, so be prepared to use aerial attacks. When the blades are within range, though, look for opportunities to use some of your fighter’s more powerful attacks.
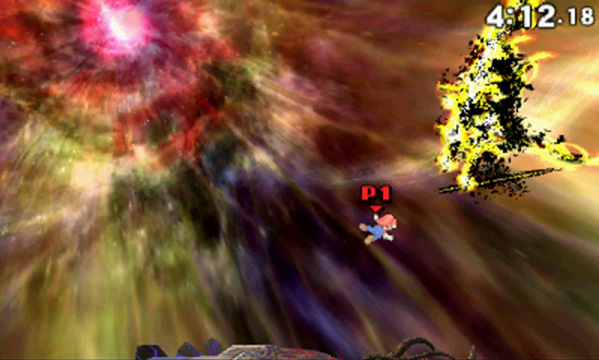
While Master Core is in this form, look for the yellowish shimmer that appears along the blades just before each attack. If the blades shimmer while they’re tightly clustered and pointing upward, it means they’re about to release a flurry of strikes. This flurry has a fairly long range, so it’s often best to simply activate your shield and wait it out. If the shimmer appears while you’re airborne, use your fast fall to return to the platform as quickly as possible.
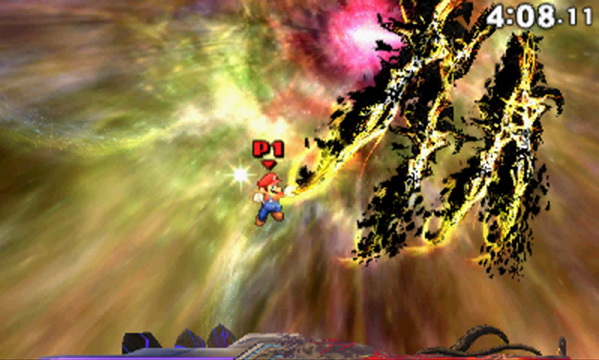
If the blades are pointing downward when they shimmer, it usually indicates some type of quick slash attack. Such attacks almost always produce orbs of dark energy. Use your shield to defend yourself from the slashing blades, and then evade the orbs as they move through the area.
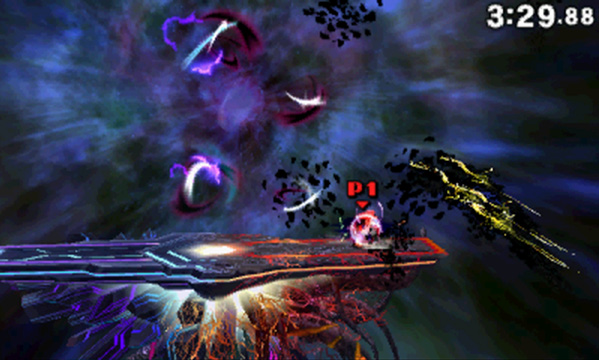
Smaller orbs move fairly slowly, but they’re very good at homing in on your position. This can make the orbs surprisingly difficult to avoid, so it’s important to time your jumps and dodges properly.
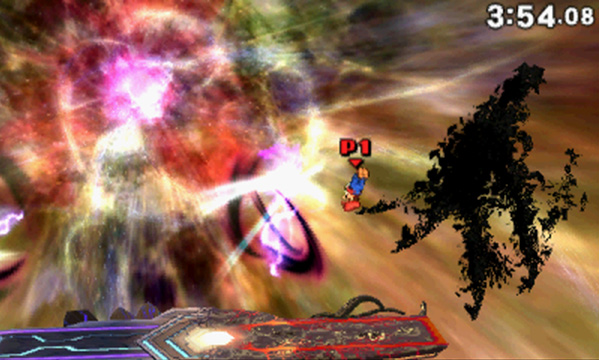
The larger orbs have limited homing ability, but they move considerably faster than their smaller counterparts. Their sheer size can also make it more difficult to slip around the larger orbs—so, be prepared to spot dodge or activate your shield as needed.
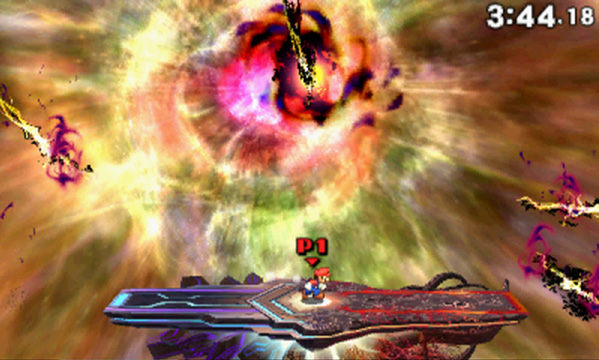
Occasionally, the blades separate in order to surround you. When this happens, move to the center of the platform and wait for the attack. Spot dodge each of the smaller blades as they slash through the area. The attack ends when the large blade above you comes crashing down to the platform. Spot dodge or shield yourself from the impact, then hit the large blade with a few counterattacks.
Mirror Form
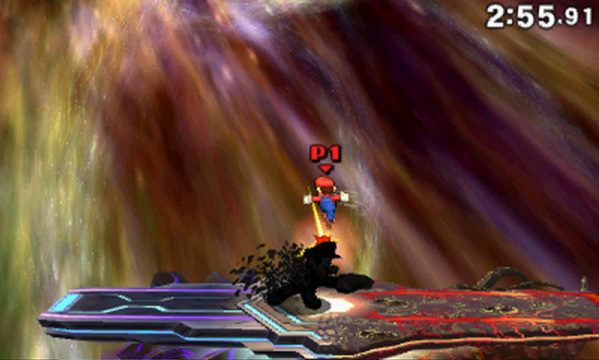
Whenever you face Master Core—regardless of your intensity level—he creates a shadowy version of your fighter once you’ve dealt enough damage to his blades form. This mirror form possesses more powerful versions of your fighter’s abilities and equipment. This means its attacks do more damage than yours, and any equipment-based bonus effects are more potent than those granted to your fighter.
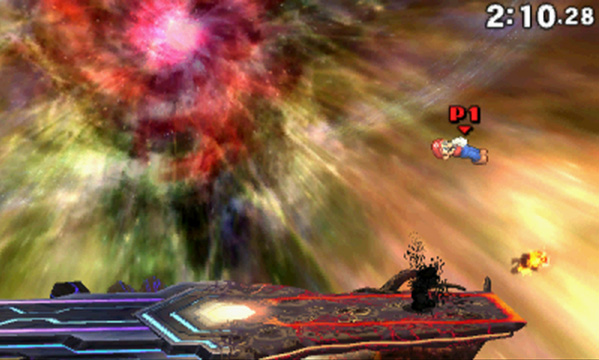
When Master Core’s mirror form is first revealed, your shadowy opponent is a considerably larger version of your fighter. Your successful attacks, however, will slowly cut your doppelgänger down to size. Remember that while Master Core is in this form, he isn’t limited to offensive maneuvers—he can shield himself and dodge your attacks as well as any standard opponent. Use your more powerful attacks each time you see an opening, and use plenty of throws to break through his defenses. Continue to deal damage until you destroy Master Core’s mirror form or until you’re able to launch your opponent out of the stage.
True Form
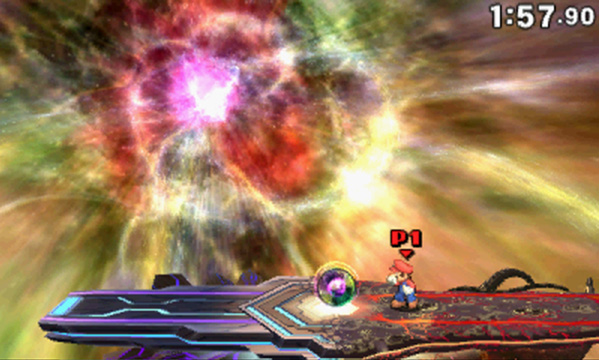
Once you’ve defeated all of Master Core’s shadowy forms, his true form is revealed. When he’s exposed, Master Core lacks any defensive abilities. If you remain idle too long, however, Master Core will unleash a powerful attack, resulting in an instant KO! Dash in and perform a series of attacks to prevent this from happening. All of your attacks should prove effective, but you must KO Master Core to finish the battle. Use any combination of attacks to get Master Core’s damage percentage well above 100, then perform Smash attacks until you launch him out of the stage.
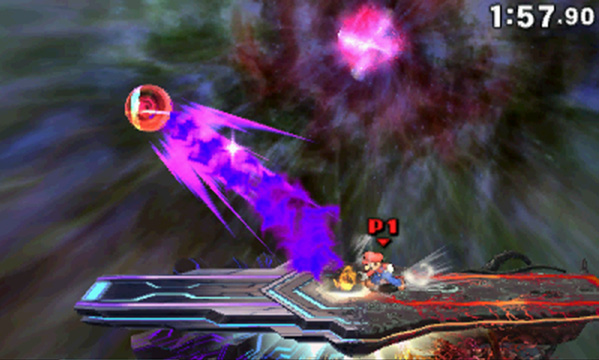
As Master Core takes damage, he becomes easier to launch. Until you finally score the KO, however, he’ll return to the center of the platform after each of your attacks. Luckily, the clock stops once Master Core’s true form is revealed, so you’re free to make as many attempts as you need to launch him out of the stage.
Game Over
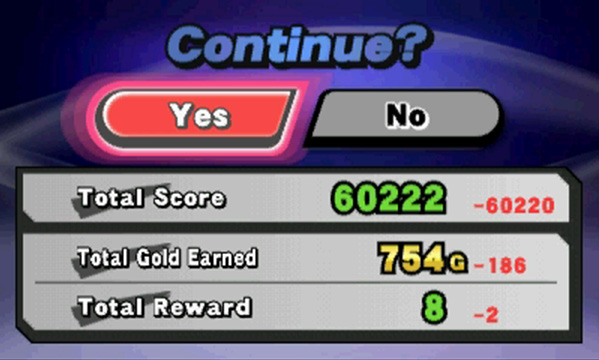
In Classic, you start each match with two stock lives. This means that you can suffer one KO during each battle without losing the match. If you lose both of your stock lives during a match—or if you fail to complete a match within the allotted time—the game ends. This reduces your score and gold, and it usually eliminates at least a few of the rewards you’ve earned. Each time you lose a match, however, you’re given the opportunity to continue. This allows you to resume your playthrough, but any penalties you took remain in place. In most cases, continuing your game also affects the intensity level for the remaining matches.
If you decide not to continue, you’re granted whatever score, gold, and rewards are displayed on the results screen.
Clearing Classic
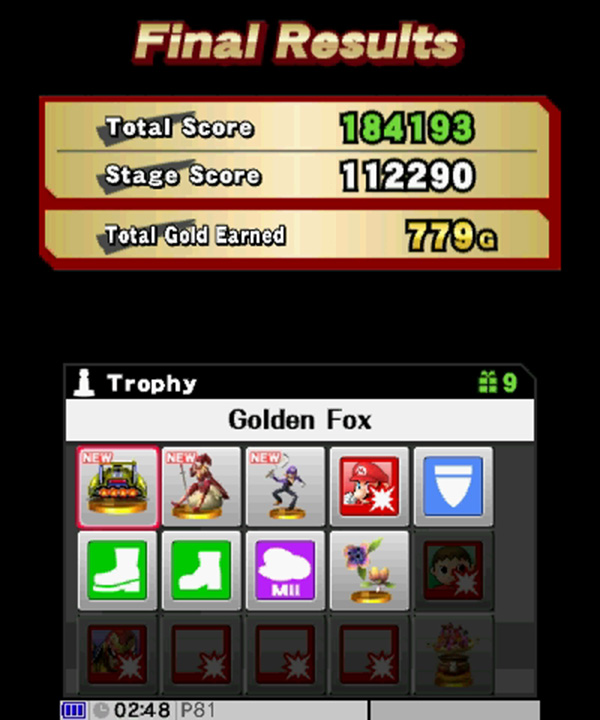
When you clear a game of Classic, you receive information about your score, as well as any gold and rewards you’ve earned. Tap the icons on the Touch Screen for details about your final rewards. This screen also displays any rewards you might have sacrificed by continuing the game.
Most important, however, clearing Classic unlocks your fighter’s primary trophy and triggers the staff credits.
Staff Credits
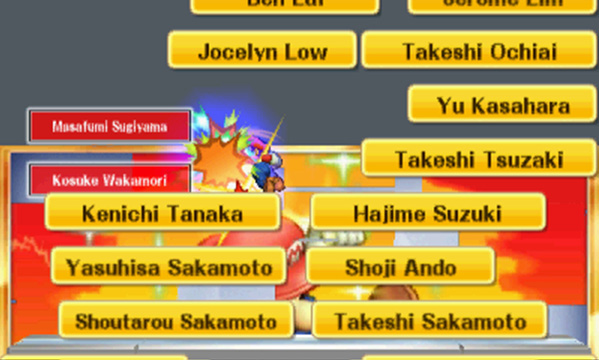
During the staff credits, you can attack the individual names to slowly reveal the image on the wall. For a name to contribute to the image, however, you must hit it at the just the right time and in just the right spot. Jump up and use aerial attacks to reveal the top of the image as the names pass in front of any blank areas, then work your way down.
As you reveal more of the image, it becomes important to aim your shots. Look for the sparkles that help identify hidden sections, then strike a name as it passes through the area.
Hidden Characters
All of the game’s hidden characters can be unlocked by playing Smash, but many of them can also be unlocked in Classic. Different characters have different prerequisites, so make sure you select the correct fighter and intensity before you start a playthrough.
Unlocking Hidden Characters in Classic
| Character | Prerequisite |
|---|---|
| Ness | Clear Classic on any difficulty. |
| Falco | Clear Classic without using any continues. |
| Lucina | As Marth, clear Classic without using any continues. |
| Dark Pit | Clear Classic with three or more characters. |
| Dr. Mario | As Mario, clear Classic on intensity 4.0 or higher. |
| Ganondorf | As Zelda or Link, clear Classic on intensity 5.0 or higher. |
| Mr. Game & Watch | Clear Classic with 10 or more characters. |
| Bowser Jr. | As Bowser, clear Classic on intensity 6.0 or higher. |
| Duck Hunt | Clear Classic with 15 or more characters. |