
Super Smash Bros. for Nintendo 3DS Guide Smash Run
Solo
Solo Smash Run Basics
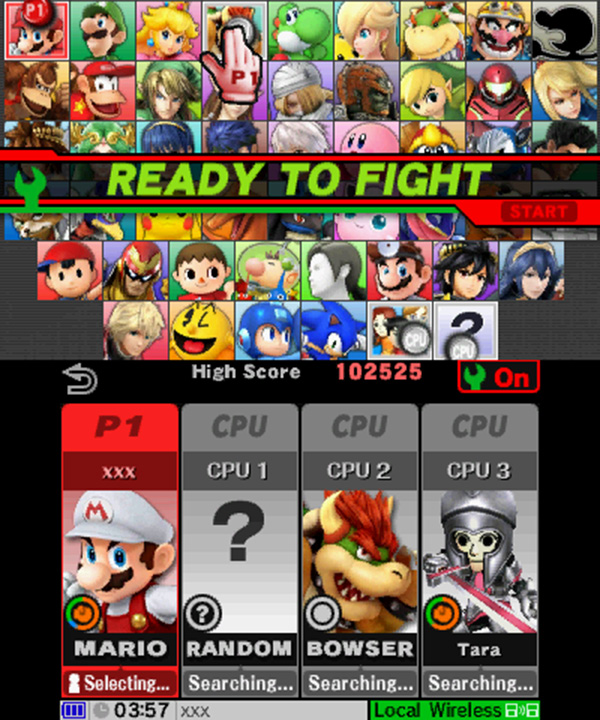
Beginning a game of Solo Smash Run is much like starting a battle in Smash. Select a fighter from your roster, then choose any CPU opponents you’d like to face.
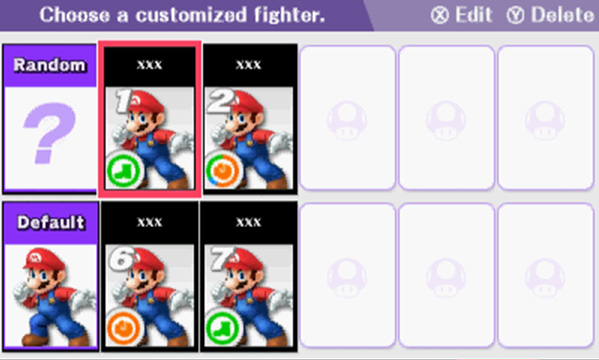
If custom characters are allowed, you’ll be asked to select one of your fighter’s custom sets. From this screen, you can also choose to edit an existing set or create a new one. By selecting one of these options, you’ll enter the Smash Run Custom mode without leaving your current game. Once you’re satisfied with your fighter and your CPU opponents, press  to begin the game.
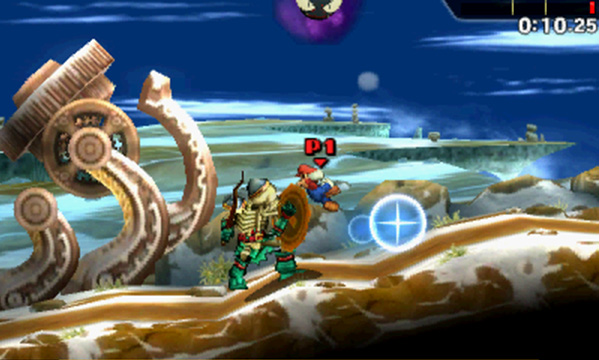
You begin the game at a random location within the Smash Run area. Explore the available paths and platforms to find enemies, treasure chests, challenge doors, and more. While you’re in the Smash Run area, a clock in the upper-right corner of the Main Display shows the remaining time. The final battle begins when the clock runs out. The bar above the clock indicates exactly when special events will be triggered; each time the bar reaches a white line, a new event begins.
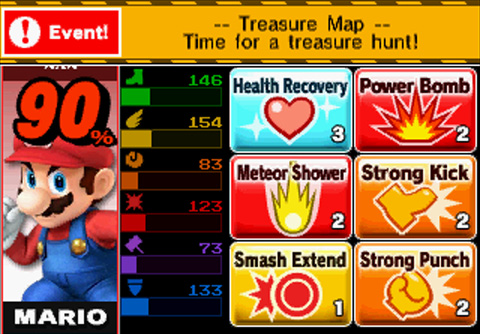
In Smash Run, the Touch Screen displays important information and gives you access to your available Powers. By default, the Touch Screen shows your current damage percentage, stat levels, collected items, and available Powers. Additionally, you’ll also receive notifications about active events, and opponent actions appear near the top of the Touch Screen. To activate a Power, tap the corresponding icon. To display a map of the Smash Run area, tap the Touch Screen anywhere other than where the Powers are displayed.
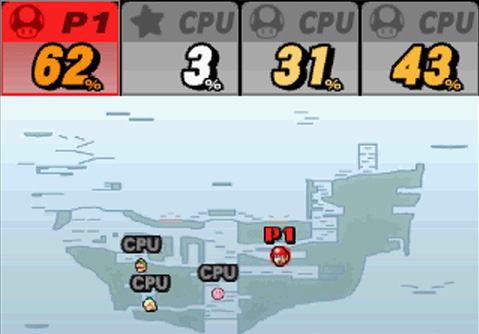
Activate the Touch Screen map to help navigate the Smash Run area, locate event-related items and enemies, and to get a bit of information about how your opponents are faring. The Touch Screen map shows each fighter’s current position and damage percentage. During events, objectives appear near the top of the Touch Screen, and important locations are marked on the map. Tap the map at any time to return to the Touch Screen’s default mode.
Powering Up Your Fighter
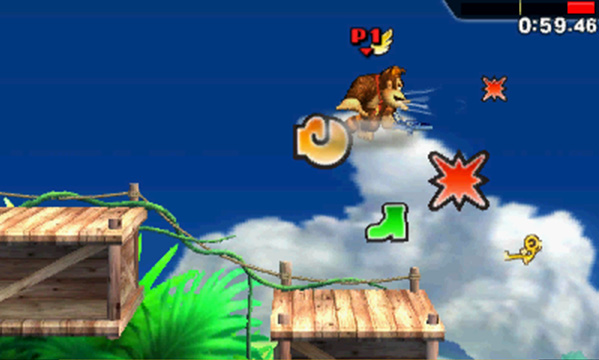
When the game starts, your fighter’s stats are very low. You have five minutes to earn and collect stat bonuses that increase your fighter’s effectiveness in the coming battle. Virtually every action you take will increase one of your fighter’s stats, but stat bonuses can also be found scattered across the battlefield, hidden in treasure chests, or collected from defeated enemies.
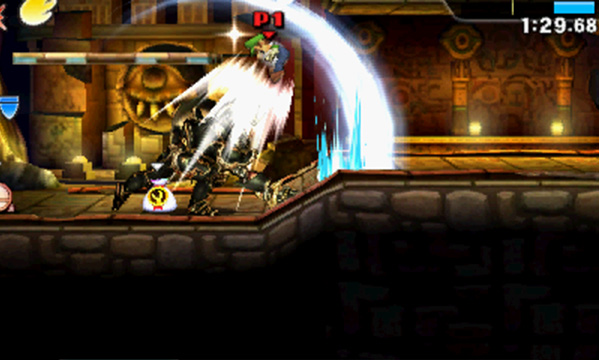
Keep an eye on your damage percentage as you power up your fighter. The more damage you take, the more likely it is that an enemy will launch you off-screen. Each time you suffer a KO or fall out of the Smash Run area, you lose a large portion of your fighter’s stats. Be careful, or you might find yourself at a severe disadvantage during the final battle!
Stat Boosts
 Speed
Speed
Speed determines how fast your fighter moves on the ground and in the air. Increase this stat by collecting Speed stat bonuses or by running through the battlefield.
 Jump
Jump
Jump determines how high and how far your fighter can jump. Increase this stat by collecting Jump stat bonuses or by jumping around the battlefield.
 Attack
Attack determines the damage caused by your fighter’s standard attacks, tilt (strong) attacks, and Smash attacks. Increase this stat by collecting Attack stat bonuses or by using the related attacks to damage enemies.
 Special
Special determines the damage caused by your fighter’s Special attacks. Increase this stat by collecting Special stat boosts or by using Special attacks to damage enemies.
 Arms
Arms
Arms determines the effectiveness of items and the power of your fighter’s throws. Increase this stat by collecting Arms stat boosts or by using items and throwing enemies.
 Defense
Defense determines how difficult it is to launch your fighter. Increase this stat by collecting Defense stat boosts or by taking damage, shielding your fighter from damage, and dodging enemy attacks.
Star-Shaped Stat Boosts
|

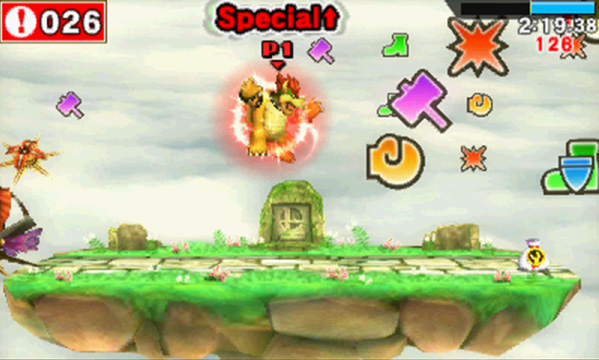
Stat boosts come in four sizes; the larger a stat boost, the greater its effect. Stat boosts dropped by defeated enemies only remain in the area for a short time, so make sure you grab them before they disappear!
Secret Doors
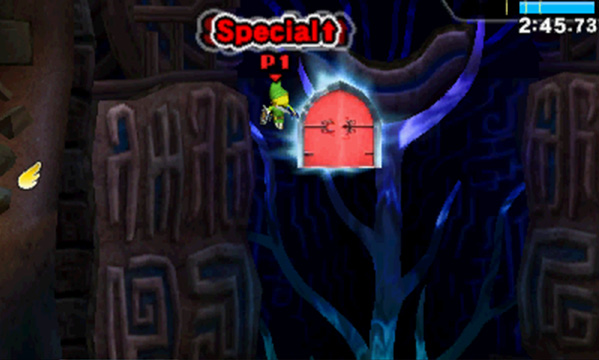
As you explore the Smash Run area, keep an eye out for secret doors. Move in front of one of these doors and slide the Circle Pad up to enter a bonus room.
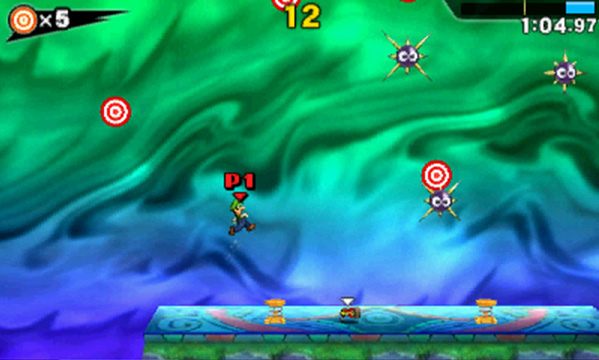
Some rooms simply contain miscellaneous items, but many bonus rooms hold secret door challenges that can be completed for big rewards!
Secret Door Challenges
| Objective | Description |
|---|---|
| Survive | Survive in the face of enemies and environmental hazards until time runs out. |
| Defeat them all! | Defeat all available enemies within the allotted time. |
| Target Smash | Destroy all available targets within the allotted time. |
| Crystal Smash! | Destroy all available crystals within the allotted time. |
Treasure Chests
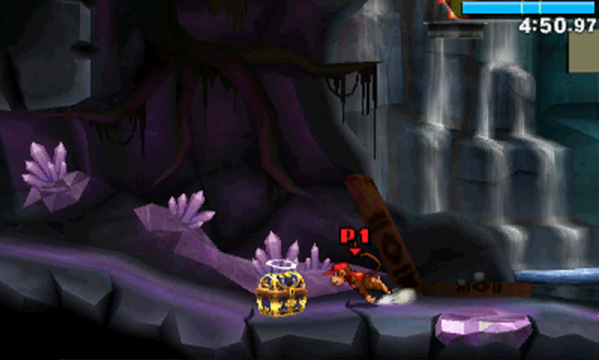
Open treasure chests to find stat boosts, trophies, Powers, and other collectible items! Treasure chests can appear throughout the Smash Run area, so a little exploration can be very rewarding.
Powers
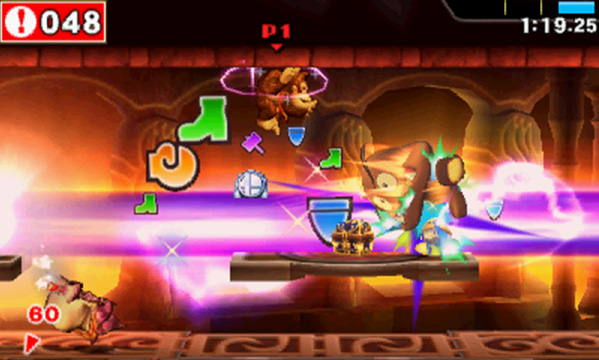
Powers can be earned or collected in most game modes, but they can only be used in Smash Run. Visit the Smash Run Custom mode to review and equip the Powers you’ve unlocked. A fighter can hold up to six Powers at a time. Each Power has a predetermined weight, however, so possible combinations are limited by your chosen character’s weight limit.
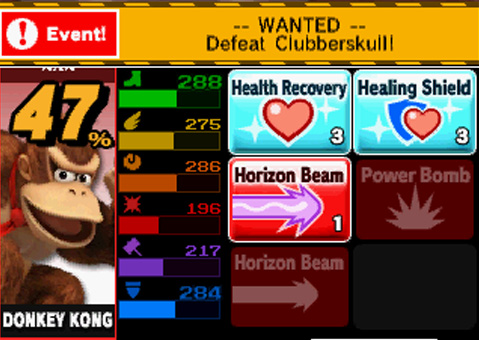
During Smash Run, the Touch Screen’s default mode displays an icon for each of your fighter’s equipped Powers. Tap an icon to activate the corresponding Power. Many Powers can be used multiple times in a single game; the number in the lower-right corner of each icon indicates a Power’s remaining charges.
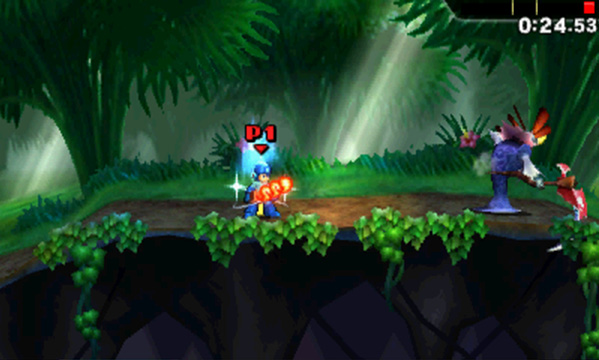
Using Powers is a great way to maximize your stat boosts or to prevent yourself from losing the bonuses you’ve already earned. Offensive Powers are great when you’re outnumbered or when you encounter a particularly dangerous enemy. It’s always wise, however, to bring at least one Power that focuses on damage prevention or health recovery. Knowing when and where to activate each of your Powers ensures your fighter will be as strong as possible by the time the final battle starts.
Recommended Powers
Experimenting with Powers is a great way to develop strategies and tactics that complement your personal playstyle. A few Powers, however, deserve a place in almost any custom set.
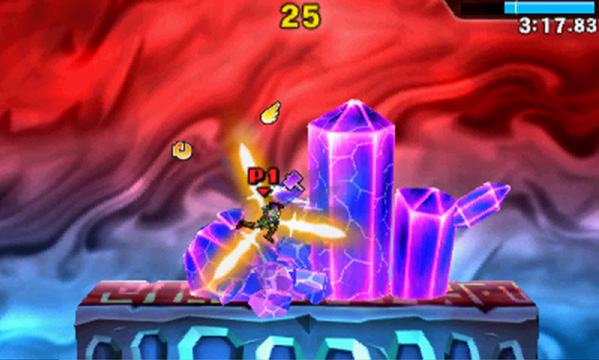
Spinning Blades, for example, is a surprisingly versatile Power. It lasts longer than most direct attacks, allowing you to clear a large area with ease. Spinning Blades is also a great way to complete many of the objectives found behind challenge doors. Activate this Power to quickly clear a bonus room of enemies or destructible objects!
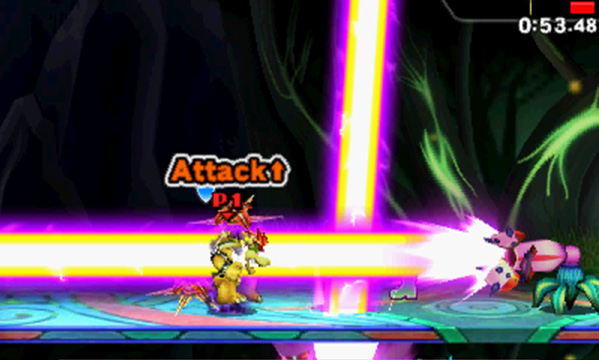
It’s also wise to enter Smash Run with some version of Health Recovery or Warp equipped. You never know when you’ll stumble onto a group of particularly tough enemies, and either of these Powers can help you escape dangerous situations intact. Combining one of these Powers with a piece of Auto-Heal equipment makes it much easier to reach the final battle without suffering a single KO.
Events
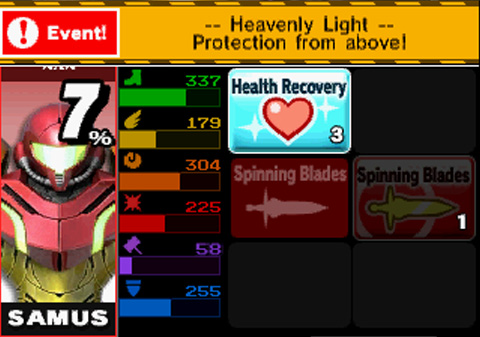
As you explore the Smash Run area, watch the Touch Screen for notifications about a variety of events. Some events offer special objectives that can be completed for valuable rewards; some events introduce new hazards or temporary power-ups. Use the bar in the Main Display’s upper-right corner to track upcoming events—a new event begins each time the bar reaches a white line.
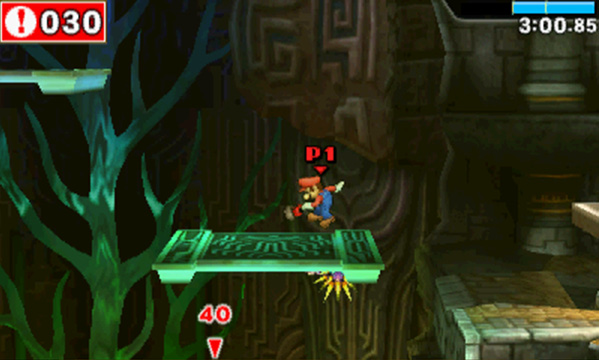
Once an event begins, a clock appears in the upper-left corner of the Main Display. This clock indicates the duration of the event; when the event ends, the clock disappears. If a small arrow appears on the screen, it indicates a special target or location related to the event.
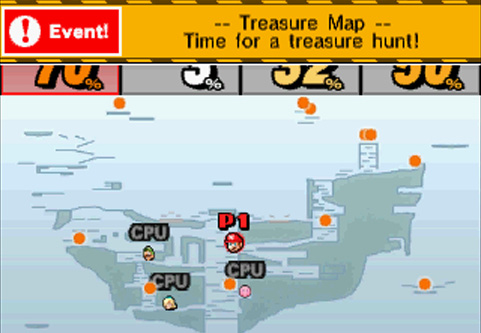
While an objective marker is active, you can use the Touch Screen’s Smash Run map to identify key locations. This is especially handy if you need to plot a route through multiple objectives.
Event Types
| Name | Description |
|---|---|
| Wanted | Defeat the marked enemy for rewards. |
| Treasure Trove | A new door appears in the area. |
| Treasure Map | Treasure chests appear throughout the area. |
| Otherworldly Door | A new door appears in the area. |
| Big Haul | Treasure chests yield more loot. |
| Doors Galore | Doors appear throughout the area. |
| Amped Up! | Your Speed and Jump stats are maxed out. |
| Heavenly Light | You gain Heavenly Light. |
| Fast Learner | It’s easier to increase a randomly selected stat. |
| Bonus Time | More stat boosts appear. |
| Warp | You are teleported to a random location. |
| [?] Fest | A randomly selected enemy appears more often. |
| Gale | You are pushed by a strong wind. |
| Dirty Trick | An enemy spawns bombs. |
| Final Battle Forecast | You’re given a hint about the final battle match type. |
The Smash Run Area
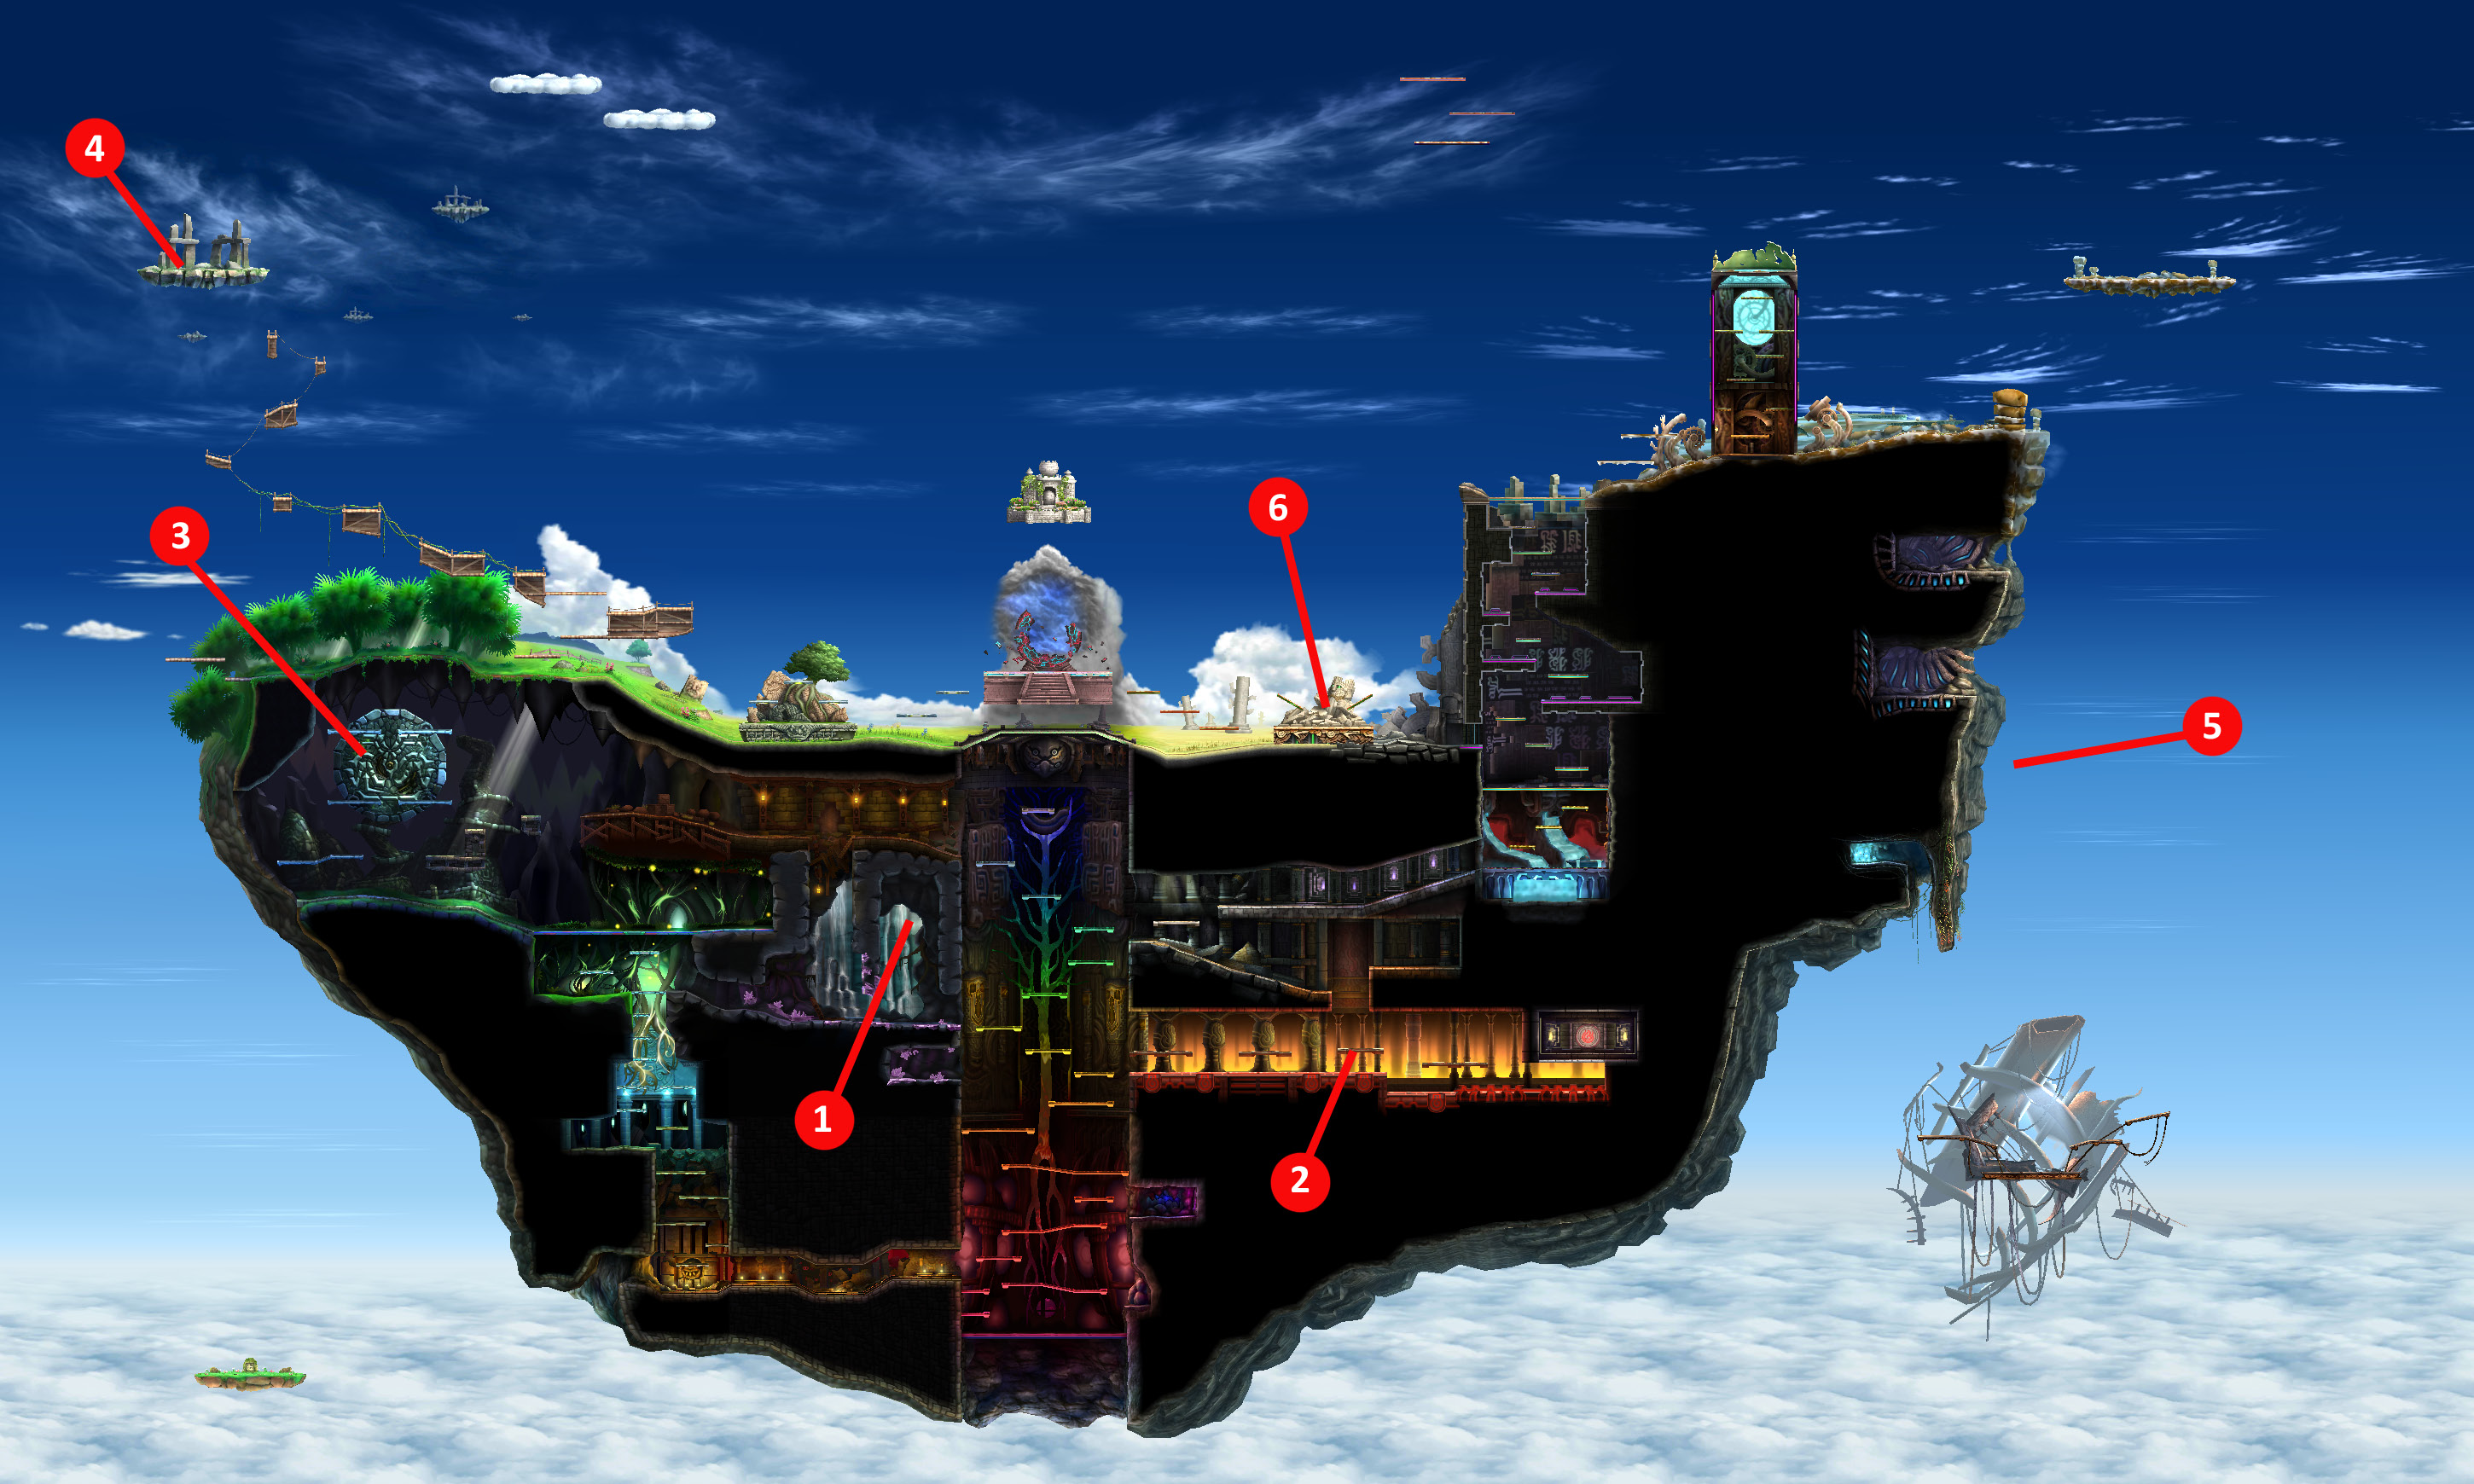
The Smash Run area always has the same basic layout, but it includes enough random elements to keep you guessing during each playthrough. Enemies vary during each visit, and you never know where you’ll find secret doors, treasure chests, and specific stat boosts. The cannons that launch you between platforms are limited to certain locations, but not all of them will be present during every playthrough. Each time you play Smash Run, you’ll have to adapt to any number of small changes.
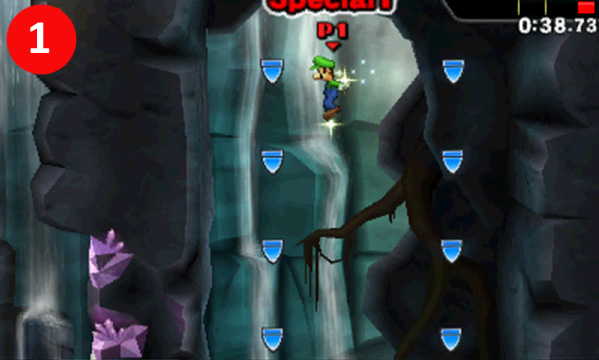
When you start a game of Smash Run, you may have some trouble reaching certain platforms and collectible items. Early in the game, try to focus on weaker enemies and smaller jumps. As your stats improve, you’ll find it much easier to move through the area.
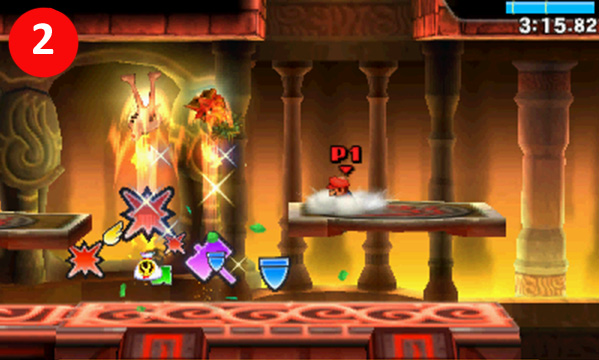
The Smash Run area contains plenty of enemies and falling hazards, but you’ll encounter a few additional dangers. One section of the map, for example, features a scorching hot floor that can damage and launch fighters and enemies while it’s glowing. Watch your step!
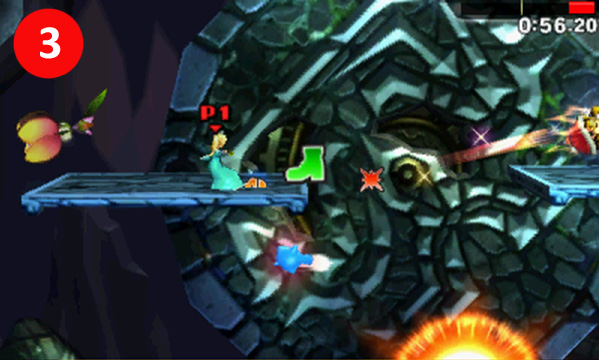
Moving platforms can make it tough to reach elusive enemies, and they can sometimes carry you away from hard-earned stat boosts. Keep track of available footholds to ensure you always have a safe place to land.
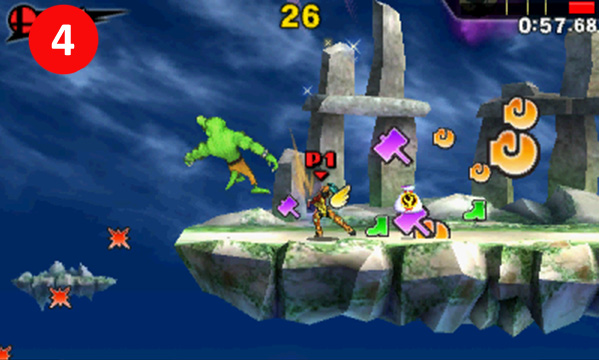
In general, you’re likely to find bigger stat boosts and more powerful enemies as you move to the outer edges of the Smash Run area. The most rewarding locations are often hard to reach, however, and an untimely fall can undo minutes of hard work. When choosing a strategy, remember to weigh the potential risks against the possible rewards.
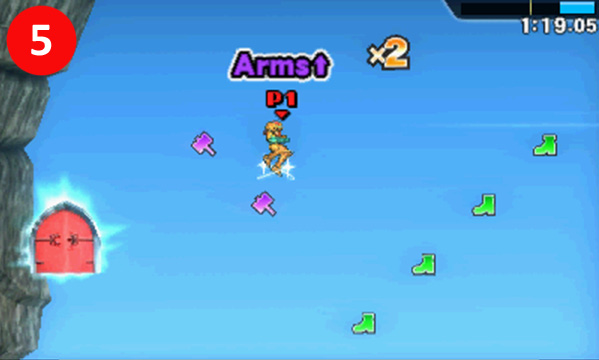
You’ll usually find clusters of valuable stat boosts floating well off the edge of the Smash Run area’s central mass. If you attempt to collect these, remember to watch for cannons that might launch you back to solid ground. If all else fails, use the Touch Screen map to look for any platforms that might catch you before you fall out of the area.
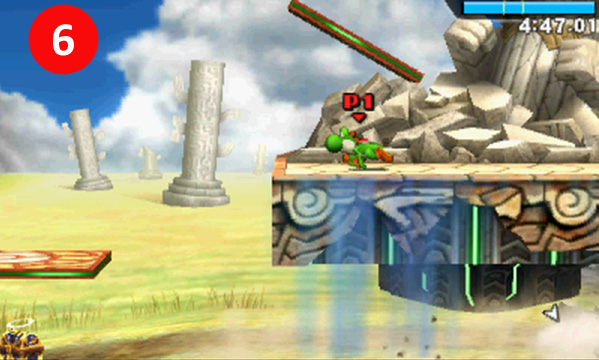
Suspiciously empty areas usually contain a surprise or two. You might find a Mimicutie disguised as a treasure chest, or an abandoned platform might whisk you away to an enemy ambush. Stay alert, and be prepared to adjust to new developments.
Final Battles
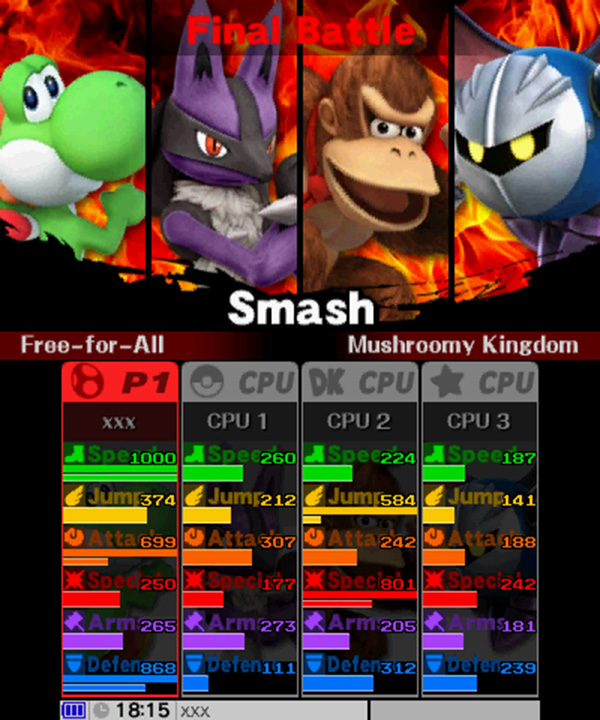
After five minutes in the Smash Run area, the screen displays the stats for each fighter, and the final battle match type is revealed. Use this time to develop a basic strategy for the upcoming battle. Different match types favor different stats, so identifying the strengths and weaknesses of your opponents can help improve your chances of victory.
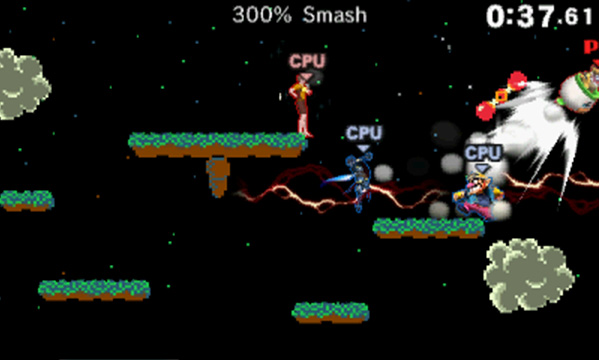
Most final battles offer some sort of Smash variation. Fighters might be divided into teams, specific items might be provided, or special rules might be in effect. You’ll sometimes find that the final battle match type neutralizes your fighter’s highest stats, so adjust your tactics as needed.
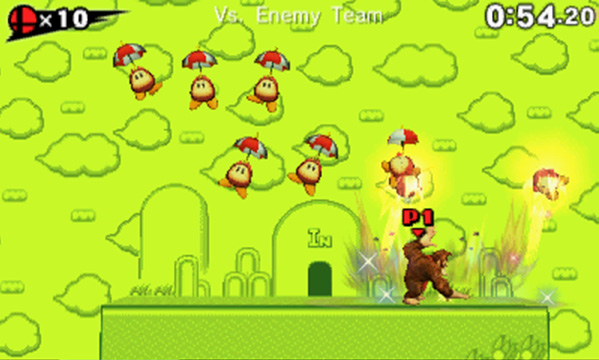
In some final battle match types, competitors never even cross paths. Vs. Enemy Team, for example, pits each fighter against waves of Smash Run enemies. You might even find yourself in a round of Multi-Man Smash, battling Mii Fighters and other characters rather than your opponents.
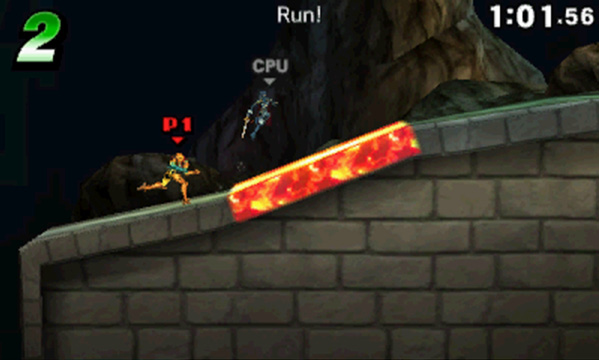
The Run and Climb match types focus on mobility rather than combat. In a Run final battle, all fighters race to a finish line. The Run course is packed with fiery hazards—touching one will cost you valuable time.
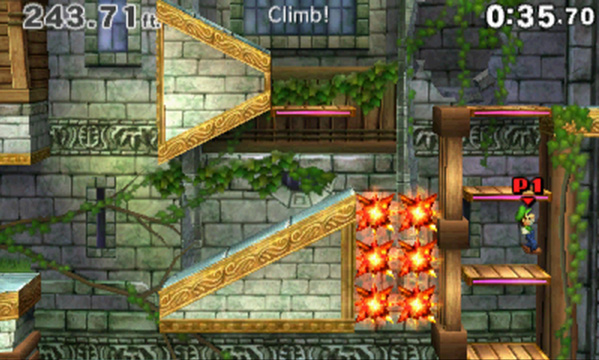
In a Climb match, fighters race each other through a vertical course. Avoid fiery hazards and detonating bombs to improve your chances of victory. A stumble or two can be enough to knock even the speediest fighter out of the lead. Familiarize yourself with all of the possible final battle match types and plan for every contingency.
Final Battle Match Types
| Name | Description |
|---|---|
| Smash | Smash is as simple as it gets! Use the available time to score more points than your opponents. |
| Mega Smash | All fighters are granted increased size and power. |
| High-Launch Smash | All fighters are easier to launch. |
| Flower Smash | All fighters are afflicted by flowers, causing their damage percentages to increase over time. |
| 300% Smash | All fighters start with 300% damage. Be careful! |
| Reflect Smash | All fighters are given a Franklin Badge, which reflects incoming projectiles. |
| Stamina Smash | Instead of damage percentages, each fighter starts out with a set amount of health. |
| Stock Smash | Each fighter has a limited amount of stock lives. |
| Glorious Smash | The battle takes place on a stage’s Final Destination form. |
| Explosive Smash | Explosive items appear throughout the battle. |
| Mushroom Smash | Super Mushrooms and Poison Mushrooms appear throughout the battle. |
| Mr. Saturn Smash | Mr. Saturns appear throughout the battle. Use these items to take out your opponents’ shields. |
| Warp Star Smash | Warp Stars appear throughout the battle. |
| Multi-Man Smash | Each fighter faces a team of Mii Fighters and other characters. Score more points than your opponents! |
| Vs. Enemy Team | Each fighter faces a team of Smash Run enemies. Score more points than your opponents! |
| Run | Fighters compete in a footrace. Make sure you avoid those fiery hazards on your way to the finish line. |
| Climb | Fighters jump along a series of platforms in this vertical race. Stay clear of the hazards scattered throughout the course! |