Super Smash Bros. for Nintendo 3DS Guide Characters Q-Z
Zelda
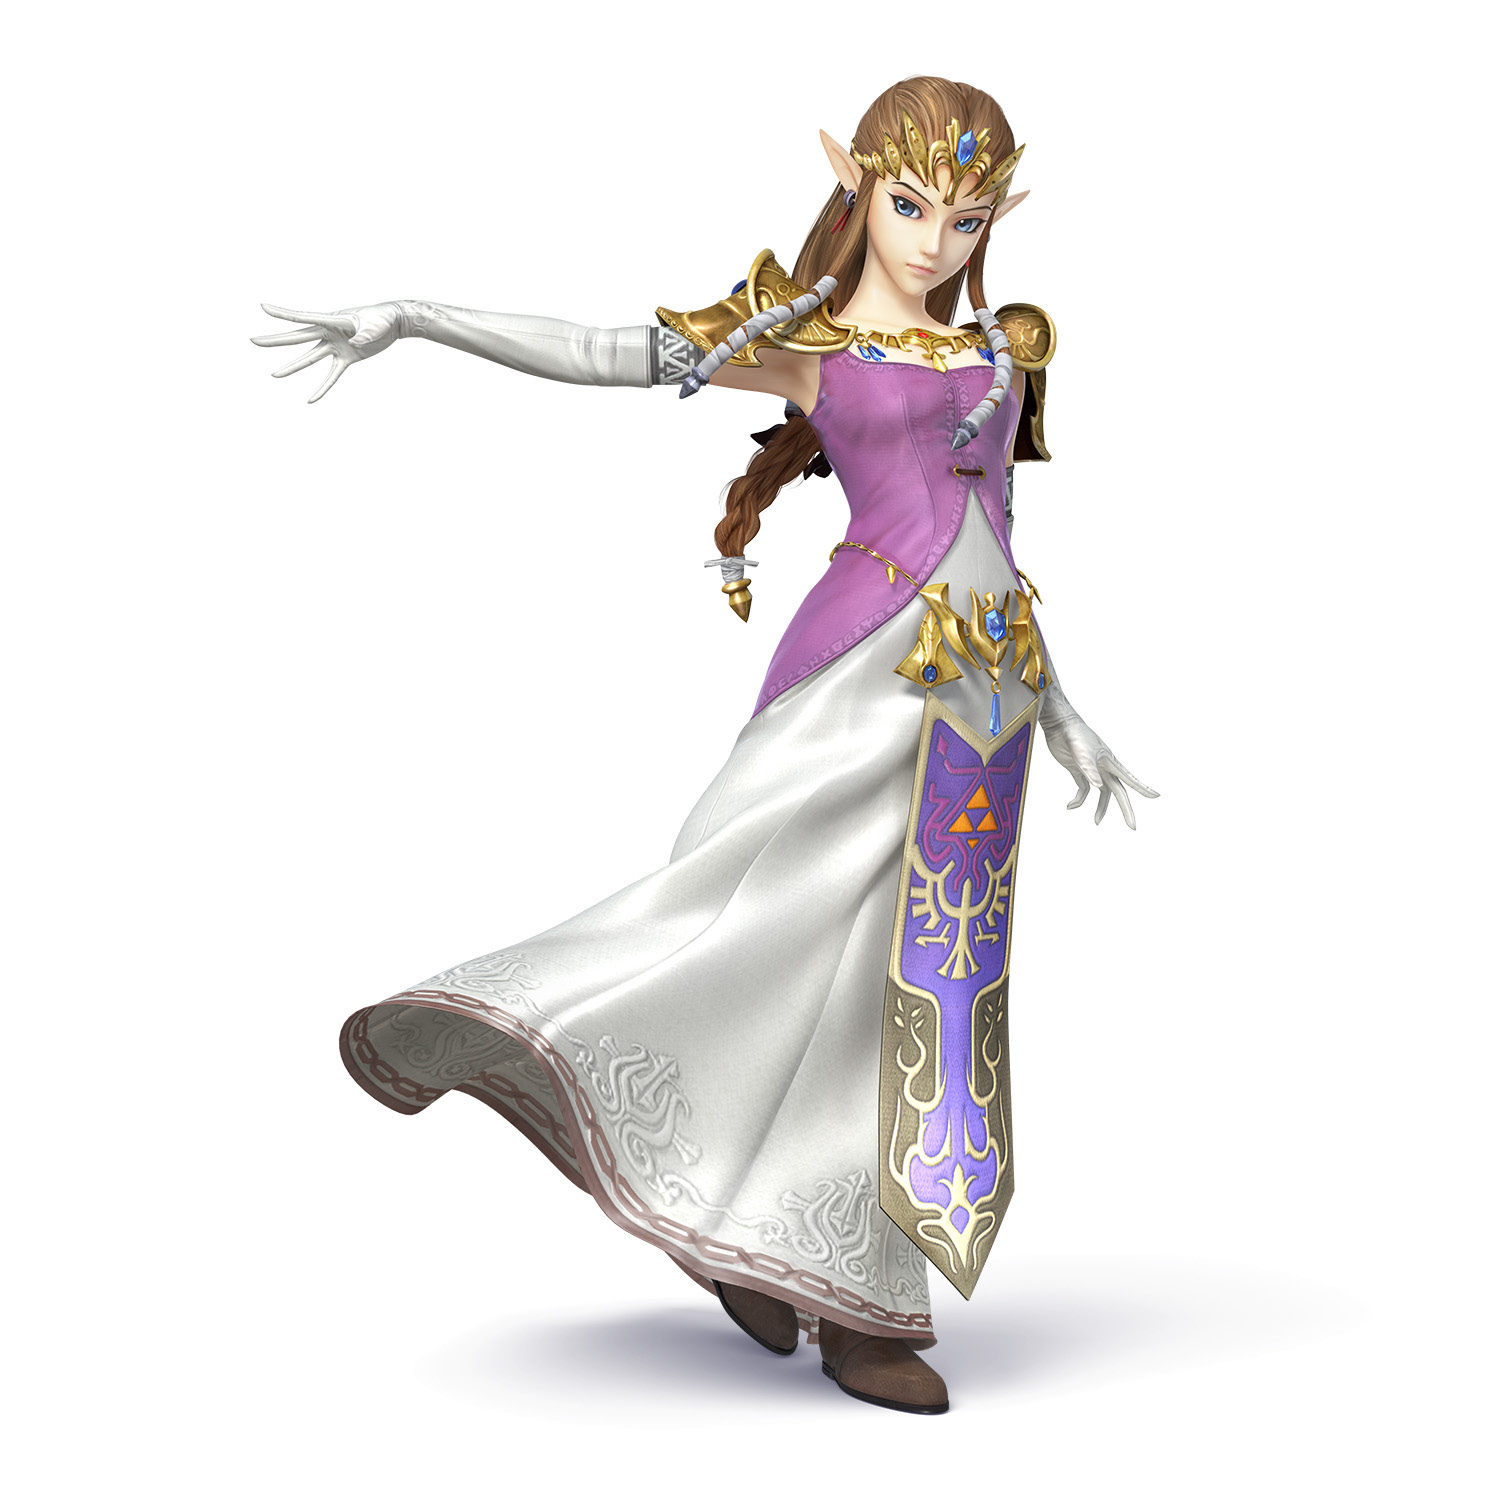
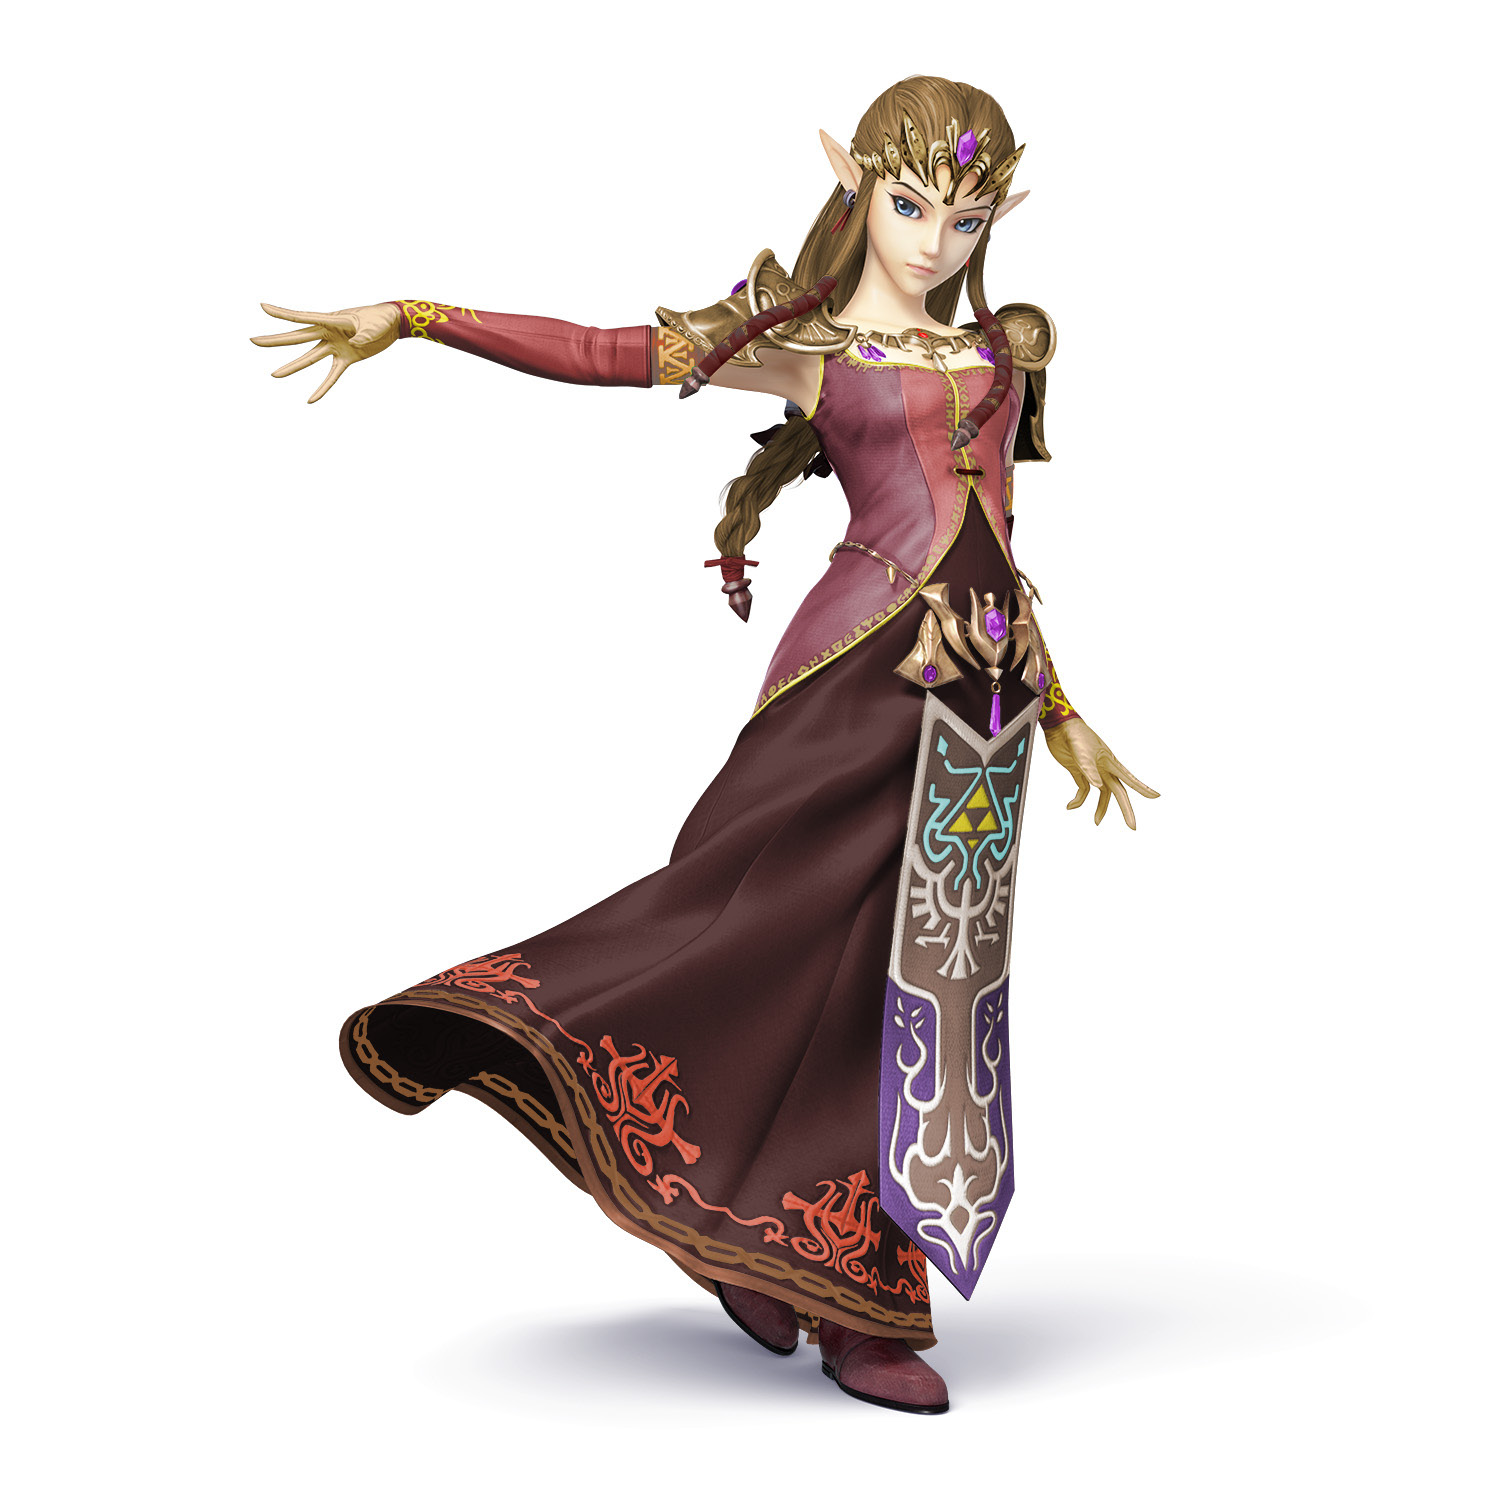
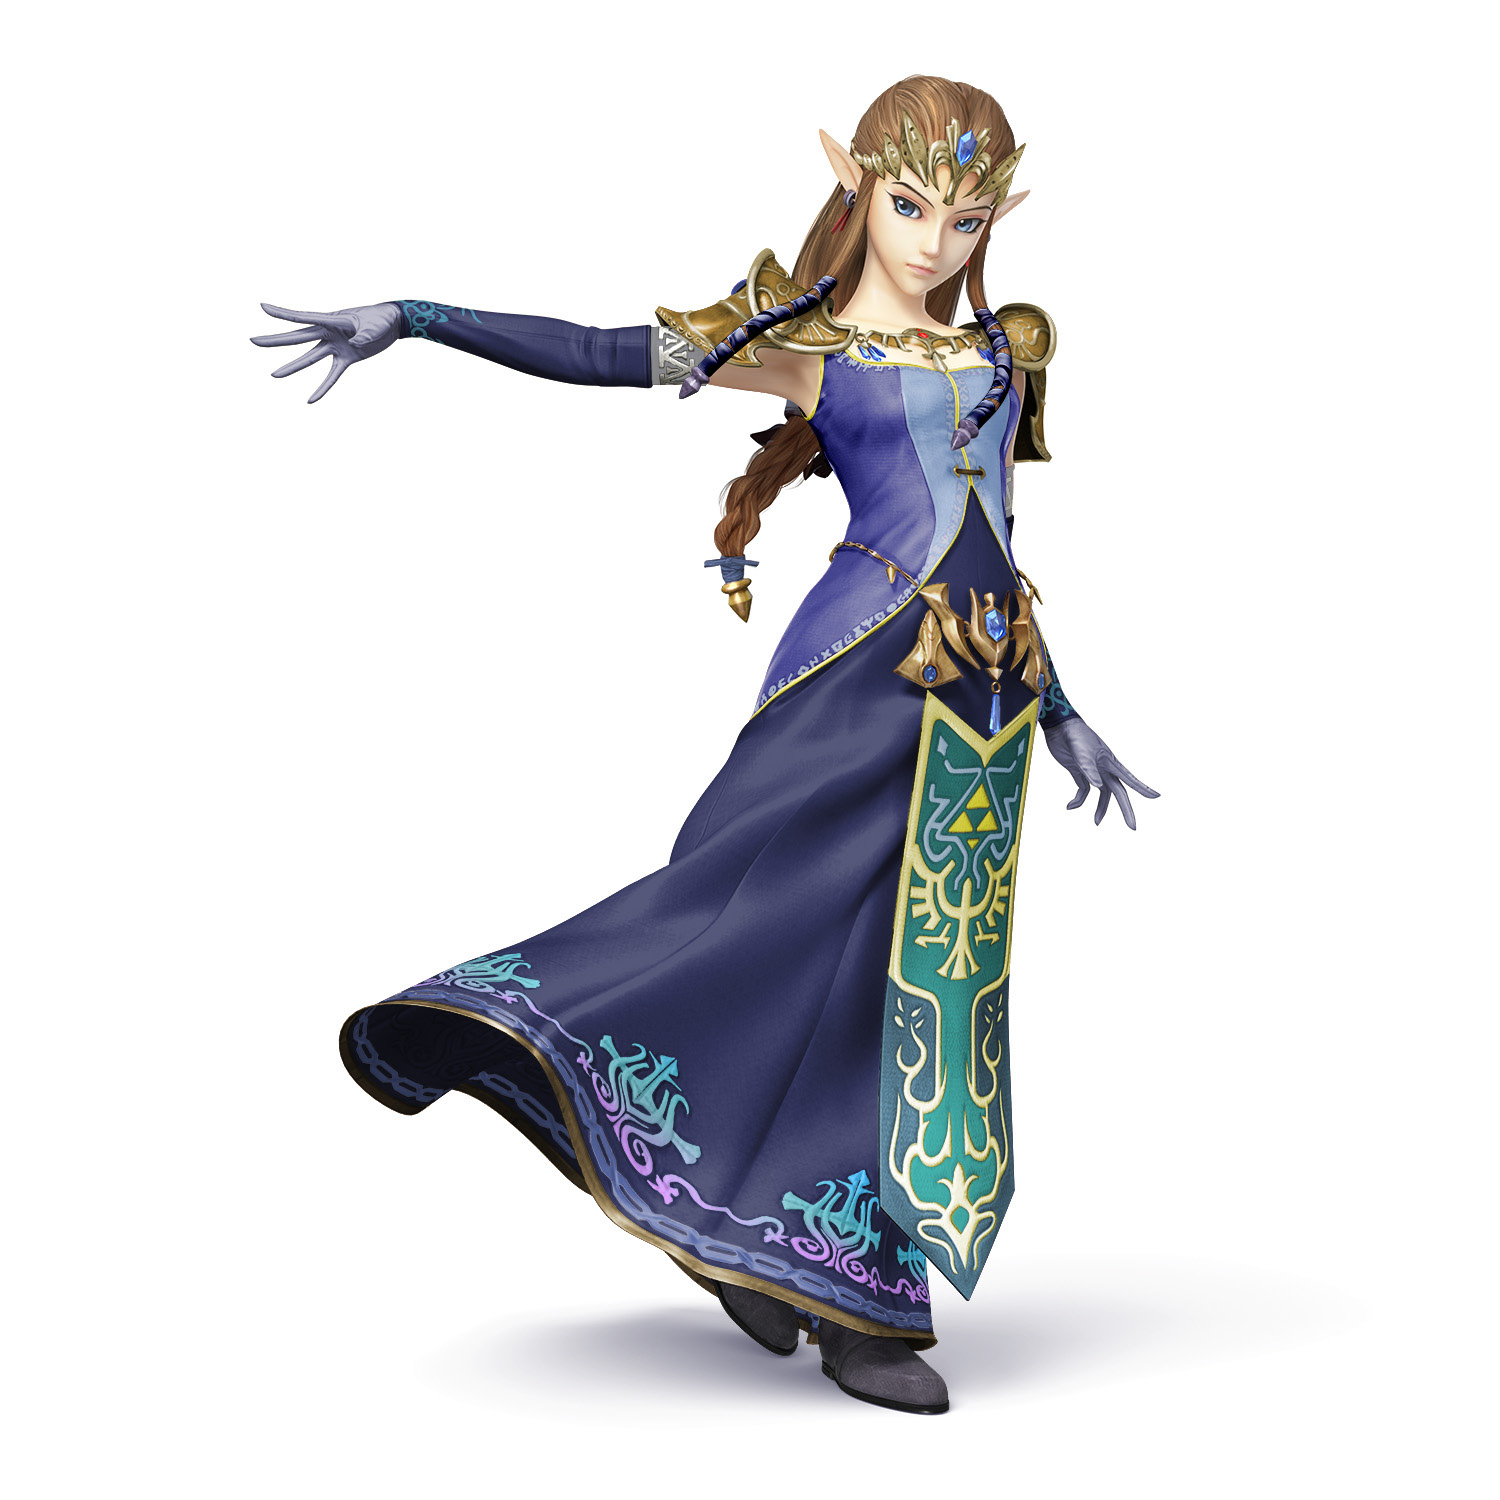
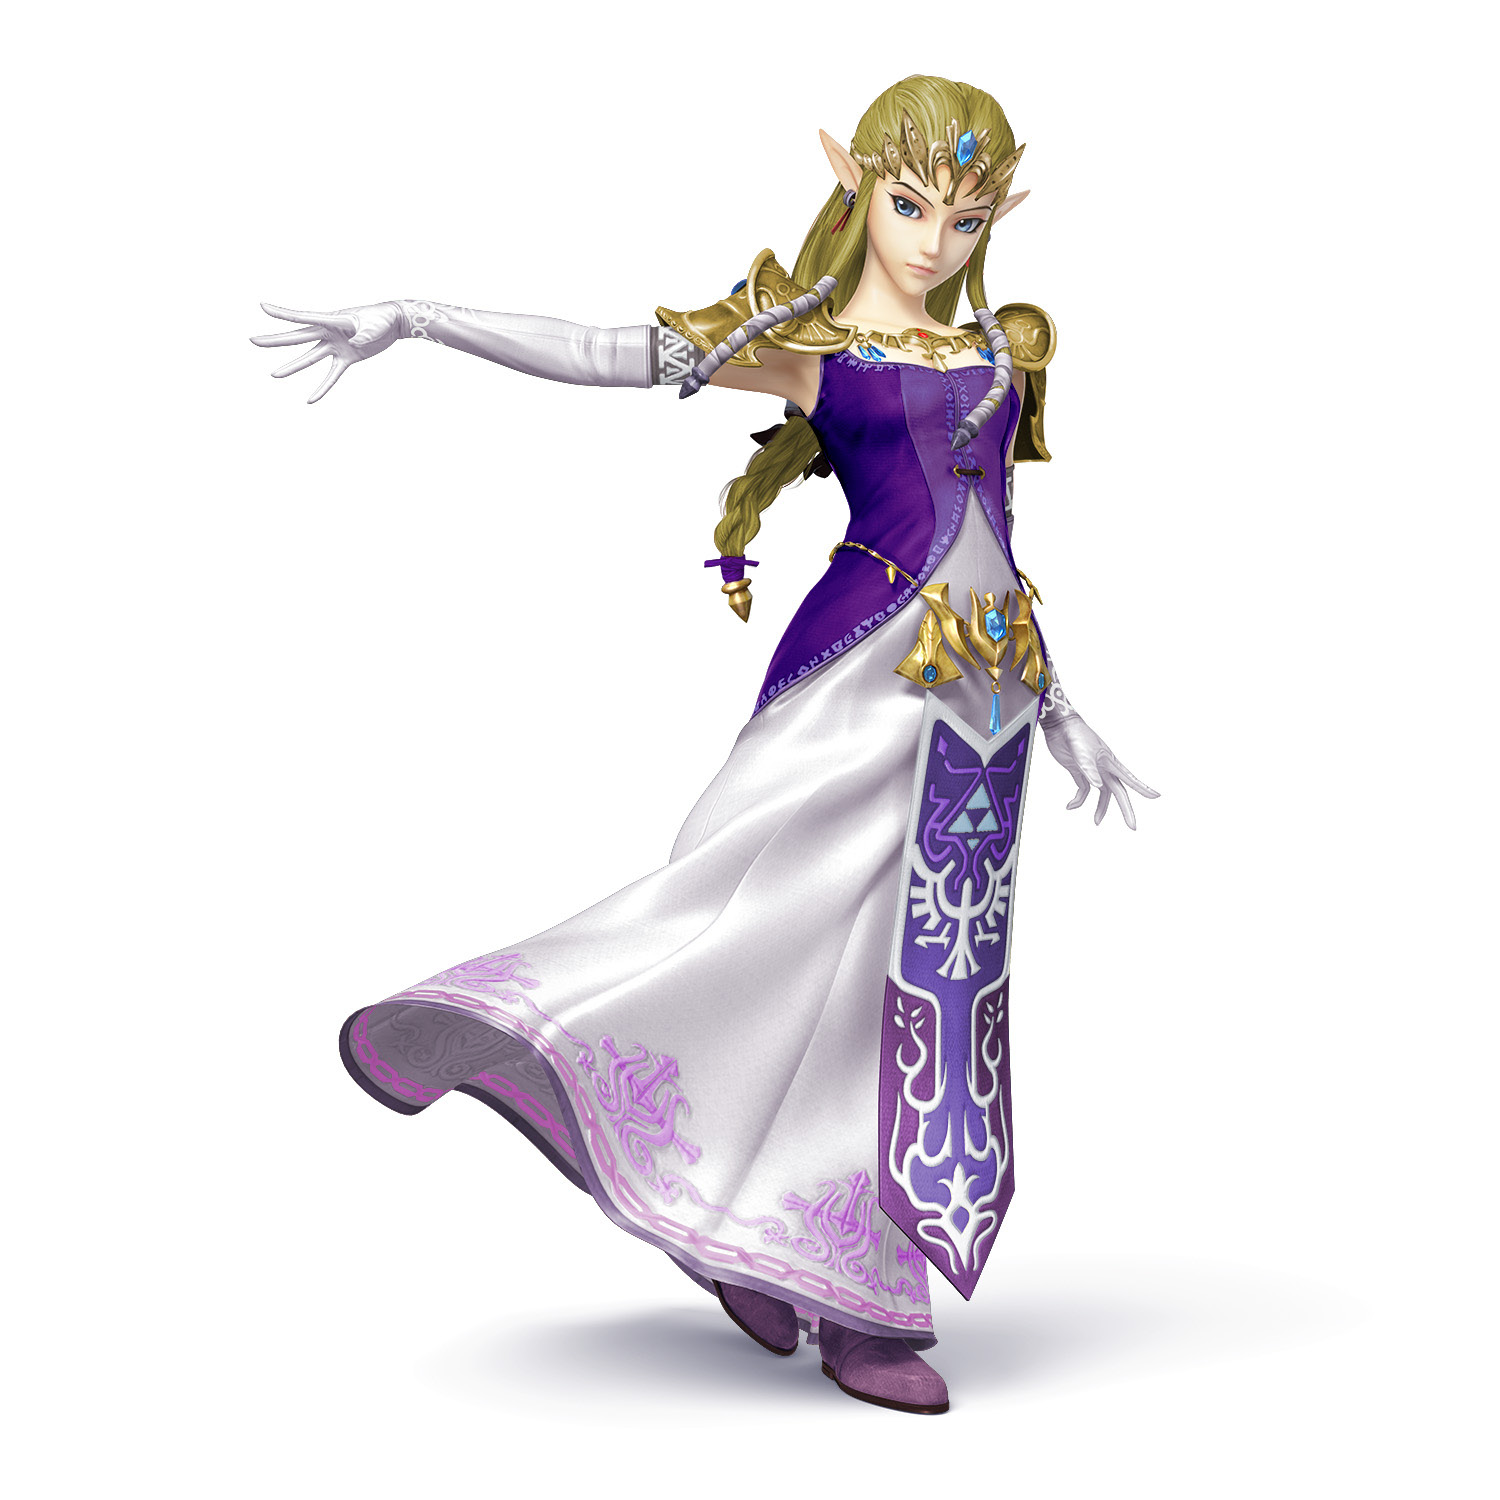
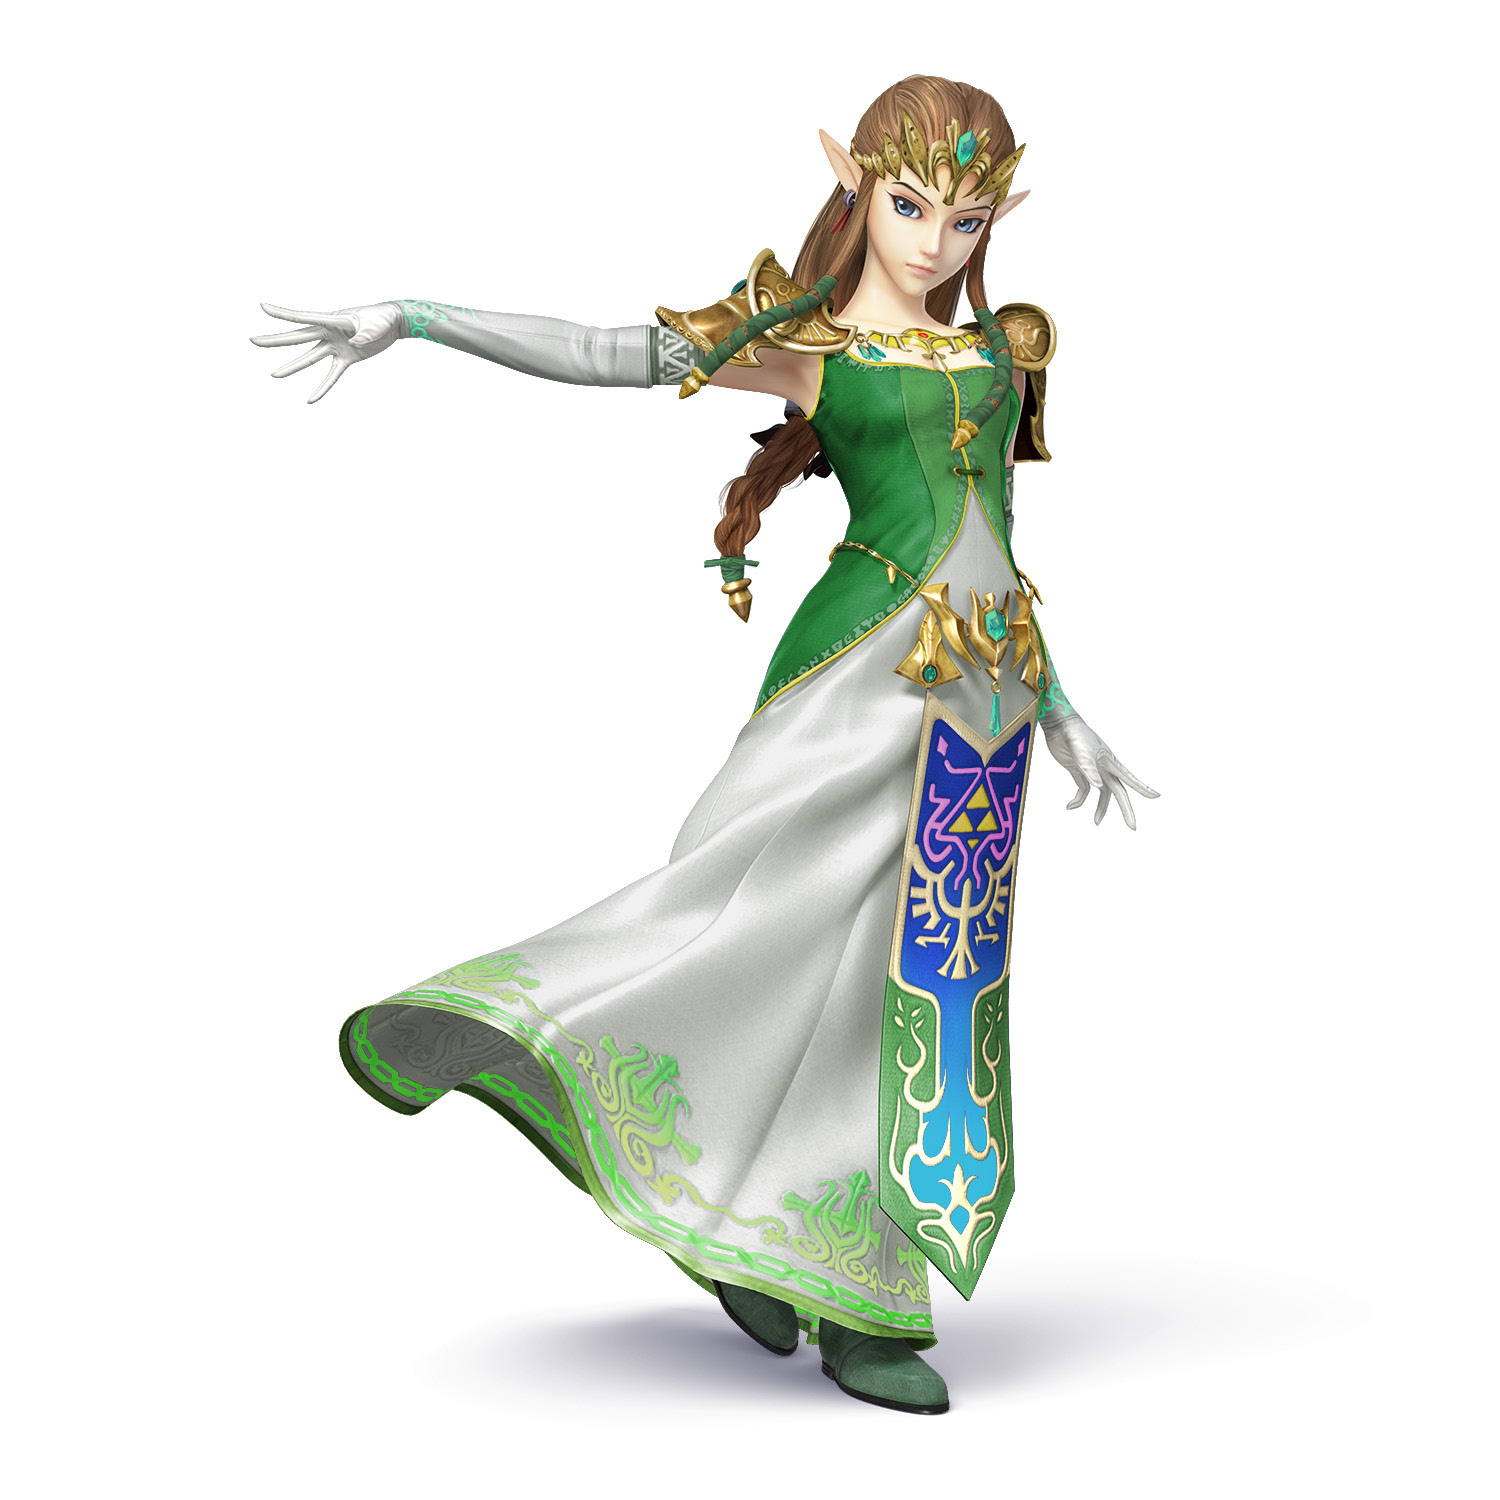
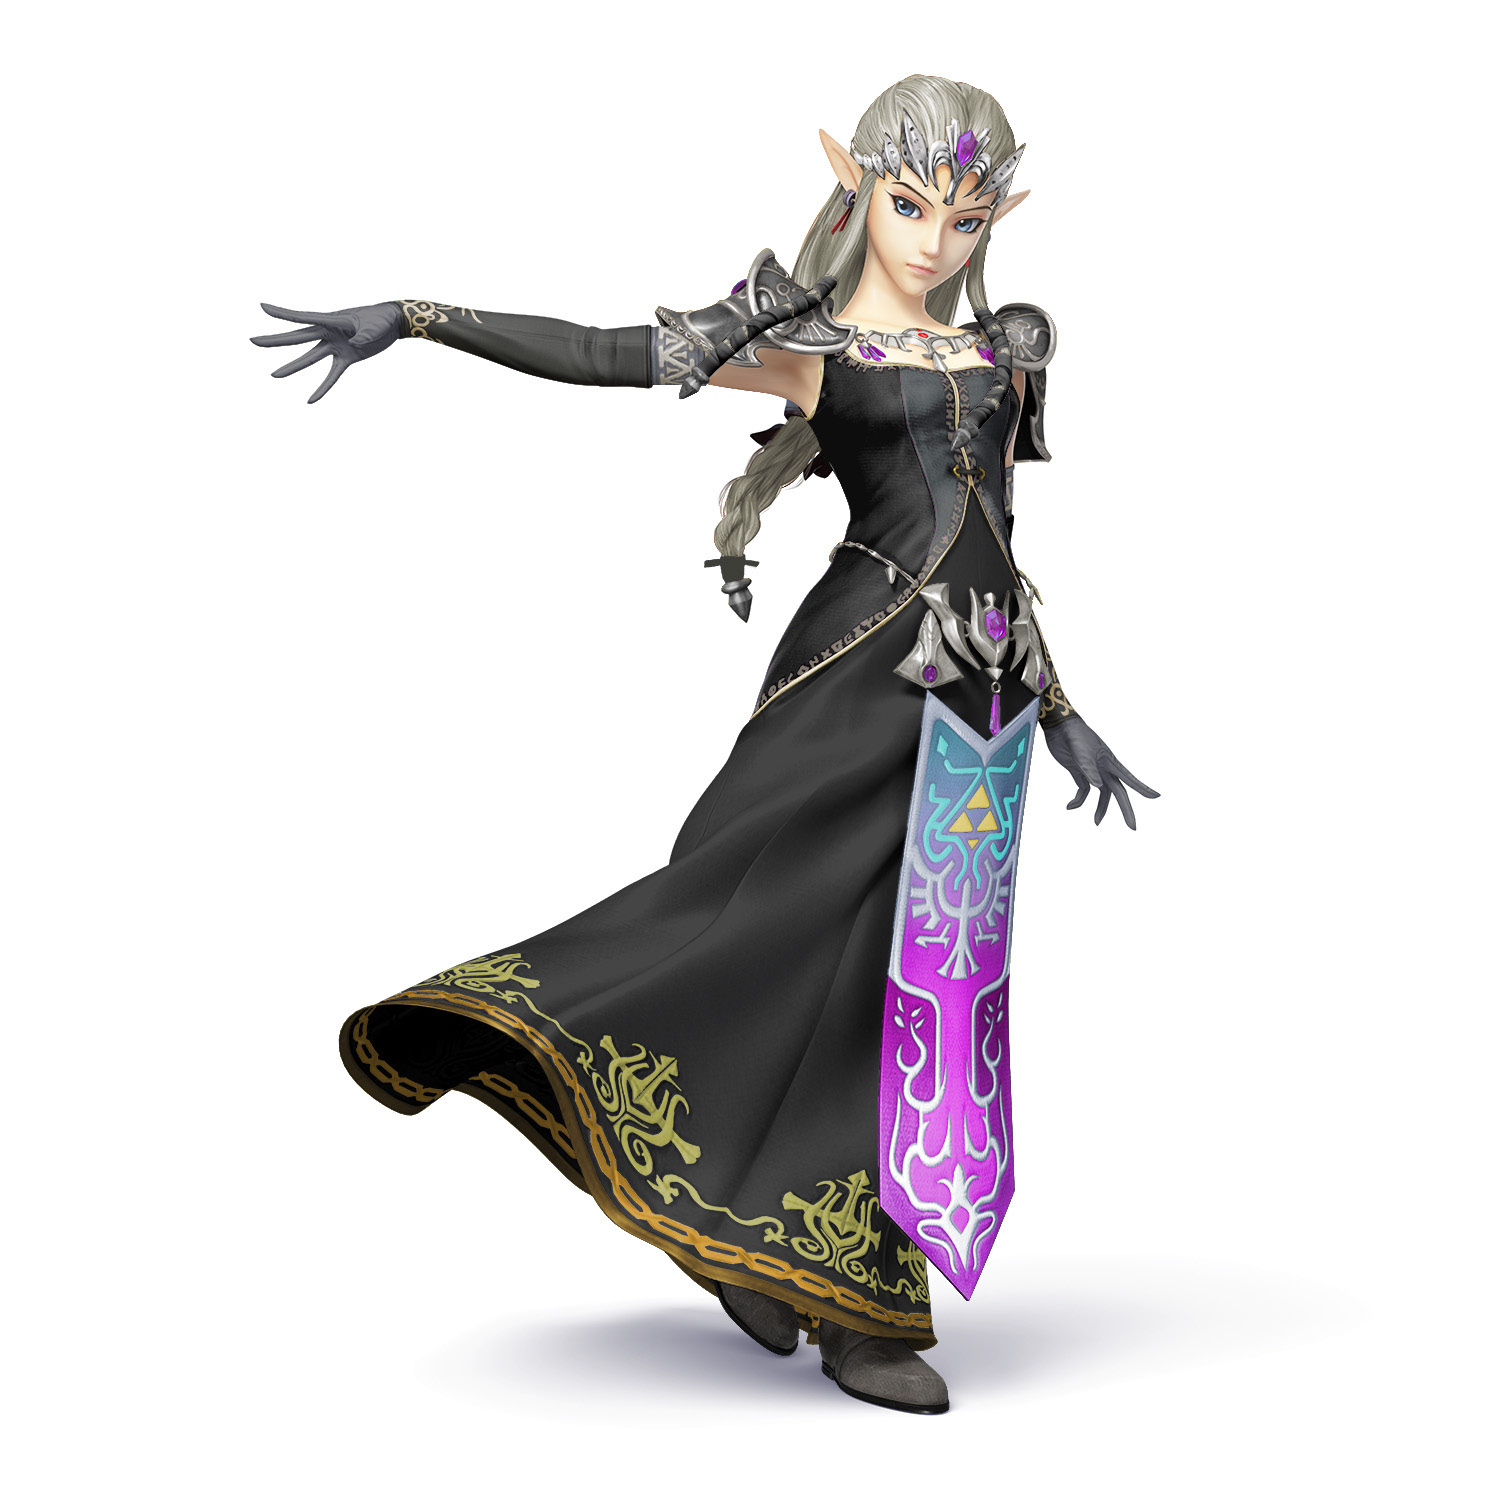
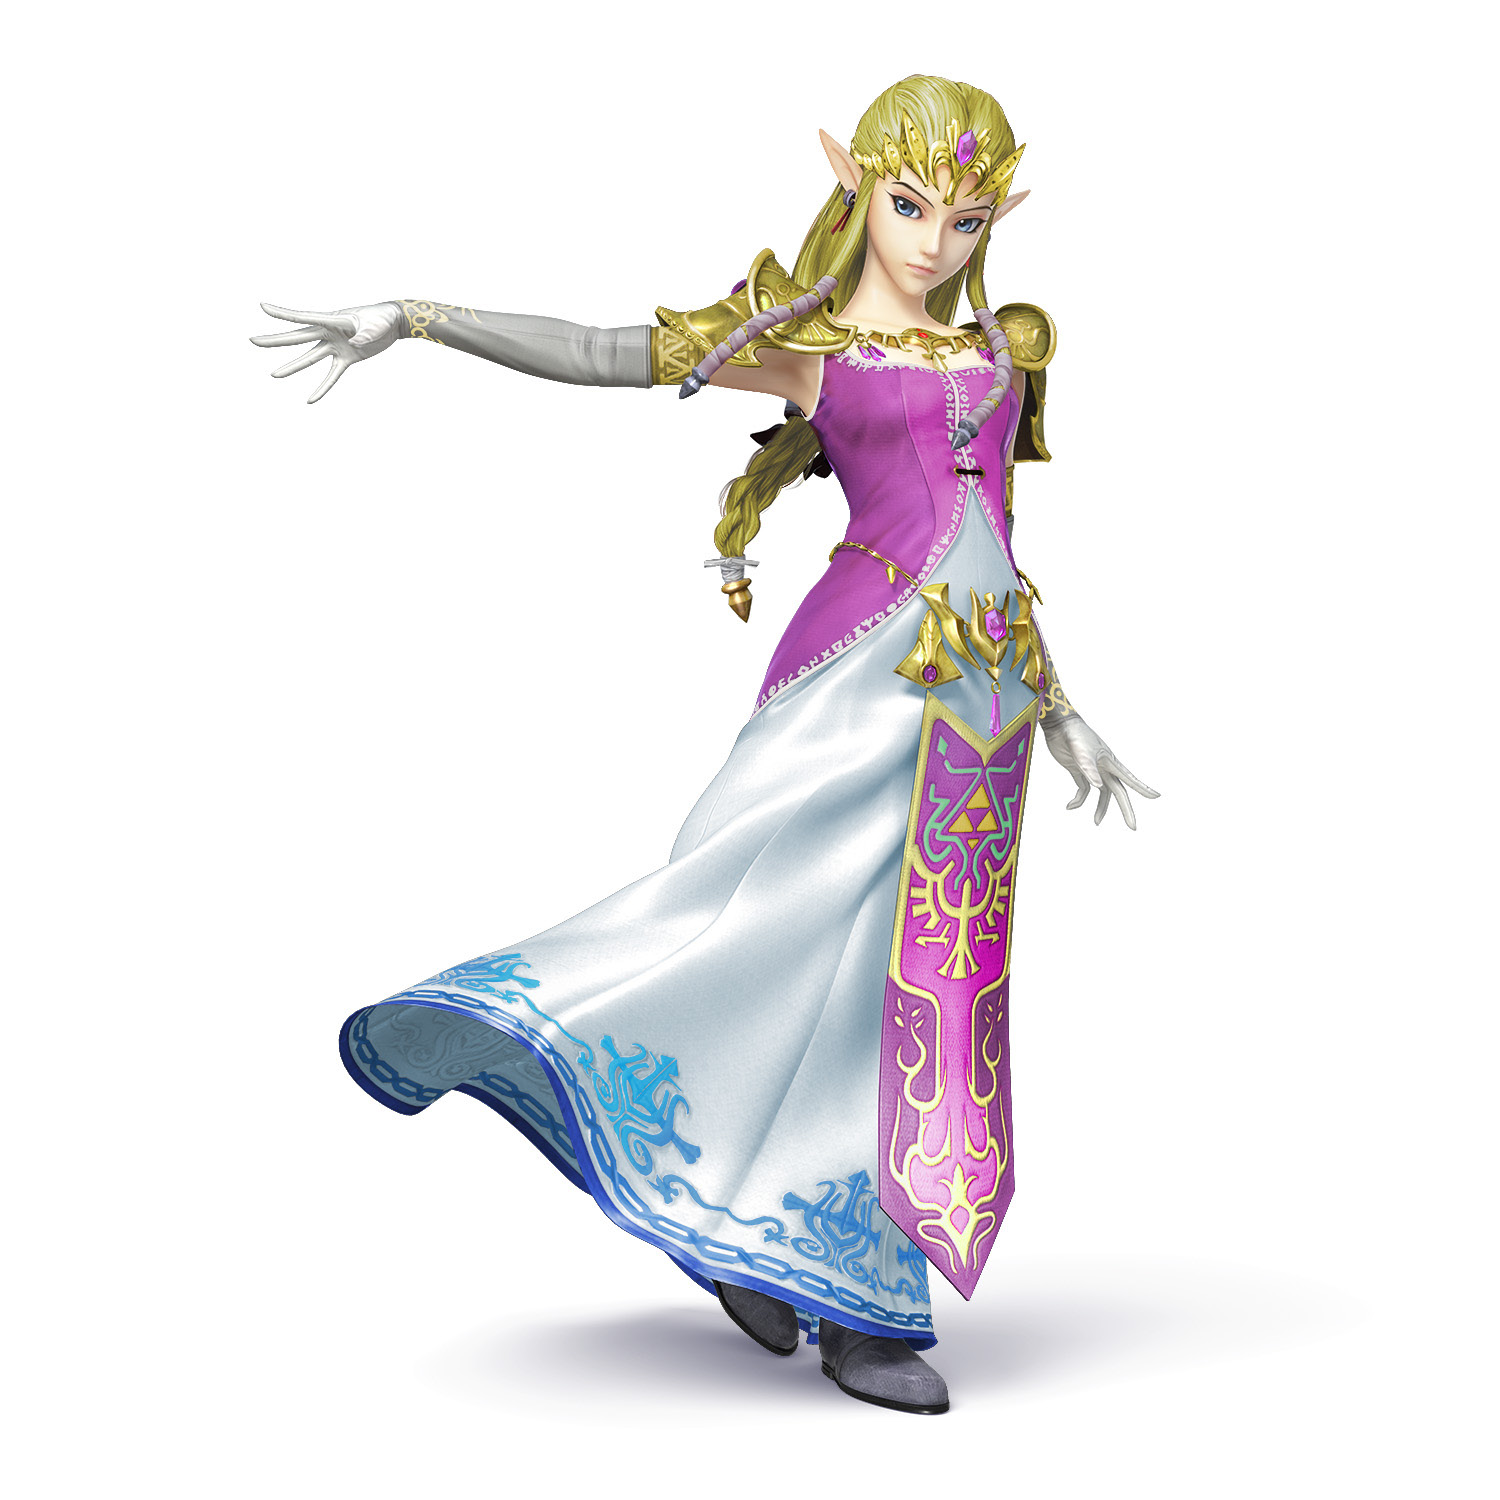
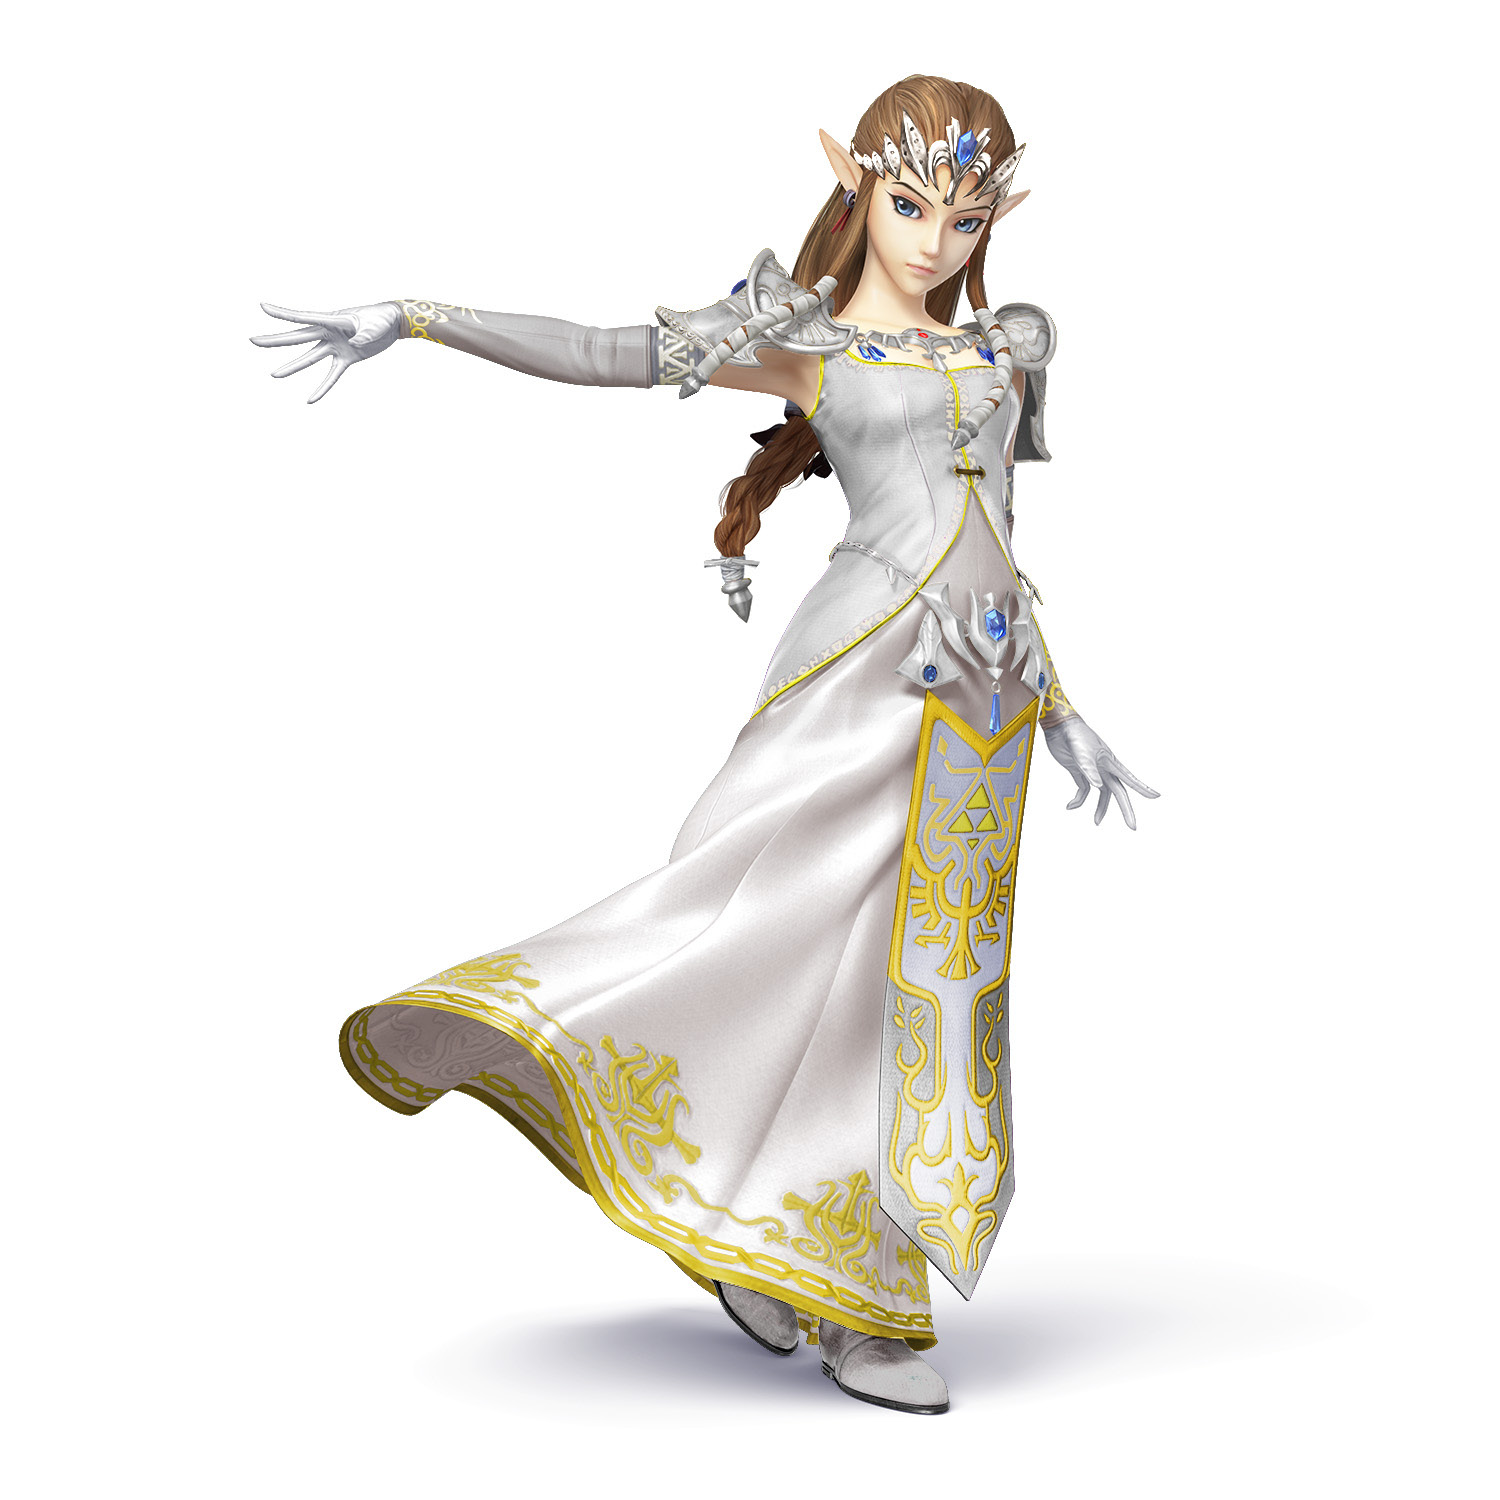
Trophy DescriptionThis is the namesake of the Legend of Zelda games. Her appearance may change, but she always plays an important role. In Smash Bros., she’s quick on the draw when it comes to magic, though a bit slow when moving. She has a new move that summons a Phantom to her aid. Statistics
|
Smash Attacks
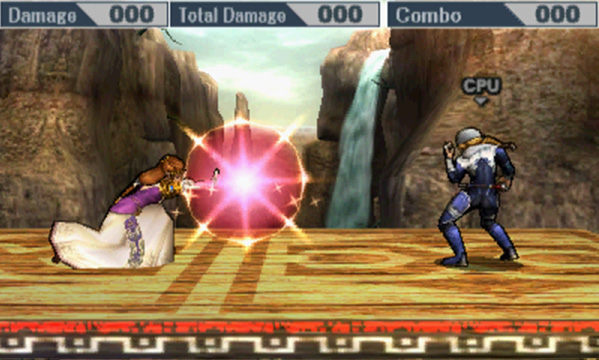
SIDE SMASH
Zelda leans forward and casts a large multi-hitting magical blast in front of her.
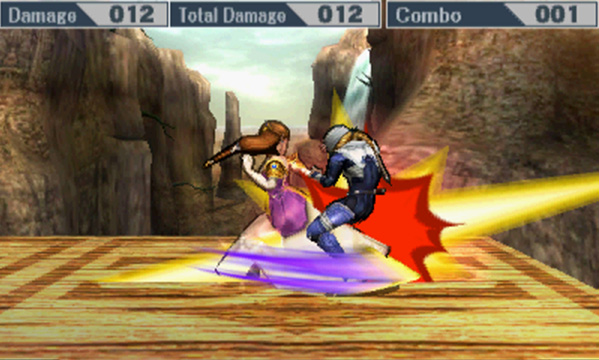
DOWN SMASH
Zelda spins to kick opponents close to her on both sides.
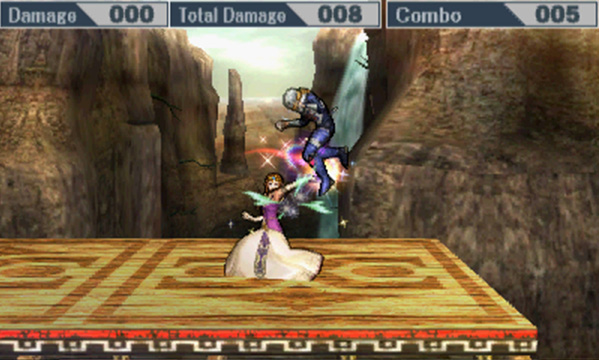
UP SMASH
Zelda waves her hand back and forth above her head. Anyone caught by this will be hit multiple times and knocked upward.
Basic Attacks
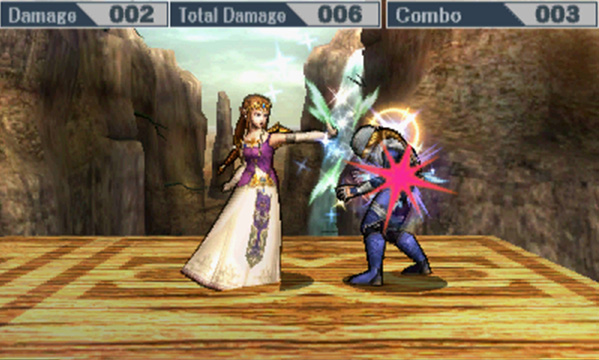
Standing Attack
Zelda lifts one hand and casts magic at her opponent. This hits multiple times but pushes opponents away quickly.
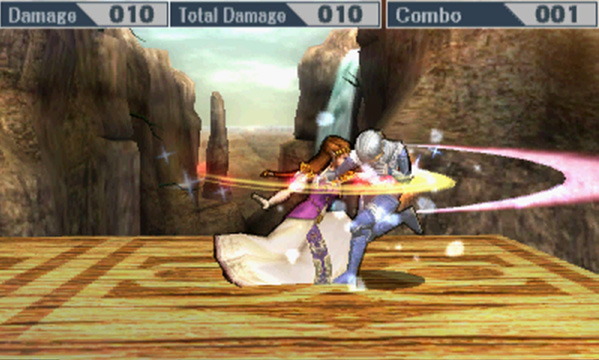
Forward Tilt
This arm swipe attack has good range and damage. It can be aimed up or down.
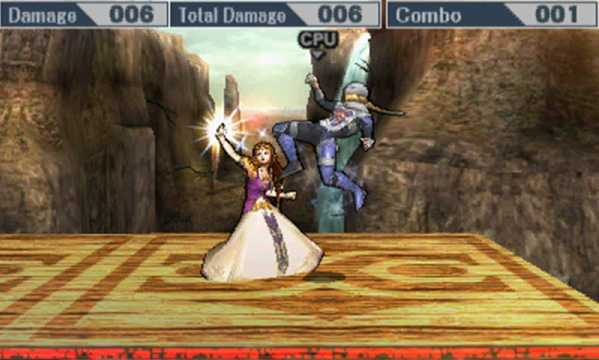
Up Tilt
Zelda waves her arm overhead in a single swipe.
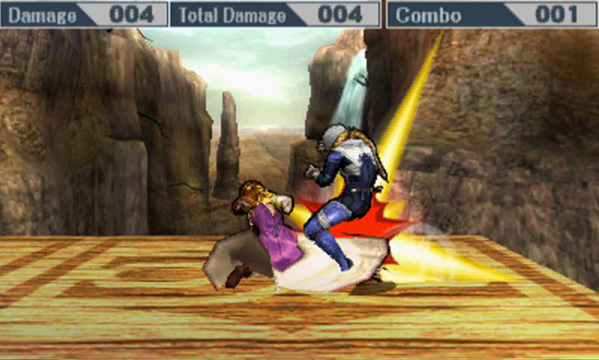
Down Tilt
A crouching kick that has decent range.
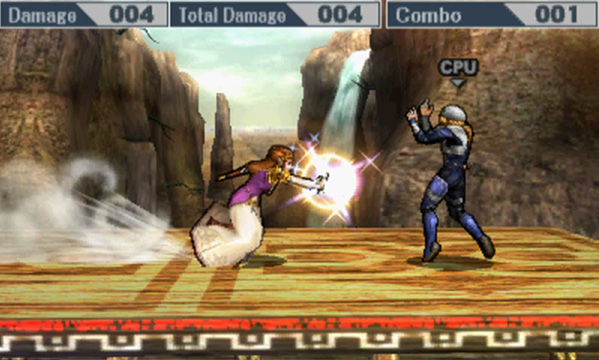
Dash Attack
Zelda rushes forward while casting a blast of magic in front of her.
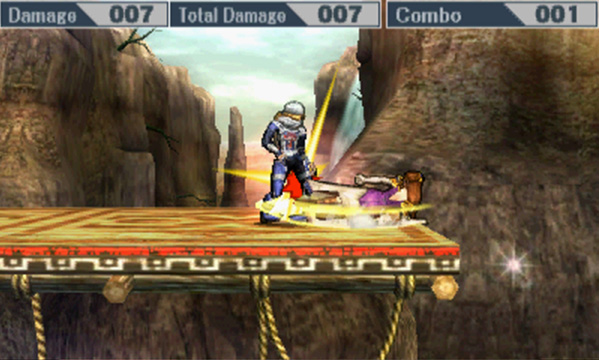
Edge Attack
Zelda swoops back on stage with a double leg sweep.
Air Attacks
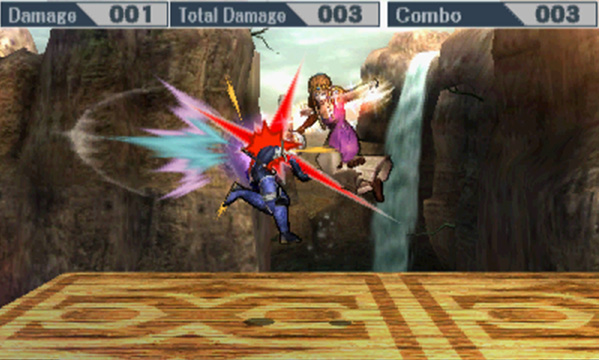
Neutral Air Attack
Zelda spins twice in the air with her arms outstretched while casting magic from her hands. Can hit multiple times before knocking opponents away.
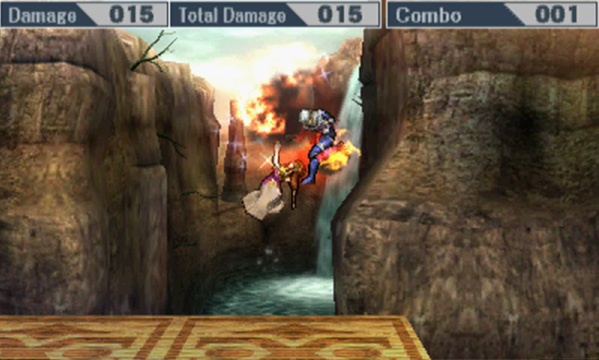
Up Air Attack
Zelda looks up then casts a fiery blast immediately above her.
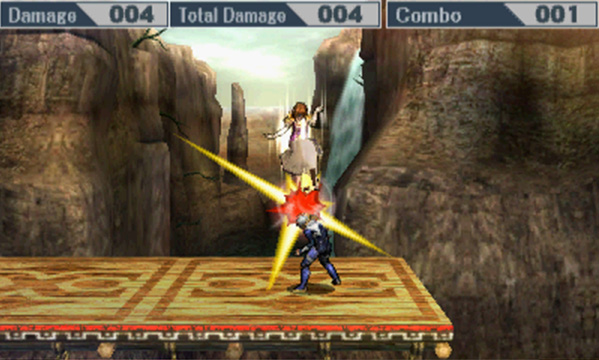
Down Air Attack
Zelda stomps downward with one foot, sending a small blast below her. The blast does minimal damage, but hitting deep will knock opponents down.
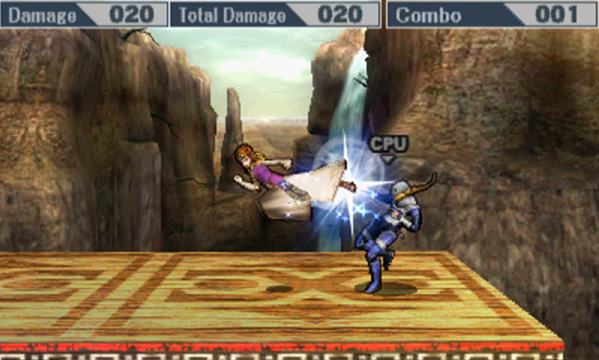
Forward Air Attack
Zelda lunges forward with a far-reaching jump kick attack that deals big damage.
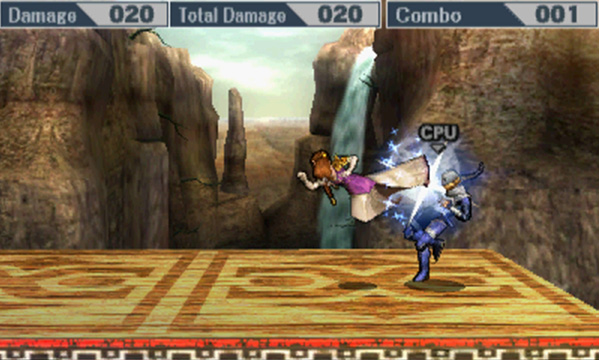
Back Air Attack
Zelda goes horizontal and kicks directly behind her. There is a sweet spot just above the tip of her feet, so if you can connect with this properly, the results are shocking!
Special Attacks
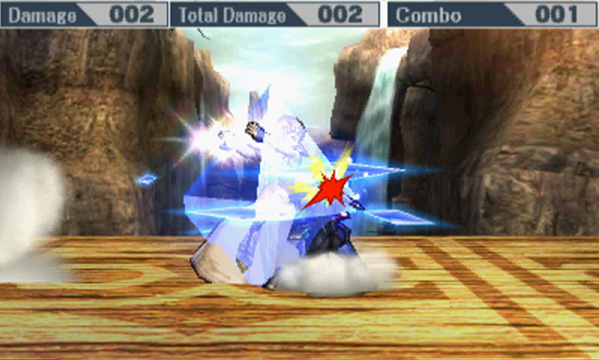
Nayru’s Love (Neutral Special)
Zelda summons a crystal barrier that can reflect projectiles. Unlike most Specials that reflect, this can also do damage by itself!
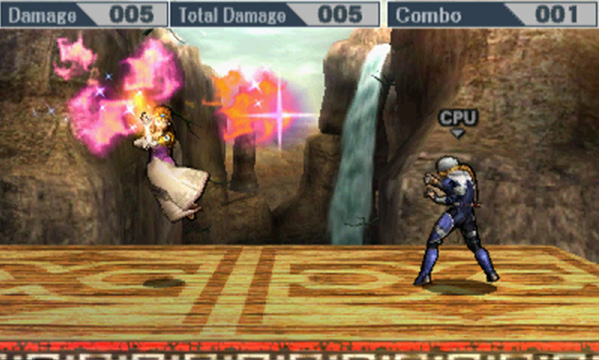
Din’s Fire (Side Special)
This fireball attack is an extension of Zelda. Although it has limited range, Zelda can direct it toward her opponents with directional input while holding the Special button and also control when it explodes by releasing the Special button. Release the attack right on your opponents for best results! Note, youare in a fall state after using this in the air.
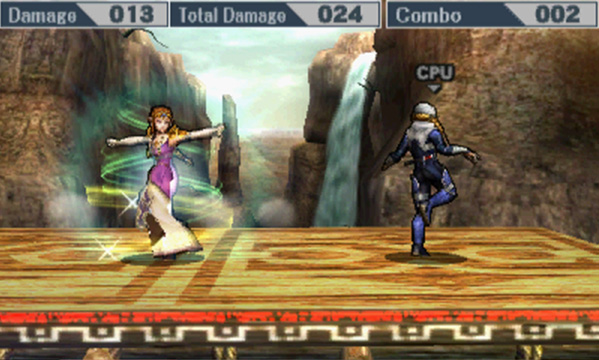
Farore’s Wind (Up Special)
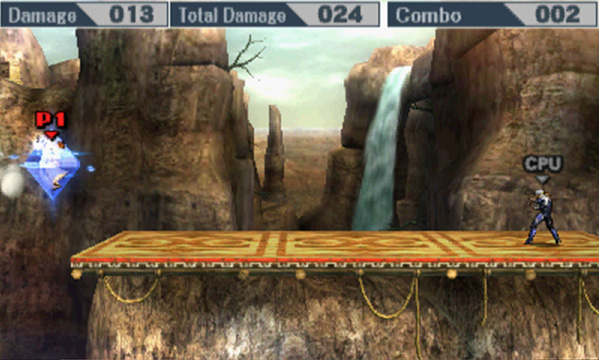
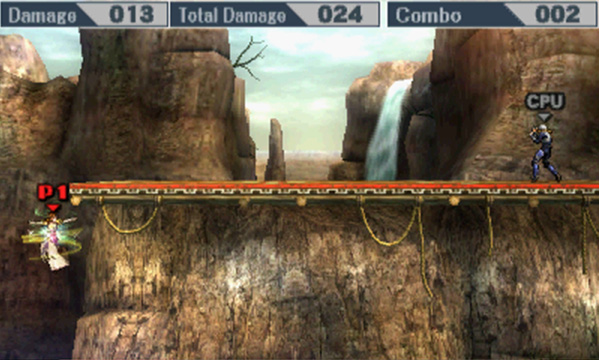
Teleport Zelda in any direction by hitting a second directional input after the Up Special. She deals damage to nearby opponents both when she disappears and when she reappears. When reappearing in the air, Zelda isleft in a fall state, so be careful near edges!
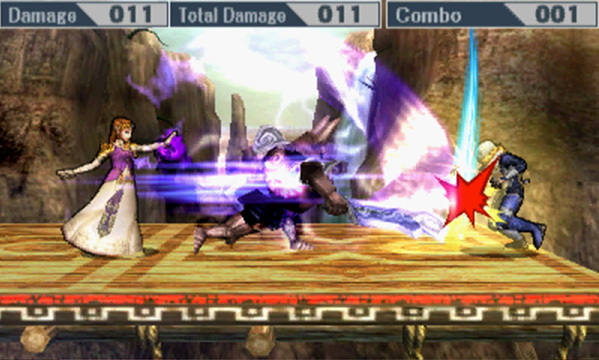
Phantom Slash (Down Special)
Zelda summons a phantom to attack in front of her. Charging the attack affects both the type of attack the phantom does and how far it travels. If the phantom takes too much damage, Zelda won’t be able to summon it for a while.
Final Smash
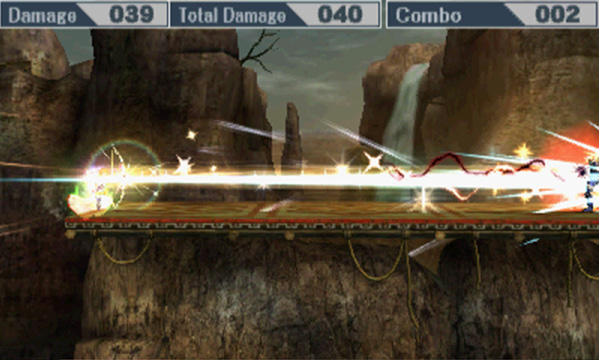
Light Arrow
Zelda pulls out a large bow and fires an arrow across the stage. It hits all targets in its path, but the damage and knockback decrease per target. The first opponent receives 40% damage, the second receives 30%, and the third receives 22%. The range is incredible, reaching across Gerudo Valley. The knockback of this Final Smash knocks opponents up at a 45-degree angle at its peak but lower angles for successive targets.
Strategy
Zelda’s toolset suggests she should be played in a zoner, campy style, but she actually has some strong attacks up close as well. She has a projectile she can control, a phantom to attack out in front of her, a teleport to attack or run away with, and a reflect tool to return projectiles and attack opponents. Combine this with her being one of the lightest characters in the game who has below-average mobility, and it becomes clear why she has so many tools to keep opponents away. Her Din’s Fire, however, can be spot-dodged, so you will need to be ready to fight up close as well. Fortunately, Zelda has some strong attacks up close with multiple hitting Smash Attacks and a strong Throw game. Note that she has above-average throw damage, too, so use throws when possible! You can approach opponents with her Dash Attack or surprise them with her Farore’s Wind. Follow either of these up with her basic attacks or short aerial attacks to stack up damage!
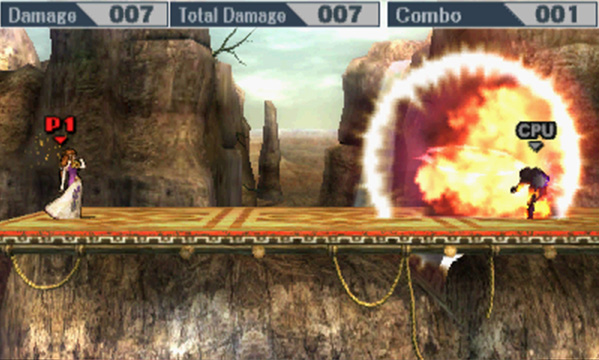
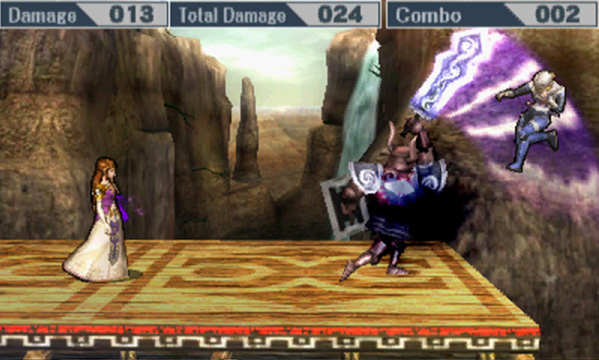
During Nayru’s Love, the crystal barrier essentially renders Zelda invincible for a moment. Additionally, note that the reflect duration is longer than the attack duration of this move, and any projectiles reflected will be faster and will deal more damage! Yet Din’s Fire is still your main ranged attack. Though the blast grows larger the longer you control it, remember you can detonate it early by letting go of the button. You can also try to crash it into parts of the stage to trigger the explosion. Phantom Slash has three different attacks, depending on how long you’re able to charge it. The quickest charge causes the phantom to appear immediately in front of you with a quick diagonal upward swing of its sword. At the next level, the phantom comes out quickly and swings downward diagonally with his sword. The longest charge causes the phantom to dash forward before stabbing horizontally, then swinging the sword up for a two-hit combo. The higher-level phantom’s attacks have more recovery, so opponents will be able to attack it to get rid of it, but the phantom can also serve as a shield in front of Zelda. Try to protect the phantom by sending out Din’s Fire. Coincidentally, after a successful Din’s Fire is usually a good time to charge up a phantom! If opponents work their way around your Din’s Fire or Phantom Slash, you can try Farore’s Wind to escape in an unpredictable direction.
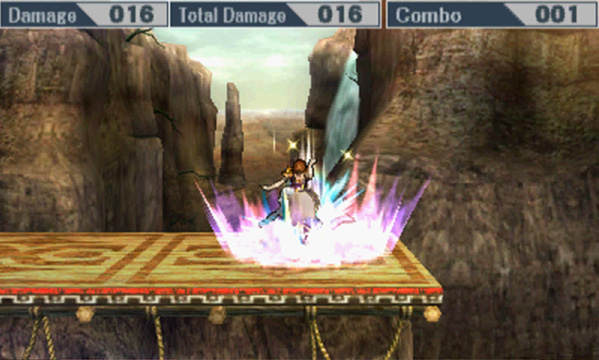
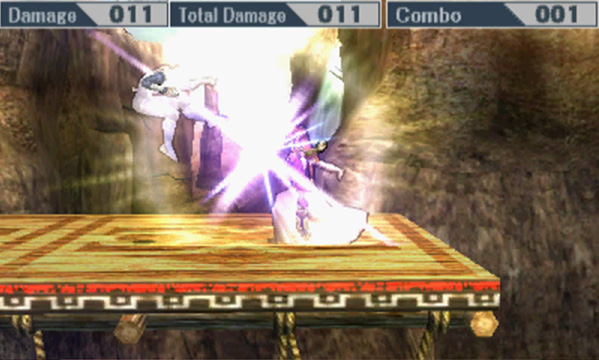
Though she has a lot of ranged attacks, Zelda’s normal attacks are fairly strong and useful. Forward Tilt has good range and damage, and you can aim it up or down as well. Her Up Smash hits multiple times for a good chunk of damage to protect her from airborne opponents. While her Up Tilt attack doesn’t deal much damage, it can be useful during combos. Because Side Smash and Up Smash hit multiple times before launching, opponents have time to use directional influence to their advantage to potentially prevent a KO. For this reason, Down Smash might be a better option when you have a free Smash opportunity to knock someone out. In the air, Zelda has good single-hit attacks that can deal a ton of damage with her Forward and Back Air attacks. These moves have a wide range of damage, however, depending on where you hit them, so spacing is important. Neutral Air is a good move to keep opponents off of you, and Down Air has a meteor effect to keep in mind.
Recovery
While Zelda’s main recovery tool is her Farore’s Wind teleport, she also has some interesting ways to stall or protect herself while recovering. Farore’s Wind can be used as both a horizontal and vertical recovery tool. It takes some time to master this, though, as it requires very precise placement. For stalling, you can use Nayru’s Love—it pauses Zelda’s descent while it reflects projectiles. Because it’s also an attack, it can be useful to zone out opponents trying to meet you air to air. For much less stalling, Zelda has Phantom Slash, which stalls her as she sends the phantom out to attack and doesn’t leave her in a fall state. This can turn a battle by clearing opponents away from using their own edge-guard strategies. So, in one jump, you could potentially use Nayru’s Love, Phantom Slash, and Farore’s Wind! While this may not be the most effective strategy for recovery, it’s important to remember you have all of these options available.