Super Smash Bros. for Nintendo 3DS Guide Characters Q-Z
Sheik
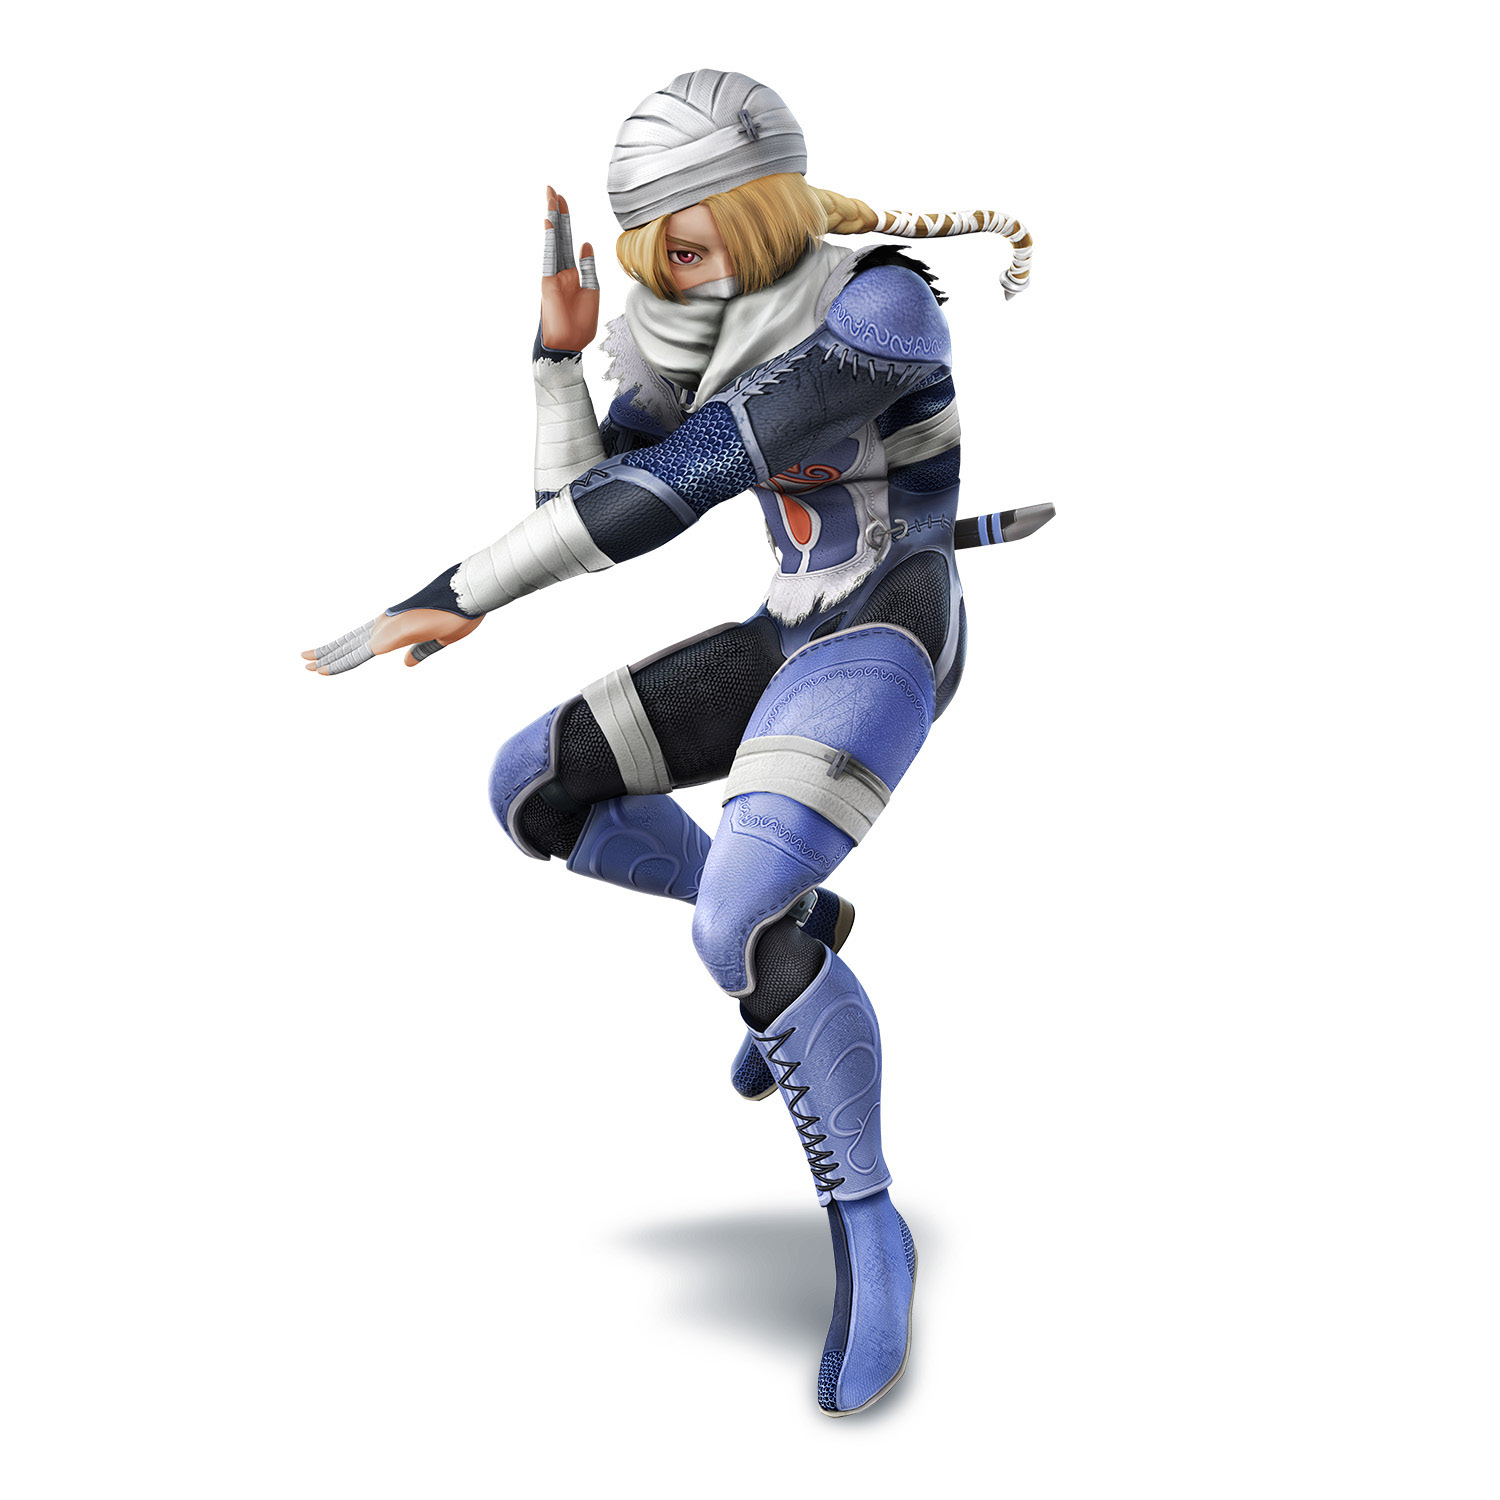
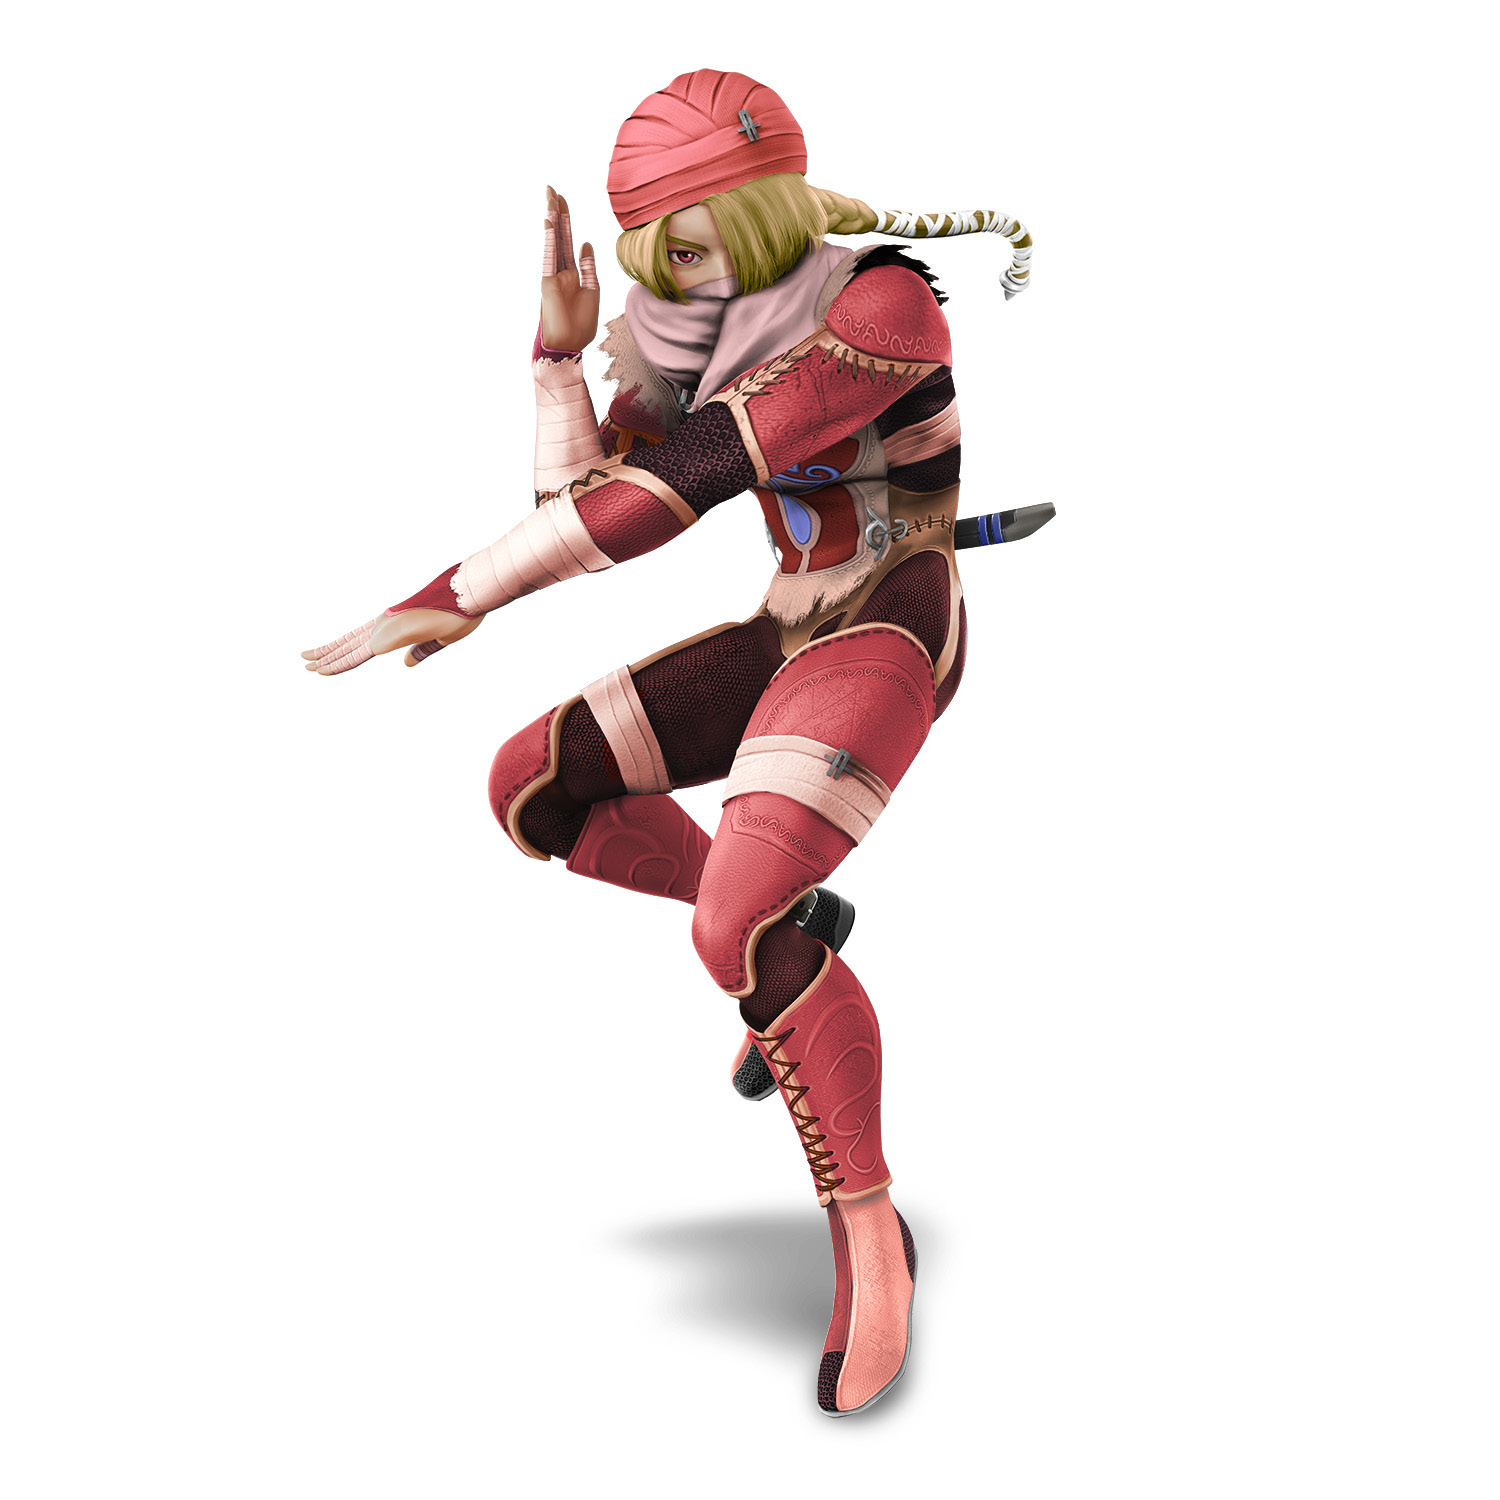
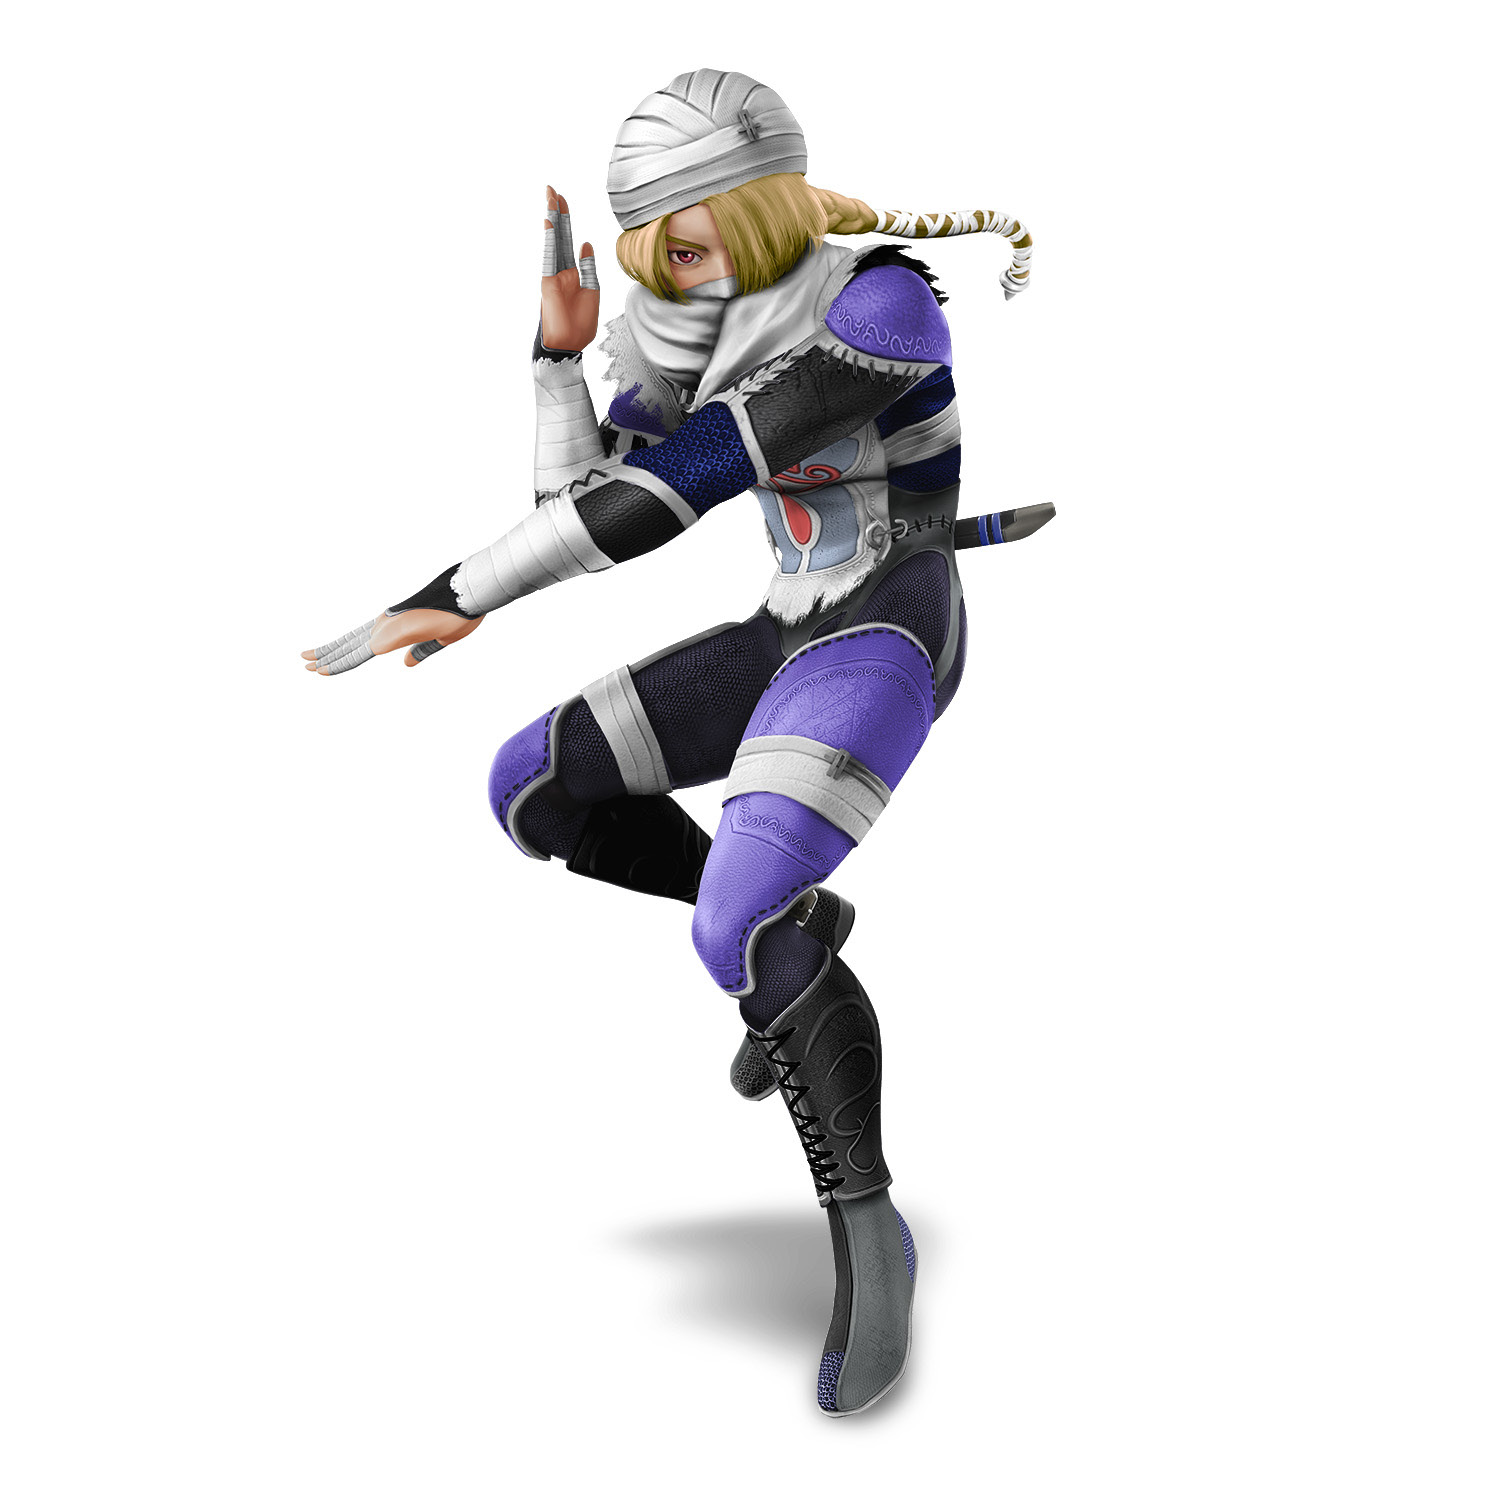
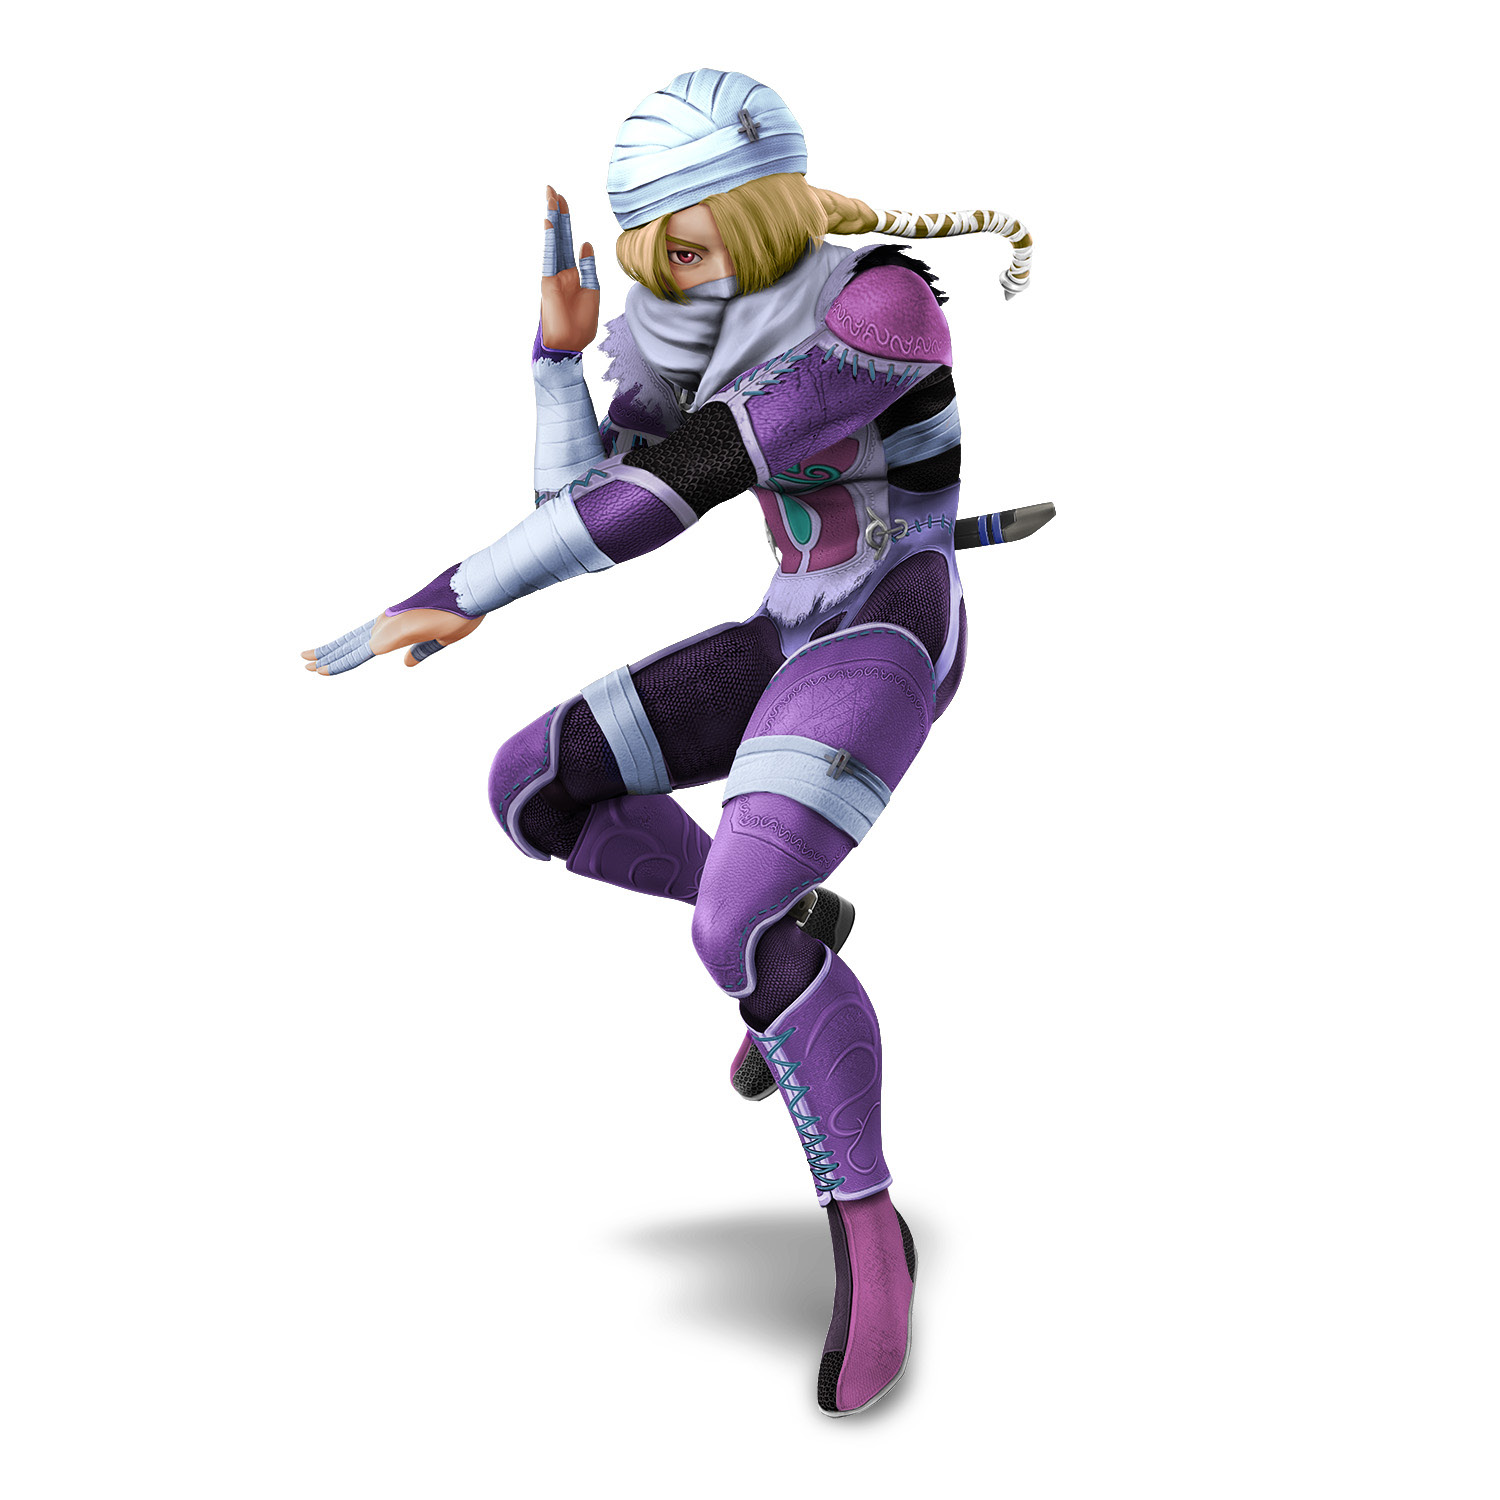
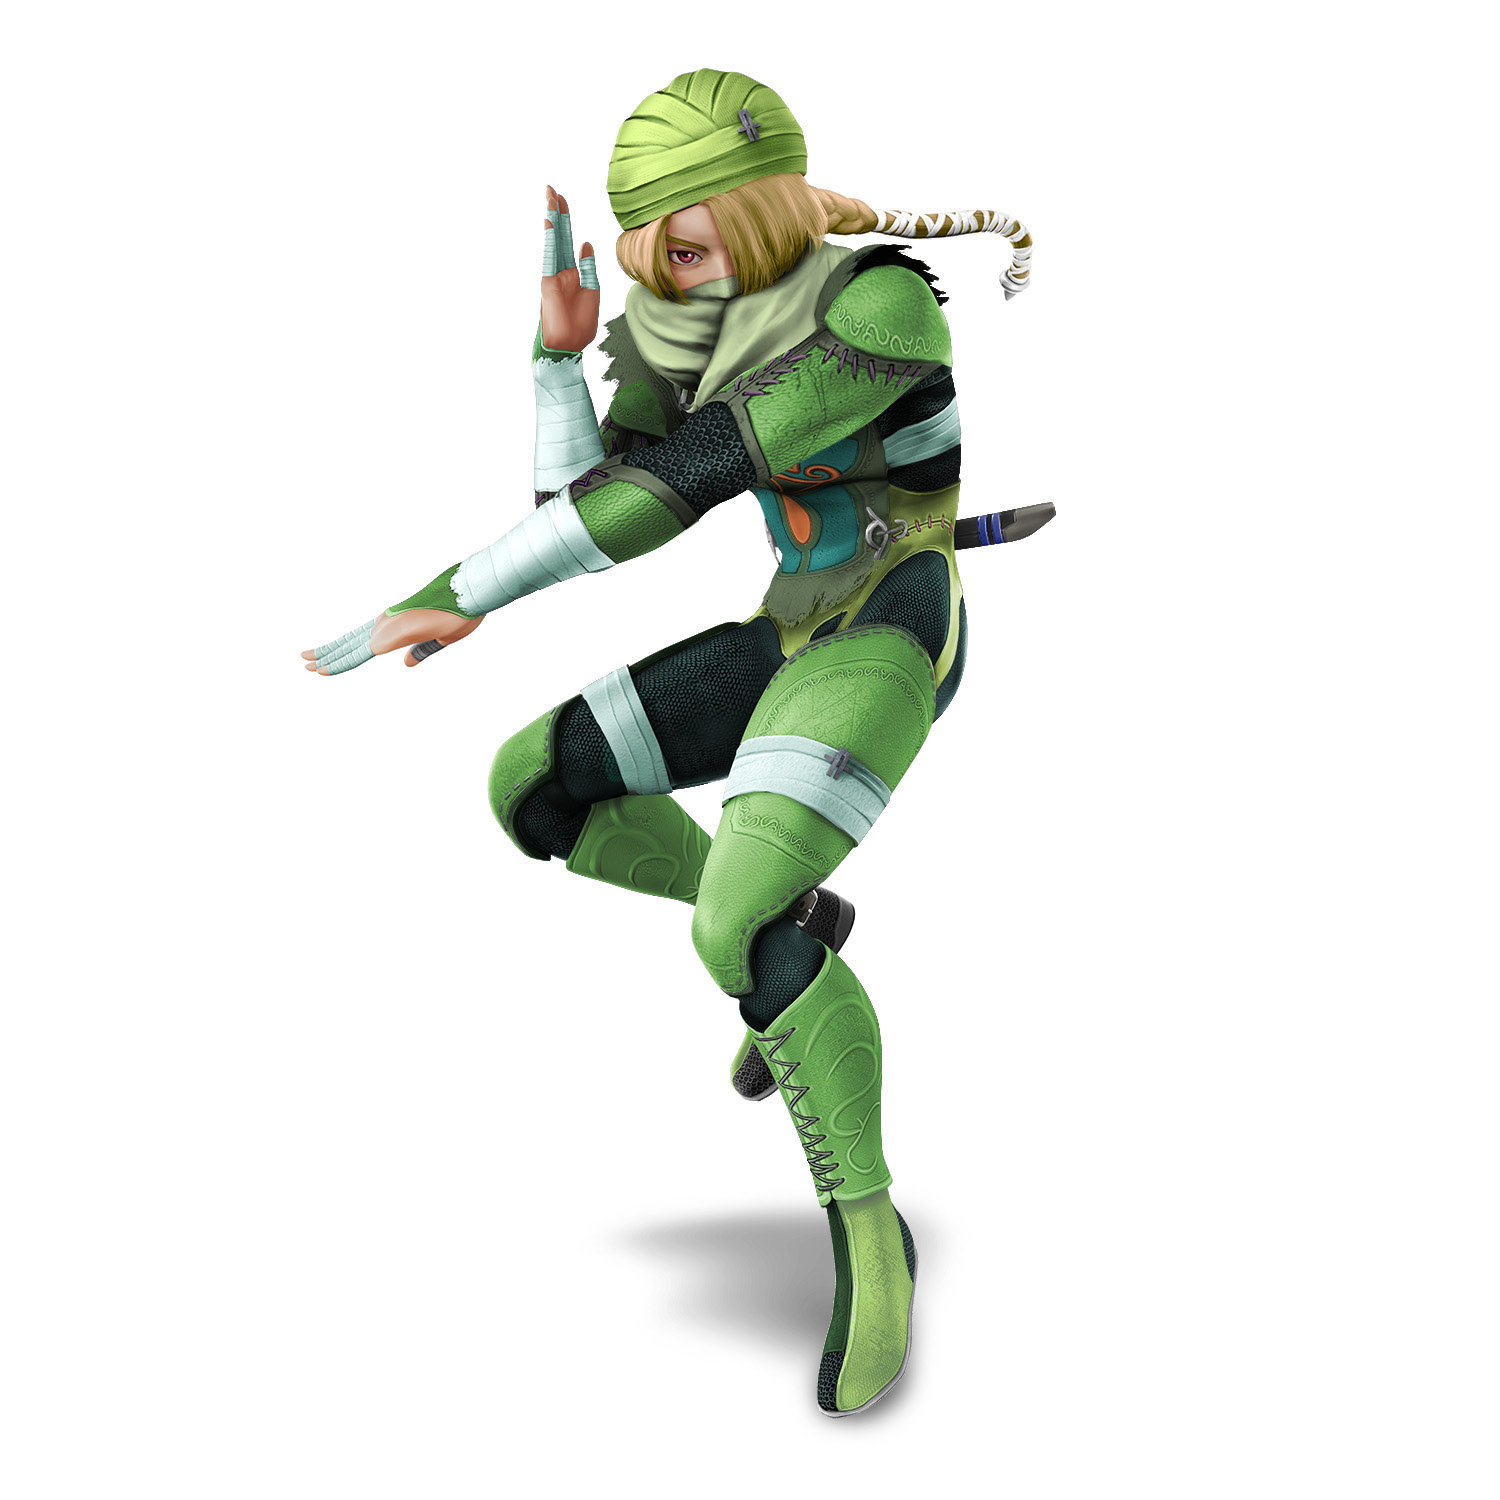
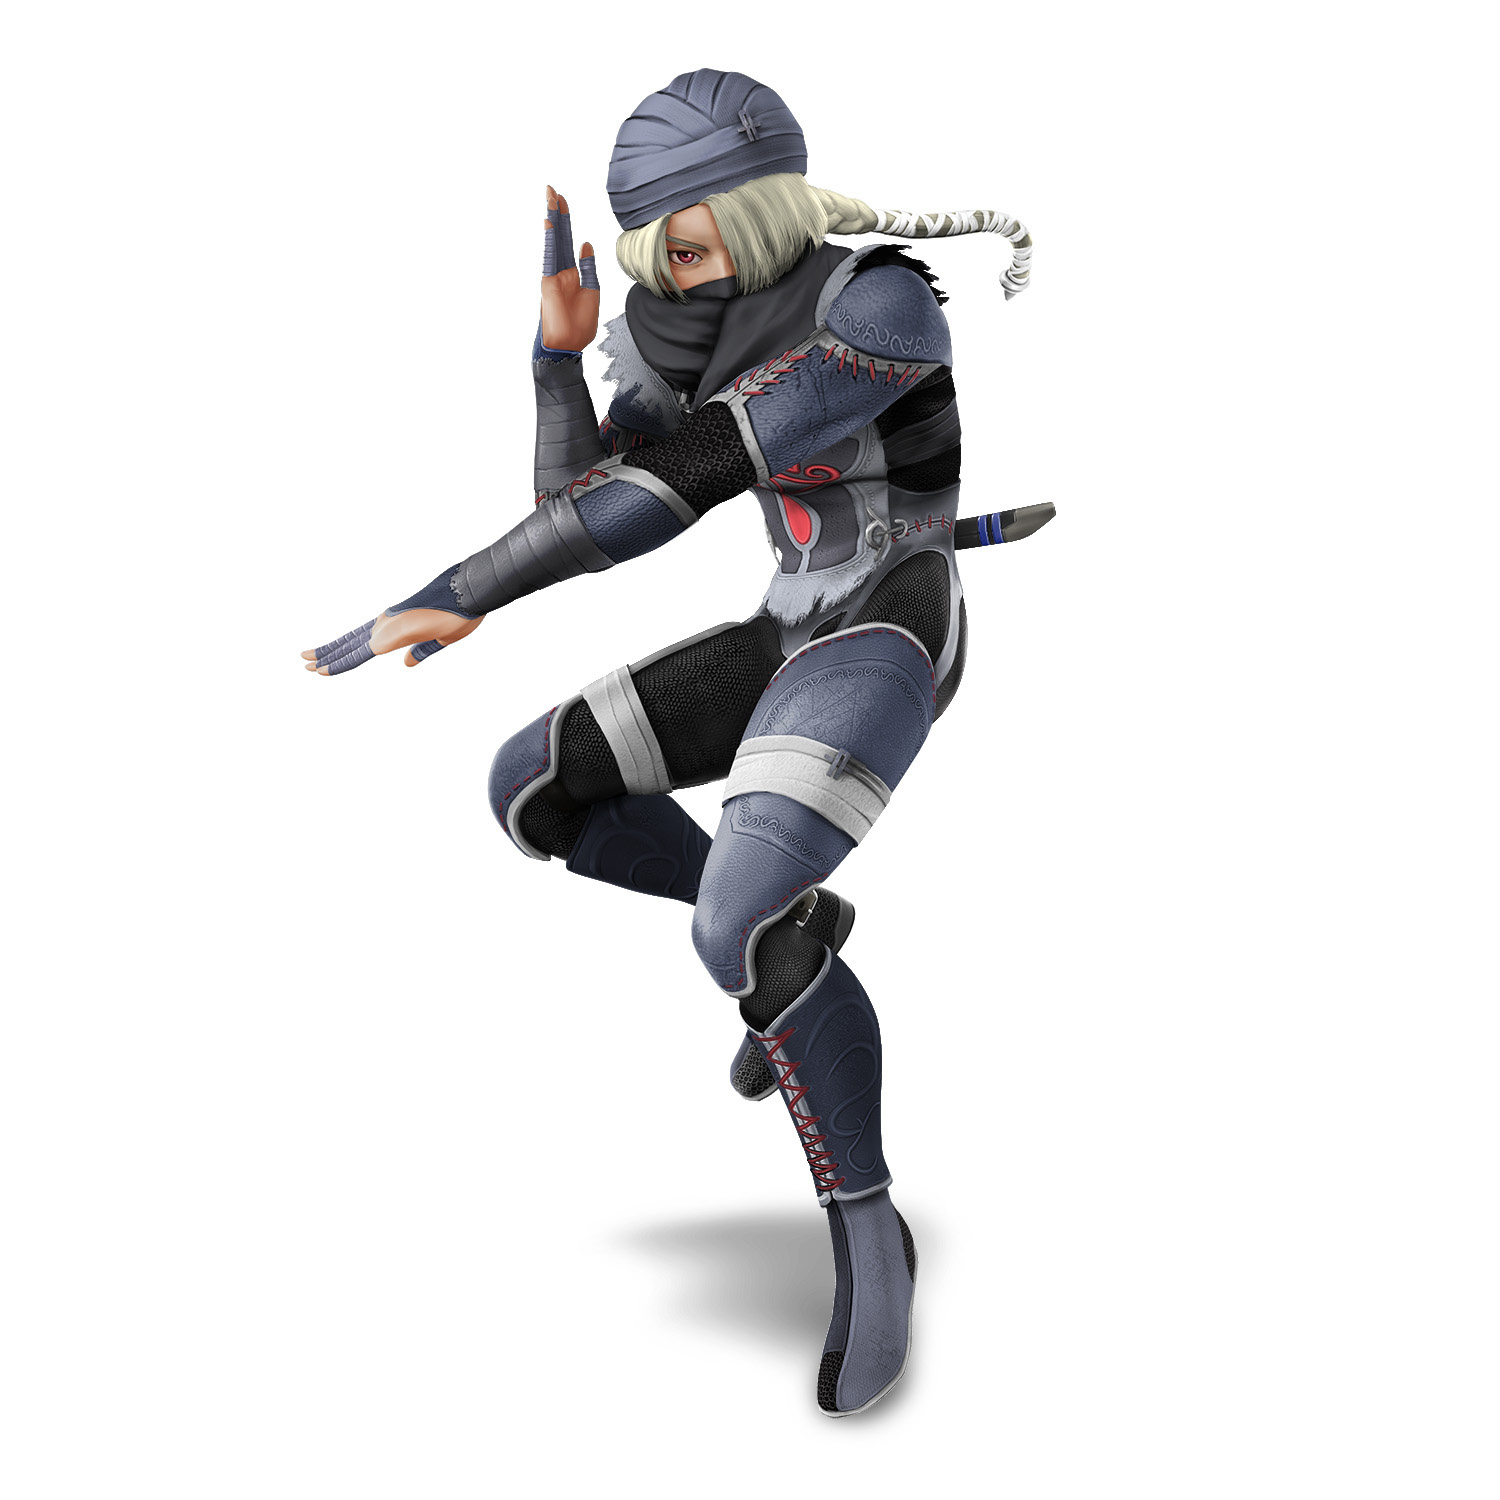
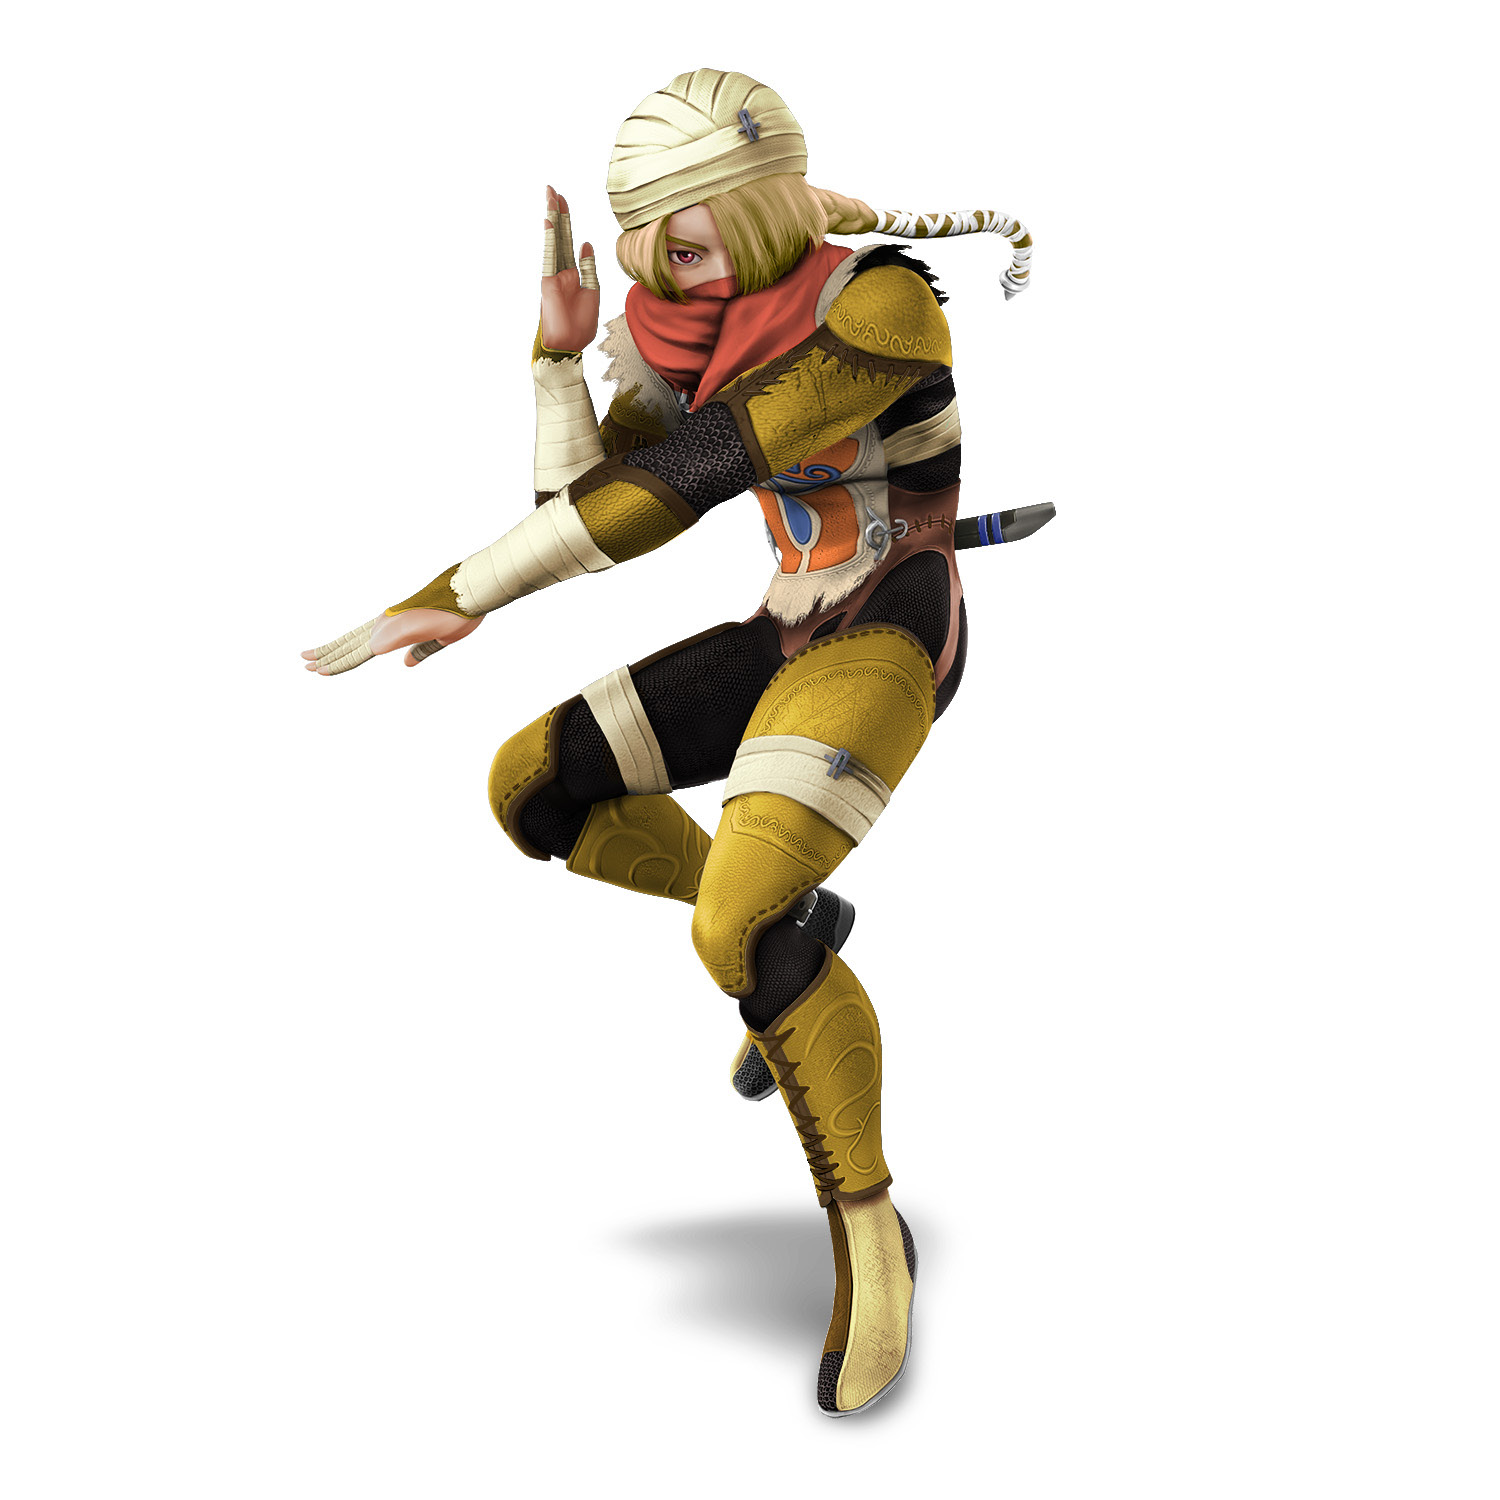
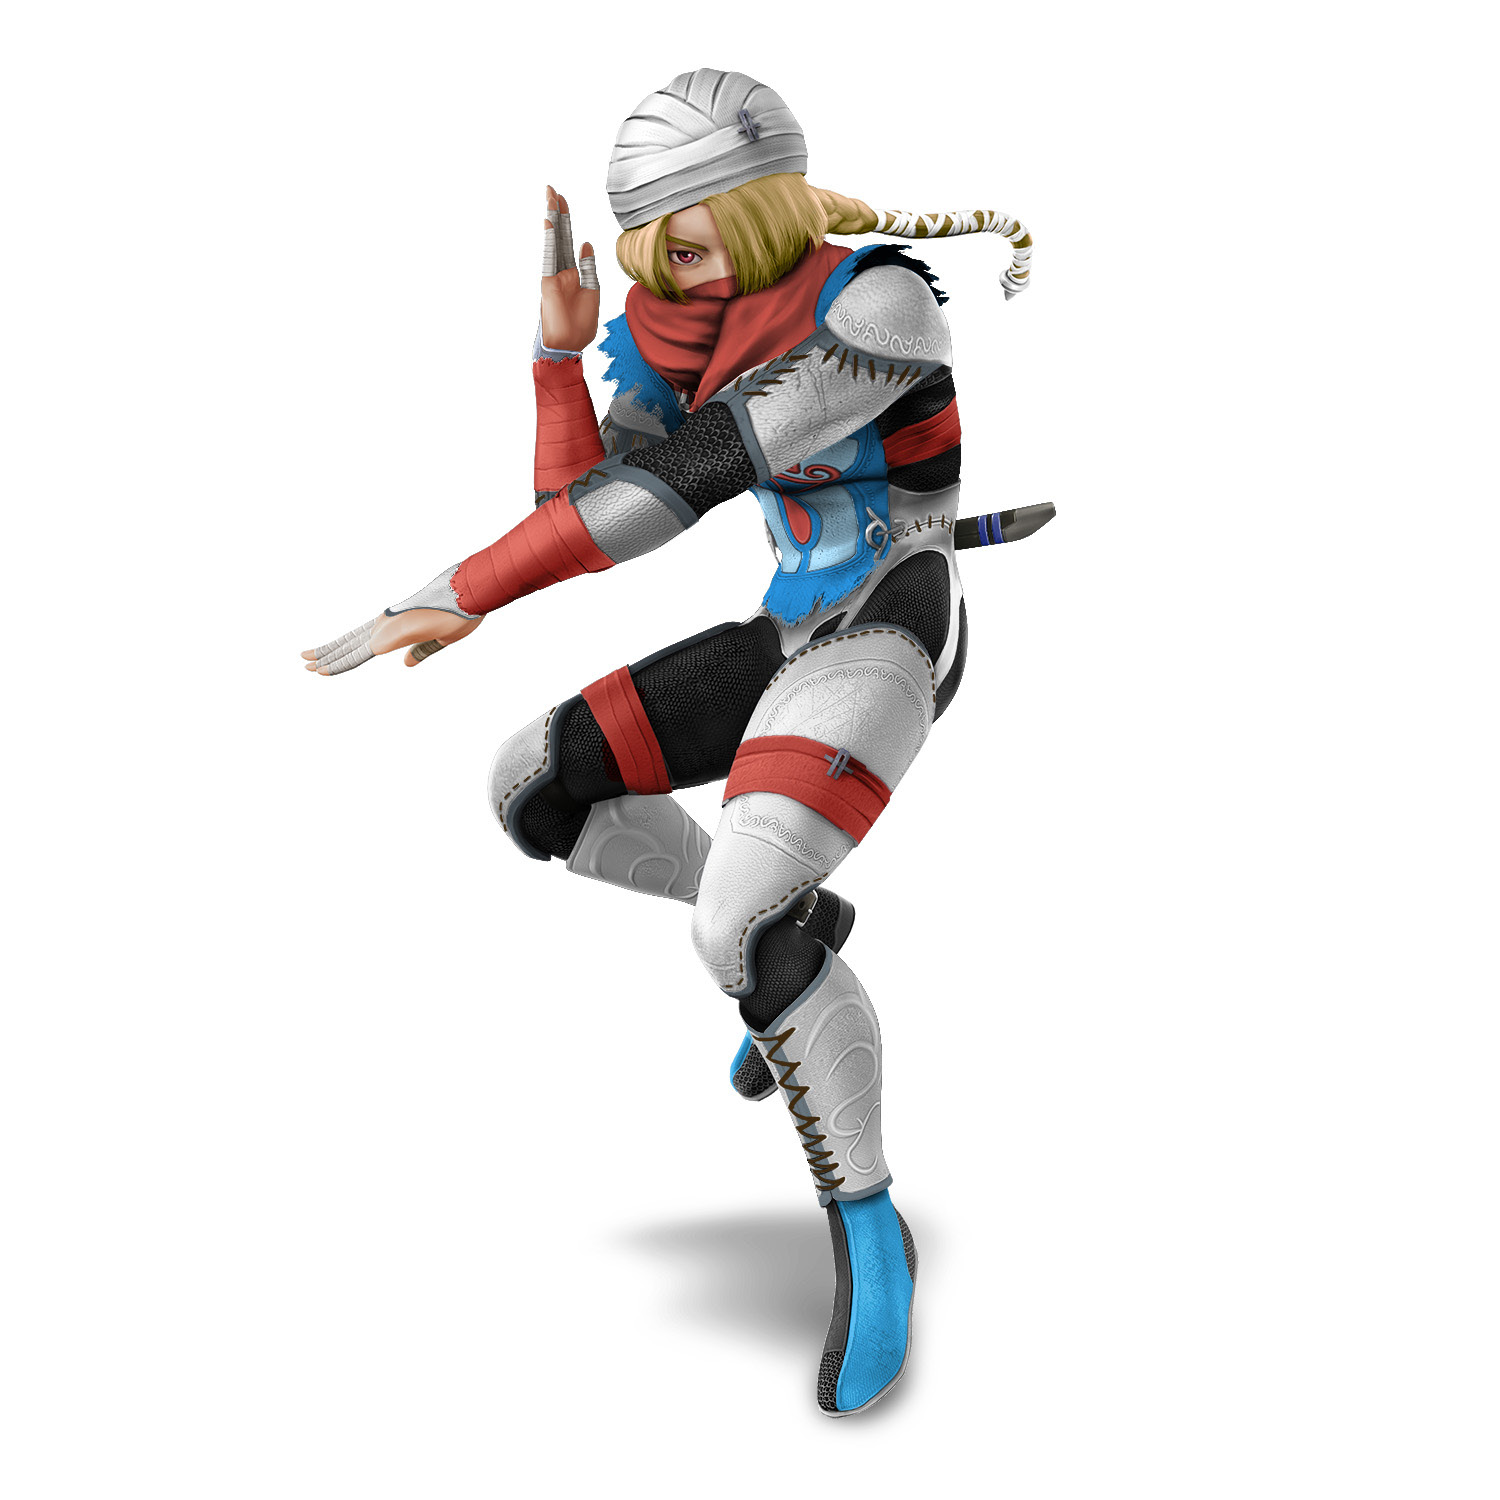
Trophy DescriptionIn The Legend of Zelda: Ocarina of Time, Sheik claimed to be a surviving Sheikah. This was just a cunning disguise for Princess Zelda, however, so that she could escape Ganondorf. In Smash Bros., she’s the complete opposite of Zelda, striking with fast attacks that can keep an opponent off-balance. Statistics
|
Smash Attacks
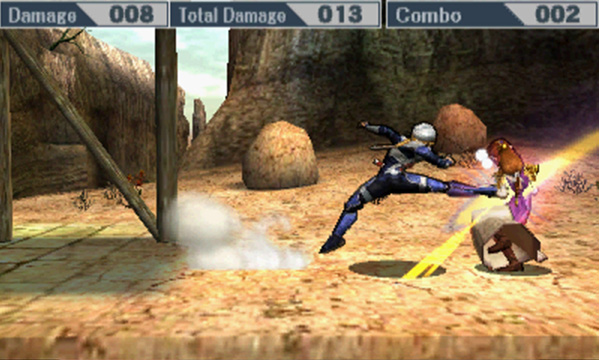
SIDE SMASH
An advancing two-hit kick attack with decent knockback.
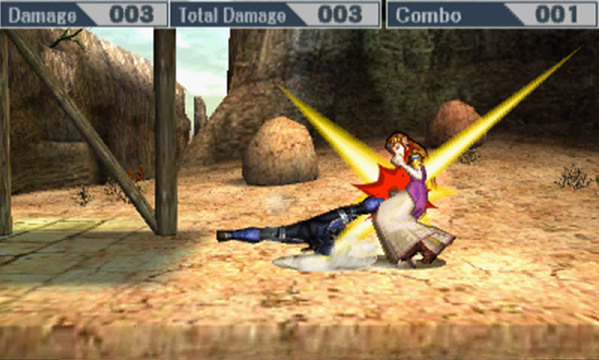
DOWN SMASH
A flaring multi-hit leg sweep.
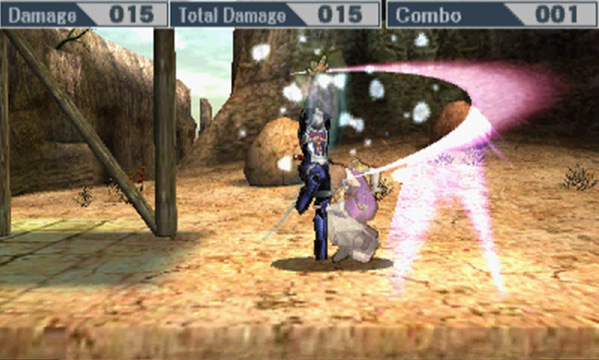
UP SMASH
Sheik lifts her hands as an attack before striking down to either side. Combos for big damage, but the first hit does significantly more damage.
Basic Attacks
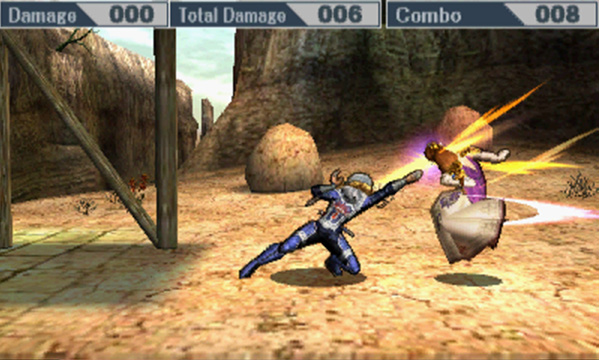
Standing Attack
Sheik strikes twice before going into rapid punches and launching your opponent away.
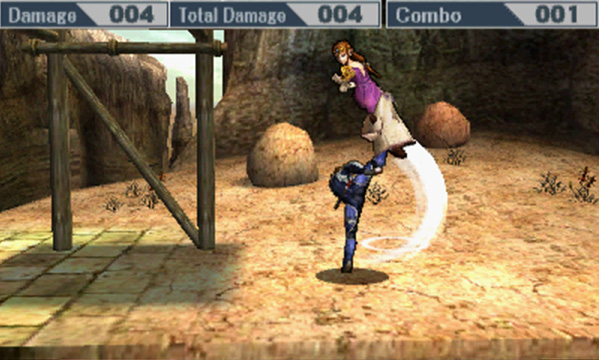
Forward Tilt
Sheik kicks forward and upward. This kick is very useful for combos.
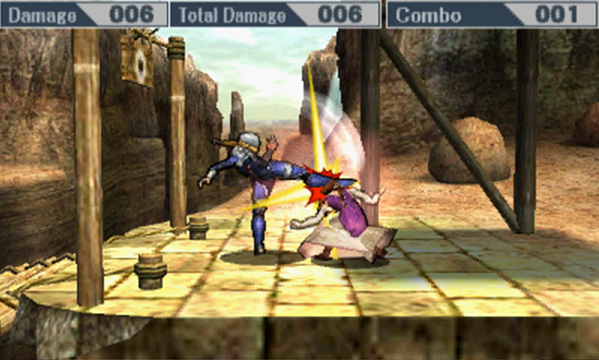
Up Tilt
Two kicks in one! First, Sheik kicks upward before swinging the same leg down at opponents in front of her.
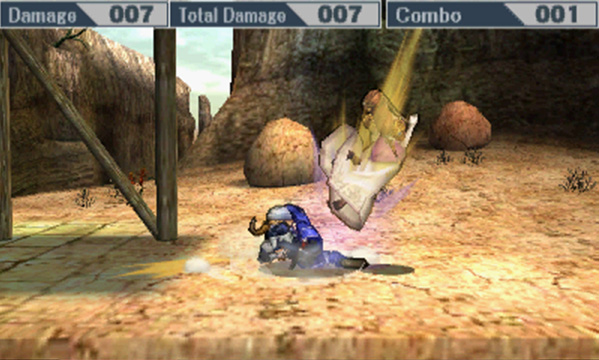
Down Tilt
A compact sweep attack.
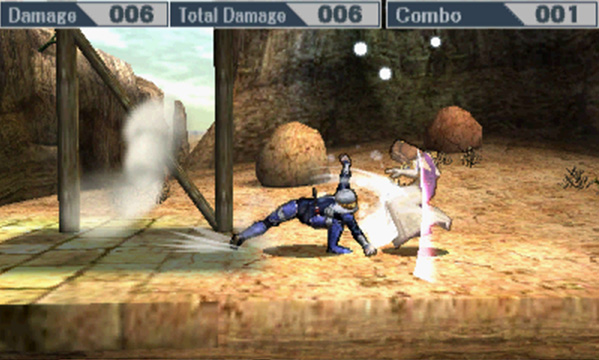
Dash Attack
Sheik dashes forward and swings her arms apart at anyone in her path.
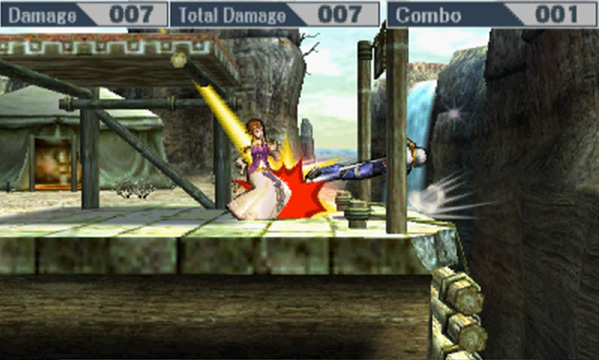
Edge Attack
Sheik returns to the stage with a long-range dropkick.
Air Attacks
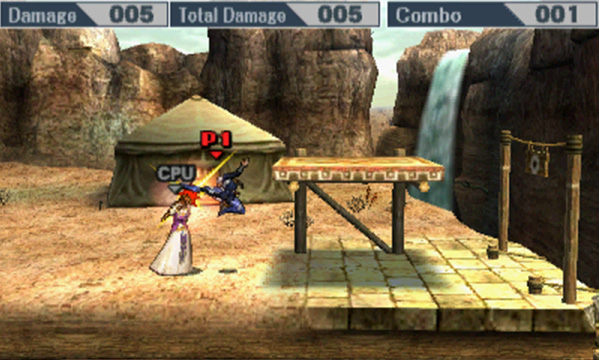
Neutral Air Attack
A jump kick that stays out for a very long time and has very good reach.
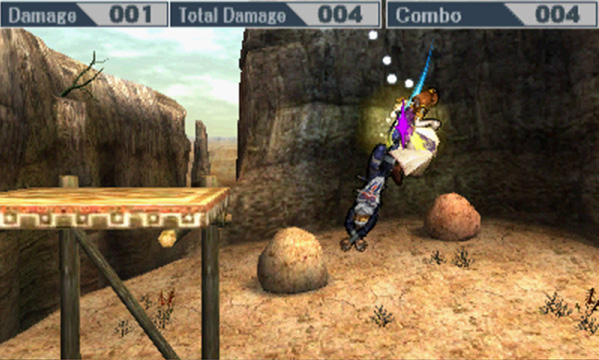
Up Air Attack
Sheik flips and kicks while spiraling into the sky! Hits multiple times before the last hit launches the opponent upward.
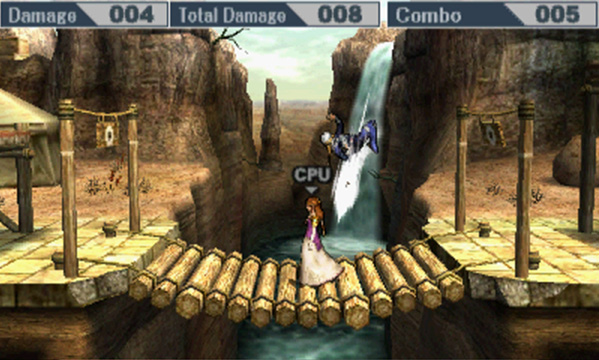
Down Air Attack
Sheik plummets to the ground with this quick spiking kick attack. Has a meteor effect at the start of this attack.
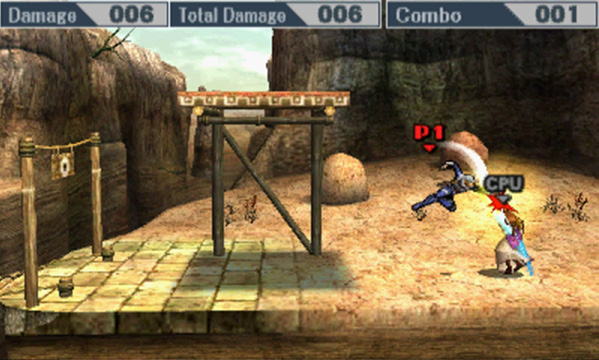
Forward Air Attack
Sheik attacks to her side with a downward punch.
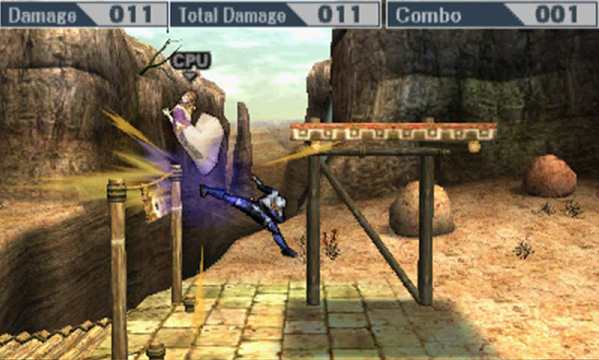
Back Air Attack
This reverse jump kick has incredible range. Sheik kicks fairly high here, so you’ll need to make sure your opponents are higher than Sheik when using this attack.
Special Attacks
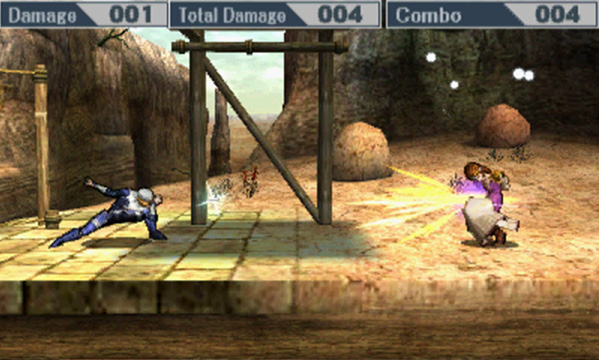
Needle Storm (Neutral Special)
Throws needles at the opponent. While Sheik is grounded, the needles fly forward. While she’s airborne, she throws the needles diagonally downward. Charge it to send more needles farther for more damage.
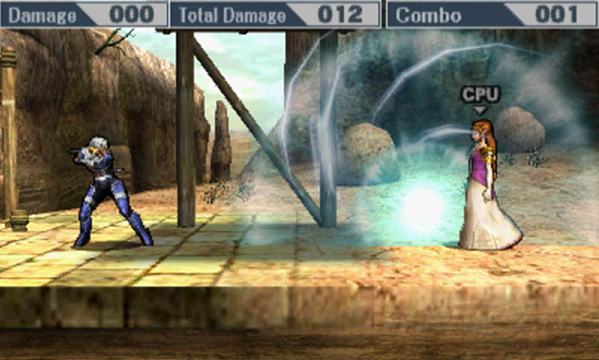
Burst Grenade (Side Special)
Throws a grenade that sucks opponents toward it before it explodes.
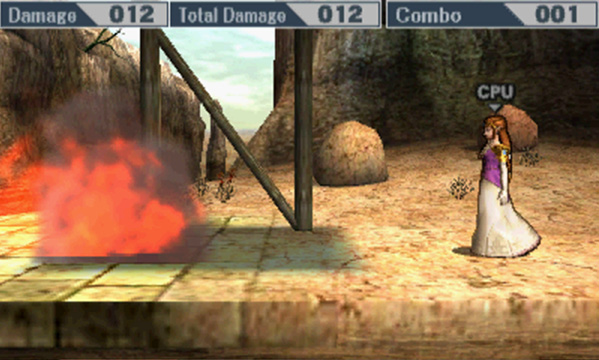
Vanish (Up Special)
With this teleport, Sheik throws a bomb to the ground before warping to another location of your choosing. When Sheik uses this in the air, she jumps higher before teleporting.
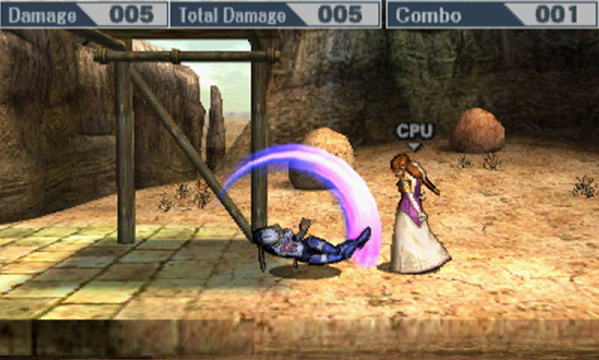
Bouncing Fish (Down Special)
A flipkick attack. If it hits, Sheik will bounce back away from the opponent.
Final Smash
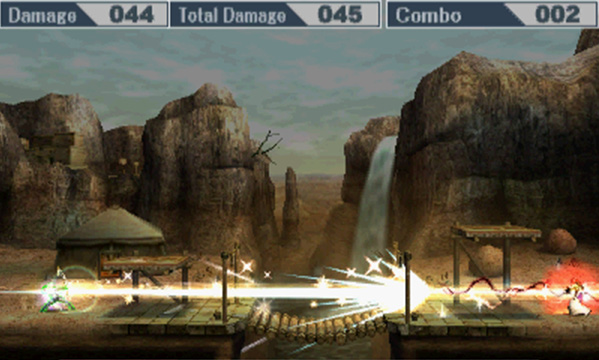
Light Arrow
Sheik pulls out a large bow and fires an arrow across the stage. It hits all targets in its path, but the damage and knockback decrease after each target. The first opponent receives 45% damage, the second receives 34%, and the third receives 25%. The range is incredible, reaching across Gerudo Valley. This Final Smash differs from Zelda’s in that the knockback is much more horizontal, and the damage is much higher. This makes Sheik’s version a little more useful when trying to push players off a side.
Strategy
Sheik is an incredibly fast, average-weight character—she weighs more than Zelda now! Her mobility is increased with Vanish, allowing her to teleport while still inflicting damage to those around her. Bouncing Fish can be useful for air mobility as well. Additionally, Sheik can crawl, wall cling, and wall jump, giving her options most other characters don’t have. With these options, plus Vanish and Bouncing Fish, Sheik has fairly good recovery. With her speed and mobility, she has no problem racking up damage on opponents, but she lacks strong options to KO them.
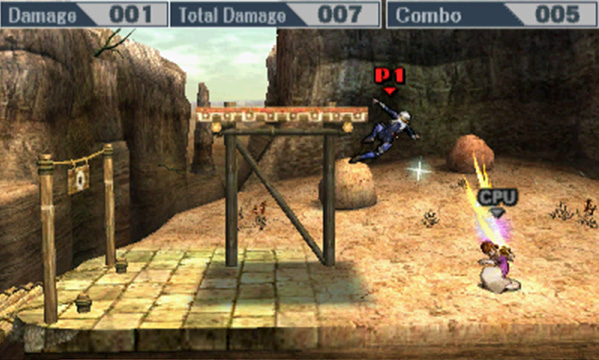
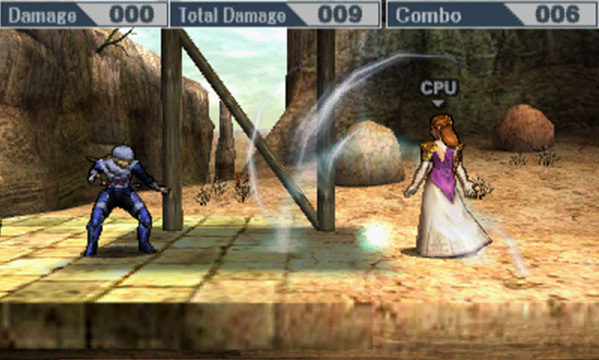
Needle Storm is an interesting projectile because it beats out a lot of other attacks. Rather than using it for camping or zoning, consider using it to interrupt your opponents as they approach. This can leave them open for Side Smash or Dash Attack. Burst Grenade is also interesting because it creates a bit of a vortex, sucking opponents in. Of course, if your opponent is sucked toward you, be sure to keep your offense up with your jab, Forward Tilt, throws, or aerial attacks. From Down Throw or Up Throw, chasing your opponents with Up Air is a strong option. While Vanish is good for distancing yourself from opponents or for recovering, it can also be used offensively. Try using it close to the ground and do it downward. If you’re able to combo it into itself, you can get up to 17% damage!
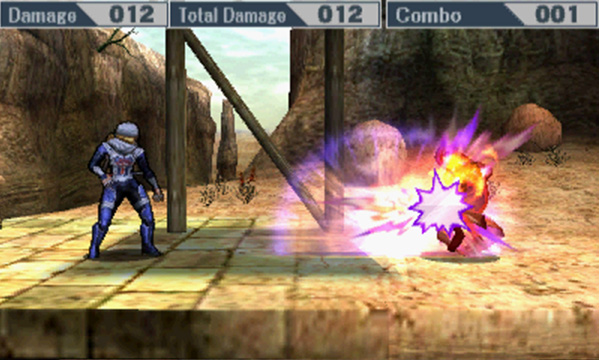
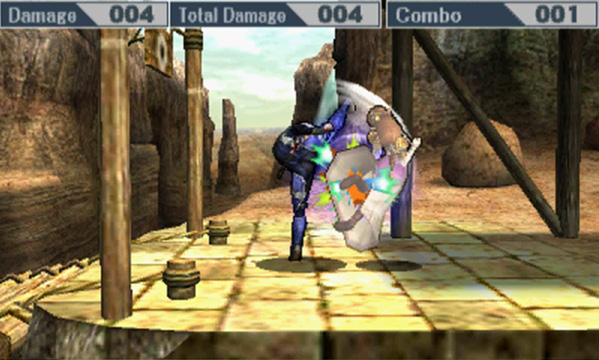
For Sheik’s ground game, Side Tilt and Up Smash are some of her best options: Side Tilt can combo into itself in many situations, and Up Smash is by far Sheik’s most damaging attack. Additionally, Up Smash has invincibility on Sheik’s head and arms while attacking. For aerial attacks, Down Air is of note because of its meteor effect at the start of the attack. The majority of its damage is done when hitting opponents in the air, not during its landing. Sheik’s Back Air is also notable, as it has great range and comparatively high damage. Up Air is useful if you find opponents up near the top of a stage, but in general use it for racking up damage instead of knocking opponents out. For edge-guarding, Sheik’s best options are to chase off-stage with her aerial attacks. Back Air is your best bet, but look to use Neutral Air and Forward Air as well, depending on your positioning. Since Sheik’s recovery is above average, you can afford to be more aggressive while chasing off-stage. If you prefer a safer but less effective approach, use your Needle Storm and Burst Grenades to disrupt your opponent’s recovery.
Recovery
Sheik’s two primary recovery options are her Vanish and Bouncing Fish. Vanish is the most useful, as it allows both horizontal and vertical recovery. And dealing damage both before and after the teleport is a great option. Sheik’s second option is Bouncing Fish, which is a flipkick attack that covers good horizontal distance—just make sure you’re facing the right way! Don’t forget to use wall jump or wall cling when possible as well.