Super Smash Bros. for Nintendo 3DS Guide Characters K-P
Meta Knight
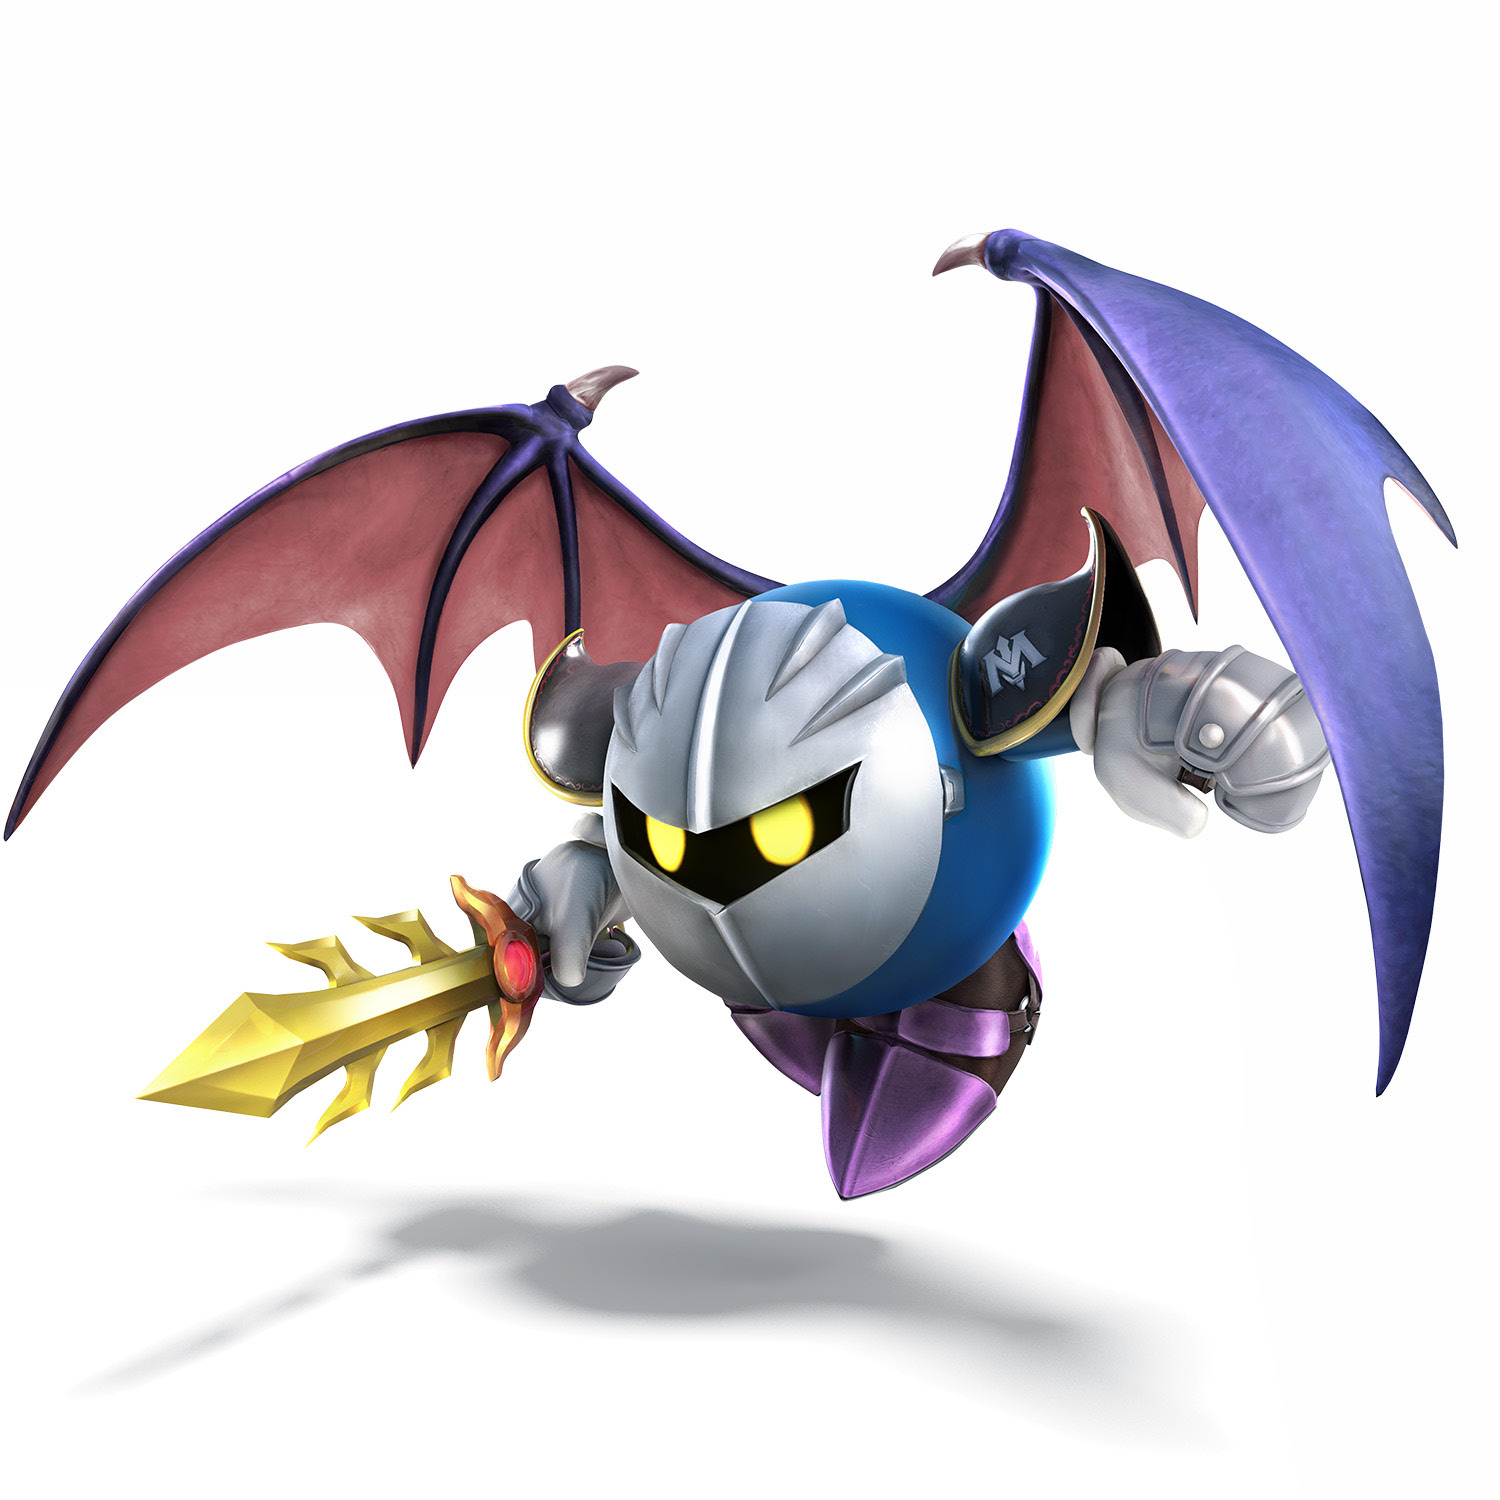
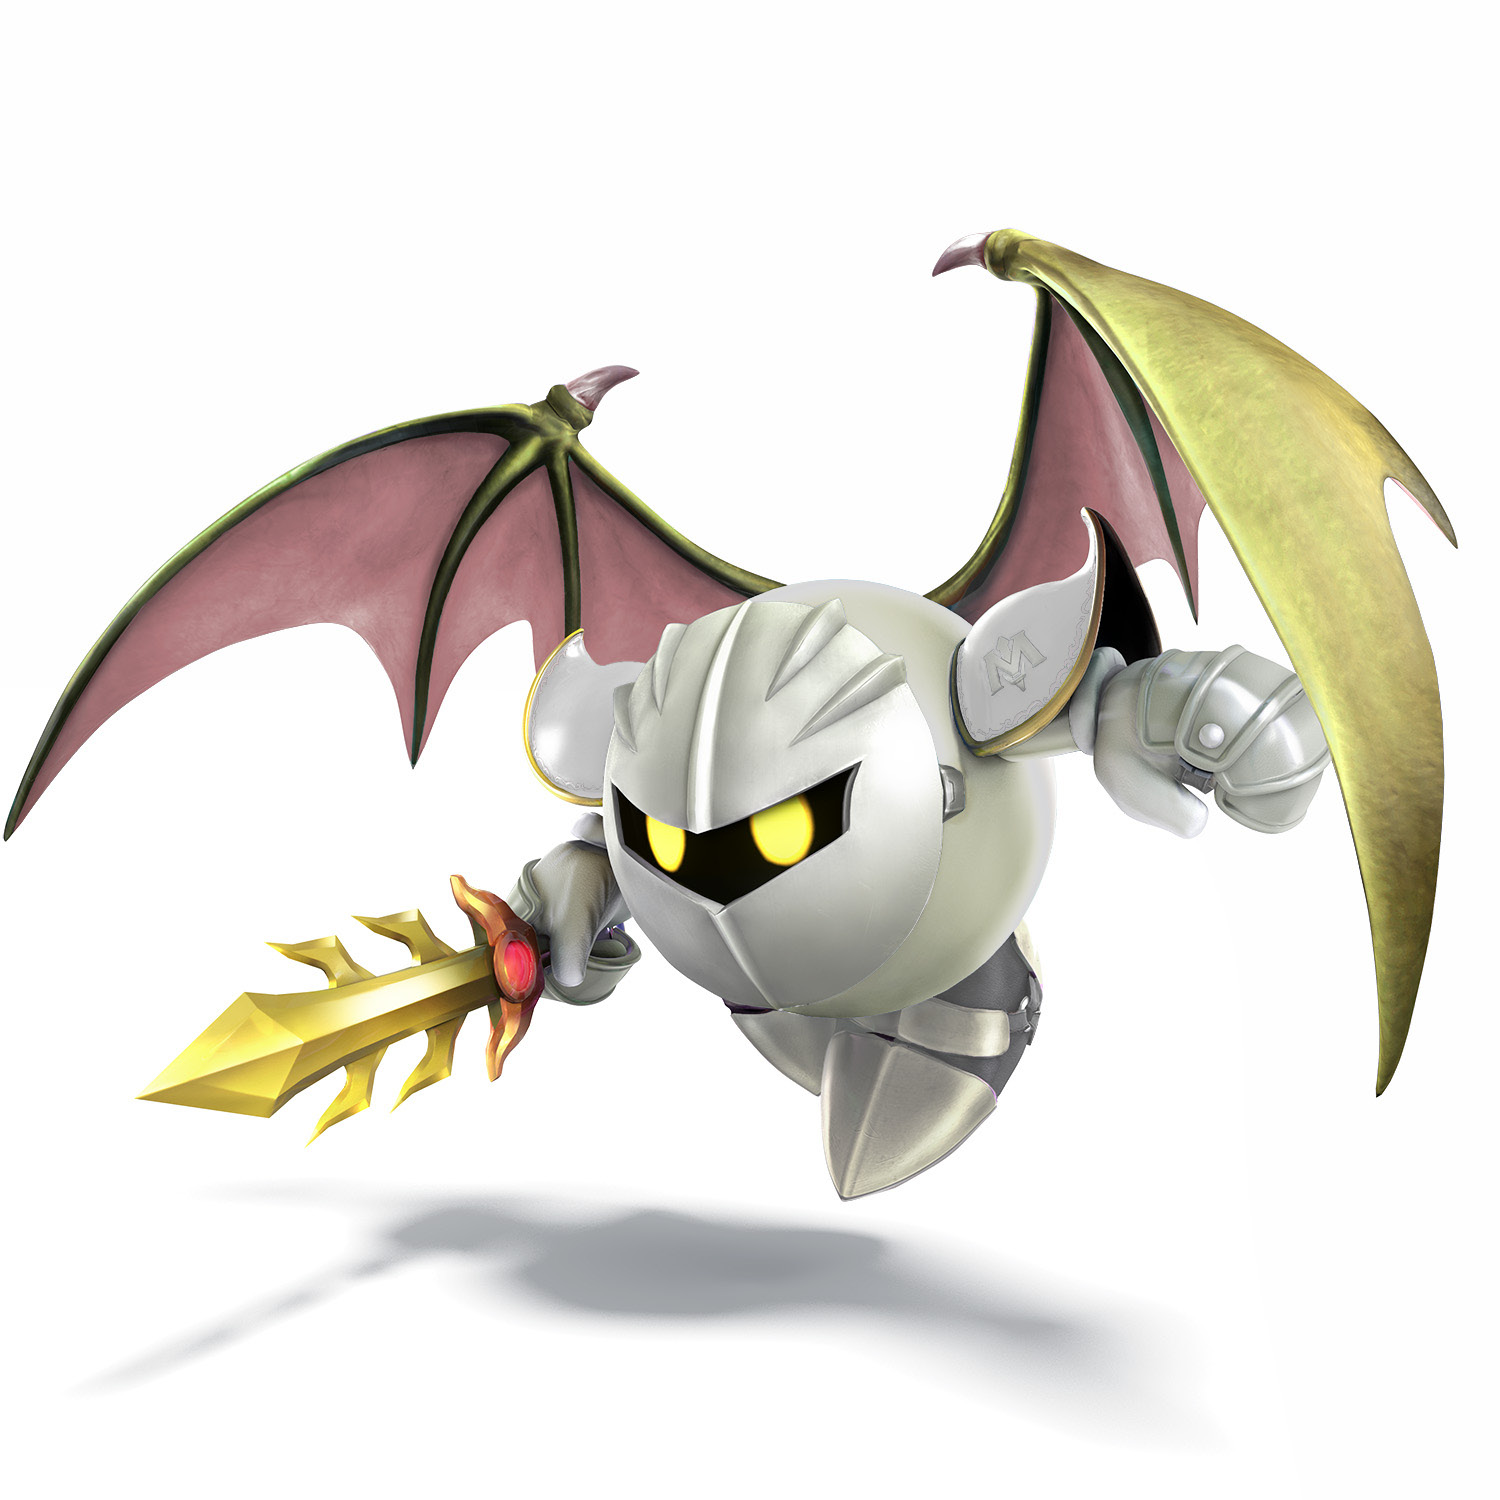
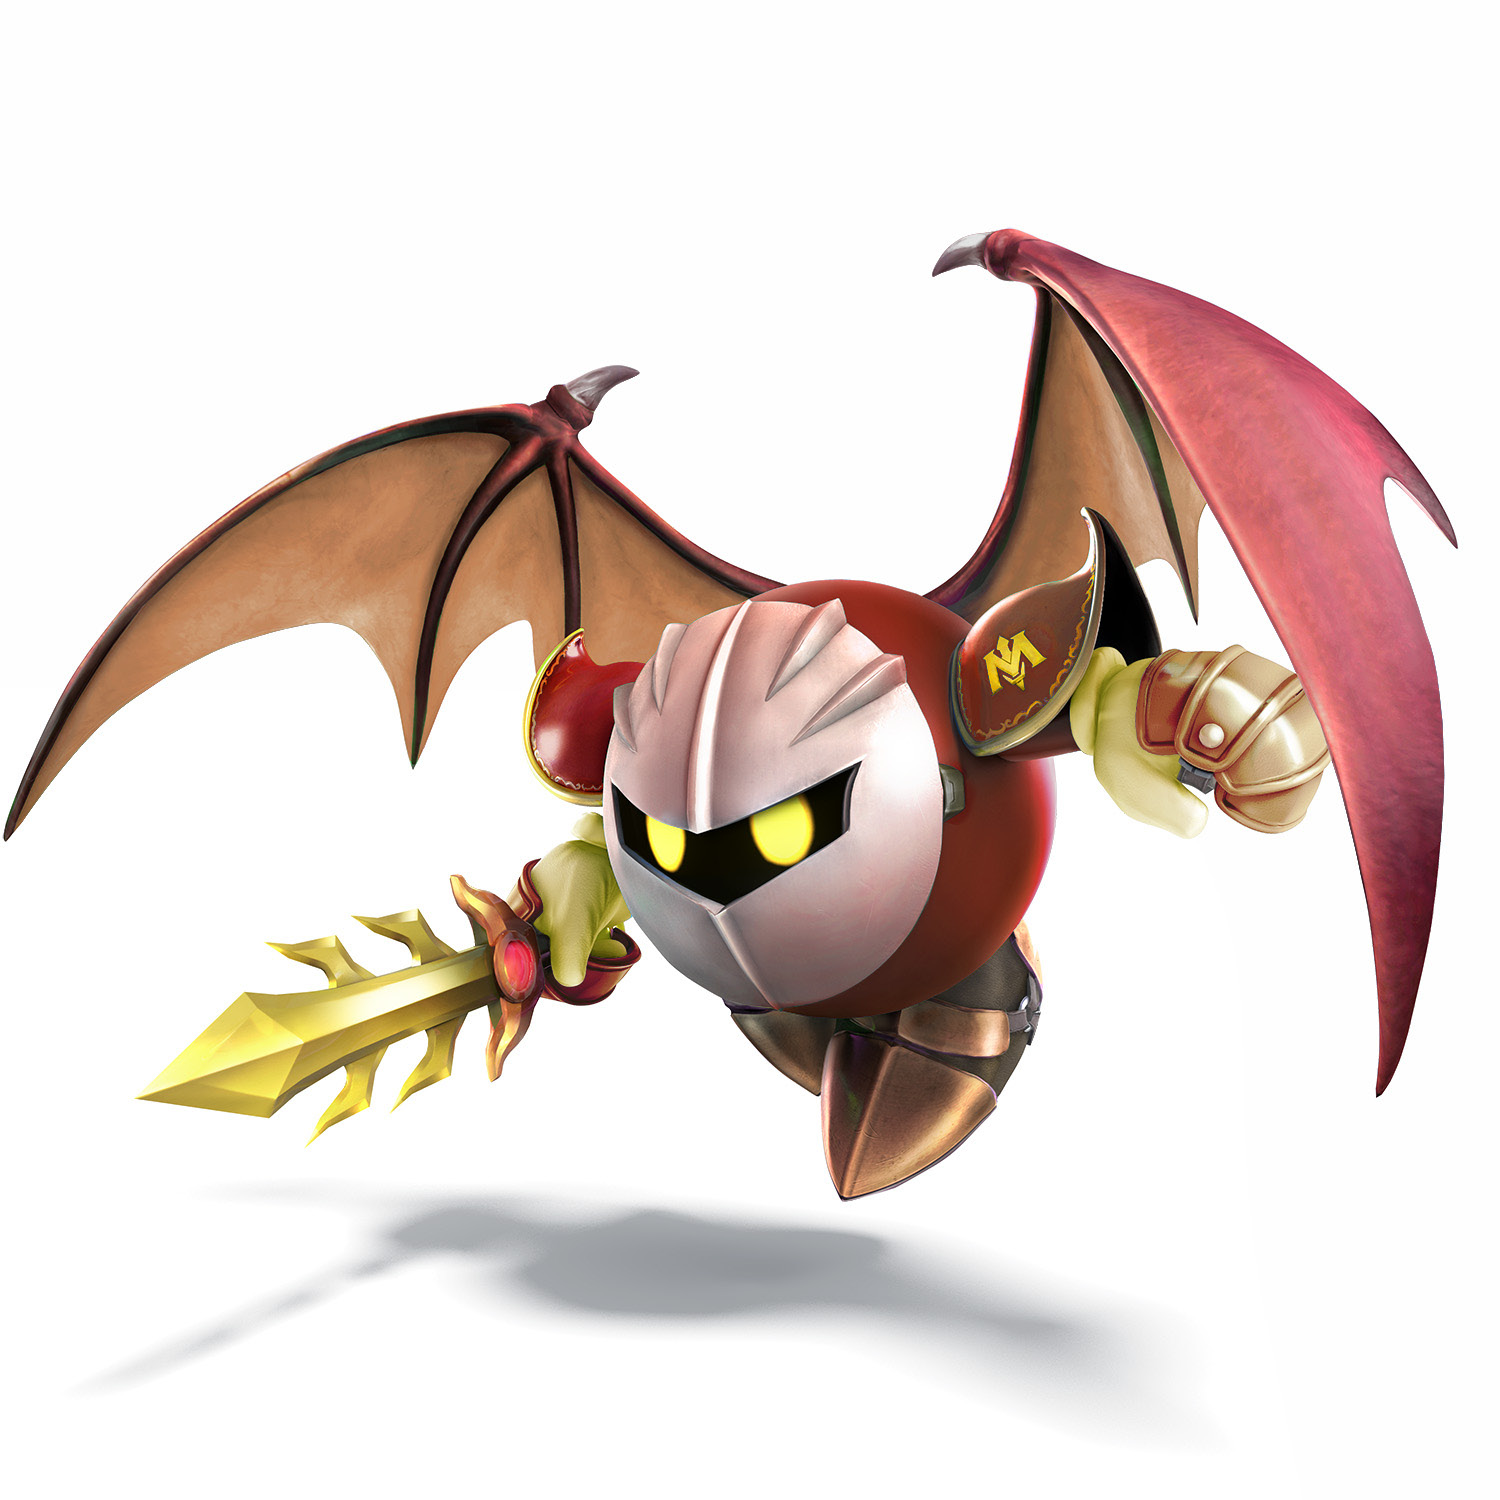
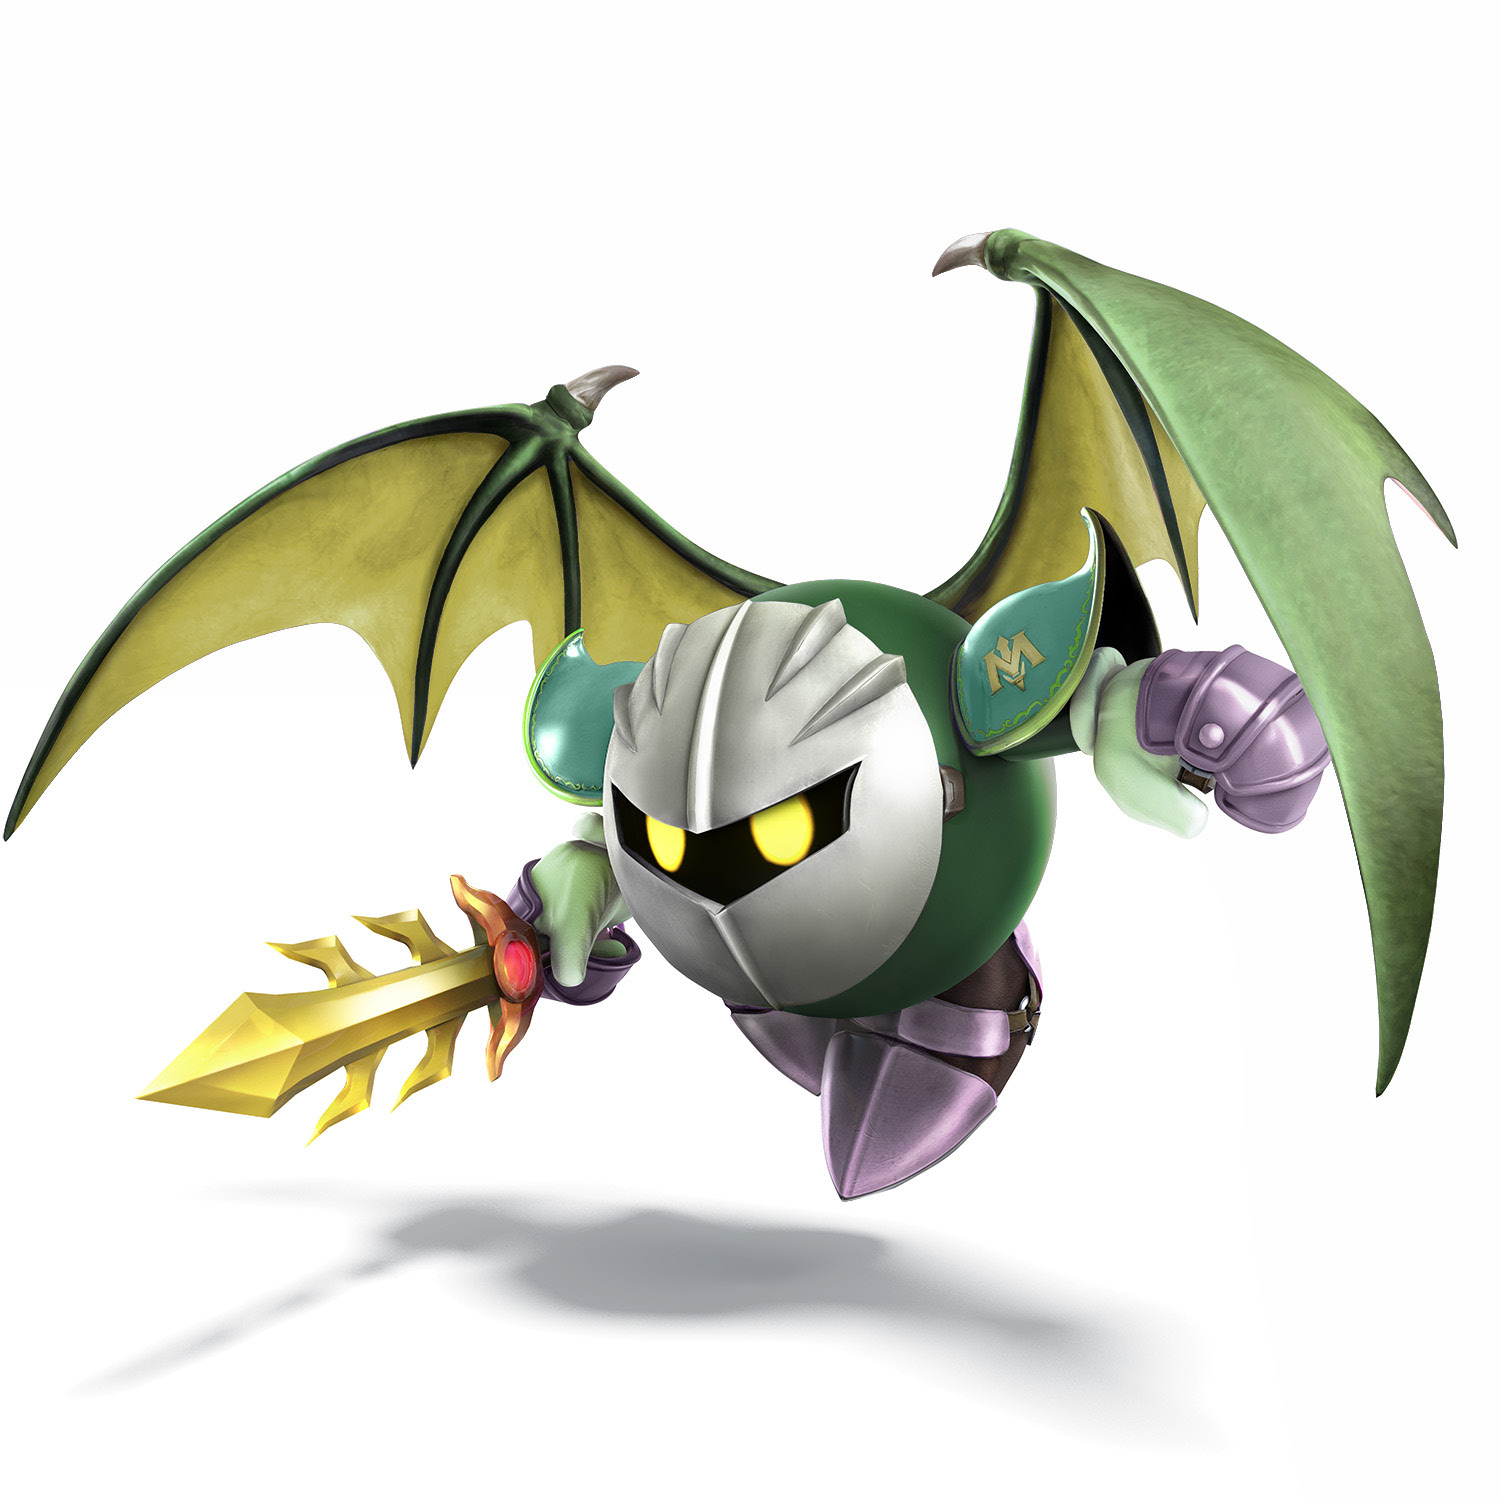
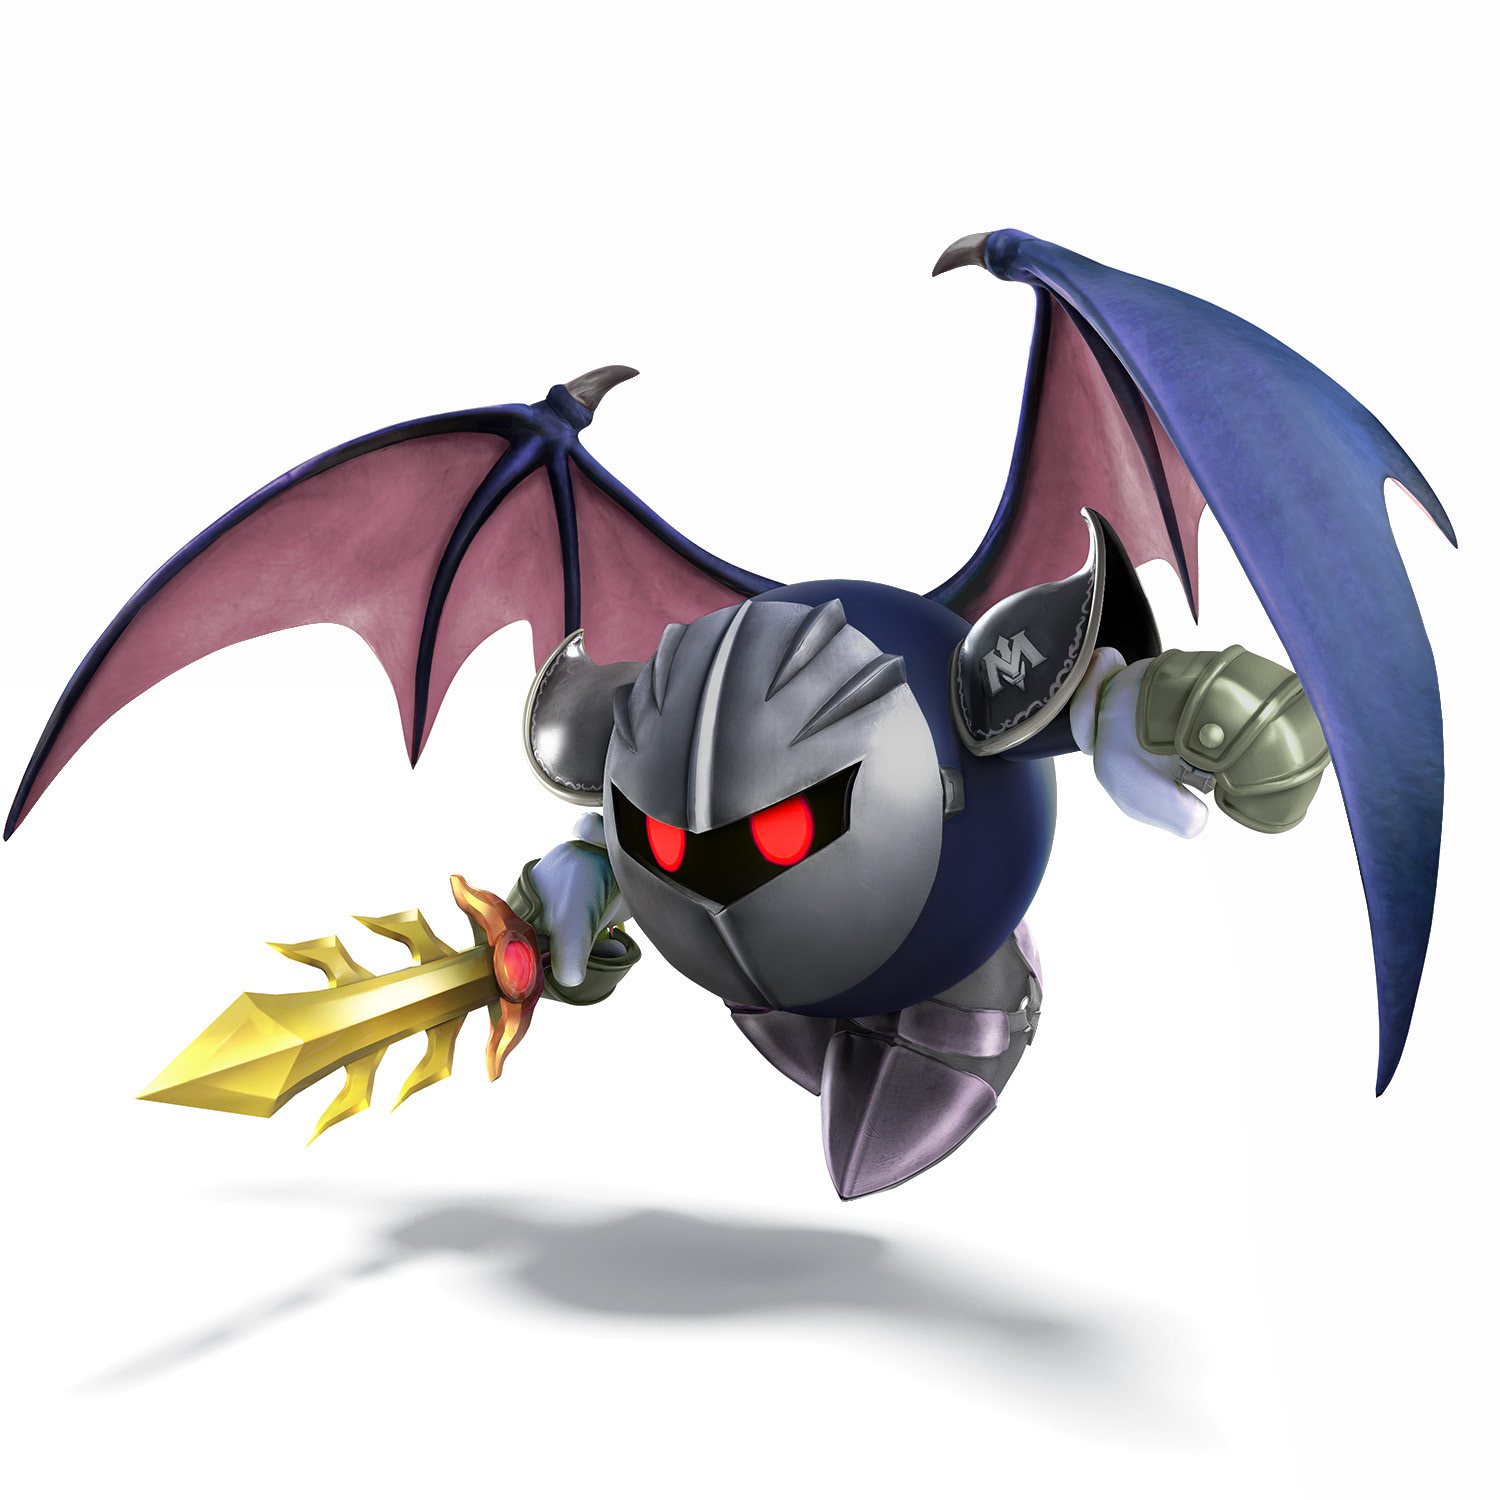
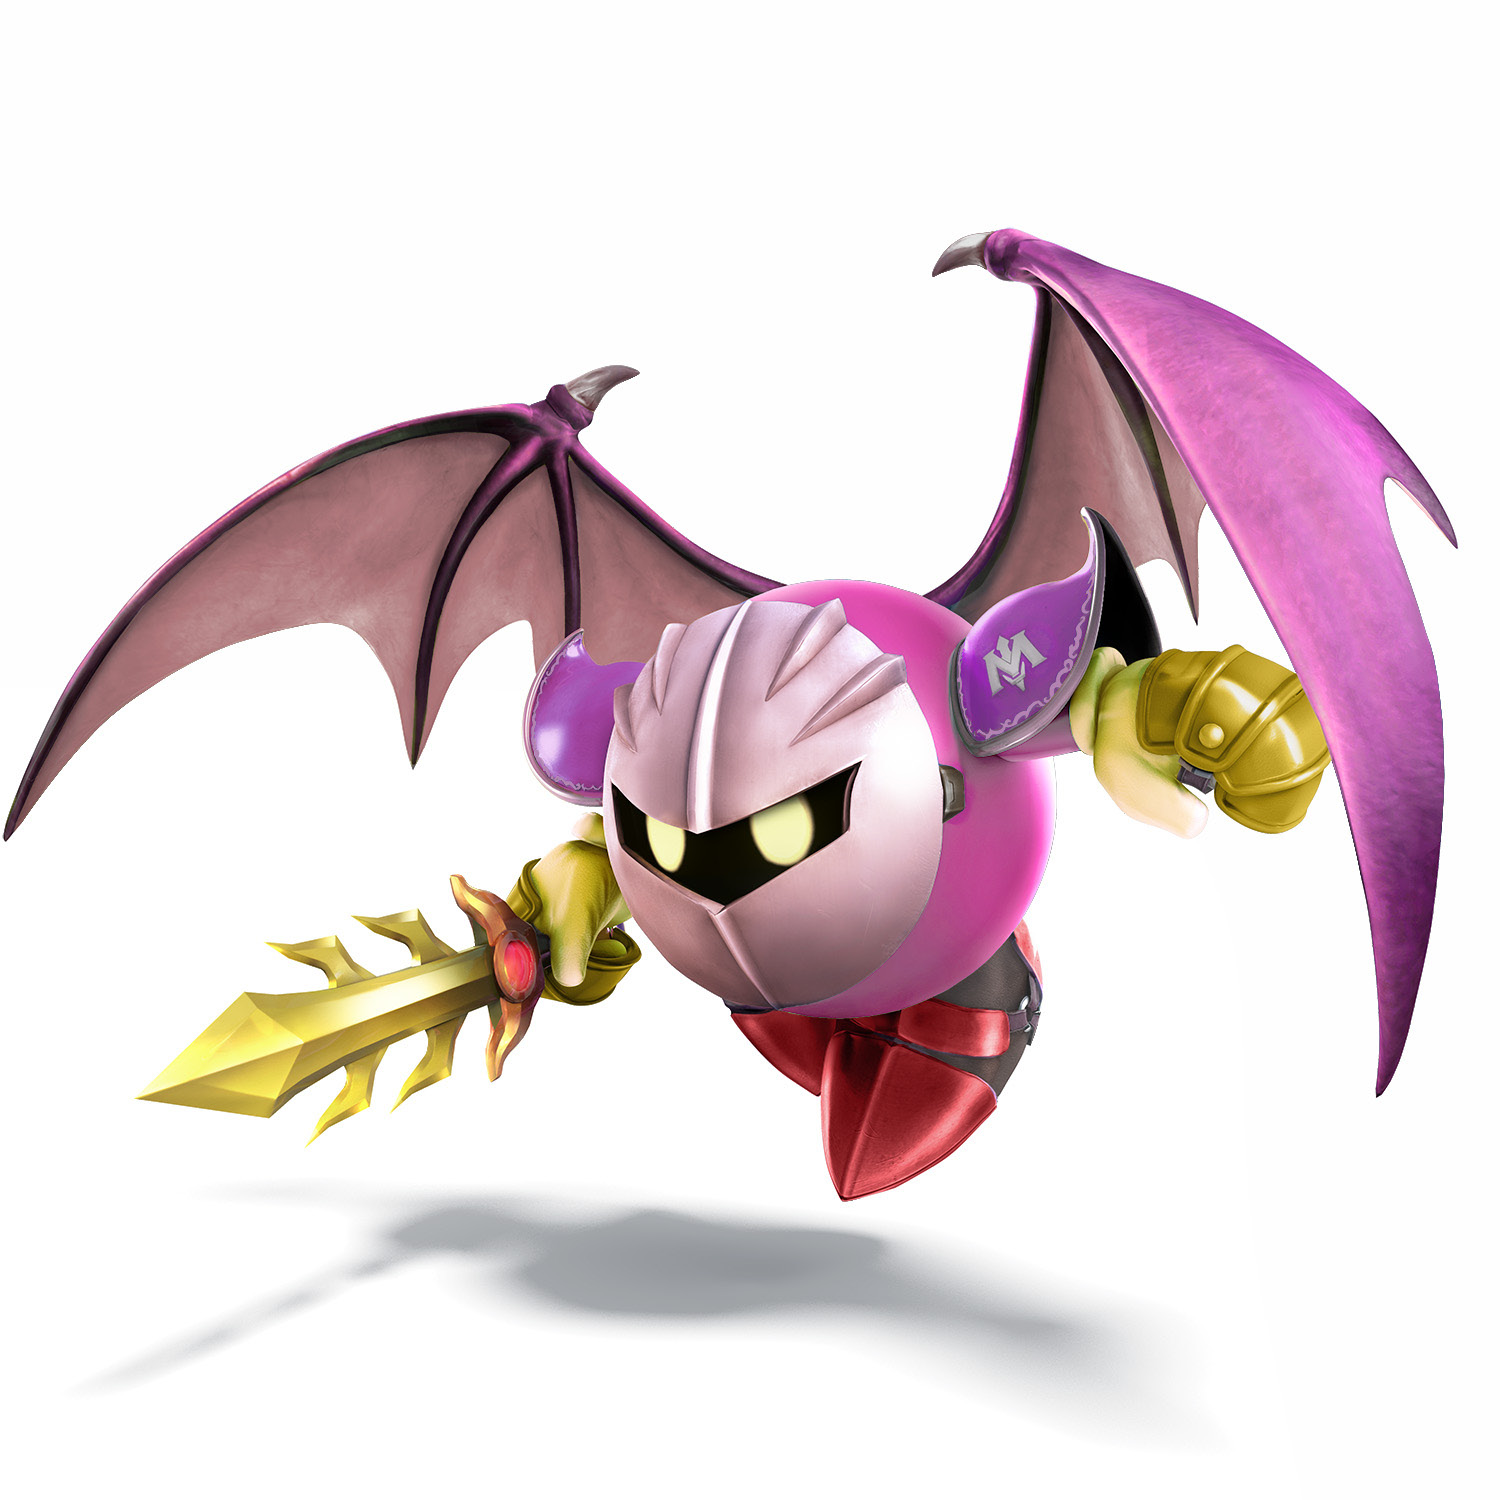
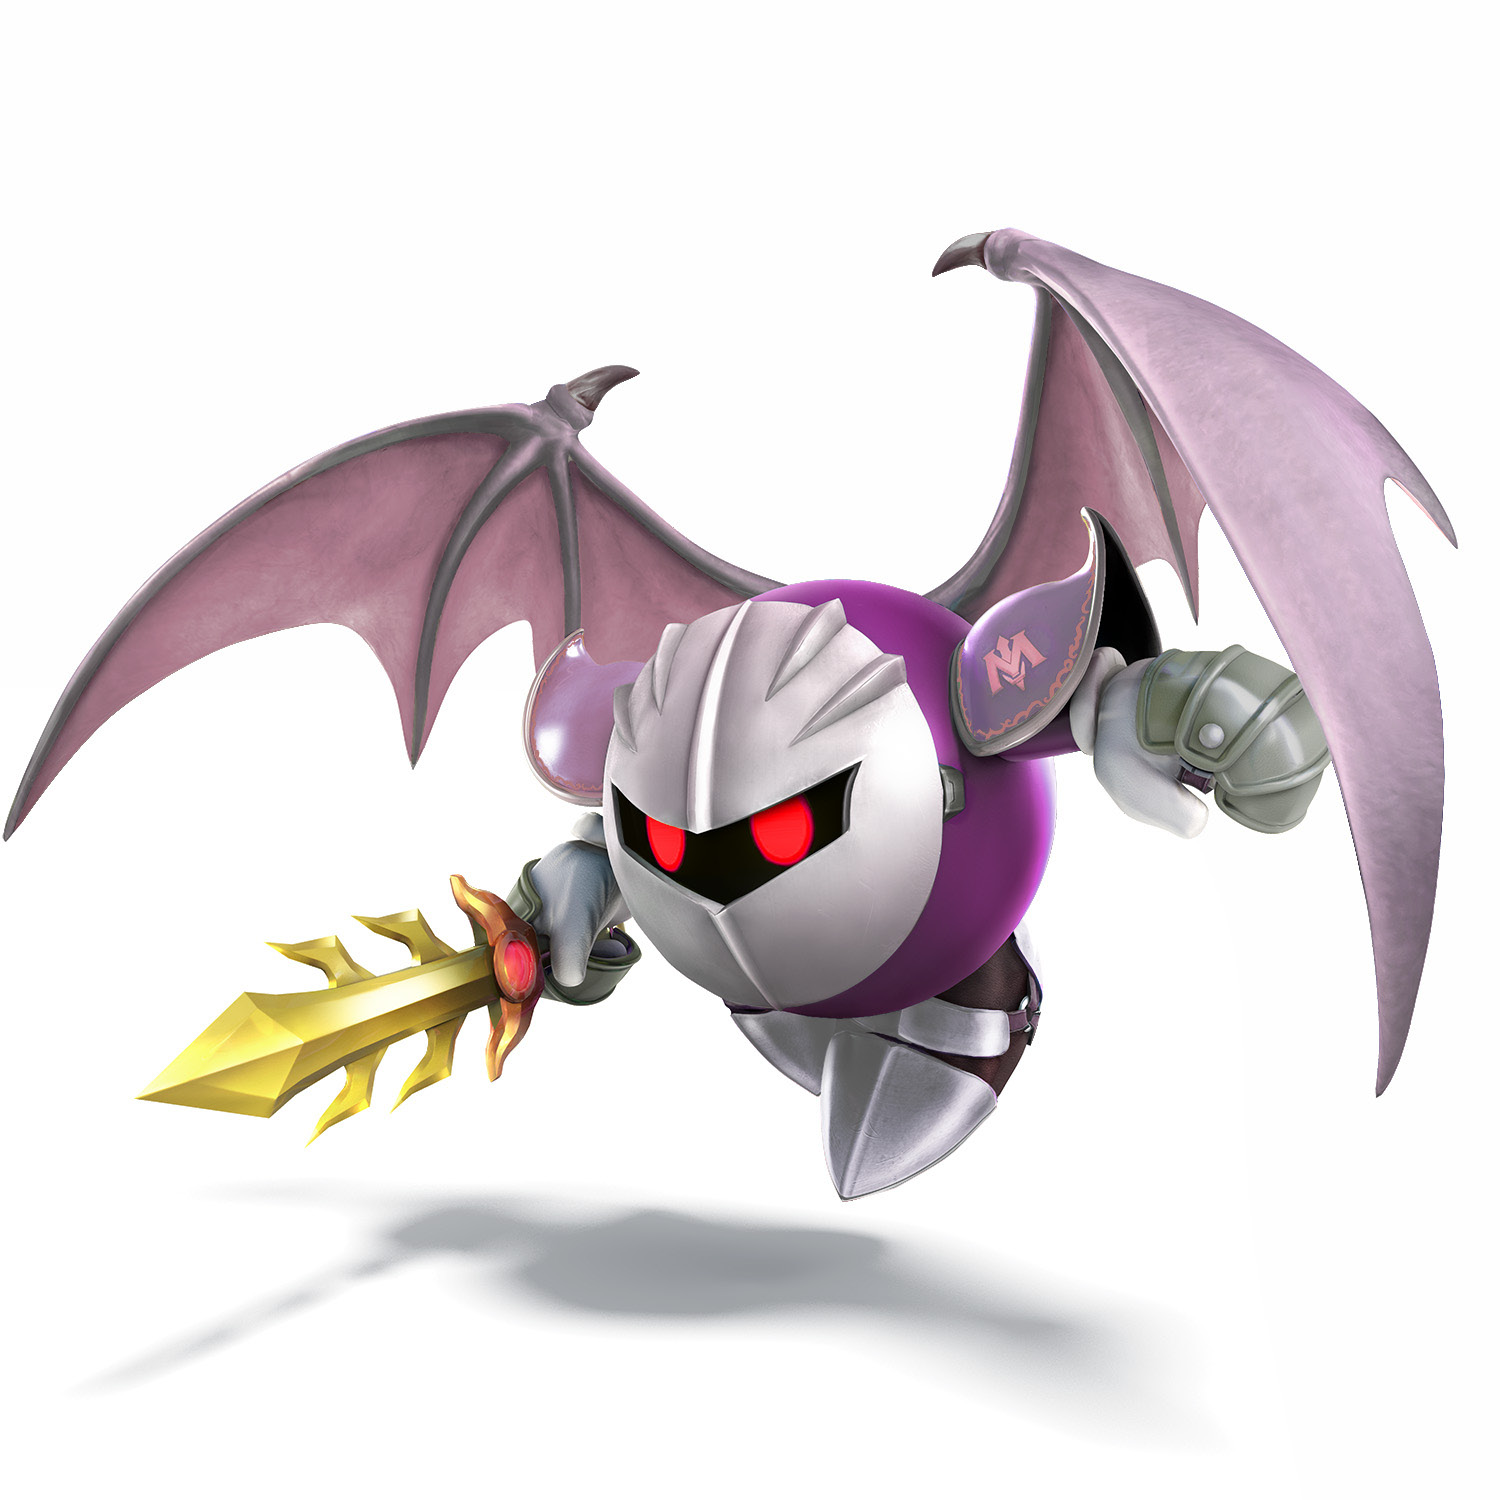
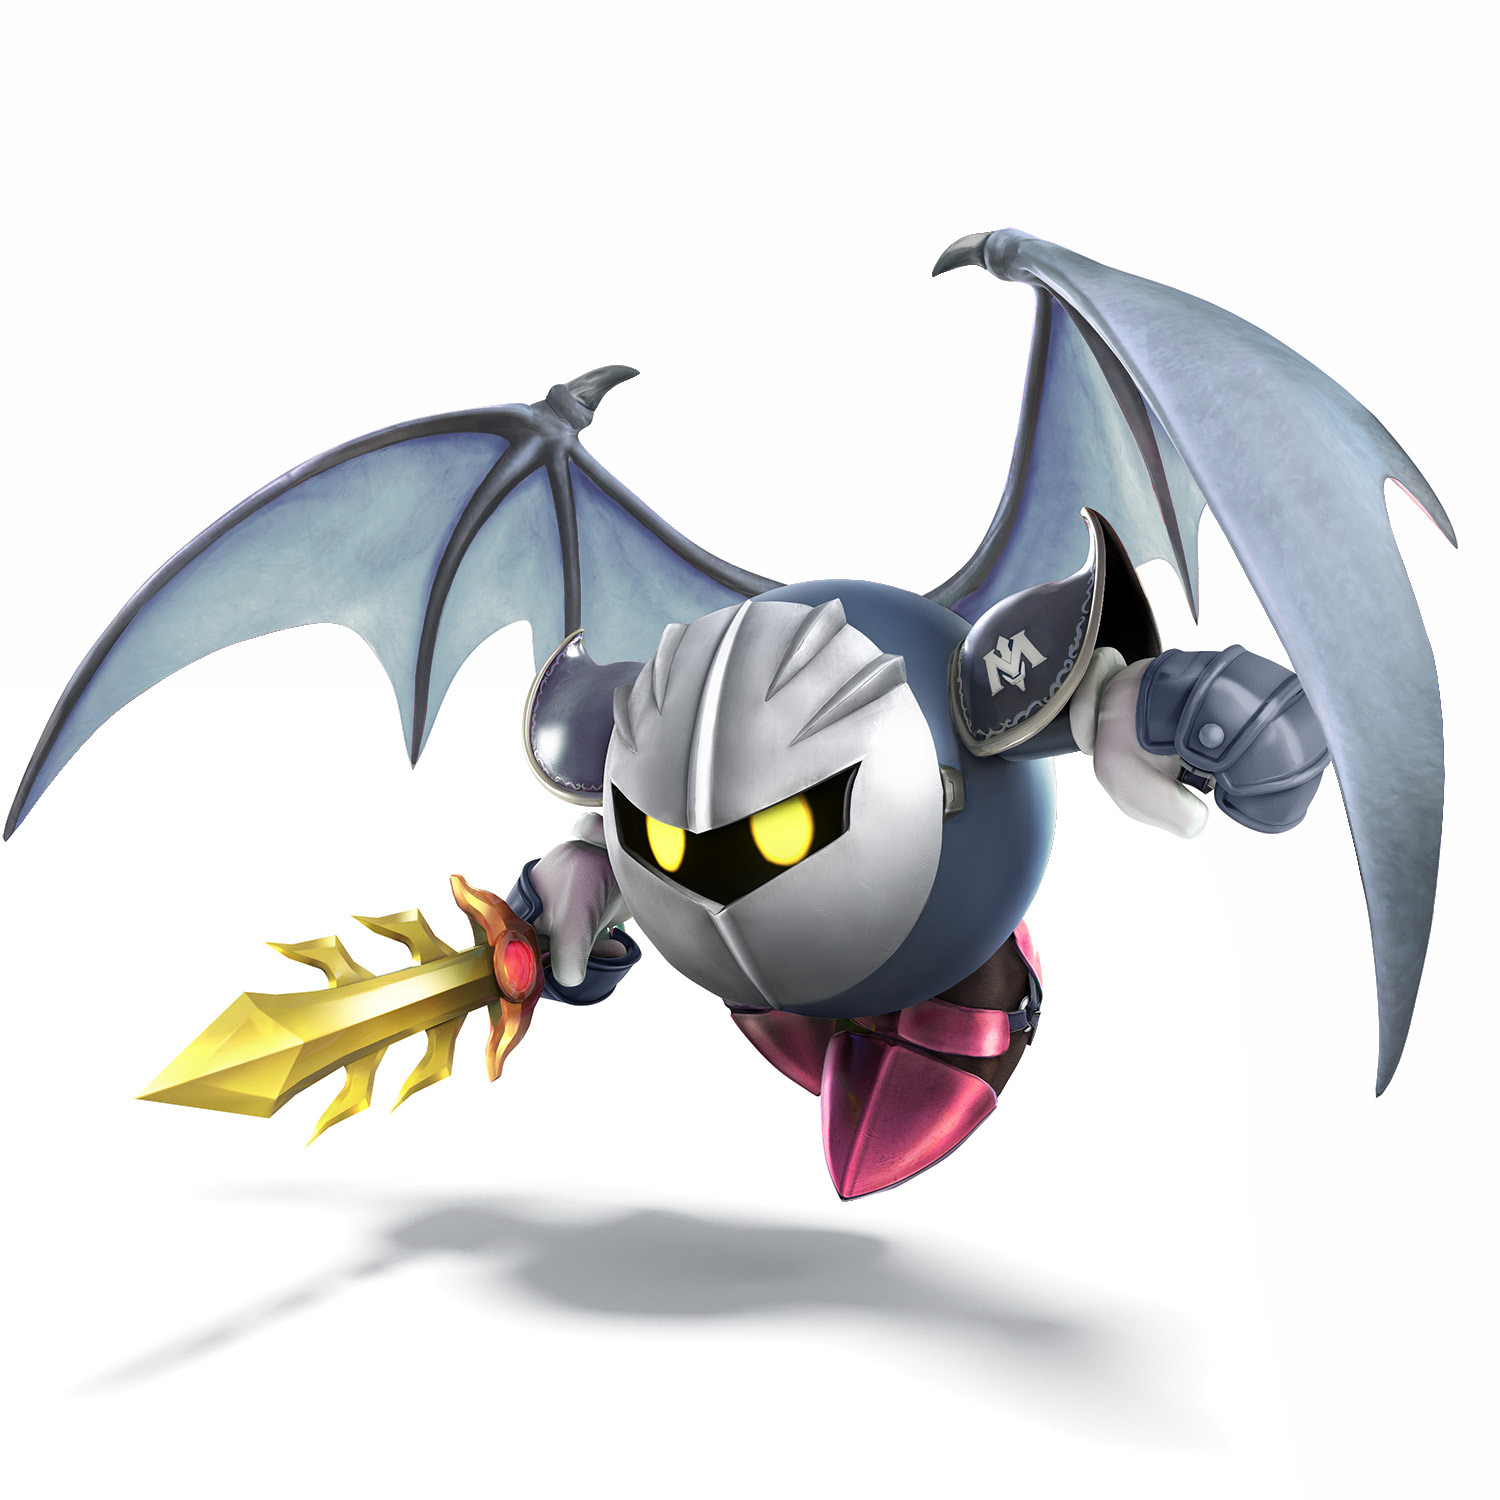
Trophy DescriptionKirby’s mysterious rival, this masked swordsman appears in several Kirby games. His cape transforms into wings to grant him flight. In Smash Bros., his quick sword skills and aerial agility set him apart. He can jump up to five times in a row, and he has a Special move to soar higher. Statistics
|
Smash Attacks
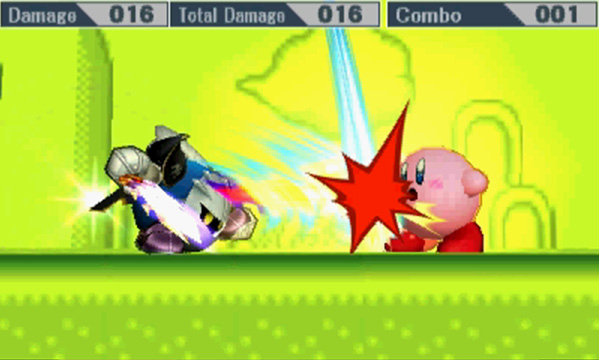
SIDE SMASH
Meta Knight slashes his sword horizontally in front of him.
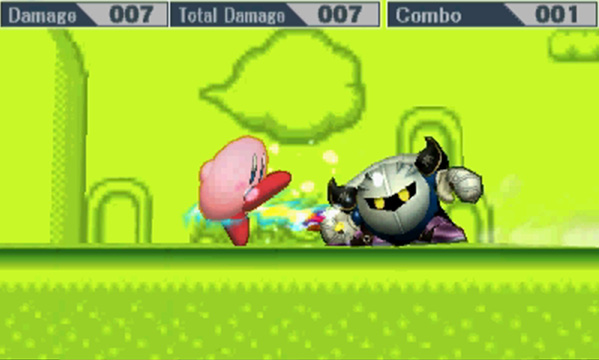
DOWN SMASH
Meta Knight swings his sword quickly around his body. Hits both in front of and behind him.
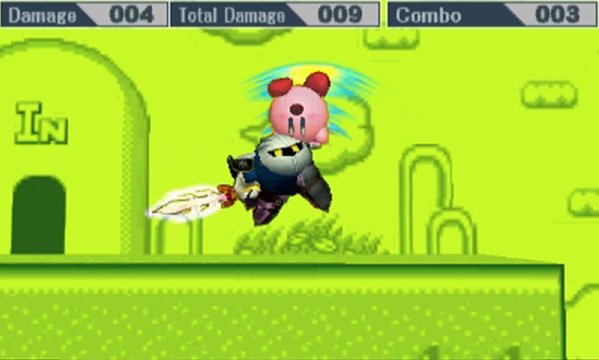
UP SMASH
Meta Knight slashes furiously upward as he leaps into the air. Can hit up to three times before sending the opponent upward.
Basic Attacks
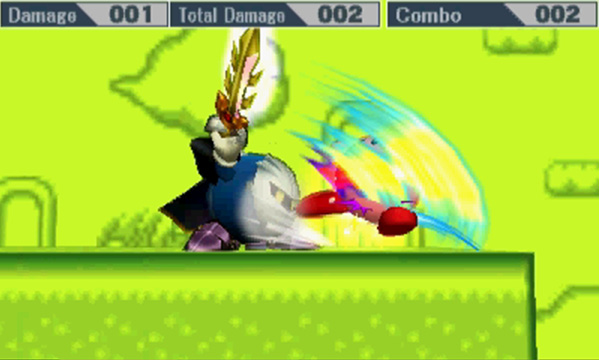
Standing Attack
Meta Knight goes straight into his rapid slashes! Letting go of the Attack button causes Meta Knight to end with a jumping uppercut with his sword.
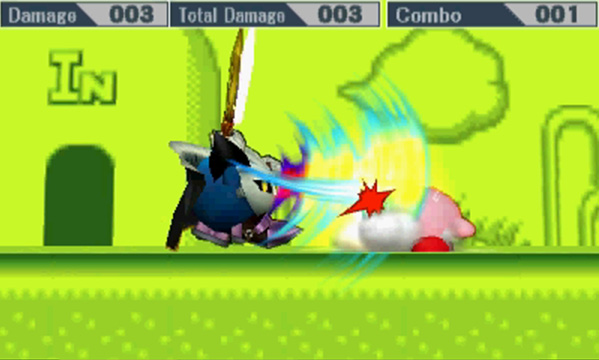
Forward Tilt
This leads into a three-hit attack if you continue to hit the Attack button. Two horizontal sword slashes followed by an upward slash. The third hit has good launching power.
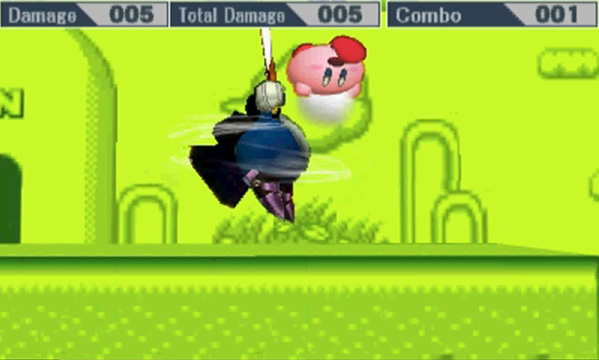
Up Tilt
A jumping spinning uppercut attack with Meta Knight’s sword fully extended upward.
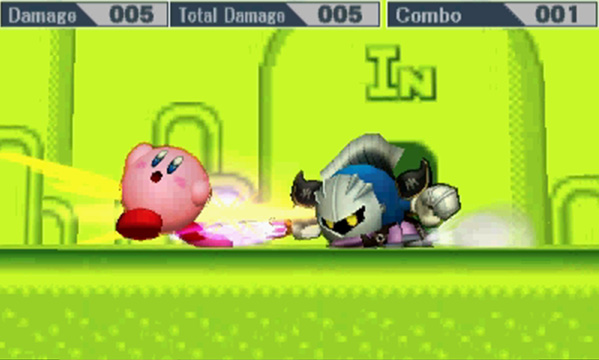
Down Tilt
Meta Knight crouches down and quickly stabs forward a good distance with his sword.
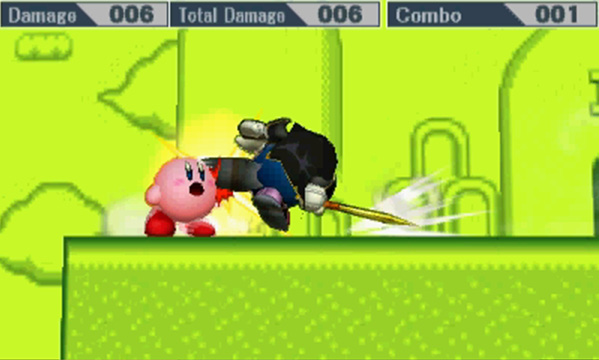
Dash Attack
Meta Knight delivers a long-range jump kick to your opponent.
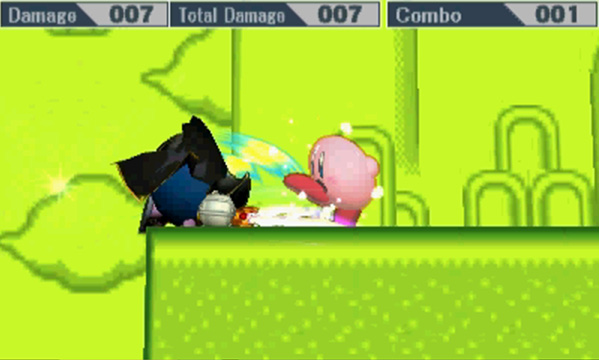
Edge Attack
Meta Knight slowly pulls himself back to the stage before swinging his sword forward.
Air Attacks
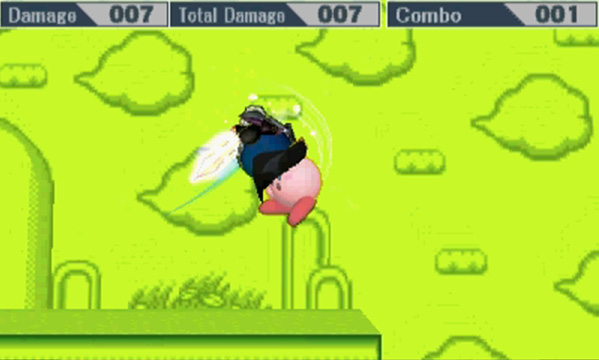
Neutral Air Attack
Meta Knight flips multiple times, striking anyone in his path.
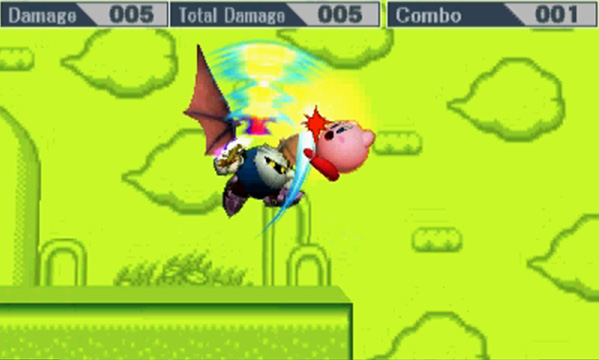
Up Air Attack
A very quick sword slash in an arc over Meta Knight’s body.
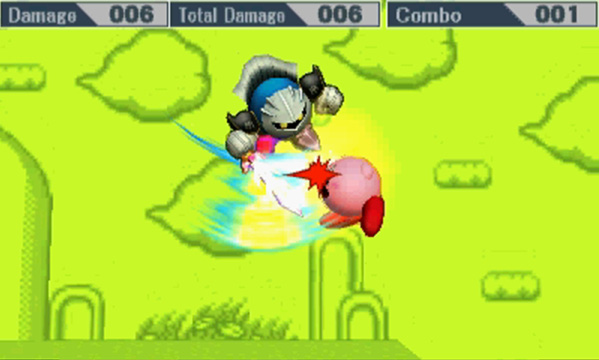
Down Air Attack
Another quick sword slash, this time in an arc below Meta Knight’s body.
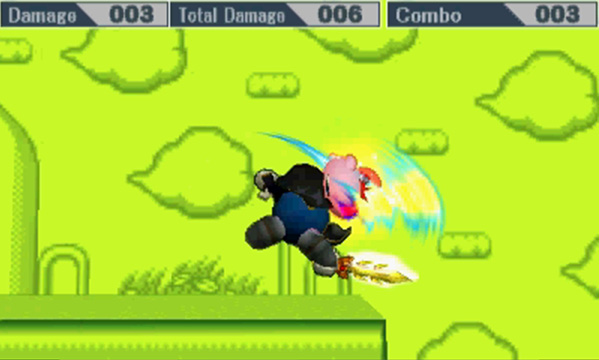
Forward Air Attack
Meta Knight strikes forward with three quick sword slashes.
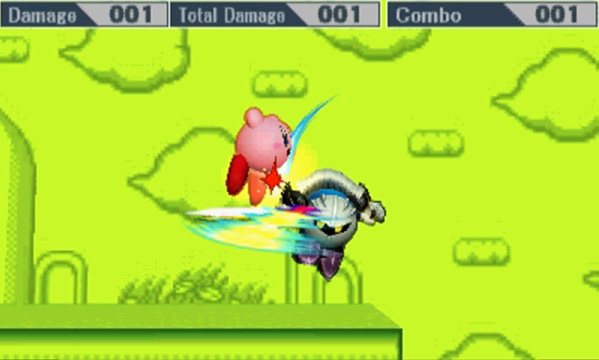
Back Air Attack
Three quick sword strikes behind Meta Knight.
Special Attacks
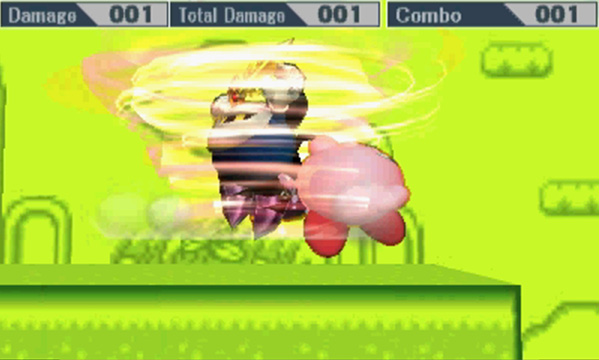
Mach Tornado (Neutral Special)
This spinning attack hits multiple times. Hitting the button repeatedly increases the number of spins and lifts Meta Knight higher. The tornado can also destroy weaker projectile attacks. You are in a fall state when this move completes.
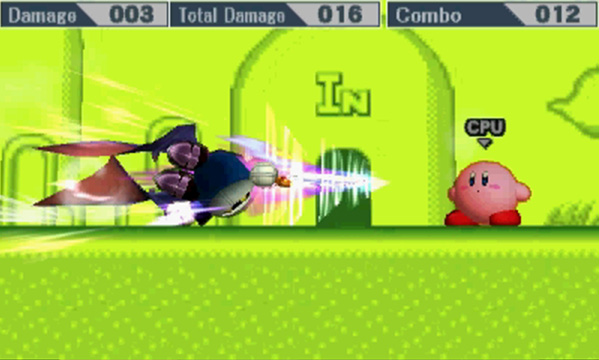
Drill Rush (Side Special)
Meta Knight flies forward, drilling his sword into his opponents. You can control the angle of the Drill Rush. You are in a fall state after this move.
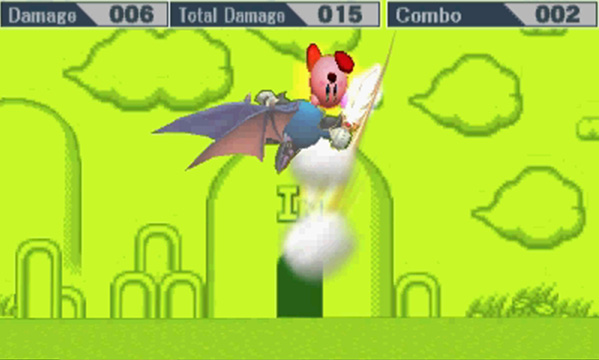
Shuttle Loop (Up Special)
This jumping upward strike is followed by a looping second strike. It has more range than you might expect, but you are in a fall state after this move.
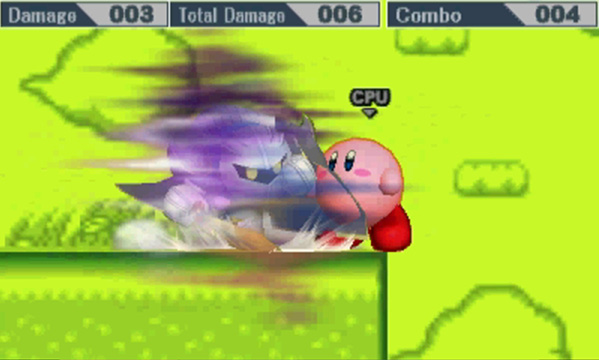
Dimensional Cape (Down Special)
Meta Knight teleports in the direction of your choosing. If you hold the button, he attacks when he reappears. With or without attacking, though, you’re in a fall state after this move.
Final Smash
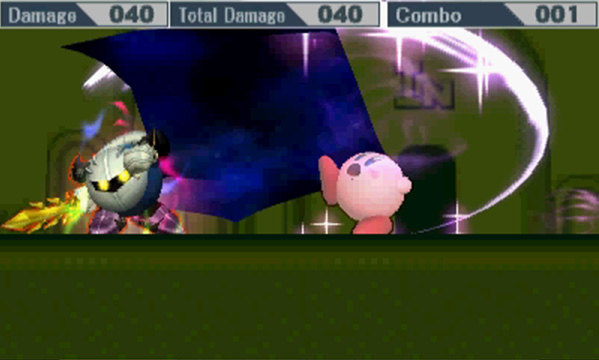
Galaxia Darkness
Meta Knight waves his cape over his opponents. The range on this cape is much farther than one would expect. You can see the range with the swipe and sparkles that follow along with the cape. Opponents who are hit flinch as the screen fades to black, and then Meta Knight strikes with a massive blow, sending them upward for 40% damage. All other characters on-screen who were not hit by the cape take about 10% damage. Because this launches more vertically than horizontally, use it closer to the tops of stages when possible.
Strategy
Meta Knight is one of the lightest and smallest characters in the game. His armor and cape only add make him a bit heavier over Kirby. He is also incredibly fast, both with his ground movement and his attack speed. All of his Special moves are attacks that can also be used for recovery in some way. Combine this with his multiple jumps ,and it makes his edge-guarding very strong—he can meet opponents off-stage while still retaining good recovery options. Aside from his lightweight status, his weaknesses are his aerial movement speed and his overall damage output. This makes him less effective in free-for-all settings but more viable in one-on-one modes. Overall, though, he has multiple tools to approach unpredictably, to KO opponents, and to recover.
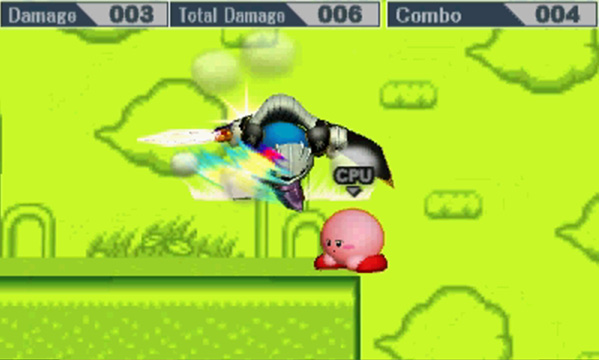
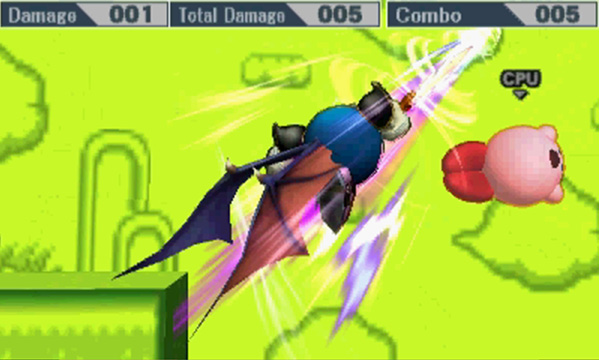
Since Meta Knight is a lightweight and doesn’t have any projectiles, opponents may try to use projectiles against him to rack up damage. Use your Mach Tornado to blow out weak projectiles while controlling your spacing from the opponent at the same time. Because you have so much control over Mach Tornado, this makes it harder for opponents to predict when Meta Knight is actually approaching. Another approach tool and long-range punish is Meta Knight’s Drill Rush. Use it to punish opponents at range and carry them upward or downward over stage edges! Finally, for an unpredictable approach, keep opponents guessing with Dimensional Cape. Use it to move farther away or nearby to keep your opponent off guard. Try to catch opponents committing to long-range attacks, then teleport in and attack! Shuttle Loop does decent damage, but its flight path can be a little hard to hit opponents who aren’t immediately above or beside you. And it leaves you in a fall state afterward, so make sure you land this attack or catch an edge with it!
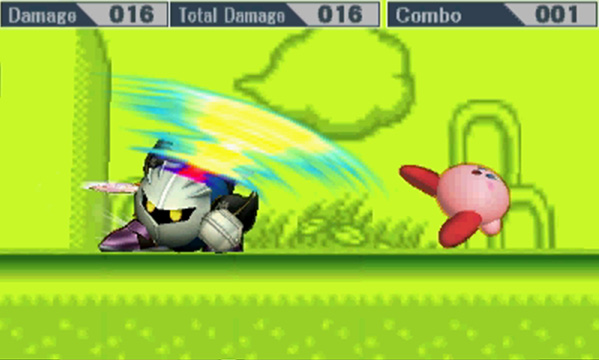
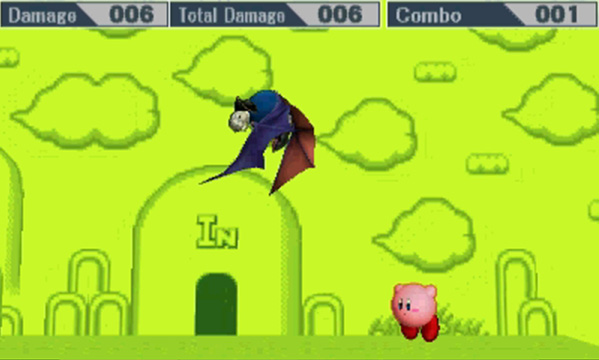
To rack up damage, Meta Knight has a bunch of options. First, he doesn’t even have a standing jab—it just goes straight into rapid jabs! Additionally, his Forward Air and Back Air both start up quickly and do decent damage. Use his Drill Rush and Mach Tornado punish long-range mistakes. Meta Knight’s Up Air is very quick, but it lacks damage. His Down Air is also fairly quick, but it also lacks damage and doesn’t have a meteor effect. In general, this makes his best aerial options Forward or Back Air for KOs. From the ground, use his speed to your advantage along with Side Tilt and Down Tilt. Side Smash is his best option for KOs, but it isn’t as fast as his Down Smash, which also hits on both sides. All of his Special moves deal decent knockback as well and can be used to KO opponents.
Recovery
Meta Knight has a variety of recovery options in addition to his six jumps! All of his Special attacks can be used for recovery in some form, but all of them leave Meta Knight in a fall state! With Mach Tornado, you can recover horizontally while attacking. Drill Rush lets you control some horizontal and vertical recovery. Shuttle Loop is Meta Knight’s highest vertical recovery tool. Dimensional Cape allows for both horizontal and vertical recovery. In general, you should try to get back to the stage using your jumps and aerials before relying on your Specials.