Super Smash Bros. for Nintendo 3DS Guide Characters K-P
Pit
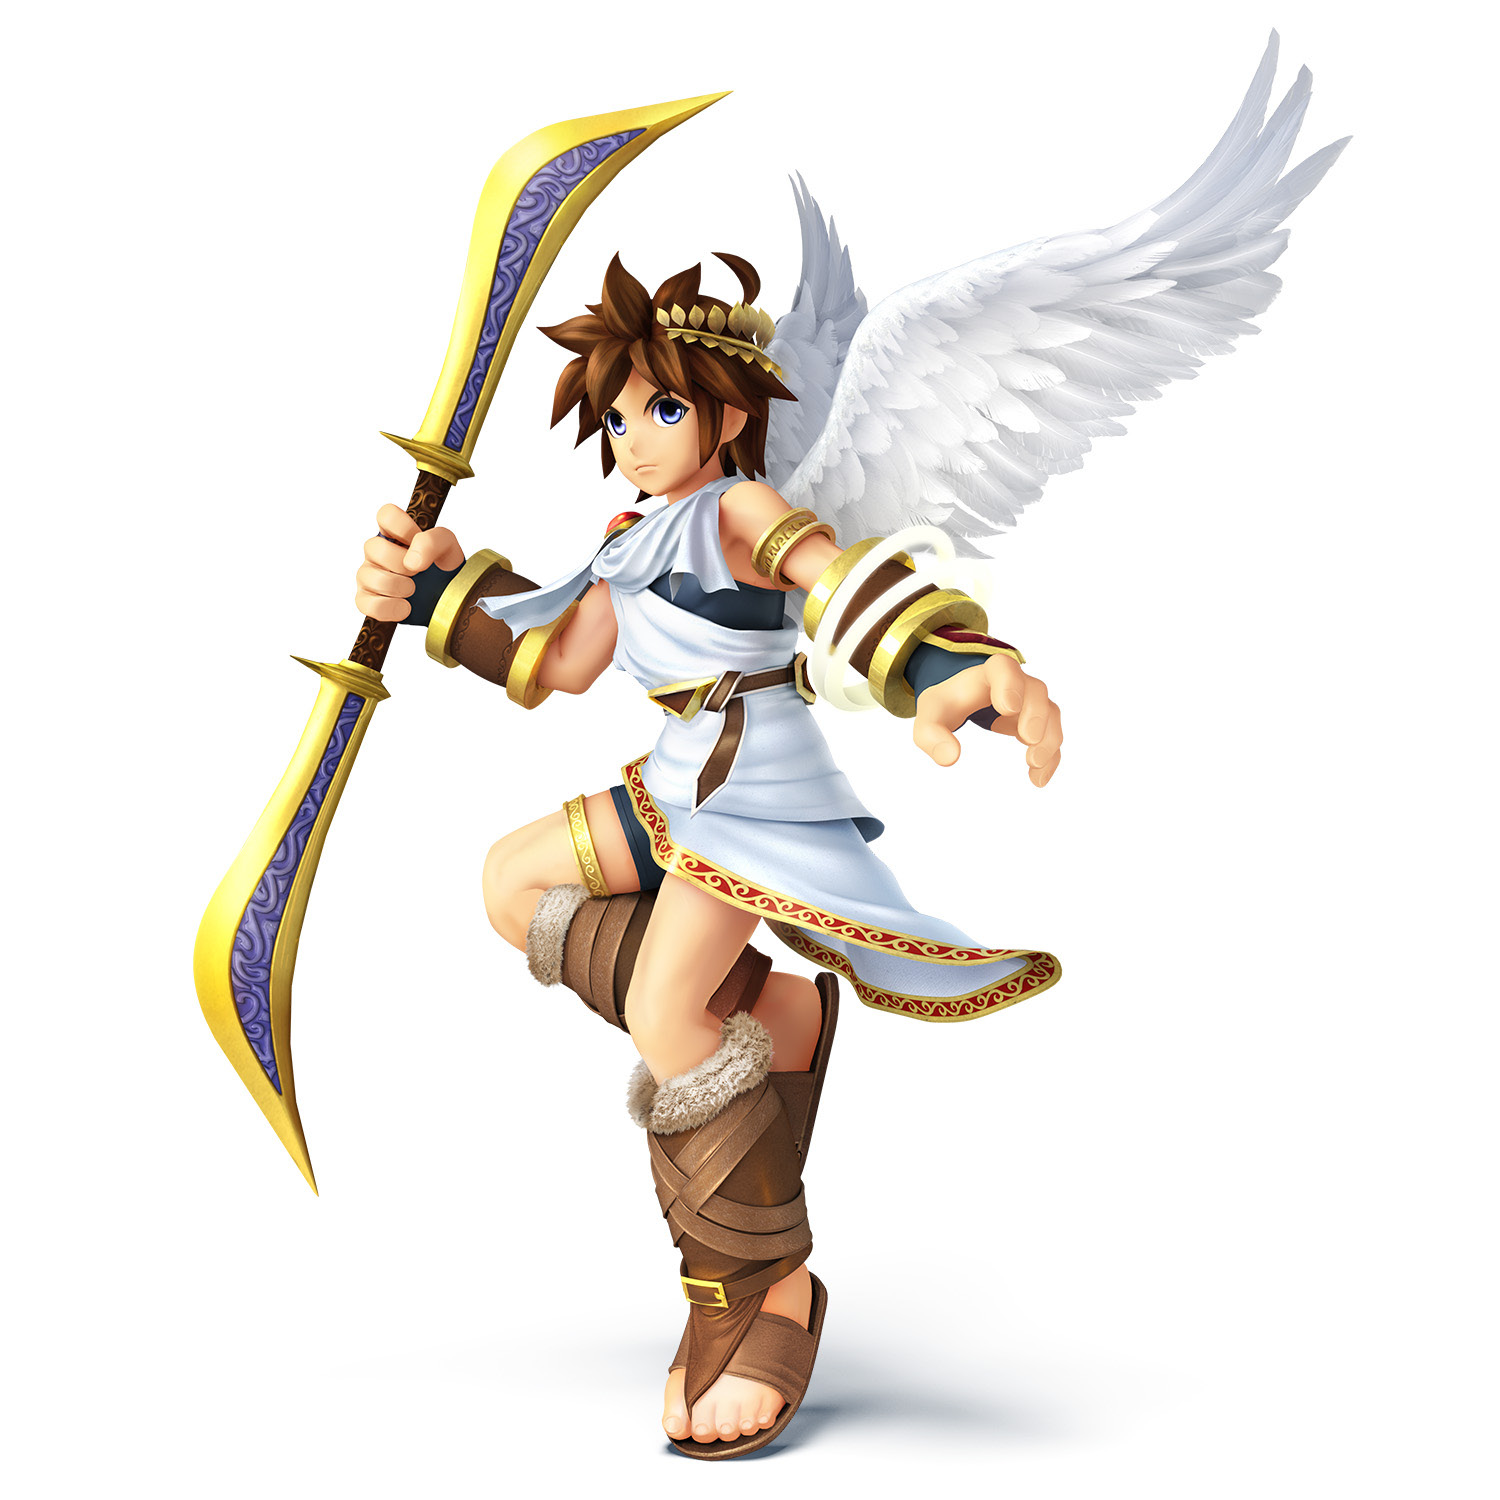
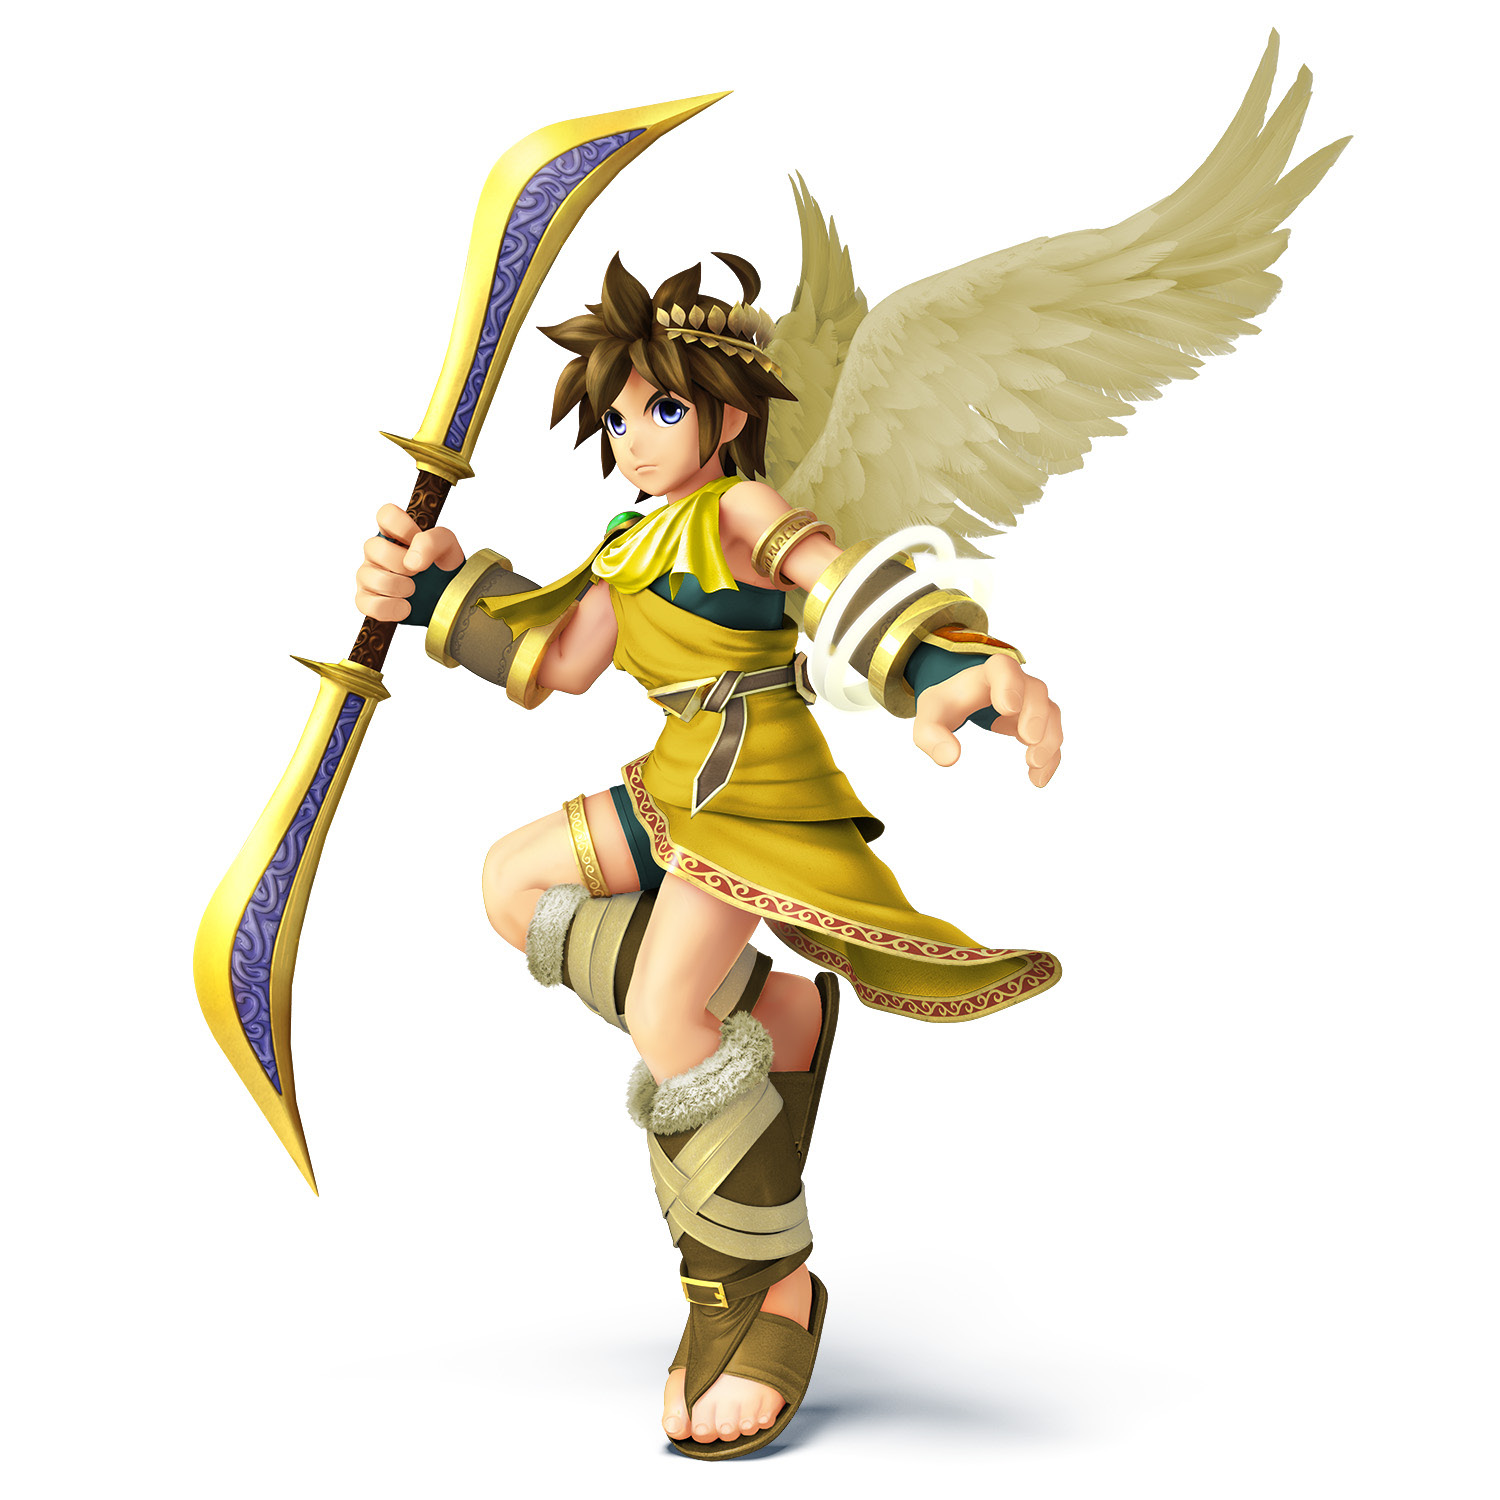
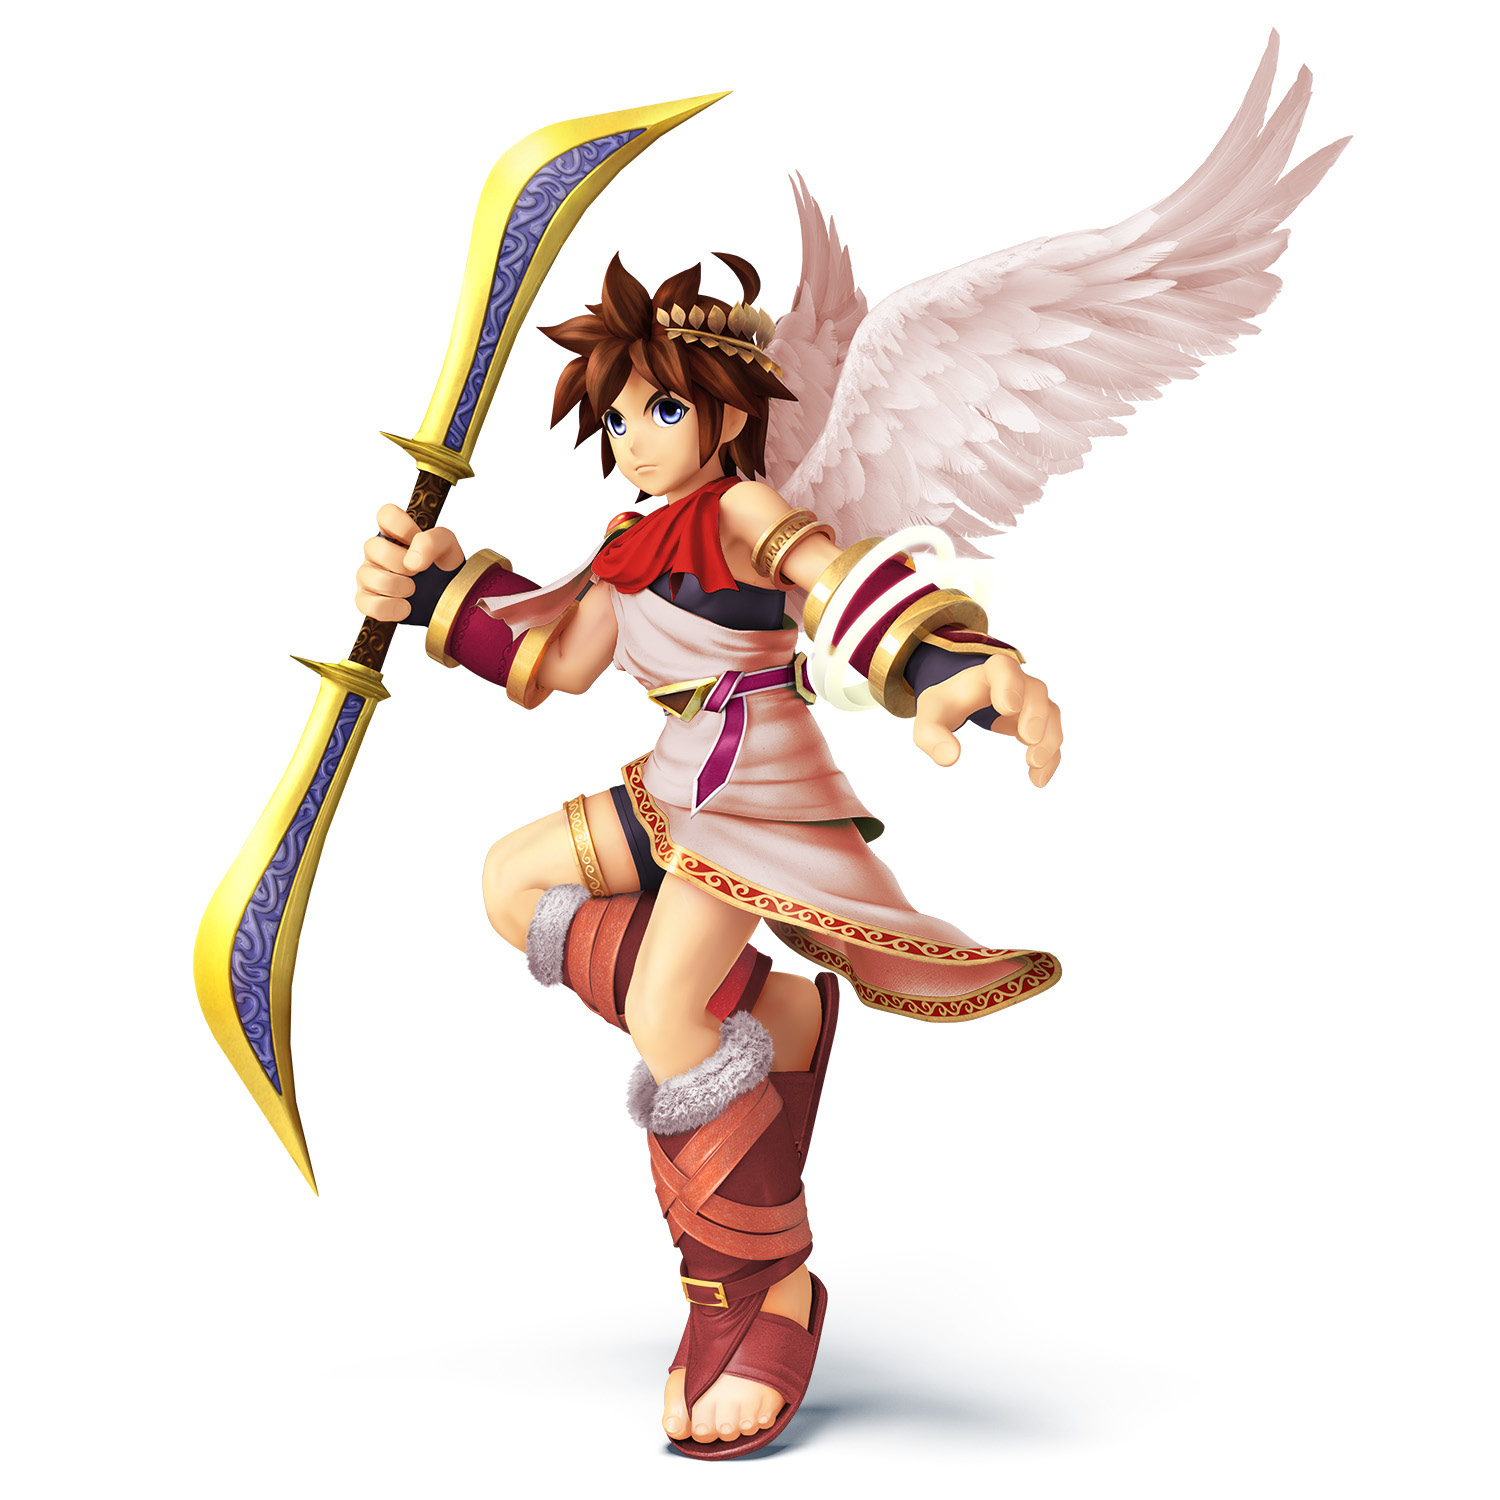
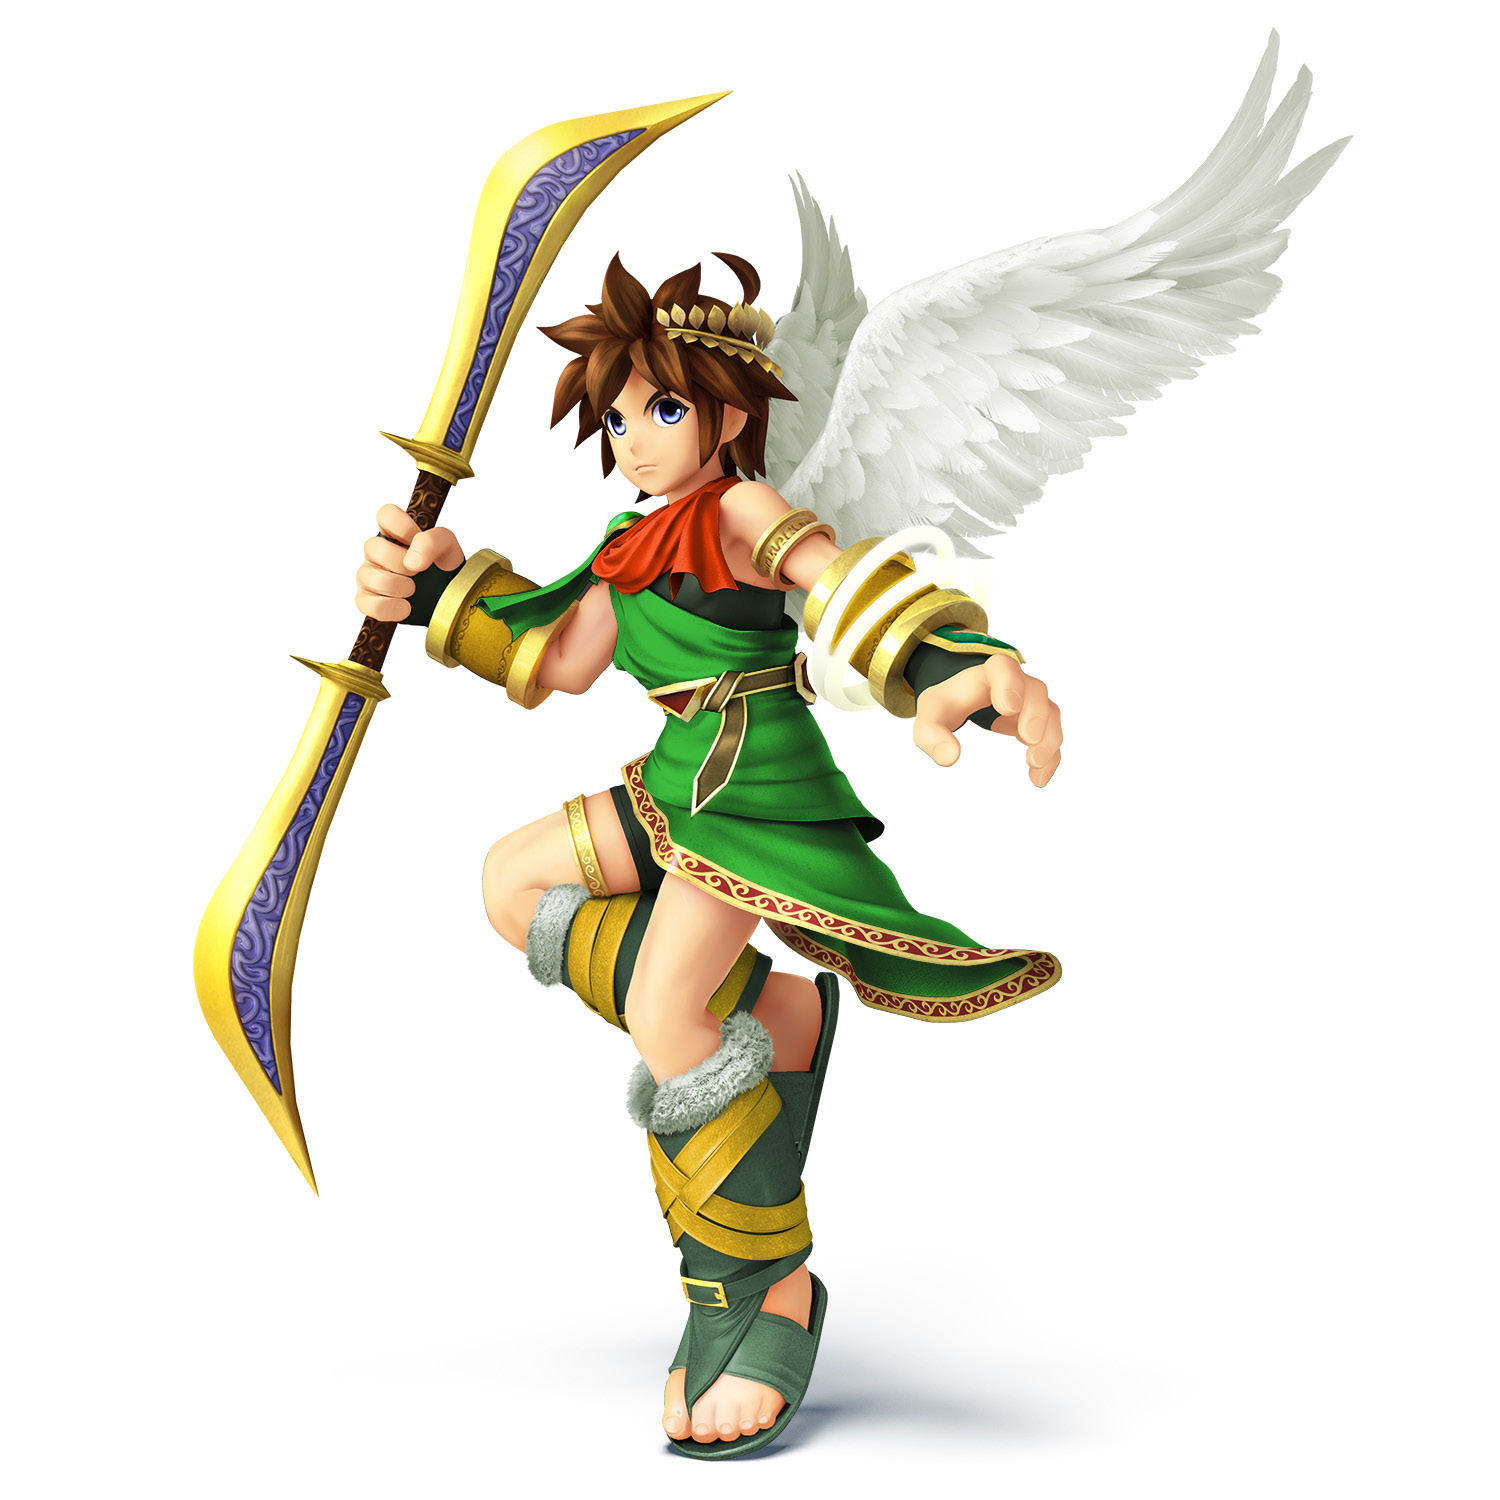
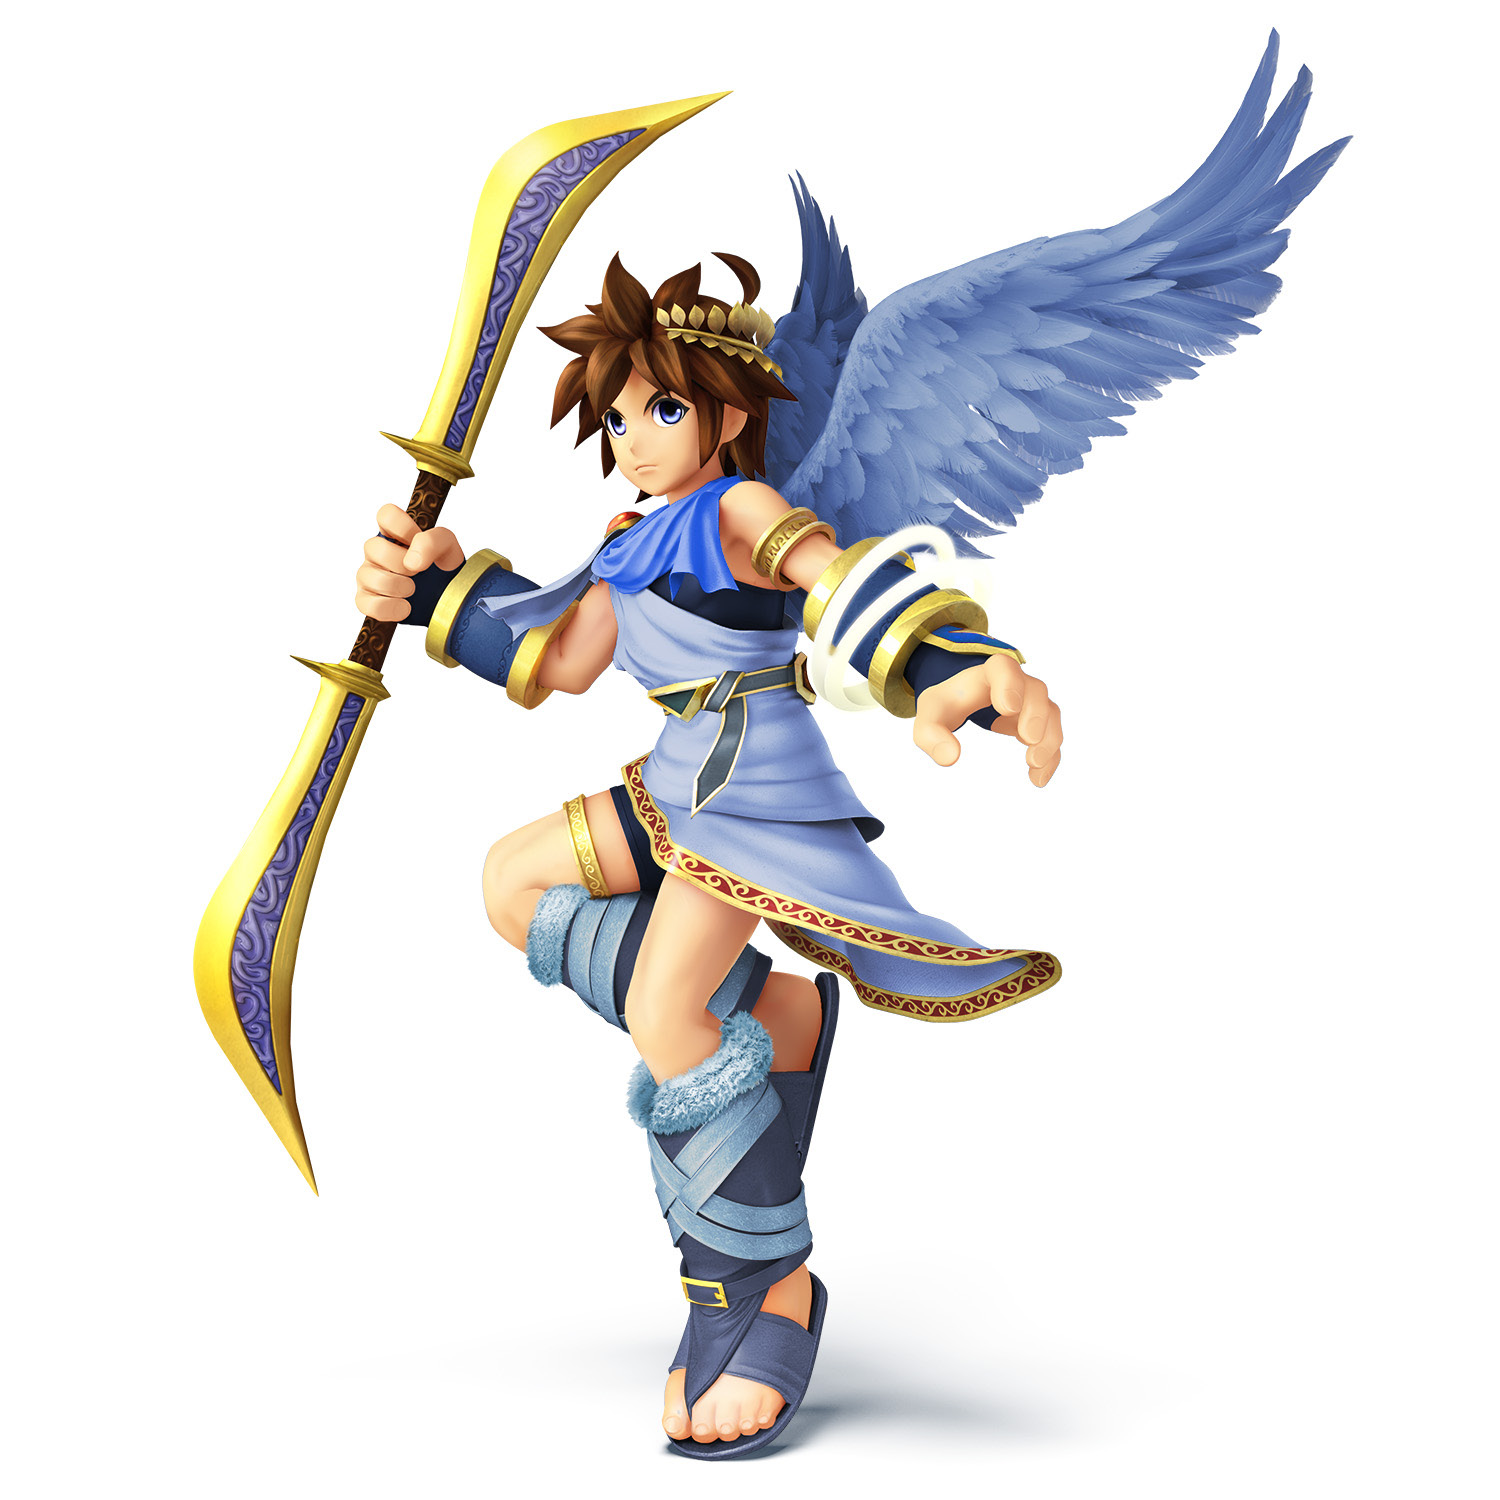
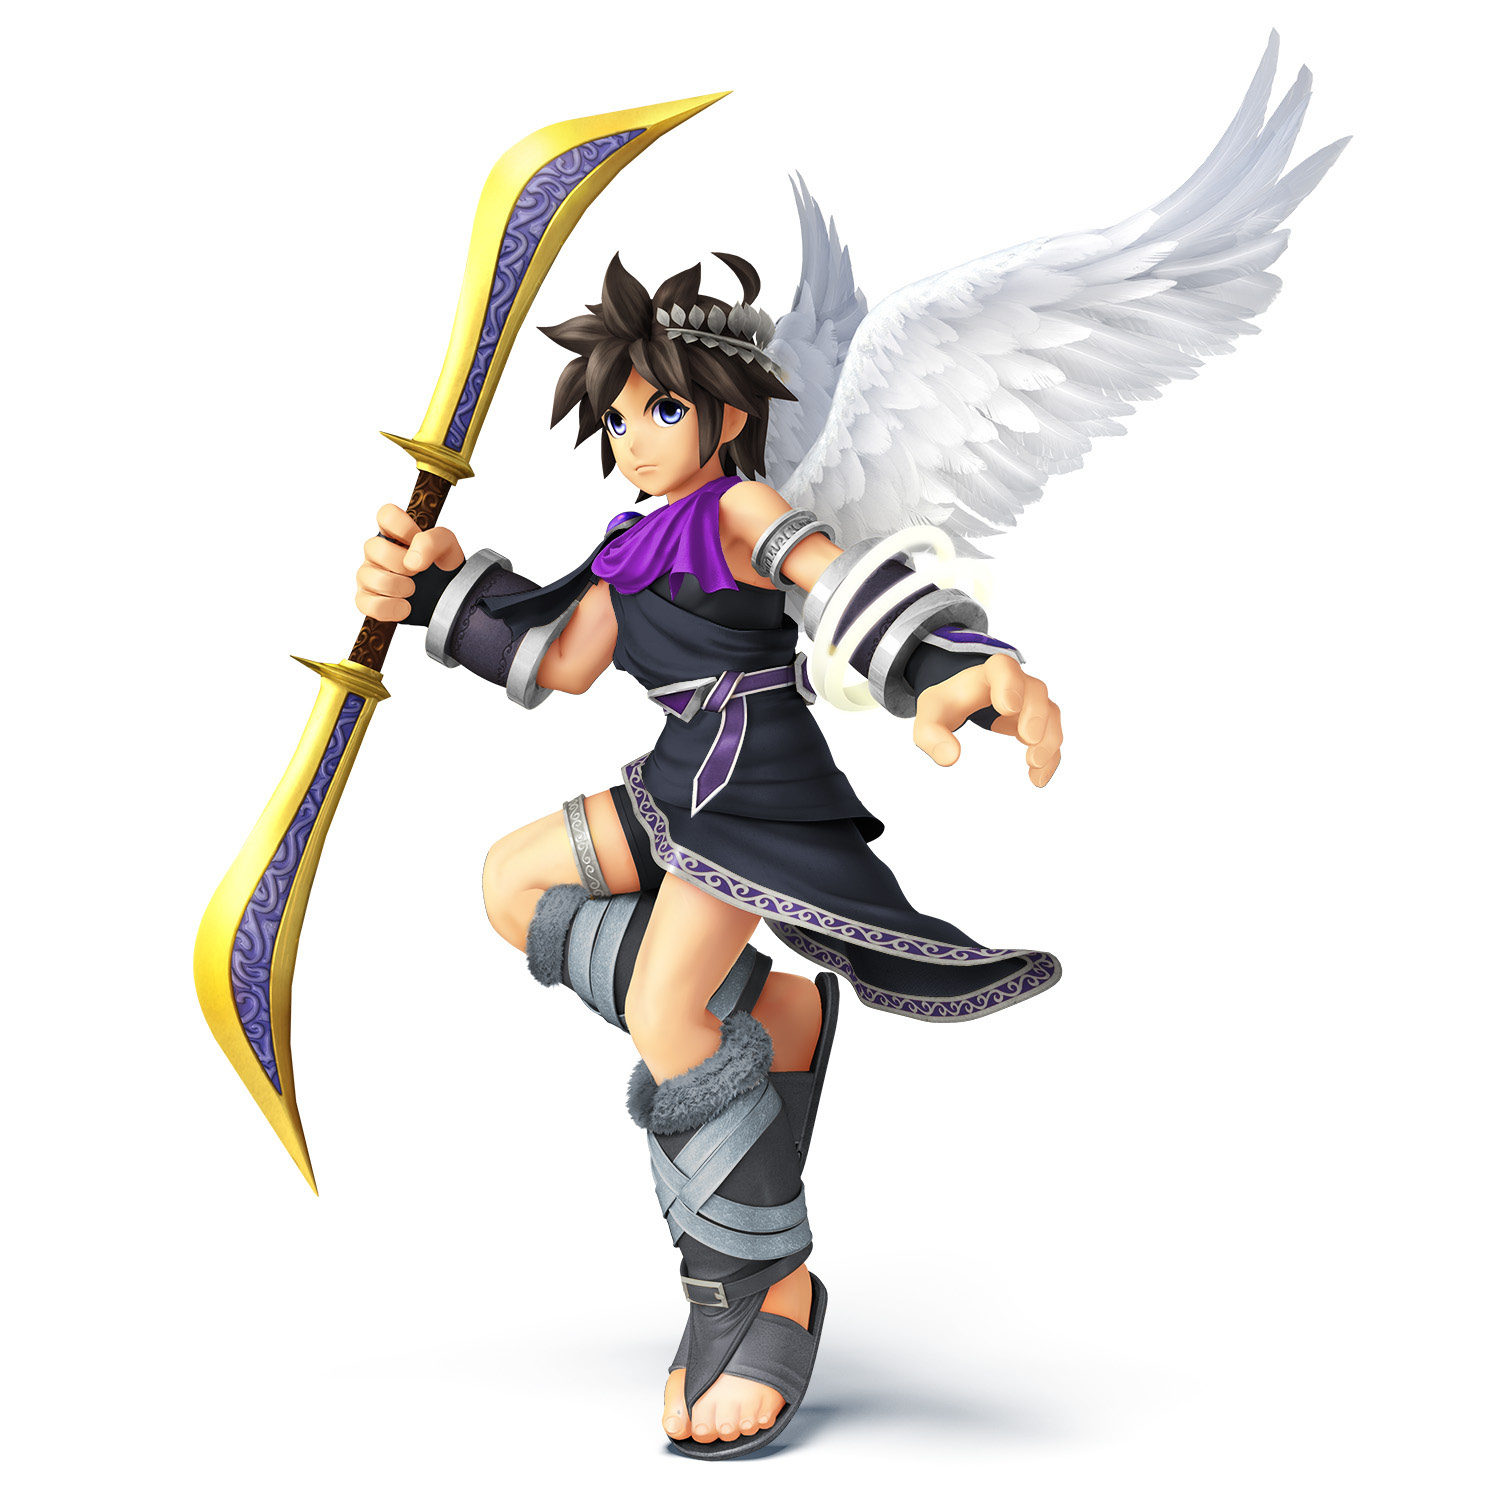
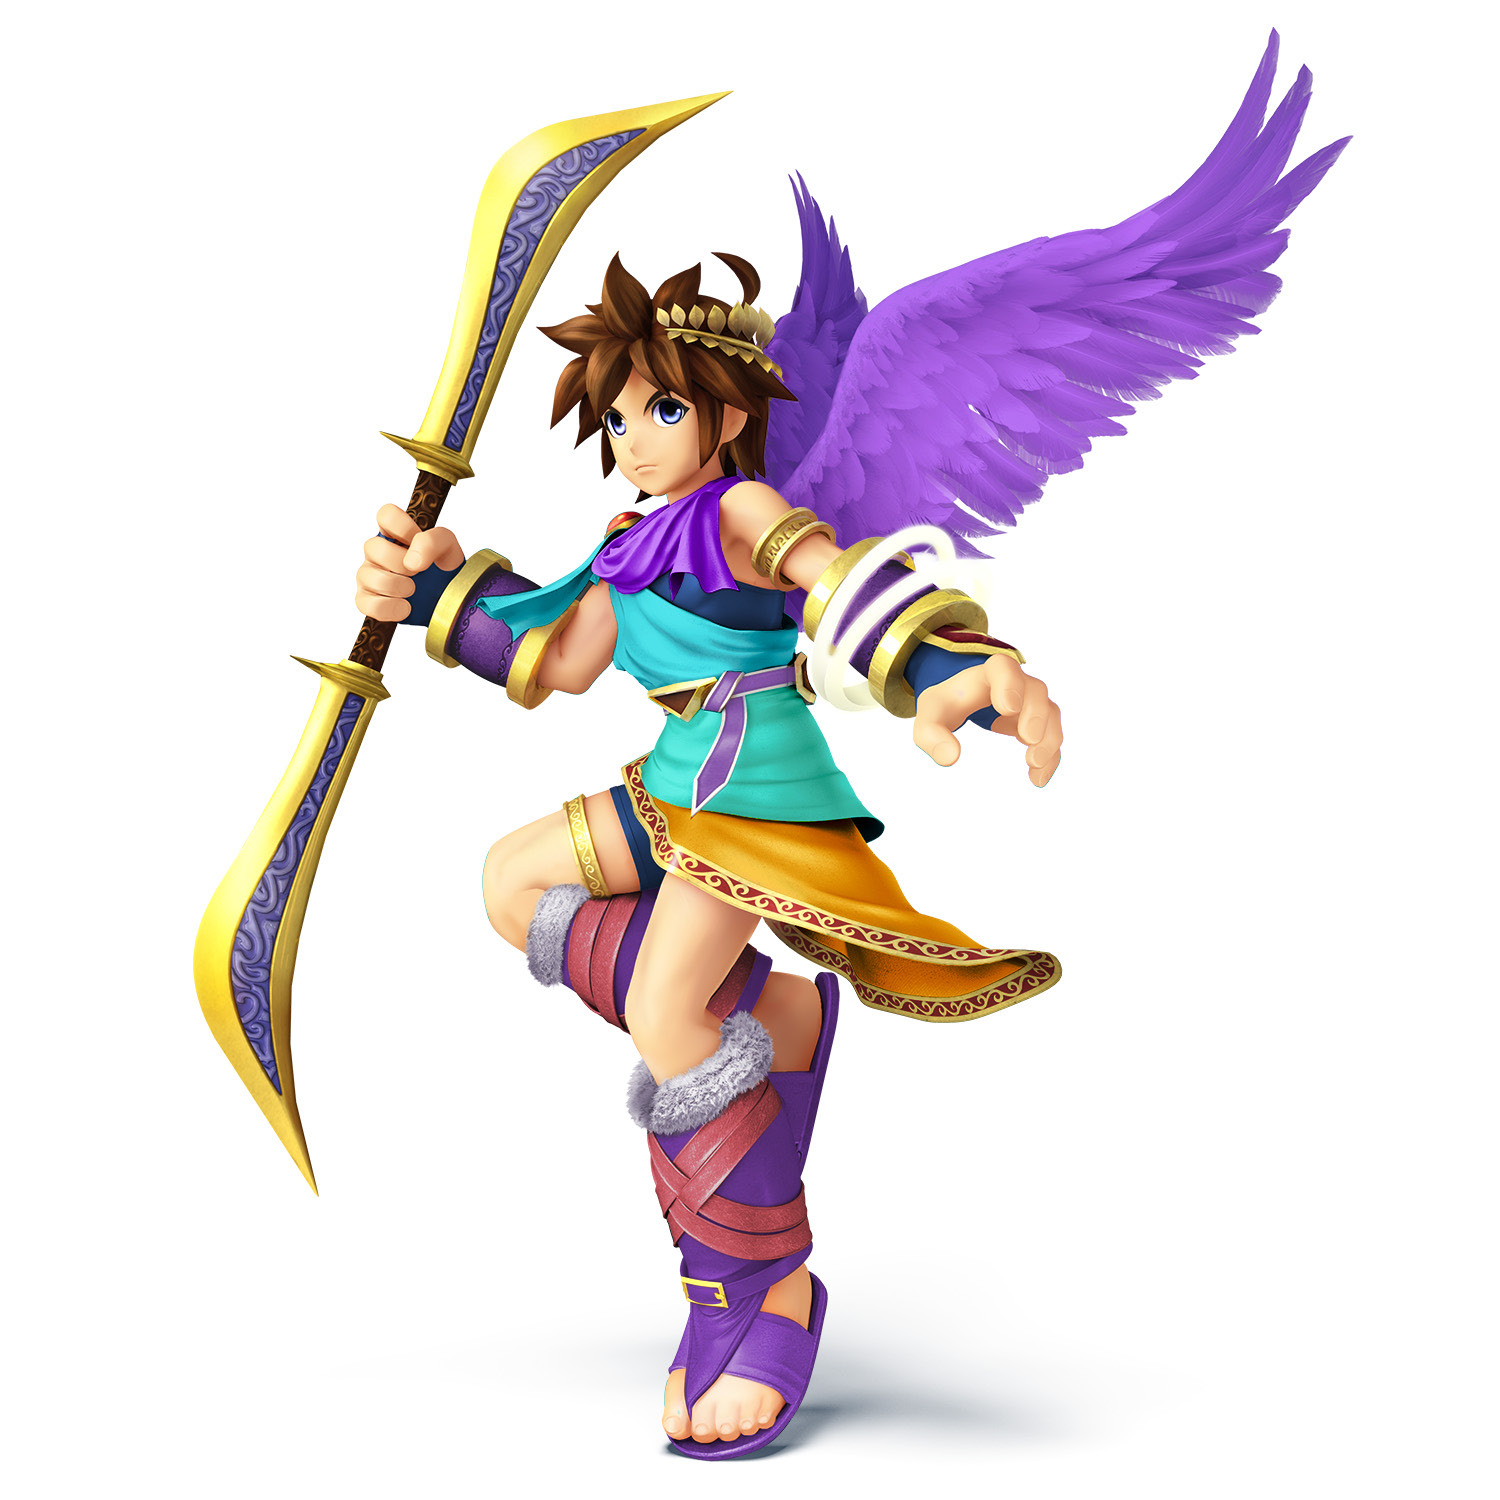
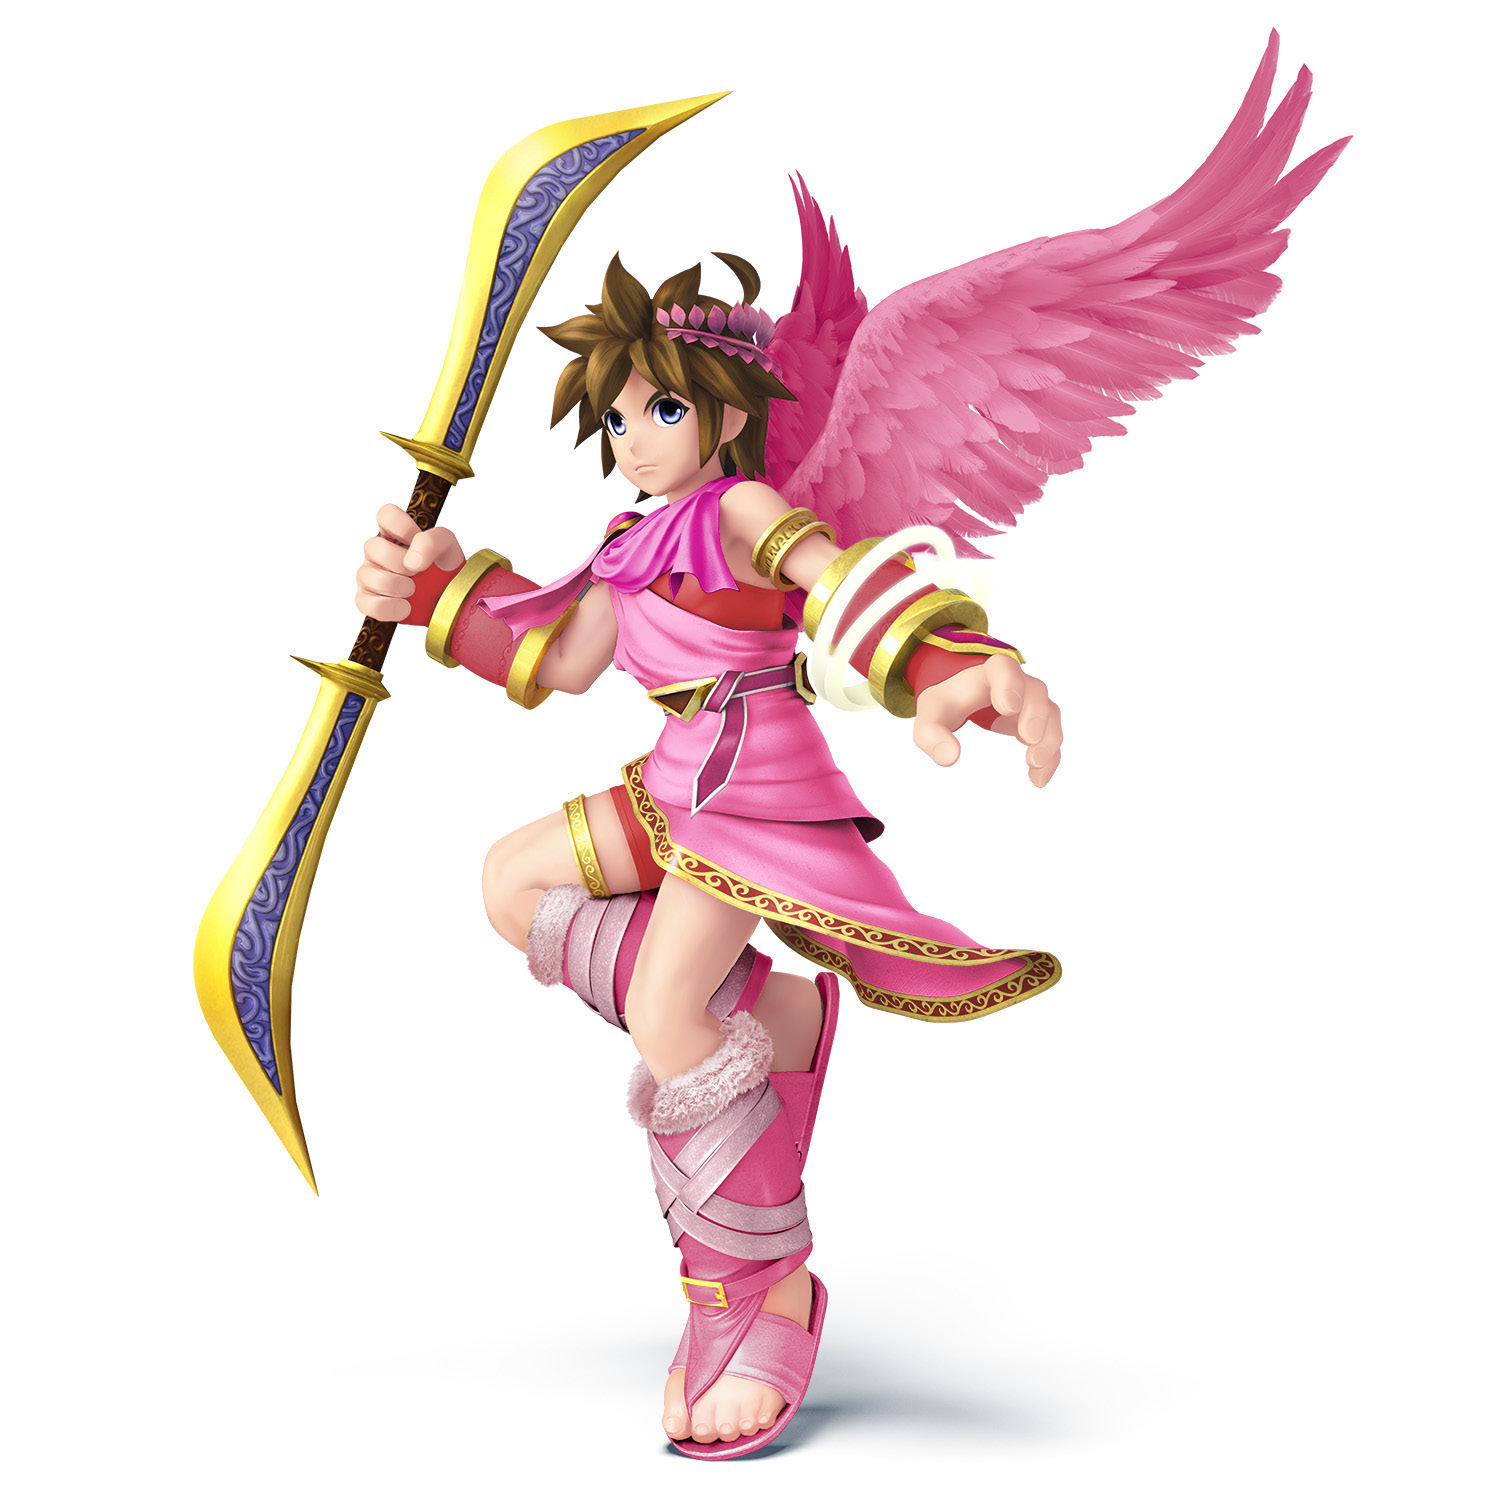
Trophy DescriptionPit is the captain of Palutena’s royal guard. Despite the wings on his back, Pit needs the Power of Flight from Palutena in order to truly fly. In Smash Bros., he can still get more air than most with four jumps and a special move that boosts him higher. He also has a new reflect move—it protects both sides! Statistics
|
Smash Attacks
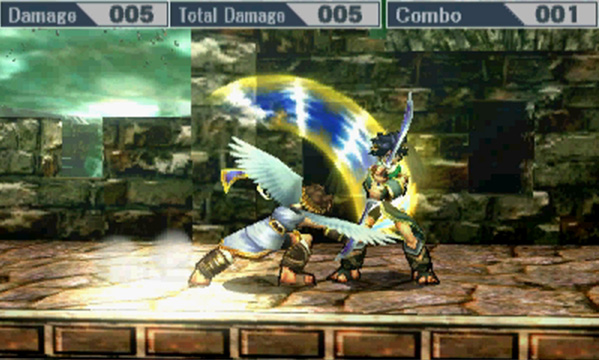
SIDE SMASH
Pit slashes forward twice with his blades. The second hit is much more damaging.
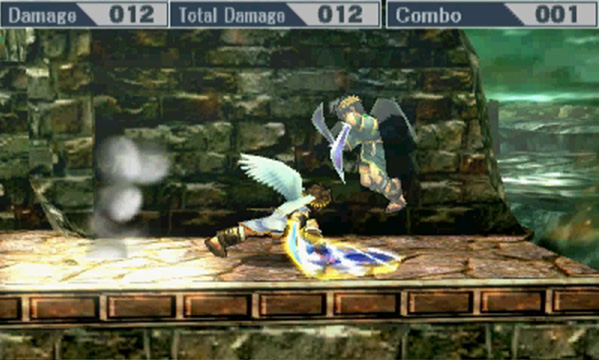
DOWN SMASH
A sweep attack with the blades that sends opponents up and away.
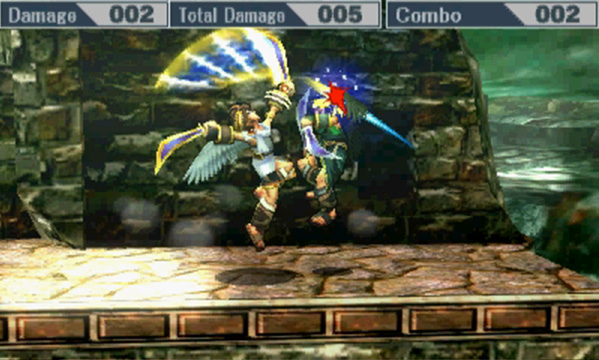
UP SMASH
Pit spins his blades as he leaps into the air. This hits multiple times and sends your opponent upward.
Basic Attacks
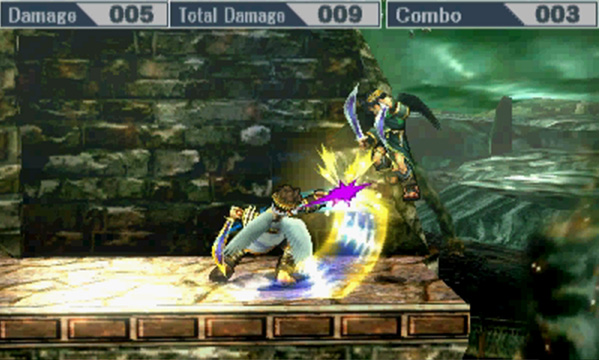
Standing Attack
A three-strike attack with the third hit launching opponents away.
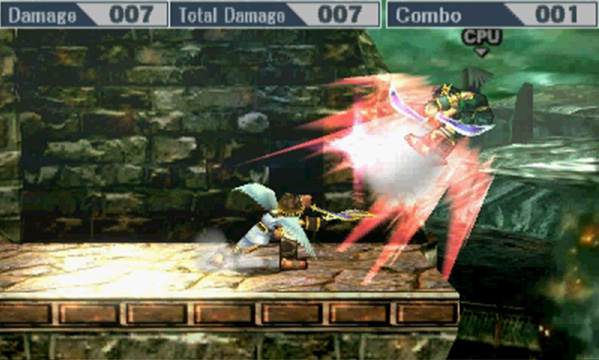
Forward Tilt
Pit uses his blades like a pair of scissors and swipes them together in front of him.
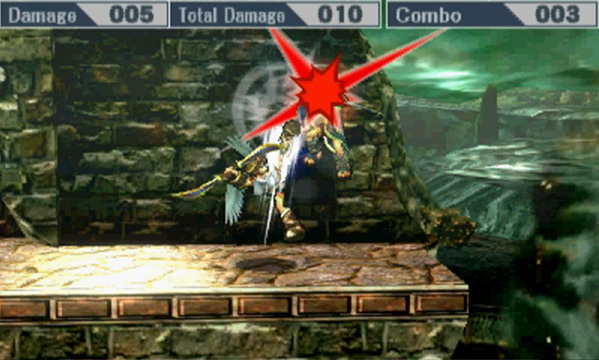
Up Tilt
A flipkick attack that goes into two additional kicks with the last kick launching opponents upward.
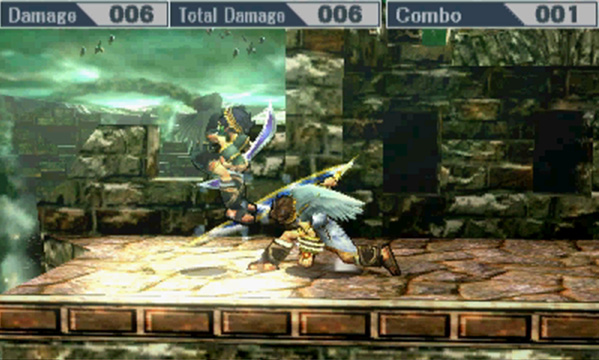
Down Tilt
A long-range single-blade sweep.
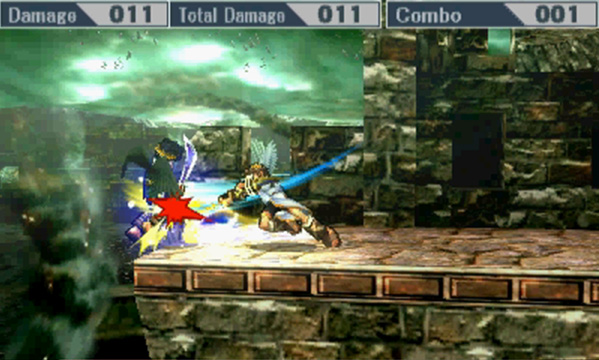
Dash Attack
Pit dashes forward and strikes with both blades in front of him.
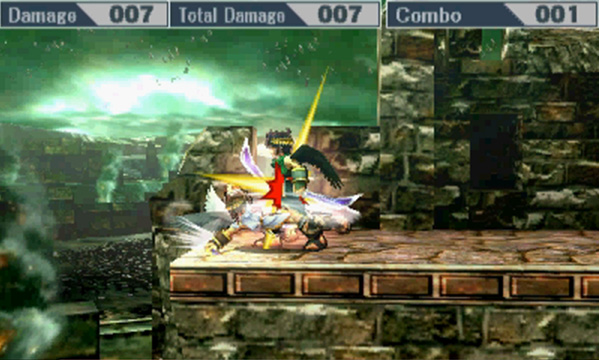
Edge Attack
Pit handstands his way back to the platform before striking with a low kick attack.
Air Attacks
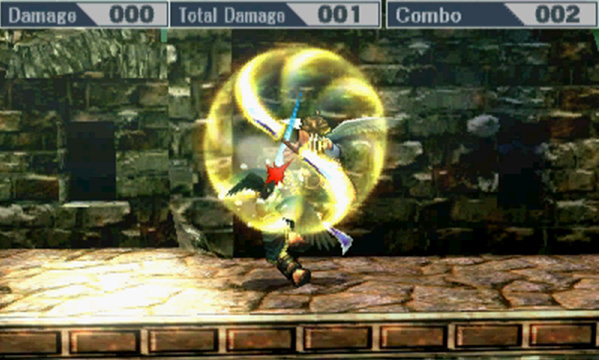
Neutral Air Attack
Pit spins his blades rapidly around his entire body. Hits multiple times, and the last hit knocks opponents away. Despite its appearance, it doesn’t really hit behind Pit.
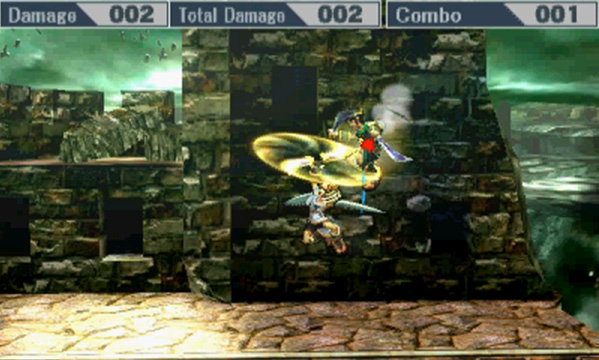
Up Air Attack
Pit spins his blades above him as if they were helicopter blades. Hits multiple times and knocks opponents upward.
Down Air Attack
Pit swipes downward with a single blade. This has a meteor smash effect at the start of the attack.
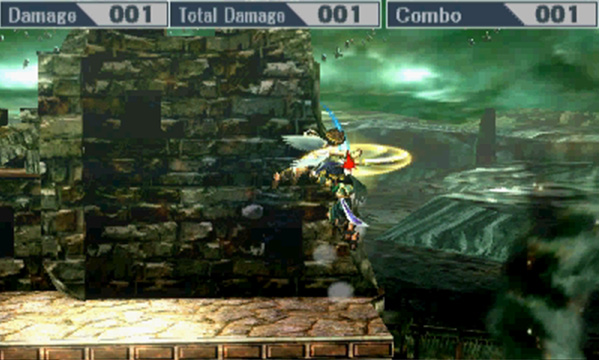
Forward Air Attack
Pit spins his blades in front of him. This hits multiple times.
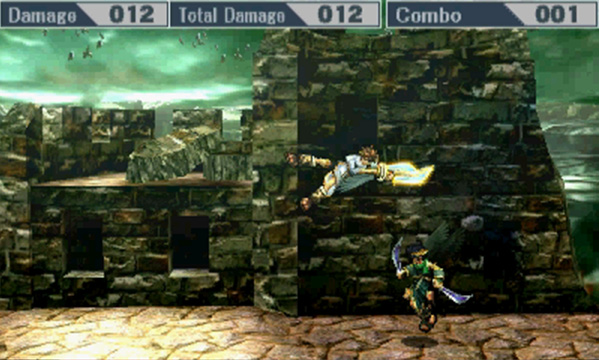
Back Air Attack
Pit uses both blades and stabs directly behind him.
Special Attacks
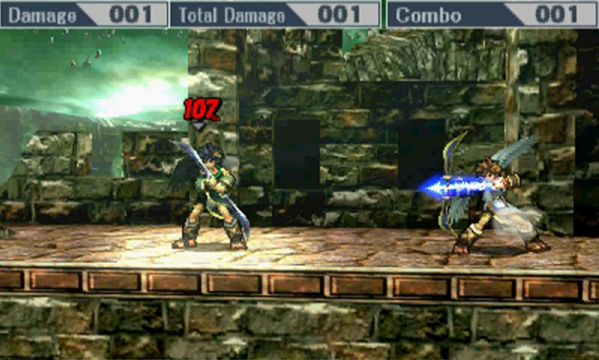
Palutena Bow (Neutral Special)
Pit fires an arrow that you have some control over. You can charge up the arrow to increase its speed. You can aim the arrow straight up by hitting Up.
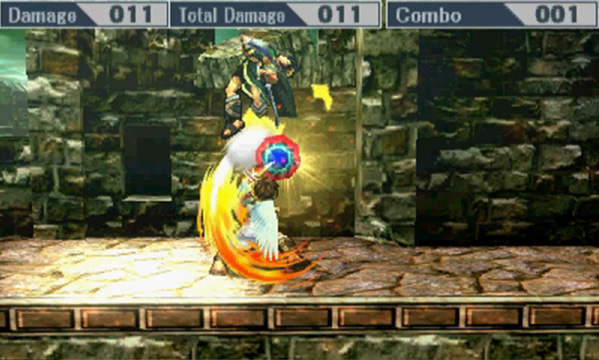
Upperdash Arm (Side Special)
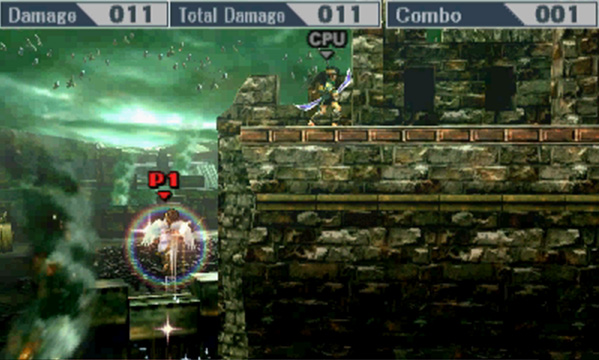
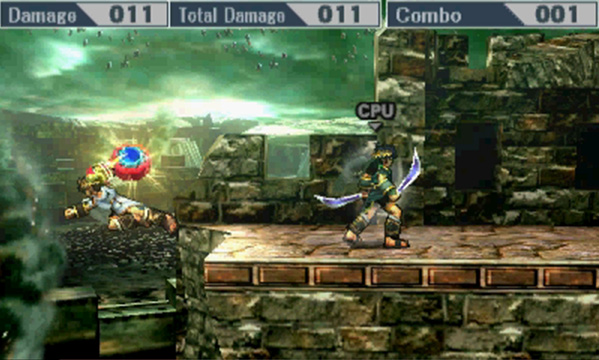
Pit dashes forward and uppercuts. During the dash, this also deflects projectiles.
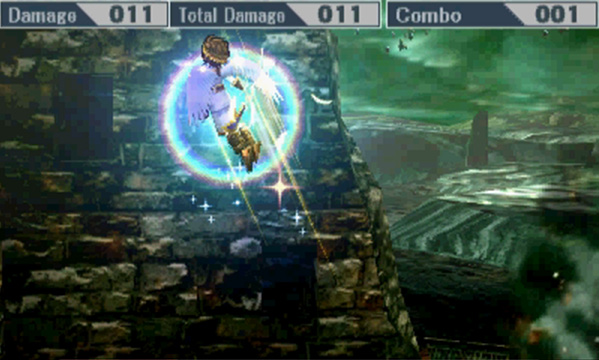
Power of Flight (Up Special)
Pit soars through the air. You can control the upward direction Pit flies. This is purely a movement or recovery tool, not an attack.
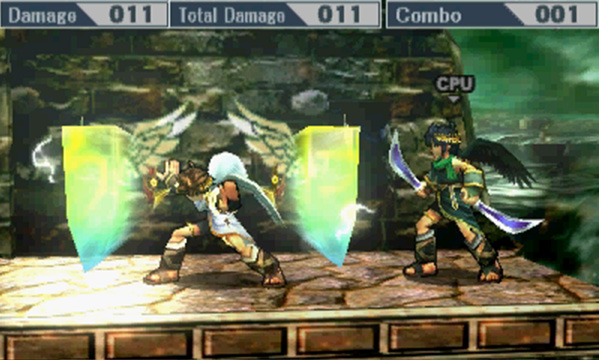
Guardian Orbitars (Down Special)
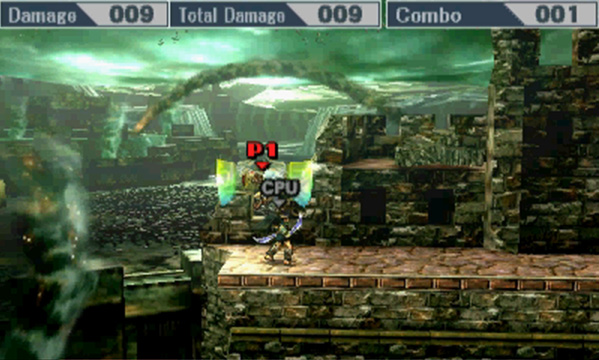
Shields come down on both sides of Pit, shielding him from enemy attacks and reflecting projectiles. Additionally, it pushes back opponents who touch them. You are still vulnerable from above.
Final Smash
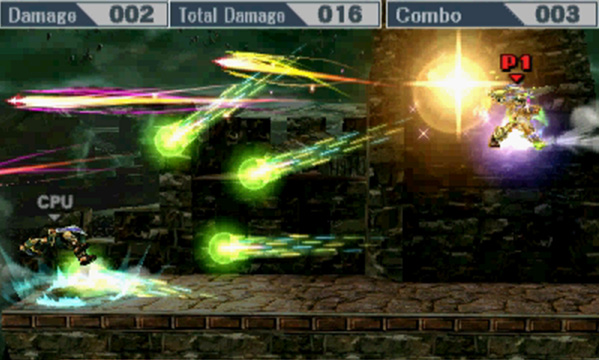
Three Sacred Treasures
Pit equips the Three Sacred Treasures and takes aim at opponents all around him, though mainly at those in front of him. He shoots a multitude of homing arrows before calling down beams of light from the sky. Optimally, you want to make sure opponents are in front of you when using this, as very few of the attacks go behind Pit. While this Final Smash has a lot going on and racks up damage fairly well, it doesn’t seem to have significant KO power.
Strategy
Pit is an average-weight character with fantastic air mobility and recovery, thanks to his multiple jumps. His ground speed is average, and most of his ground-based attacks have decent startup and recovery. Overall, his KO potential isn’t great, so use his Palutena Bow, air mobility, and multi-hit attacks to rack up as much damage as possible. To aid in defense while building up damage, his Guardian Orbitars creates space, absorbs hits, and reflects projectiles. Multi-hitting attacks on the ground include his jab series, Up Tilt, Up Smash, and Side Smash. To KO opponents from the ground, Pit’s best options are Upperdash Arm and his Smash attacks. Side Smash is good, but remember the second hit is the one that has the most damage and knockback.
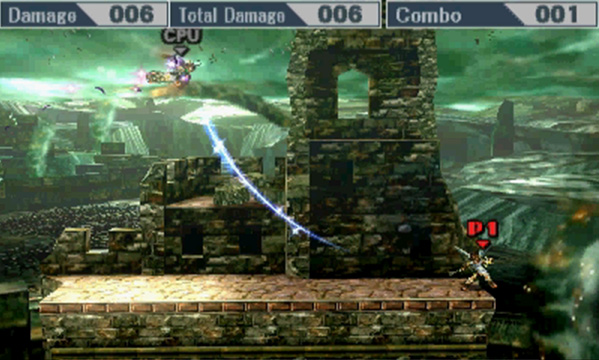
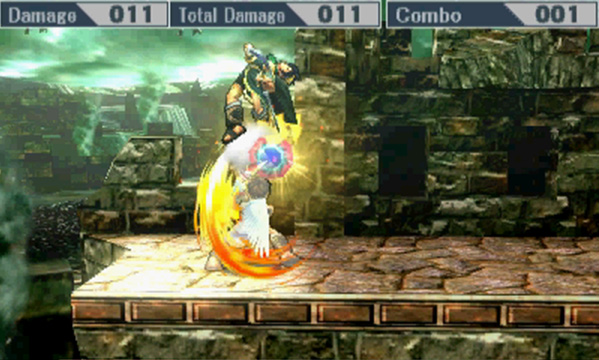
Firing arrows from a distance is an important part of Pit’s game to build damage and frustrate opponents. Arrows fired from Palutena’s Bow can travel very far, but they fade out after a time. Charging longer increases the distance arrows can travel and their speed. You have a lot of control over each arrow, so move them around as much as possible. This makes you less predictable and gives your opponent fewer options to approach. Pit’s Upperdash Arm is a great way to approach horizontally with its forward motion. It’s particularly useful against projectile characters because it deflects projectiles, and it has some super armor as well. Guardian Orbitars are a great way to defend against projectile-heavy characters, as Guardian Orbitars reflect projectiles back faster and stronger. The duration of the Guardian Orbitars can be extended by holding down the button longer. The shields have limited endurance, however, so they can be broken! If they’re broken, they require some time to recover.
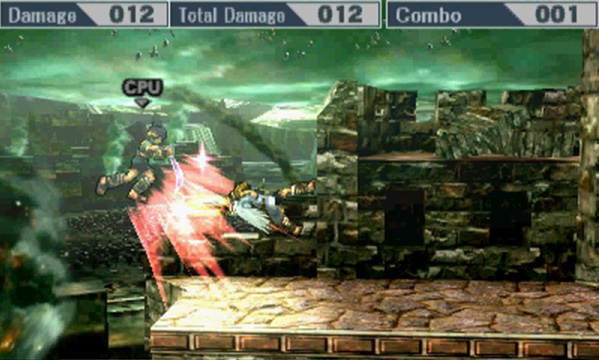
Fighting in the air is one of Pit’s strengths because his blades extend his range. Most of his aerial attacks hit multiple times and have decent knockback, but they are slightly lacking in KO power. When you get an opponent’s damage up high enough, however, simply pick the correct option to make contact. In general, Pit’s Back Air is best for KOs in the air. His Down Air also has a meteor effect. Interestingly, Back Air and Down Air are his only aerial attacks that are not multi-hitting. Remember to use his multiple jumps to position yourself and fake out opponents.
Recovery
Pit has some of the strongest recovery options in the game. First, he has four jumps, but vertically the third and fourth jumps gain less and less height. You can still use the four jumps to cover great horizontal distance. And for horizontal recovery, Pit can use Upperdash Arm, which sends him flying across the stage but doesn’t put him in a fall state! Finally, for vertical recovery, Pit has Power of Flight, which is one of the longest vertical recovery tools in the game. The only downside to it is that it’s not an attack. Still, you can use it as either a horizontal or a diagonal recovery. Additionally, Power of Flight has a small bit of invincibility! Between Pit’s four jumps, Power of Flight, and Upperdash Arm, you shouldn’t have too much difficulty getting him back to the stage.