
Super Smash Bros. for Nintendo 3DS Guide Smash Run
Smash Run Enemies
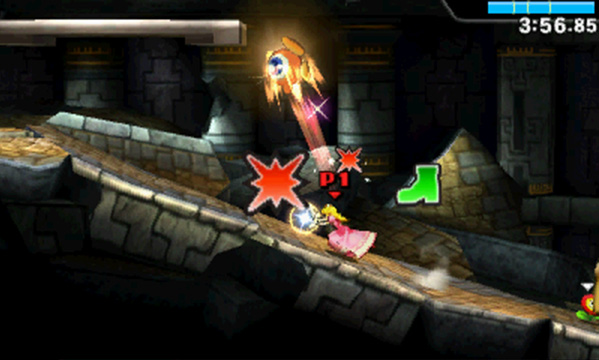
Defeating Smash Run enemies is a great way to earn stat boosts, and tougher foes tend to drop more rewards. Most of the enemies you’ll encounter can be damaged with items, attacks, and throws, but some creatures have significant strengths and weaknesses. You never know which enemies you’ll encounter, so remember to equip your fighter with a few versatile Powers before you start a game of Smash Run.
Banzai Bill
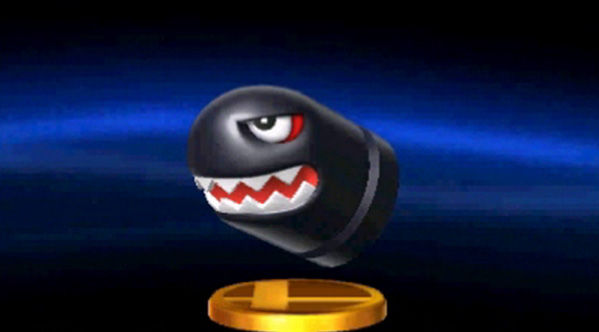
Banzai Bills are slow moving but very powerful. You can trick these oversized enemies into crashing, then attack them while they’re vulnerable. But this strategy is risky! Soon after a Banzai Bill gets stuck in a wall, it explodes! Whenever possible, try to slip under a Banzai Bill and deliver an Up Smash attack for heavy damage.
Big Goomba
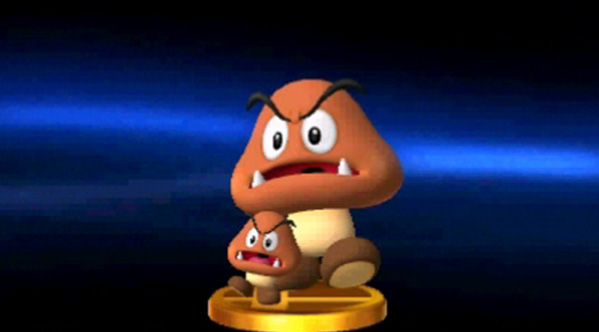
Much like their smaller counterparts, Big Goombas usually attack by charging toward their targets. They can also stomp with enough force to knock you right off your feet. These enemies have a lot of health, but you can jump on them to deal heavy damage.
Bill Blaster
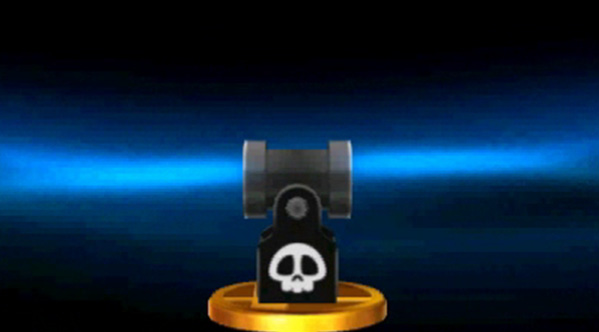
Bill Blasters usually fire Bullet Bills, but they’ll also launch the occasional Koopa or Shy Guy. On rare occasions, a Bill Blaster can even launch a Poppant into the area! Destroy any Bill Blasters you see to help keep the skies clear.
Bonkers
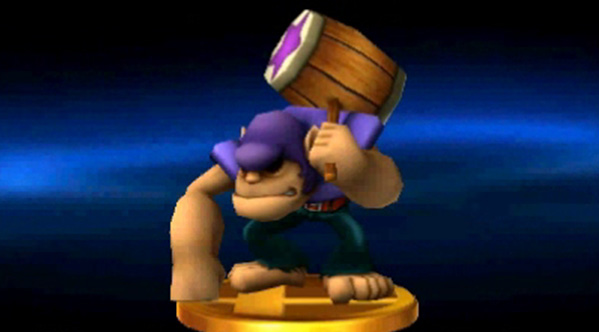
This ape-like creature uses its massive hammer to launch its foes. If you’re hit by its Hammer Flip attack, you’ll suffer an instant KO. On top of these attacks, Bonkers can lob exploding coconuts! If you opt to fight Bonkers, consider using a Power or two to improve your odds of success.
Boom Stomper
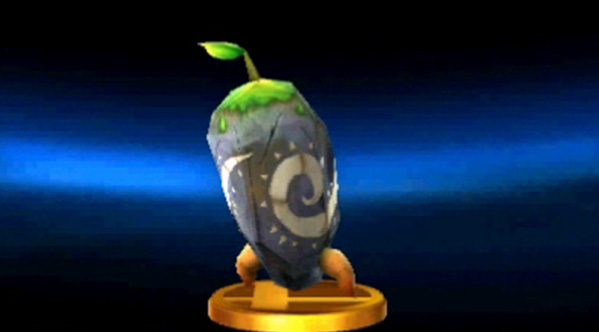
Once a Boom Stomper spots you, it follows you through the area, trying to stomp you right into the ground. Defeating one of these troublesome enemies can yield big rewards. Attack the leaf on a Boom Stomper’s head to deal significant damage and consider using a Power or two to speed up the process.
Bronto Burt
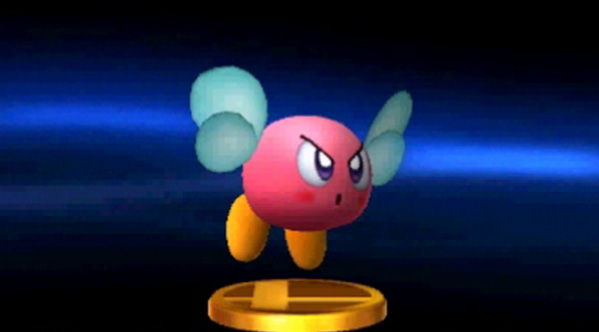
Bronto Burts aren’t particularly dangerous, but they can be a real nuisance! In Smash Run, a Bronto Burt can take one of three actions: it can flee from a fighter, it can attack by flying in a straight line, or it can follow a fighter around the area.
Bubble
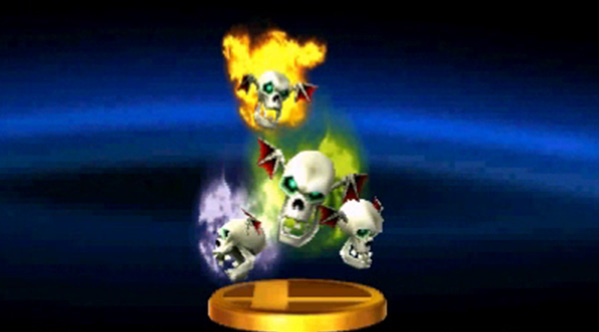
Watch out—these flaming skulls curse anyone they touch! Red Bubbles utilize electrical attacks, but they’re vulnerable to ice. Blue Bubbles attack with ice and are vulnerable to fire. When possible, use the appropriate elemental attack to defeat these enemies with ease.
Bulborb
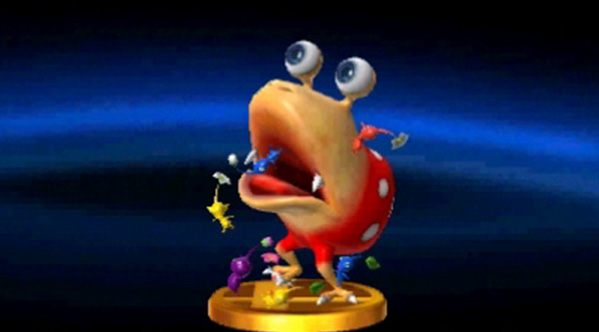
These large creatures can use their massive jaws to snap at you, or they can trample you underfoot. If you spot one in a group of enemies, try to take the Bulborb out as quickly as possible. A defeated Bulborb can damage nearby enemies as it bounces through the area.
Bullet Bill
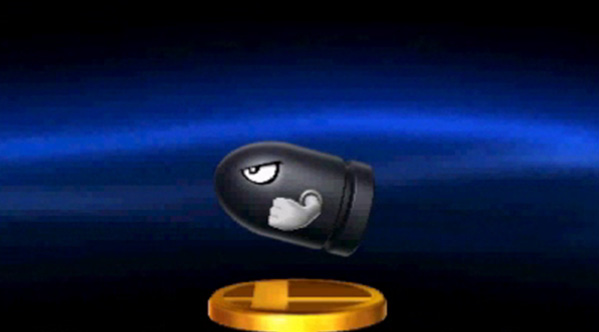
These flying enemies can be very persistent, but they aren’t particularly tough. Attack an incoming Bullet Bill to defeat it before it reaches you. If you find yourself swarmed by Bullet Bills, consider a strategic retreat.
Bumpety Bomb
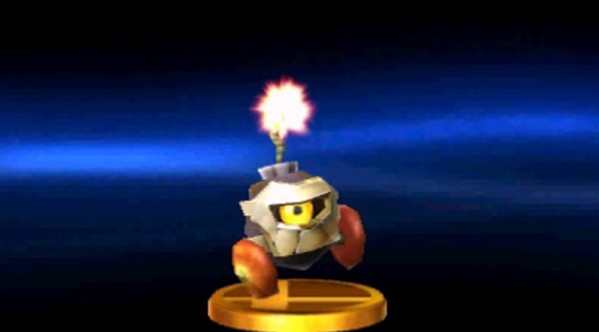
This explosive enemy can move fairly quickly, and its front-mounted armor can absorb a lot of damage. Attack a Bumpety Bomb from behind to defuse it or seek higher ground to escape its blast radius.
Chain Chomp
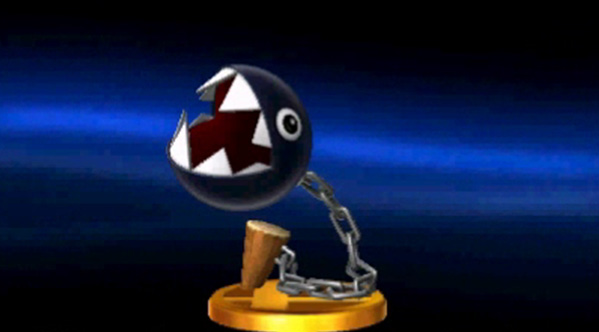
These territorial enemies are very tough, so it’s usually best to avoid them. Chain Chomps you encounter in Smash Run will always be anchored to the ground, so you’ll be safe if you keep your distance. If you’re itching for a fight, however, focus your attacks on the wooden stake at the end of the creature’s chain.
Chandelure
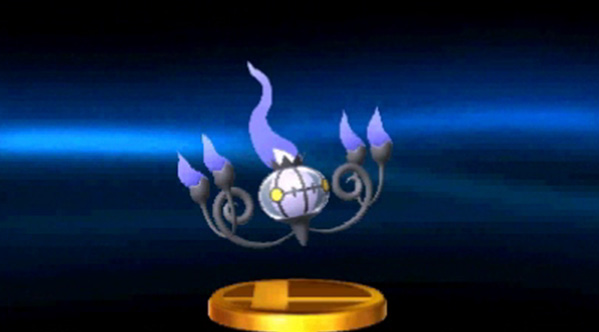
This Ghost/Fire-type Pokémon attacks in bursts of three, so don’t drop your guard. Attacking a Chandelure with fire-based moves and items will only make it stronger!
Clubberskull
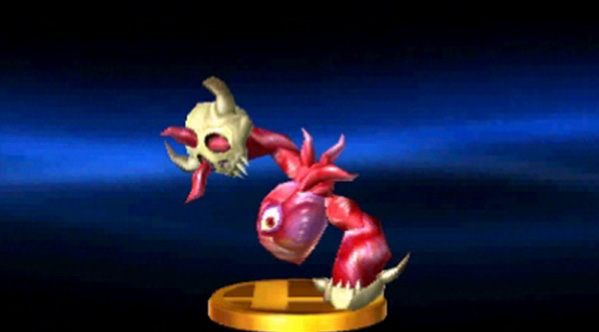
When you encounter one of these enormous enemies, it will usually be trapped in one spot. Attacking a Clubberskull will set the beast free, however. Clubberskulls are very dangerous—they can’t be grabbed or launched, and they can absorb an incredible amount of damage. It’s often best to avoid these enemies, but defeating one will earn you an impressive selection of stat boosts and other prizes.
Cryogonal
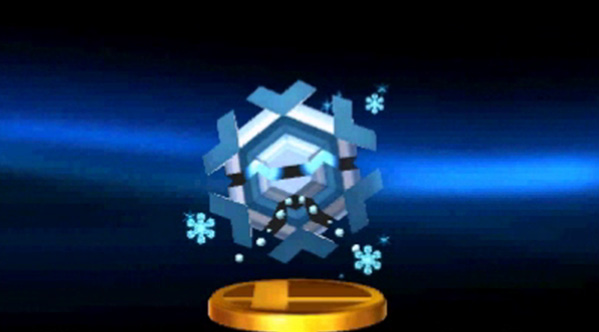
This Ice-type Pokémon utilizes freezing attacks. Watch out for Cryogonal’s Ice Beam! This attack comes in two forms: one that travels in a straight line and one that can bend to pursue its target.
Cucco
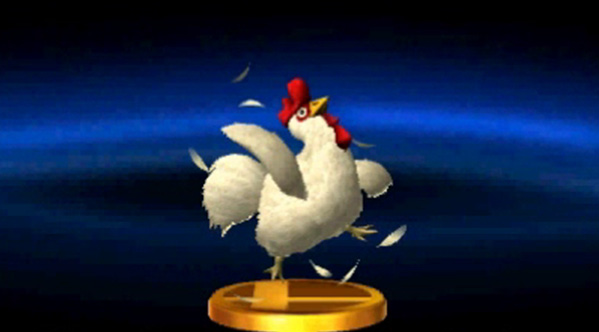
When a Cucco feels threatened, it summons an entire flock to even the odds. It’s best to just avoid these enemies. Engaging a Cucco will result in an extended fight with no rewards.
Daphne
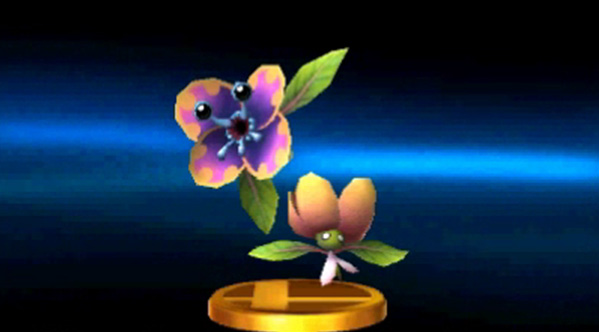
These deceptively dangerous enemies scatter mines throughout an area. Daphnes have very little health, so try to take them out quickly. The mines they drop are surprisingly powerful—detonate them from a distance to stay clear of the resulting blasts.
Darknut
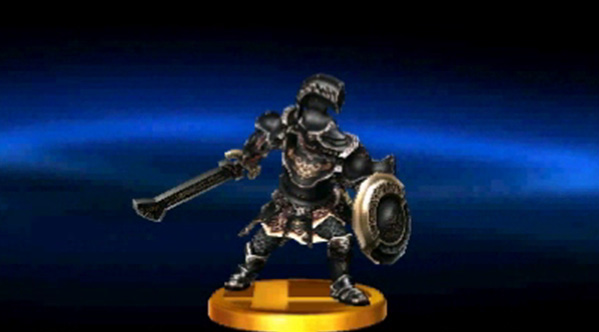
This powerful, slow-moving enemy uses its sword to block attacks and projectiles. When facing a Darknut, use a series of attacks to chip away at its armor. Once its armor is gone, the Darknut becomes more agile, but it also becomes more vulnerable to your attacks.
Devil Car
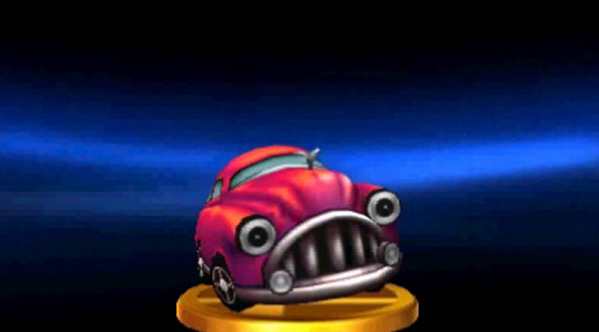
Devil Cars attack by speeding back and forth, damaging fighters with each hit. Their exhaust fumes can cause paralysis. Stay clear of an attacking Devil Car until you see an opportunity to dash in and take it out.
Eggrobo
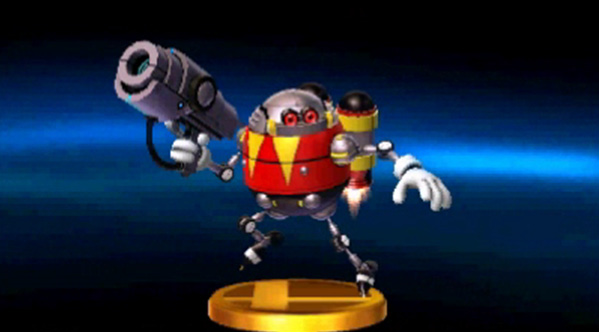
These robotic enemies tend to hang back, attacking their foes from a distance. When you spot an Eggrobo, slip around any incoming beams, then dash in and quickly defeat this enemy.
Flage
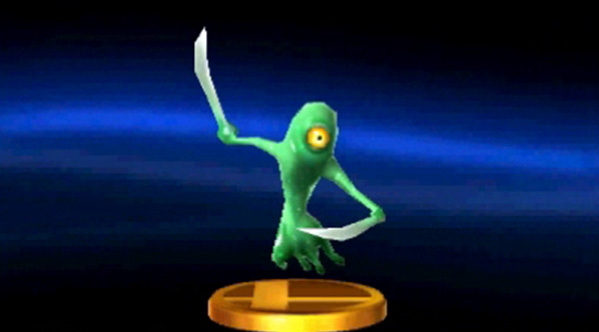
These gelatinous enemies use their blades to deliver slashing combo attacks. Dash in and hit a Flage when it pauses between attacks.
Flame Chomp
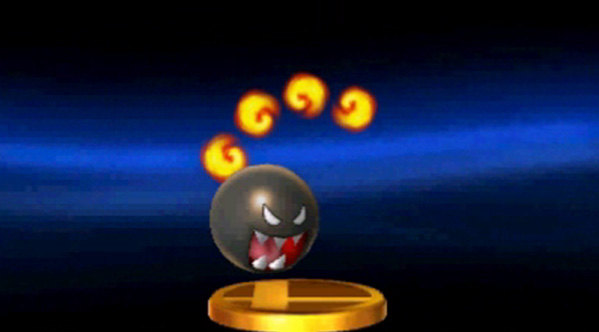
Flame Chomps use their fiery tails to fuel their projectile attacks. Once a Flame Chomp runs out of fireballs, it charges you and explodes. Defeat a Flame Chomp before this happens to earn an impressive amount of stat boosts.
Fly Guy
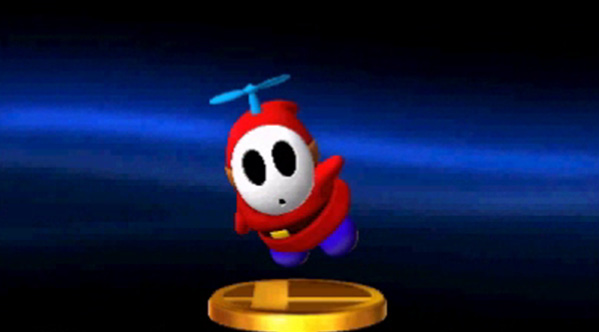
Fly Guys aren’t particularly tough, but they’ll occasionally carry useful items. Defeating a Fly Guy at just the right time can yield a valuable reward!
Gastly
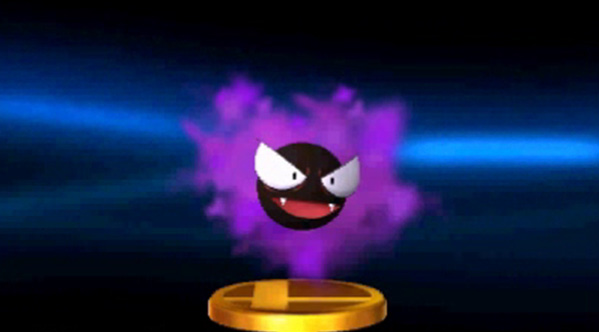
Due to its cloud of noxious gasses, this Ghost/Poison-type Pokémon is very dangerous at close range. When you encounter a Gastly, stick to projectile attacks to take it out from a distance. If that's not an option, then it's time to retreat—your melee attacks have no effect! These enemies are often stationary, but occasionally one will follow you through an area.
Geemer
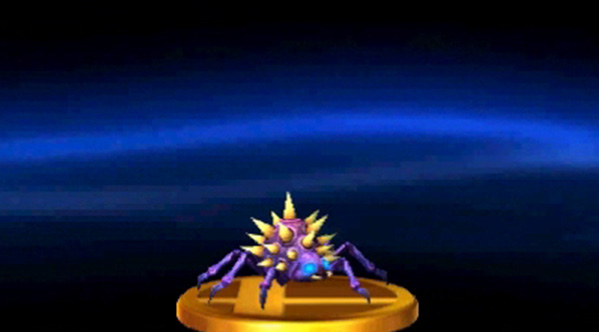
Geemers can cling to any surface, so check an area’s floors and ceilings for these spiked enemies. Whenever possible, use projectile attacks to take Geemers out from a distance.
Generator
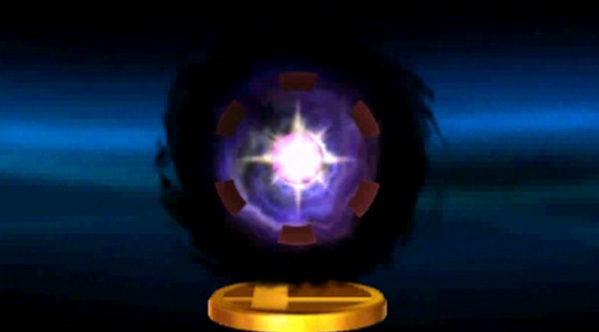
This mysterious entity acts as a portal, spitting out Mites and other enemies to attack nearby fighters. Destroy Generators as quickly as possible; the faster you defeat one, the more stat boosts it’s likely to drop!
Ghost
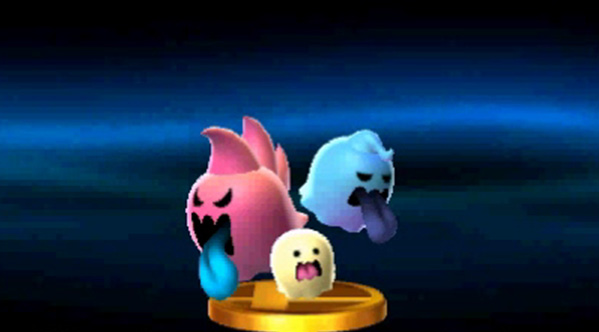
When one of these floating enemies appears in Smash Run, it uses a small shield to protect itself and any nearby allies. Hit a Ghost from behind or grab and throw it to put it out of commission.
Glice
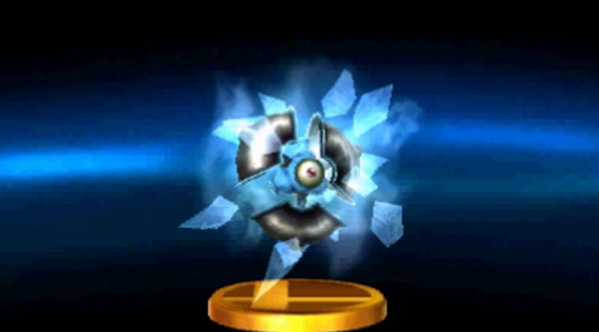
If you wander too close to this spinning enemy, it will attack with a blast of icy damage. When a Glice freezes you, slide the Circle Pad back and forth to break out of the ice. If possible, attack this enemy with fire-based attacks to deal increased damage.
Glire
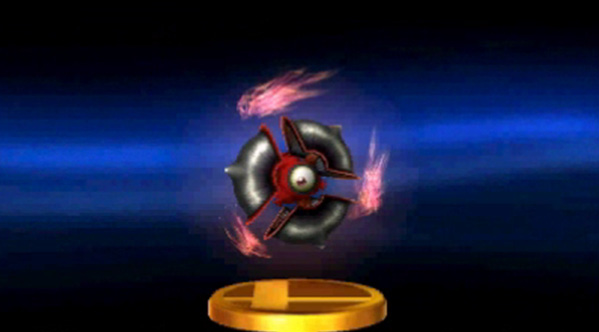
Approaching this enemy causes it to release a blast of fire. The Glire has more stamina than the Glice and the Glunder, but it’s very slow. Glires are particularly vulnerable to ice-based attacks; keep that in mind when you encounter one of these enemies.
Glunder
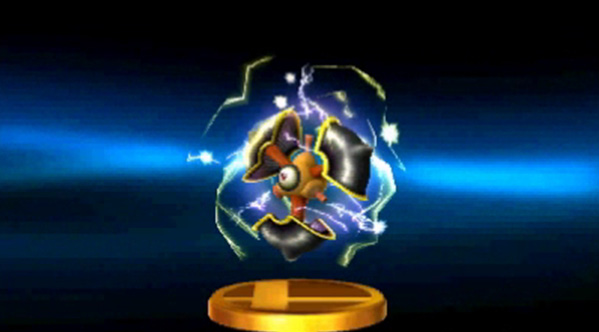
Glunder When a fighter is in range, the Glunder releases a blast of lightning. A single surge doesn’t do much, but consecutive attacks can lead to serious damage. When you spot a Glunder, it’s usually best to attack it from a distance.
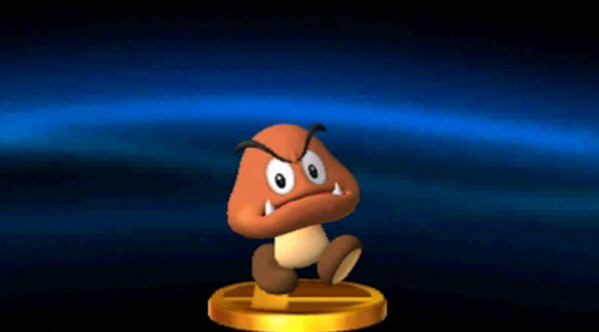
Goomba
Goombas attack by charging fighters, but they aren’t particularly powerful. Jump up and stomp a Goomba to defeat it with minimum effort.
Gordo
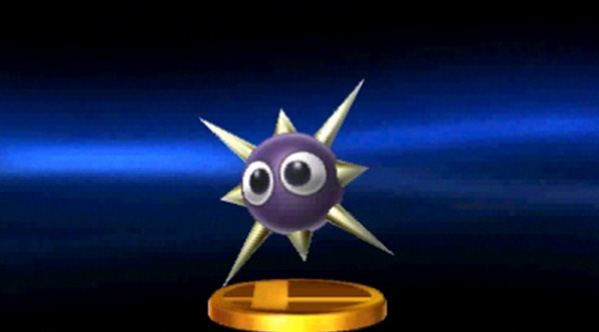
Don’t bother attacking these spiked enemies—they can’t be defeated. It’s usually best to keep your distance, but you can also knock enemies into a nearby Gordo for some extra damage. Some Gordos are stationary, but these enemies can also move along a set path.
Hammer Bro
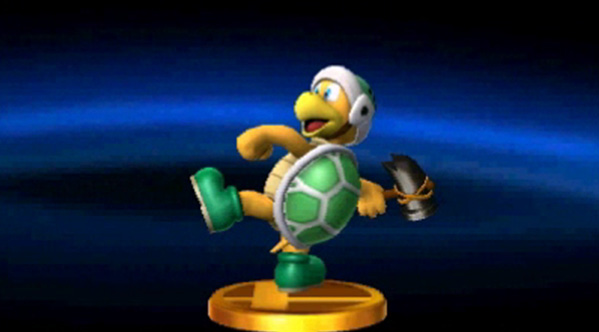
These enemies attack by lobbing hammers. A Hammer Bro will occasionally jump to a new location, so use caution when approaching these enemies.
Iridescent Glint Beetle

These rare enemies can be tough to chase down, but attacking an Iridescent Glint Beetle can grant you a fair amount of gold.
Kamek
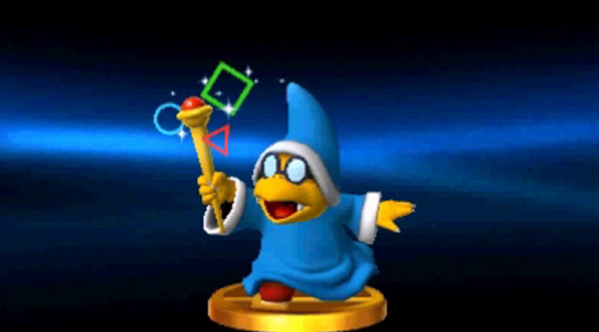
This magic-wielding enemy teleports around the battlefield, looking for fighters to attack. Getting hit by one of his spells will lower your stats, so make sure you protect yourself. Kamek can absorb a lot of damage, so use your more powerful attacks to take him out as quickly as possible.
Kihunter
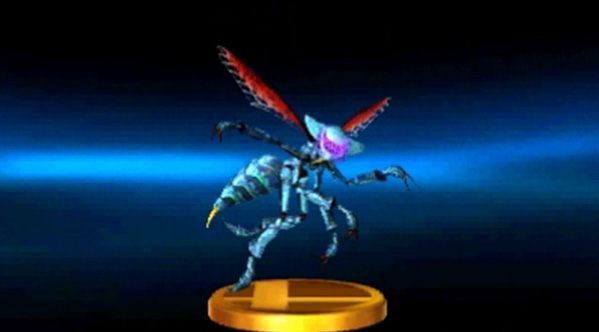
Kihunters can dash right into foes or spit acid to attack from a distance. Acid can go through your shield, and it will stun you if it makes contact. Be ready to dodge! Defeated Kihunters drop stat boosts, so your effort is sure to be rewarded!
Koffing
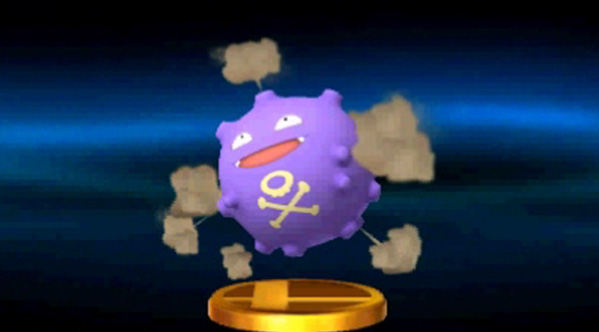
This Poison-type Pokémon releases stat-lowering gas! Defeat this enemy while its body is deflated to avoid its attacks, then collect all of the items it leaves behind!
Koopa Paratroopa
_opt.jpeg)
Stomp or damage a Koopa Paratroopa to knock it out of the air. Doing so will turn it into Koopa Troopa, so keep attacking to finish it off. Red-shelled Koopa Paratroopas are slightly more agile than their green-shelled counterparts, but all Koopa Paratroopas exhibit the same basic behaviors.
Koopa Troopa
_opt.jpeg)
After you defeat a Koopa Troopa, you can throw its shell at nearby enemies. Green-shelled Koopa Troopas will march straight ahead, even if it means falling right off of a platform. When a red-shelled Koopa Troopa reaches the edge of a platform, it turns back to continue patrolling the area.
Kritter
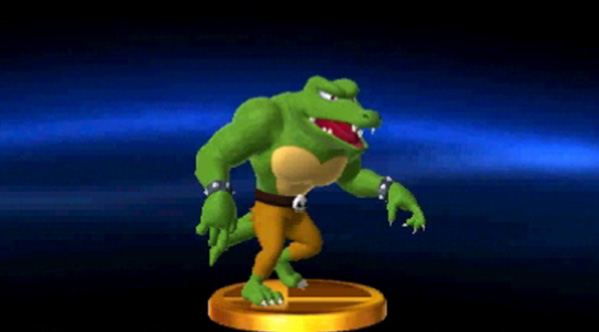
Kritters are fairly straightforward enemies—they’ll march right up to you and attack. Green Kritters will deliver a series of bites, the last of which delivers extra damage. Blue Kritters will use their claws to swipe at you. Kritter attacks don’t have much of a knockback effect; if you’re caught by a Kritter’s opening attack, you’re likely to stay in range for the full duration of the combo.
Lakitu

Lakitu floats around the battlefield, dropping Spiny Eggs on nearby fighters. He usually tries to hover just out of reach, but taking him out quickly is the best way to limit the number of Spinies you’ll have to deal with.
Lethinium
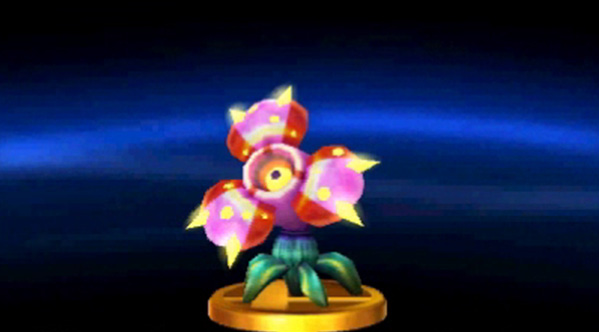
These flower-like enemies fire wide beams that are capable of penetrating walls. While a Lethinium is attacking, however, its back is vulnerable. Slip behind an attacking Lethinium and use a Special or a Smash attack to defeat it.
Lurchthorn
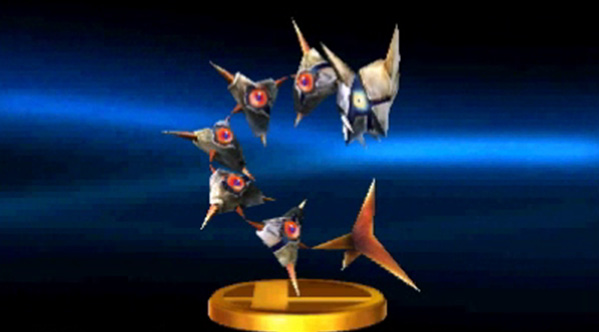
These massive enemies shoot projectiles as they fly around the battlefield. Each of a Lurchthorn’s segments attacks separately. You can destroy individual segments, but attack its head to defeat a Lurchthorn as quickly as possible.
Mahva
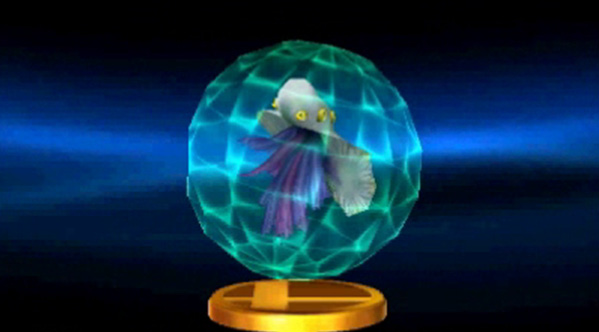
This flying, fishlike enemy uses a large, spherical barrier to protect itself. This barrier also protects the Mahva’s nearby allies. The barrier changes color as it takes damage; keep attacking until you shatter the barrier and expose the Mahva. A vulnerable Mahva will try to flee; move quickly to defeat it and earn some Defense stat boosts.
Megonta
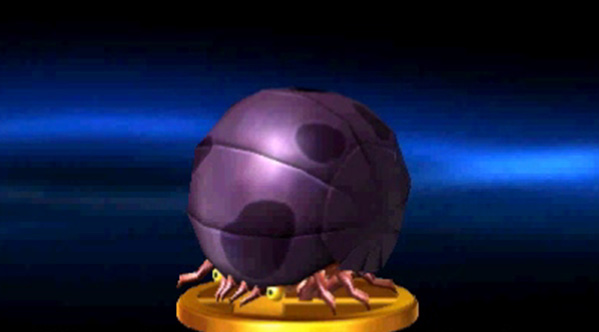
This giant enemy attacks by curling into a ball and rolling across the battlefield. Don’t bother trying to break through its shell; instead, use a Down Smash attack (or a similarly powerful low attack) to knock a Megonta onto its back, then aim your attacks at its stomach while the Megonta struggles to recover.
Metroid
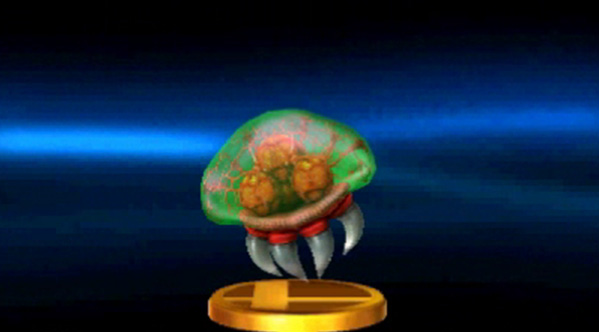
When this enemy spots you, it attempts to latch onto your head! You’ll take damage while a Metroid is attached; slide the Circle Pad to the left and right until you shake it loose. Metroids are extremely vulnerable to cold. If possible, use ice-based attacks to quickly defeat these enemies.
Mettaur

A Mettaur will spend most of its time hiding inside of its helmet, emerging just long enough to fire off a few projectiles. While a Mettaur is hunkered down, its helmet deflects all of your strikes; grab and throw these timid enemies to break through their defenses.
Mimicutie
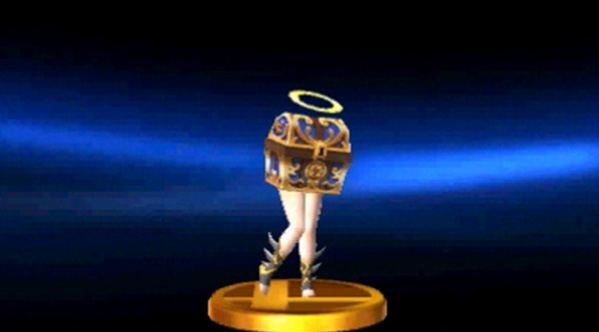
This crafty enemy disguises itself as a treasure chest! When you approach a Mimicutie, it unleashes a flurry of powerful kicks. These enemies are very aggressive—once you’ve engaged a Mimicutie, it will follow you virtually anywhere. Dodge its kicks and defeat a Mimicutie to collect its stat boosts.
Mite
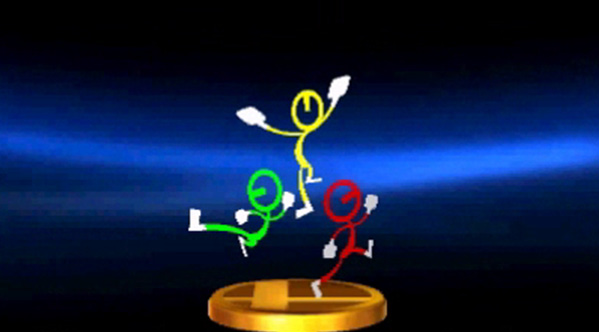
These small enemies use jumpkicks to attack nearby fighters. A single Mite doesn’t pose much of a threat, but they can be very troublesome in large groups. When you spot a Mite on the battlefield, check the area for a nearby Generator. Quickly destroying Generators will limit the number of Mites you’ll have to deal with.
Monoeye
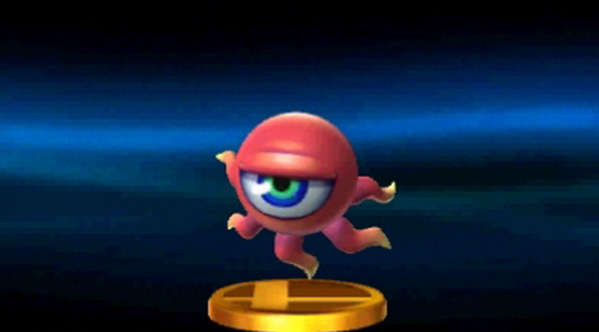
Once a Monoeye spots you, it usually follows you around the area. This enemy attacks by firing projectiles from its large eye. These enemies are fairly weak, so it’s usually best to take them out quickly.
Nutski
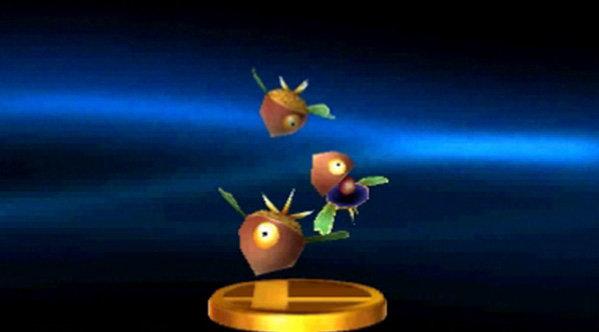
These fast-moving enemies tend to fly in unpredictable patterns. If you get too close to a Nutski, it flips over and fires three seeds.
Octorok
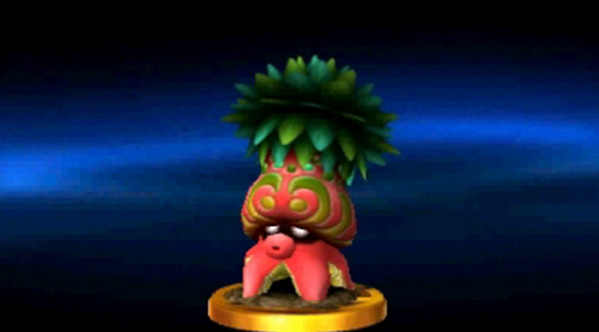
These enemies tend to hide underground, firing projectiles each time they emerge. Grab and throw an Octorok to defeat it quickly.
Orne
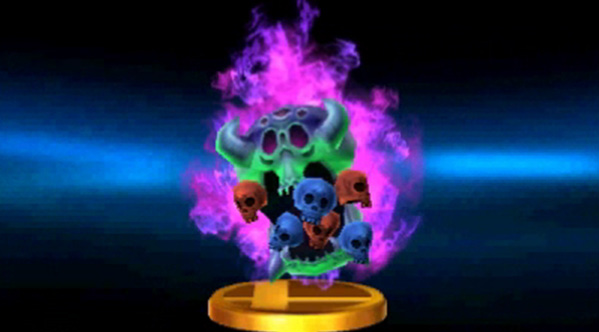
This powerful enemy is immune to your attacks, and it will instantly KO any fighter it touches. If you spot an Orne, don’t even try to fight it—just leave the area as quickly as possible!
Parasol Waddle Dee
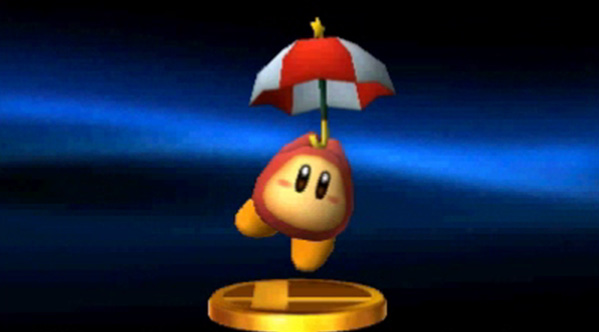
These enemies use their parasols to float down on unsuspecting fighters. A Waddle Dee will sometimes release its parasol before landing on the ground, so don’t linger below these enemies! Parasol Waddle Dees aren’t particularly tough, though, so you shouldn’t have much trouble clearing them from an area.
Peahat
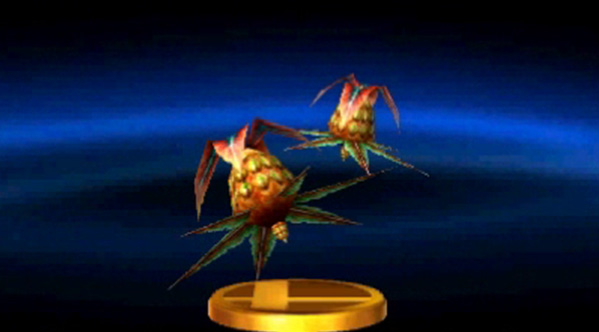
This enemy spawns Peahat Larva whenever a fighter gets too close. Additionally, Peahats use their spinning attacks to deal damage as they keep their foes at bay. Defeating one of these enemies, however, is almost always worth the effort!
Petilil
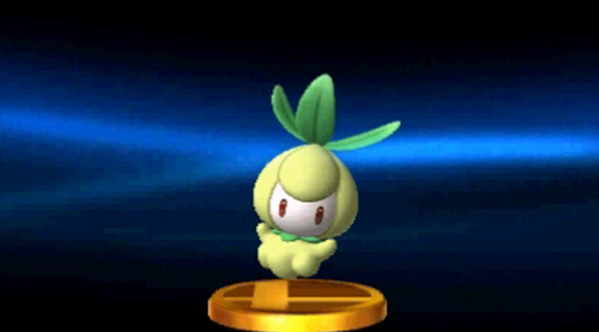
This Grass-type Pokémon releases purple Sleep Powder when a fighter gets too close. This attack has a considerable range, so it’s easy to get caught by it while you’re engaged with other enemies. If you spot a Petilil, try to defeat it as quickly as possible.
Plasma Wisp
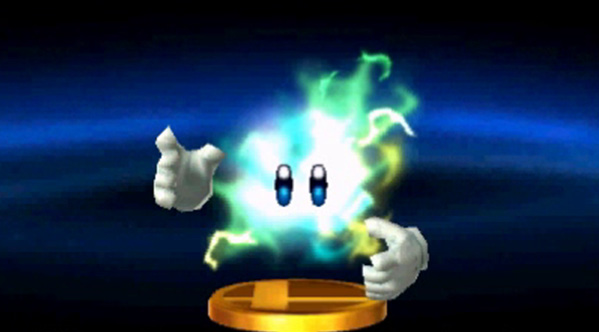
Plasma Wisps float up to fighters and fire off energy attacks once they’re in range. There are three different levels of Plasma Wisp attacks. Level-one attacks deal standard damage, level-two attacks can stun you, and level-three attacks deal increased damage.
Polar Bear
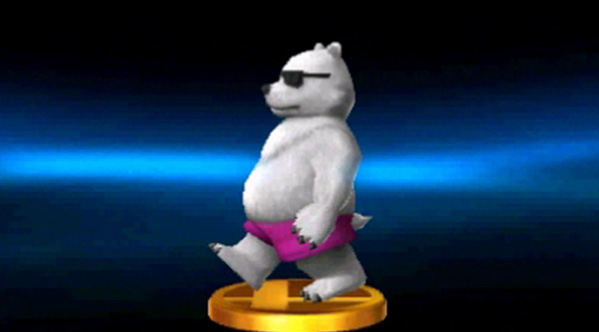
This seemingly laid-back enemy will occasionally jump into the air, only to come crashing down with enough force to shake the entire area. These tremors damage anyone unlucky enough to be standing on the ground during each attack. This enemy is vulnerable to heat, however, so try to use fire-based attacks to quickly defeat a Polar Bear.
Pooka
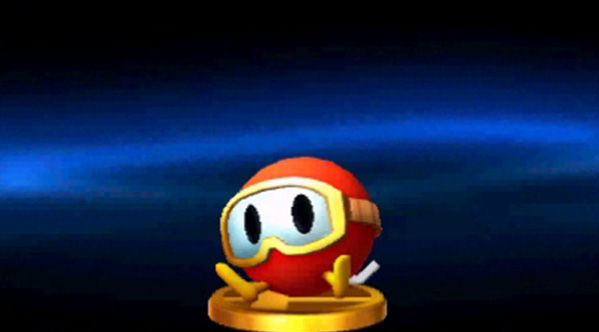
These little creatures can burrow underground to avoid incoming attacks. If you manage to hit a Pooka, however, it puffs up. Land additional attacks to inflate a Pooka until it bursts. This not only defeats the Pooka, it can also damage any nearby enemies!
Poppant
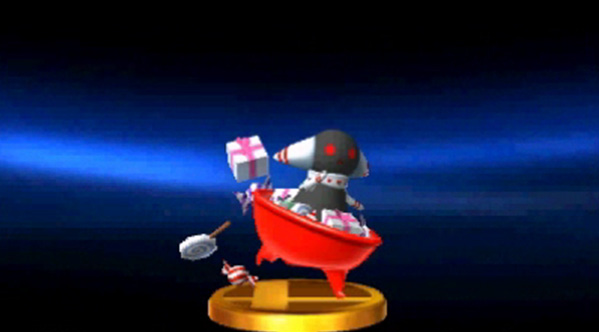
Attack these elusive enemies to earn items and food. A Poppant will flee the moment it spots you, dropping a few items as it does. Catching a Poppant can yield serious rewards, so don’t give up without a fight!
Reaper
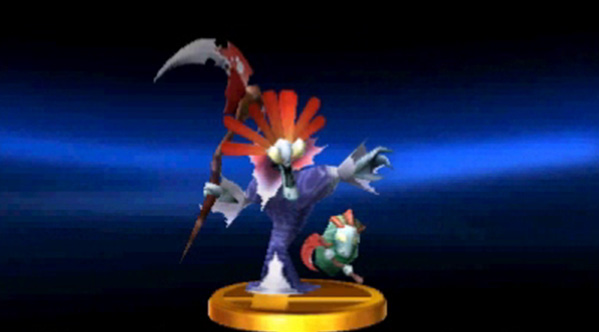
Reapers use their scythes to deliver powerful short-range attacks. They’re also capable of summoning Reapettes to aid them in battle. It’s usually best to use Powers or projectile attacks to deal with a Reaper from a safe distance.
ReDead
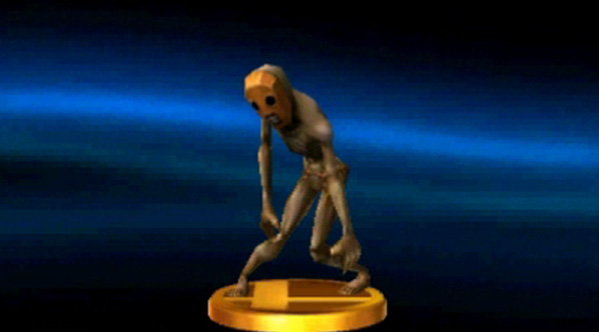
These slow-moving enemies use spine-chilling howls to temporarily incapacitate nearby foes. Dash in and take them out between attacks or hang back and use projectile attacks to defeat them from a safe distance.
Reo
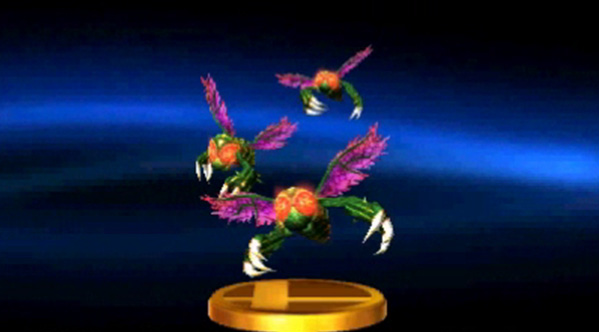
A Reo’s attack has a significant knockback effect, but this enemy’s predictable movements make it fairly easy to deal with. Use strikes, projectile attacks, or throws to defeat them.
Roturret
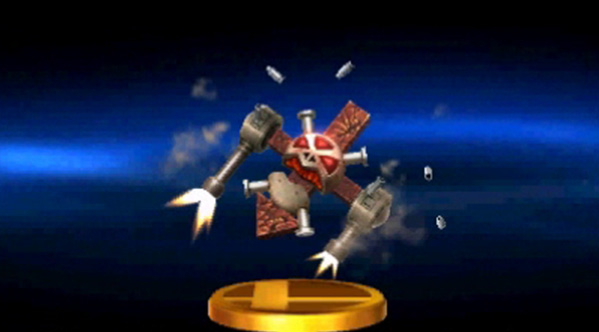
This enemy uses its two cannons to fire projectiles at nearby fighters. Roturrets fire in bursts of three—with two cannons, that’s a total of six projectiles per attack. Each attack’s final shot has improved launching power, so be careful. Hitting a Roturret between its cannons can disrupt its attack as you inflict heavy damage.
Shotzo
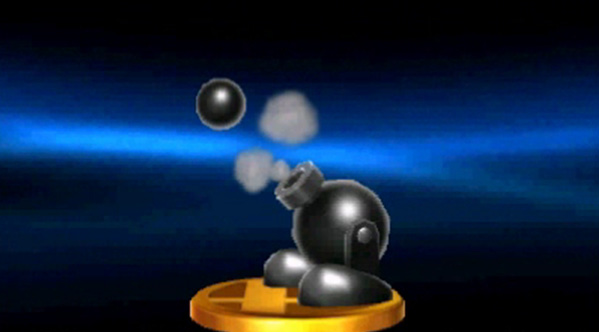
Some Shotzos fire at a fixed angle, while others can aim their shots at nearby fighters. Either way, it’s best to avoid these cannons. Shotzos can’t be defeated, so don’t bother trying to attack one.
Shy Guy
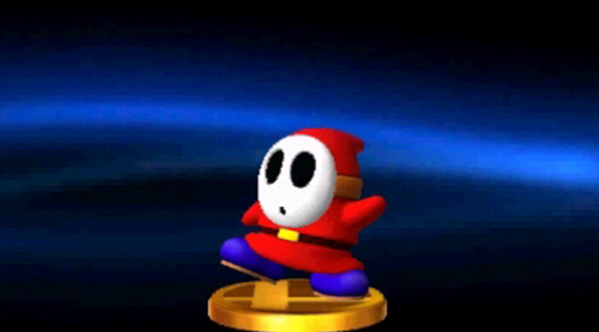
Shy Guys come in a variety of colors, each of which indicates a particular strength. Red Shy Guys deal the most damage, yellow Shy Guys are better jumpers, green Shy Guys are a bit faster, and blue Shy Guys are slightly more difficult to launch. Additionally, the color of a Shy Guy usually indicates which stat it will drop when it’s defeated.
Skuttler
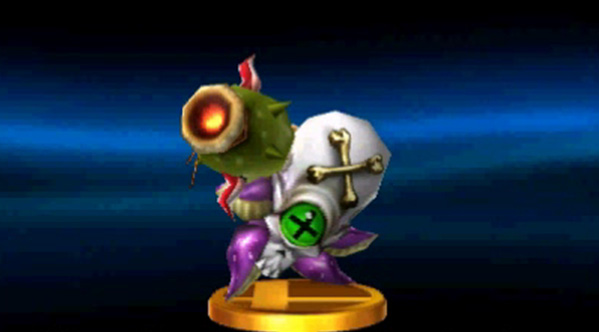
Skuttlers use their clubs to deliver vicious attacks—the bigger the swing, the more damage it deals. These enemies have a fair amount of health, but your stronger attacks should send them stumbling. When you encounter a Skuttler, try to attack it from behind.
Skuttler Cannoneer
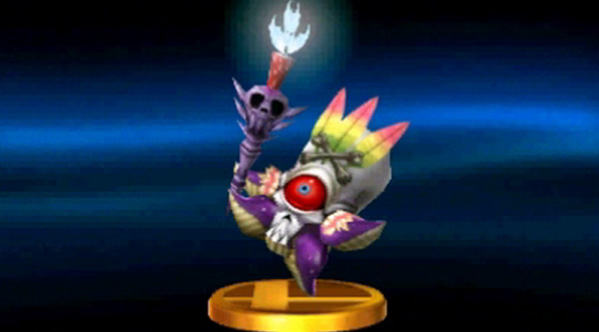
These enemies use ranged weapons to attack from a distance. The color of a Skuttler Cannoneer’s weapon determines which type of projectile you can expect: green cannons cause explosions, blue cannons can fire through obstacles, and red cannons launch homing missiles. Occasionally, a Skuttler Cannoneer’s weapon stops working—use this time to strike back!
Skuttler Mage
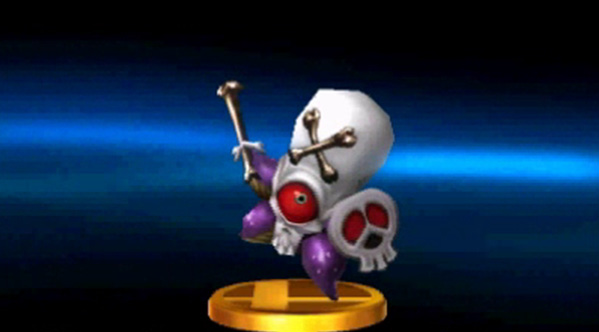
These troublesome enemies specialize in magic attacks. Skuttler Mages can attack at close range or grab distant fighters and do magical damage. A Skuttler Mage's close-range attacks decrease your fighter's stats, so be careful!
Sneaky Spirits

These rare enemies can sometimes be found popping in and out of the ground. This movement follows a set rhythm, so time your attacks to land each time a Sneaky Spirit shows itself. This enemy will flee after a short time, but defeating one will yield a star-shaped stat boost.
Souflee
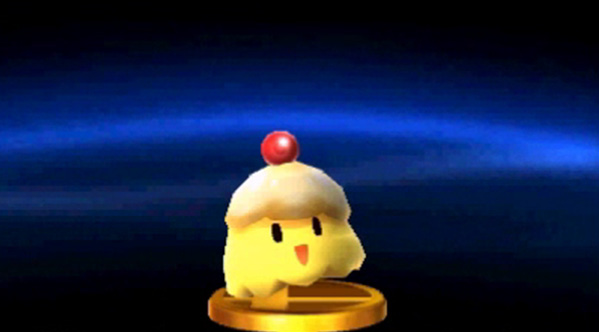
The Souflee uses its erratic movements and unpredictable attacks to confuse its foes. Fortunately, they aren’t that tough and defeating one can yield some impressive stat boosts! Swat them out of the air to put an end to their mischief.
Spike Top
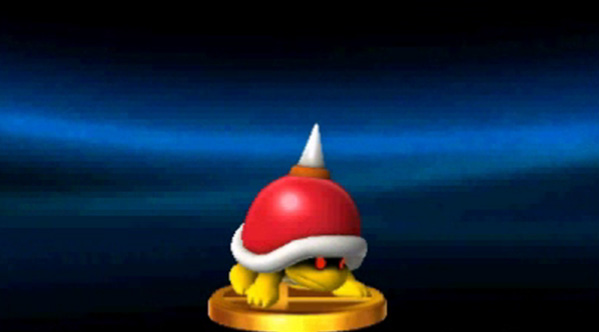
Spike Tops can sometimes be found crawling along floors, ceilings, and walls. These enemies are immune to projectiles, so you’ll have to get in close if you want to defeat one.
Spiny
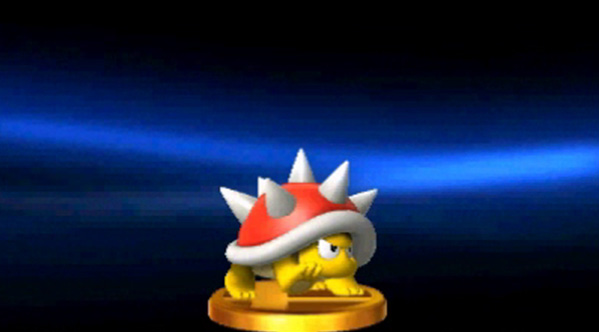
These creatures emerge from the Spiny Eggs Lakitu throws. Once a Spiny hatches, it heads straight toward the nearest fighter. They’re easy enough defeat, but consider moving to a new area if you find yourself surrounded by these spiked creatures.
Stalfos

These enemies use their shields to block incoming attacks. When possible, try to hit a Stalfos from behind or jump over the enemy and come crashing down from above. If these options aren't viable, consider using a Power or moving to a new area.
Starman

Starman uses its PSI attacks to keep its foes at bay. Dash in and defeat a Starman between its attacks or use projectile attacks to defeat it from a safe distance.
Tac
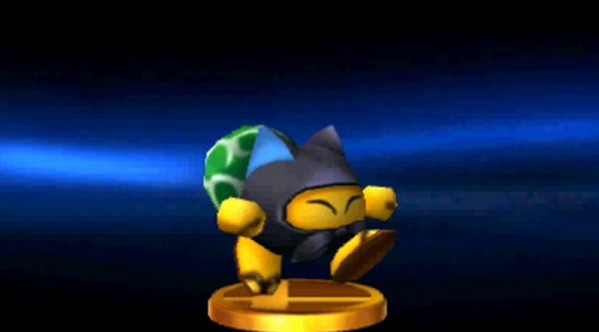
These sneaky enemies will attempt to steal your stat boosts. The amount they take is determined by how much you’ve managed to improve your stats. Move quickly to chase down a fleeing Tac and reclaim any stat boosts he took from you.
Tiki Buzz
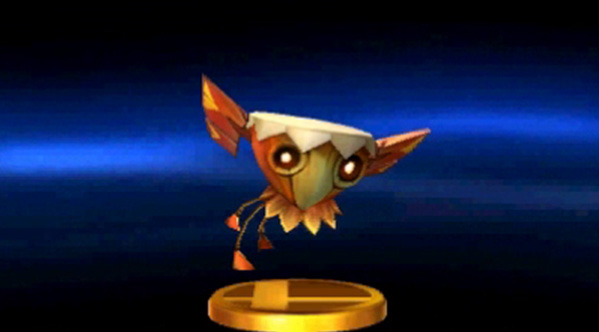
Passing under one of these flying enemies will cause it to dive-bomb down onto you; however, hopping onto a Tiki Buzz gives your jump some extra bounce.
Waddle Doo
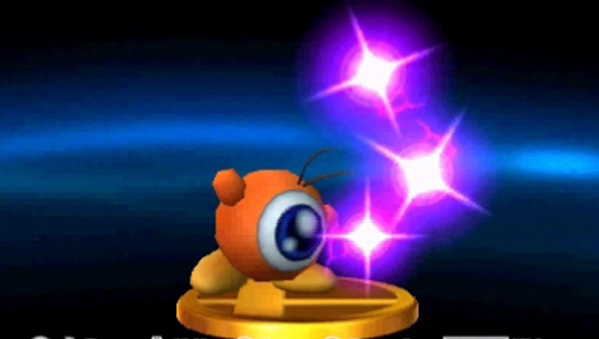
This enemy uses a short-range energy attack to stun and damage fighters. Waddle Doos aren’t particularly powerful, but they’re fairly aggressive. Use projectile attacks to damage them from a distance or dash in to strike them between their attacks.
Zuree
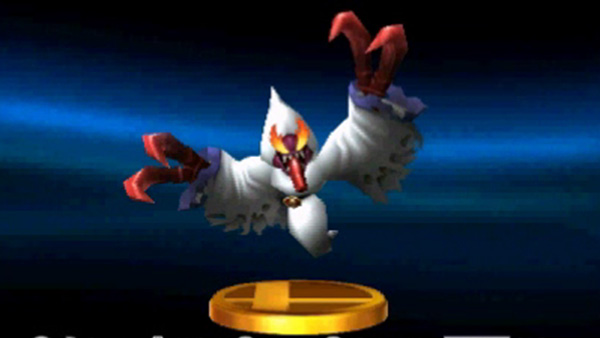
From a distance, a Zuree looks like a small cloud of mist. When you approach one, however, it springs into action with a swipe of its claws. Use your most powerful attacks to defeat a Zuree while it’s vulnerable.