Super Smash Bros. for Nintendo 3DS Guide Characters A-J
Bowser
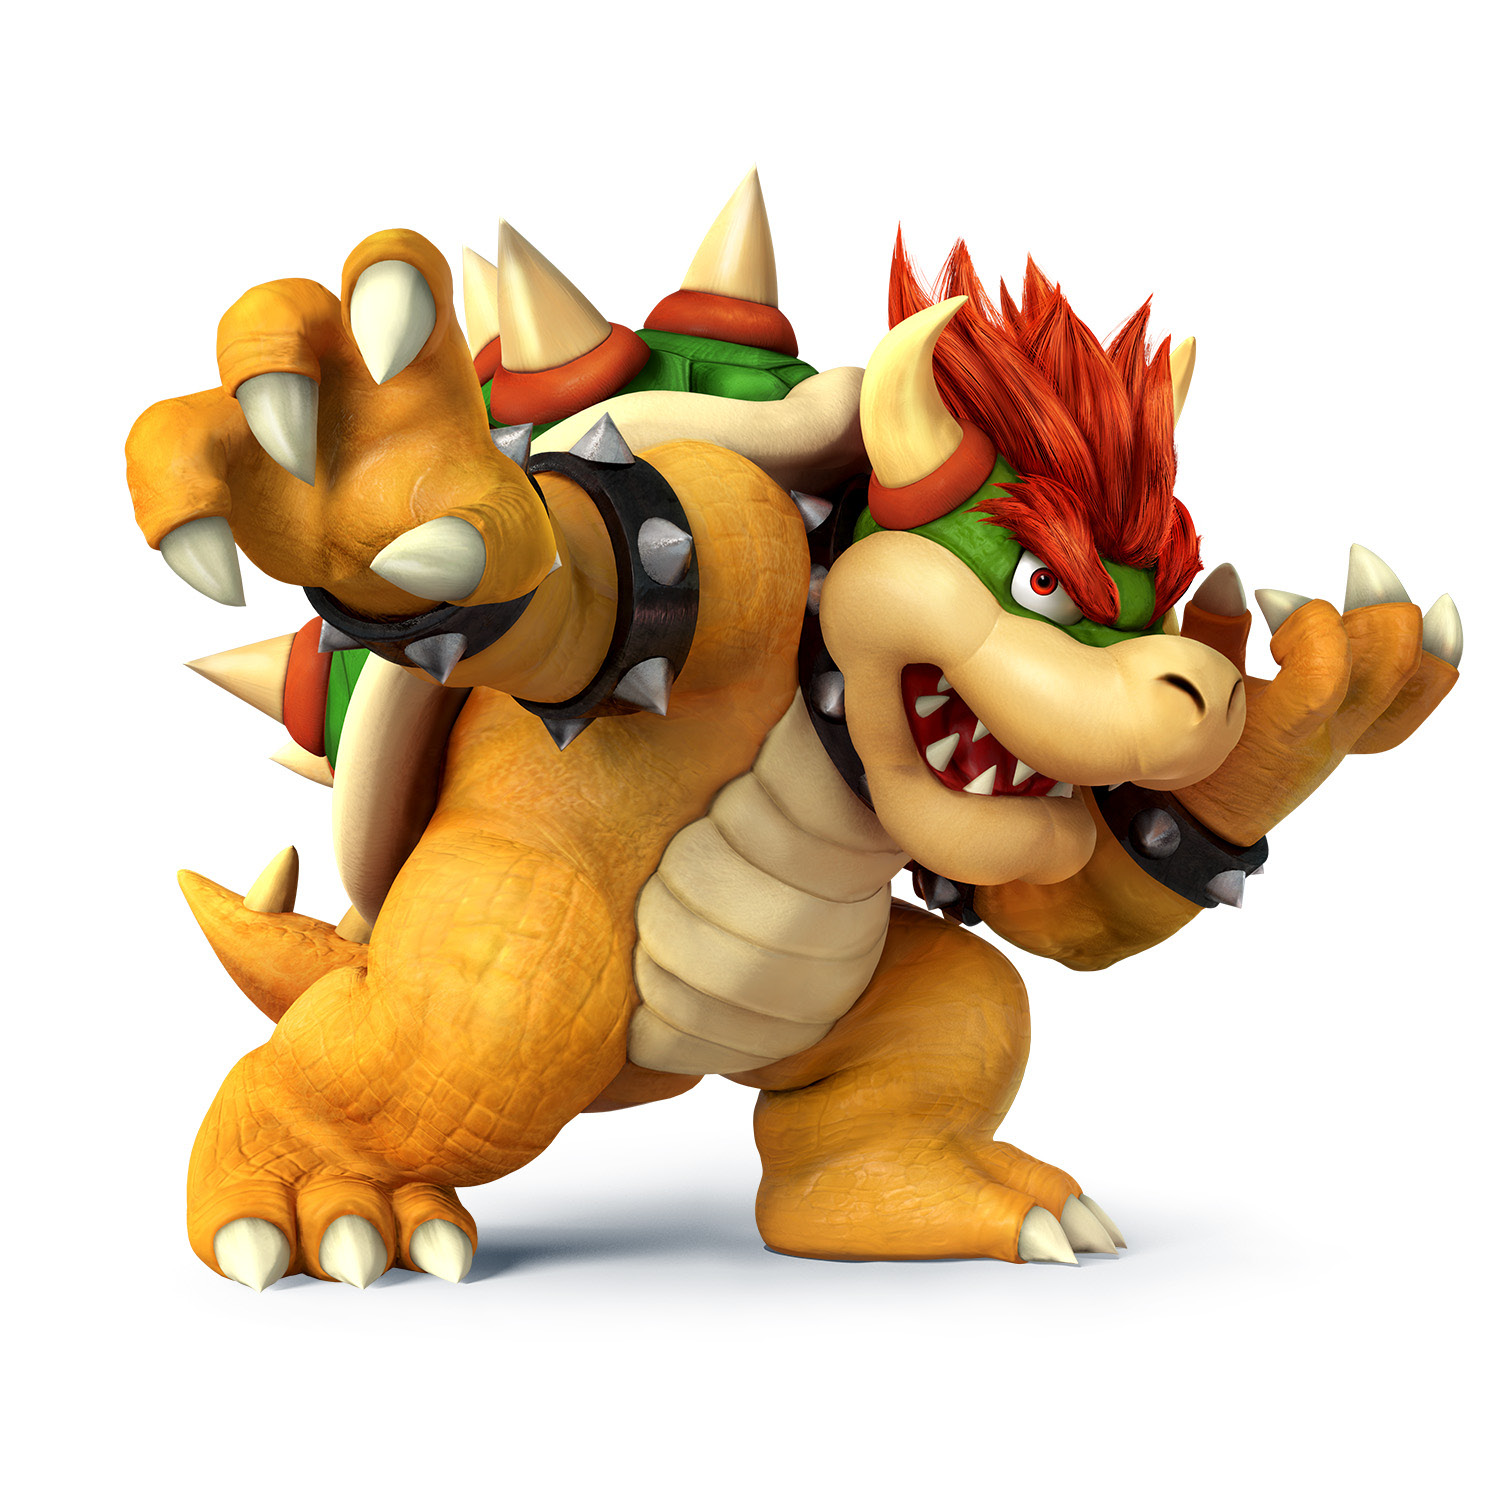
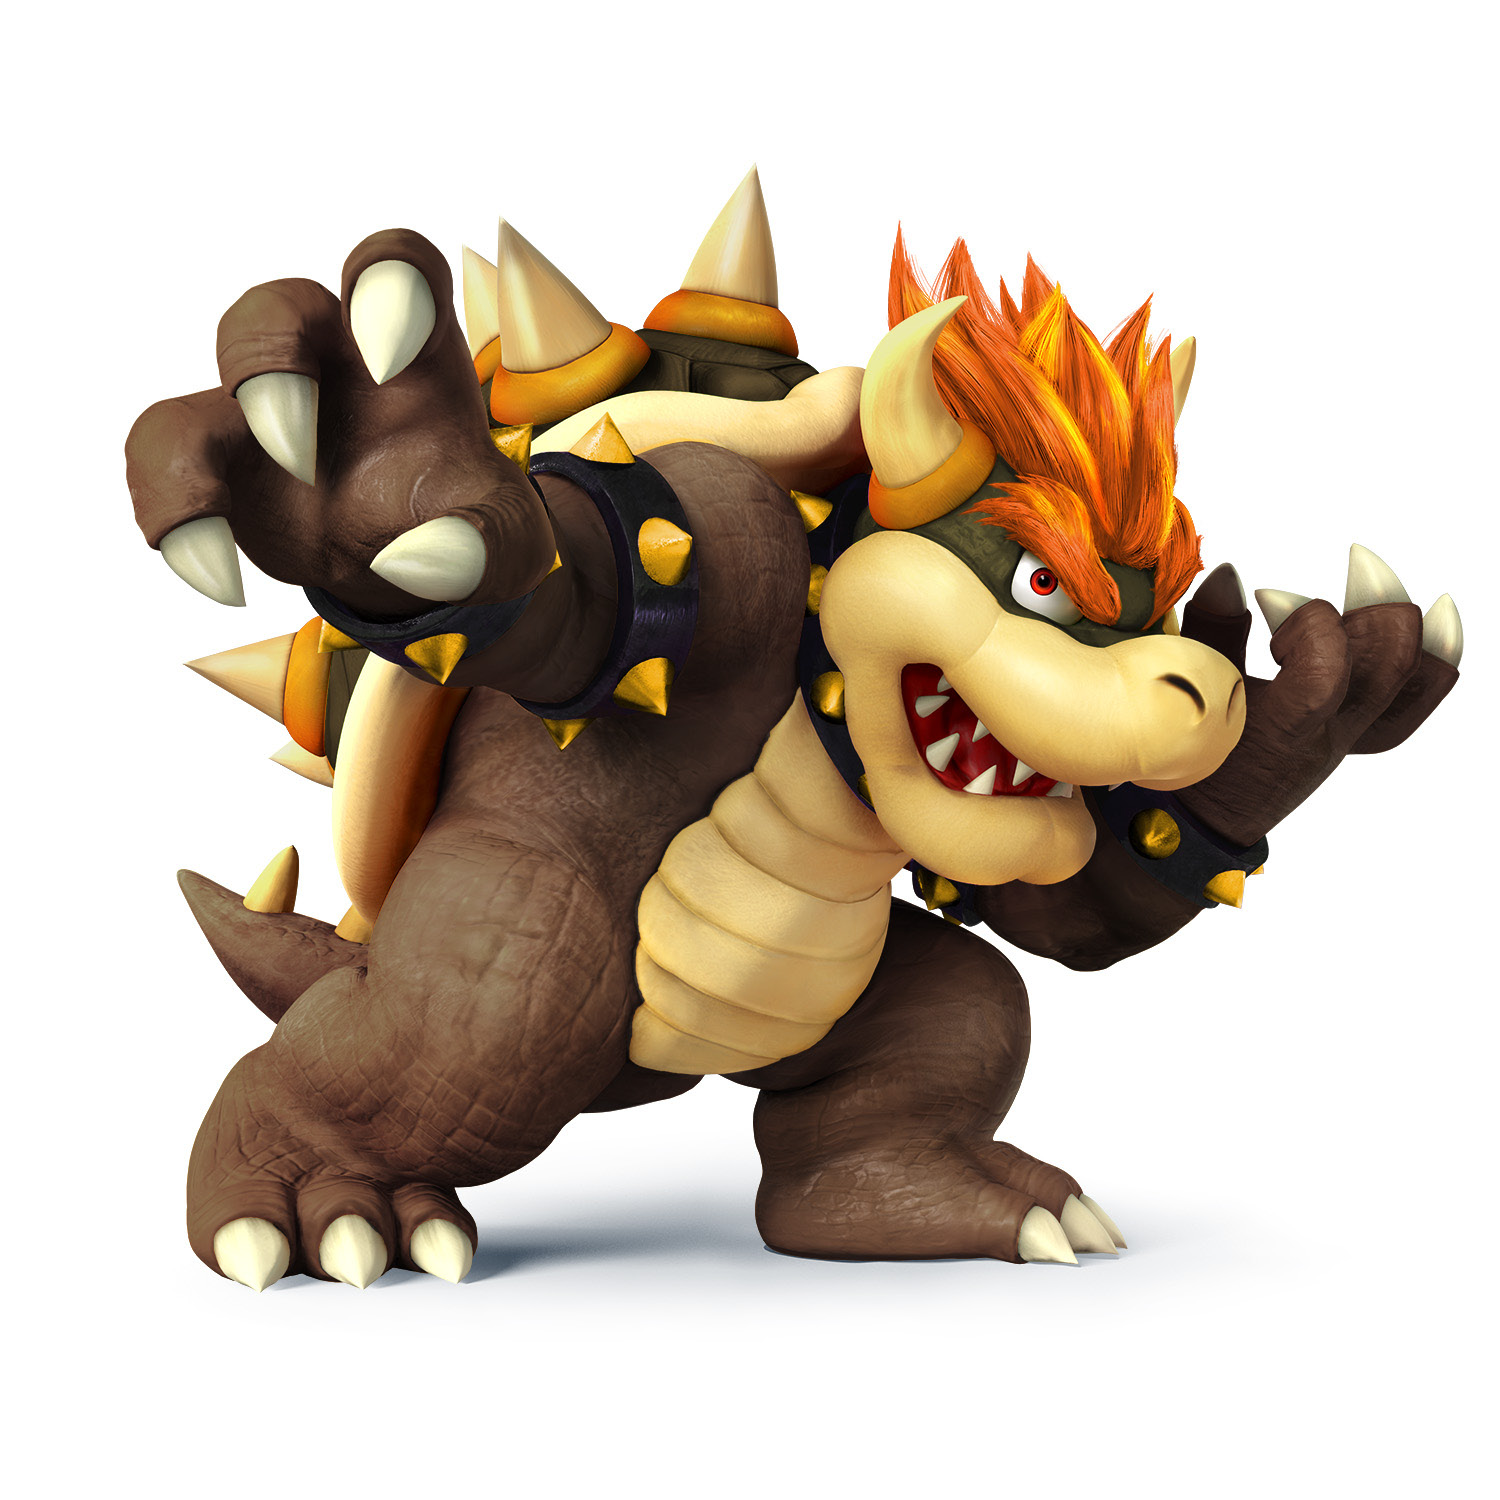
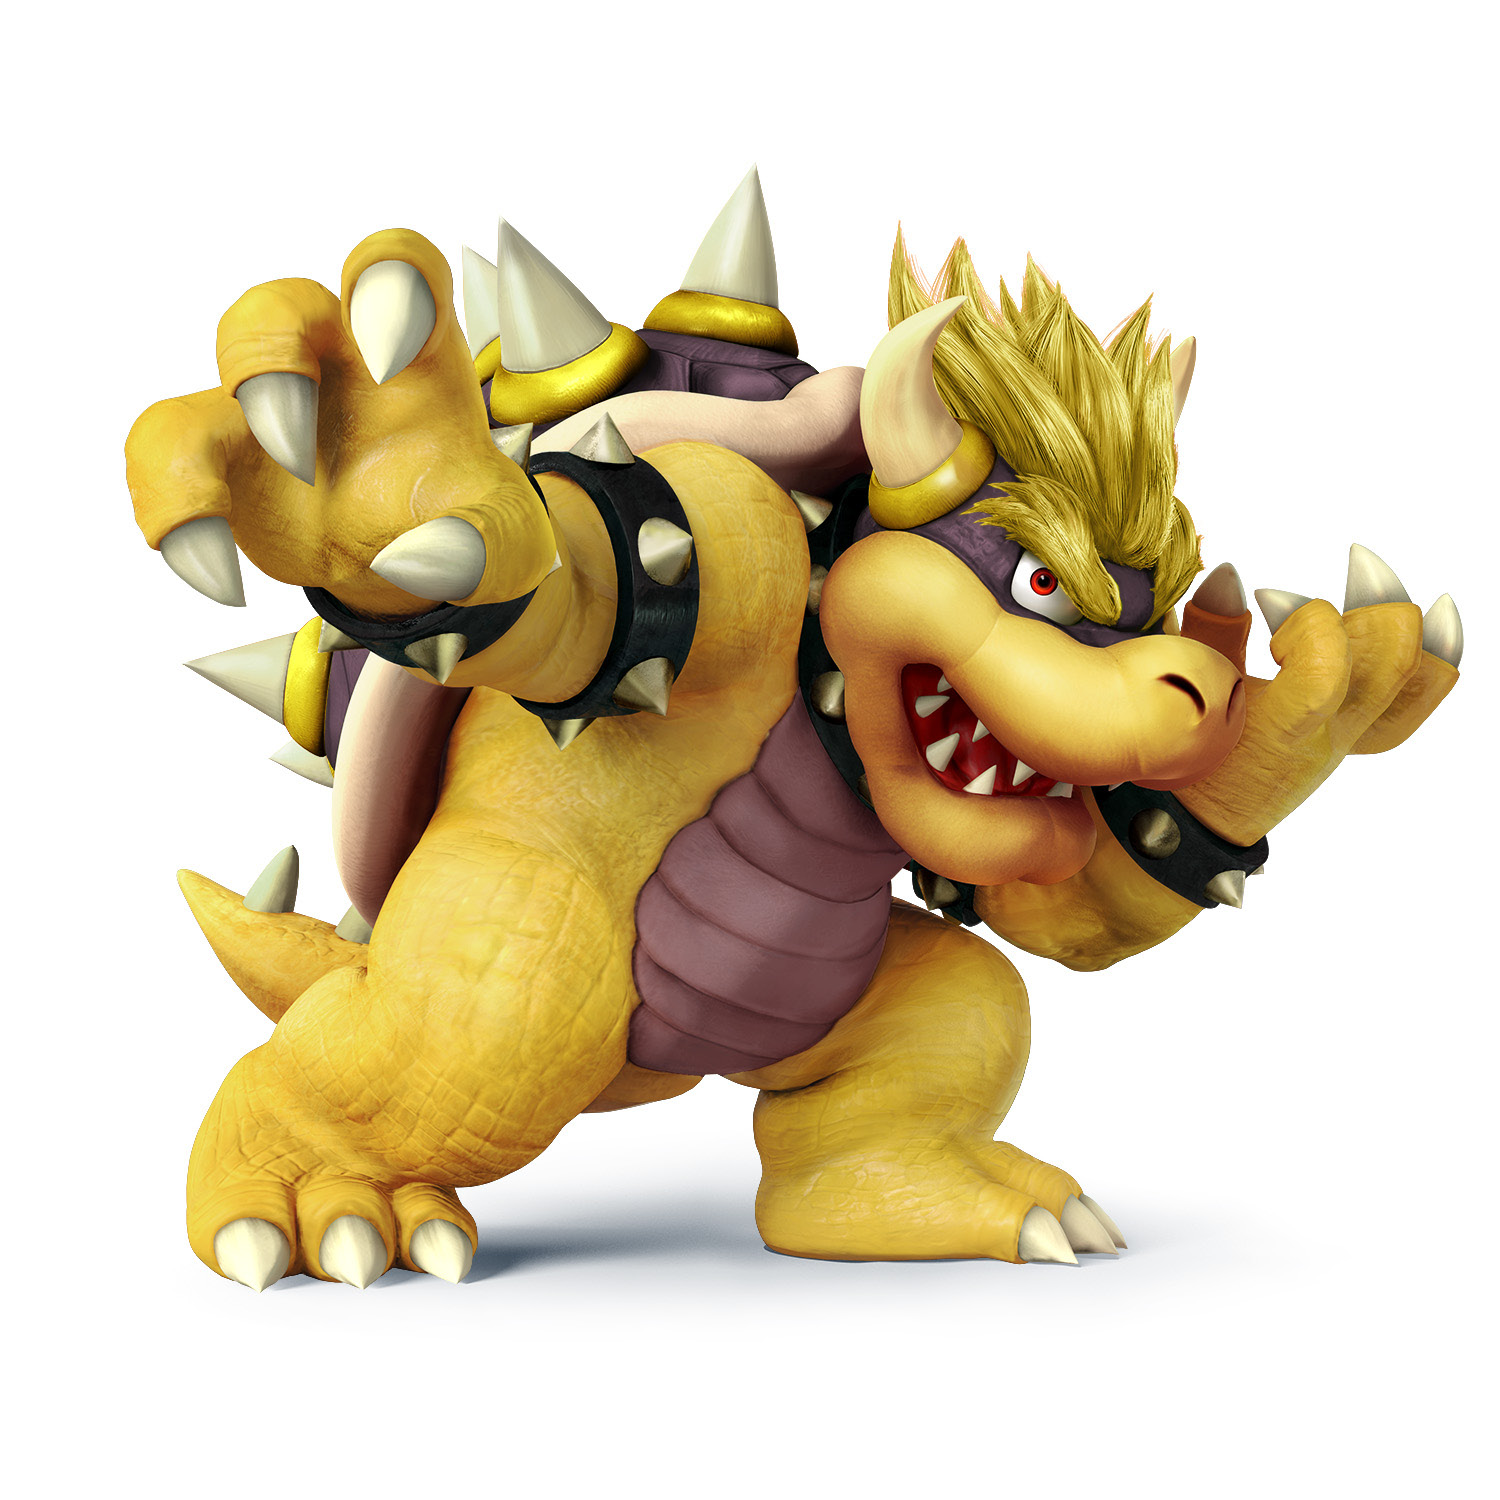
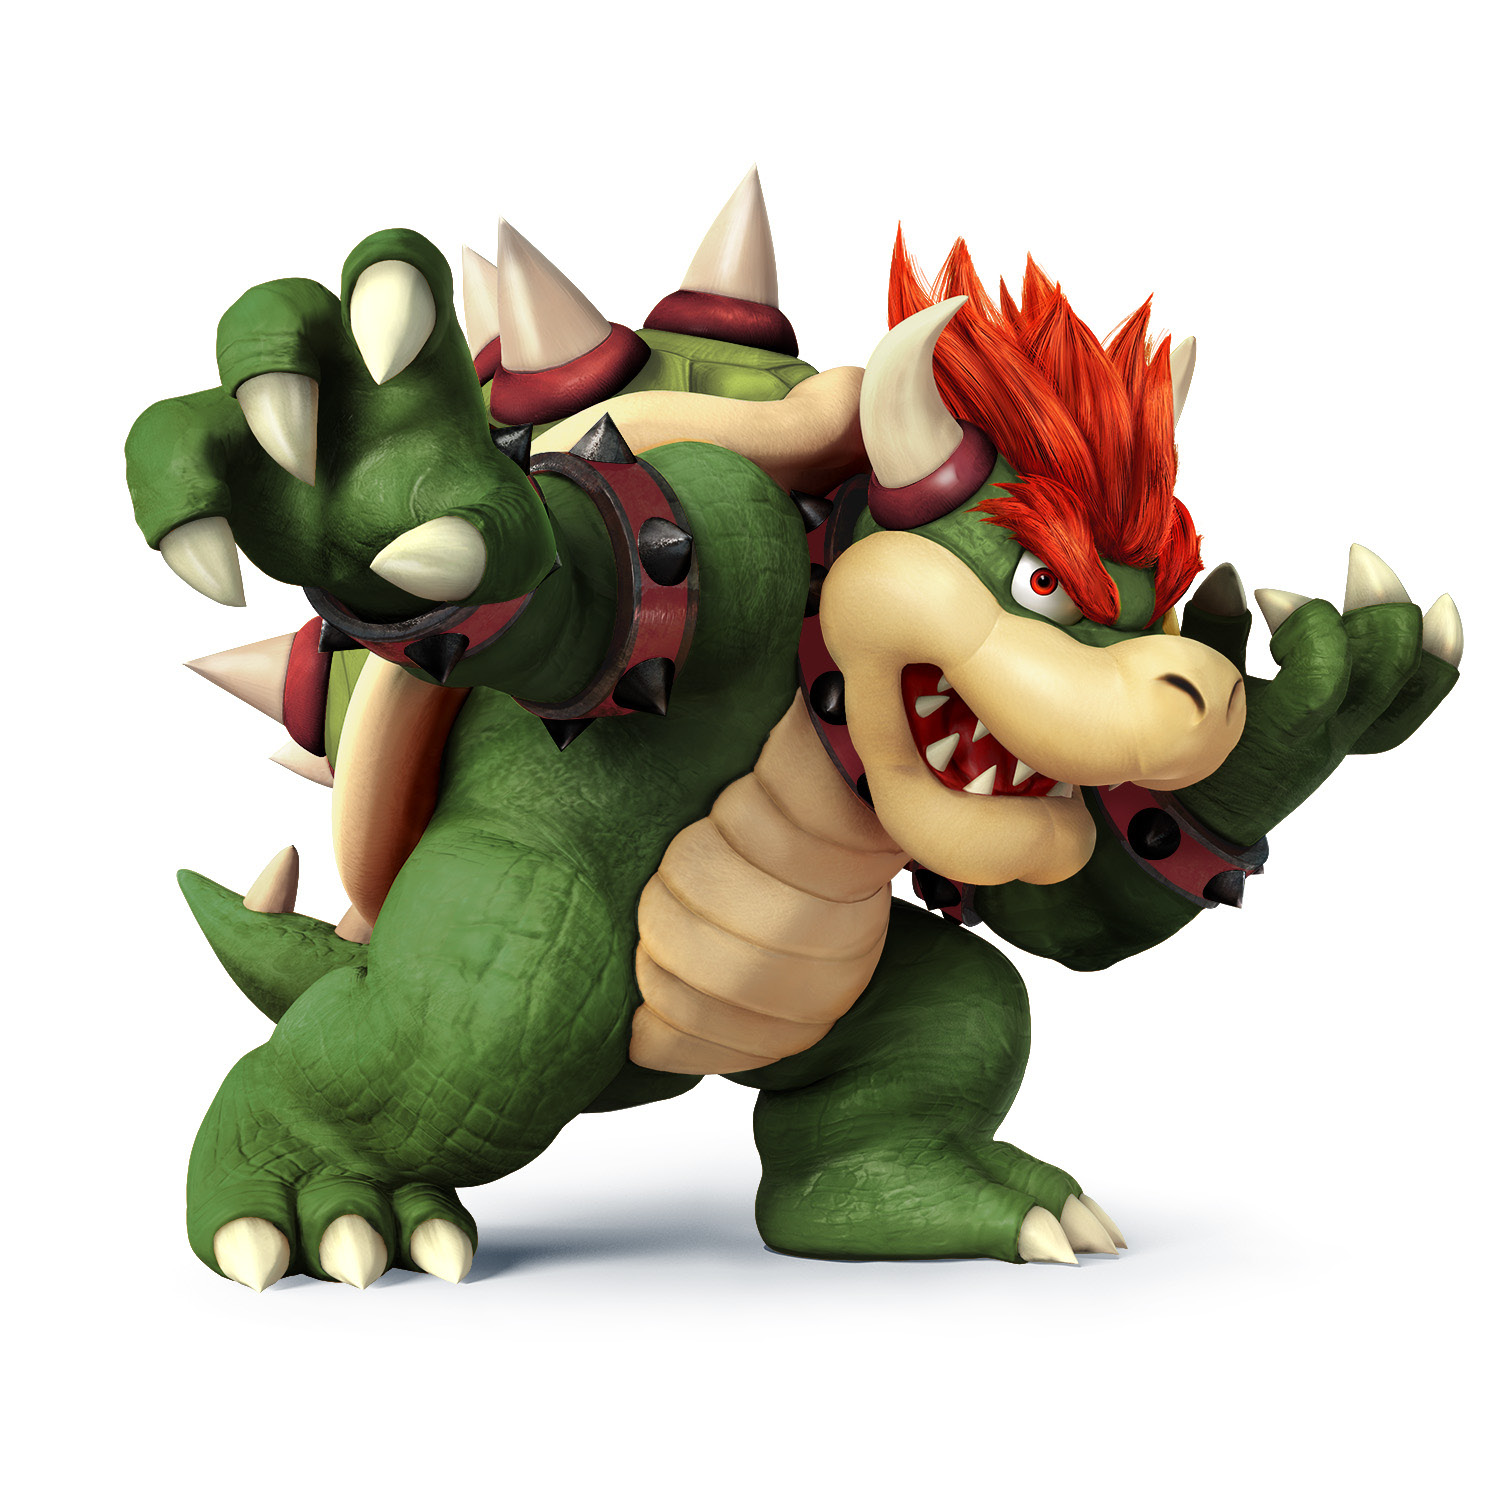
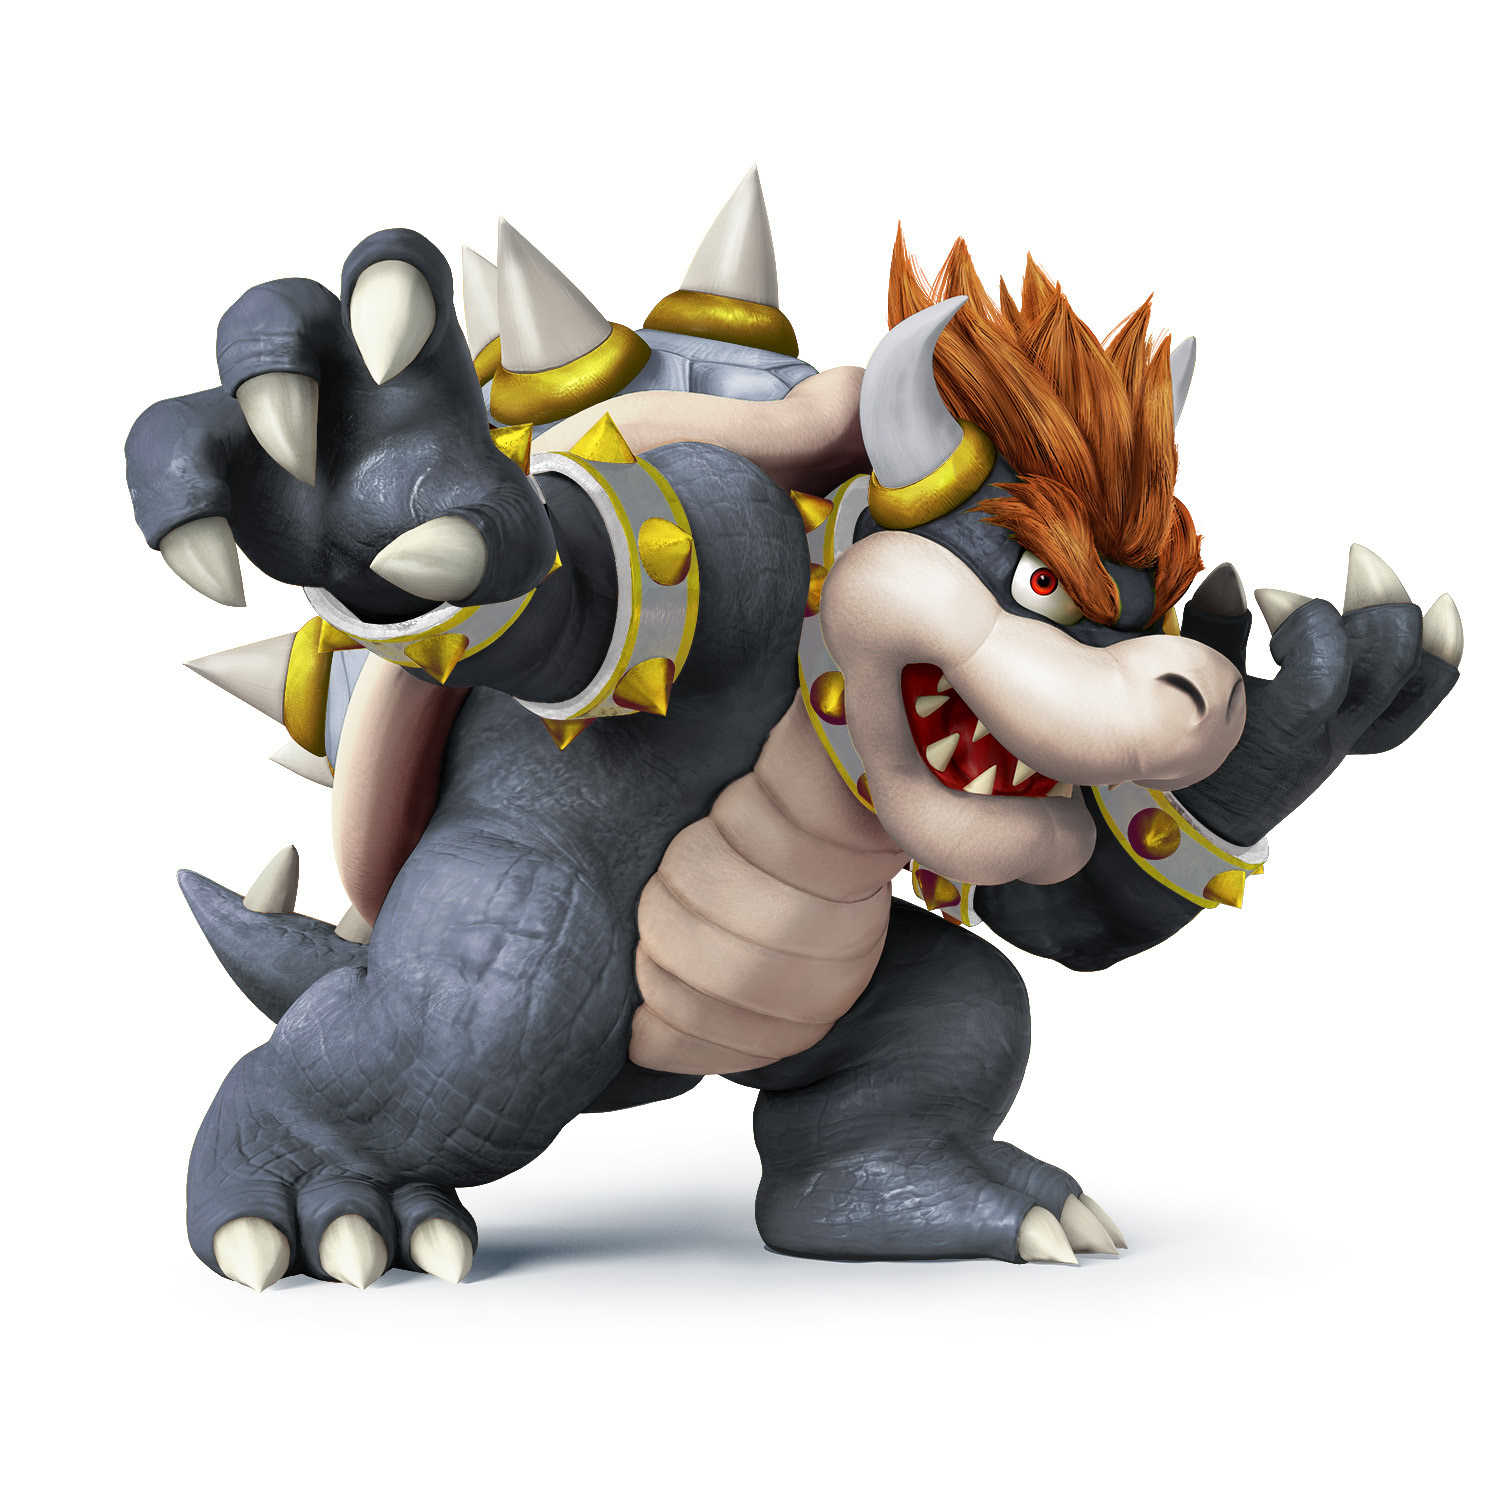
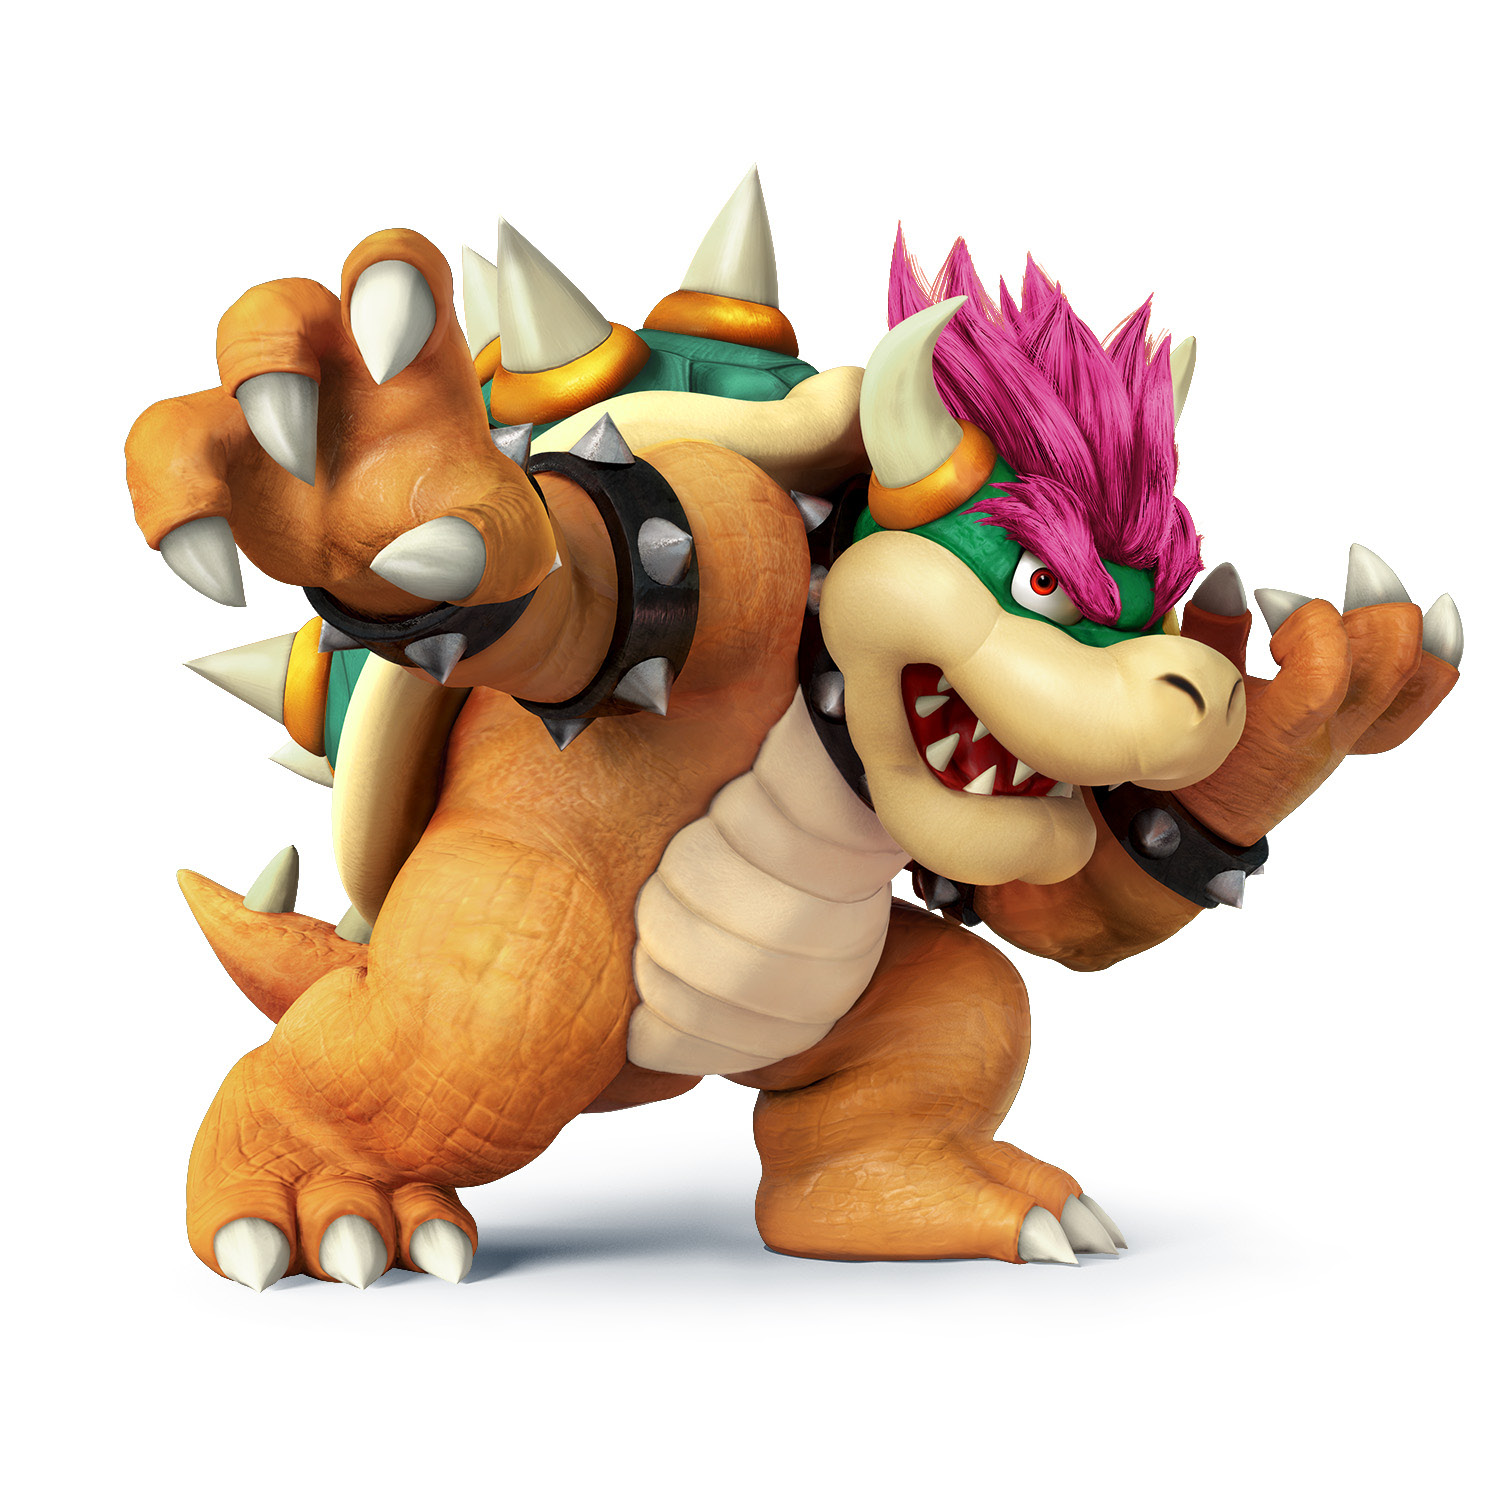
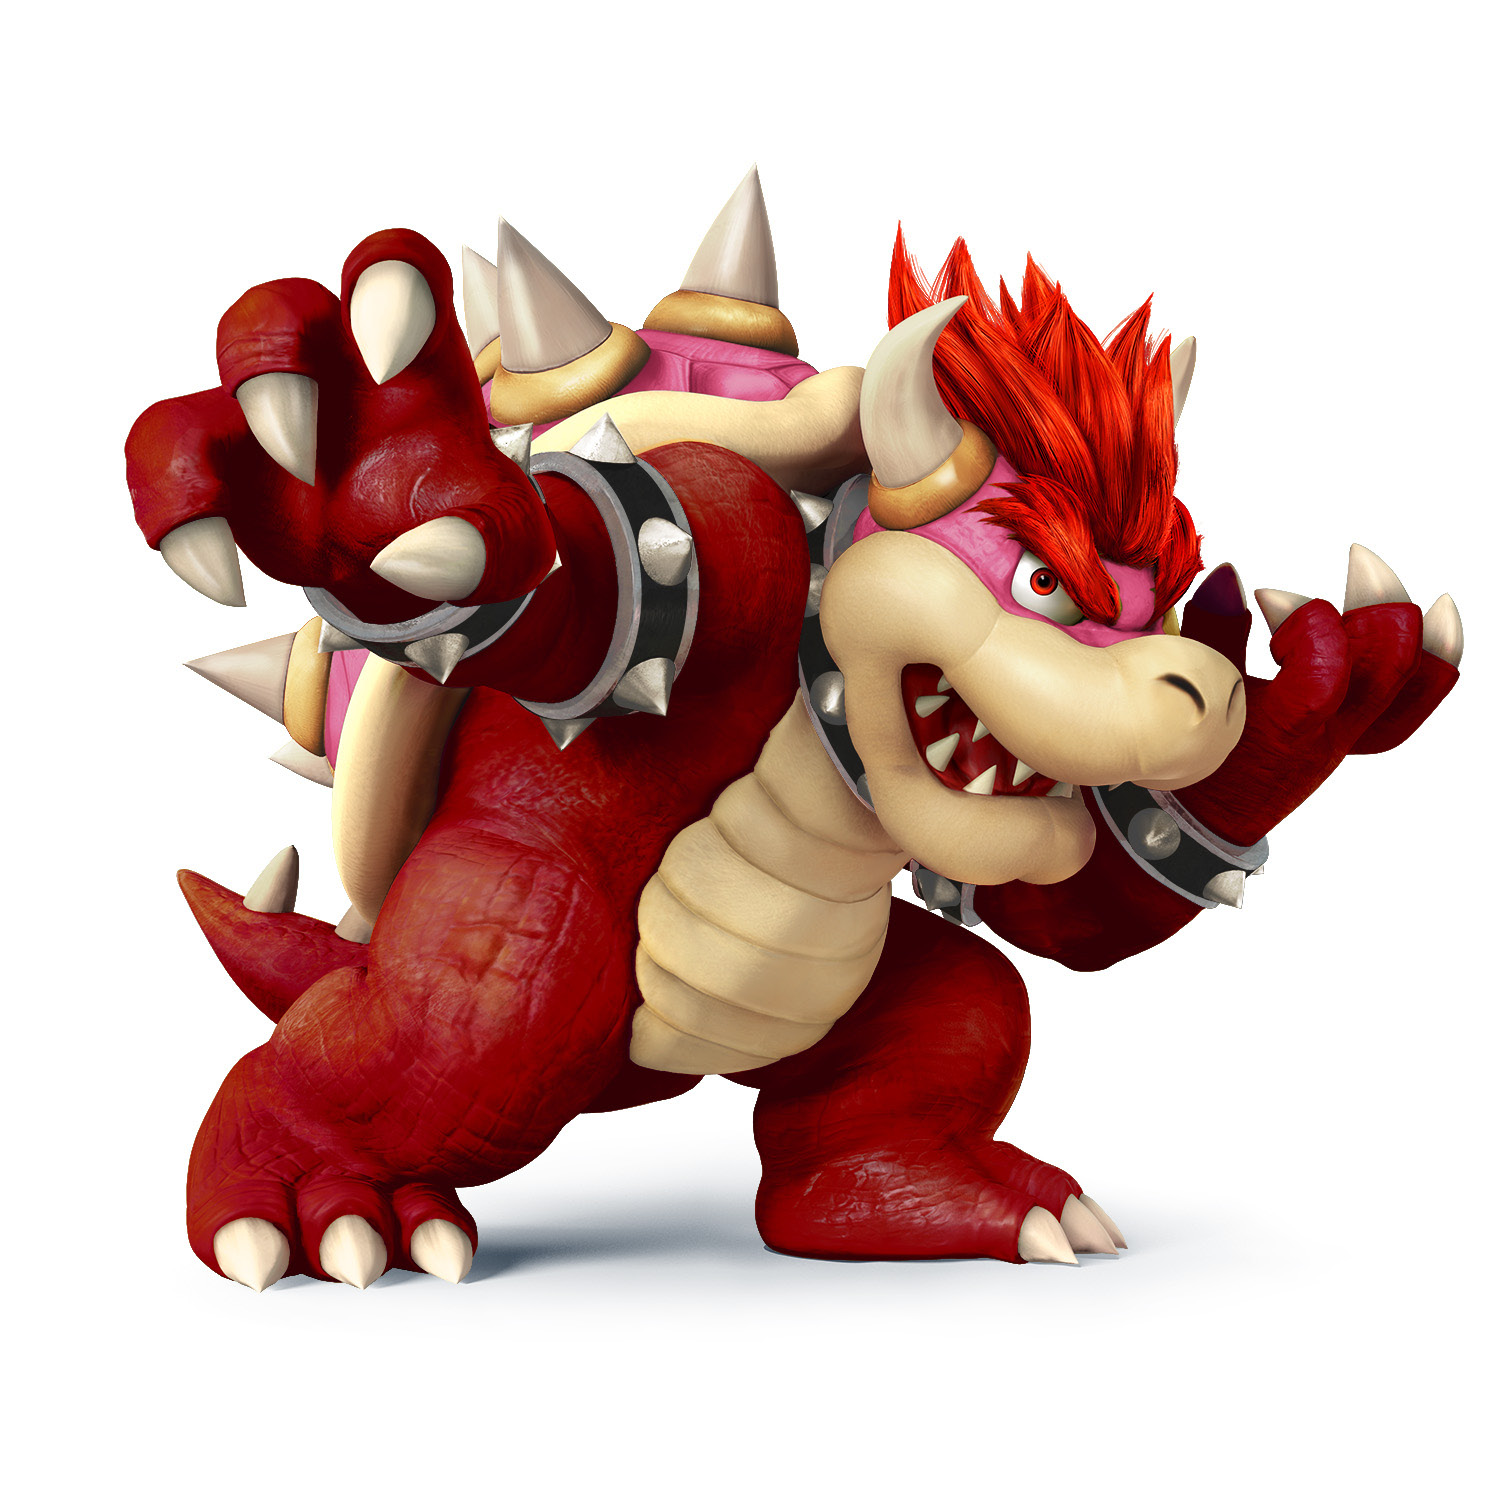
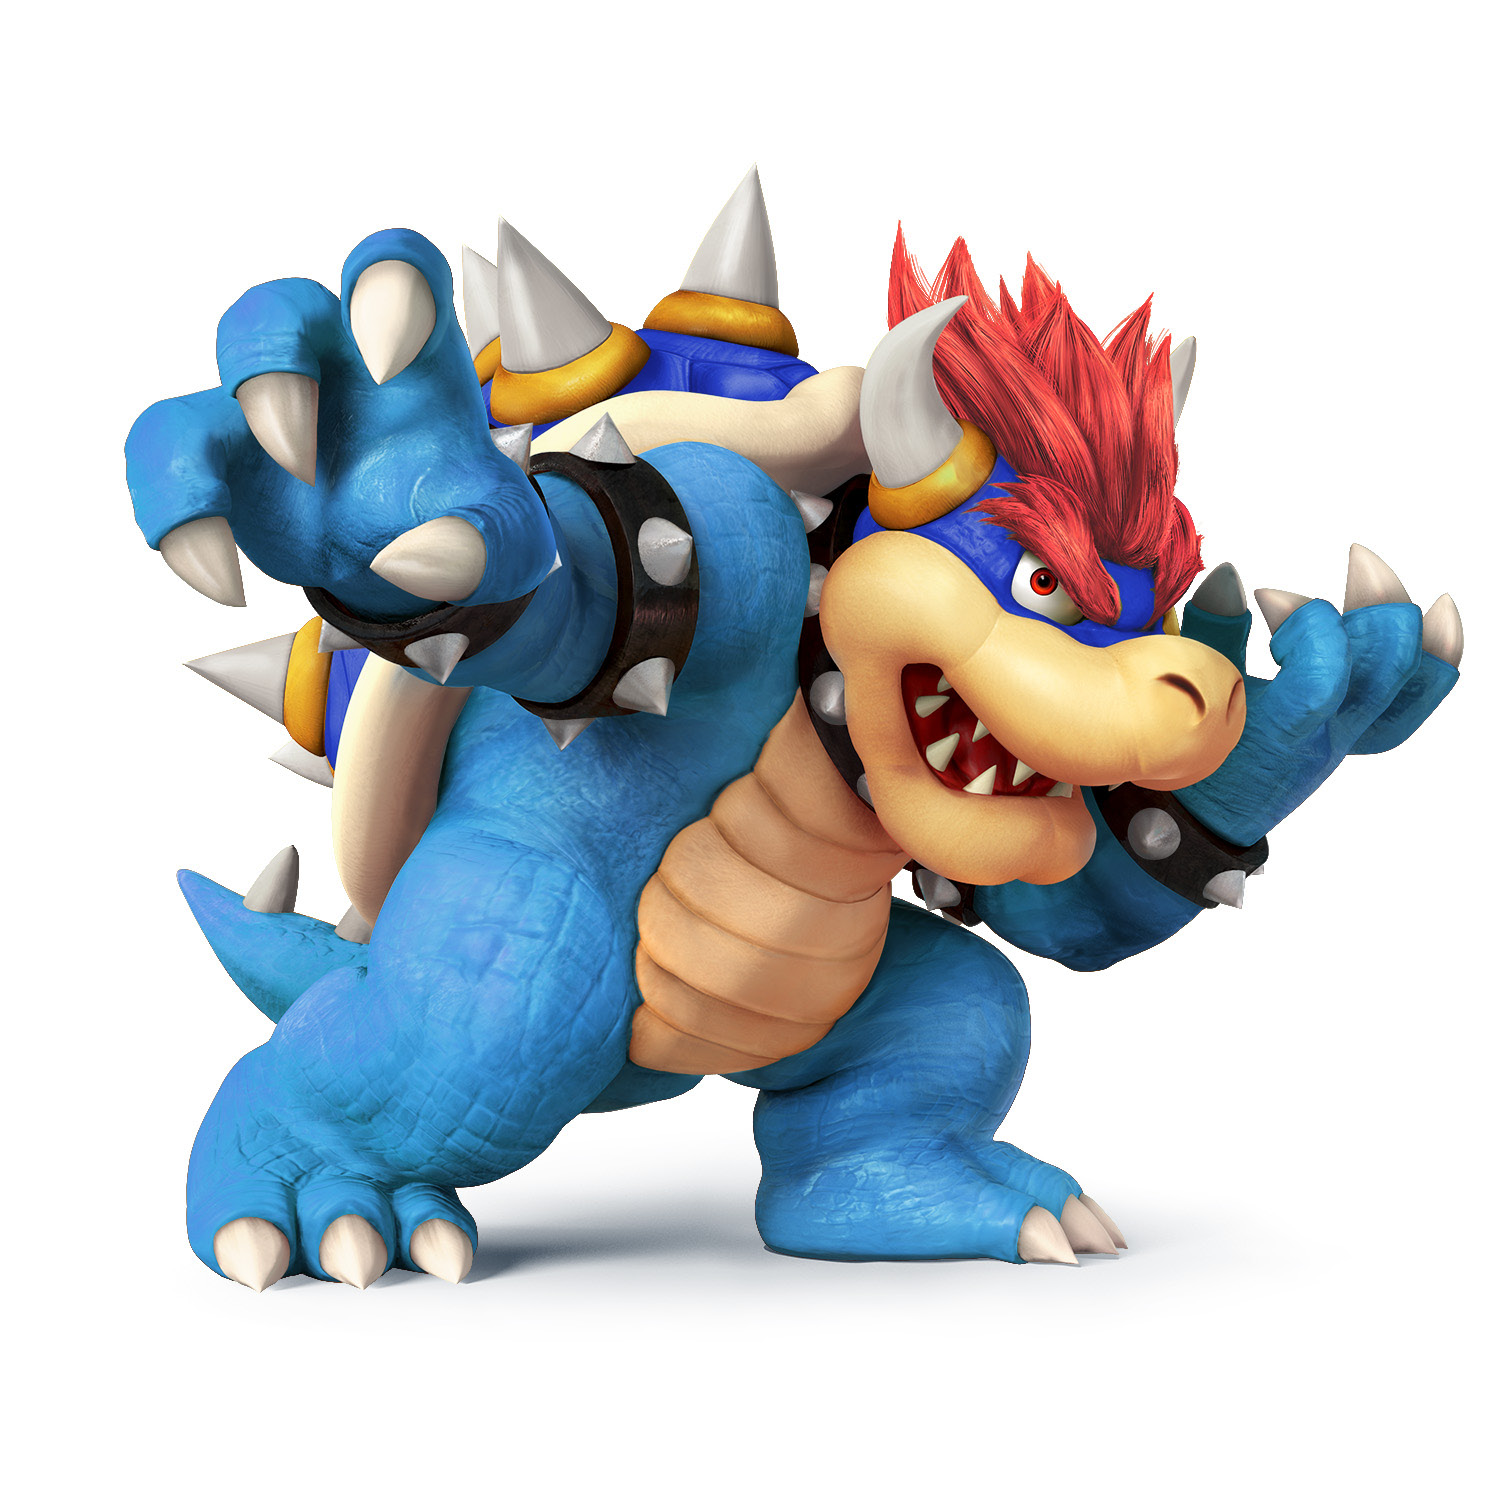
Trophy DescriptionThe arch-enemy of Mario and the reason Peach spends more time kidnapped than in her own castle. His plans aren’t always the best, and occasionally he even finds himself on Mario’s side. In Smash Bros., he’s a serious heavyweight who laughs off weaker attacks. Hit him hard to send him flying! Statistics
|
Smash Attacks
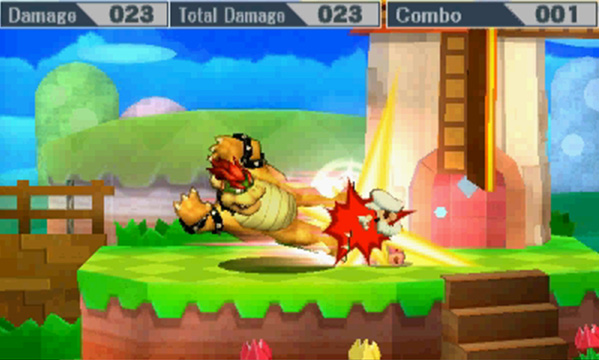
SIDE SMASH
Bowser performs a massive dropkick to your opponent!
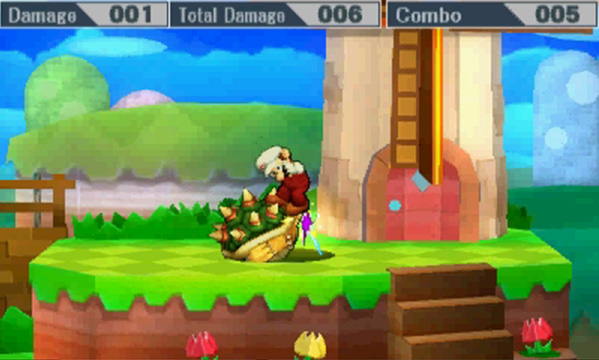
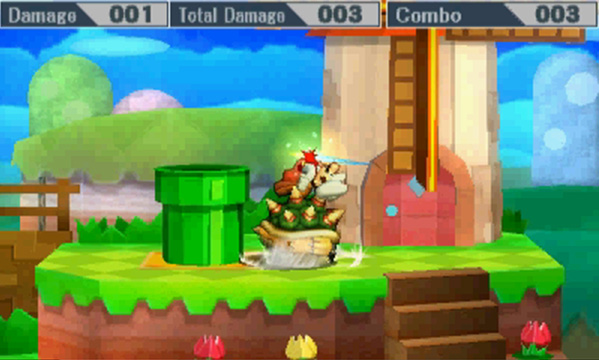
DOWN SMASH
Bowser tucks into his shell and spins, hitting your opponent multiple times.
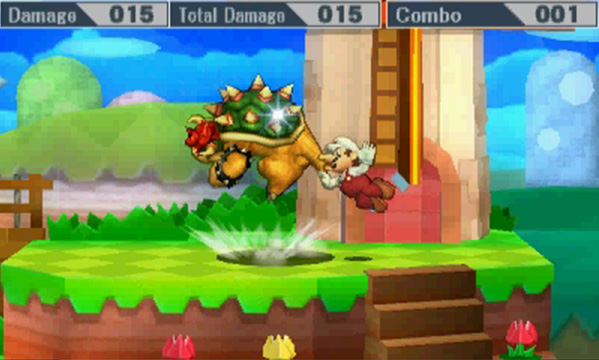
UP SMASH
Bowser ducks down before jumping upward. This attack hits on the way up and again as Bowser comes back down.
Basic Attacks
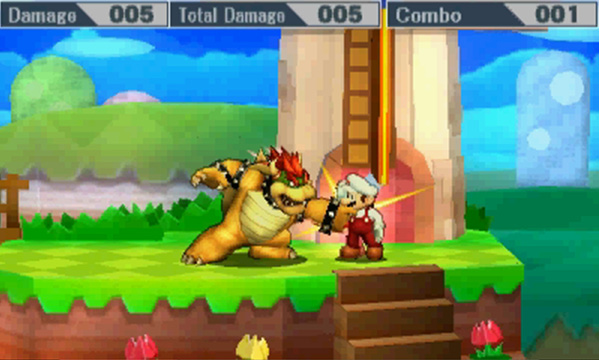
Standing Attack
Bowser strikes at your opponent twice. Fairly decent range and damage for a poke.
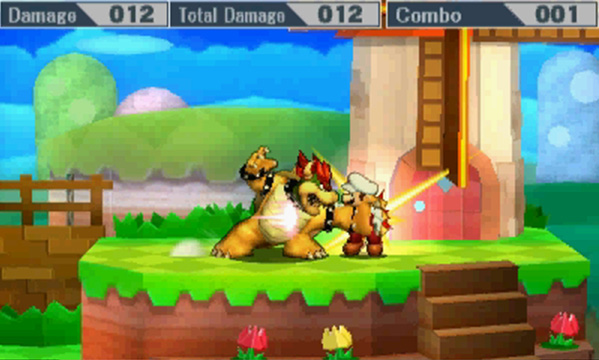
Forward Tilt
Bowser extends his claw for a strong attack. You can angle this slightly upward or downward.
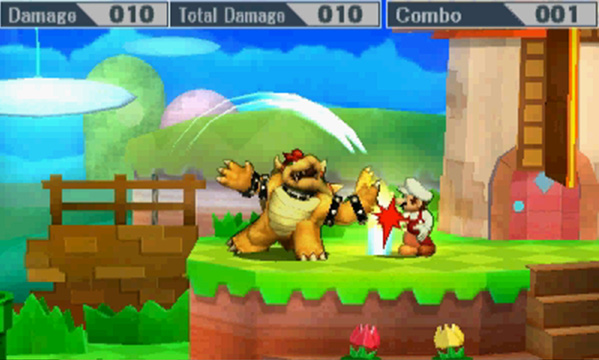
Up Tilt
Bowser swings his arm over his head and attacks behind him. Be sure you’re facing the right way before using this attack!
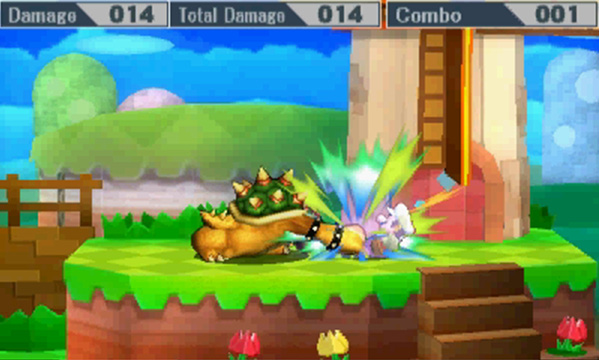
Down Tilt
This double low strike combos for a ton of damage, if you can land it.
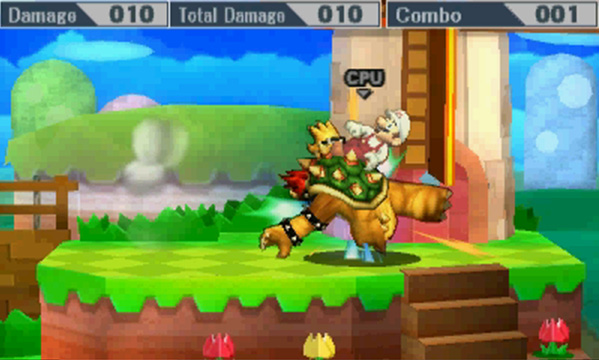
Dash Attack
A surprisingly fast attack given Bowser’s size, this jump kick can catch your opponents off guard.
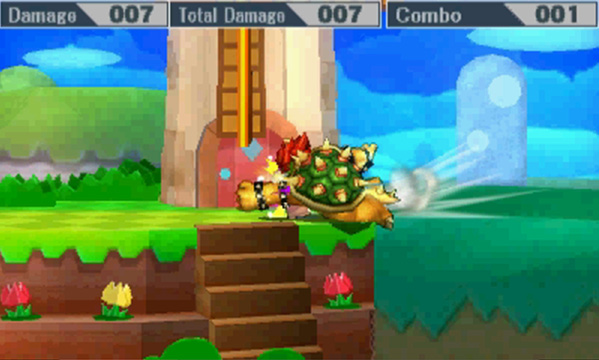
Edge Attack
Bowser returns to the stage with a solid punch sweep.
Air Attacks
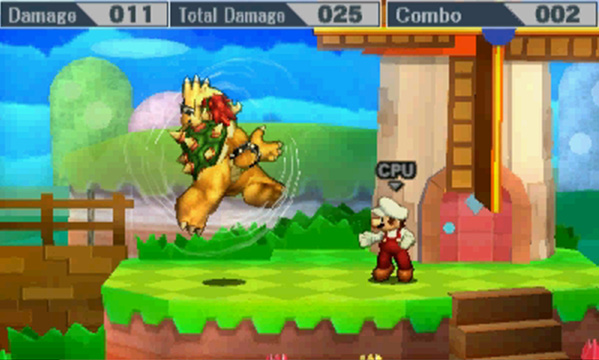
Neutral Air Attack
Bowser’s new cartwheel attack. Useful to hit opponents in front, above, and below you.
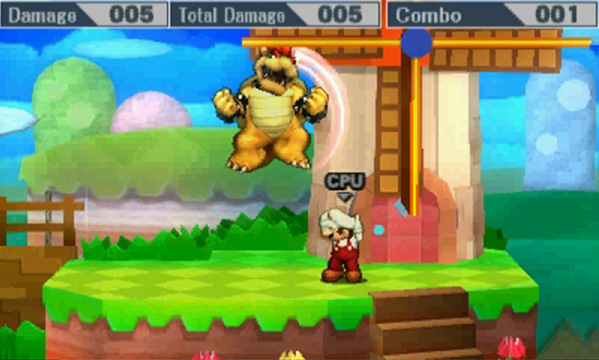
Up Air Attack
Bowser uses his head as he executes a vicious headbutt.
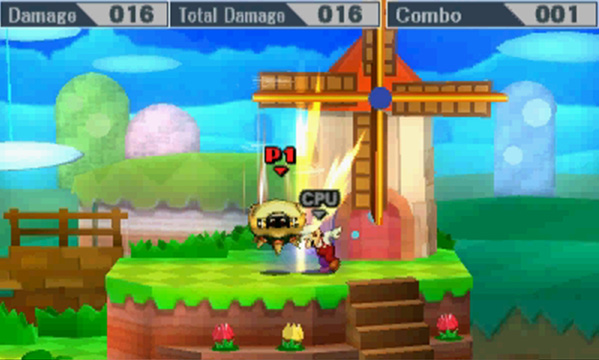
Down Air Attack
Bowser boosts a little higher before plummeting down again, spiked shell first. Be careful how you use this if the stage isn’t below you!
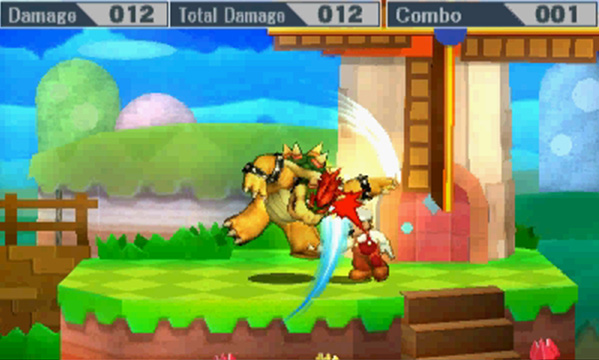
Forward Air Attack
This overhead, downward strike has good range and is solid when chasing opponents or keeping them out.
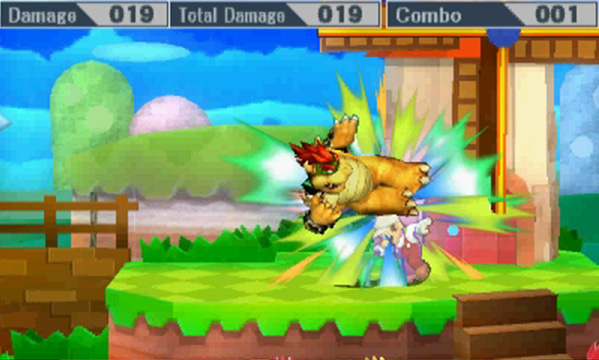
Back Air Attack
One of Bowser’s best knockout moves, this dropkick is deadly.
Special Attacks
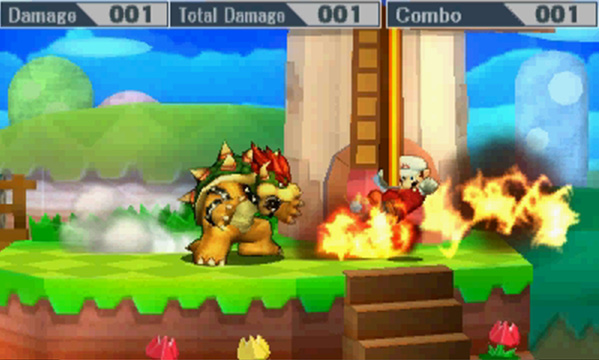
Fire Breath (Neutral Special)
Bowser breathes fire onto his opponents. The longer you hold the button, the more this attack’s range and power reduces. The end of its range has a small push effect, and you can vary the angle of the attack a little bit. Give it a couple seconds to recharge to regain its full power.
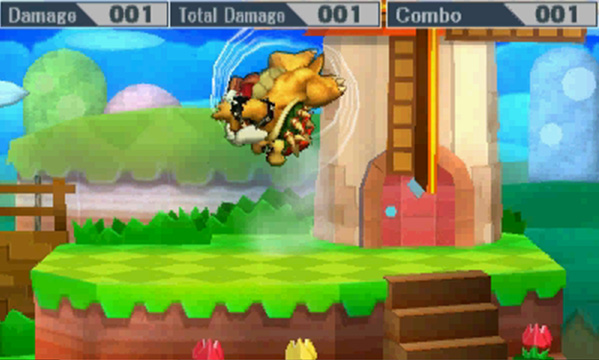
Flying Slam (Side Special)
Bowser swings his arm and, on contact, grabs your opponent and leaps into the air to bodyslam that opponent! With the right amount of damage and timing, you can dive off stage to sacrifice yourself and get a knockout in exchange!
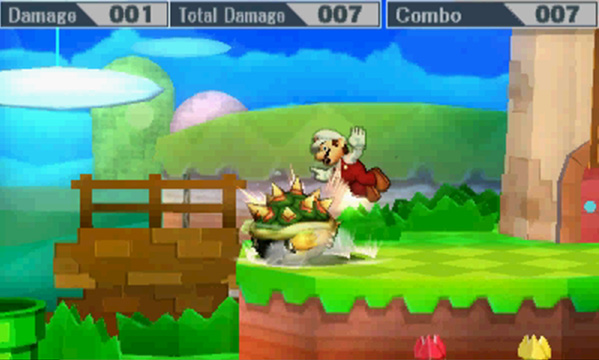
Whirling Fortress (Up Special)
Bowser ducks into his spiked shell and performs a spin attack. He can move horizontally during the spin, and if you hit the button repeatedly, Bowser can gain some extra height.
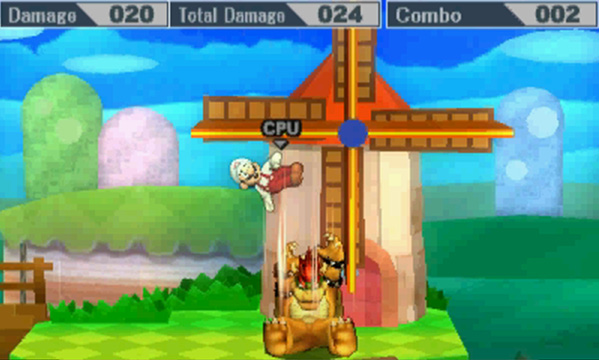
Bowser Bomb (Down Special)
Bowser jumps into the air, horns first, before returning with a stomp! This attack can hit on the way up and again as Bowser comes back down.
Final Smash
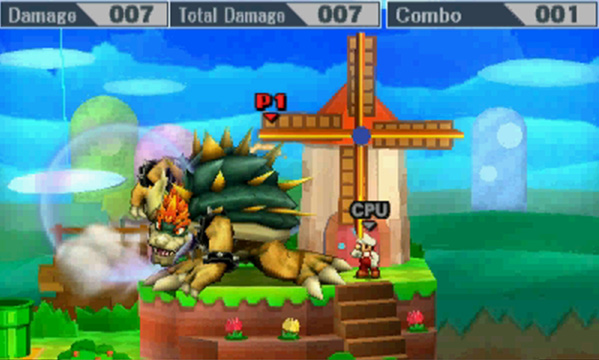
Giga Bowser
Bowser transforms into Giga Bowser for about 15 seconds! That’s right: a GIGANTIC version of Bowser! In this form, Bowser still takes damage but will not flinch when he gets hit. Most of Giga Bowser’s attacks are the same as regular Bowser’s but most do more damage. One notable exception is SIDE SMASH, which is a headbutt for Giga Bowser but a dropkick for regular Bowser. Giga Bowser’s regular attacks are claw swipes instead of Bowser’s double punch, and his dash attack leaves him grounded in an unfavorable position. Yes, you will be a big target, but opponents will run away from you in fear of your knockout power!
Strategy
While Bowser is tied for heaviest character in the game, he is also one of the slowest. At a low percentage, he can absorb lower-damage attacks without flinching, so use this to your advantage—try to exchange hits because you will almost always win the trade in damage output. Bowser also has some armor on his Whirling Fortress and Flying Slam, and this armor makes it generally easier to connect with your opponent. With Bowser’s large size comes extended range with his Tilt attacks. Bowser’s Forward Tilt and Up Tilt should be incorporated when spacing your opponent. Take your time and remember you will almost always be able to reach your opponent before your opponent can reach you!
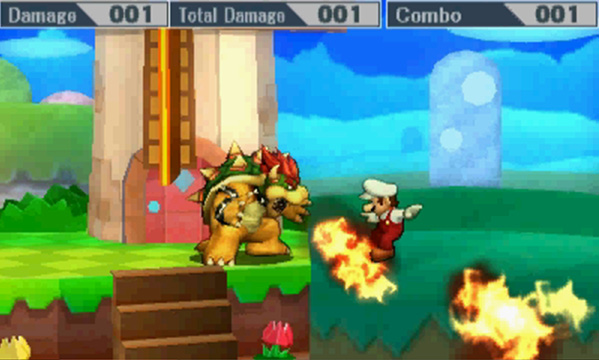
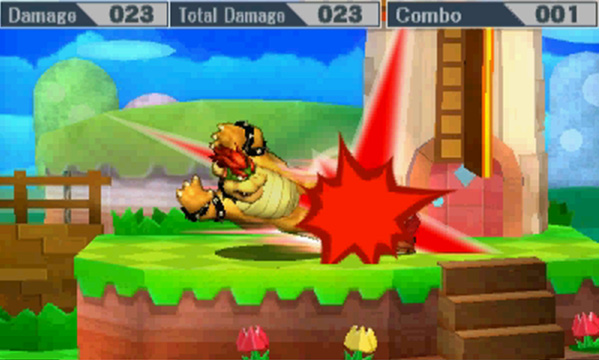
When considering Bowser’s Special attacks, note some of the differences between air and ground functionality. When performed on the ground, Whirling Fortress stays grounded, and while Bowser can still control it horizontally, he can’t move to fall off the stage. When he performs Bowser Bomb in the air, it will go directly down from his current position, and he will also no longer perform his upward headbutt before descending. Bowser Bomb can be particularly useful in free-for-all battles thanks to its large hitbox, but note that Bowser can be hit out of it from below! Given its long recovery, you’ll want to use this sparingly, as your opponents will definitely be on the lookout for it. If you can hit it just right, though, Bowser Bomb will do a lot of damage to your opponent’s shield!
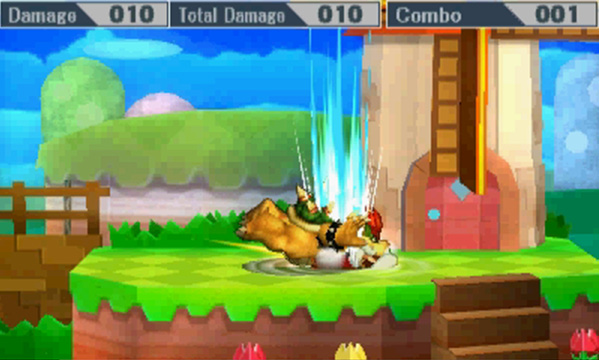
In the air, Bowser’s Back Air is definitely his primary knockout attack. His Neutral Air attack can keep opponents off you, hit opponents below you, and allow you to chase with Up Air. Bowser’s Forward Air attack is good to chase opponents off stage, and his Down Air sends opponents up and away on a direct hit. If your opponents are shielding a lot, remember to throw! The more scared they are of Bowser’s throws, the easier it will be to hit them with your other heavy-hitting attacks! Against opponents who like to counter, use Bowser’s Down Smash. The first hits are light, so the amplified counter damage won’t hurt Bowser much, but if you connect, they will be in a world of pain. When edge-guarding, use Bowser’s Fire Breath or consider going off-stage with Back Air! Even after a Back Air attempt, you should be able to recover with the aerial version of Whirling Fortress. .
Attacking Out of DashingBowser has the ability to attack during the stopping animation of his dash. To enter the stopping animation from a dash, simply release the direction or hit up or down—but you must have dashed far enough to trigger the stop animation when you let go of the direction. If you do this correctly, Bowser will be able to attack sooner than expected. This can make approaching with Bowser easier, and it bumps up his overall mobility. |
Recovery
Bowser’s main recovery option is Whirling Fortress. This gives him good vertical recovery, plus he can recover horizontally with it. Be sure to hit the button repeatedly to gain as much extra height as possible. Fire Breath is also useful as you make your way back to the stage—it can push opponents away from the edge, making it difficult for them to edge guard optimally. If approaching from high above the stage with an opponent waiting to punish your landing, you might want to Bowser Bomb to grab the edge. This strategy is risky because you have to get the spacing right or you’ll plummet to your doom, but if done correctly, this should get you to the edge sooner than your opponent expects while giving you some invincibility on the edge. Finally, you can use Bowser’s Down Air as he boosts himself up a little higher before plummeting straight down, but you must connect with the edge on the way up or you will KO yourself!