
Super Smash Bros. for Nintendo 3DS Guide Challenge
Challenge Tips
Most of the game’s Challenges are straightforward, and many of them can be completed without any special techniques or knowledge. Some of them, however, call for a significant amount of skill and strategy. Here are some tips to help you complete the game’s more difficult Challenges.
Combos
All of the combo Challenges must be performed in Training. This not only makes it easy to monitor the effectiveness of each attempt, but it allows you make each attempt under the ideal conditions.
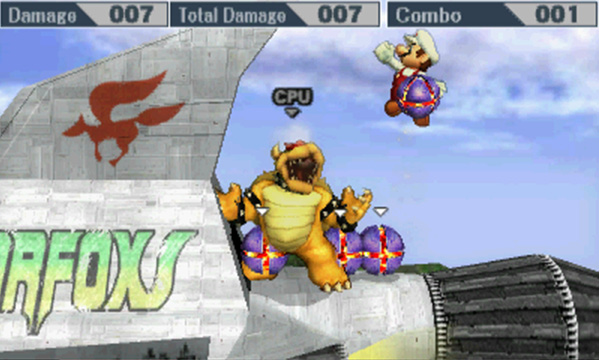
Many fighters can achieve 10-hit combos simply by performing a steady stream of jabs. By using the available items, however, any character should be able to perform combos of at least 50 hits. Stand near your opponent and summon four X Bombs. Grab one and toss it into the pile. Repeat the process with various characters to build up the max combos across your roster.
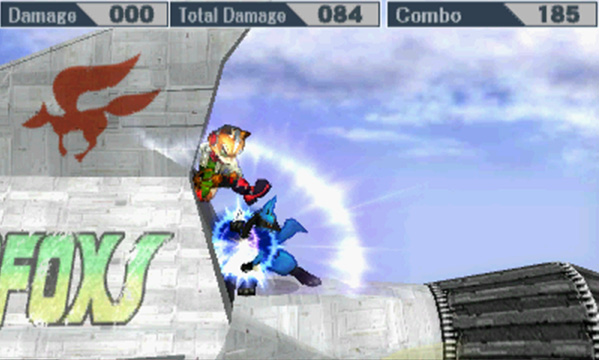
The easiest way to perform a 100-hit combo is to use Lucario’s Aura Sphere. Select Fox as your opponent, and choose to face him on Corneria. Force Fox against the Great Fox’s vertical stabilizer, then turn your back to him without moving away. Charge Lucario’s Aura Sphere to begin building your combo. Fox’s fall-speed should keep him within range of each pulse, making it easy to build your combo. Simply hold your attack until you’ve completed the Challenge or until Fox sustains enough damage to be launched out of range.
Classic
Several of the game’s Challenges require clearing Classic at different intensity levels or with different fighters. Some of these tasks, however, are a bit easier to accomplish with a bit of preparation.
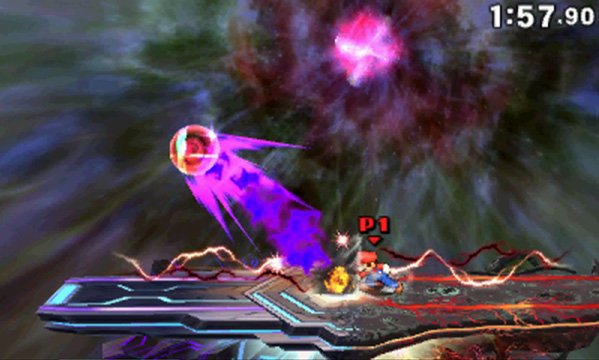
Master Core is only available in Classic when the intensity is set to 5.1 or above. Additionally, you must select the final battle that contains both Master Hand and Crazy Hand (indicated by the black path on the Classic map). The fight changes a great deal between an intensity of 5.1 and an intensity of 9.0, but the goal is always the same: damage each of your opponent’s shadowy forms until Master Core is revealed, then defeat the orb to end the battle.
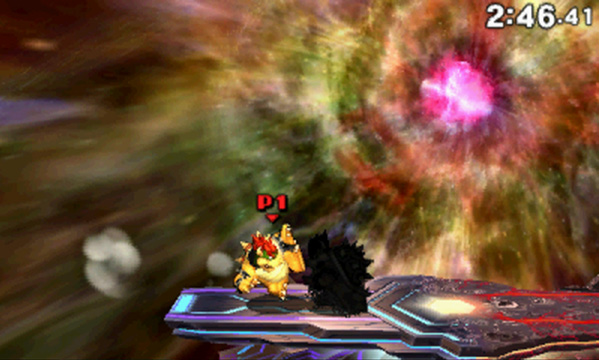
For most players, clearing Classic on an intensity of 9.0 is likely to be one of the more difficult Challenges. It’s generally best to use whatever fighter best suits your skills, but Bowser’s high defense allows him to survive at least a few attacks that would launch lighter characters. It can also be very helpful to customize your character with stat-altering equipment—particularly any items with an Auto-Heal effect. It’s important to note, however, that during the Master Core battle, your shadowy doppelgänger will receive the same benefits your equipment grants you.
Staff Credits
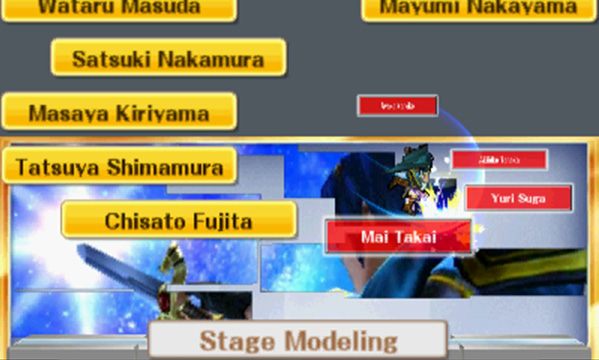
When you complete a game of Classic or All-Star, you can use your fighter to attack the staff credits. When done properly, attacking individual names reveals a image on the back wall. For a name to contribute to the image, however, you must hit it at just the right time and in just the right spot. Jump up and use aerial attacks to reveal the top of the image as the names pass in front of any blank areas, then work your way down.
As you reveal more of the image, it becomes important to aim your shots. Look for the sparkles that help identify hidden sections, then strike a name as it passes through the area.
3-Minute Smash
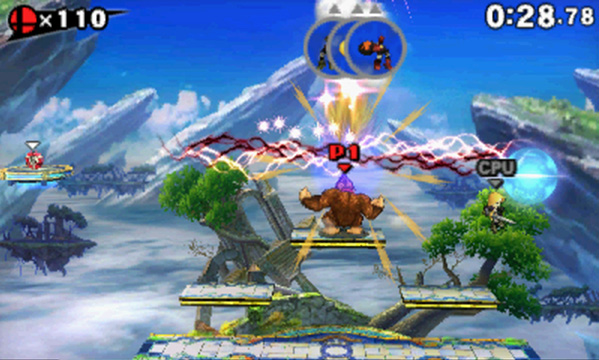
To score 110 KOs within a single round of 3-Minute Smash, it’s best to avoid chasing your opponents around the battlefield. Instead, hop onto the stage’s highest platform—most of your opponents will spawn near you, and those that don’t shouldn’t take long to move into range.
It can be helpful to select a fighter with heavy attacks—Donkey Kong is a particularly good choice. Focus on using Up Smash and Up Tilt attacks, but don’t shy away from any heavy attacks that have a chance to connect. You’re bound to be knocked from your position every so often. When this happens, hurry back up to the platform and resume your attacks.
Cruel Smash
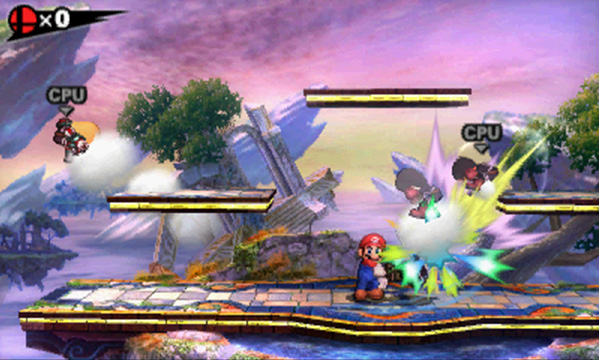
In Cruel Smash, it can be difficult to score even a single KO before you’re eliminated. There are, however, a few things you can do to improve your chances. Some fighters—like Mario and Luigi—spin around while they perform Back Throws. This allows you to strike nearby opponents as you create a little breathing room.
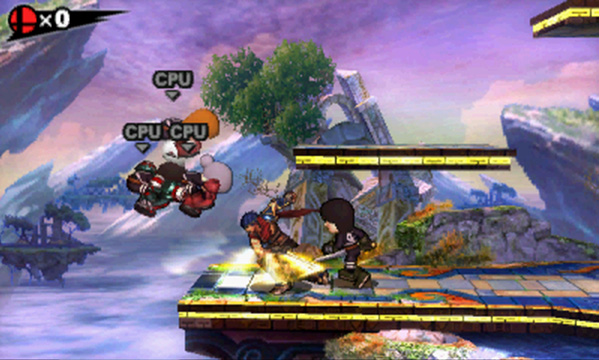
Characters equipped with a Counter special—like Ike, for example—can be very effective. Because your opponents are particularly aggressive, it’s often possible to catch several of them with a single Counter. When this happens near the edge of the stage, you have an excellent chance of scoring multiple KOs.
Home-Run Contest
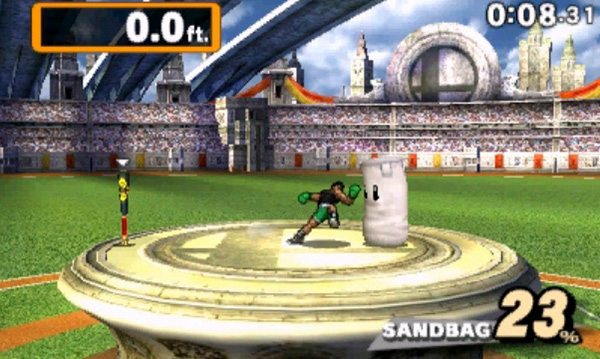
With a little practice, you shouldn’t have much trouble consistently hitting Sandbag more than 1,000 feet, and particularly good efforts should yield more than 2,000 feet. Launching Sandbag more than 3,280 feet, however, requires a solid strategy. The key to success is to play to the strengths of your chosen fighter. Little Mac, for example, can use Smash attacks to deal heavy damage as he follows Sandbag back and forth across the platform. Many fighters can simply stand in one spot and use Smash attacks to juggle Sandbag off of the invisible wall surrounding the platform. Choose attacks that deal heavy damage, but make sure you’re in a position to land your next blow as quickly as possible.
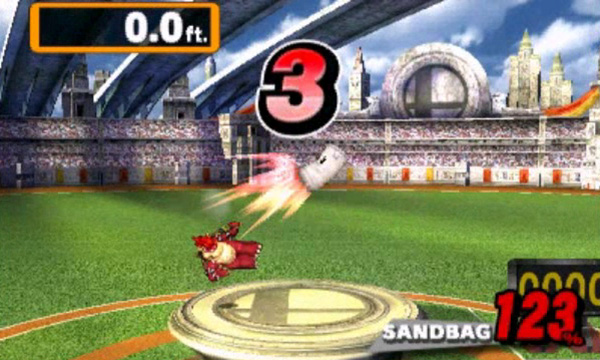
It’s usually best to put off grabbing the Home-Run Bat until you’re ready to use it. If you grab it a bit early, however, you can still use aerial attacks to juggle Sandbag for the remainder of the countdown. This strategy requires precision timing—and it isn’t suitable for all fighters—but it can be very effective under the right circumstances. Choose the tactic that allows your fighter to deal the most damage to Sandbag, and remember to begin your swing just before the countdown ends!
Target Blast
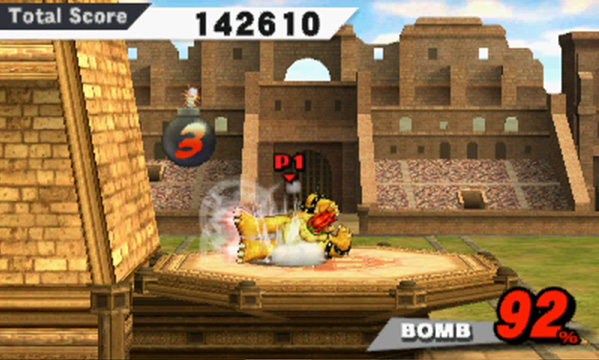
Clearing all of the Target Blast targets is always a little tricky. You have to consider your fighter’s attacks, the position on the platform, and exactly when to launch the bomb. For most characters, however, you’ll find it’s fairly easy to reach the higher targets when you launch the bomb off of the wall to the left. It’s often best to do this during your first attempt, increasing the chance that at least a few of the lower targets will be destroyed by falling debris.