
Medal of Honor Guide Walkthrough Campaign
First In
Mission Achievements/Trophies
| Image | Name | Description | Gamerscore | Trophy |
|---|---|---|---|---|

|
First Incision | Complete First In | 15 | Bronze |
|
|
Right in the grape... | Get seven head shots in a row with any weapon except the long-range sniper rifle | 15 | Bronze |
|
|
Smooth Operator | In First In, kill the hostage taker with a single shot | 10 | Silver |


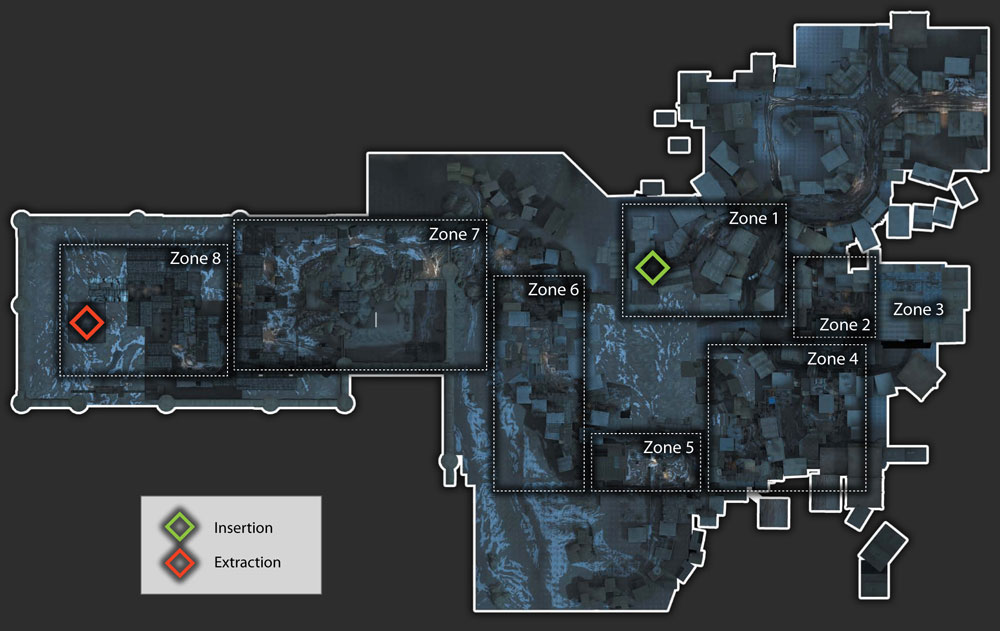
Zone 1
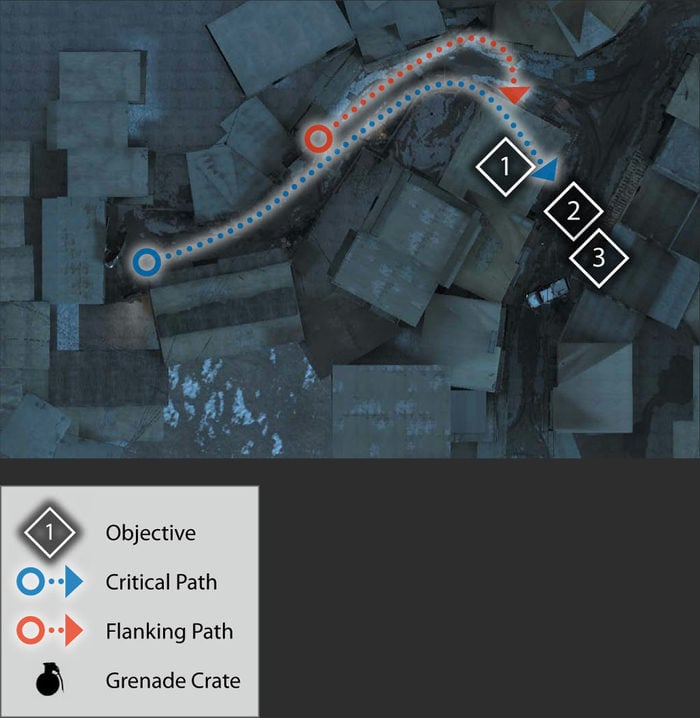
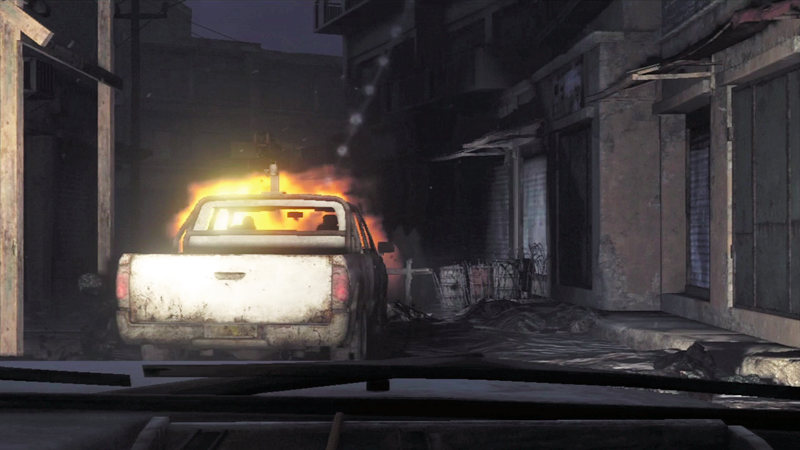
The quiet meeting in the town has turned into an ambush!
1. Fight back to Ambush Site
Your SEAL team is tasked with entering the town of Gardez to meet up with a leader by the name of Tariq. However, the four of you are ambushed as you enter town and are separated into two groups as you flee.
During this mission, your callsign is Rabbit. After your truck is destroyed, you and Voodoo find yourselves in a small room at the end of a short road. Your first objective is to fight your way back to the site of the ambush.
Take a moment to get used to the controls since this is probably your first action. Once you are ready, advance down the street.
Since there are enemies out there, move in short rushes from cover to cover. Use crates, dumpsters, and even burned out vehicles for cover. Sprint to some cover and then drop down into a crouch.
Once you detect an enemy, lean around cover or peek up over it to take your shot. Then duck back behind cover. Pick off the few enemies that appear ahead of you. Since it is dark, try using your night vision so it is easier to see the enemies.
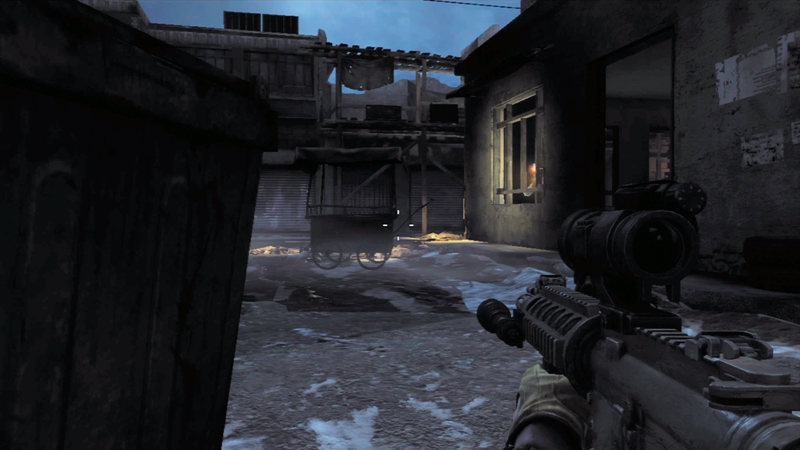
As you move through this town in the dark of night, look for muzzle flashes to help detect hostiles such as this one hiding in a building. He is very tough to see until he fires out through the window. If you still can't see the enemy, fire at the muzzle flash to at least force him to take cover.
When you get to the spot where the road turns to the right, Voodoo heads to the right side of the road. Move to the left side and take cover behind the destroyed vehicle.
Clear out the enemies at the road intersection and then rush forward to the dumpster. From here, you can take out the tango in the building to your right. Then engage the enemies up on the balcony ahead of you.
Once it appears clear, dash into the building on the right.
2. Secure Crash Site
Once inside the building, take cover to the left of the opposite doorway so you can engage hostiles across the street. There are several up on the balcony.
Lean around the edge of the doorframe and take them out one by one. Voodoo will help you clear them out.
3. Approach Roll-Up Gate
Once Voodoo gives you the all clear, the ambush site is secure and it is time to move out to find the other two members of your SEAL team—Mother and Preacher. Cross the street and follow Voodoo to the roll-up gate.
He will open it a bit and throw a frag grenade inside to clear out any enemies that might be hiding in there. Rush in and take out the hostile in the hallway at the far side of this room.
Zone 2
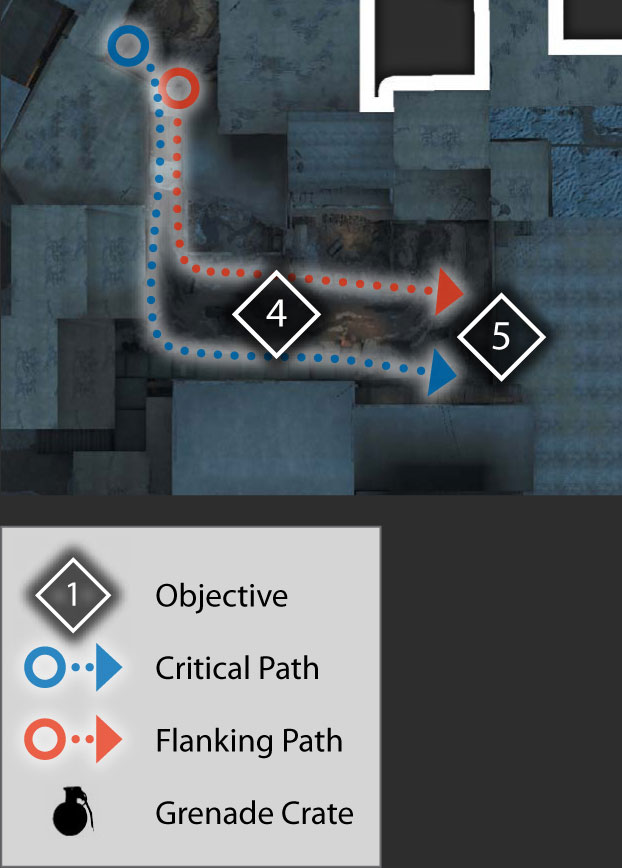
4. Secure Market Area
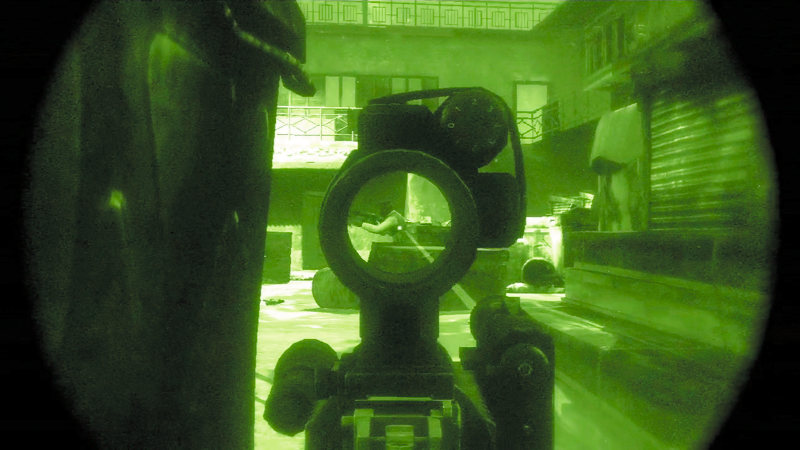
Hostiles are at the ground level as well as up on the balconies in the market area.
Follow Voodoo through the dark hallways to the market area. If you have not already activated your night vision, now is the time to use it. You can see Mother and Preacher on the balcony along the right side of the market area.
Take cover as soon as you enter this area and begin engaging enemies as you see them. There are a few down at the far end of the area. Pick them off with aimed shots.
Once the far side appears clear, go after the enemies up on the second floor of the building just ahead and on your right.
Cook a grenade for a couple seconds and then throw it up into the room if you can't get a shot at the enemies. Your teammates will let you know once the area is clear. Until then, move with caution.
5. Breach Door
You now have to head across the market area to a locked door. Voodoo is waiting there for you. Activate your night vision if you have not done so already and get your 870 MCS shotgun ready. Kick open the door and then be ready to blast the enemy inside.
Zone 3
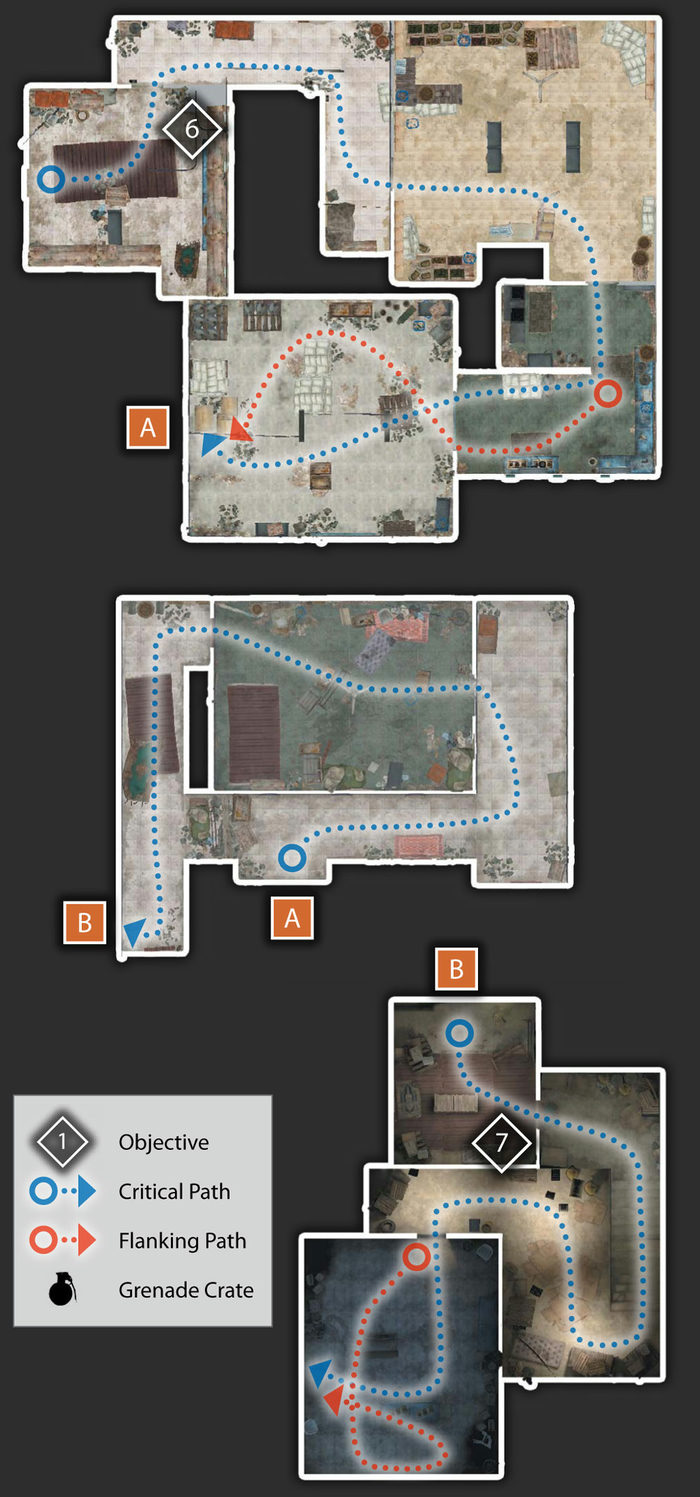
6. Disable Fuse
After clearing the room, enter it and head over the to the fuse box. The enemy is not equipped with night vision, so the dark can be your advantage.
Activate your night vision if you have not already done so and then hit the fuse box with your knife to kill the lights in the building. Time to move out.
7. Follow Voodoo
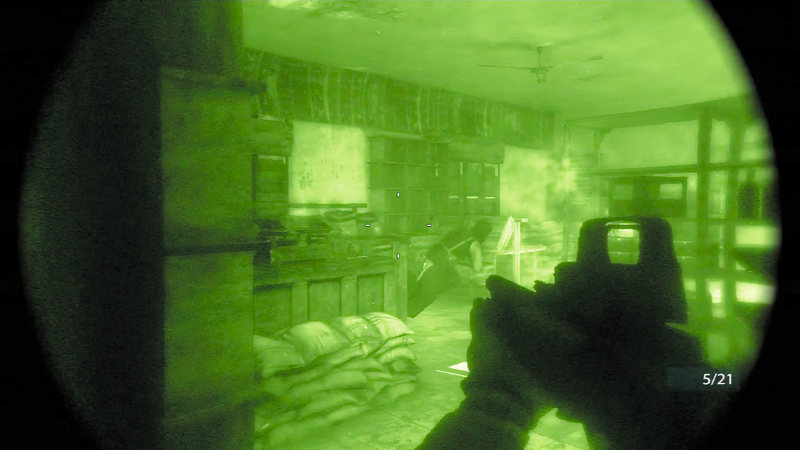
The darkness gives you an advantage, allowing you to enter a room and start firing before the enemy knows where you are. Use the shotgun as your "room broom."
Voodoo leads the way through a hallway. When you come to a doorway to another room, take up a position on the left side of the door. Lean out into the opening and open fire.
There are two tangos near the center and one to the left. Blast away at each in turn to clear the room before entering it.
Voodoo will usually let you do all the shooting here. Since it is dark, the enemy will have trouble determining where you are at first.
Advance through the room and continue through a doorway on the right side into a kitchen area. There are several enemies in the large storage room. Quickly move through the kitchen and take up a position on the left side of the doorway leading to the storage room.
Lean out and take out the enemies you can see. One may be hiding behind some sacks of grain. If he stops shooting for a bit, quickly move in and around to the right to take him out with your knife.
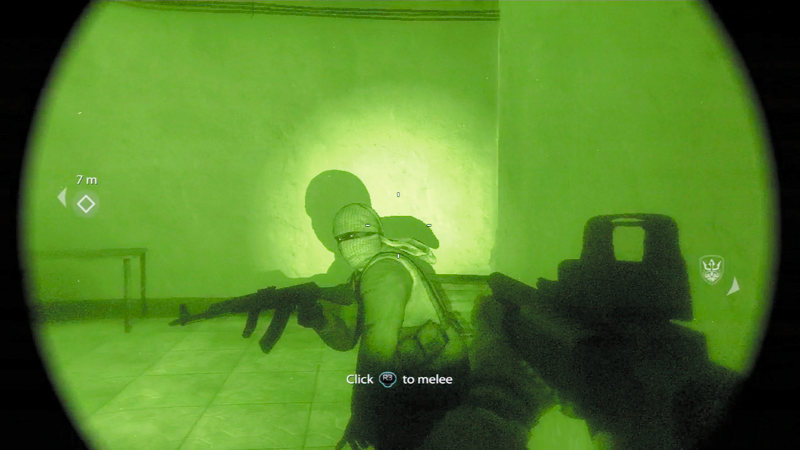
Use your knife to take out tangos out in the open in the dark. Move fast before they can turn and fire.
Head up the stairs. At the top, turn to the right and rush forward take out the tango in the hallway with your knife. Continue around a corner to the left to a locked door. Time to use your boot.
Kick in the door and be ready. There are some more enemies inside. They quickly take cover behind some crates on the opposite side of the room.
If you can't get them with your shotgun, cook a grenade for the count of three and then throw it toward the back wall.
This should take out one or two of them. Even if it misses them, it will force them to move out into the open to get away, giving you a chance to gun them down.
Now move through the room and exit through the door on the opposite side. Follow Voodoo down a hall and then out onto a balcony above the market area.
Be careful out in the open because an enemy behind a window to the left will open fire. Take him out and then enter the room.
Head through the door on the left and then climb up the stairs to the next level. Stay on Voodoo around a couple corners and then clear out a large room where the roof has been destroyed.
Watch for tangos behind crates and out on the balcony on the opposite side of the room.
Zone 4
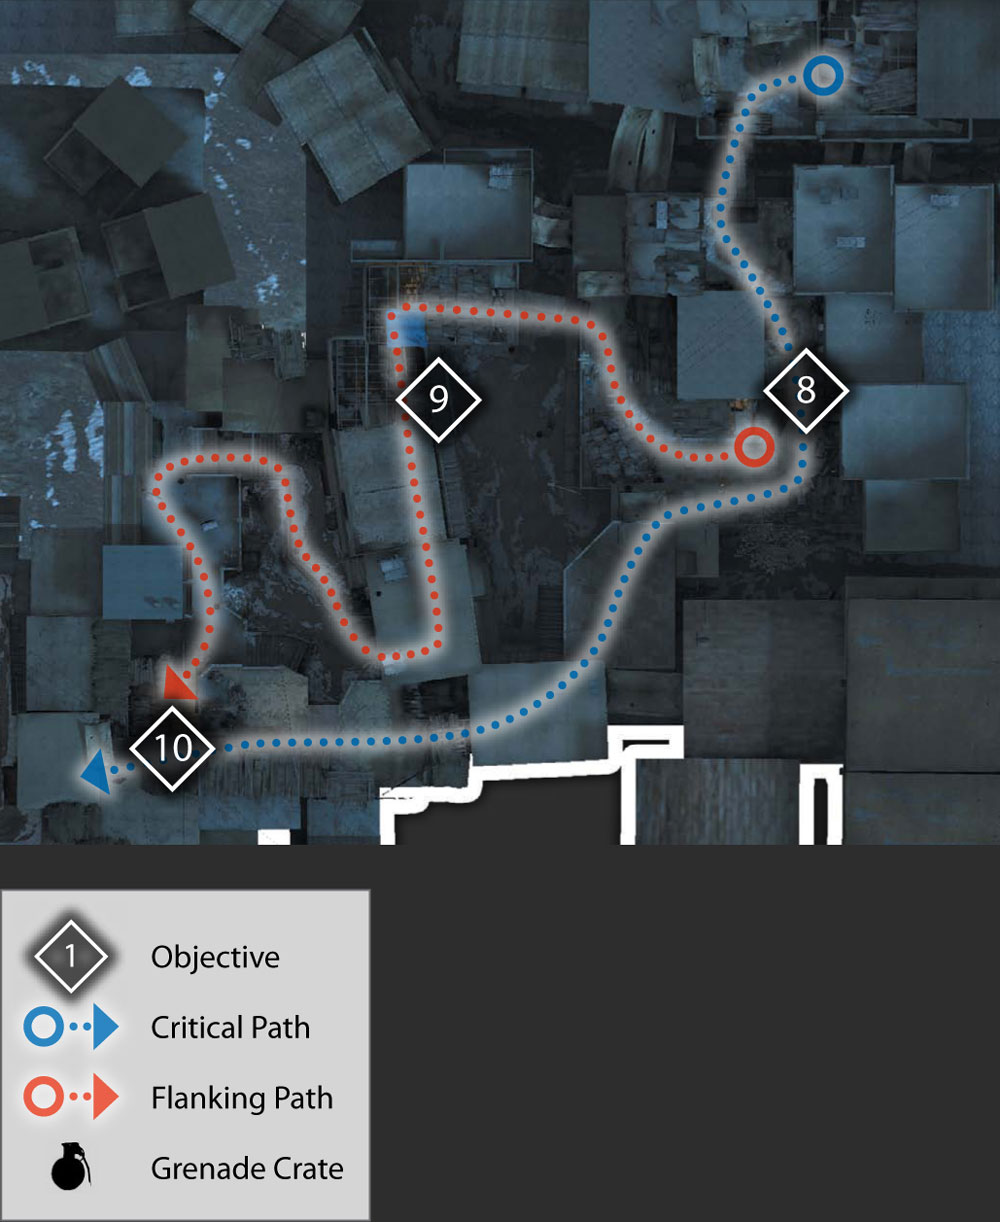
8. Rally with Mother and Preacher
Once the area is clear, exit though a doorway on the side and follow Voodoo outside and across some roofs to where Mother and Preacher are waiting.
As you get back down to ground level, your team comes under fire from a machine gun to your left. Switch to your M4 since you are outside again.
9. Flank MMG Gunner
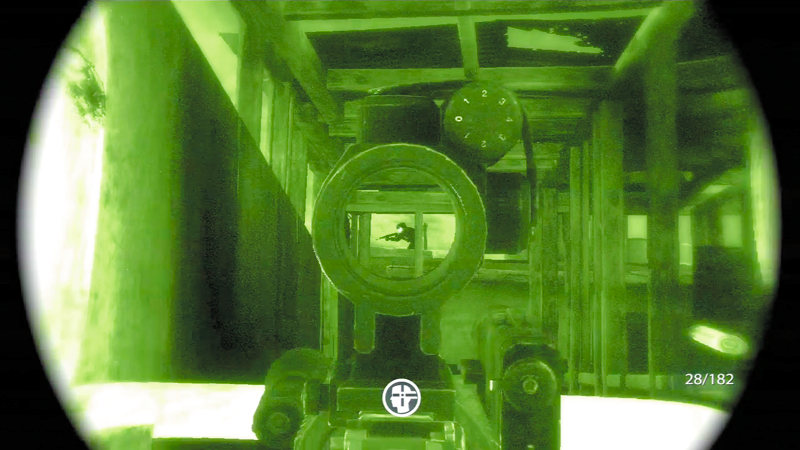
Take out the two hostiles on the roof above the MMG who are firing at your teammates.
The medium machine gun is positioned in a building and laying down a dangerous amount of fire. It has to be silenced so your team can continue to advance.
Preacher and Mother lay down some covering fire on the machine gun so you and Voodoo can flank it.
As soon as your teammates open fire, follow Voodoo forward towards the MMG and then turn to the left. Race across a narrow platform and then up some stairs. Turn to the left and move from cover to cover as you approach the machine gunner.
There are some hostiles on the rooftop, so drop them and continue moving towards the sound of the machine gun. As you and Voodoo continue, an RPG gunner will fire at your position and cause the floor to collapse.
As you are getting back up, Voodoo will rush forward and take care of the MMG once and for all. Follow Voodoo through a door and down a passageway to exit the building.
10. Rally with Mother and Preacher
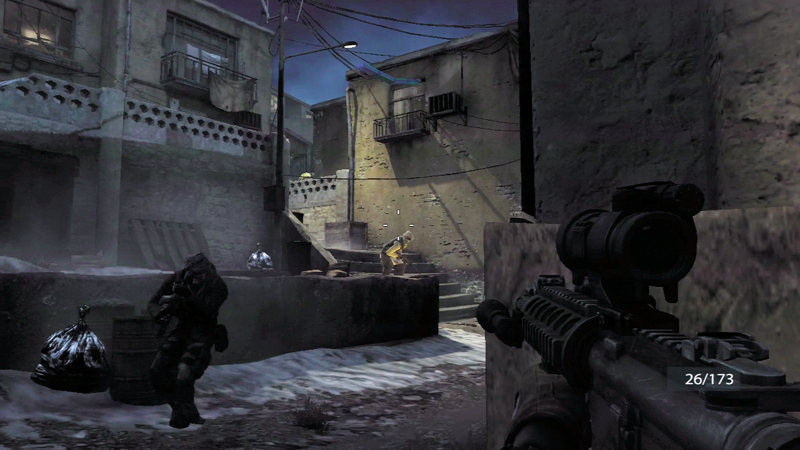
Clear out enemies as you move to the cover of the low wall. Watch for hostiles on the rooftops who will try to fire down on Voodoo and you.
Don't rush right outside. There are several tangos waiting to ambush you. Make sure your magazine is full and then rush out to take cover behind a low wall.
Work your way around to the right, clearing out enemies as you go. Head up the stairs and then move to the left.
Finally make your way up a wooden ramp to a wall. Voodoo will jump up onto the rooftop and then offer to help you up with a buddy boost. Follow your team into the next area.
Zone 5
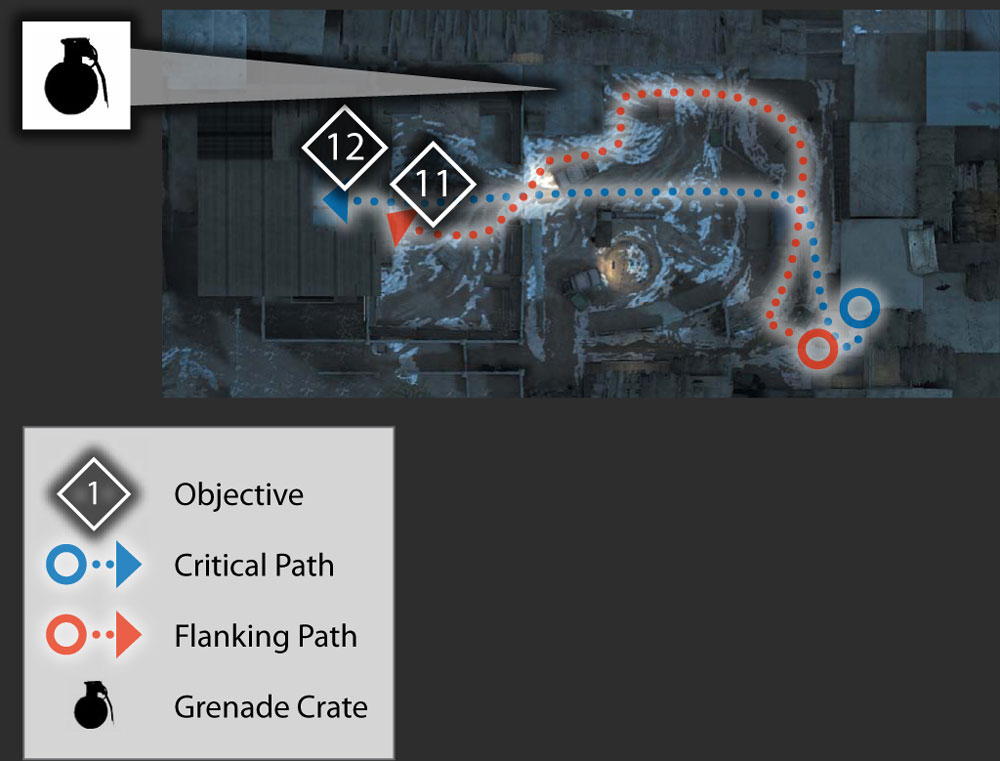
11. Secure Courtyard
As you continue your advance towards Tariq, you now have to move through a courtyard. However this area has lots of hostiles inside it as well as surrounding it. Follow your team down the stairs.
They will continue to the right and take up positions behind cover from where they can fire into the courtyard. Instead of following them, move straight ahead to a spot with an opening in the makeshift wall.
From here you can take out the enemies on the balcony area along the right side of the courtyard.
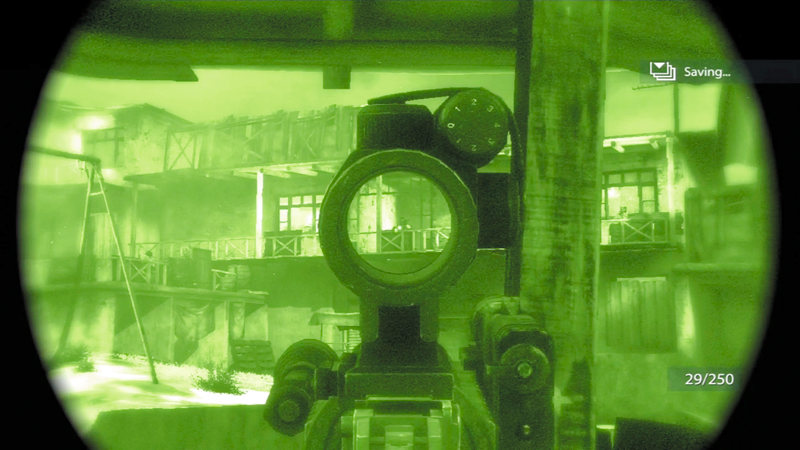
Take out the hostiles on the balcony on the right side while the enemy focuses on your teammates.
Once you have eliminated all of the enemies you can see from this vantage point, move past your teammates and continue to the right side of the courtyard that you just cleared.
Move from cover to cover behind a cart so that you can now take out enemies on the left side of the courtyard.
Before continuing on, move into the nearby alcove where a grenade crate is located. Pick up some grenades to replace those you have already used.
While you have cleared out the outer courtyard, there are still some enemies inside the inner courtyard, which is surrounded by a wall with a single opening. Advance towards the wall, killing any enemies that stick their heads up over it.
Continue to the opening and carefully clear to the left so that the gate on the right covers your back, then clear to the right. As you enter the inner courtyard, the door to the building opposite the opening opens and a tango opens fire.
Move to one side and cook a grenade for a couple seconds before throwing it through the doorway to take out this threat. Finally, enter the building and finish off any remaining tangos.
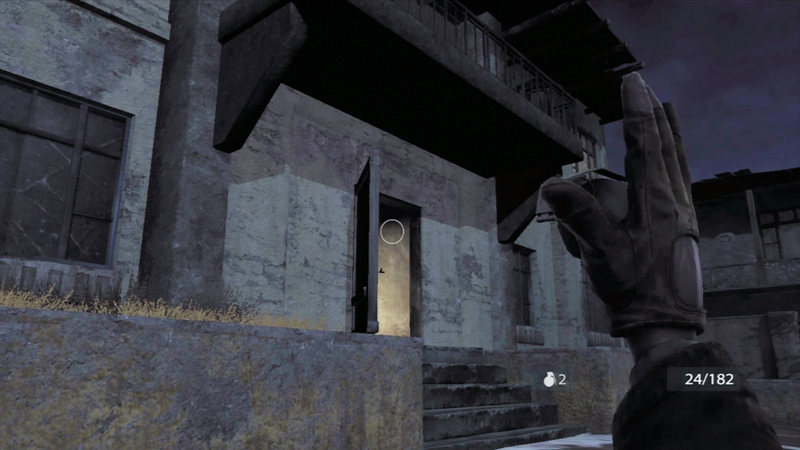
Throw a grenade into the doorway to take out this enemy without exposing yourself to enemy fire. Remember to cook it for two or three seconds before throwing it so the tango doesn't have time to get out of the way.
12. Rescue Tariq
Once the courtyard is all clear, your team joins up with you. Follow them up the stairs and kick in the door on the top floor.
A teammate will move forward to check out Tariq who is tied to a chair. However, this is not him—just a booby-trapped body.
Quick thinking by your teammate saves your entire team. Once you recover, follow your team out of the room and through a door to the next area.
Zone 6
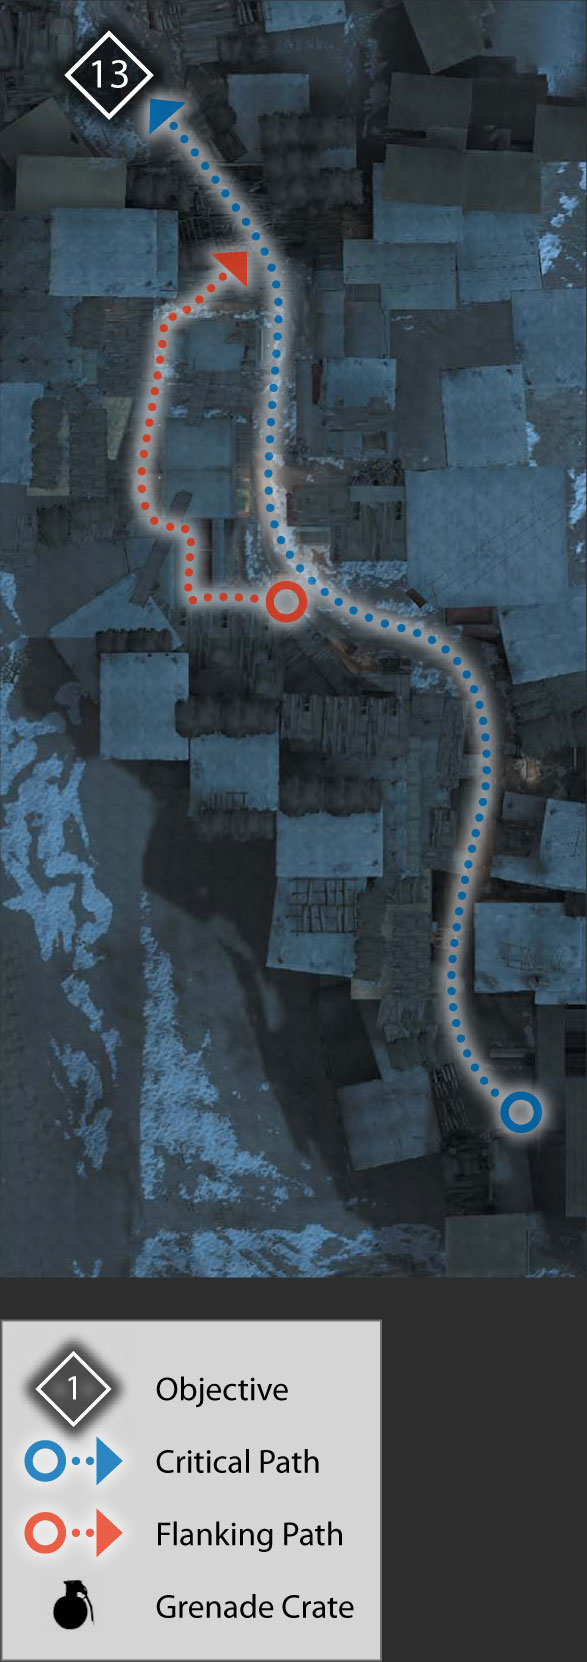
13. Get to Bala Hisar Fort
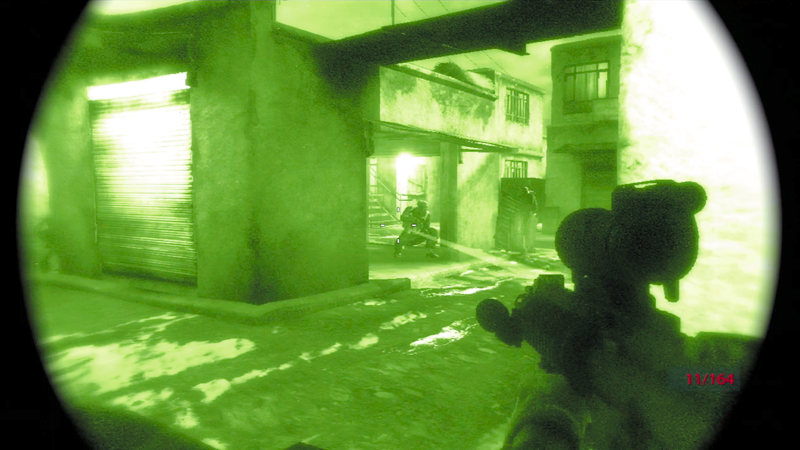
Flank around behind the buildings where the tangos are hiding to take them by surprise while they are focusing on the rest of your team.
Advance down some narrow alleys until you get to a point where it opens up to the left. There are lots of hostiles in this area who will try to ambush your team.
Fire at a few, head up the stairs on the left, and then follow the walkway around behind a few buildings.
While the hostiles in and around these buildings are firing at your team back where you left them, you can flank the tangos and take them out from the flank.
They won't even know what hit them. After moving past the last building, return to the main alley and follow your team up some stairs to the area outside the south door of the fort.
Zone 7
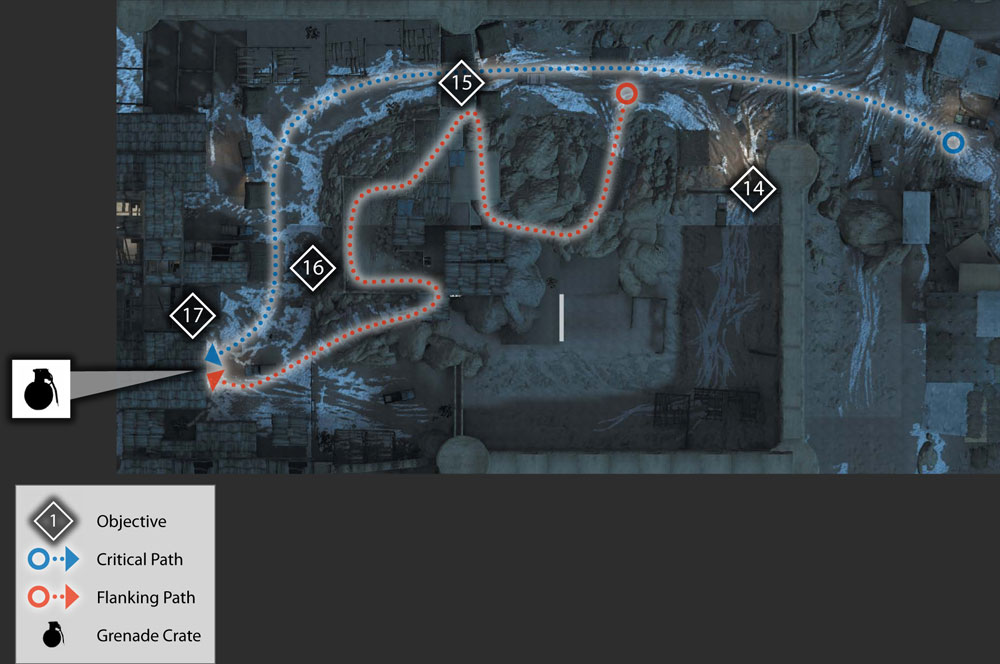
14. Wait for Air Support
Your team is not carrying enough firepower to force your way into the fort. However, you have some air support on the way.
Stay at a distance from the gate to the fort and the air support will blast the gate to pieces. Advance into the fort and find some cover as you begin to take enemy fire.
15. Flank and Neutralize MMG Gunner
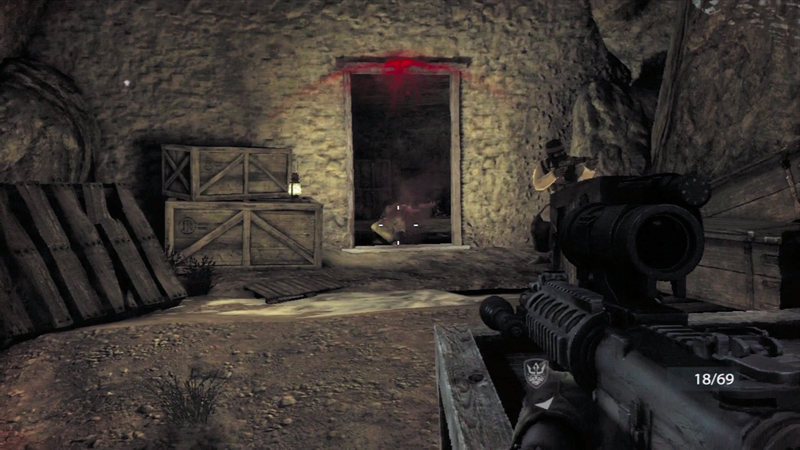
Enter the cave here so you can move into a flanking position on the MMG.
A machine gun on an upper level fires down on your team and dominates this first area of the fort. You need to take it out. Follow Mother to a cave opening to the left, clearing out enemies as you go.
Enter the cave and follow it up and around. Watch out for enemies inside. At the end of the cave, Mother jumps up and helps you with a buddy boost. There is a tango in the doorway up ahead.
His back is to you, so sneak up behind him and take him out with your knife. He drops a Dragunov sniper rifle.
Switch to your shotgun and then pick up the sniper rifle. Switch back to your M4 and then move in to kill the enemy manning the machine gun.
16. Clear a Path for Voodoo and Preacher
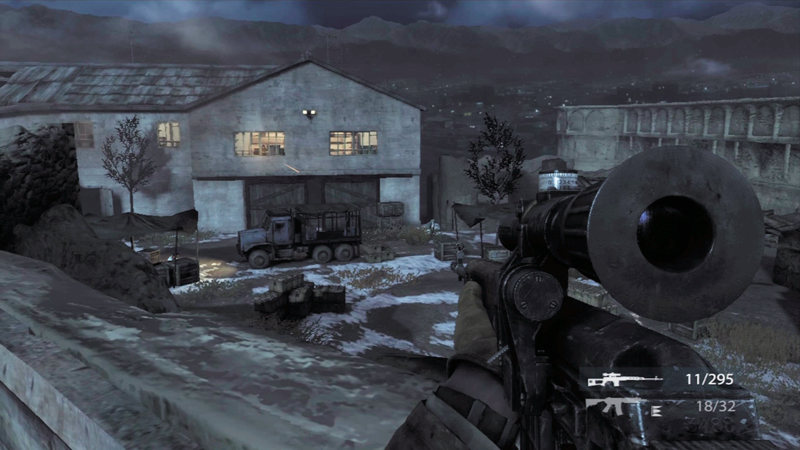
This vantage point on the upper walkway gives you a great position for sniping on the enemy below.
Switch to the sniper rifle and move along the upper walkway where you are located. Your teammates are moving through the courtyard below and your job is to support them.
Take up a position across the from the building and crouch down behind the wall. Peek up over it and kill the hostile in the second floor window of the building.
Then continue clearing out all other enemies in this area as well. Then move along the wall to continue to clear the way for your teammates.
Mother will lead you to a doorway once the area below is clear. Follow him through the door and down to the ground level.
17. Rally with Mother and Preacher
Make your way through the chain link gate and into the garage area where the rest of your team is waiting. As you rally with your team, stop to pick up some grenades from the nearby crate.
If you need some more ammo for your M4, ask one of your teammates to stock you up.
Zone 8
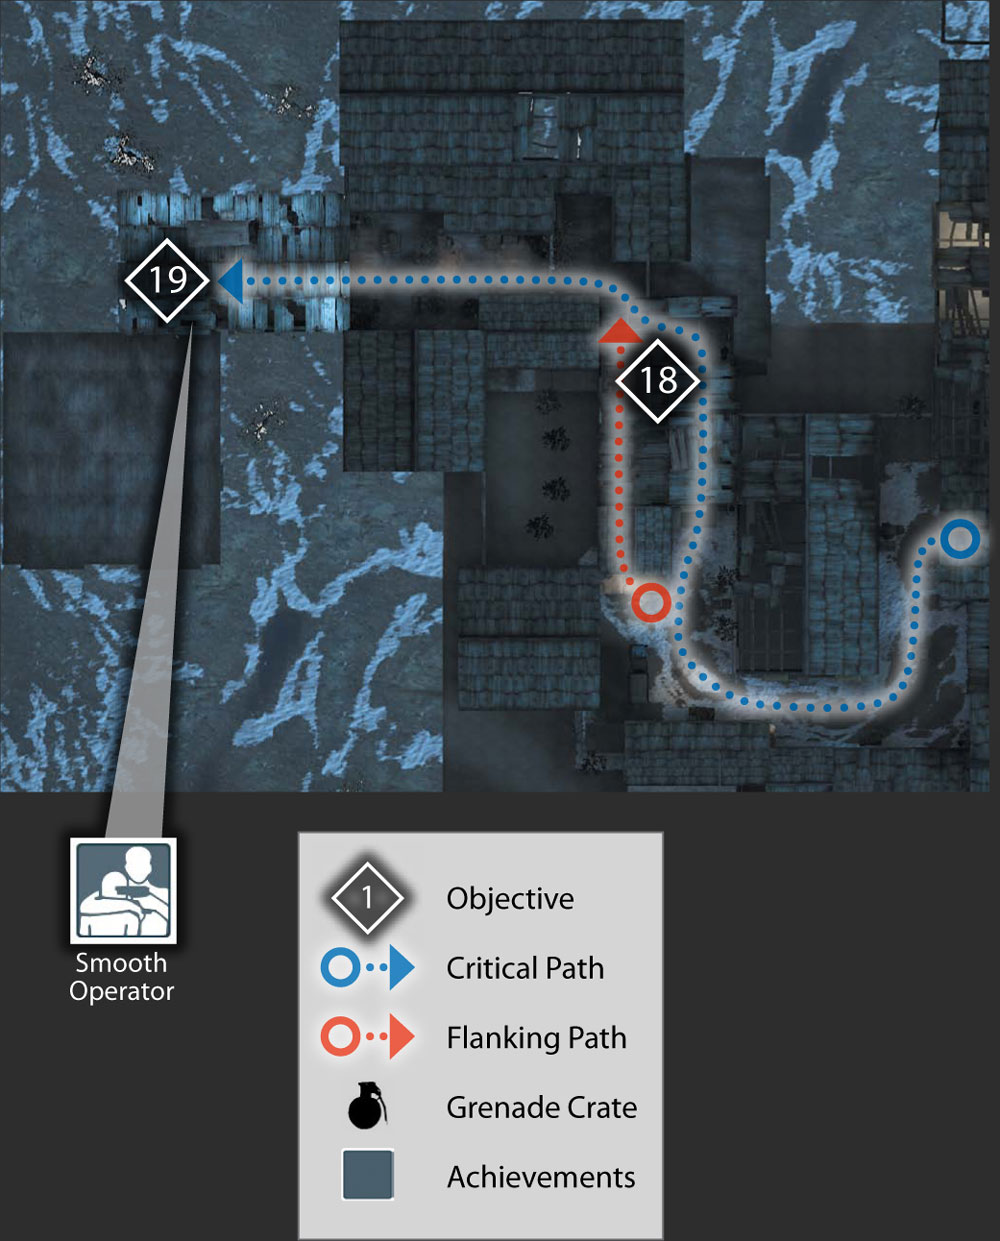
18. Search for Tariq
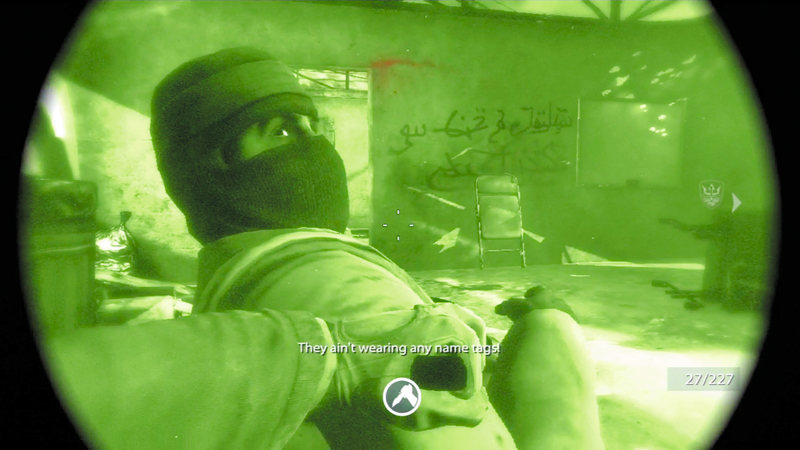
Some of the tangos in this large room are hiding behind objects. Shoot as many as you can, then rush in and use the knife on any hideouts.
After your team opens the back door of the garage, head left down the alley. It is clear here, but expect some hostiles as soon as you round the corner to the right. Take cover and engage them.
Continue to advance through this outdoor area, clearing as you go. Once all enemies here have been neutralized, follow Mother to the door on the left and enter the building.
The first room is empty so move to the second room where you engage enemies on the left while the other half of your team takes care of those on the right. Continue through the room to the alley out back.
19. Clear Last Building
Your team regroups and heads to the door at the end of the alley. Kick open the door and then be ready to use your pistol. Be careful not to hit Tariq who is being held hostage.
You need to kill the tango holding Tariq first—try for a headshot—and then stop the enemy who is running for the truck. Finally, finish off any remaining hostiles in here to complete the mission.