
Medal of Honor Guide Essentials Basic Training
Types of Weapons
As a Tier 1 operative, you have several different weapons at your disposal. However, they all fit into a few specific categories.
It is important that you know how to use each category of weapons effectively in order to get the most out of them. In most missions, you carry two weapons as well as your pistol.
It is a good idea to make sure you have weapons from different categories so you have more flexibility during combat.
Assault Rifles
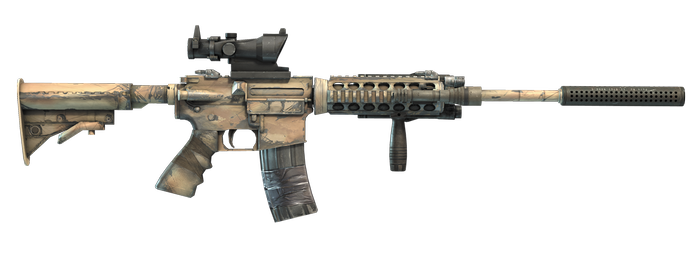
Assault rifles are your standard weapon. They are capable of engaging enemies at all ranges. While they are capable of automatic fire, it is best to fire in short bursts. The longer the burst, the less accurate the fire.
Use the assault rifle for most outdoor combat at medium to long range. You can kill a hostile with a single head shot, however it will take two to four rounds to take down an enemy with hits to other parts of the body.
Be sure to fire from sight view in order to increase your accuracy. Assault rifles can be fired in semiautomatic mode where only one round is fired each time you press the fire button. This is best when firing at long range or attempting head shots, since a single round will be more accurate than even a short burst of automatic fire.
Submachine Guns
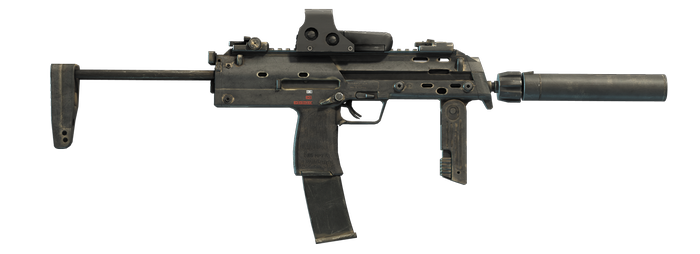
Smaller than assault rifles, submachine guns are automatic weapons capable of high rates of fire. When equipped with a suppressor, submachine guns are quite stealthy and great for operations when you do not want to let the enemy know you are there.
Because of their smaller barrel length, submachine guns are not as effective at medium to long range. However, for short range and indoor combat, submachine guns are an excellent choice.
Machine Guns
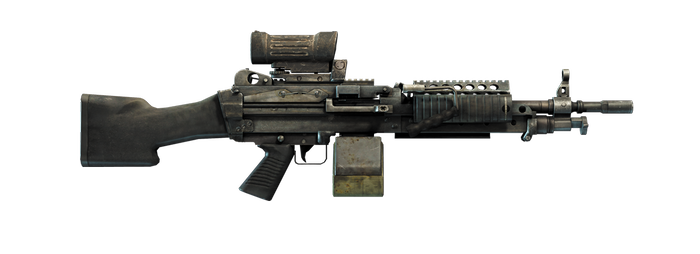
Machine guns are some of the most powerful weapons available to you. They come in two varieties. Light machine guns can be carried by an individual soldier and provide high rates of portable fire.
Fixed machine guns are larger and deadlier. These can be located at a position or mounted on a vehicle. Even though you can fire off a hundred or more rounds without having to reload, it is still a good idea to fire machine guns in short bursts as accuracy is increased.
During missions when you are assigned to carry the light machine gun, one tactic is to stay back and provide support to the other members of your team. Fire at enemies as your teammates advance and maneuver around.
Even if you don't kill hostiles outright, the volume of fire your light machine gun can put out will keep the enemies' heads down so they can't fire at you or your teammates.
The second tactic for using machine guns is to put your firepower out in front. Your large magazine means that you can fire away through an entire engagement or two without having to stop to reload. Lead the way and mow down any hostiles that cross your path.
Sniper Rifles
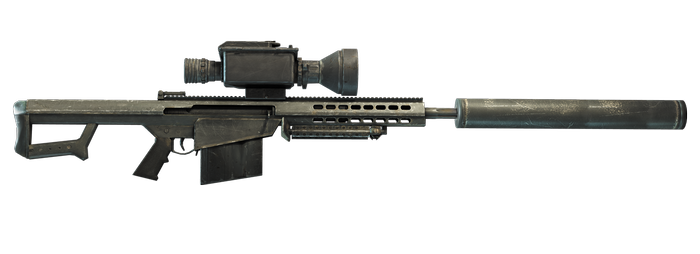
Sniper rifles are very accurate at long ranges but difficult to use for close-range combat. They are equipped with high-power scopes that allow you to see a good target image at long range so you can aim for head shots, which allow you to kill with a single hit.
Most sniper rifles will require one or possibly two body hits to bring down a hostile. The M82 will always kill with a single hit.
When carrying a sniper rifle as your currently selected weapon, you will notice that you do not have a targeting reticule on the HUD. This is because these weapons are not meant to be fired from the hip.
Therefore, when moving around with a sniper rifle, first switch to your other weapon such as an assault rifle or submachine gun so you can engage enemies on the fly, then once you are in a good position with cover, switch back to the sniper rifle and begin picking off tangos.
Shotguns
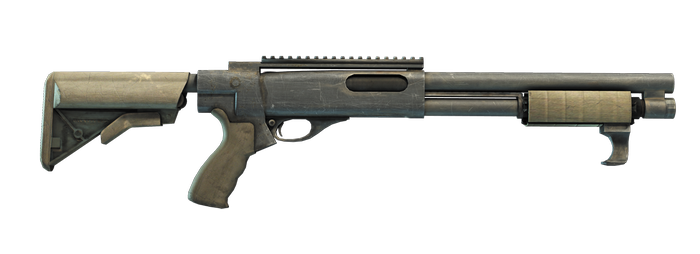
Shotguns may not be as glamorous as other types of weapons; however, they are excellent for close-quarters combat. When moving through a building where enemies can be around any corner, pull out your shotgun.
Unlike the other types of weapons, you can fire this from the hip against close-range targets. In addition, a single shot at close range will kill most hostiles.
Due to the spread of the shot over distance, shotguns lose their effectiveness at medium range. You may need to fire two or three times at this range to kill an enemy.
As a general rule, if you are about to bust down a door to enter a room, get your shotgun ready to take down any tangos on the other side.
Pistols
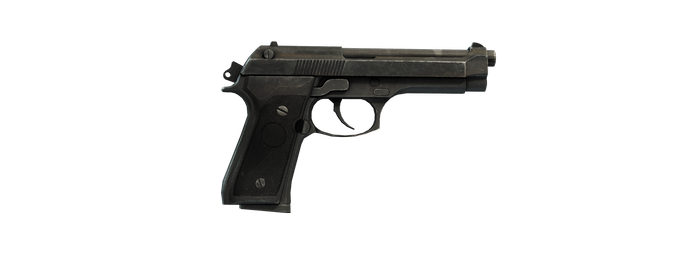
Your pistol is your backup weapon. Quickly press the weapon select button twice to bring up your pistol. It is often quicker to pull your pistol when one of your other weapons is empty than reloading the weapon.
While you have an unlimited supply of pistol ammo, you still have to reload when your clip is empty.
Pistols are only accurate at short range and all are semiautomatic. Unless you are going for a head shot, get used to firing three shots at the body of enemies to make sure to kill them.
Grenades and Explosives
During most missions, you begin with three frag grenades. These explosives have a five-second fuse that provides a delay before they explode. As soon as you press the grenade button, the fuse starts counting down.
To throw the grenade, release the button. Tangos will try to run away when they see a grenade coming towards them. Therefore, it is important to time your throw.
For most times you throw a grenade, hold the button for two to three seconds and then release. This is called cooking off a grenade by letting the fuse start counting down in your hand. Then if you time it right, the grenade will explode right when it gets near the enemy and before they can run away.
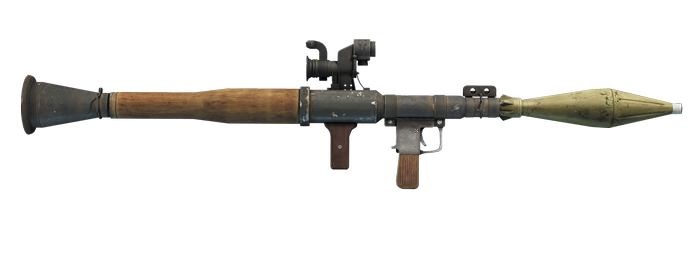
The grenade launcher on the M4 203 fires a grenade without a fuse. Instead, this grenade explodes on impact. The tangos are equipped with rocket propelled grenades or RPGs. This is a tube that fires a high explosive charge.
While U.S. forces do not carry RPGs, you can find them in some missions and swap out another weapon to pick up and use RPGs against the enemy.
Knife
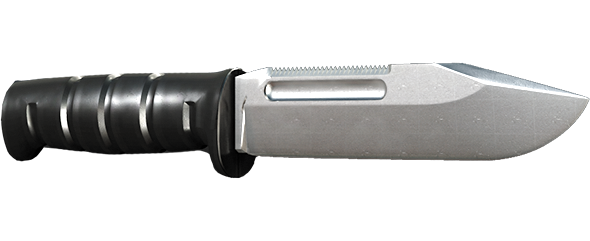
The quickest and surest way to kill an enemy at very close range is with a melee attack. Just get close and press the melee button to use your knife. It only takes one hit to kill a hostile with the knife.
In addition, melee kills are silent. If you are not carrying a suppressed weapon and want to maintain stealth, sneak up behind an enemy and use your knife.
NODS Night Vision
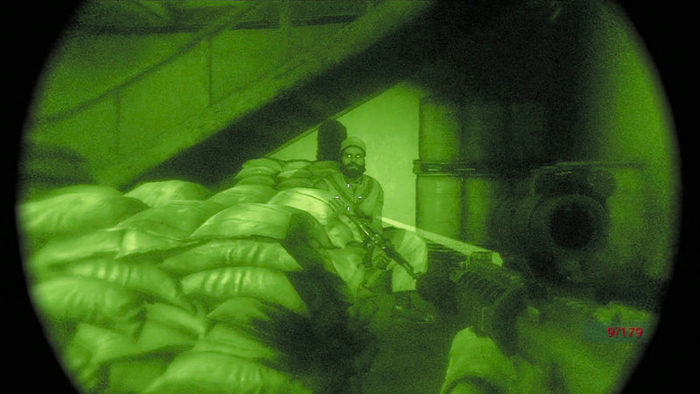
When operating at night or in the dark, use your night vision to see in the dark. This device can give you a great advantage in the dark since the enemy is not equipped with these goggles.
Night vision provides an image in various shades of green. In areas where it is very dark, you can move around undetected.
As long as you don't fire a weapon, you can move about killing enemies with melee attacks. When you fire a weapon, the enemy can see the muzzle flash and start shooting at your position. While they may not be able to see where you are exactly, they know you are there.
SOFLAM
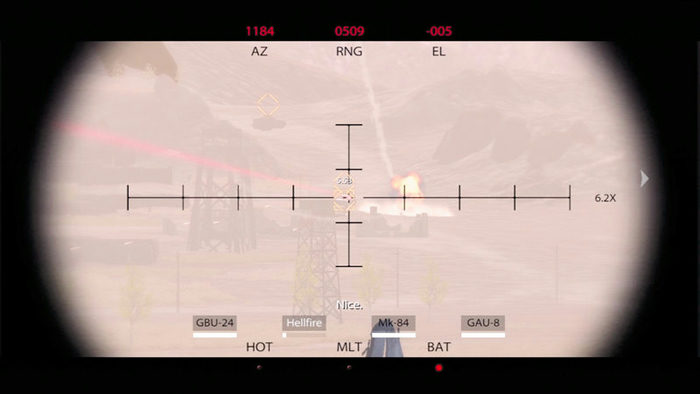
The Special Operations Force Laser Marker allows you to call in air support on the enemy. You can only use this device at certain points during a mission.
In some missions, you may have access to only one type of support while in others you can cycle through up to four different air strikes including cannon fire, airborne artillery, bombs, and even guided missiles.
With this device, you can destroy lots of heavy targets in a short amount of time.