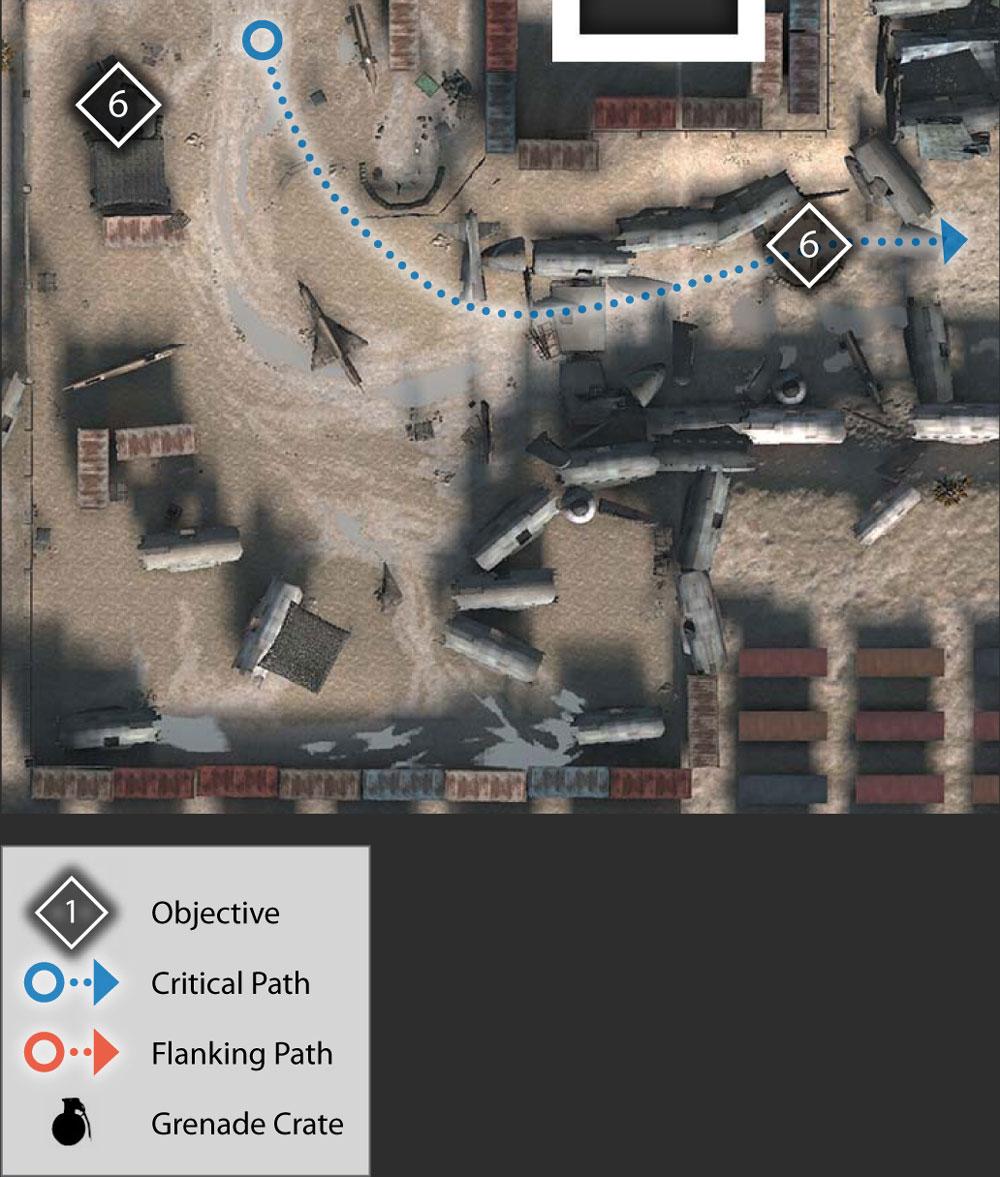
After passing through the gate, take cover and engage the enemies hiding behind wrecked aircraft and other objects. Advance around to the left, moving from cover to cover. The third mortar position is hidden among the wreckage.
Pick off the gunners while staying behind cover. Watch out for other hostiles in the area. Not all are by the mortar.
In fact, most are hiding inside the wreckage waiting to ambush you. Clear them out as you push forward towards and then past the mortar position.
Zone 4
7. Clear the Airplane Graveyard
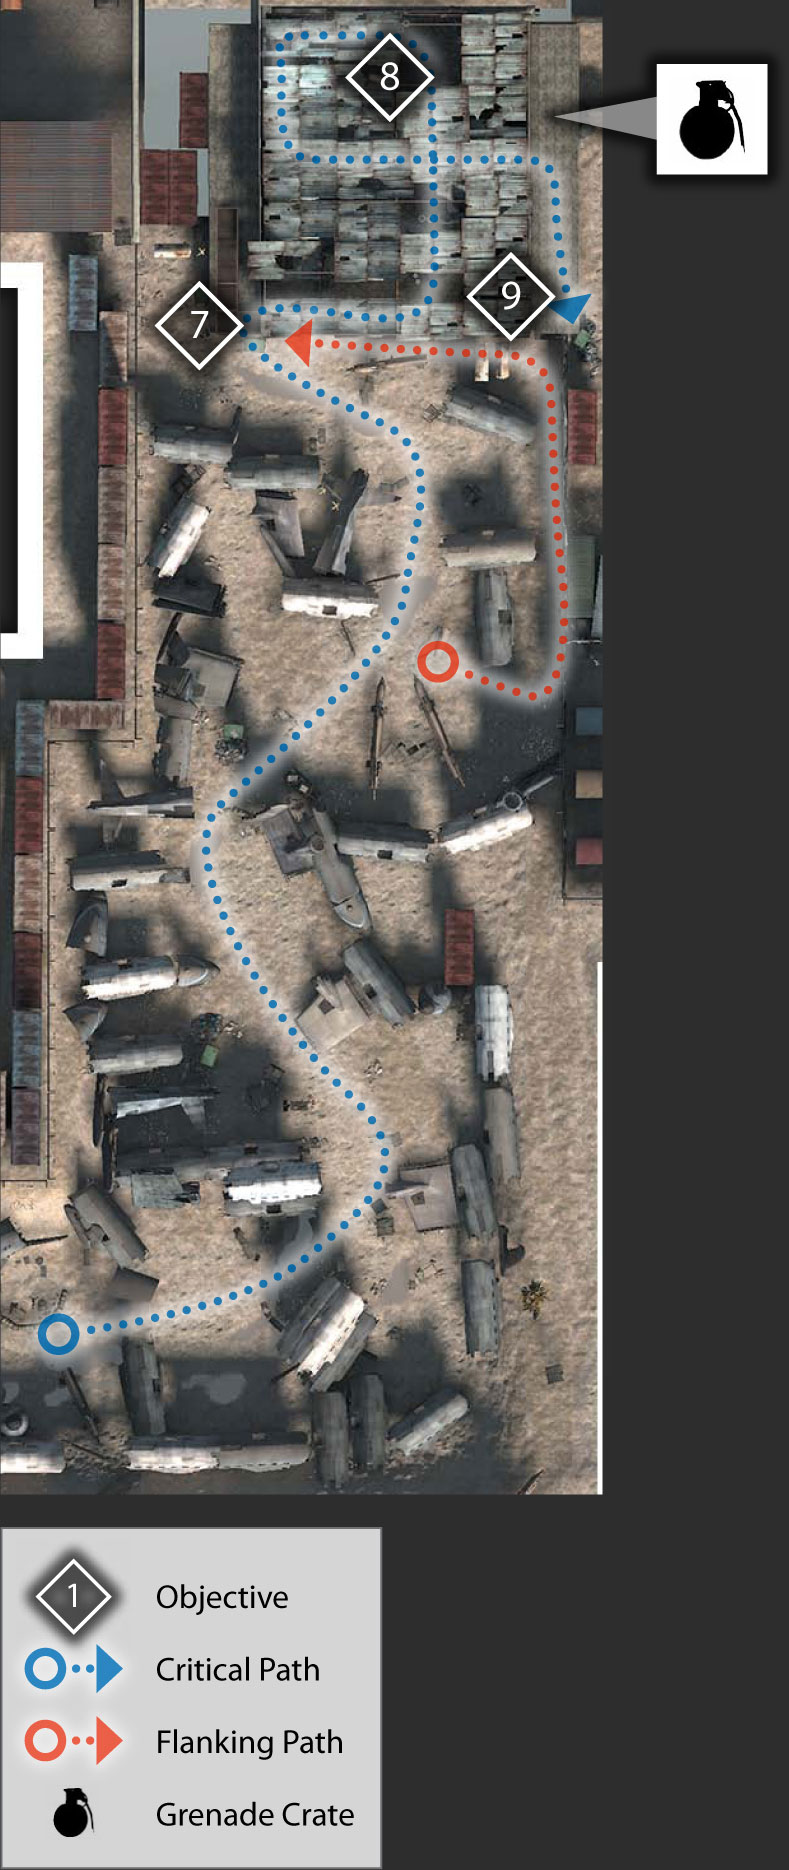
Continue through the maze of wrecked aircraft fuselages. Rush from one position of cover to the next and then scan the area around you. The tangos like to hide inside the fuselages and snipe at you as you move past them.
If you start taking fire from your side or from behind, duck into a fuselage yourself and then look for the enemies that are attacking you. Move out into the open occasionally to try and draw some fire and then rush back to cover.
Pay attention to the direction the enemy fire is coming from and then let them have it.
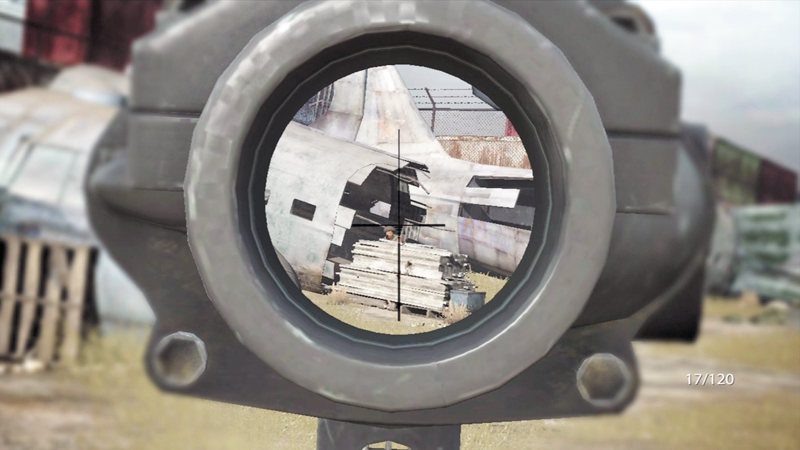
Pick off enemies in the airplane graveyard at a distance using your M14 EBR. Try to draw their fire so they reveal themselves.
Keep moving through the maze of wrecked planes until you reach the large warehouse.
Move along the right side of the graveyard and then turn left at the warehouse so you can hit the enemies in front of this structure from the side. Once you get to the door of the warehouse, walk on inside.
8. Secure the Warehouse
As you enter the warehouse, advance to the large open area and take cover. There are several tangos across the area both on the ground as well as on the catwalks above.
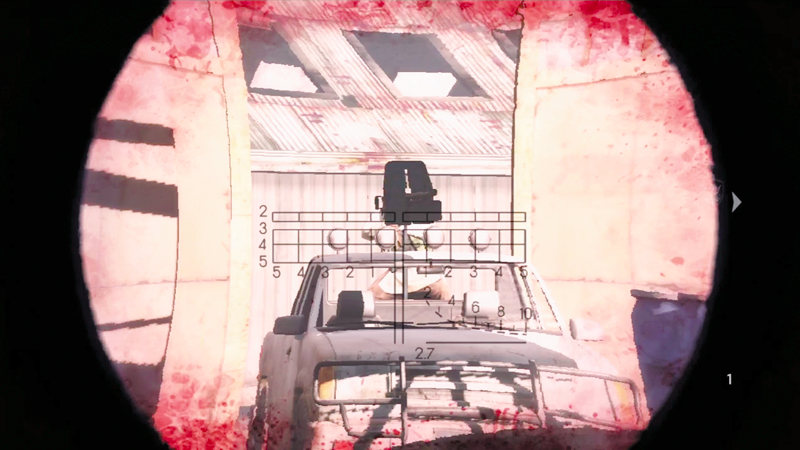
Clear out a bit and then advance across the floor of the warehouse. As you get towards the middle, a technical will burst in through the opposite door. Shoot the tango on the Dshka machine gun to eliminate this threat.
However, if you picked up the RPG earlier, this is the time to use it. Aim for the truck and fire to blow away the gunner. Keep pressing forward to eliminate all of the remaining hostiles in the warehouse.
Kill the gunner on the technical or he can mow you down quickly.
9. Get to the Tower
Head up the stairs on the left side of the warehouse. Then follow the catwalks into a room on the second floor where you can pick up some frag grenades from a crate.
Follow your team out another door and down a set of stairs to get to the next area.
Zone 5
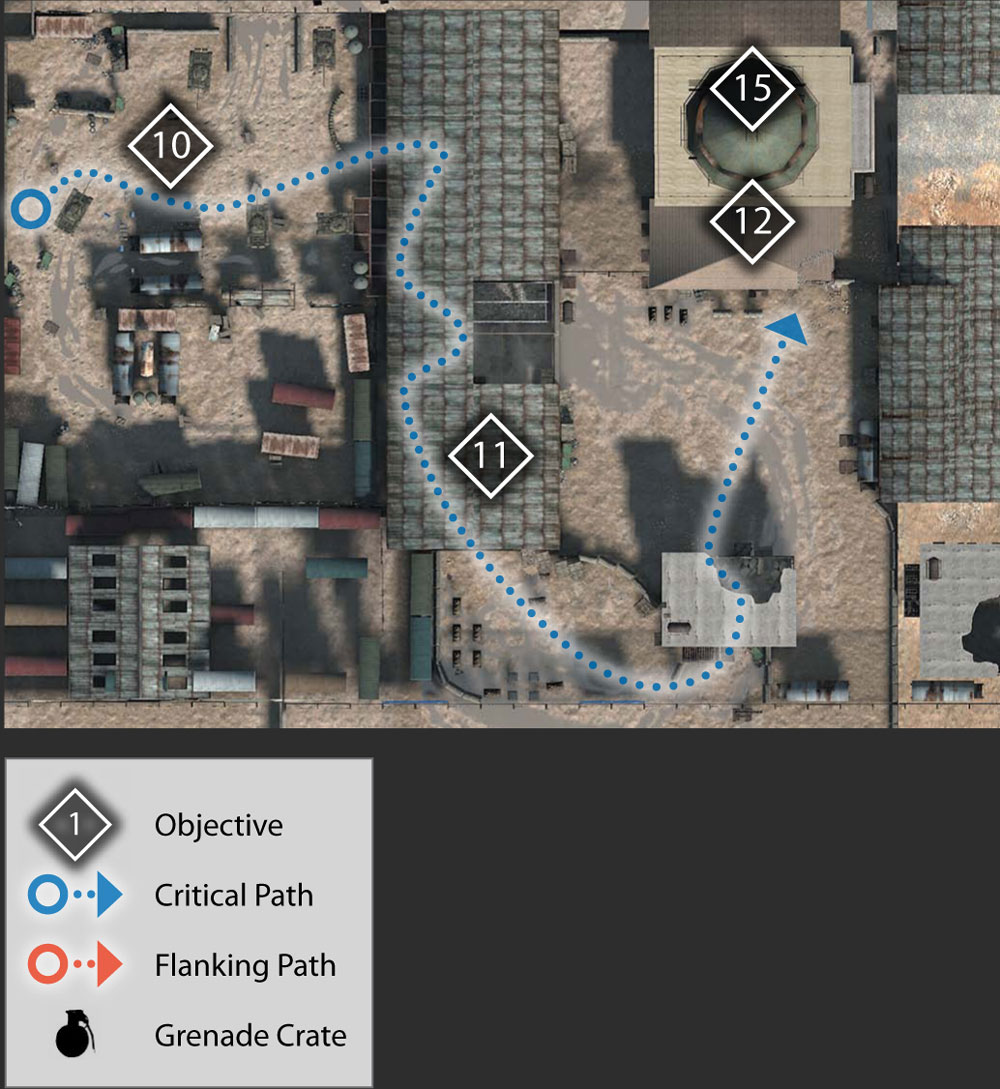
10. Get to the Hangars
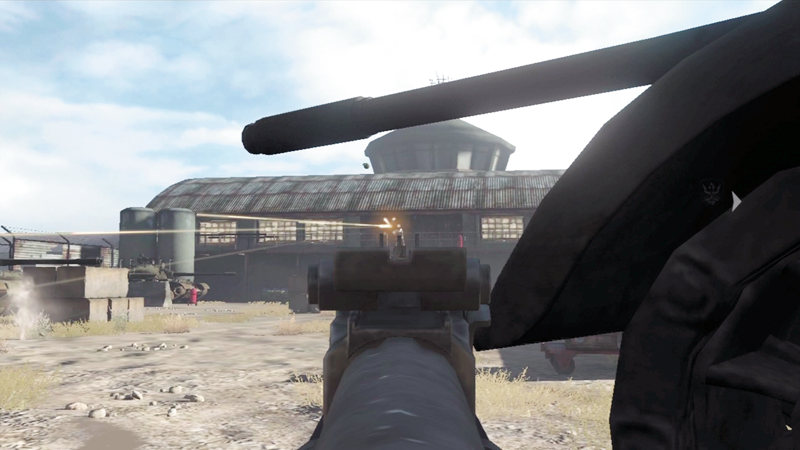
As you exit the warehouse, rush to some cover. There are several tangos out here as well as one on a Dshk on a platform next to the hangar. Kill the enemies that man the machine gun as well as those in the yard.
As you clear the area, advance from cover to cover so you can get closer to the enemies to kill them. Clear out this yard to complete the objective.
You have to take out that machine gun so you can get to the hangars.
11. Clear out the Hangars
Advance into the hangars and take a left. There are tangos up ahead inside some rooms. Clear off the stairs and head up them to the second floor.
Remove the enemies here and then fire down on the enemies in the second part of the hangar. Take out as many as possible before moving down another flight of stairs to finish clearing out the hangars.
Once it is secure, join up with your team at the large doors and prepare to exit.
12. Eliminate the Snipers
As the door opens, you will take fire from enemies on a tower directly ahead of you. Duck back inside the building and wait for air support to take out the entire tower.
Then turn to your left and run for the stairs behind the small two-story building. There are several snipers up on the large control tower to your left.
Ignore them for now and get up to the second floor where you can find a Dragunov sniper rifle. Pick it up and get behind some cover. Snipe at the snipers with the Dragunov and clear out as many as possible.
After you have eliminated the enemies, your team will join you and pop some smoke in front of the tower. This is your chance to sprint across the open area on the ground below and get to the door on the right side.
Kick open the door and enter.
Zone 6
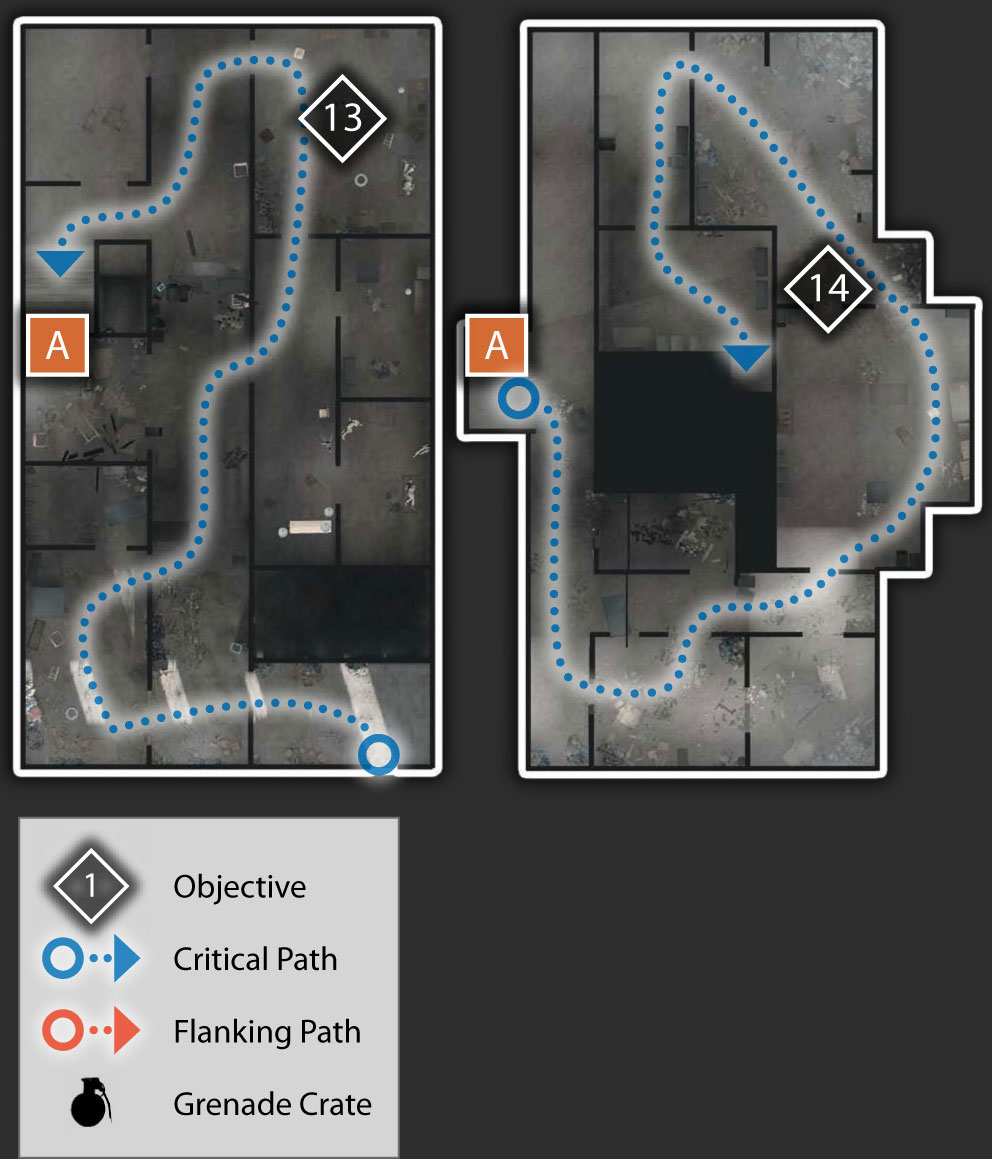
13. Clear the First Floor
Upon entering the control tower, you face lots of enemies. Move carefully from room to room. There is a machine gun in the central hallway.
Take cover and lob a grenade over the crates to land right behind the machine gun and blow up the gunner. Once the machine gun is silent, rush forward and through the rooms on the right.
Once all hostiles have been eliminated here, head up the stairs to the second floor.
14. Clear the Second Floor
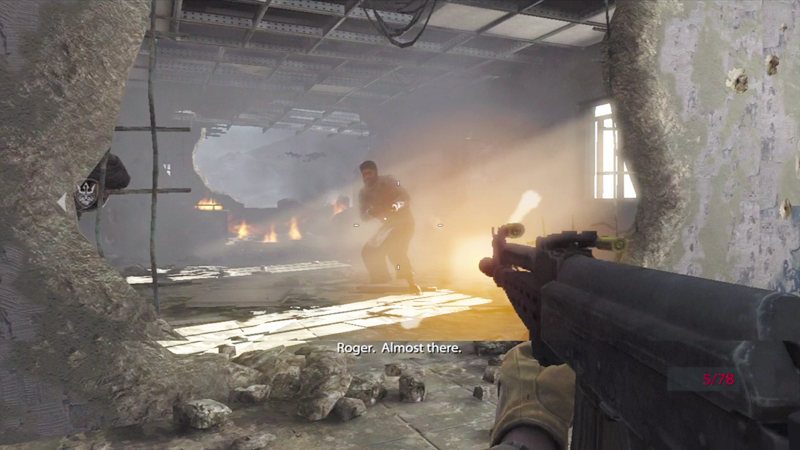
The fighting in the tower building is up close and intense. Try picking up an AK-47 for this fight. You can find plenty of ammo near the bodies of the hostiles you have killed.
Be ready for some more fighting at the top of the stairs. Stay to the right as you engage enemies towards your left. This is a close-quarters battle, so be sure to use cover as you kill several hostiles in the first part of this area.
Clear it out and then regroup with your team at a closed door. Kick it open and rush into a room with some more tangos. Hang to the right to try to flank them. Once they are all eliminated, follow your team.
15. Move into the Tower
Your teammates will lead you through the rest of the second floor and then up a winding staircase. There are no more enemies in this building, so just race up to the top of the tower.
16. Get the SOFLAM
At the top of the tower, it is time to get busy again. The room is clear, but there are lots of enemies headed your way.
Move over by the opening in the tower that overlooks the runways to get the SOFLAM so you can do some laser targeting.
17. Call in CAS on the Taliban Counterattack
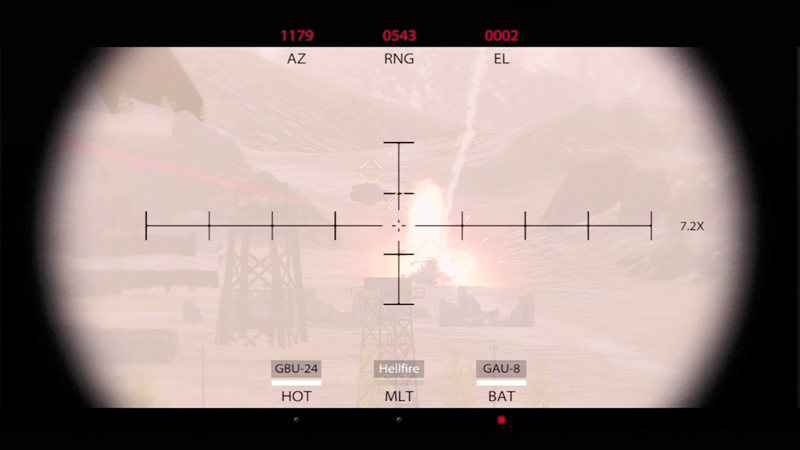
The Taliban are sending lots of units your way to try to retake the airfield. You have a variety of support to help you defeat this counterattack. First off, call in strafing runs on stationary targets.
A-10 aircraft will fire their 30mm GAU-8 Gatling guns at the targets you designate.
While that support is moving into position for another run, switch to Hellfire attacks. These call in guided missiles from AH-64D Apache attack helicopters. Target the moving technicals with Hellfires.
Once a lock on box appears on the target, you can begin targeting another enemy vehicle. Destroy the several technicals. You will then gain access to GBU-24 2,000-pound laser guided bombs.
As you designate a target, your view then switches to a bomb camera so you can actually steer the bomb onto the target.
Keep calling in support constantly. While one is recharging, call in another. Not only target vehicles, but also infantry in buildings, towers, and barricades.
The Taliban next sends in several tanks. Alternate between Hellfires and GBU-24 bombs to take them out. By the time you call in one, the next one will be ready to go.
The tanks will come from both left and right sides of the village on the other side of the runway. Eventually you gain access to Mk-84 2,000-pound unguided bombs.
These will fall where you designate without any guidance, so use them against the infantry in the village who are firing RPG toward you.
Keep destroying the enemy until you have successfully fought off the counterattack and completed your mission, earning the Welcome to the TOC achievement/ trophy.