
Medal of Honor Guide Walkthrough Campaign
Dorothy's a Bitch
Mission Achievements/Trophies
| Image | Name | Description | Gamerscore | Trophy |
|---|---|---|---|---|

|
Unexpected Guests
|
Complete Dorothy's a Bitch
|
15 | Bronze |

|
Fear the Reaper |
In Dorothy's a Bitch, destroy the entire AQ Camp with the AC-130
|
10 | Silver |
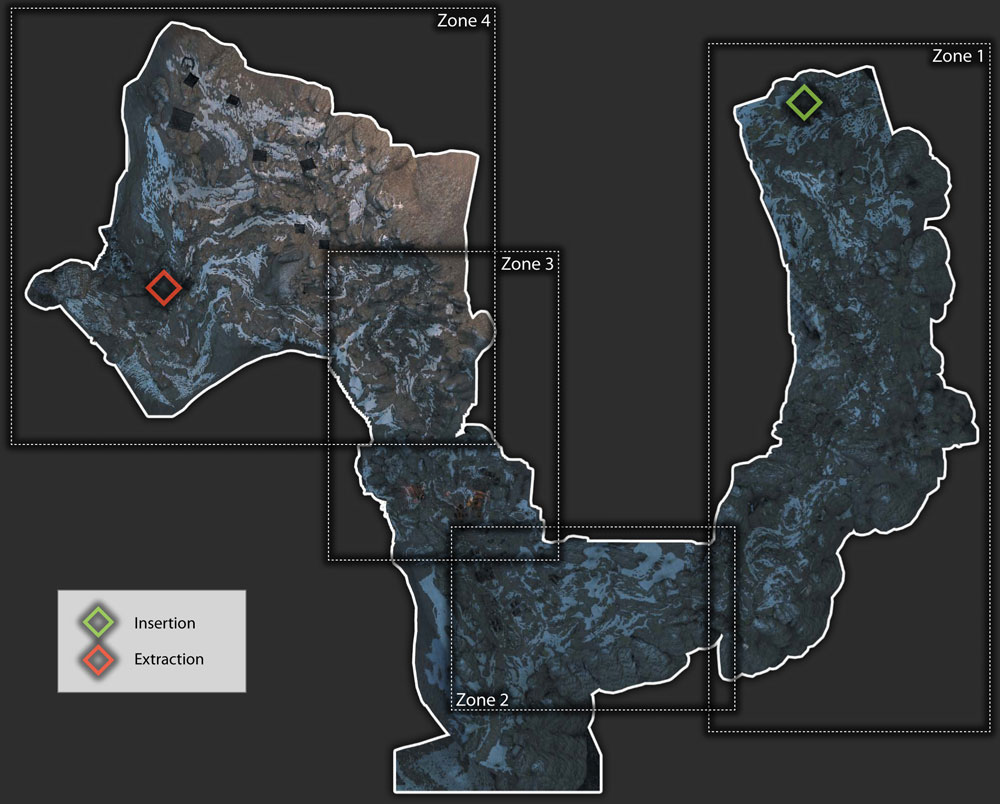
Zone 1
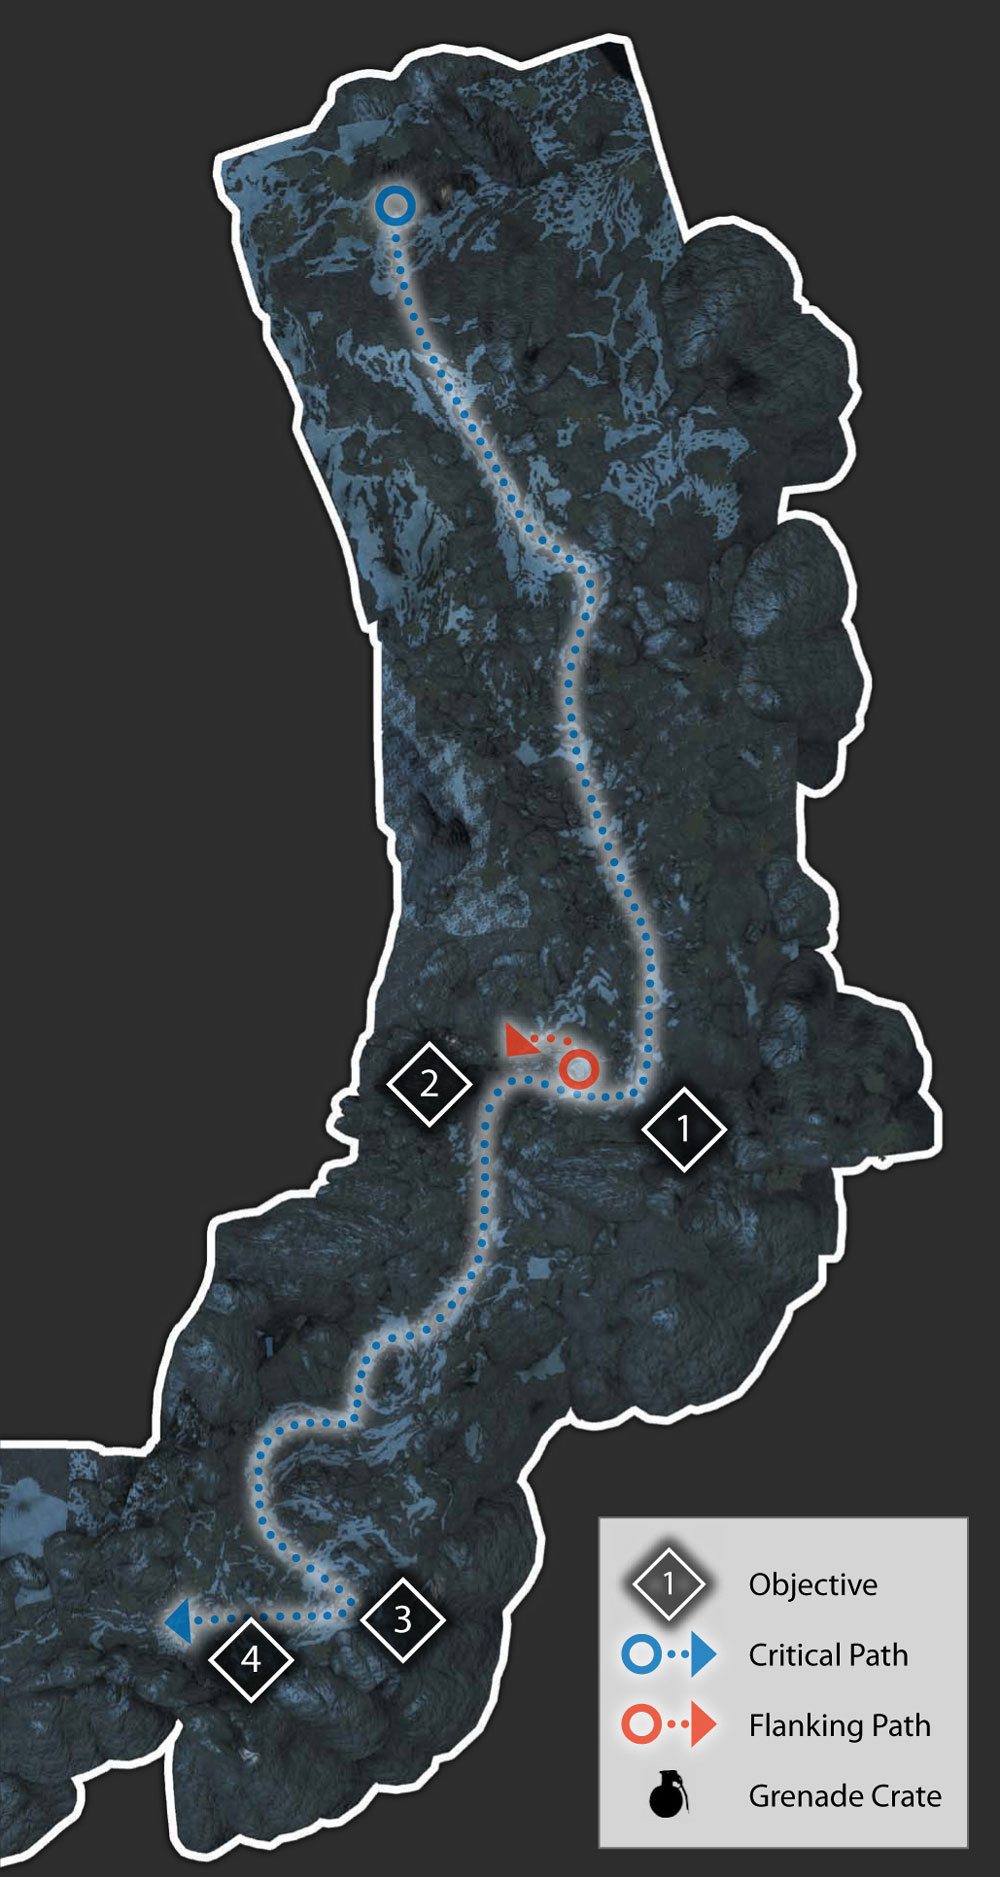
Your SEAL team must work their way up the mountain to their assigned observation point.
1. Move to OP Dorothy
You are a SEAL once again. The area through which you must advance is mountainous. Keep a careful eye out for enemies hiding in the rocks and be sure to use those same rocks for cover when you get into a fire fight.
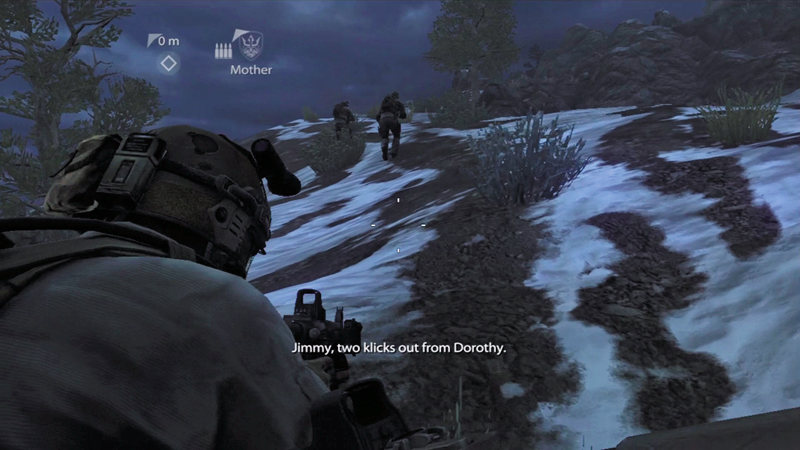
After a teammate knocks out a shepherd, follow your team up the mountainside along a ridgeline.
After a bit of a walk, you come across a group of hostiles. Stay low and wait to see if they will lead you back to their base. Since they are staying put, you have to take them out.
Wait for your teammate to give the order to fire on your first shot. Take careful aim and drop one of them. Your team takes care of the rest.
2. Eliminate Taliban Scouts
Up ahead, you see a light. It looks like another patrol with a flashlight. Stay low and follow your team. Don't engage the enemies yet since they are moving and may lead you to something bigger.
Keep following them and you will find a campfire with five hostiles around it. These scouts must be neutralized before they can warn others of your presence. The rest of the team will wait for you to take the first shot.
Rather than staying put and shooting from where you first saw the camp, move around to the right to hit the enemies from the flank and ensure your team takes them all out quickly.
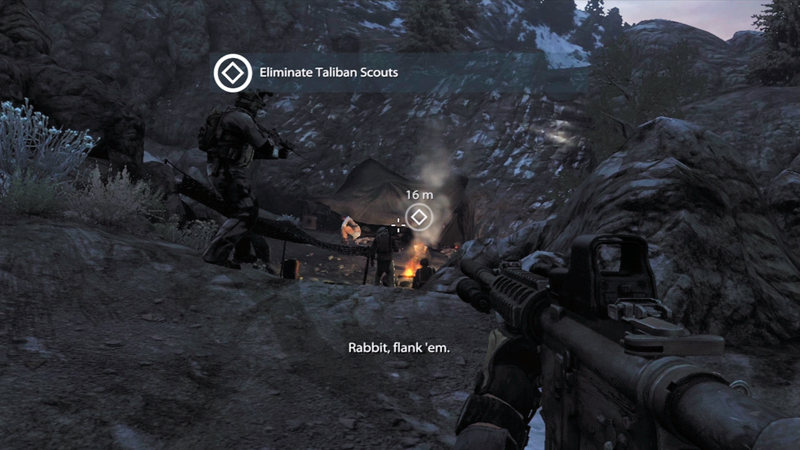
Since you are sneaking up on these Taliban scouts, take careful aim and go for a head shot with your first shot. Then just drop the rest however you can.
3. Eliminate AAA Position
Continue following your team. Up ahead you can see an enemy antiaircraft artillery gun firing at American aircraft. You need to silence that gun. As you advance, stay high and to the right.
There are several hostiles guarding the way and they know you are in the area. Start firing at them. While you can use your M4, it is easier to engage them at long range with your M14 EBR.
Take cover behind a rock and then lean out from behind it to take your shots. If you start taking fire, duck back behind cover. Clear out all of the enemies you can see, then switch back to the M4 and advance.
Again, stay high and to the right as you approach the gun emplacement from the rear.
As soon as you detect more enemies, take cover and return fire. Finally, move in and clear out any remaining hostiles hiding out. Once the area is clear, place a demolitions charge on the AAA, move back, and blow it up.
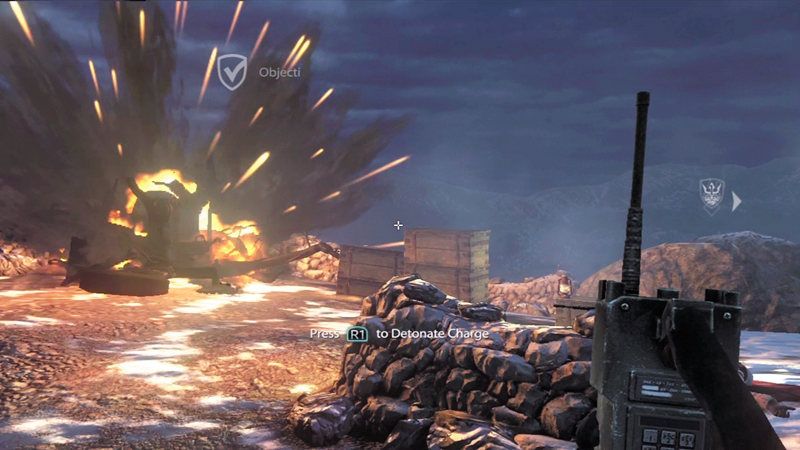
Blow up the AAA at this position so you can call in some air support later during the mission.
4. Rally Up with Team
As you were taking care of the AAA, your team moved forward a bit to get out of the blast area. Move to where they are waiting for you. A teammate will give you a buddy boost up a rock wall so that you can all continue.
Zone 2
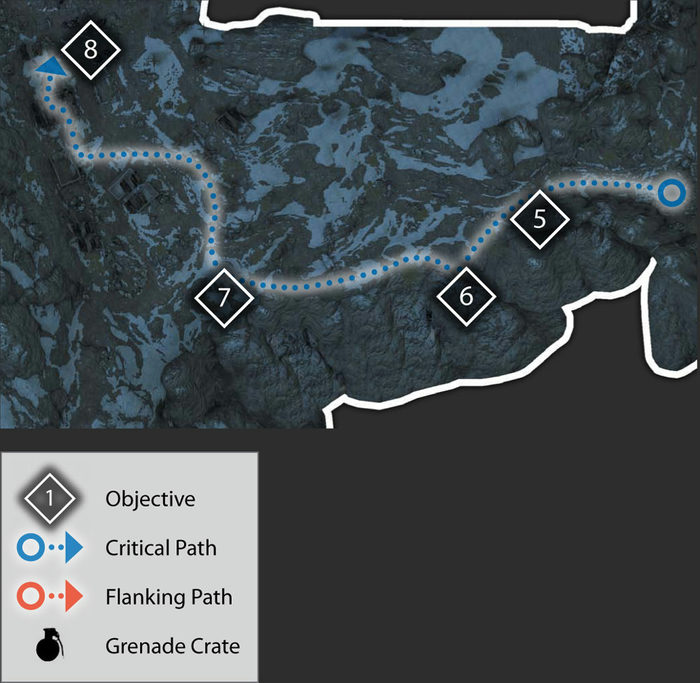
5. Move to OP Dorothy
Keep moving along with your team across the ridgeline. Keep going until you see some trucks ahead in the distance.
6. Target Trucks with SOFLAM
Switch on your night vision and you can see infrared blinking strobes on these trucks. AFO Wolfpack (you in the previous mission) has marked these trucks as targets.
They are carrying surface-to-air missiles, which will be deadly to American aircraft. They need to be destroyed. Move forward to the edge next to Mother and use the SOFLAM.
Target the truck in the middle and the AC-130, callsign Reaper 31, will let loose with a barrage of 105mm artillery fire.
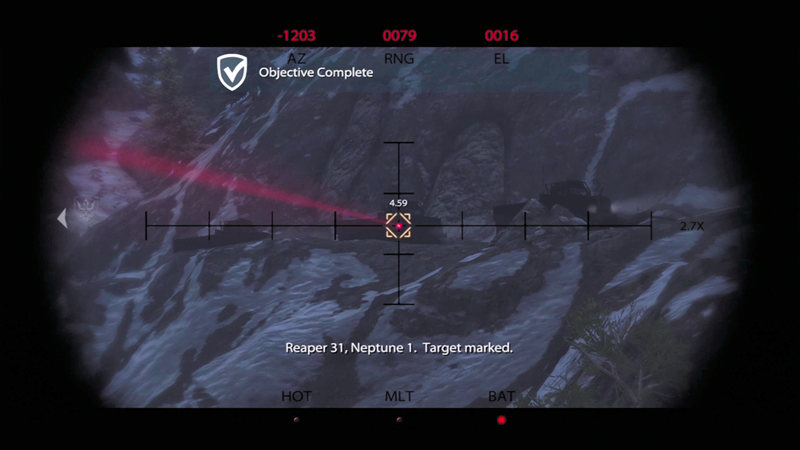
Use the SOFLAM to mark the second truck in the convoy and the gunship will take care of the rest.
7. Rally Up with Team
Follow Mother along the trail towards a village. As you enter, take cover behind a wall of a ruined building on the right side.
8. Clear the Village
Several hostiles are in this village. A patrol is headed your way. Stay low and take aim, waiting for them to get closer. When it looks like they might see you, open fire and take out as many as you can.
Stay along the right side as you advance, hitting the enemy in the flank. Then cut across to a central building with a roof and enter it.
Move through it to the opposite doorway and hold there while you engage more enemies in the village. Keep advancing along with your team until you have eliminated all tangos here.
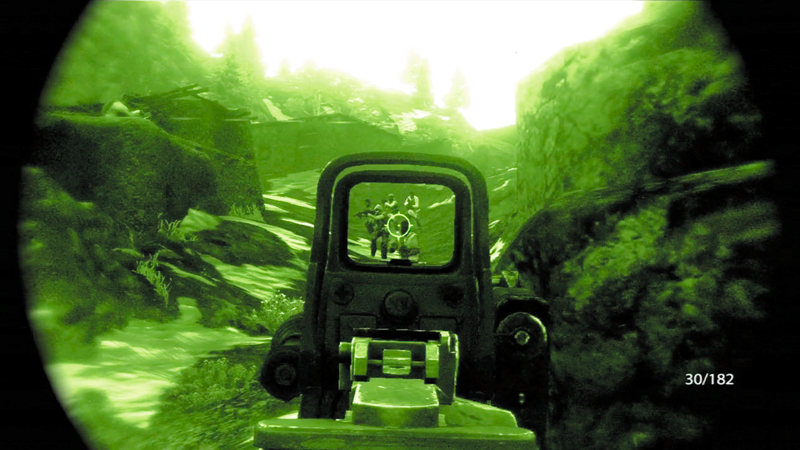
Ambush this group of Taliban as they are walking towards you. Your teammates will hit them from the sides as you hit them head on.
Zone 3
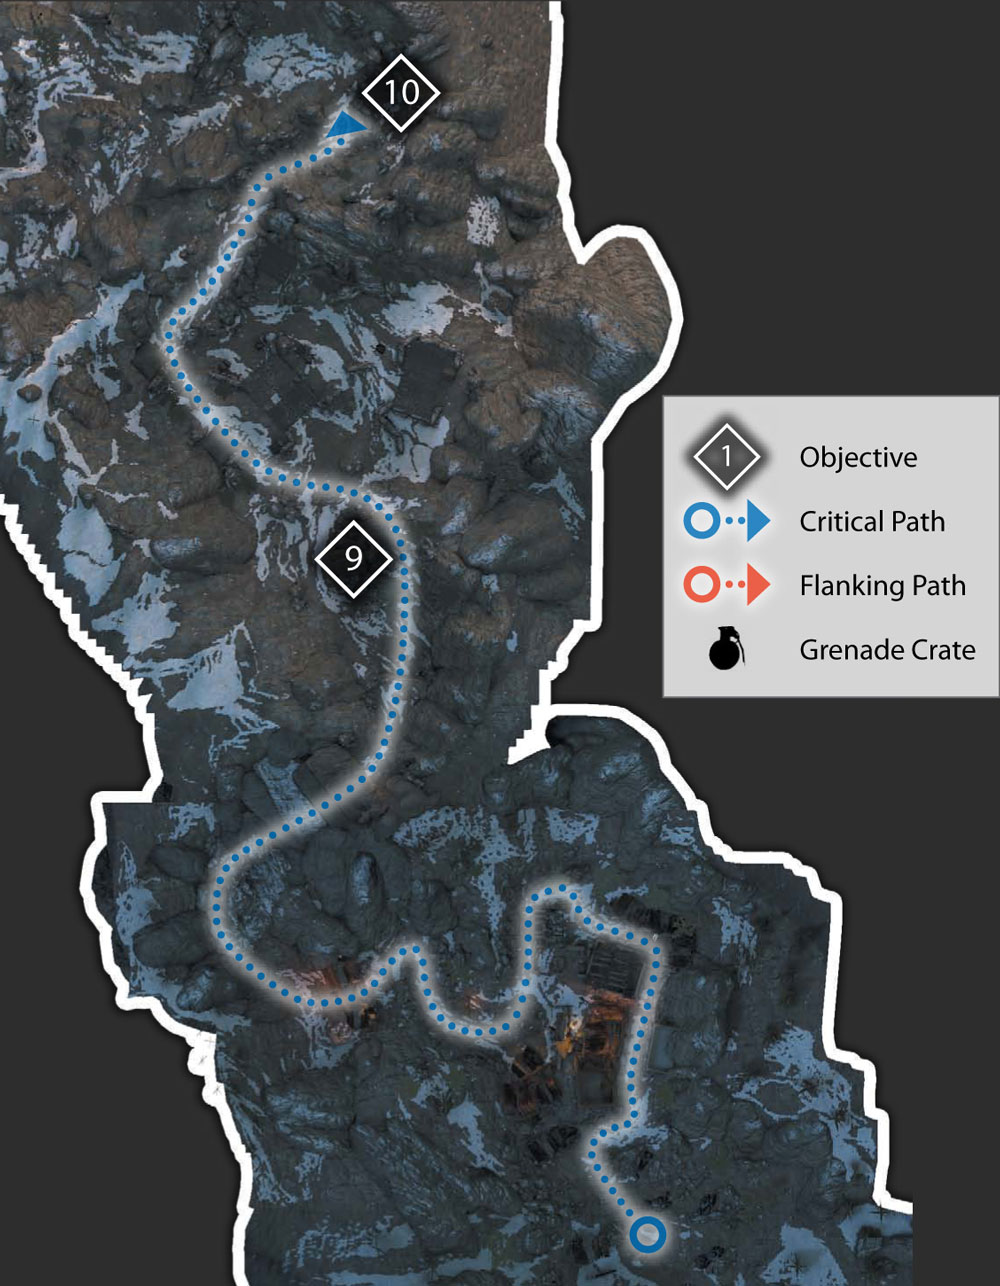
9. Continue to OP Dorothy
Keep following your team through the burned out part of the village. Along the way, a Taliban fighter ambushes you. Your teammates will take care of him, however.
As you come to a still burning structure that blocks your way, kick down the door and move right on through.
On the other side, you will see an entrance to a cave. Activate your night vision and move on in. There is a single hostile inside, so take him out and then continue to the exit.
As you leave the cave, you will come across a Taliban camp. Stay to the right and move up onto a ledge overlooking the camp.
Take some cover, switch to your M14 EBR, and start sniping at the tangos below. The rest of your team moves in to clear out the camp while you provide fire support.
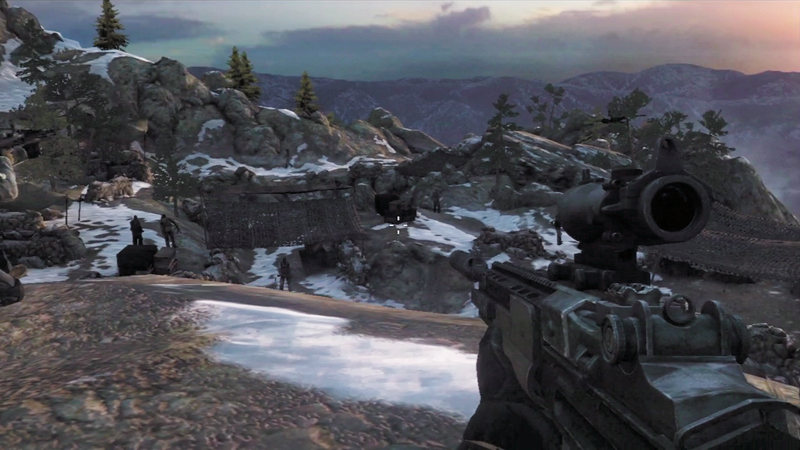
This Taliban camp is a target-rich environment. Start picking off enemies here.
10. Move to OP Dorothy
Your teammates will let you know when the camp is clear. Hop down from your ledge and move through the camp to where your team is waiting. Then follow them along the path.
There is an AAA up ahead, but Reaper 31 will take care of it for you.
Zone 4
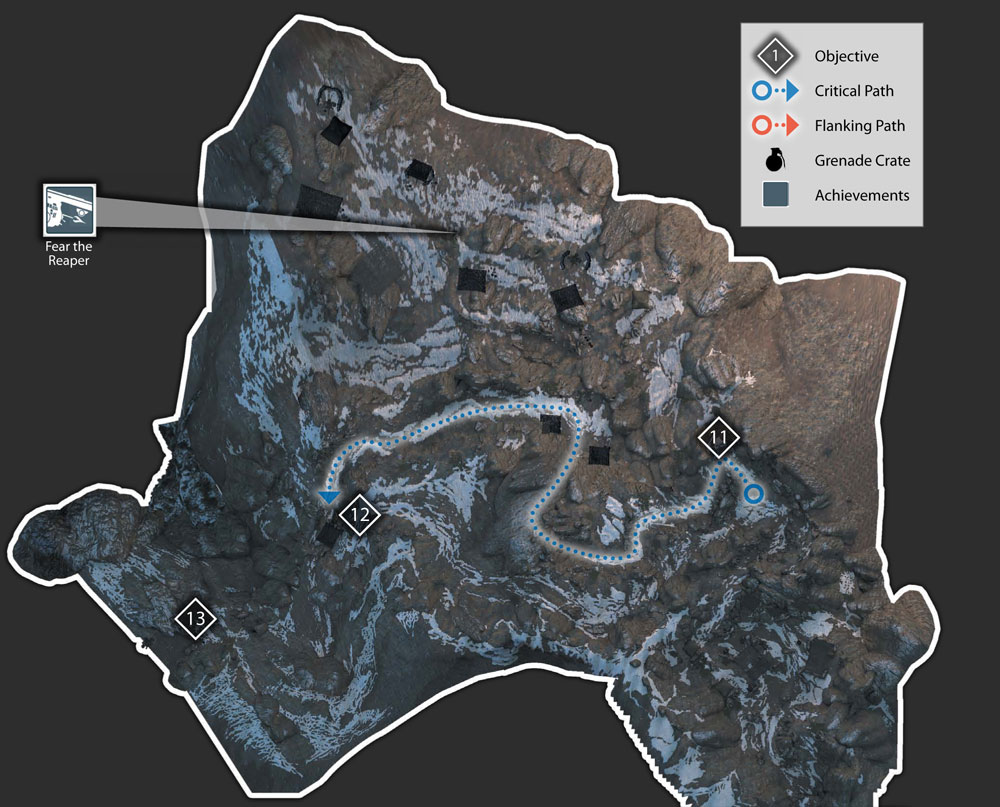
11.Target Enemy Positions with SOFLAM
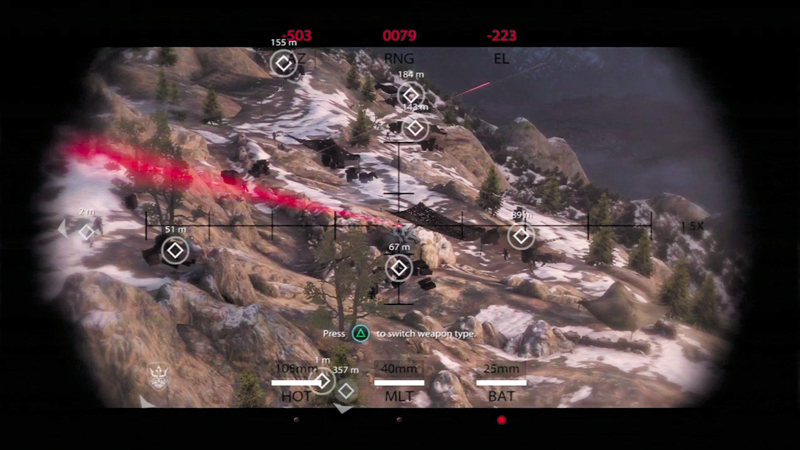
You have to be quick to destroy all of the targets in the Taliban base before your gunship support leaves the area.
Down below you is a Taliban base. Follow your teammate up to a ledge and use the SOFLAM. There are nine targets, which include AAA guns, ammo dumps, and supplies.
You can call in 25mm, 40mm, and 105mm attacks. You don't have a lot of time before Reaper 31 has to return to base due to sunrise.
Therefore, you have to call in your targets quickly. Lase one target, then quickly switch to a different weapon support and lase another target.
You don't have to wait for one strike to hit before calling in another. Try to use the 105mm against the AAA if possible.
12. Continue to OP Dorothy
Now that the camp is in flames, follow your team along the path to a wooden door at the entrance to another cave. Switch on your night vision and enter.
There are no hostiles inside, so continue through the cave and exit into the still burning camp. As you follow your teammate along the path, you see that Reaper 31 has come under fire.
Keep running all the way towards the weapons stockpile.
13. Destroy Reaper's Attacker
As you approach the stockpile, shoot several of the hostiles moving about on the ridge ahead of you. They will try to shoot you if you don't take them out first. Now pick up the RPG on the table.
The AAA is hidden behind some large rocks. However, there is an ammo dump nearby. Take aim and fire the RPG at the center of the crates.
The resulting explosion will not only destroy the ammo but the AAA as well. Reaper 31 is able to escape safely and your mission is complete. For your excellent work, you will receave the Unexpected Guests achievement/trophy.
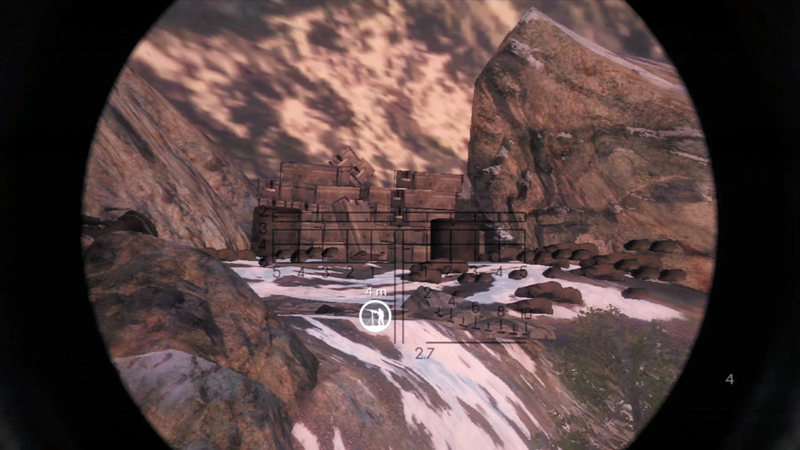
Fire the RPG at these crates of ammunition and you will blow up the AAA in the process.