
Medal of Honor Guide Walkthrough Campaign
Belly of the Beast
Mission Achievements/Trophies
| Image | Name | Description | Gamerscore | Trophy |
|---|---|---|---|---|

|
Full Battle Rattle
|
Complete Belly of the Beast
|
15 | Bronze |

|
Manic Suppression
|
In Belly of the Beast, defeat the DshK in under two minutes
|
20 | Silver |
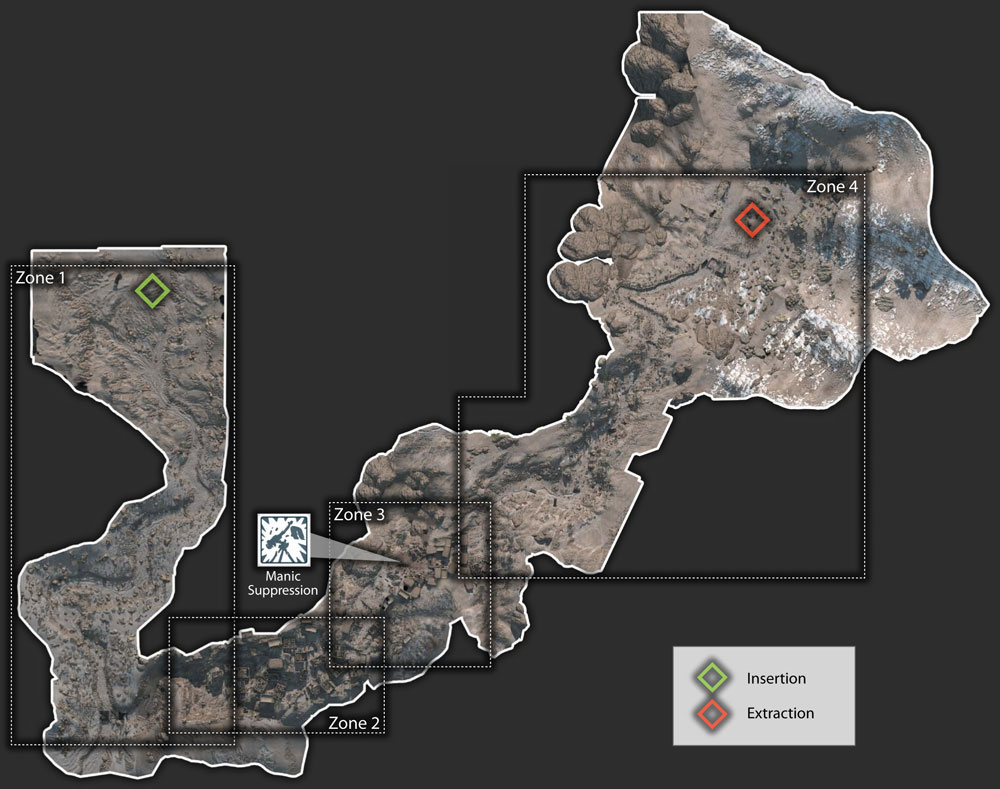
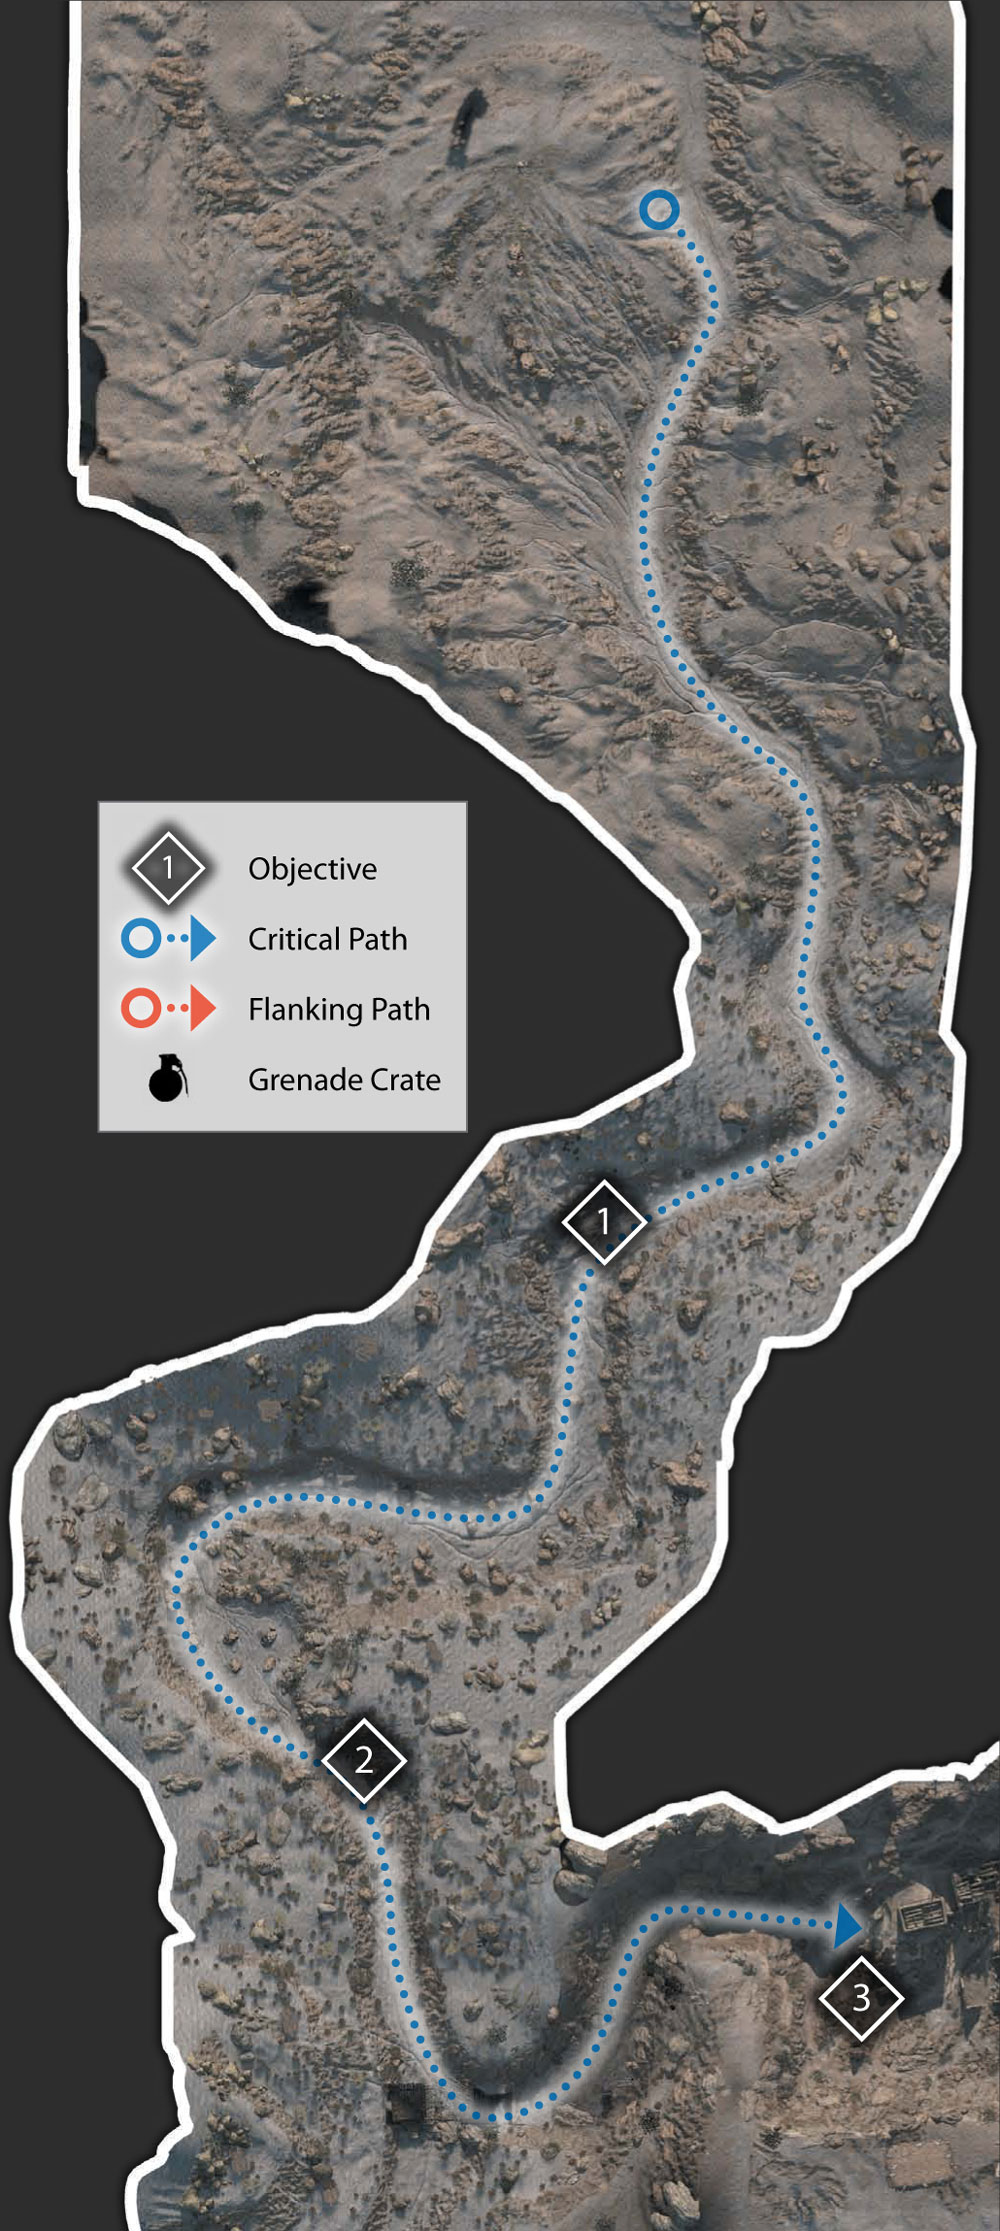
Zone 1
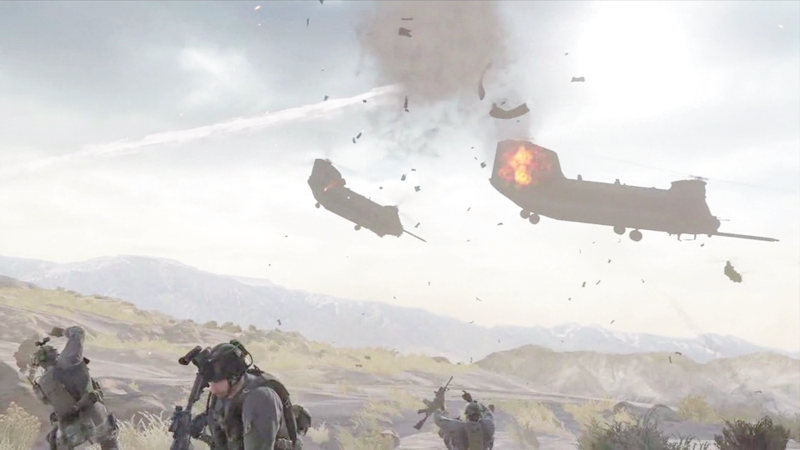
As the transport helicopters are taking off after delivering the Rangers to the LZ, the enemy begins their attack. You must regain the advantage. "Rangers lead the way!"
1. Move through Wadi with Team
Your platoon is under fire right from the start. You are armed with the M249 Squad Automatic Weapon or SAW. As such, you are the heavy firepower of the platoon.
Unlike the previous missions, you will not be moving out in front or flanking.
Instead, you need to concentrate on finding some good cover for yourself and then laying down fire on the enemy while your platoon maneuvers in to finish them off.
However, at the beginning, just follow your platoon down into the wadi and then through it. Don't waste time returning fire. Just keep running.
2. Clear Wadi of Taliban Fighters
When your platoon stops and takes cover, it is time to fight back. Crouch down behind rocks and then either lean around the side or peek up over the top.
Your SAW is outfitted with a scope that increases your accuracy at long range. Use the scope to pick off hostiles with short bursts. As your platoon advances, wait until they reach cover, then dash forward to some cover of your own.
Keep moving along, taking out tangos as you go until you have cleared out the wadi.
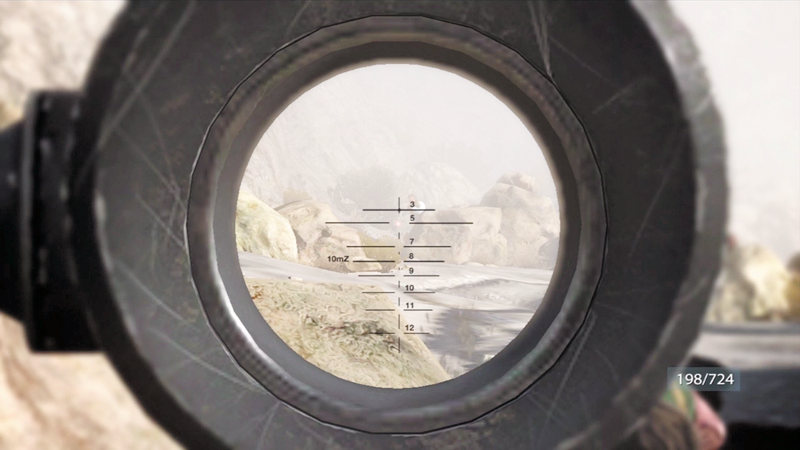
Pick off hostiles with accurate fire. Don't try to mow down everyone or you will run out of ammo quickly.
3. Rally with Team at Village
Continue to follow your platoon along the wadi. When you get to a small bridge over the wadi, climb up out of the wadi and head along a road to the left past an old destroyed Soviet tank from a previous invasion of Afghanistan.
Push on to the village where the rest of your team will regroup with you to prepare for the next objective.
Zone 2
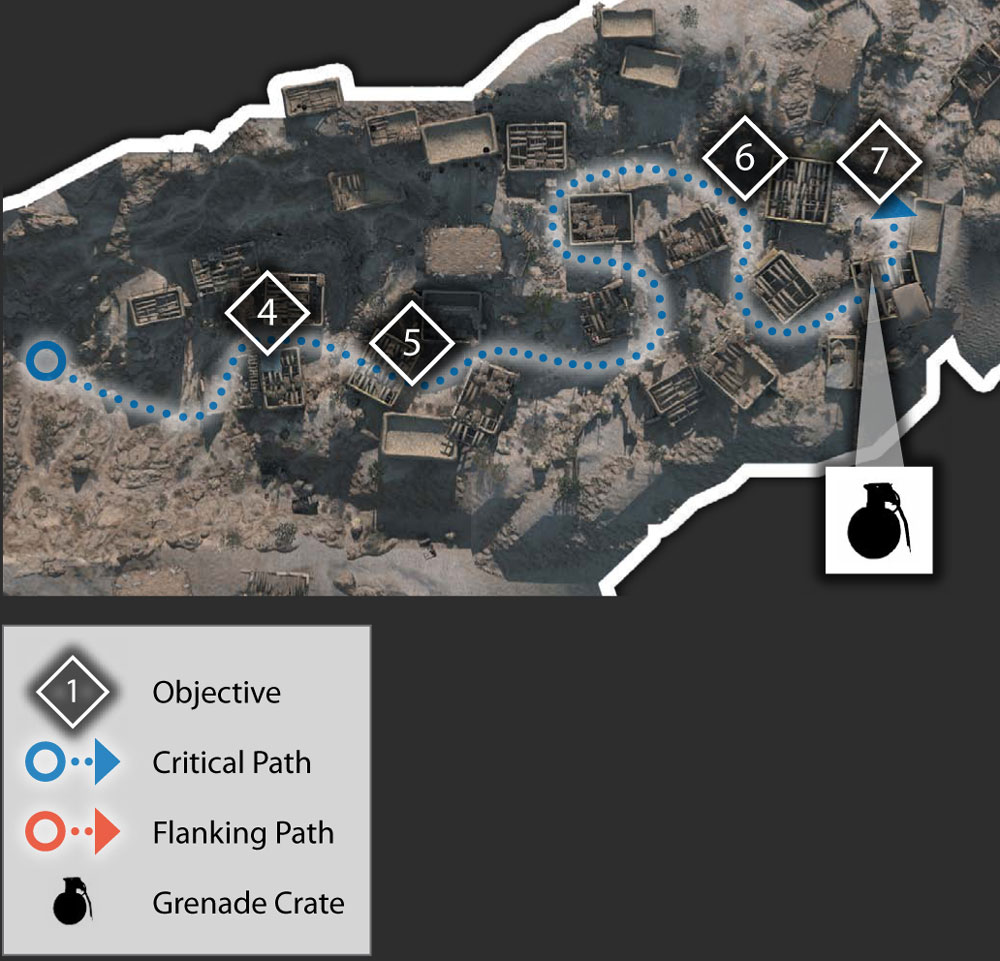
4. Clear Enemy Village
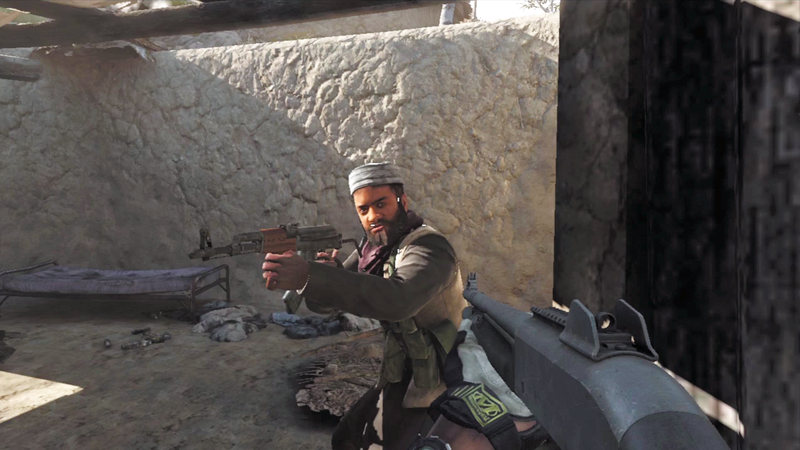
Put your shotgun to good use in the village. Hostiles will jump out at you, so shoot quick.
Move with your team to the edge of the village and take out some hostiles that run out to engage you. Now move into the village. Switch to your M1014 shotgun.
It is much more effective for close-quarters fighting. There are tangos hiding in buildings, so move in and take them out. Your knife can also come in handy for this type of combat.
5. Rally Up with Team
After clearing out the first part of the village, follow your team to a hut. As one of your platoon breaks down the door, rush in and blast away at the enemies inside with your shotgun.
Hold here for a bit so that your team can rally up before continuing.
6. Move through Upper Village
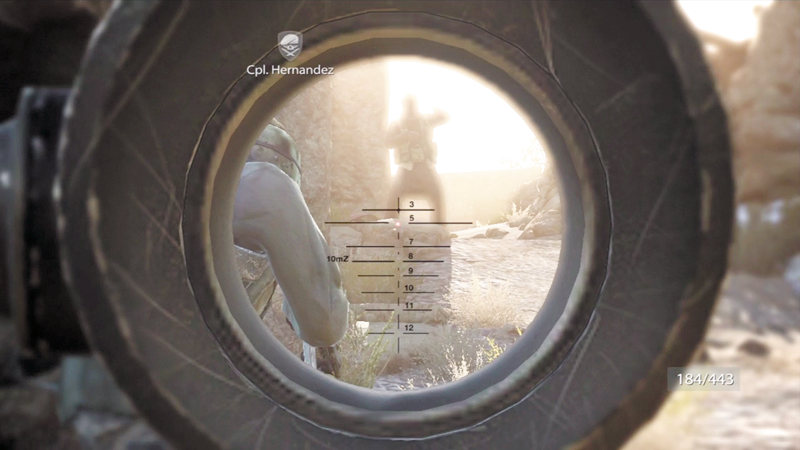
Your SAW is great for clearing out the pathways ahead of your team as tangos move to ambush you.
Follow your platoon through the narrow walkways. Switch back to your M249 while you are outside so you can engage enemies as they lean out from behind cover to attack.
Try to check each building as you go, using your shotgun when entering. Some tangos like to wait for you to walk by and then shoot you in the back.
7. Clear Hut
Follow your team to a hut. After they break down the door, move inside. There are no hostiles inside; however, you will find a crate of grenades. Pick up some if you have already used frags so far in this mission.
Once you are ready, continue outside with your team and take cover behind a low rock wall.
Zone 3
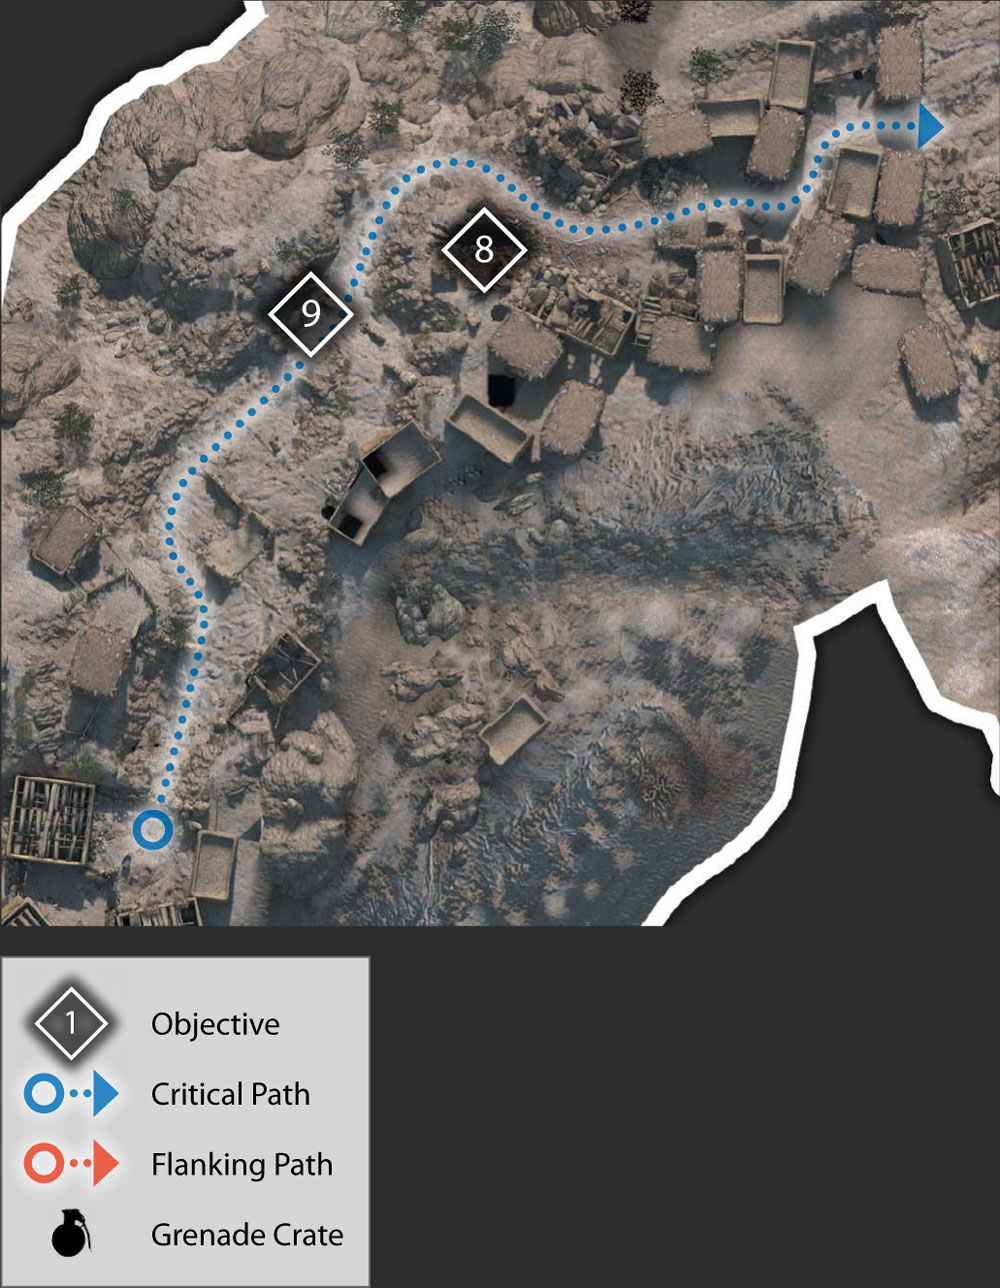
8. Suppress DShK for Team
The enemy has a DShK ahead. You don't have the firepower to take it out. However, one of your platoon is calling in an airstrike. Your team just needs to pop some red smoke grenades on the position to mark it for the F-15s.
Your job is to provide covering fire and keep the position suppressed so some of the Rangers can get close enough to put the smoke on it. Make sure your M249 is fully loaded and then take aim at the DShK position.
Fire short bursts right at it. As enemies move out in front of it, take them out as well. Be careful not to hit your Rangers as they advance in front of you towards the gun.
You may want to move up a bit and take cover behind some rocks—just be careful to suppress the gun first and then sprint to cover. After you see the red smoke, keep suppressing so that the Rangers can withdraw before the airstrike hits.
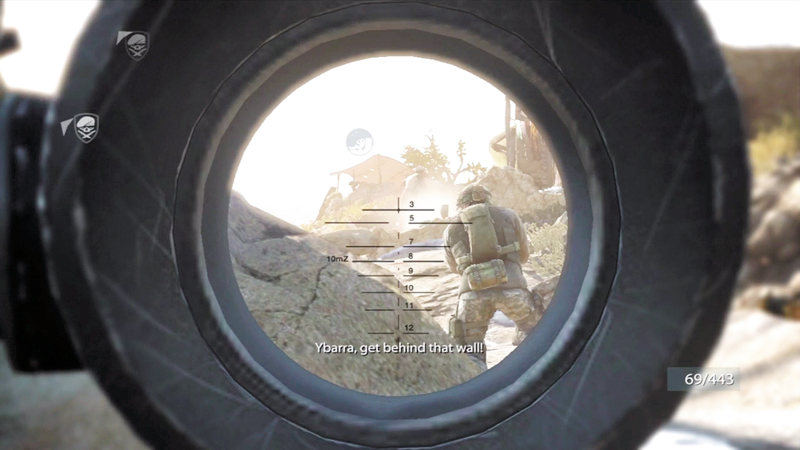
Use short bursts to suppress the gun position. Clear the way for your Rangers.
9. Rally Up with Team
After the gun position is a crater, move forward to join up with your platoon. Take some time to reload your SAW, since you will need it again in just a little bit.
If you are getting low on ammo, be sure to ask one of your teammates for some more. You will definitely need it, too. Follow your teammates through the last part of the village and back out into open terrain.
Zone 4
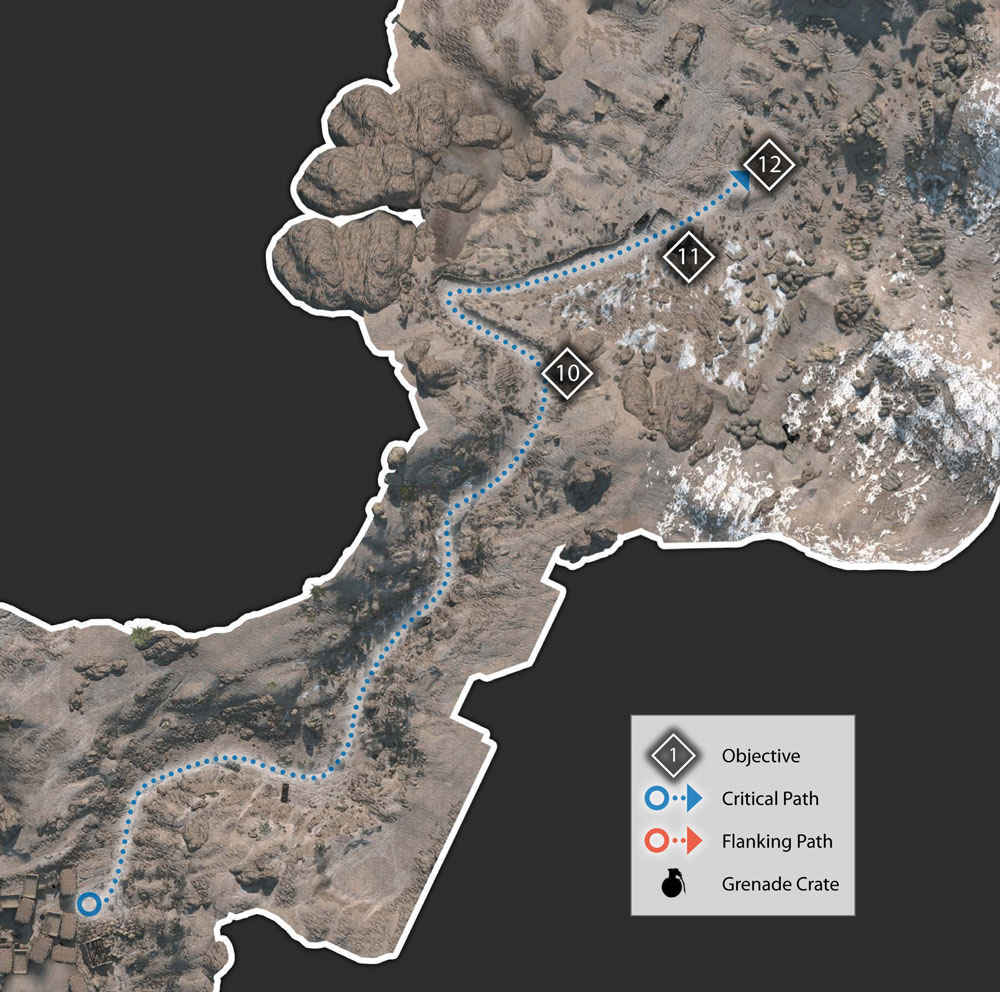
10. Move to LZ Betty
Follow your platoon down another wadi. As before, find cover and provide suppressing fire as they advance. Tangos seem to pop up all over—down in the wadi as well as up along the edges.
Watch out for hostiles with RPGs up on the hills. They will fire down on your platoon, so follow the smoke trails back to the enemies and take them out.
Advance through this winding pass until you reach the end and can look down on LZ Betty.
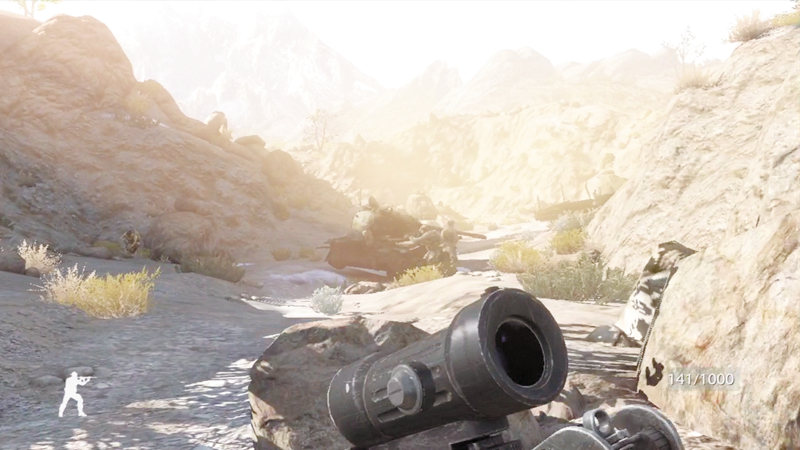
The wadi can be dangerous with hostiles in front of you as well as on the sides. Keep your eyes open and look around in all directions.
11. Secure LZ Betty
Continue down a path to a building. The walk is clear, but you need to ensure that there are no hostiles in the building. As your platoon kicks it open, the building explodes.
The enemy set a trap. You are injured, but your fellow Rangers drag you into the building for cover. There are more enemies on the way.
12. Defend your Position
Take cover behind the walls and start firing at enemies coming at you from the hills. Many of them are at a distance, so use the scope to pick them off. As your platoon moves to a hut which provides more cover, follow them.
Now you can fire out of windows with walls that will help protect you. Your teammates will call out targets to you. Pay attention when they let you know about RPGs.
Take those out quickly or they will kill you. The attackers begin coming down the hill along the right side. Engage them and then watch for more coming from the left side.
They will fire RPGs and take out part of hut, reducing your cover. Keep killing hostiles to keep them away from your position.
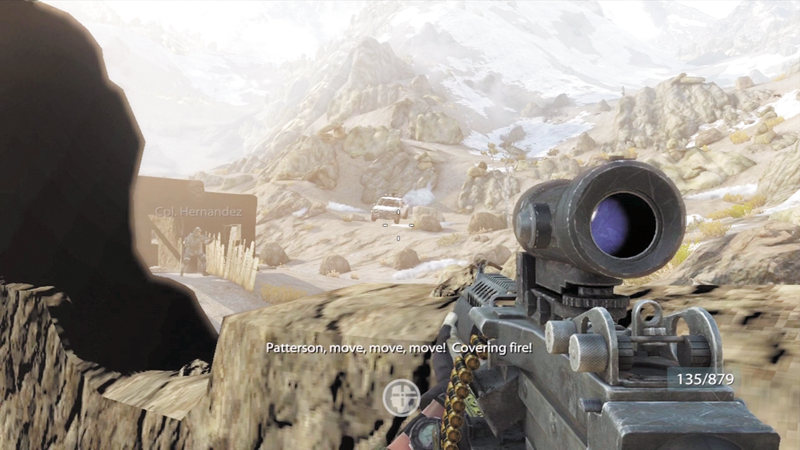
There are tangos everywhere—and they just keep coming. Don't fixate on one spot. Keep looking around and firing away.
The enemies will send a pickup truck filled with explosives down into your position. When you see it rolling, get out of the way before it destroys the rest fo the hut.
As you move out of the destroyed hut, watch out for tangos coming from the far right.
As the fight continues the enemies will become bolder and try rushing the hut. Don't let them get in close if you can help it. Eventually they will be able to flank you and sneak up from behind your position.
When this occurs, try to move back into the building so you have some cover from at least a couple sides.
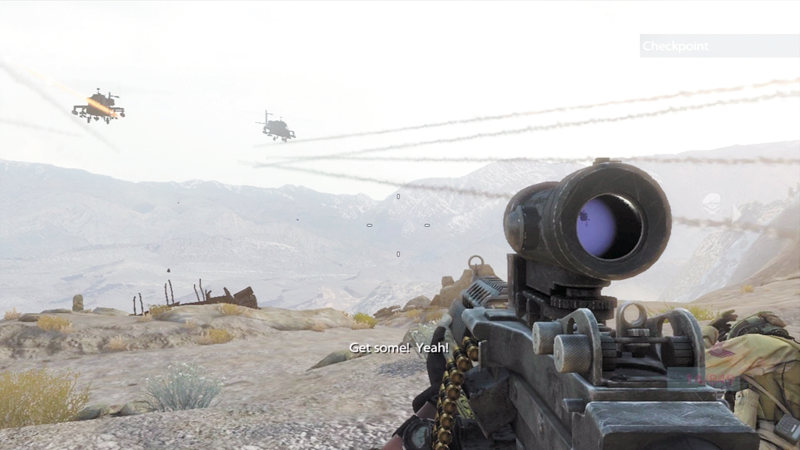
The Apaches arrive just in time and make short work of the hostiles.