
Dungeon Siege III Guide Walkthrough Chapter Six
Crypts of the Sacred Blood
Crypts of the Sacred Blood
Side Quest: Major Malfunction
A troubled goblin inventor named Sweatcog stands in the Lower Ward, not far from the entrance to the Crypts of the Sacred Blood. Speak with Sweatcog to learn how the Legion can be of assistance.
 Destroy Sweatcog’s Automaton

One of Sweatcog’s automatons is malfunctioning badly, and it needs to be stopped before it does any serious harm.
Boss Battle: Sweatcog’s Automaton
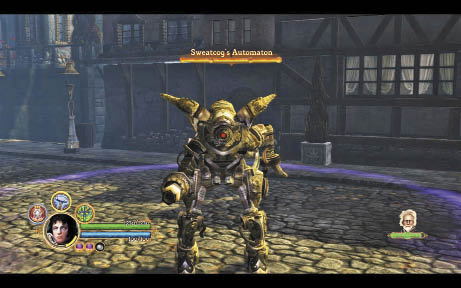
Accept Sweatcog’s quest and follow the quest guide across town, heading into a showdown against a dangerous battle-ready automaton. There’s nothing else for it—smash up the enraged robot to shut it down permanently, attacking it from range if possible. If you must close in, dodge to avoid the automaton’s devastating flamethrower attacks and strike from behind. Terminate the automaton, then return to Sweatcog to claim your reward—and obtain a second side quest from the grateful goblin.
_opt.jpeg)
Side Quest: Proof of Sabotage
Complete Sweatcog’s initial mission to receive a second quest from him. You can easily complete this side quest while you investigate the crypts for the meisters.
Find the Automaton Parts
Sweatcog isn’t sure what went wrong with his automaton, but he suspects that it may have been sabotaged. Look around for parts that might have been stolen from Sweatcog’s lab.
Side Quest: Cryptic Inheritance
Speak with Hermann Holtzman, who stands near the entrance to the Crypts of the Sacred Blood, to acquire a profitable side quest that you can easily fulfill while investigating the crypts for the meisters.
Enter the Crypts
Hermann Holtzman has assembled a list of Legion artifacts that were looted from the Grand Chapterhouse 30 years ago. The stolen items were buried with the thieves who took them, and they now lie within the Crypts of the Sacred Blood.
Find the Gang of Thieves
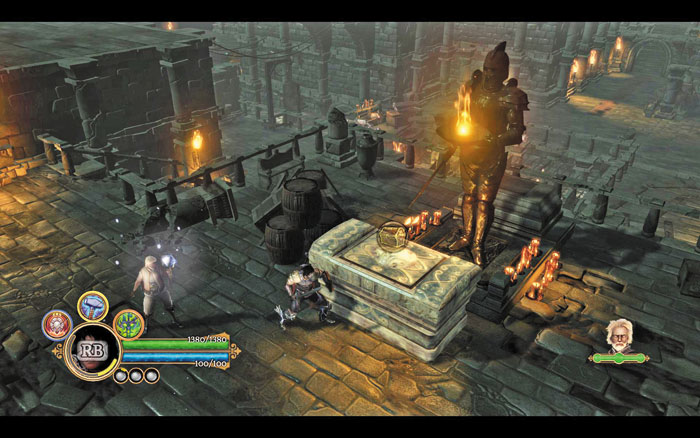
Open the sarcophagi in the crypts to discover random loot.
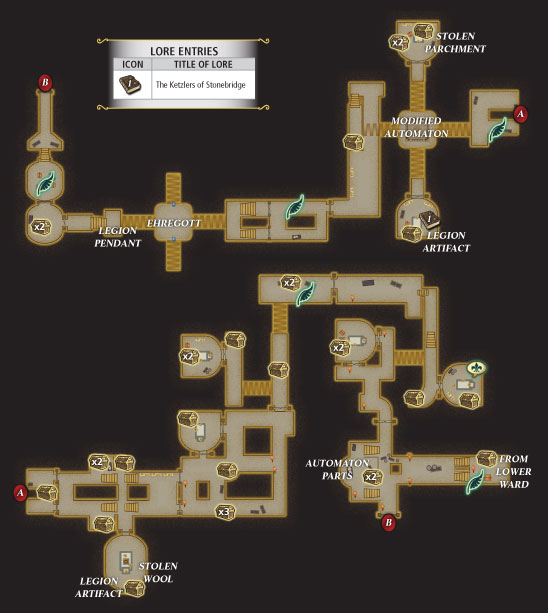
Let the quest guide lead you toward the Crypts of the Sacred Blood, then gather your courage and head inside. You soon discover evidence of Meister Mudgutter’s thieves—automaton parts are strewn all over the place. Tune your quest guide to Sweatcog’s side quest and follow the guide to locate a special automaton sprocket that rests atop a table. Open a nearby treasure chest as well before hurrying back outside to speak with Sweatcog and complete his easy quest.
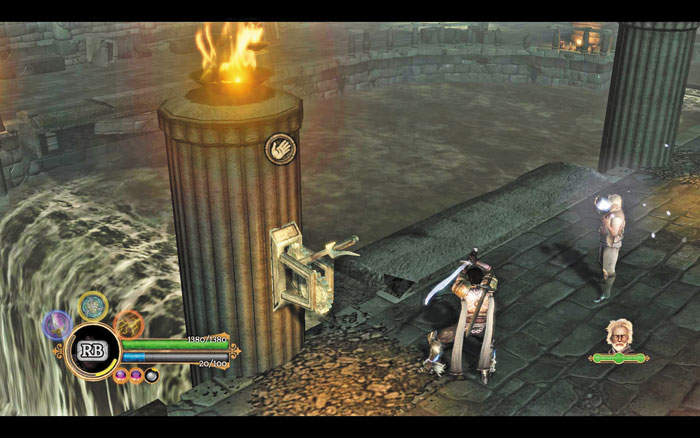
Now set your quest guide to the “Cryptic Inheritance” side quest and follow it back into the crypts. Search for treasure and slay the lowly enemy thieves that rush to thwart you as you investigate the crypts—find a unique belt for Reinhart in a chest within a nearby burial chamber. You eventually come to a lever that sticks out from a column—pull the lever to extend a bridge across the nearby water channel, then cross the bridge to venture deeper into the crypts.
Side Quest: Stolen Shipments
In the chamber beyond the bridge, you discover a shipping label that indicates some thieves have stolen goods from a Stonebridge merchant named Schnaus. Inspecting this shipping label gives you a new side quest that you can easily complete while exploring the crypts.
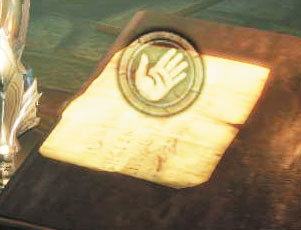
Find the stolen goods within the crypts so they can be returned to their rightful owner.
Recover the Stolen Goods
_opt.jpeg)
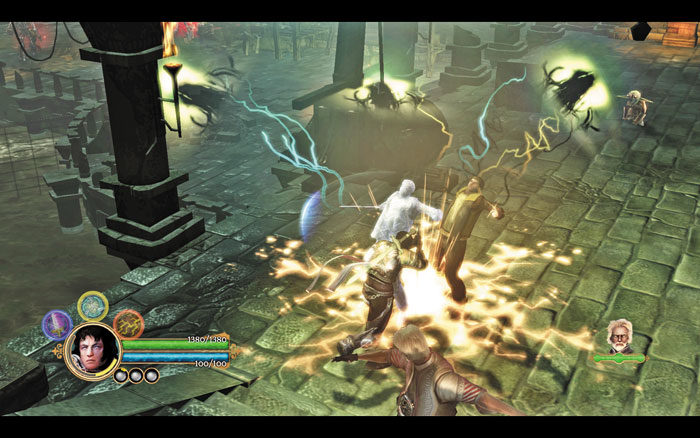
Continue following your quest guide to encounter a fierce group of villains led by a formidable Goblin Demolitionist. Stay mobile and dodge to avoid the explosive projectiles that the Goblin Demolitionist throws. Make a sweep for treasure when the dust settles, then venture onward to locate another lever that raises a second bridge—and also activates a series of swinging pendulum blades.
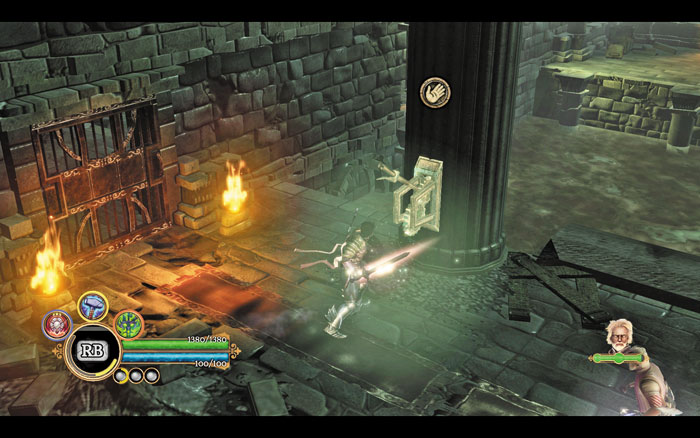
Approach the first pendulum blade and manipulate the camera so that you can clearly see its exact line of travel. Then dart past the blade after it swings past. Beware: enemies will ambush you as you navigate this treacherous stretch—try to remain stationary as you slaughter them so as not to move into the path of a swinging blade. Ignore the locked door beyond the pendulums and pull the nearby lever instead to extend another bridge.
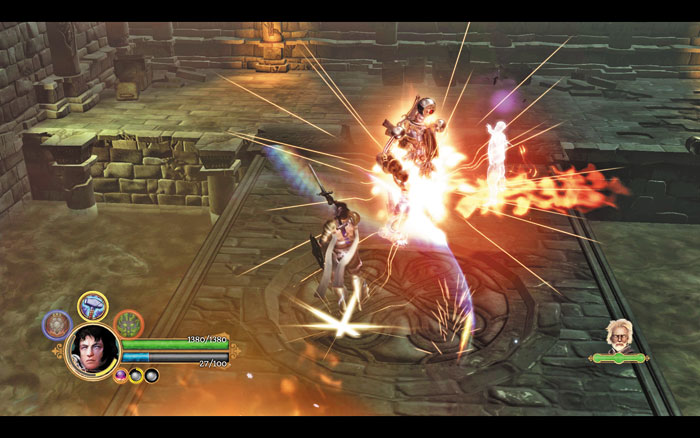
Wipe out the thieves beyond the bridge, then loot a nearby burial chamber for valuables. Exit the chamber afterward and pull a lever on a column outside of the room to open the locked door you noticed moments ago. Follow the quest guide back to the door and pass through to delve even deeper into the thieves’ den.
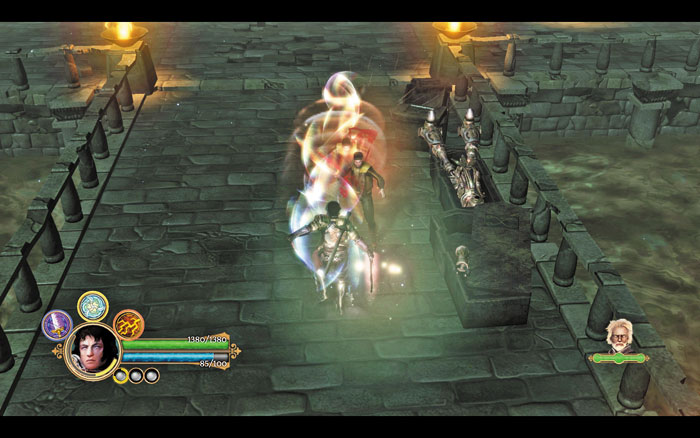
Slay many more thieves in the wide area that follows, and make a thorough search of this area for valuables. Scour the nearby burial chamber for precious loot as well. Take your time and refer to the maps to see where each bit of fortune lies. Proceed through the northwest door when you’ve finished pillaging the place.
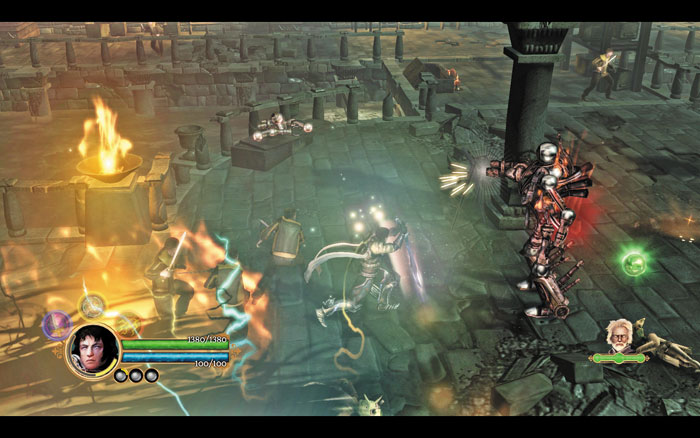
Enemy attacks intensify as you venture deeper into the crypts. Unleash powerful anti-group abilities to quickly cut down your foes as you follow the quest guide to a remote lever. Give the lever a pull to halt a nearby pendulum blade and open the surrounding doors—but be ready to face a mob of villains after doing so. Enter the nearby room afterward to discover the second of Schnaus’s stolen shipments, as well as a Legion journal that your friend Hermann Holtzman will be interested in.
Exit the room and go north to investigate the other two doors you’ve opened. Both lead to the same wide hall—fight your way toward a save beacon, then throw a nearby column’s lever to extend a bridge that leads to a monstrous caged automaton. Ignore the robot for now and pull two more levers to extend bridges to the east and west. Go west first and pull yet another lever to free the automaton.
Boss Battle: Modified Automaton
This mighty combat machine is similar to the one you destroyed for Sweatcog during his “Major Malfunction” side quest. The Modified Automaton unleashes lethal flamethrowers when battled up close and owns powerful ranged attacks as well. Use superior speed and movement to avoid this adversary’s strong offense, and dismantle it with ranged attacks or by striking from the rear.
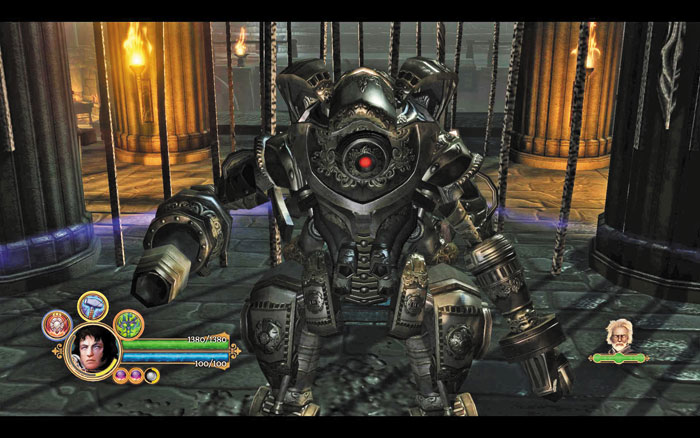
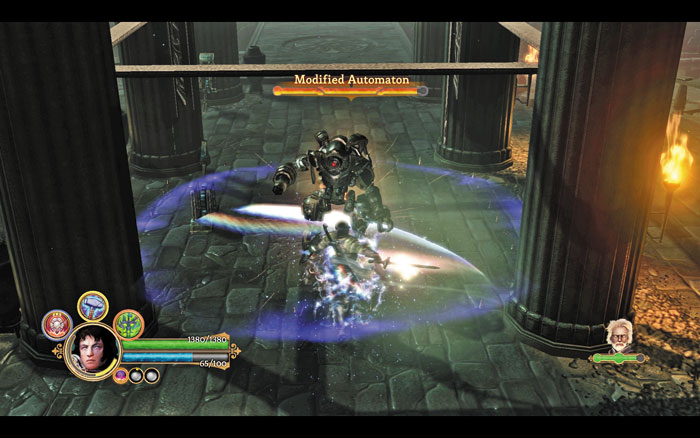
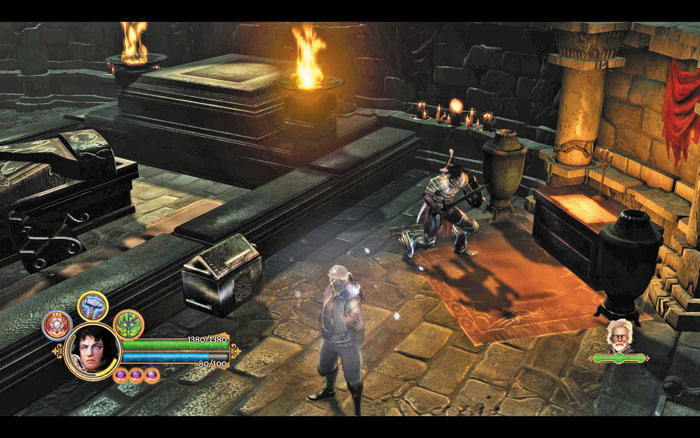
Throw the lever inside the Modified Automaton’s cell to open the north passage. Before proceeding north, search the east and west side chambers to discover a Legion urn that will interest Hermann Holtzman, as well as Schnaus’s final stolen shipment—you’ll also find a unique pair of pants for Reinhart in a treasure chest. Afterward, pull the east lever to extend a bridge that leads north, deeper into the crypts.
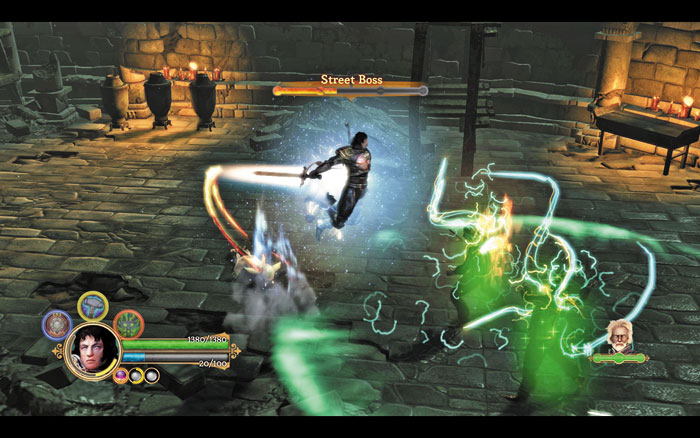
Go north, head downstairs, and dispatch a gang of thieves led by a dangerous Street Boss. Slay these scoundrels with your most powerful moves before venturing onward to locate a save beacon. Pull one last column lever to extend a final bridge that leads toward the thieves’ brazen leader.
Boss Battle: Ehregott
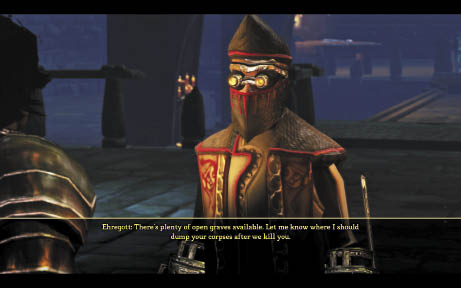
The master thief is dismayed that all of his scheming and hard work have been undone, and he’s eager to vent his aggression on you. Ehregott is extremely resilient and unleashes powerful ranged attacks as well as quick melee strikes that can stun you for a short time. Hit Ehregott with your most powerful single-foe attacks and abilities, and beware the hulking automatons and goblin thieves that he regularly summons. Keep up the pressure until the grand footpad finally falls.
_opt.jpeg)
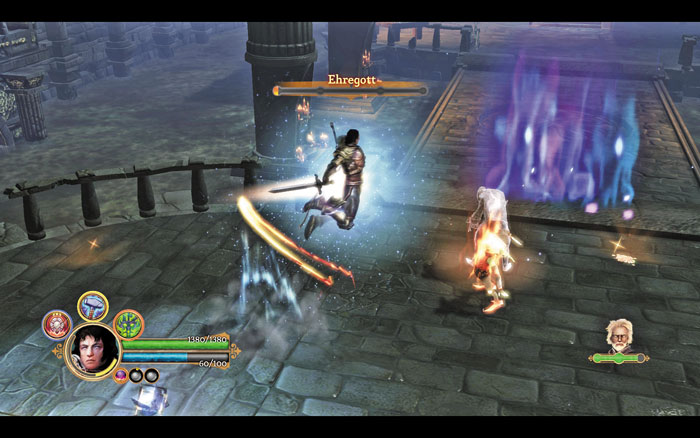
Dispatch Ehregott’s lowly cohorts and smash the surrounding vases for useful orbs.
Realizing that he’s met his match, Ehregott lays down his weapons and agrees to cooperate. Question the chief thief to learn that a mysterious character called the Dapper Old Gent is the real cause behind the thieves’ recent automaton-stealing activities. Ehregott has no idea how to locate the Dapper Old Gent, but he’s clearly someone you need to speak with.
You automatically gain Influence with your current companion after the dialogue with Ehregott concludes. Search around to claim loose loot that fell during the frantic battle, especially the Nickel-Odion Gauntlet for Reinhart that Ehregott has dropped. Then follow your quest guide to locate the final Legion artifact for Hermann Holtzman, which isn’t far.
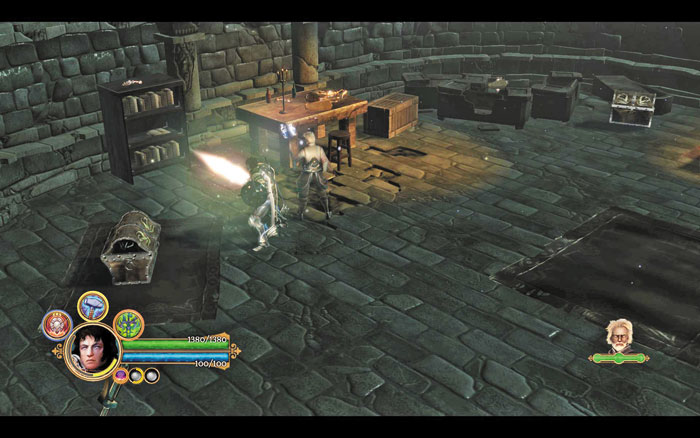
Raid a few more treasure chests on your way back to the crypts’ entrance.
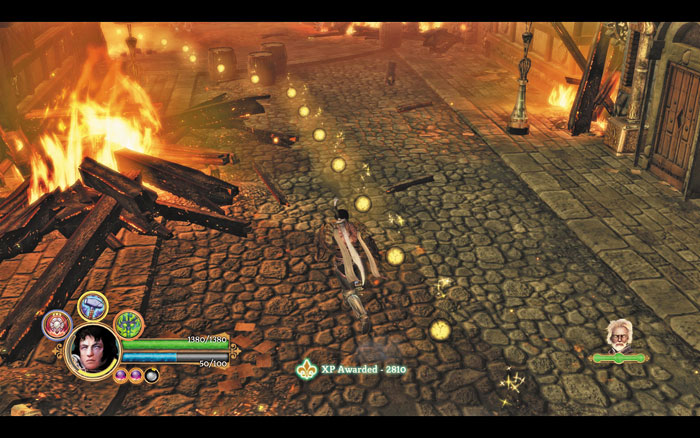
Set “Trouble in the Crypts” as your active task, then let the quest guide light the way back to the crypts’ entrance. Exit the crypts to discover a shocking scene: Stonebridge has fallen under attack!
Marten Guiscard
Guiscard awaits you outside the crypts with troubling news: The city’s automatons have seemingly gone mad. Apparently, without cause or warning, the machines just started slaughtering everyone and everything in their sight. Marten informs you that the automatons have taken control of the city’s main square and advises that you hurry to the Meisterhall to ensure the meisters’ survival. The loyal legionnaire then returns to the Grand Chapterhouse to defend the vital stronghold.
Protect the Meisters
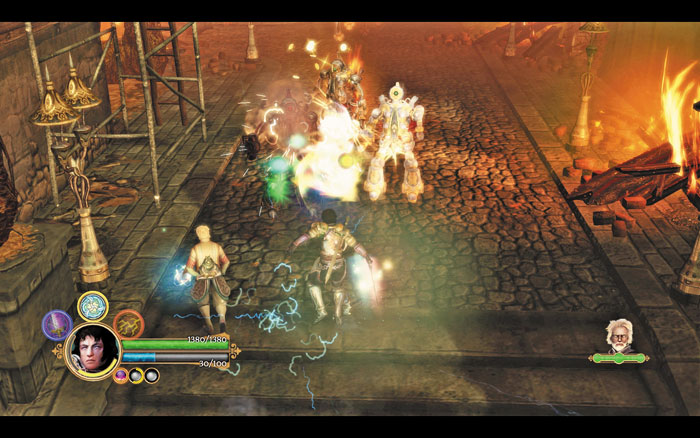
There’s no time to waste—fight your way up through the Lower Ward, dismantling each group of rebellious automatons you encounter. Beware the machines’ powerful offense, especially their short-range flamethrowers, and employ your most vicious abilities to bring down each mechanical foe. Don’t stop until you reach the Meisterhall.
Sigismund Wulf
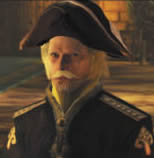
Your friend Sigismund Wulf greets you inside the Meisterhall with urgent news: The Dapper Old Gent was just here but fled when you entered the hall. Fortunately, Wulf’s few remaining loyal automatons have managed to hold the hall’s doors and keep the enemy at bay, so the meisters are safe. Sigismund says the Gent fled through a nearby shimmering door and points to its location. It must be a secret Causeway gate!
Follow the Dapper Old Gent
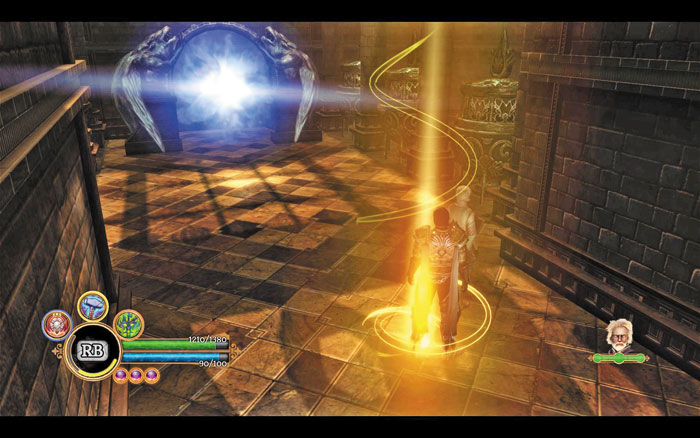
You’ve got to catch that Gent! Hurry into the back room and save your progress before stepping into the shimmering Causeway gate. A challenging adversary awaits—the Legion’s most difficult test thus far!
Boss Battle: Dapper Old Gent
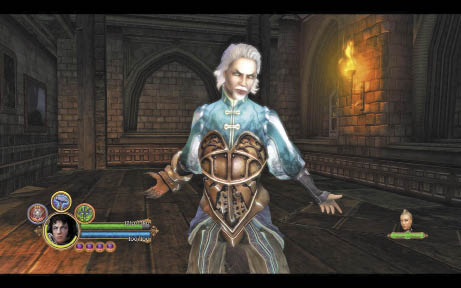
To defeat the Gent, you must first deactivate the central force field he’s hiding inside. Begin by destroying the non-shielded transport tubes along the outskirts of the platform—formidable automatons emerge from these tubes, so the faster you destroy them, the fewer machines you’ll need to fight. After you destroy several transport tubes, the nearest power generator loses its energy shield—destroy the generator to expose the Gent’s central platform, then attack the platform to damage it. Repeat this sequence until all four generators are destroyed and the Gent is forced to flee back through the Causeway gate.
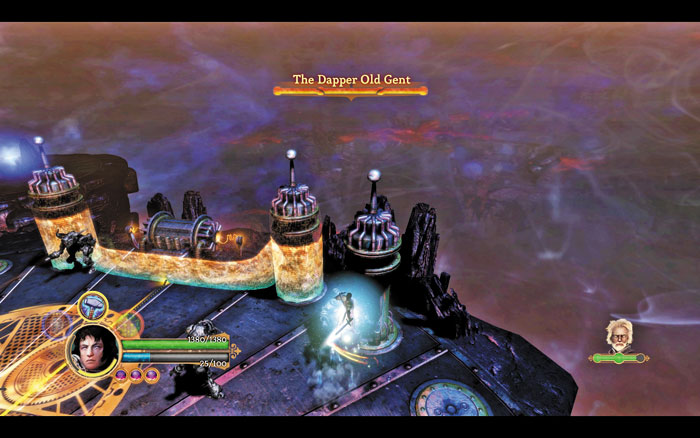
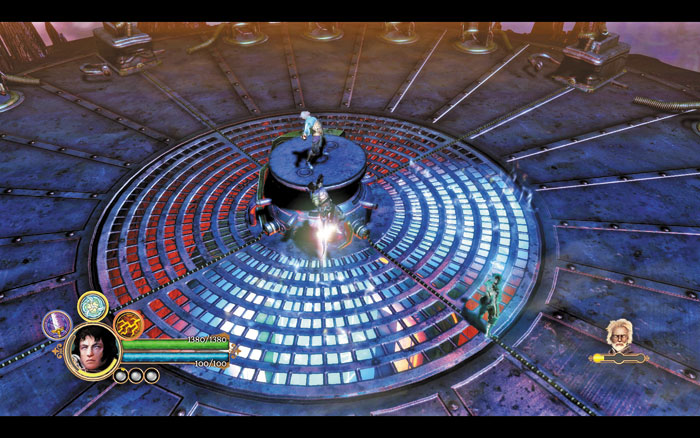
Beware the automatons’ lethal flamethrowers—either keep your distance or strike from the rear.
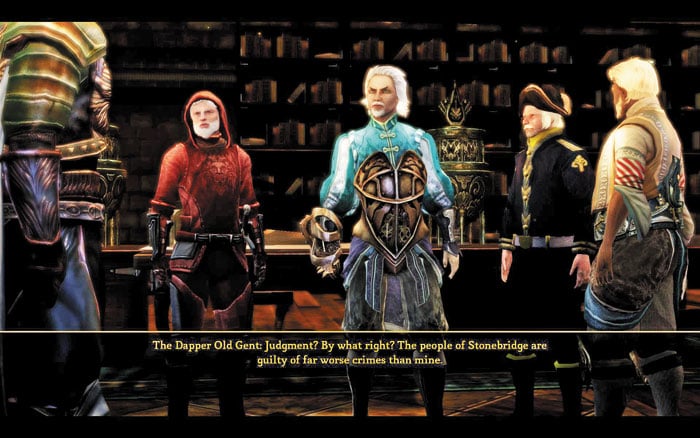
Decide the Gent’s Fate
Upon returning to the Meisterhall, you find that the Gent has been apprehended by Sigismund Wulf. Question the Gent to learn that he is actually a former legionnaire. The Gent has spent the last three decades tormenting the people of Stonebridge in retribution for their actions against the Legion 30 years ago. The horrible truth then comes out: During Jeyne Kassynder’s former occupation of Stonebridge, many citizens rose up against the Legion, stormed the Grand Chapterhouse, and helped to murder all of Stonebridge’s brave legionnaires. Ask the Gent if he “saw this himself” to gain Influence with Lucas, or tell him that “not all of them are guilty” to earn Influence with Reinhart. Or, gain Influence with Katarina by saying that “this changes things.” The Gent goes on to say that he escaped into the Causeways and has since used the magical passages to aid in his undoing of the city. You must now decide the Gent’s fate: either hand him over to Wulf to stand trial for his violent actions against Stonebridge, or show him mercy and take him into the Legion’s custody. The decision you make affects the Deed you earn at this stage in the adventure but has no bearing on the meisters’ impending vote. If you can’t decide what to do, know that turning the Gent over to the meisters gains you Influence with Lucas or Anjali, while choosing to protect the Gent by restoring him to the Legion’s fold earns you Influence with Reinhart or Katarina—the latter option being worth double the normal Influence gain.
Deed Gained—Legion Redeemer - Will +3
You spared the Dapper Old Gent from the wrath of the city authorities and offered him sanctuary with the Legion.
Deed Gained—
Lord Protector of Stonebridge -
Stamina +3
You handed over the Dapper Old Gent to the authorities of Stonebridge, so that he might stand trial for his crimes.
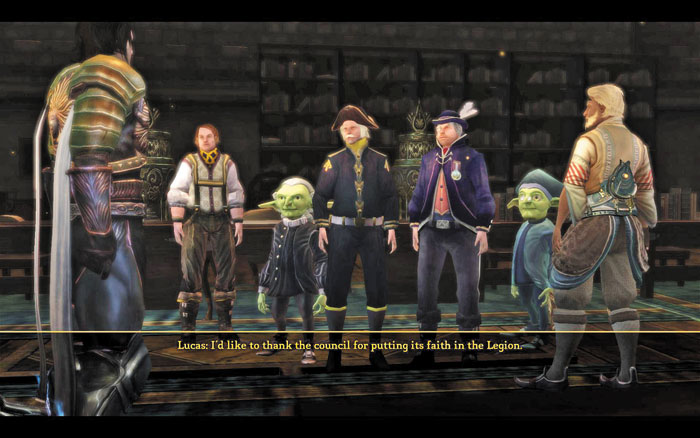
The Big Vote
You’ve made your ruling on the Gent’s fate—now the meisters get to rule on whether or not Stonebridge should publicly side with the Legion. Gain Influence with Lucas by saying that your “actions are enough,” or with Anjali by warning the meisters not to “make a mistake.” Or say that you’ll “respect their decision” to gain Influence with Reinhart. Naturally, your recent deeds of valor make this meeting a mere formality—the vote goes swiftly in your favor. Brilliant work—the people of Stonebridge have now openly declared an alliance with the Legion!
Side Quest: Uncovering the Past
After the vote, speak with Meister Mudgutter to complete the “Trouble in the Crypts” side quest and receive your due reward. Talk to Mudgutter again afterward to receive a new side quest that you can easily complete before moving on to Glitterdelve.
Confront the Accused

Meister Mudgutter has identified three citizens of Stonebridge who are guilty of crimes against the Legion. All three participated in the attack on the Grand Chapterhouse 30 years ago. You must decide whether you wish to press charges against them.
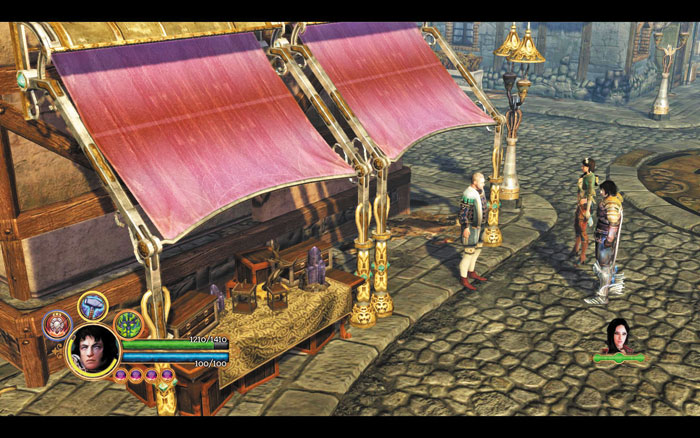
Simply follow the quest guide to locate each of the three suspects, then question each one to hear their stories. Tell Rudolf Maxwell that he “owes us nothing” to gain Influence with Lucas, or ask for “whatever you can offer” to gain Influence with Katarina—along with a bit of gold. Decide that Frederick Pratz should “go to jail” to gain Influence with Anjali, or tell him that “an apology will suffice” to earn Influence with Reinhart instead—along with a one-of-a-kind vambrace for Lucas. Or, tell Frederick that he “owes us” to gain more Influence with the always-savvy Katarina, along with some more gold. Lastly, when speaking with Wenzel, decide that he should “go to trial” to gain additional Influence with Anjali, or show the old sot mercy and inform him that there’s “no need to press charges” to gain more Influence with the kindhearted Reinhart. When you’ve finished dealing with all three, complete the quest by returning to Meister Mudgutter and informing him of your verdicts regarding the men’s fates.
Werner Schnaus

If you found all of the “Stolen Shipments” side quest items while braving the Crypts of the Sacred Blood, don’t forget to complete the quest by returning the stolen goods to Werner Schnaus. Tell Werner that recovering the goods was “my pleasure” to gain Influence with Lucas, or ask him to “thank us with coins” to gain Influence with Katarina. You will receive a reward from Werner no matter which option you choose.
To Glitterdelve!
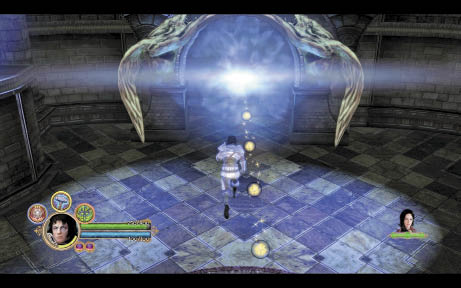
You’ve done great things here in Stonebridge, legionnaire, but the royalists still need you. Barter with the city’s merchants one last time, then set “The Tumbledown Court” as your active task and follow the quest guide back to the Grand Chapterhouse’s Causeway gate. Speak with Odo, Marten Guiscard, and possibly the Dapper Old Gent (if you spared him from the meisters) before mustering your courage and stepping through the shimmering portal.