
Dungeon Siege III Guide Walkthrough Chapter One
A Gathering in the North
I write to you, my young friend, with urgent news.
I know your childhood has not been easy, but Jeyne Kassynder hunts for us still. Now I fear that her spies may be getting close.
We cannot delay any longer. We still have a chance to join together, rebuild the Legion, and take our country back from Jeyne Kassynder, before it’s too late.
The sons and daughters of the Legion are gathering in the north, at the old Montbarron Estate. I urge you to join us in the valley of Rukkenvahl, as quickly as you can. Help us restore all that was lost.
Your faithful friend, Odo.
Montbarron Estate
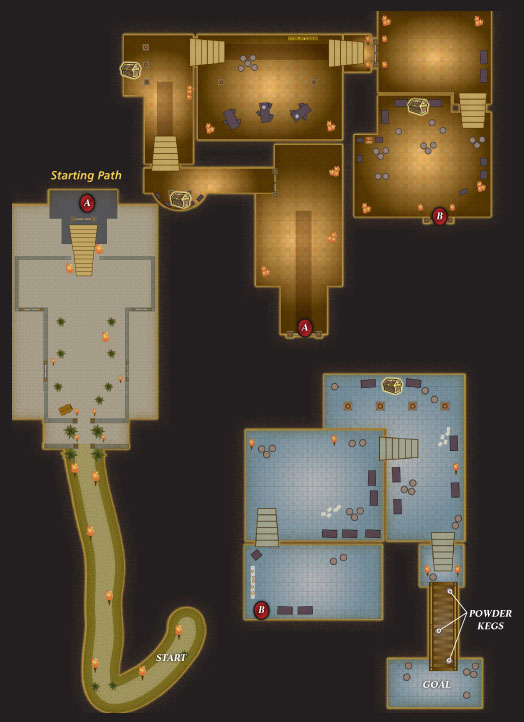
Travel to the Estate
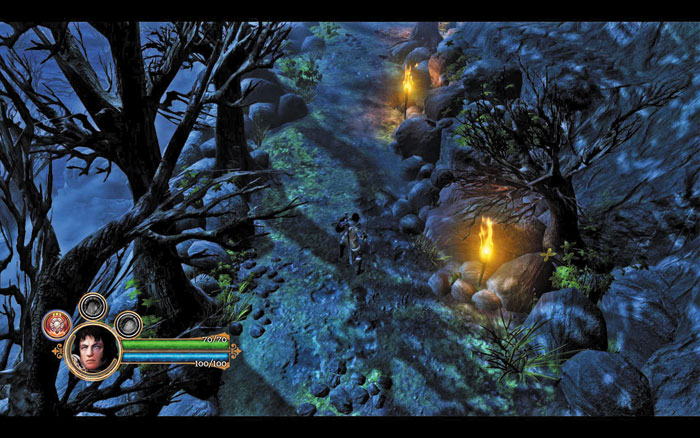
No matter which character you’ve selected, your adventure begins on a quiet, moonlit trail. The Montbarron Estate isn’t far—proceed along the path, paying attention to the informative tips that appear onscreen.
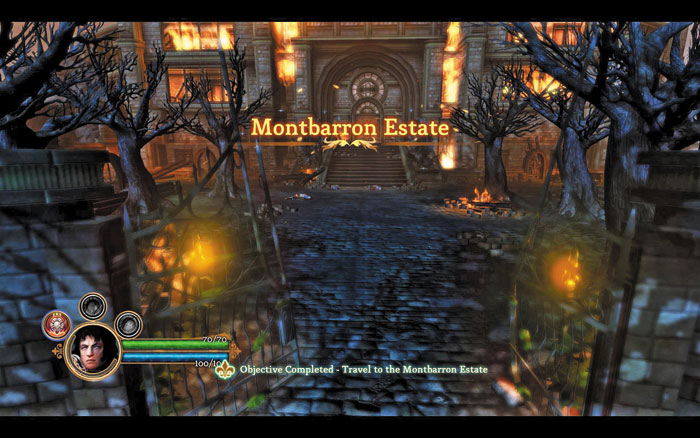
Use the quest guide and minimap to help you keep your bearings.
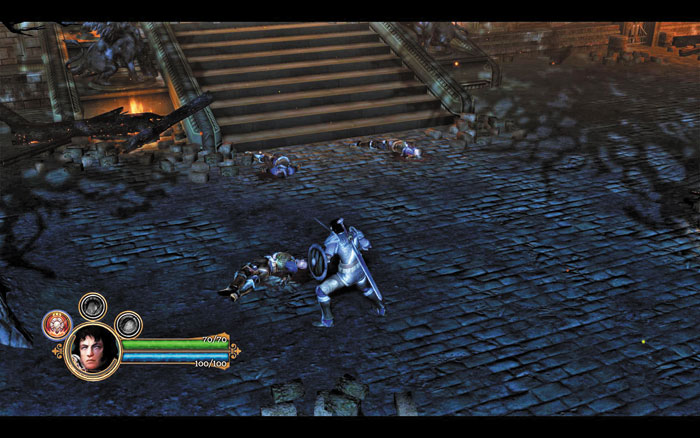
Hurry past the battered gates and begin searching the courtyard for anyone who might need help. Bodies lie strewn about the grounds—inspect them to discover that they’ve all been murdered in horrific fashion. Someone must have talked about the gathering—the Legion’s enemies have been here.
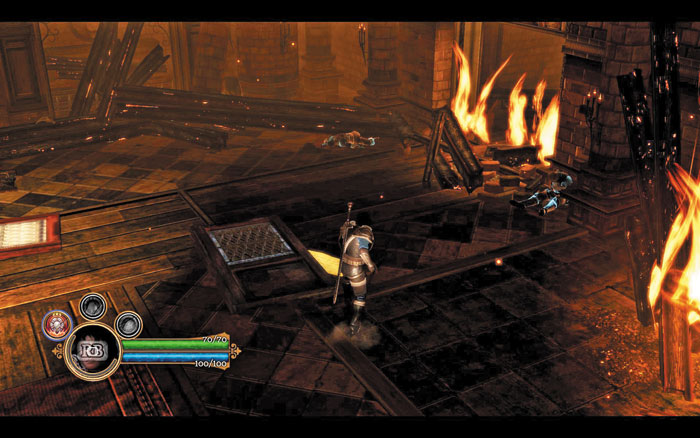
Open the estate’s front door and enter the burning manor. Flaming debris crashes down, nearly crushing you; search the room afterward to discover two handwritten notes on the ground, along with a few more grisly corpses.
Continue investigating the estate—a tutorial tip soon appears next to a weapon rack. Inspect the rack to knock loose a random weapon, then pick up the weapon to add it to your inventory. Call up the Equipment screen afterward to decide whether or not you wish to equip it.
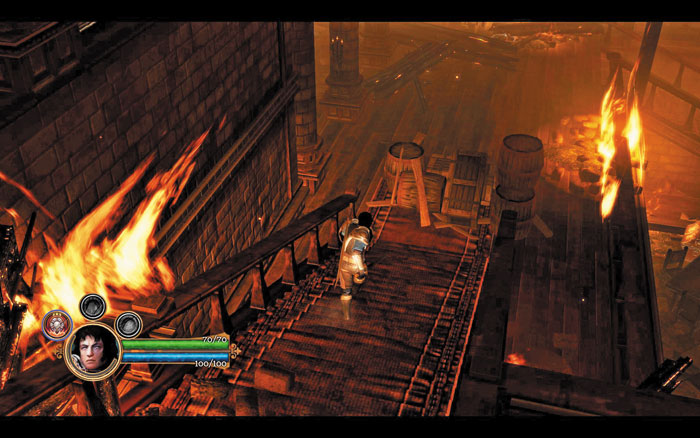
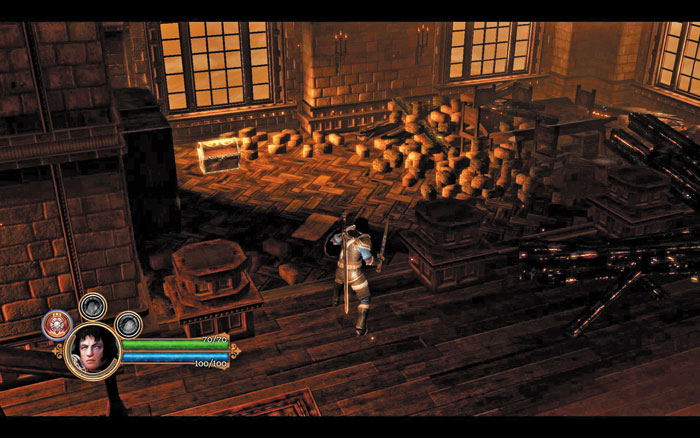
Go downstairs and attack the barrels at the base of the staircase to smash them from your path. Gold and other valuables may spill out of barrels and other breakable objects that you destroy, so try attacking everything you see. Turn left after smashing the barrels to discover a note on the ground and a treasure chest. You might receive a weapon, some armor, or a tidy sum of gold from treasure chests—the result is always random.
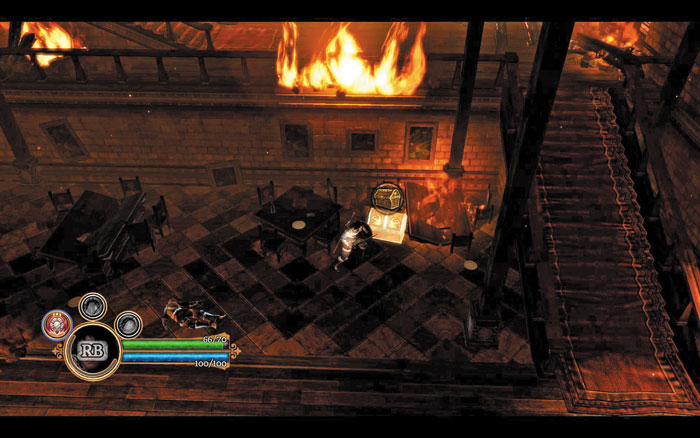
Descend more stairs and destroy more barrels to clear the way forward. At last, some of the estate’s attackers make their appearance—two battle-hungry Lescanzi mercenaries rush up from the room below. Defeat these lowly foes with a fury of attacks, then open the nearby treasure chest to find some more loot.
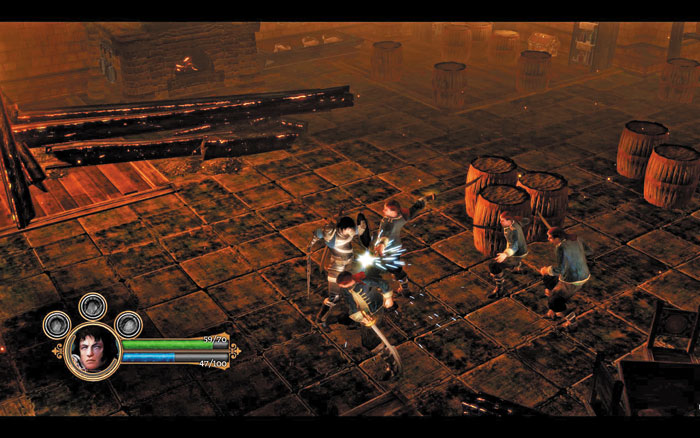
Some gear may not be equippable to your chosen hero. You can view all of this gear at the Items menu, where you may choose to “transmute” unwanted items into gold. Don’t transmute anything unless you need to make room for new gear, however—you get more coin when you sell unwanted items to merchants.
Proceed downstairs until a small group of mercenaries attacks you. Try blocking and using your character’s special abilities this time to help you defeat these scoundrels. Blocking and using abilities consumes Focus, the blue meter below your character’s green Hit Points (HP) meter. You recover Focus quickly when striking enemies with normal attacks.
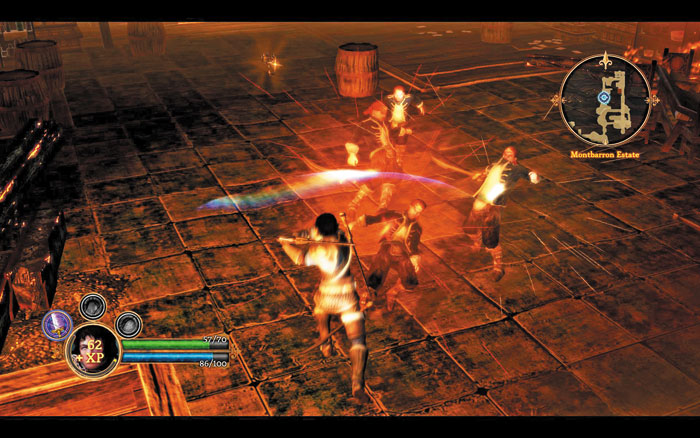
A large group of mercenaries soon rushes into the fray. Switch to your character’s alternative battle stance—it may help you deal with this swarm of villains. Perform evasive moves to avoid becoming overwhelmed and block to preserve HP as needed. Smash the surrounding barrels for Health Orbs if you take too much damage.
Each character has unique attacks, battle stances, and abilities. See the “Cast” chapter of this guide to learn all about each character, including ability overviews, sample builds, and combat strategies.
Don’t let your Focus go to waste—use abilities as often as possible to build up mastery in them. Master your favorite abilities early in the adventure to unlock their empowered versions and make them far more effective! See the “10th Legion Training” chapter for more on mastering abilities.
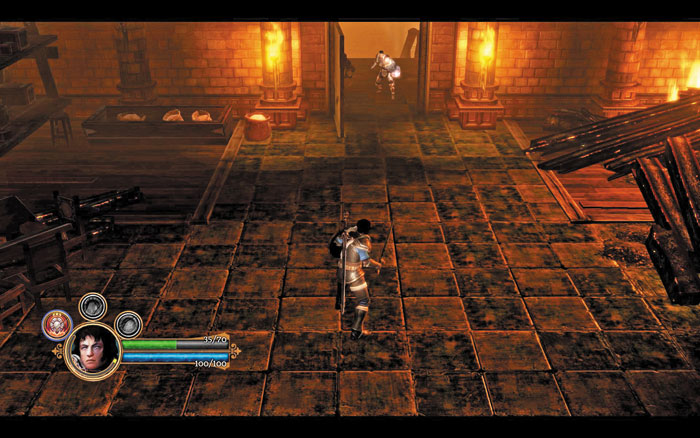
The room’s far door opens after you’ve slain the last of the mercenary dogs. A soldier calls out to you from the doorway—destroy the room’s remaining barrels and loot the nearby treasure chest before approaching the armored man.
Marten Guiscard
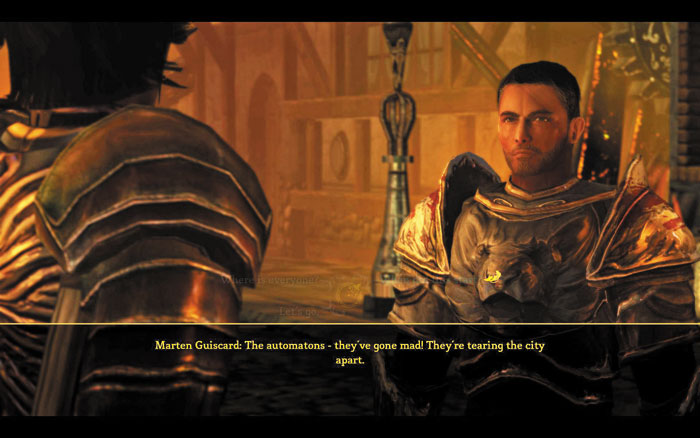
The soldier seems familiar and introduces himself as Marten Guiscard. He seems to know Odo, and, like you, he’s desperately searching the estate for legionnaire survivors. You may ask only one question of Marten before the sound of inbound mercenaries hastens the dialogue to its conclusion. Guiscard tells you that he’s set three kegs of gunpowder on a nearby bridge—if you’re quick, you should be able to destroy the bridge before more mercenaries arrive.
Destroy the Bridge
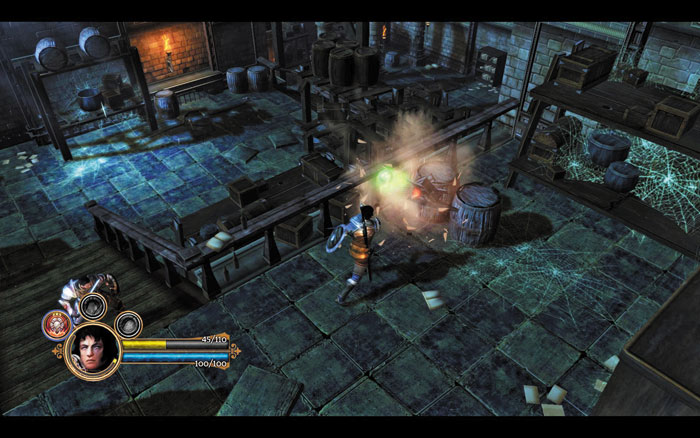
Time is short, but there’s always time for looting. After speaking with Guiscard, smash the nearby barrels for potential treats, and break open the fragile vases near the wall as well. Descend the stairs afterward to find more breakables, along with a treasure chest. Inspect an open book that lies on the floor for a bit of interesting info.
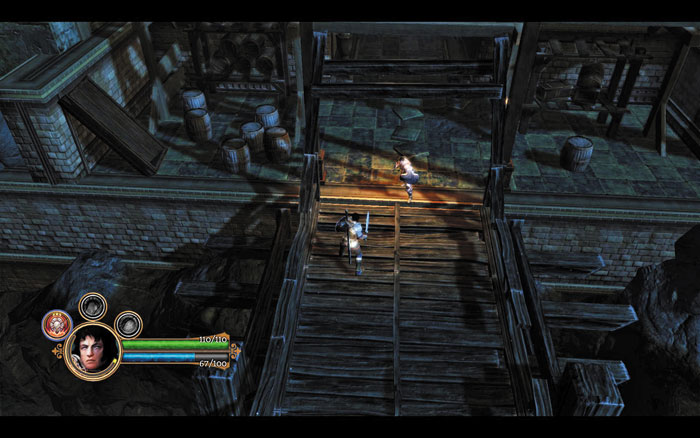
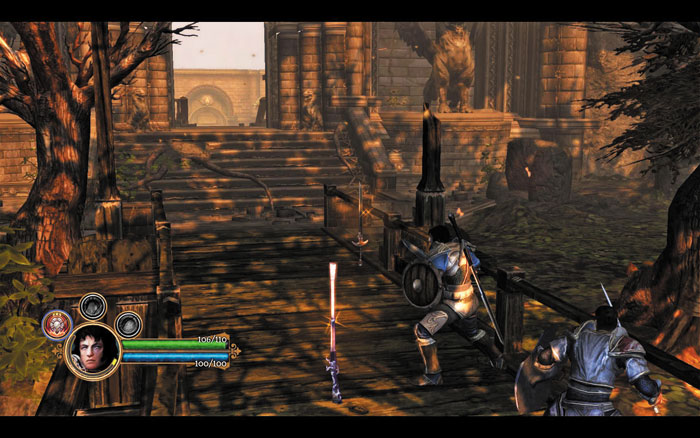
You eventually come to the bridge that Marten has prepped for destruction. Don’t examine the three powder kegs—leave them be and cross the bridge to find several more barrels that can be smashed for loot. Backtrack across the bridge afterward and inspect all three barrels to light their fuses, then hurry across once more to flee the Montbarron Estate before the barrels blow.
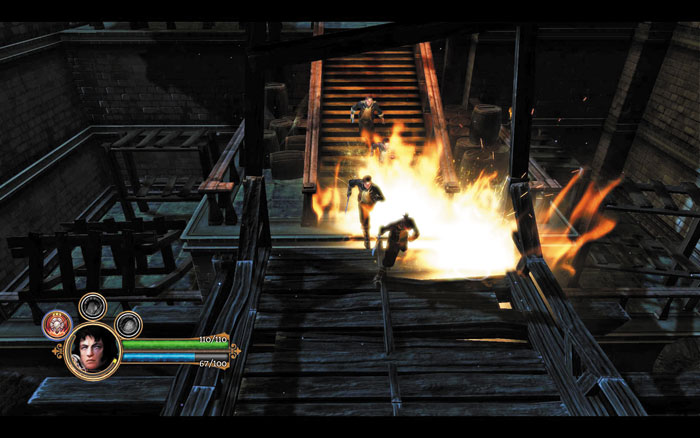
Marten’s plan works perfectly—the explosion wipes out a group of mercenaries, and the bridge comes crashing down. You and Guiscard have made good your escape, but the mercenaries have certainly performed their duty this night. Is it possible that Odo might have escaped this murderous trap?
Pilgrims’ Road
Marten Guiscard
Having traveled all through the night, you and Marten Guiscard have put plenty of distance between yourselves and the tragedy you endured at the Montbarron Estate. Probe your companion for information about the attack, along with your current surroundings. Guiscard informs you that an old Legion chapterhouse isn’t far, and he believes that any other survivors would have sought shelter there. You should do the same.
Locate the Chapterhouse
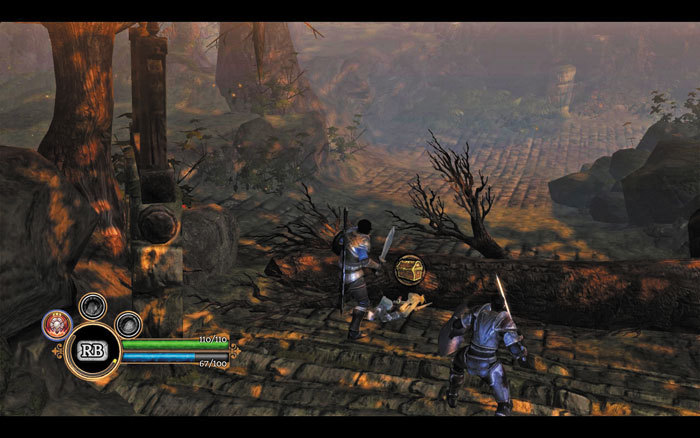
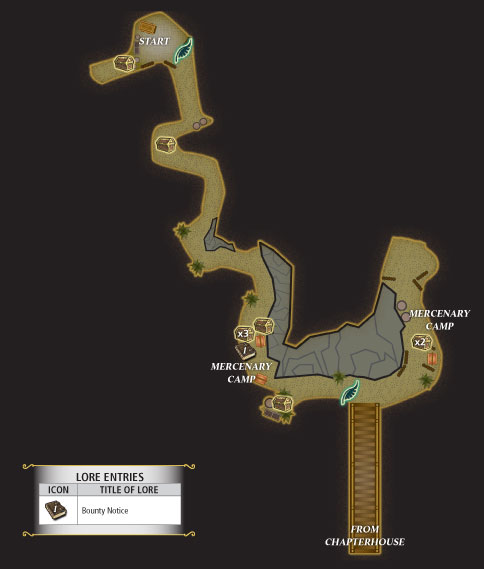
Glance over the cliff to spy the Rukkenvahl’s lone settlement, a remote village called Raven’s Rill. Use the nearby save beacon to mark your progress, but don’t advance down the winding road that follows. Instead, turn around and investigate the opposite end of the road—you’ll discover a corpse near a fallen log. The log prevents you from exploring any farther, but you can loot the body for goods.
Saving your progress at a beacon restores all of your HP, but you can’t save while enemies are about.
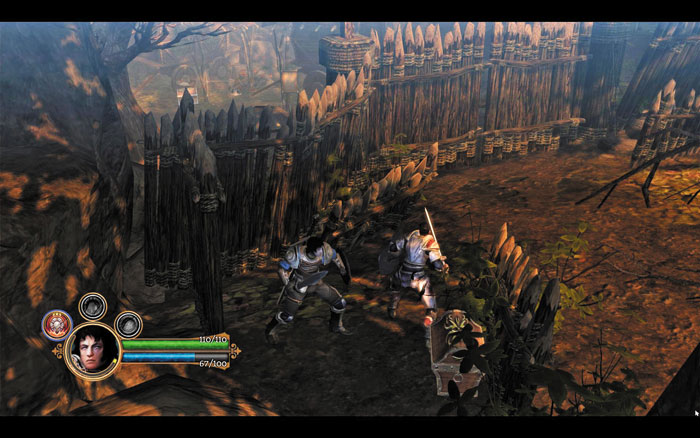
Return to the save beacon and travel down the twisting road. Keep your eyes peeled for another lootable body, and keep going until you come to a small mercenary camp. Open the chest that’s tucked away to the left of the camp’s gate before investigating further.
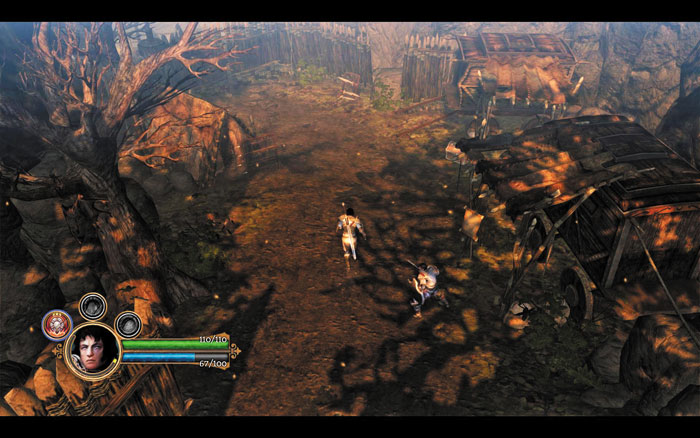
The campsite is abandoned, but it holds several interesting objects. Loot the treasure chest and the two weapon racks for valuable gear, and inspect the notice that’s pinned to a post to obtain your first piece of lore.
Pause the game and access the Lore menu to peruse each piece of lore you’ve discovered.
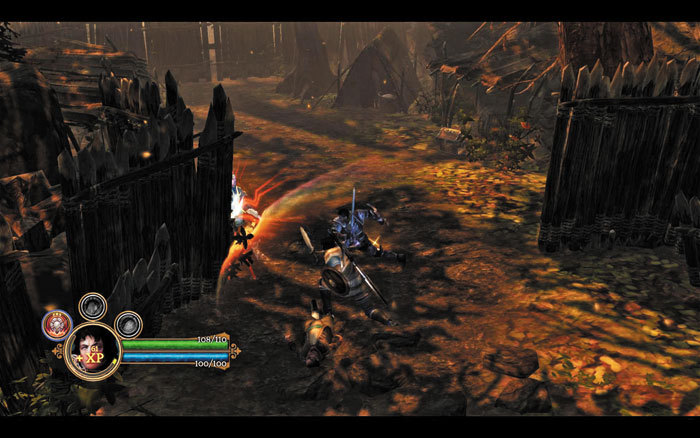
Exit the mercenary camp through its far door and save your progress at the glimmering beacon on the road ahead. Guiscard becomes excited when he notices the bridge that leads to the Legion chapterhouse, but don’t cross it just yet. Instead, run straight past the bridge to discover a second mercenary camp—complete with mercenaries!
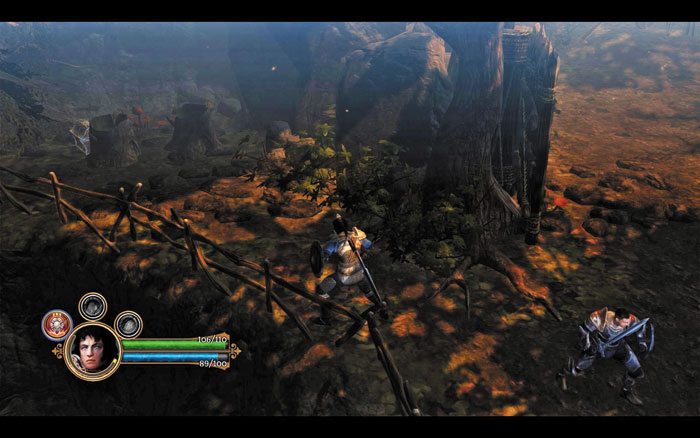
Make short work of the camp’s feeble guards, then loot the site for more goodies. The far gate is locked tight, so backtrack to the previous save beacon. Smash two rotted tree stumps in the nook near the save beacon to discover a hidden treasure chest, then check that you’ve equipped all of the best gear you’ve found thus far. Save at the beacon once again before proceeding across the chapterhouse bridge.
Boss Battle: Bogdan
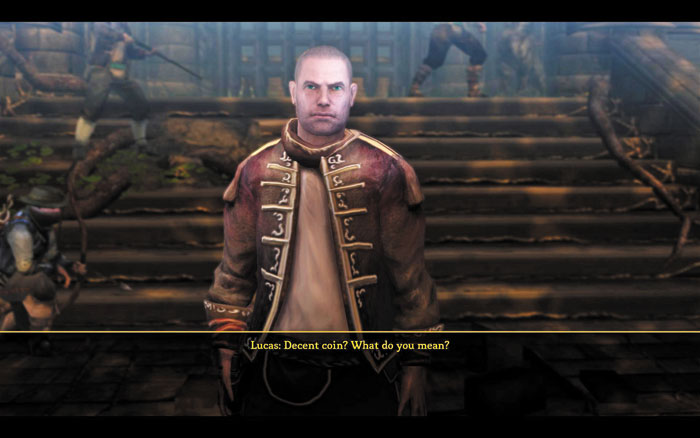
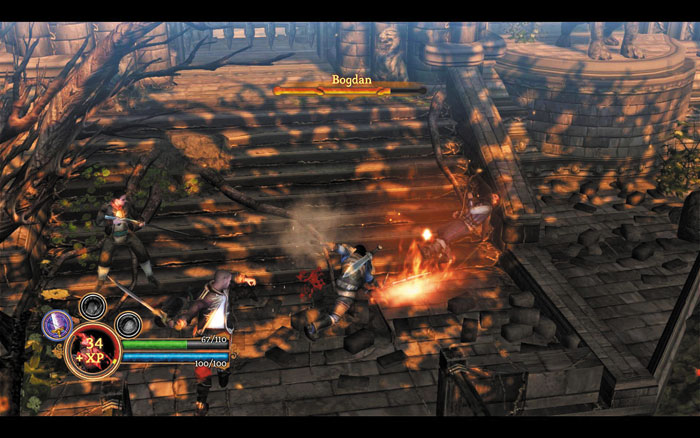
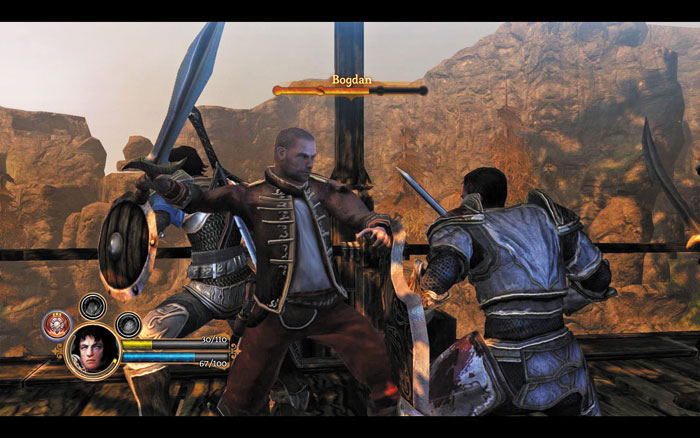
A rough-looking mercenary named Bogdan awaits you at the far end of the bridge. The man is eager to collect the bounty that has been placed on the heads of all legionnaires, and quickly he orders his men to attack. Evade Bogdan and keep your distance from him as you dispatch his cohorts. Then turn your attention to slaying Bogdan himself, evading his powerful attacks and unleashing your favorite abilities to cut through his thick armor and erode his ample health.
_opt.jpeg)
Time Bogdan’s attacks and dodge to avoid his blows. Unleash abilities throughout the fight and strike Bogdan from unexpected angles.
Safe at Last
Named enemies such as Bogdan often cough up precious gear when defeated. Search around and collect all of the loot that Bogdan and his men have so kindly dropped, then enter the chapterhouse to at last reach safe haven—and to discover that an old friend has somehow managed to do the same.