
Dungeon Siege III Guide Walkthrough Chapter Seven
Glitterdelve Mines
Glitterdelve Mines
Talk to Queen Roslyn
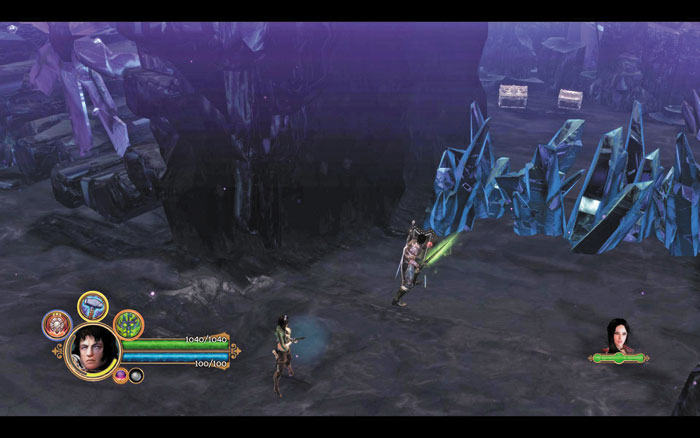
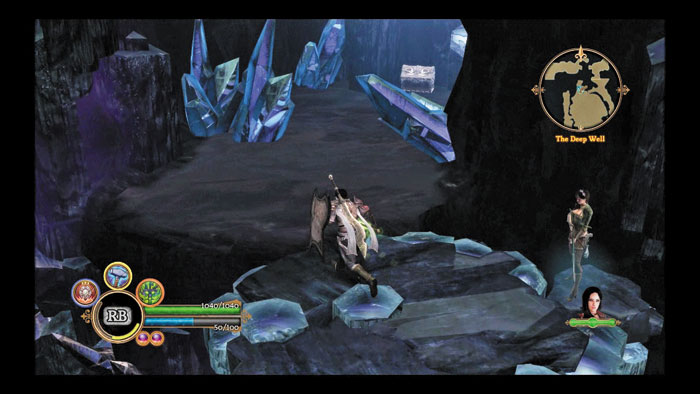
Gather your courage and step onto a floating rock platform to drift to a remote ledge, where two treasure chests await discovery.
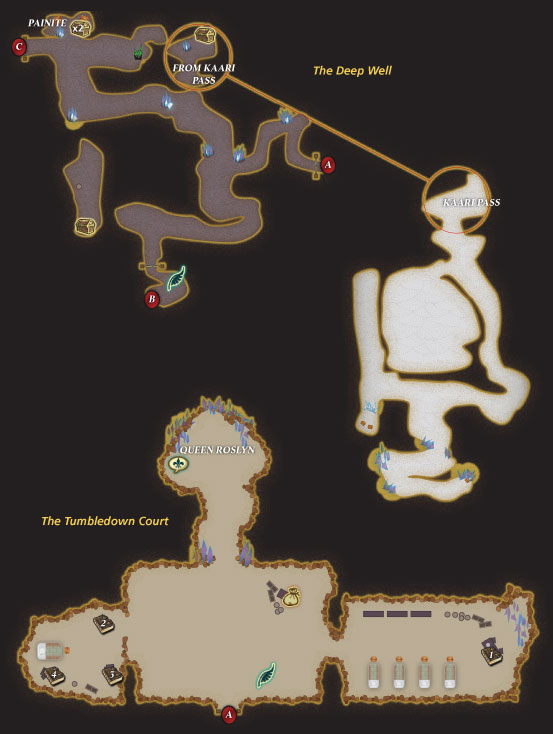
This huge cavern holds many wonders brought about by the dwarves’ mysterious geomancy—and many treasures as well. Explore the lower area thoroughly before ascending the long path that encircles the Deep Well—the massive pit in the cavern’s center. Shatter the light blue crystals to discover random loot, and destroy collections of crystals to expose nooks containing hidden chests.
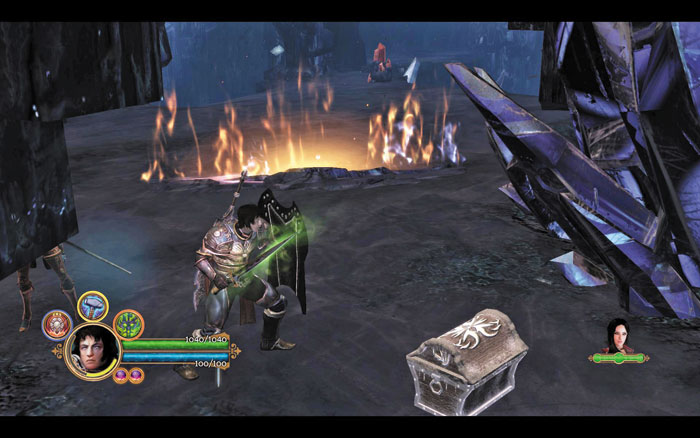
Inspect the peculiar red crystal you soon encounter. Remarkably, this causes a nearby floating rock to drift close—such is the power of geomancy! Open the nearby treasure chest before stepping onto the hovering rock, then use the platform to travel across the expanse and continue your ascent up the Deep Well.
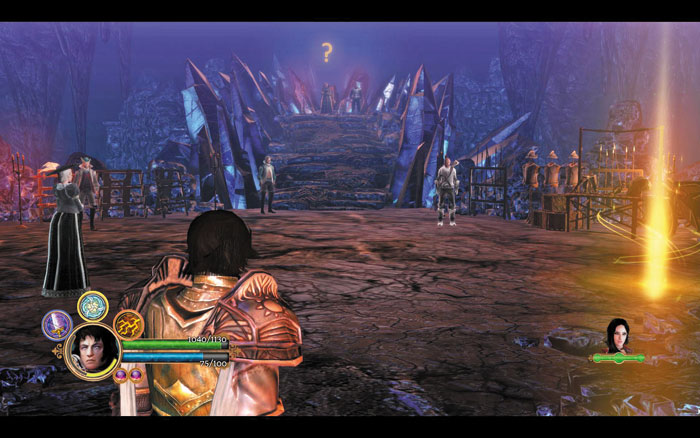
As you gain elevation, you also gain a clear view of the Stonestream—a massive crystalline object that hovers high in the midst of the Deep Well. It is said that this remarkable object was used by the dwarves to power their geomancy. Keep following the quest guide to reach the Tumbledown Court, where Queen Roslyn awaits. Trade with a merchant named Bartholomew in the court, who offers a couple of unique artifacts, and search around to discover four new lore entries before speaking with the queen.
Queen Roslyn

Though you’ve never met the royalists’ queen, Roslyn already seems to know you. The queen reveals that she’s had a vision of you, in which you spoke to a golden-haired child in the heart of the Mournweald. Depending on your current companion, you can gain Influence with Lucas or Anjali by responding, “I’m not sure,” or with Reinhart by asking the queen, “Why didn’t I see you?” You can also gain Influence with Katarina by telling Roslyn that her vision was “true.” Question the queen afterward to learn that the Radiant Youth has apparently been helping her outmaneuver Jeyne Kassynder’s armies for quite some time. When Lord Devonsey says that the Legion murdered the queen’s grandfather, gain additional Influence with Lucas by saying “that’s a lie,” or with Reinhart by saying “not this again,” or with Katarina by saying “you need our help.” An alarm soon sounds—Devonsey hastily informs you that two more mine entrances must be sealed to prevent the Azunites from overrunning the mines.
Side Quest: All That Glitters
After talking to the queen, speak with Phineas to learn of a special task that you can perform for the scholar. You can easily complete this optional task as you work at sealing the mine entrances for Queen Roslyn.
 Gather Painite
Phineas is looking for rare gemstones called Painite, which are critical to the practice of geomancy—the old earth magic of the dwarves. Phineas gives you a Lodestar to help you find the Painite.
Side Quest: The Prototype
Talk to Bartholomew again after speaking with the queen, for the humble merchant now has a favor to ask.
Find the Prototype Rifle
In the chaos of the enemy attack, Bartholomew lost a valuable weapon—a repeating rifle that is the first of its kind. He thinks it was left behind, somewhere in the Southern Mining Tunnels.
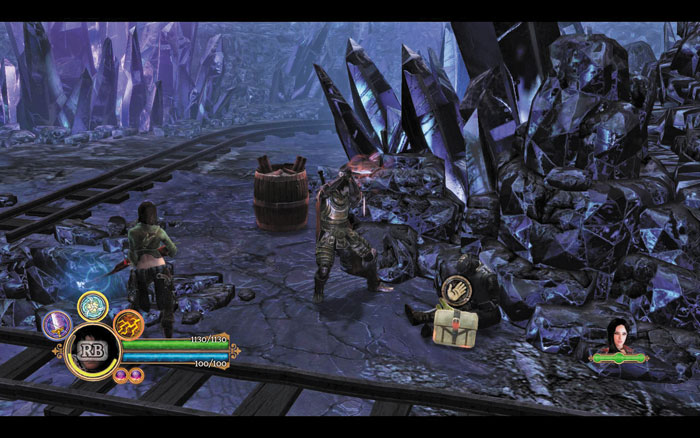
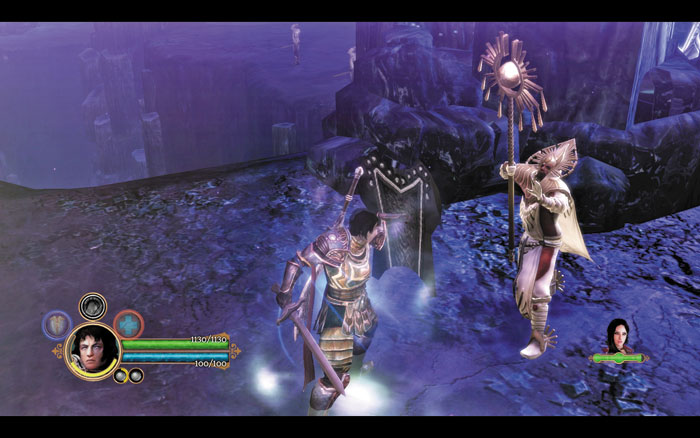
Set “The Prototype” as your active task, then follow the quest guide toward your objective, which lies in the Southern Mining Tunnels. It’s not long before you encounter Azunite forces—show them no mercy, beginning with their vulnerable priests.
_opt.jpeg)
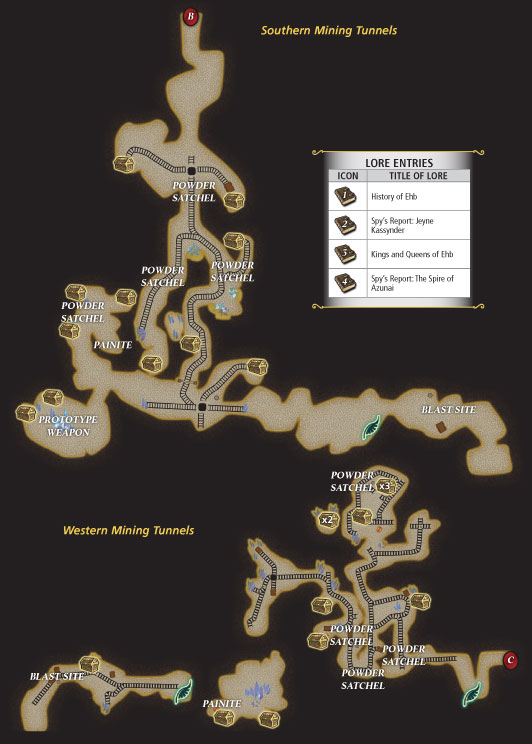
You soon encounter your friend Roderick, who asks you to search for satchels of explosive powder within the mining tunnels ahead—four powder satchels are needed to collapse the tunnel. Press onward and discover the first satchel near a corpse in the junction chamber ahead. You can’t ride the elevator platform here, but it’s interesting to watch.
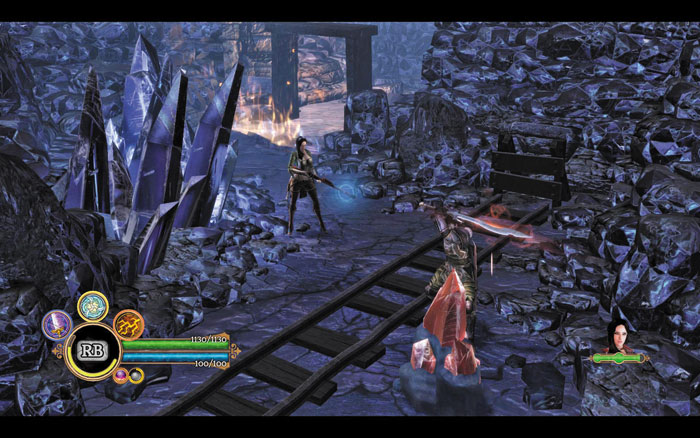
Loot a treasure chest to the east and another to the west before advancing south, toward your objective. Ignore the side tunnel to the east and continue south to discover a second satchel of explosive powder, a third treasure chest, and a red crystal. Activate the crystal to move a floating platform above you, then double back to investigate the previous side tunnel.
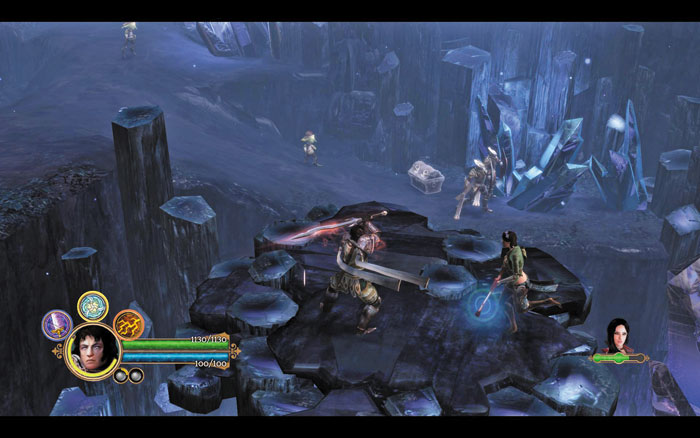
After crossing the moving platform, search the glowing rocks to discover the first four Painite gems for Phineas. The rocks will glow only if you’ve accepted Phineas’s side quest.
Claim the third powder satchel from the side tunnel and crack open another chest before stepping onto the platform you’ve just moved. Ride the platform across the expanse and lay waste to the horde of Azunite forces on the far side. Open three more treasure chests and obtain the final explosive powder satchel after securing the area.
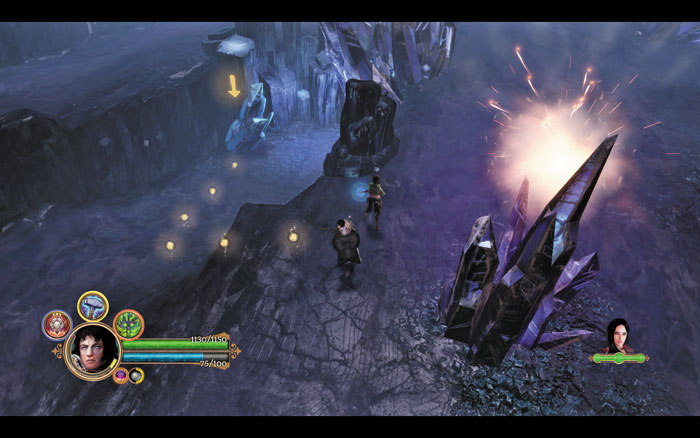
Follow the quest guide to visit the Southern Mining Tunnels’ west end—a large cavern filled with crystals. Bartholomew’s prototype rifle is around here somewhere, but enemy cannons continuously fire at you, making this a dangerous scene. Listen carefully to the sound of the cannon fire and dodge twice to avoid being struck by the inbound cannonballs. Shatter the crystal indicated by the quest guide to discover the prototype rifle you seek.
Seal the Southern Tunnel Breach
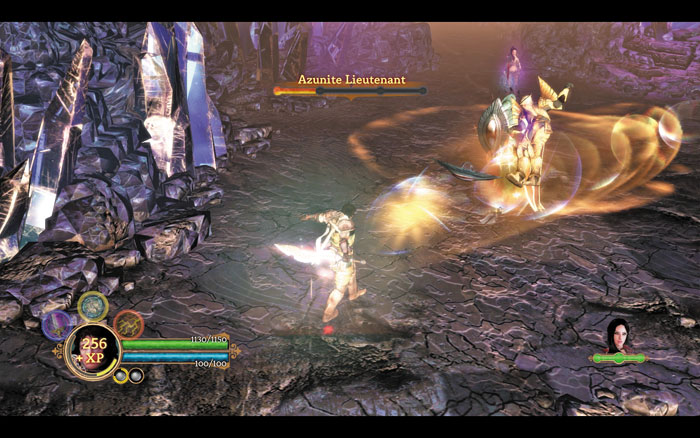
Set “Enemy at the Gates” as your active task and follow the quest guide to the Southern Mining Tunnels’ east end. Dispatch the formidable Azunite Lieutenant you encounter there, keeping your distance to avoid being scorched by his burning aura. After securing the area, inspect the nearby mine cart to set the four explosive charges you’ve discovered—then backtrack to safety before the blast!
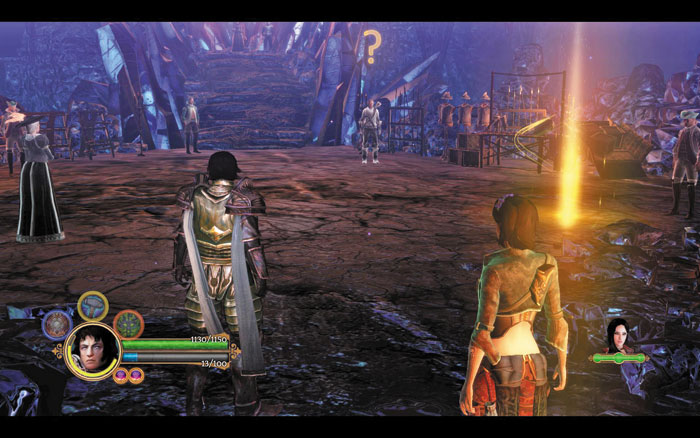
The charges do their work, causing a cave-in that seals the Southern Mining Tunnels’ breach. Set “The Prototype” as your active quest and let the quest guide lead you out of the tunnels and back to the Tumbledown Court, where Bartholomew awaits news of his precious weapon. Speak with Bartholomew to complete his side quest and receive a one-of-a-kind artifact—the item Bartholomew gives you varies based on your chosen hero. Take a moment to trade with the merchant afterward before tuning the quest guide to “All That Glitters” and venturing out once more.
The quest guide leads you to the Deep Well’s only source of Painite, which isn’t far. Harvest the glowing gems for Phineas, then follow the quest guide into the nearby passage, where your friend Roderick awaits. Again, Roderick asks you to track down four satchels of explosive powder and use them to collapse the breach in the Western Mining Tunnels. Roderick then hurries back to the Tumbledown Court to defend his queen.
Side Quest: Building Bridges
Roderick asks a special favor of you before taking his leave.
Find the Trapped Royalists
Some of Roderick’s men are trapped in a storage chamber near the incinerator pit, and they are under attack by the enemy. Roderick has asked you to help them if you can.
_opt.jpeg)
Beware: Angry cyclopses patrol the Western Mining Tunnels!
After speaking with Roderick, set his “Building Bridges” side quest as your active task and then use the quest guide to track down your objective. Grab the first two explosive powder satchels off of corpses along the way, and keep an eye out for treasure chests. Don’t explore too far south—follow the quest guide north instead to locate the trapped royalists you seek. When you finally spy the royalists, use the nearby red crystal to slide a moving platform into place.
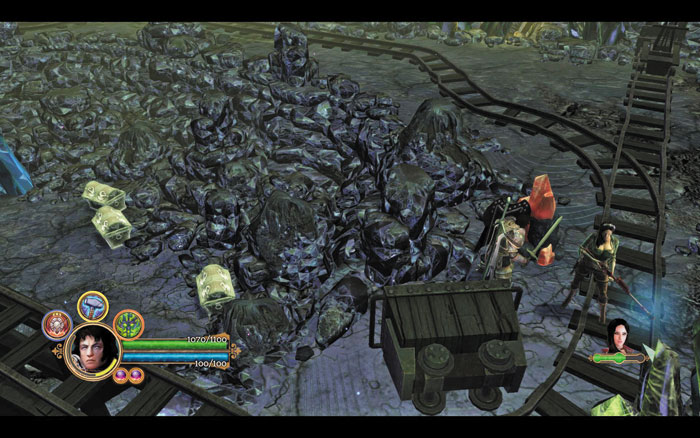
Continue using the quest guide to find and activate two more red crystals, creating a path of platforms that allows the trapped royalists to flee their predicament. Excellent work! Now hurry across the platforms to obtain some worthy loot from the chests that the royalists had been guarding.
Seal the Western Tunnel Breach
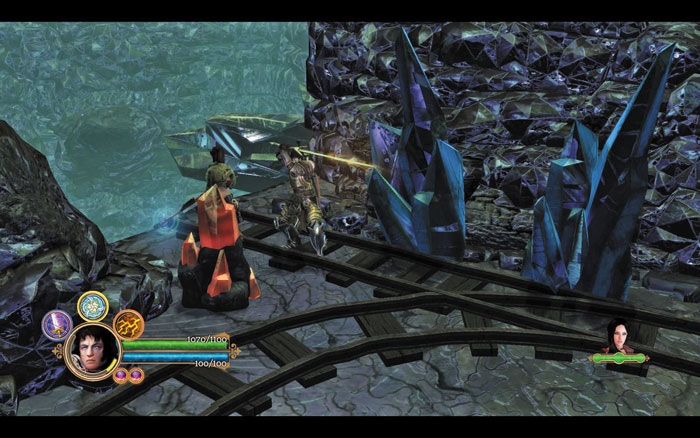
Use a moving platform to reach a small treasure ledge shortly after obtaining the final powder satchel.
You’ve completed Roderick’s task—now you must seal the western tunnel breach. Set “All That Glitters” as your active task again and make your way toward the final crop of Painite gemstones. On your way, collect the third and fourth powder satchels off the bodies of two more fallen royalists.
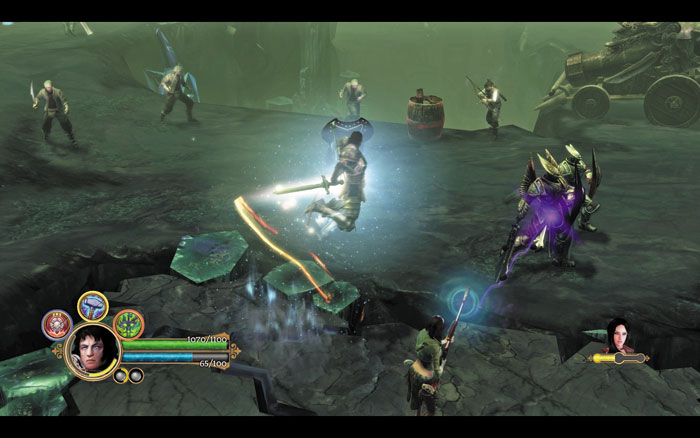
Use a large moving platform to drift over to an enemy-controlled ledge, then dispatch the Azunites to secure the area. Open a few treasure chests afterward, then claim the final batch of Painite gems for Phineas. After scouring the entire ledge, set “Uninvited Guests” as your active task and let the quest guide steer you across another moving platform and into a showdown against another formidable Azunite Lieutenant.
Again, avoid the Azunite Lieutenant’s searing aura as you fight to secure the area. Open the nearby chest when the site is at last secure, then place the four powder satchels onto the central mine cart and flee before the explosion.
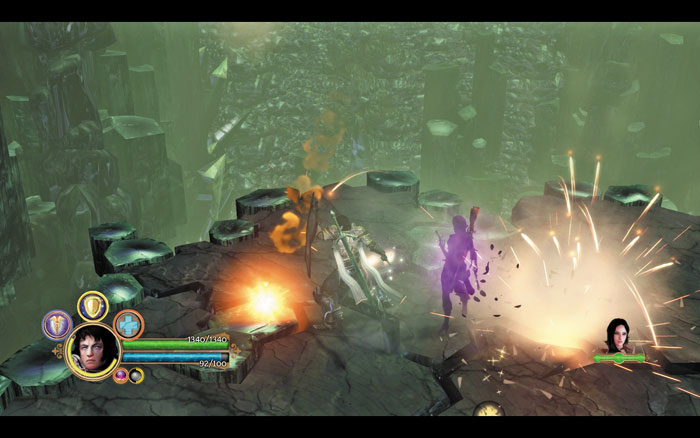
Fantastic work, legionnaire—you’ve sealed both tunnel breaches and given the royalists a fighting chance. Hurry back to the Tumbledown Court, dodging enemy cannon fire and slaughtering many more Azunites along the way. Talk to Phineas to complete his side quest and receive a unique artifact in payment, then trade with Bartholomew to unload all unwanted gear before speaking to the queen to inform her of your success.
Lord Devonsey’s Trap

Queen Roslyn is pleased to hear of your success, but the Azunites threaten the mines still—Jeyne Kassynder herself is leading an effort to breach the bottom of the Deep Well. Lord Devonsey sees this as an opportunity, however: If the Stonestream can be deactivated, combustible vapors will quickly build up at the well’s bottom, setting the stage for an explosive trap. Devonsey asks you to escort Phineas to the top of the well, where the scholar should be able to deactivate the Stonestream through the use of geomancy. After hearing Lord Devonsey’s scheme, gain Influence with Lucas by saying that the plan is “not very honorable,” or gain Influence with Anjali instead by saying that “it’ll save lives.” Or, if Katarina is by your side, gain Influence with her by saying that “it’s a risk.”
Find the Stonestream
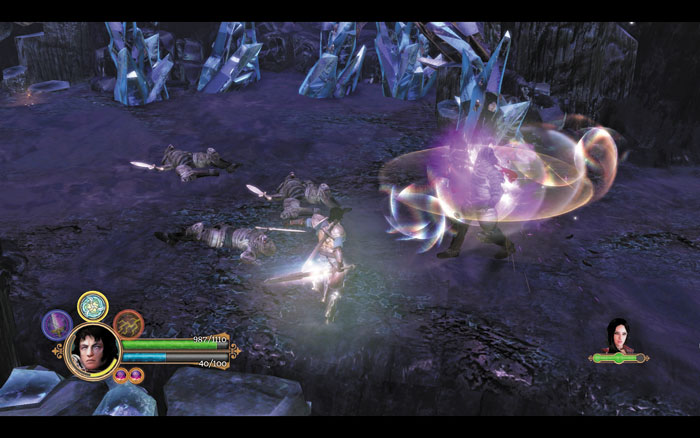
Dodge away from the sentinels’ fierce spinning attacks.
Hurry back to the Deep Well and step onto the platform that Phineas lowers for you. The platform lifts you up to a path you couldn’t reach before, and Phineas hurries off to begin his work on the Stonestream. Protect the scholar from the many hostile sentinels that begin to materialize—these enemies come in greater and greater numbers as Phineas does his work. Just keep fighting until Phineas at last manages to shut down the Stonestream.
Hold Off Jeyne’s Army
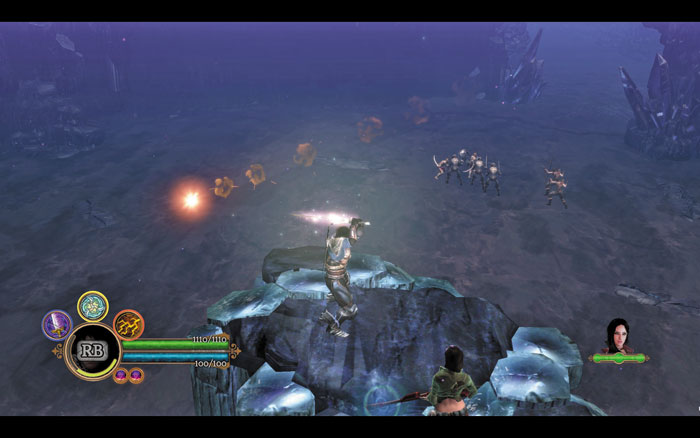
Roderick greets you on your way back to the Tumbledown Court, with news that Jeyne’s army has already breached the Deep Well. Roderick asks you to hurry and confront the Azunites while he and his men ready explosives for Devonsey’s trap. Make your way to the base of the Deep Well, then use the platform that Lord Devonsey activates to reach the bottom. Slaughter the Azunite forces that swarm the well to buy time for Roderick’s men.
Jeyne Kassynder

Having witnessed your valor, the Azunites’ ruthless leader, Jeyne Kassynder, unexpectedly stops the battle to parley with you. If you spared Rajani’s life back in Raven’s Rill, then the archon stands by Jeyne’s side and speaks on your behalf—if you killed Rajani, an indifferent archon named Saraya stands in her stead. The uneasy dialogue brings many things to light: you discover that Jeyne’s father was actually the former king, who was murdered long ago by the Legion’s former Grand Master, Hugh Montbarron. This means that Queen Roslyn is actually Jeyne’s niece, which helps explain Jeyne’s long-standing war against the crown. Jeyne also reveals that her mother was an archon, which explains Jeyne’s obvious power. After hearing out your nemesis, gain Influence with Lucas or Reinhart by telling Jeyne that you “believe her,” or gain Influence with Anjali or Katarina by saying that she’s “lying.” Regardless of what you say to Jeyne, the Azunite leader flatly rejects all notion of forming a truce and quickly ends the parley as suddenly as she began it.
Boss Battle: Warbeast
_opt.jpeg)
You’ve faced hundreds of monsters before, but the Azunites’ Warbeast can truly be described as “monstrous.” Worse, Azunite warriors enjoy harassing you throughout the battle. The enormous Warbeast regularly charges across the area, dealing massive damage to anything it strikes—if nothing else, make certain to dodge this brutal advance. Ranged attacks are your best option against the Warbeast, while Lucas can use his Blade Dash or Heroic Charge to quickly close in. Pile on damage after each charge, attacking the Warbeast from the side to keep out of harm’s way. Flee when the monster rears up to slam the ground and charge again.
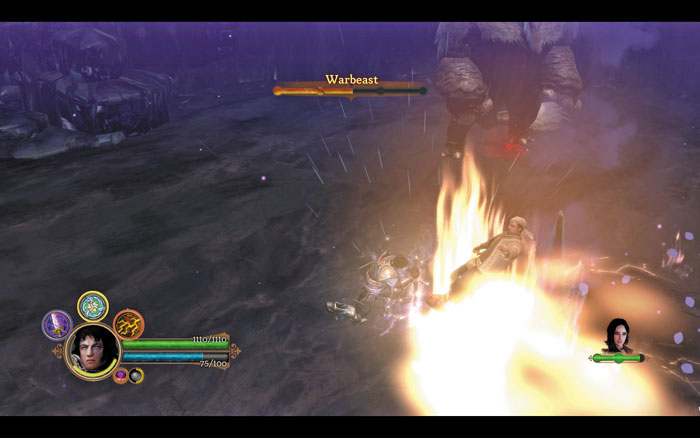
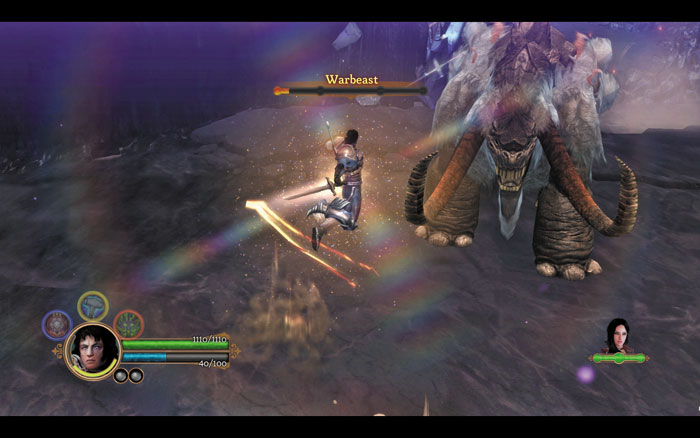
Slay the lowly Azunite Hussars to gain health orbs.
Queen Roslyn
Back at the Tumbledown Court, Queen Roslyn informs you that the Azunite army is fleeing the mountain—the battle is won! When informed of Jeyne Kassynder’s true identity, Lord Devonsey suspects that you’ve been told of the Legion’s role in her grandfather’s murder—respond by saying “tell me the truth” to gain Influence with Lucas, or say “I don’t believe her” to gain Influence with Anjali. Saying “it doesn’t matter” gains you Influence with Reinhart if he’s by your side, but no Influence can be gained with Katarina. Devonsey then reveals that the old king was a cruel leader, and was taking measures to disband the Legion—that is why Hugh Montbarron was forced to act against the crown so many years ago. Queen Roslyn is shocked to learn of her relationship to her mortal enemy, but this news helps her perceive Jeyne’s motives more clearly. Roslyn asks that you spare Jeyne’s life if your paths ever cross again—tell the queen “no, I won’t” to gain Influence with Lucas or Anjali, or say “yes, I’ll try” to gain Influence with Reinhart or Katarina. No matter your response, the dialogue ends with the royalists pledging their loyalty to the Legion—a resounding success!
Deed Gained—
Royalist Ally -
Stamina +5
You have shown unwavering support to the crown.
Return to Odo
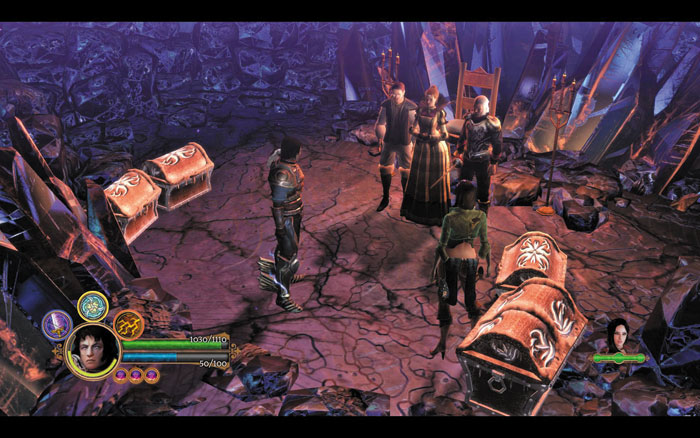
Open the chests that the court has presented to you, and trade with Bartholomew one last time before making your way out of the Tumbledown Court. Roderick greets you just outside the throne room and offers to escort you back to the Causeway gate atop Frostspire Mountain. Accept his generous offer and step through the shimmering gateway when you arrive, then make your way back to the Grand Chapterhouse in Stonebridge.
The Venerable Odo

Your friends Odo and Marten Guiscard have heard news of battle in the mountains and can scarcely believe your tales of victory over the teeming Azunites. Odo is even more thrilled to learn of your newfound alliance with the royalists—such noble support is certain to carry weight with the good people of Ehb. When Odo asks if you believe Queen Roslyn is worthy of the crown, you can gain Influence with Lucas by saying that “time will tell,” or with Anjali by saying “no, she’s weak.” You can also gain Influence with Reinhart by saying “yes, she is.” Odo then recommends that you strike while Jeyne is still reeling from her loss at Glitterdelve—gain more Influence with Lucas by saying that you’ll “need an army” to take on Jeyne, or gain additional Influence with Reinhart by recommending that you try to “negotiate.” You can also gain some Influence with Katarina by suggesting to “use the Causeways” to get the drop on Jeyne.
Address the Meisters
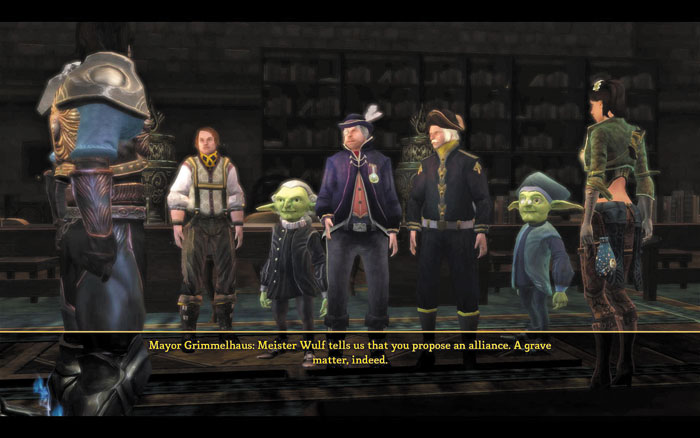
Regardless of your accomplishments here in Stonebridge, the city’s Meisterhall is your next destination. Go there and introduce yourself to the meisters if you haven’t done so already, and see the walkthrough chapter “Stonebridge” for information on their many quests. Or, if you’ve already earned the meisters’ support, simply speak with the merchant lords once more to enlist the aid of Stonebridge’s mighty automaton army—for the time has finally come to march on Jeyne’s stronghold!
Tip
Trade with Stonebridge’s many merchants before setting out to confront Jeyne Kassynder—you won’t be returning to the city