
Dungeon Siege III Guide Walkthrough Chapter Four
The Battle for Raven's Rill

Chapter 4: The Battle for Raven's Rill
The final battle for the Rill is at hand. Your goal is to defeat Rajani, the mysterious woman who hired an army of Lescanzi mercenaries to hunt down the descendants of the Legion. Rajani has sealed herself within the upper half of Raven’s Rill, yet you’ve managed to circumvent her defenses by traveling through the Legion’s ancient Causeway gate. Your quarry is now within your grasp, and vengeance will be yours. Fight well, legionnaire.
Gunderic Mausoleum
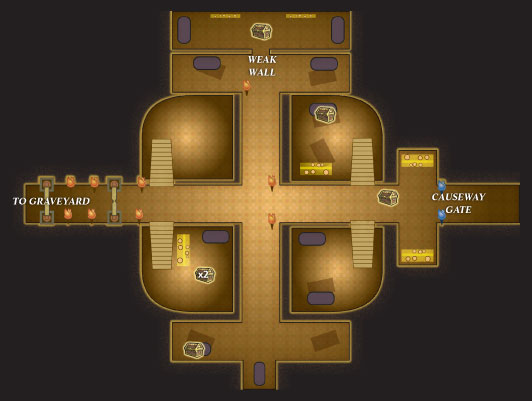
Enter the Upper Rill
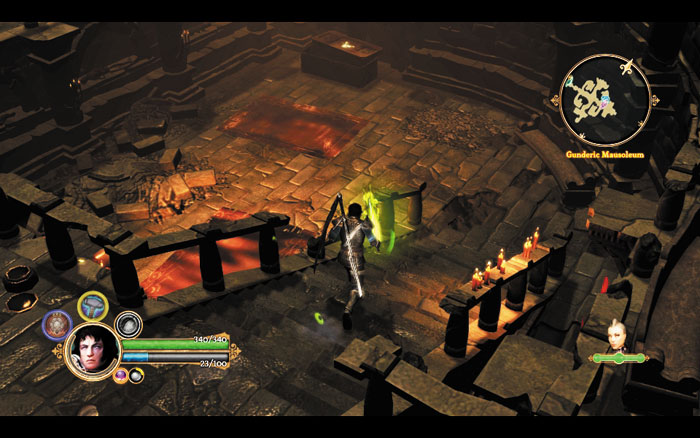
Like their haunted estate, the Gunderics’ mausoleum is filled with gargoyles—employ ranged attacks against these elusive sentries. If you’re playing as Lucas, roll to quickly close the distance, and aim to back each gargoyle into a wall or corner to pin them down. Loot the entry hall’s lower chambers for valuables—the resting dead have no use for them.
_opt.jpeg)
Attack the weak, crumbling wall to the east to destroy it, exposing a secret side chamber. Open the sarcophagi you discover to obtain a unique and valuable piece of armor for Katarina.
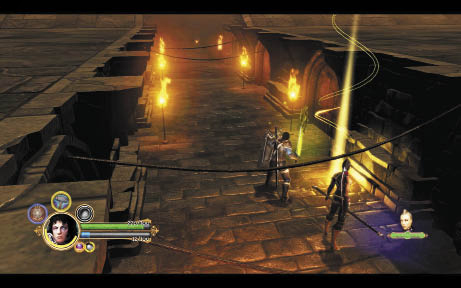
When you’ve finished exploring the entry hall, open the far door and save at the beacon beyond. Venture onward to exit the Gunderic Mausoleum and enter the cold embrace of the evening air.
Raven’s Rill Graveyard
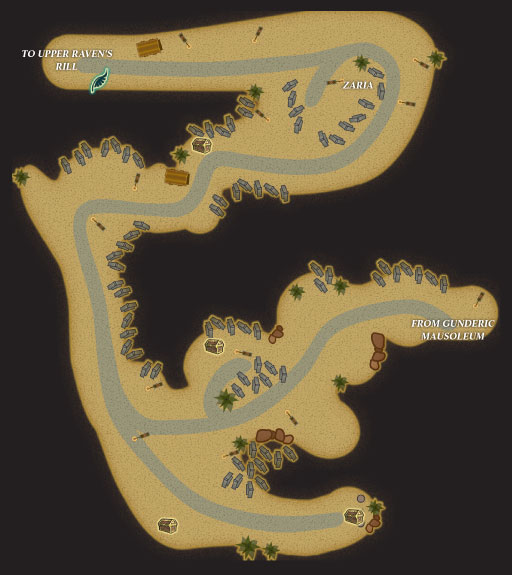
Brave the Graves
_200_opt.jpeg)
Collect some loot from a fallen soldier to the southeast.
Beware: Hostile undead patrol these unholy grounds. Fight your way up the long, winding path, searching the nooks and crannies for lootable chests and corpses. Refer to the map to ensure you find every bit of gear and gold, and press on until you encounter a mysterious woman.
Boss Battle: Zaria
new_opt.jpeg)
The woman is a Lescanzi witch named Zaria, and she doesn’t waste many words before unleashing her undead horde. This fight is very much like the one against Vera back at Stormsong Cavern—begin by slaying all of Zaria’s witches and skeleton warriors, and evade the enemy’s powerful spells. Dispatch Zaria without delay to clear the way to the upper Rill.
_(2)new_opt.jpeg)
When playing as Lucas, circle around the fence to close the distance on Zaria.
Upper Raven’s Rill
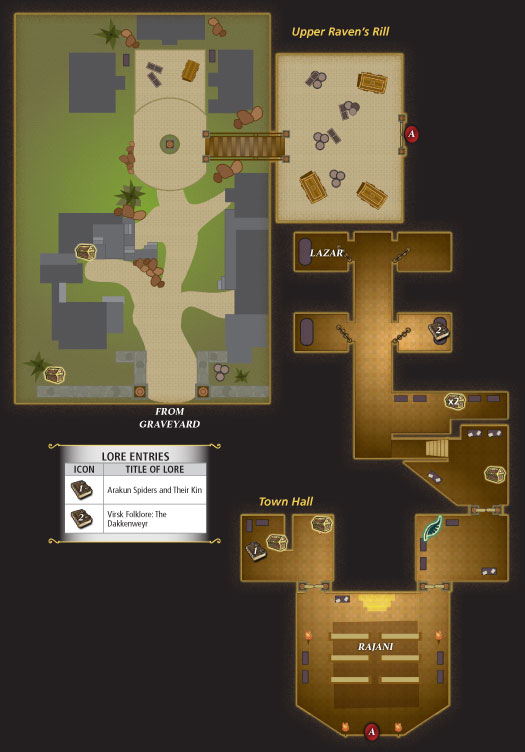
Assault the Town Hall
_200_opt.jpeg)
Save your progress after slaying Zaria, then advance toward the town gate. Lescanzi mercenaries led by a brute named Vogomil storm forth to stop you. You’ve encountered plenty of scum like this before—don’t let this band of henchmen delay you for long.
_opt.jpeg)
Search the alleys and flights of stairs for two treasure chests as you advance toward the town hall, where you’ve learned that the mayor, Lazar Bassili, is being held prisoner. Eliminate the next group of mercenaries you encounter, which is led by a thug named Ilias, along with a third group of soldiers who barge out from a nearby building after Ilias falls.
Boss Battle: Rajani
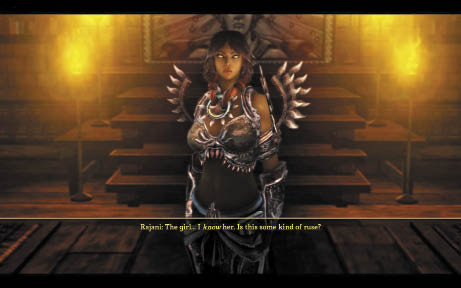
Rajani, leader of the Lescanzi, stands her ground inside the town hall. She wastes little breath before engaging you in battle. Rajani is a single foe with no minions to support her, so unleash your most devastating single-target attacks and abilities to chop away at her health. Rajani’s quick offense is difficult to dodge, so simply evade often to ensure your best chance of survival.
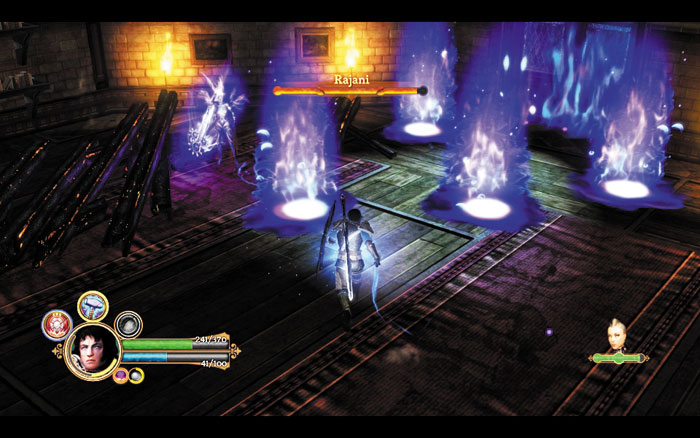
Don’t linger atop the white circles that Rajani summons—they soon erupt into columns of wrathful flame.
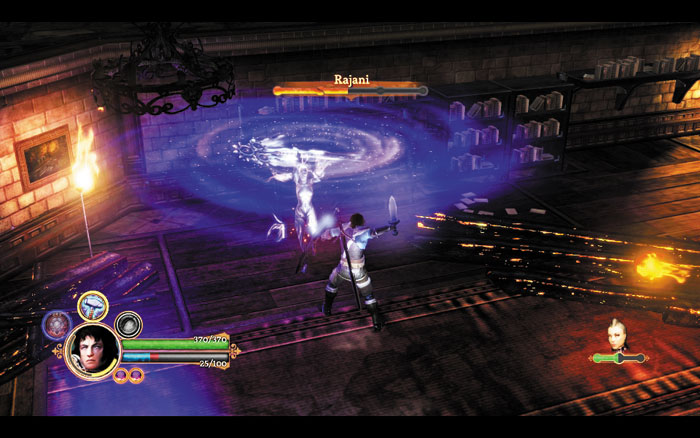
Rajani doesn’t give up easily. Just when you think you’ve bested her, the woman transforms into a new form and begins to teleport about, unleashing unholy fire attacks. Dodge to avoid damage as you close on Rajani. Pummel her with your most powerful attacks and abilities each time you move into striking range.
Rescue Lazar
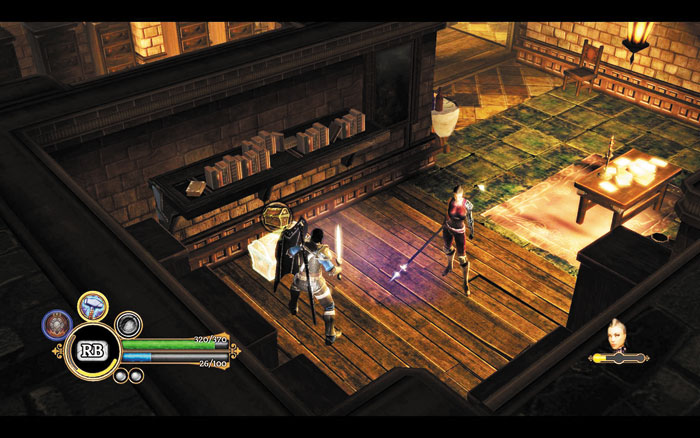
After beating Rajani into unconsciousness, begin searching the town hall for the kidnapped mayor, Lazar Bassili. Be sure to search each room thoroughly to discover some fresh loot and a couple of new lore entries. See the town hall’s map for the exact locations of these valuables.
Lazar Bassili

Pull the levers you discover downstairs to open several holding cells—one of them contains the haggard mayor of Raven’s Rill. Bassili is thrilled to be released, but he worries that Rajani may soon awake. The mayor urges you to hurry back upstairs, but don’t overlook the lore entry in one of the cells on your way out.
Rajani
Beaten and subdued, Rajani calmly awaits her fate. Anjali notices that Rajani’s eyes glow with the same fire as her own, and concludes that she must also be an archon. If Anjali is your companion, gain Influence with her by telling Rajani, “Anjali is a legionnaire.” Rajani isn’t certain what to believe, but she reveals that she serves none other than Jeyne Kassynder—the woman responsible for the Legion’s destruction 30 years ago.
You must decide Rajani’s fate: either kill the confused archon (as the mayor insists) or set her free in a show of goodwill toward Jeyne Kassynder (as put forth by Marten Guiscard). Imprisoning Rajani isn’t an option—the woman is far too powerful to restrict within a simple jail cell. The decision you make will determine the Deed that you’re awarded at this point in the adventure and may also have an impact on events yet to come. When choosing Rajani’s fate, deciding to “let her carry a warning” or to “set her free” will gain you Influence with Lucas if he’s your companion.
Deed Gained—Gracious in Victory - Will +2
You spared the life of the archon, Rajani, and proved that the Legion can be merciful, even to its enemies.
Deed Gained—Ironhand - Attack +2
You defied the wrath of Jeyne Kassynder and slew her archon handmaid, Rajani.
The Venerable Odo
Back at the Legion chapterhouse, Odo provides a fairly detailed recounting of Jeyne Kassynder’s blood-soaked history with the Legion. Listen to his tale to learn how the woman managed to twist public perception and turn the people against the Legion many years ago. If Anjali is your companion, tell Odo “I agree,” followed by “let’s go after Jeyne,” to gain a double dose of Influence with the attractive archon. Or, if Lucas stands by your side, tell Odo, “you’re wrong,” followed by “we need more legionnaires,” to gain two helpings of Influence with the young Montbarron instead.
Odo suggests that you travel to Stonebridge, a magnificent city where the Legion’s Grand Chapterhouse stands. Probe Odo to learn that you’ll need to traverse a treacherous swamp to reach Stonebridge. Once you arrive in the city, you should be able to activate the Grand Chapterhouse’s Causeway gate and quickly travel between the two chapterhouses.
Side Quest: Heroes of Old
Exit the chapterhouse to find Lazar Bassili waiting for you on the far side of the bridge. The grateful mayor has a favor to ask of the Legion.
 Open the Crypt
Lazar Bassili wants to reopen the old Heroes’ Crypt, so that pilgrims and commerce will return to the valley. Unfortunately, the crypt has been sealed for almost 30 years.
Agree to help Lazar and set his quest as your active task, then follow the quest guide up Pilgrims’ Road to locate the foreboding Heroes’ Crypt. The Lescanzi cowards have fled the valley and there’s no new treasure to be found along the road, so simply sprint to the crypt without delay. When you arrive, inspect the two statues near the crypt’s front door and insert both the Montbarron and Gunderic signet rings to unseal the ancient structure.
Side Quest: Relics of Another Age
Speak with a scholar named Maximilien, who’s admiring the Heroes’ Crypt’s artistic exterior, to learn that the man has a passion for antiquities.
Find the Three Relics

The scholar, Maximilien, is seeking three relics from the Heroes’ Crypt: the Skull of Norick, the Sword of Bolingar, and Merik’s Staff. He has offered a reward for each relic that you find and bring to him.
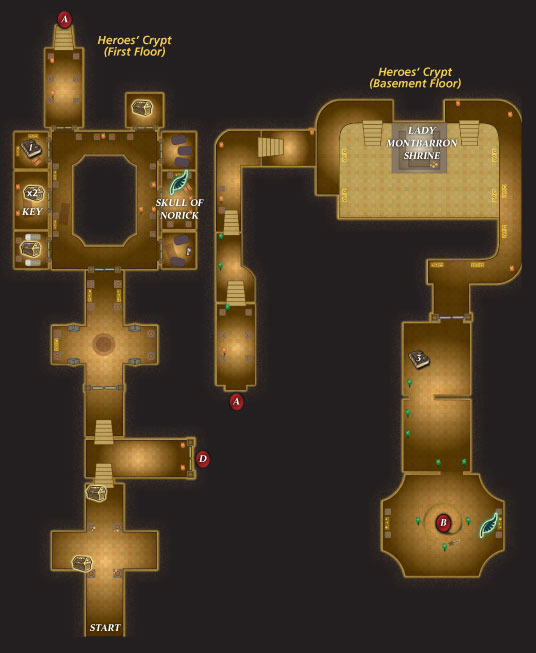
You can collect Maximilien’s three relics while investigating the Heroes’ Crypt for Lazar. Enter the crypt and begin smashing ancient vases to discover random loot. A voice soon booms out from the crypt’s depths, taunting you. Gather your courage and venture forth.
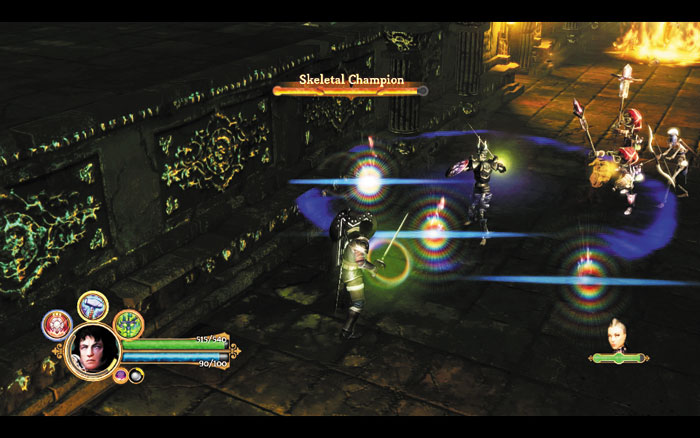
Dispatch undead shamans with all haste, or their spells may quickly cut you down.
It’s not long before undead warriors rush you—lay these lost souls to rest as you delve deeper into the Heroes’ Crypt. Several formidable Skeletal Champions will challenge you throughout the crypt as well—evade their strong but predictable sword strikes, and counter with your most devastating abilities.
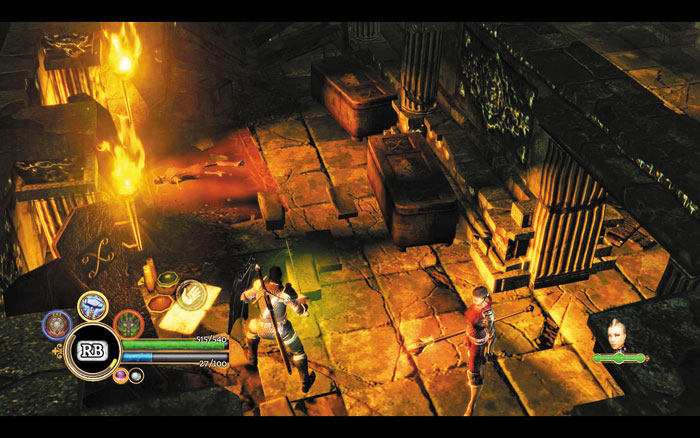
Search the side rooms to find treasure and two new pieces of lore.
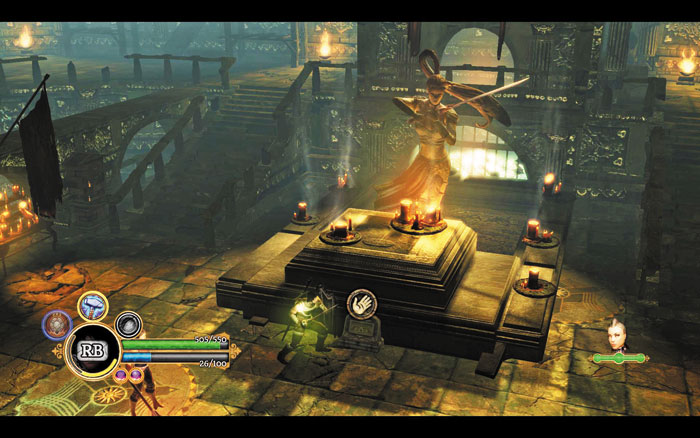
Save at the beacon inside the Skull of Norick’s holding chamber, then continue deeper into the crypt’s filthy halls. You soon descend into a quiet chamber, where a shrine has been built in honor of the lady Montbarron. The serenity is scattered when you’re suddenly ambushed by a horde of undead. Dodge to avoid being surrounded, and slay all of the vulnerable shamans before turning your wrath against the skeletal swordhands.
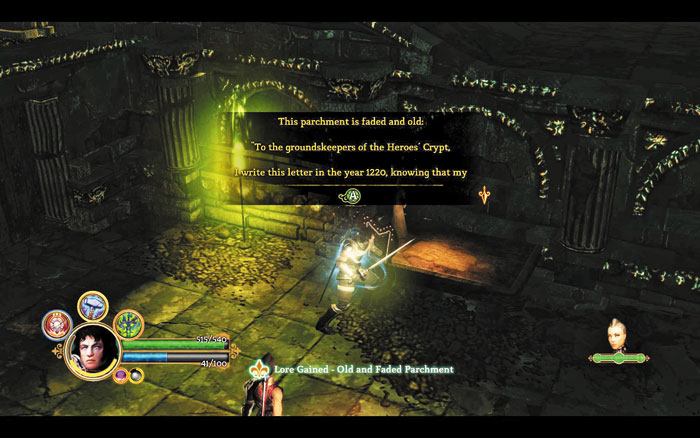
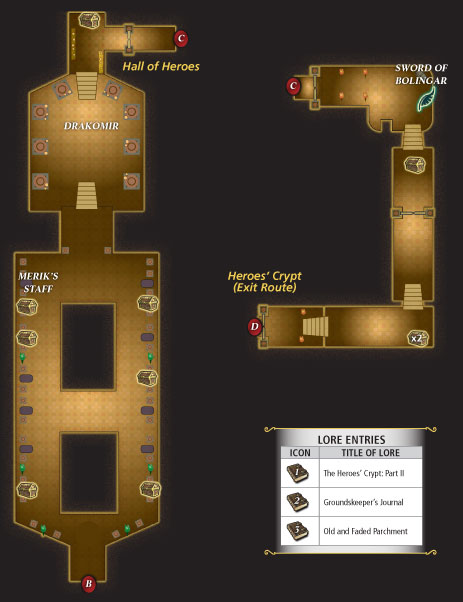
One ancient sarcophagus contains Merik’s Staff, the second of three relics that Maximilien desires.
Fight your way to a wide balcony that overlooks a central chamber. Slay many more undead as you explore the balcony’s small side rooms. Discover a key on a corpse in a room on the left—the key opens the locked door to the right, on the balcony’s opposite side. This lets you access a special side room that houses the Skull of Norick—one of three relics that Maximilien has asked you to find. (You’ll also discover a treasure chest and save beacon inside the room.)
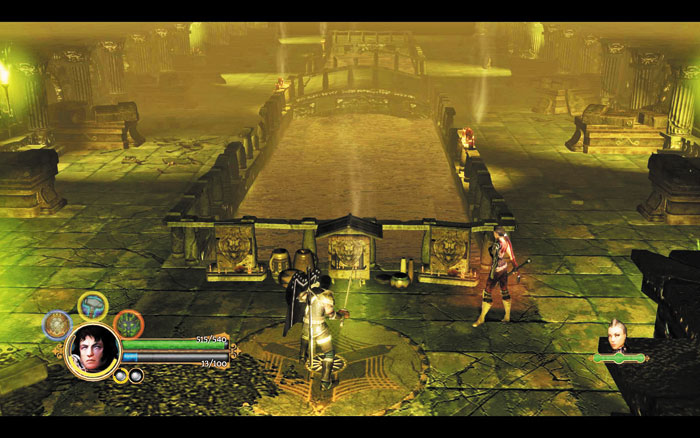
Fight onward, claiming another scrap of lore off a desk you discover in the rooms beyond Lady Montbarron’s shrine chamber. You eventually descend a long, winding stairwell that leads to the Hall of Heroes, where many of Ehb’s greatest champions are resting in their eternal slumber. The dead have no need of valuables—loot this sacred place, opening several sarcophagi to discover a remarkable assortment of precious artifacts.
Boss Battle: Drakomir
ne_opt.jpeg)
Just beyond the sarcophagi, an ancient and towering skeleton knight marches forth to attack. This fiend is not to be trifled with—exploit Drakomir’s lumbering gait, and dodge each time you see the brute raise its massive sword in preparation to strike. Keep your distance and bombard Drakomir with ranged attacks if possible, or slip behind the villain and let loose with melee blows from the rear. Unleash your most crippling abilities to cut through Drakomir’s thick armor and whittle away at its ample HP.
_(2)new_opt.jpeg)
Slay the skeletons that Drakomir periodically summons to obtain Health and Focus Orbs.
Exit the Crypt
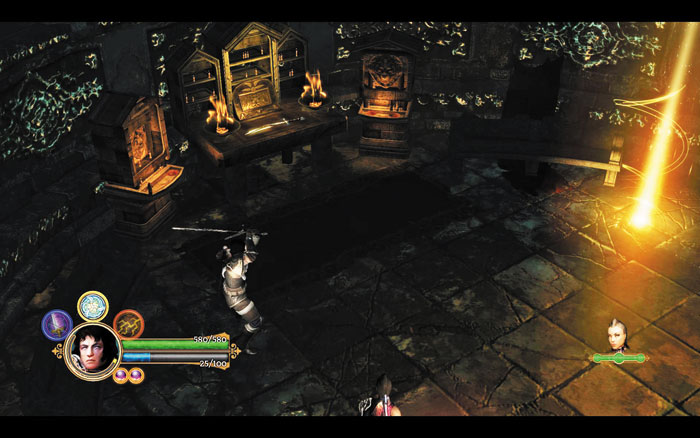
The curse over the Heroes’ Crypt is lifted after Drakomir falls. Collect the legendary blade that the dark knight has left behind, and claim some valuable loot from Lady Montbarron’s sarcophagus in the next corridor as you press onward to find your way back to the Heroes’ Crypt. Claim Maximilien’s third and final relic, the Sword of Bolingar, from an ornate table as you go, and save your progress at the nearby beacon before following your quest guide back out of the crypt.
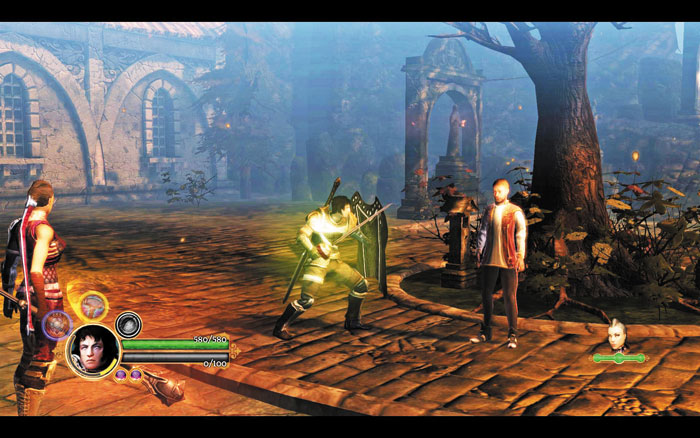
Lazar is thrilled that the crypt has been cleansed, and hands you a precious artifact as thanks for your help. Maximilien rewards you handsomely for each of the three relics you’ve retrieved for him. Not bad for a day’s work!
Enter the Eastern Swamp
new_opt.jpeg)
When you’ve concluded your business at the Heroes’ Crypt, set your active quest to “On the Road” and follow the quest guide across the newly repaired bridge that leads to the Eastern Swamp. You’ll encounter a familiar face on your way to the marshland and gain the company of another worthy comrade.
The Stranger Returns

A friendly face greets you on the road to the Eastern Swamp—it’s the mysterious stranger you met when you first visited the lower Rill, the same person who helped you rescue your current companion and Armand du Blanc from the clutches of the Lescanzi. With the valley at last free of villains, the stranger is now prepared to join you in your efforts to rebuild the Legion. What’s more, the stranger tells you of a recent encounter with the Radiant Youth—apparently, the youth helped the stranger find you. What good fortune you have to gain the allegiance of another brave legionnaire!
When the conversation leads to a discussion about how Lescanzi witches will sometimes seduce foreign men, say that they do this “to make their clan stronger” to gain Influence with your new companion.