
Dungeon Siege III Guide Walkthrough Chapter Eight
Sanctum of Fire
Sanctum of Fire
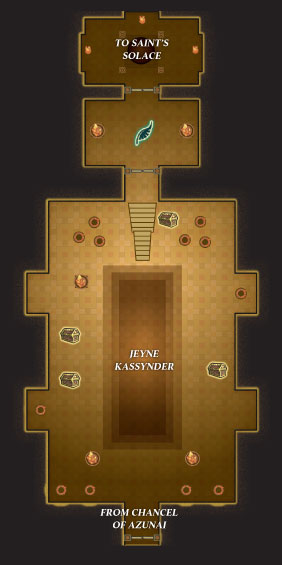
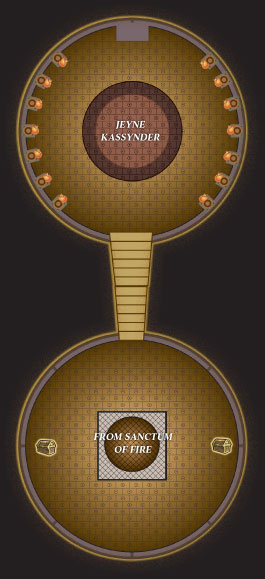
Face Jeyne Kassynder in the Sanctum
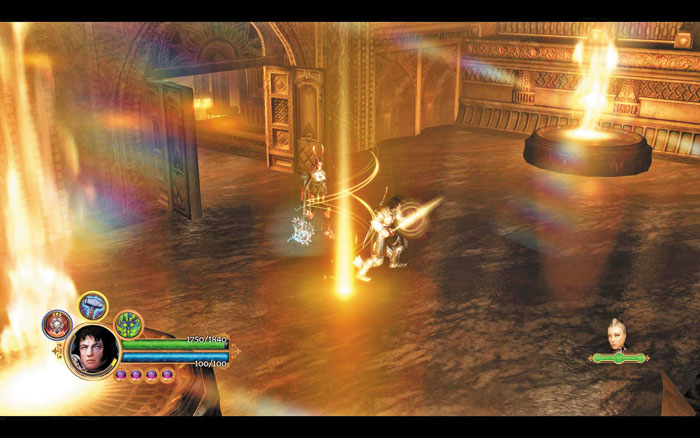
Jeyne has withdrawn deeper into her fortress—you must give chase! Pursue her northward, saving your progress at a beacon before riding a giant lift up to a higher level of the Spire.
Boss Battle: Jeyne Kassynder II
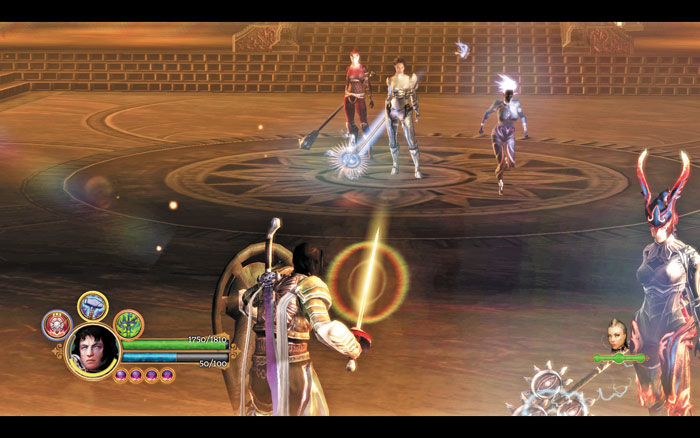
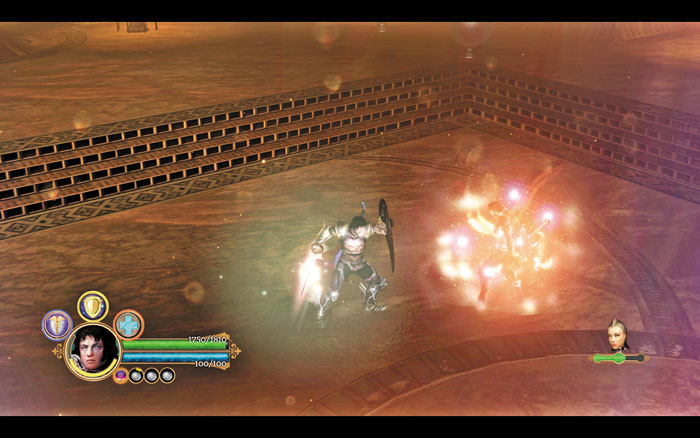
Having met up with two of her archon handmaidens, Jeyne gains the courage to stand her ground and battle you once again in the Sanctum of Fire. Avoid Jeyne’s powerful spells and focus on slaying each of her handmaidens—they’re easier to defeat than Jeyne, who again flees after you dispatch both of her bodyguards. Collect the unique clasp that one of the handmaidens drops after the battle.
Saint’s Solace
Defeat Jeyne Kassynder
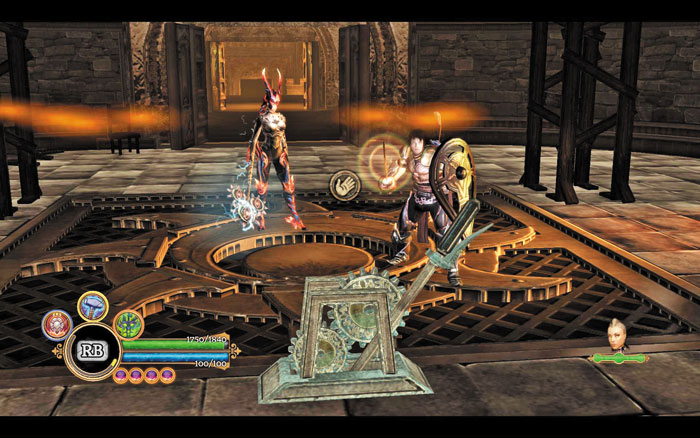
Again, make your way north to discover a second lift at the end of the Sanctum of Fire. This one brings you all the way up to the Spire’s roof, a place known as Saint’s Solace. There’s no place left for Jeyne to run now.
Armand du Blanc

Boss Battle: Jeyne Kassynder III
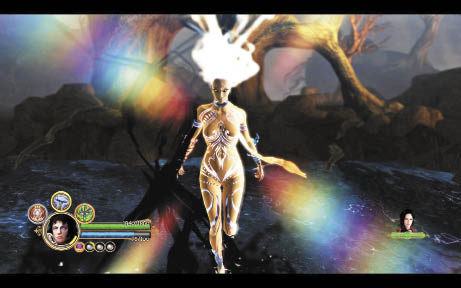
This is an incredibly challenging battle—one of the most difficult in the game. Though Jeyne has no troops to support her, she applies relentless pressure, instantly teleporting into striking distance and unleashing a broad spectrum of devastating attacks and spells. Dodge Jeyne’s aggressive advances, but don’t let her bully you—strike back and punish Jeyne each time she misses. Keep all of your defensive skills active throughout the battle, and use the empowered versions of these abilities (if you’ve mastered them) to extend their benefits to your companion.
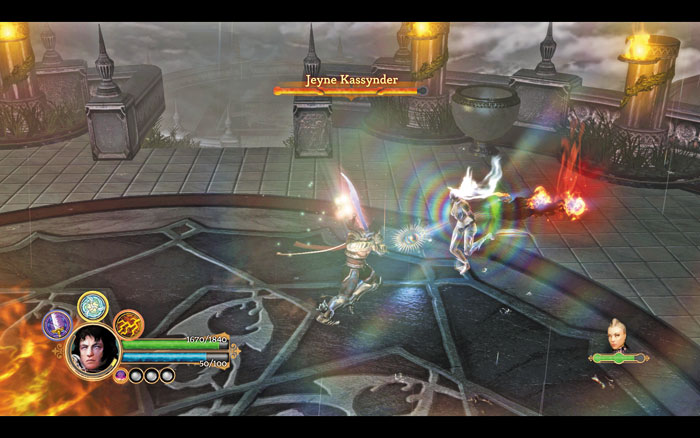
Be quick to revive a fallen companion—you don’t want to draw all of Jeyne’s ire.
Rajani Returns

By some mysterious power, Jeyne manages to vanish in a flash of blue light, escaping the Legion’s justice yet again. Marten Guiscard then appears; Rajani joins him, provided you spared her life back in Raven’s Rill. It seems that Stonebridge’s automaton army has won the day—Jeyne’s army has scattered, leaving the Spire defenseless. Rajani imparts troubling news, however; she believes that Jeyne is headed into the Mournweald, where an ancient power is said to exist. Rajani suspects that Jeyne seeks to use this power to revive her fallen sisters and amass a vast archon army.
Return to the Rukkenvahl
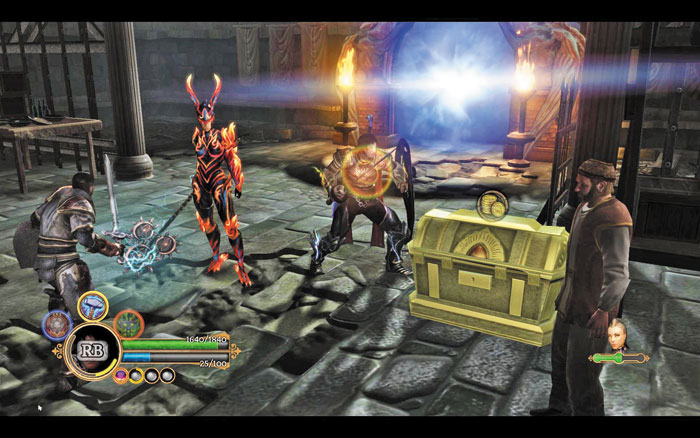
You must make haste to the Mournweald and ensure that Jeyne’s plot doesn’t succeed. Ride the lift all the way back down the Spire—it will take you directly to a basement area, where a Causeway gate stands. If you freed Fitch from the Spire Dungeon during the “Dungeon Siege” side quest, you’ll find him selling his one-of-a-kind wares next to the gate—take a moment to browse the precious goods he offers. If you didn’t free Fitch, you can open a large treasure chest in this area to claim a few pieces of precious loot instead. (The chest will have already been looted by Fitch if you chose to set him free.)
Marten Guiscard
As you near the Causeway gate, Marten stops to speak with you one last time. It’s been a long and arduous journey, and Guiscard offers you some parting advice. After hearing him out, tell Marten “I understand” to gain Influence with Lucas. Or, say “Don’t follow me” to earn Influence with Anjali instead.
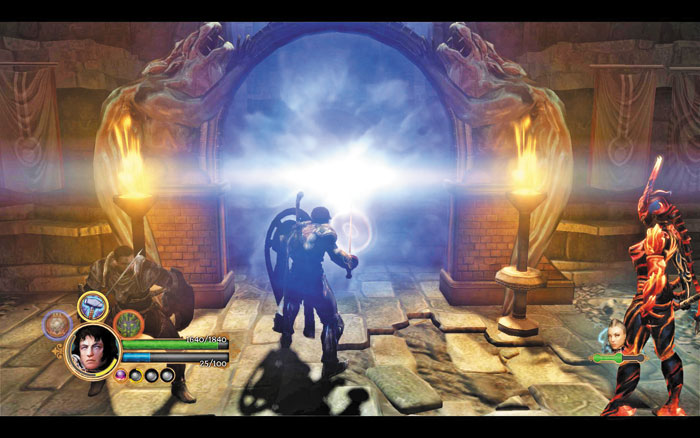
When you’re ready to proceed, step through the shimmering Causeway portal to arrive at the Causeway hub. Sprint down the linear path and enter the far Causeway gate to return to the Legion’s Rukkenvahl chapterhouse.
Armand du Blanc greets you at the chapterhouse’s Causeway gate, but he isn’t selling any gear. Instead, you find Armand in a panic: the entire valley is under attack! Follow Armand to find the mayor of Raven’s Rill, Lazar Bassili, staring blankly out a nearby window. The mayor is watching what appear to be stars falling from the heavens and crashing down throughout the valley. Matters certainly do seem grim…
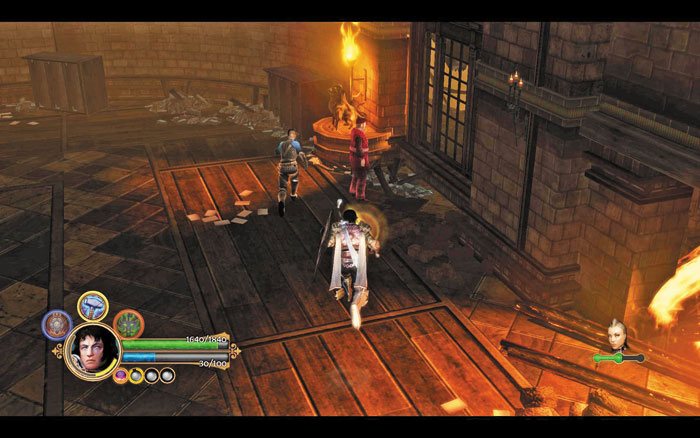
First things first: you’ve got to get the mayor to safety. Return to the Causeway gate, taking a roundabout route to skirt the debris that periodically falls. Once there, Armand hands you a key that will unlock the chapterhouse’s basement door, granting you access to the East Forest and Mournweald. Armand and Lazar then flee into the Causeways—hurry downstairs and use the key Armand gave you to enter the East Forest.
Find Jeyne
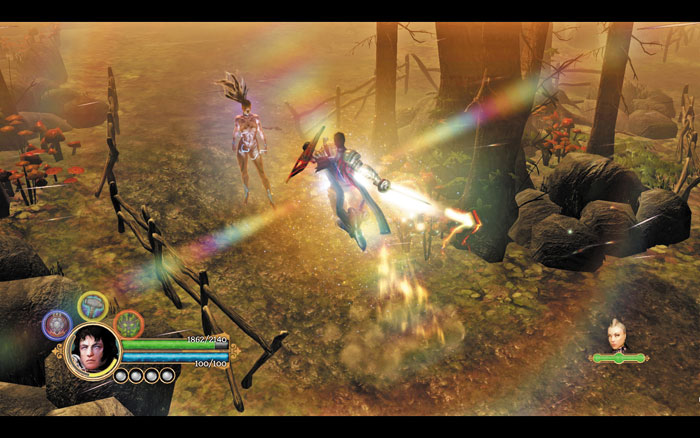
The East Forest is deserted—not a single spider or shiny treasure chest to be found. Archons periodically plummet from the heavens, however—back away when you see the telltale shadows appear on the ground, and dispatch these pests before proceeding eastward. Eventually, you begin to encounter frightening four-armed demons known as daevas—avoid these creatures’ fiery volleys, and keep your distance while a daeva hovers in midair or you’ll suffer damage.
The Radiant Youth
The Radiant Youth suddenly materializes as you near the Mournweald. This time, the boy has come to warn you that Jeyne Kassynder is close, and she’s not alone. The Youth explains that the Mournweald grew from a seed of the First Creation—the ancient forest therefore brims with the power of the old creator gods. Somehow, Jeyne has harvested this power to summon a great evil at the heart of the forest. When prompted, tell the Youth that you have “no choice” in moving forward to gain Influence with Lucas, or say that you’re “looking forward to it” to earn Influence with Anjali. Or, ask the Youth for “any helpful advice” to gain Influence with Katarina instead. The Youth then reveals that destroying the evil that Jeyne has summoned will undo her efforts and cause her reborn archons and daevas to crumble to dust.
Confront Jeyne
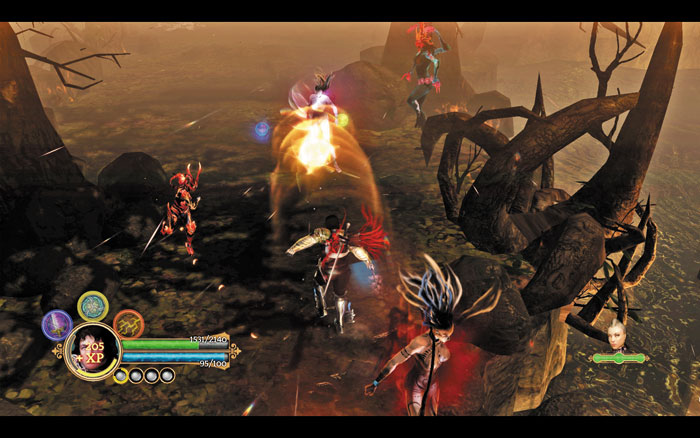
Continue eastward after speaking with the Radiant Youth, slaughtering many more archons and daevas on your way to the heart of the Mournweald, where Jeyne awaits. Again, there’s nothing of interest to discover on your way to the final showdown.
Final Boss: Corrupted Creator
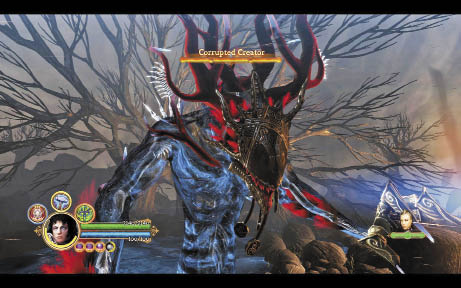
Jeyne has summoned a monstrous creature into existence—a twisted rendition of an old creator god. Fortunately, your powers should be near godlike by this point, so all hope is not lost. The Corrupted Creator primarily attacks with its two giant hands, using its left to summon archons and scraping its right across the ground to create trails of searing blue flame. These dangerous appendages also double as the Corrupted Creator’s weak points—fire on them from afar or attack them up close while the hands aren’t in use.
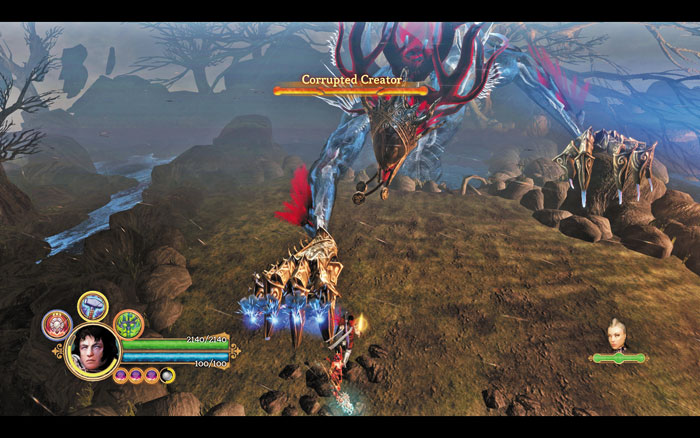
Dodge to avoid the Corrupted Creator’s blue energy volleys and use Lucas’s Heroic Charge to quickly strike its hands while they’re inactive.
The Corrupted Creator’s right arm is destroyed after half of its health is depleted, and the pace of the battle changes. The Creator now begins to summon daevas and dakkenweyrs in addition to archons, and periodically fires a sustained laser from its forehead. Simply slaughter or avoid all of the Creator’s minions—the Corrupted Creator will then spew a thick wave of black bile before collapsing for a brief time. Take cover behind a rock to hide from the Creator’s attacks, then rush forward and assail the Creator’s exposed head before it rises once more. Repeat this until the Corrupted Creator is at last undone.
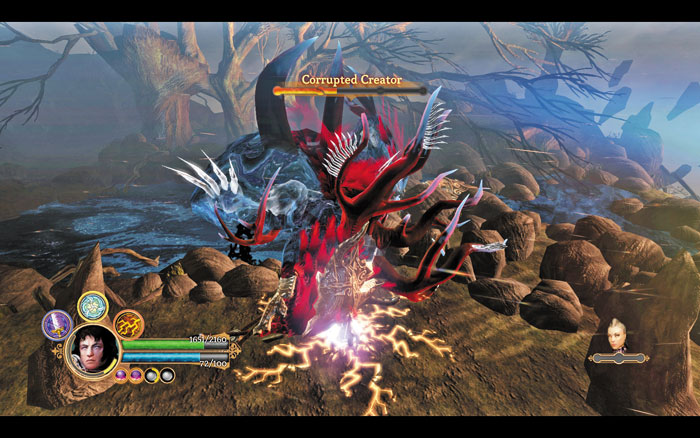
Dodge to avoid the Corrupted Creator’s blue energy volleys and use Lucas’s Heroic Charge to quickly strike its hands while they’re inactive.
Decide Jeyne’s Fate
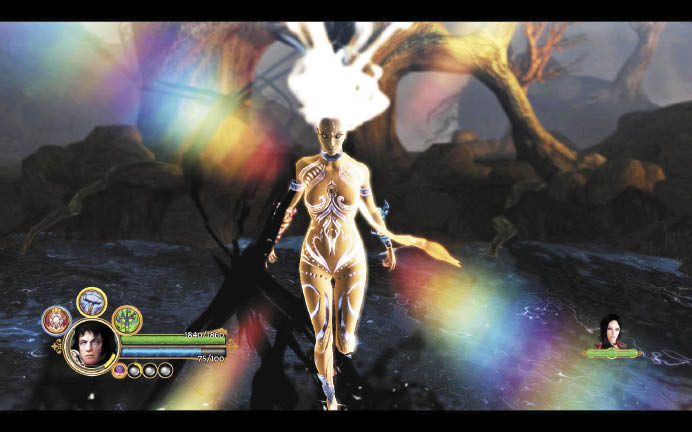
With the reborn god destroyed, Jeyne’s fate is all but sealed. None of her former servants are left to protect her—the Legion’s greatest foe is in your custody at last! The Radiant Youth soon appears; question the child to learn that the Mournweald’s mysterious power has vanished along with the demise of Jeyne’s twisted god. Probe Jeyne afterward to learn more about what drove her to cause so much chaos and bloodshed over the years. Weigh Jeyne’s words carefully, then determine her fate: either choose to kill Jeyne, or grant her mercy and spare her life. You’ve come to the end of this long journey, so the decision you make affects how the ending unfolds. Congratulations, you’ve beaten the game!