
Dungeon Siege III Guide Essentials 10th Legion Training
Combat
Combat
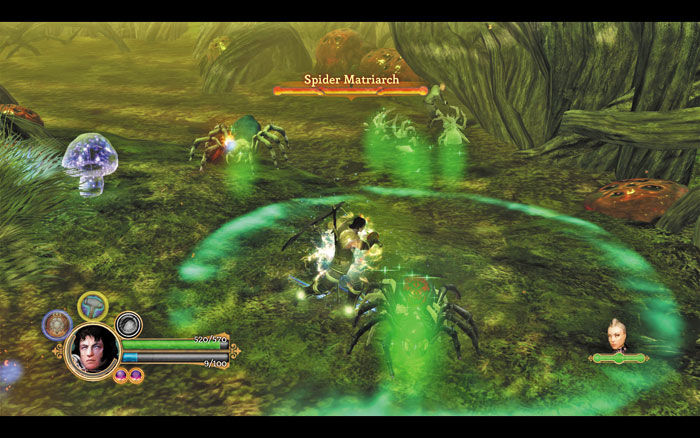
Named enemies are particularly dangerous and challenging to defeat.
Ehb is a dangerous land, so the art of war is well known to all legionnaires—particularly the techniques of man-to-man combat. Each legionnaire has mastered a unique brand of fighting, blending a dangerous mix of lethal weaponry and powerful combat abilities. Battles are fast and furious, and it’s easy to become overwhelmed by swarms of foes if you aren’t careful. Be prepared for anything while your legionnaire has a weapon readied!
Attacking
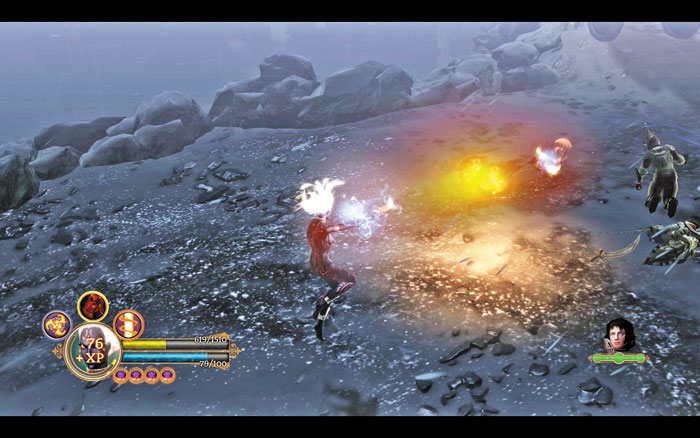
Shredding enemies with ranged and melee weapons is a common legionnaire duty. Press the Attack button multiple times to unleash a deadly series of strikes with most weapons, the final blow typically being the most powerful. Note that each legionnaire has two combat stances; one is often intended for single-enemy combat, while the other is typically suited to tackling mobs of foes. Switch between both stances as needed to slay enemies with far greater efficiency.
Calculating Damage
When a normal attack is made, the attacker’s Attack DPS value is simply divided among all targets when calculating damage. However, when an offensive ability is unleashed, Attack DPS and Ability DPS values are combined to produce significantly more damage. Regardless of the form of attack, damage is always reduced by the victim’s Armor value. See the “Character Statistics” sidebar for more on these and other vital stats.
Critical Hits
Every attack has a chance to strike a soft spot and inflict critical damage against its target. Critical hits cause twice the normal amount of damage, plus whatever bonus might also be applied by the Doom chaos effect (if applicable). The chances of scoring a critical hit vary based on the legionnaire’s Agility rating and level—the higher the character’s level, the more Agility it takes to maintain the same odds of scoring critical hits. This chart shows the effect that one point of Agility has in determining a legionnaire’s critical hit chance per level.
|
Agility and Critical Hits |
|
|
Level |
Critical Hit Chance (per 1 Agility Point) |
|
1 |
1.39 |
|
2 |
1.17 |
|
3 |
1.01 |
|
4 |
0.88 |
|
5 |
0.78 |
|
6 |
0.70 |
|
7 |
0.63 |
|
8 |
0.57 |
|
9 |
0.52 |
|
10 |
0.48 |
|
11 |
0.44 |
|
12 |
0.41 |
|
13 |
0.38 |
|
14 |
0.35 |
|
15 |
0.33 |
|
16 |
0.30 |
|
17 |
0.28 |
|
18 |
0.27 |
|
19 |
0.25 |
|
20 |
0.23 |
|
21 |
0.22 |
|
22 |
0.21 |
|
23 |
0.20 |
|
24 |
0.18 |
|
25 |
0.17 |
|
26 |
0.16 |
|
27 |
0.15 |
|
28 |
0.14 |
|
29 |
0.14 |
|
30 |
0.13 |
Using Abilities
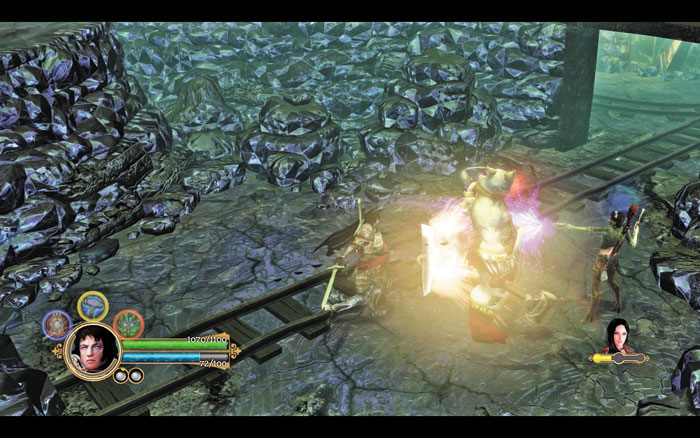
Each legionnaire has nine unique abilities that greatly enhance their fighting skill. Most abilities are offensive in nature, wounding enemies and decreasing their combat effectiveness. A few abilities are defensive, helping to heal and strengthen the valiant legionnaires. Focus is required to activate all offensive abilities—gain Focus by wounding and slaying enemies with normal attacks and combos
_opt.jpeg)
Unlike offensive abilities, defensive abilities demand one Power Sphere to activate. Trade Focus for Power by blocking enemy attacks or using offensive abilities—Power also accumulates as you take damage without blocking. Then trigger defensive abilities to gain passive bonuses, such as improved defenses or regenerated health for a brief time (usually 30 seconds). You gain your first Power Sphere shortly after reaching level 2, and more are awarded as you reach other important milestones in the adventure.
Empowered Abilities
Power Spheres are also needed to unleash empowered abilities. Use abilities often and you’ll eventually master them and unlock their empowered versions. You may then unleash the ability as normal or choose to execute its empowered version by simply holding a modifier button.
- Defensive abilities (anything activated with the Block button held down) require 150 uses to master.
- Offensive abilities (anything activated without holding the Block button) require 200 uses to master.
Evading
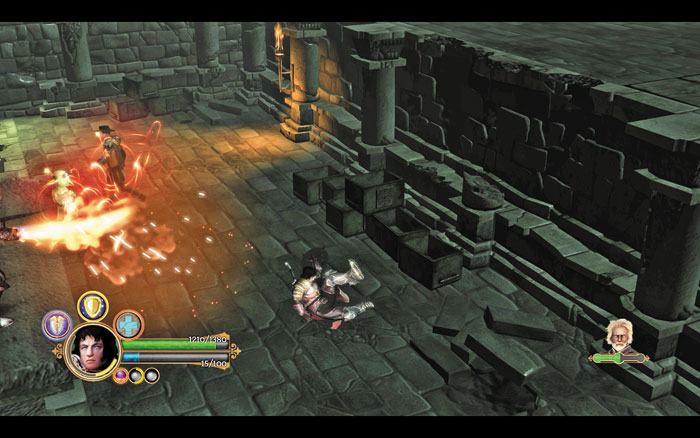
Attacking and being aggressive is easy enough, but to truly master the fine art of battle you must also learn to avoid damage. Enemies can’t kill what they can’t strike, so stay mobile as you watch for patterns in your foes’ attacks. Then simply evade enemy blows by rolling or dodging in a timely fashion. Each legionnaire is completely immune to damage while dodging, making this a vital technique to incorporate into your battle plan.
_opt.jpeg)
Enemy Auras
Some enemies project special auras around themselves, but their effects aren’t immediately obvious. The aura’s color gives you a clue as to its purpose:
|
Aura Color |
Effect |
|
Green |
Heals nearby enemies. |
|
Orange |
Inflicts burning damage to nearby legionnaires. |
|
Purple |
Drains nearby legionnaires’ Focus. |
|
Red |
Enhances nearby enemies’ speed. |
|
White |
Increases nearby enemies’ armor. |
Blocking
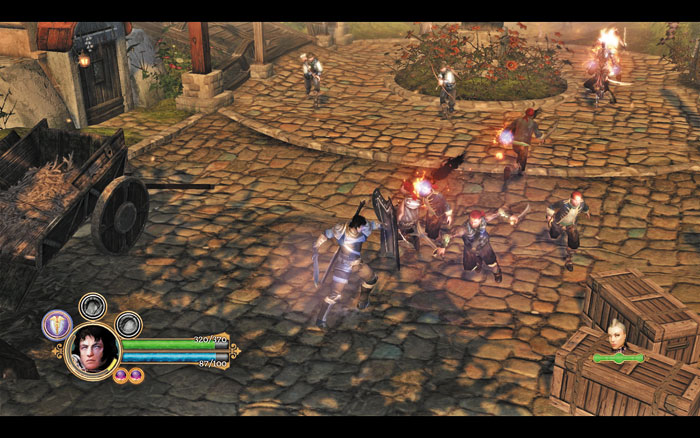
When there’s no place left to run, the art of blocking becomes an essential survival tool. Hold the Block button to stand your ground in a defensive posture—your character’s Block rating is then added to the Armor rating, further reducing damage. More importantly, all damage is subtracted from your hero’s Focus instead of Hit Points (HP) while blocking, and Power steadily accumulates when attacks are blocked. Therefore, block to preserve HP and fill Power Spheres, then use those Power Spheres to activate defensive abilities and turn the tide.
Healing
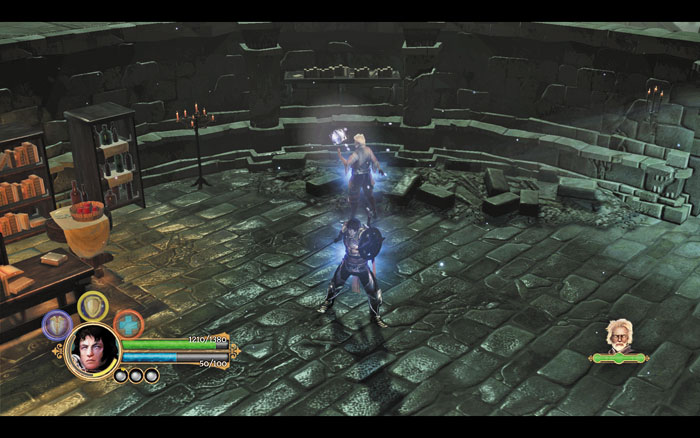
No matter how stalwart the 10th Legion’s warriors might be, they’re certain to suffer injury at some point during their adventures. Fortunately, the very first ability legionnaires unlock is their primary healing ability, which slowly restores half of their maximum HP over the course of 30 seconds. Healing can also be obtained in other ways—certain abilities can be upgraded with proficiencies that grant some form of HP recovery, and equippable gear can bestow the Vampire chaos effect, which can transfer HP from enemies to you during battle.
Reviving Comrades
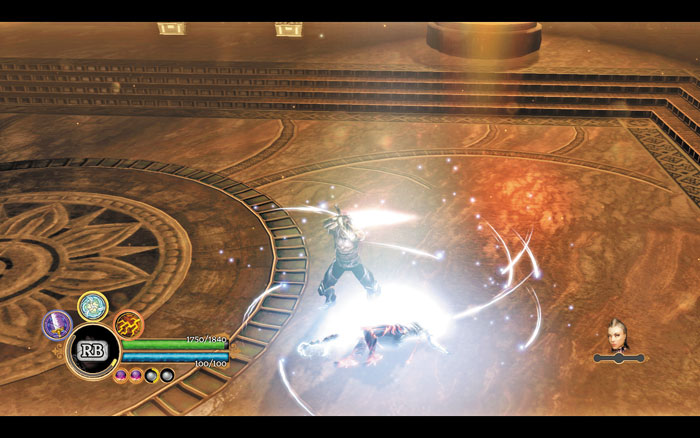
Even the most battle-hardened legionnaires can find themselves on the wrong side of a broadsword. When a member of the 10th falls in battle, the surviving companion should act quickly. Run close to a fallen comrade and hold the appropriate button to begin healing. Several seconds are needed to bring an ally back from the brink, and being attacked may interrupt the revival process and force you to begin again. Ensure no enemies are nearby when reviving fallen friends.