
Dungeon Siege III Guide Walkthrough Chapter Eight
The Spire

Chapter 8: The Spire
Victory is at hand! Having secured the allegiance of Queen Roslyn and the powerful meisters of Stonebridge, the 10th Legion has once again been restored to its rightful status; the legionnaires are champions and lawbringers of Ehb. The Azunites, who until only recently seemed an unstoppable foe, now find themselves on the defensive as the vast automaton armies of Stonebridge march on Aegis Bay—an Azunite-controlled town at the foot of Jeyne Kassynder’s imposing mountain stronghold, the Spire. As the tireless automatons clash with Jeyne’s armies at the mountain’s base, legionnaires move to infiltrate Jeyne’s fortress and confront their fanatical adversary one last time.
Spire Bailey
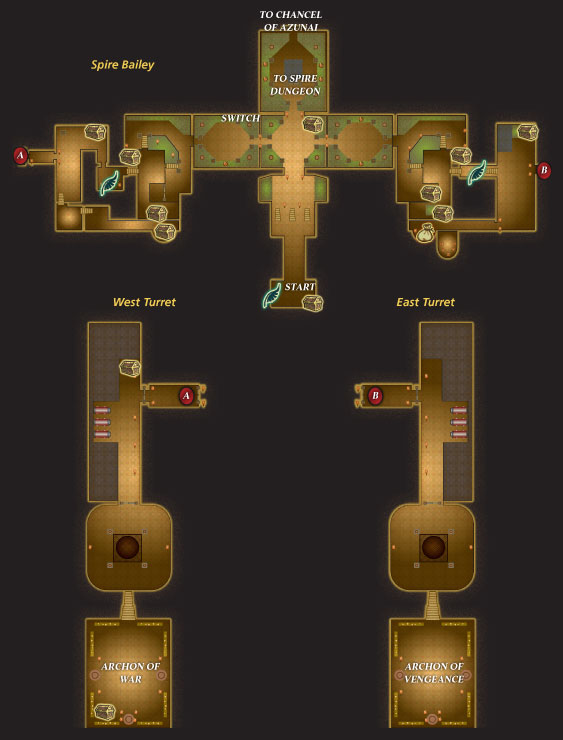
Enter the Spire
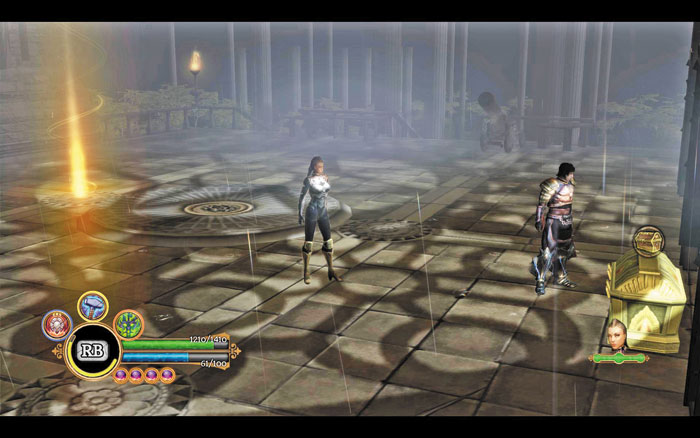
A forgotten mountain path has brought you to the Spire’s outer wall—you must now find some way inside the stronghold. Open the nearby chest and save your progress before venturing north to encounter two of Jeyne Kassynder’s most trusted allies.
Saraya and Rajani

If you chose to spare Rajani’s life back in Upper Raven’s Rill, the archon now confronts you, along with another high-ranking archon in Jeyne’s army named Saraya. If Rajani is present, gain Influence with Reinhart by asking “What do you want?” or say “Get out of the way” to earn Influence with Katarina instead. On the other hand, if you chose to kill Rajani before, accuse Saraya of “lying” to gain Influence with Anjali, along with some keen insight into your archon companion’s mysterious past.
Surprisingly, Saraya and Rajani haven’t come to fight—they’ve come to express misgivings about their leader’s recent actions. The archons believe that Jeyne has lost her mind—question them to learn of Jeyne’s true motives and beliefs. The archons then beg you to spare Jeyne’s life—in exchange, they’re willing to withdraw from the battle and provide information about the Spire. If Rajani lives, tell the archons that you “won’t spare Jeyne” to gain Influence with Lucas or Anjali, or say “agreed—no killing” to earn Influence with Reinhart and also gain some insight as to what lies ahead in the Spire.
Explore the Courtyards
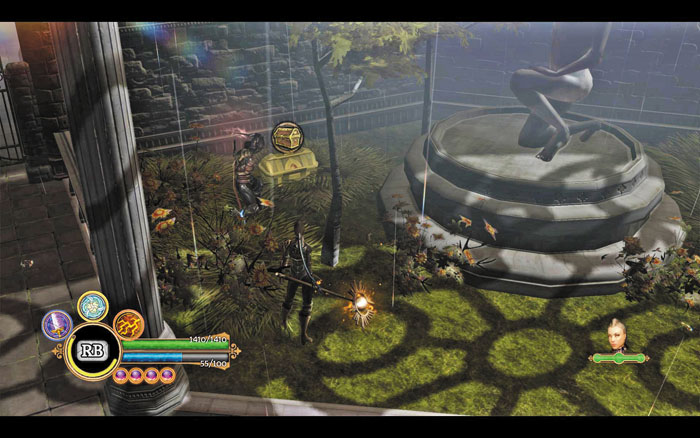
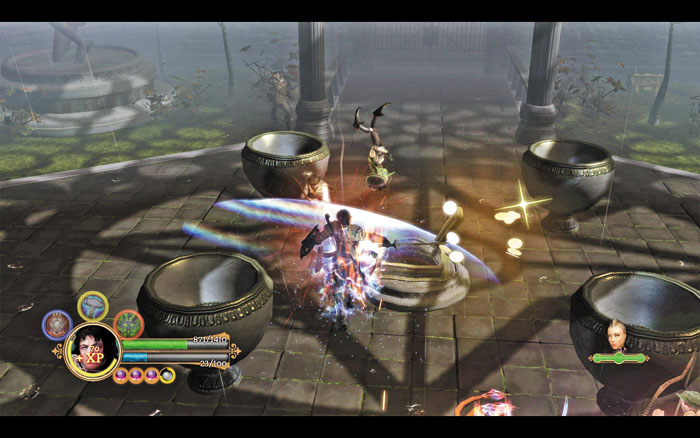
You’ve learned that two powerful archon gatekeepers must be defeated to unseal the Spire’s entry gate. Each archon resides within a tower—one to the east, and the other to the west. Open the nearby gate and lay waste to the swarm of Azunite troops in the courtyard that follows. Smash the large vases to discover random loot, and open two treasure chests before pulling the central lever to open the north gate. The east and west gates are locked, so proceed north.
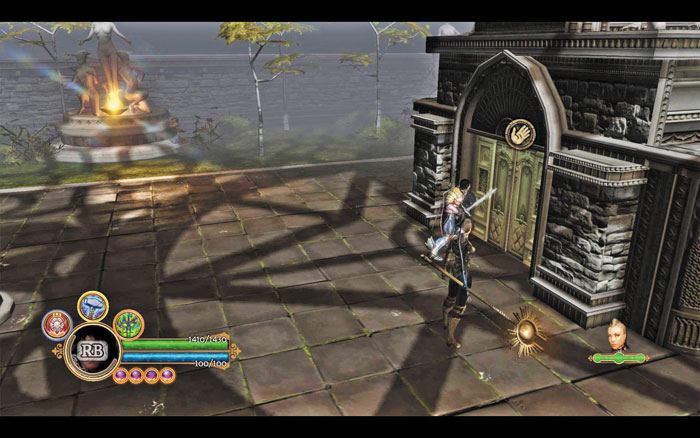
Dispatch more Azunite zealots to secure the north courtyard, then pull another lever here to unlock the east and west gates back in the previous yard. You can’t enter the north courtyard’s central structure, but inspecting its door grants you a new side quest. The courtyard’s north gate is locked as well.
Side Quest: Dungeon Siege
 Open the Door to the Dungeon
You have discovered the entrance to a dungeon, underneath the Bailey garden. The doorway is carved into the base of a stone centerpiece in the middle of the garden.
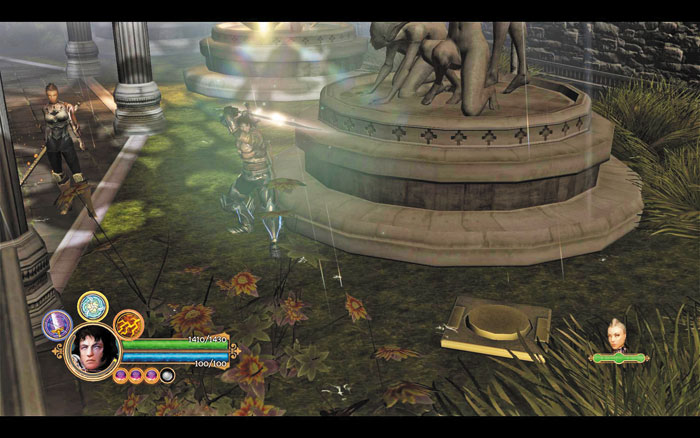
Return to the south courtyard and pass through the now-open west gate. Eliminate more Azunites in the west courtyard, then locate and step onto a golden pressure switch in the yard’s corner to open the doors to the north courtyard’s central structure.
Explore the Dungeon
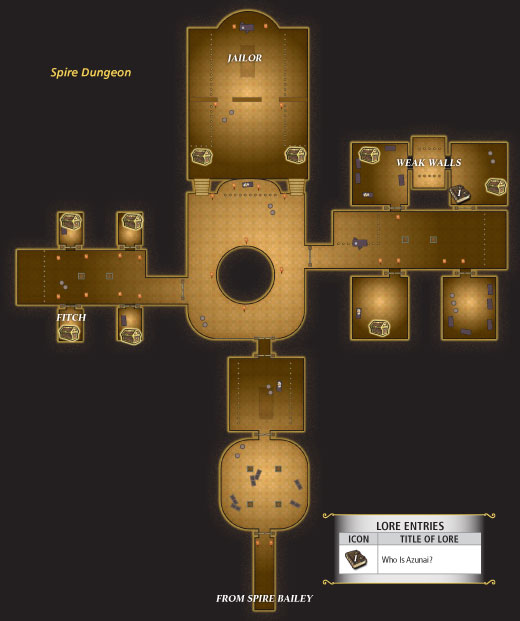
Backtrack to the north courtyard and enter the central structure. Descend a long staircase and pull a few levers to visit a dungeon filled with aggressive Azunites, including those dangerous Azunite soldiers. Secure the first cell block, then speak with a nearby imprisoned man.
Fitch
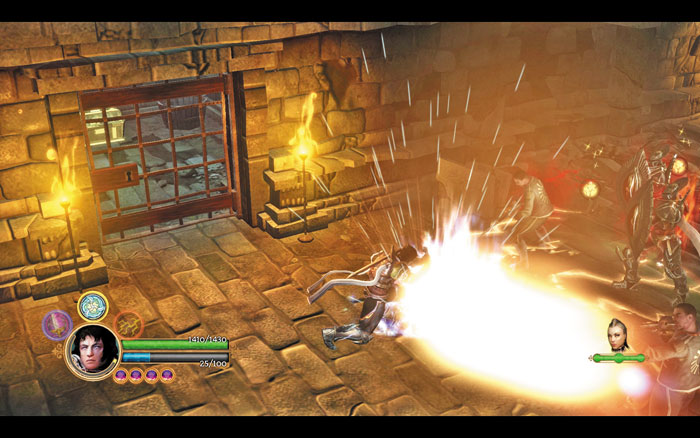
The imprisoned man’s name is Fitch, and he begs for you to release him. Question Fitch to learn that he’s actually a smuggler. The desperate man then offers to sell you his ill-gotten merchandise for a hefty discount if you’ll set him free. However, with Fitch’s goods being stored inside the Spire, you could simply leave Fitch to rot and take his ill-gotten loot for yourself, free of charge. The choice is yours, but Fitch puts forth that the master cell key is carried by the Azunite Jailor, who lingers at the north end of the cell block.
Find the Jailor’s Key
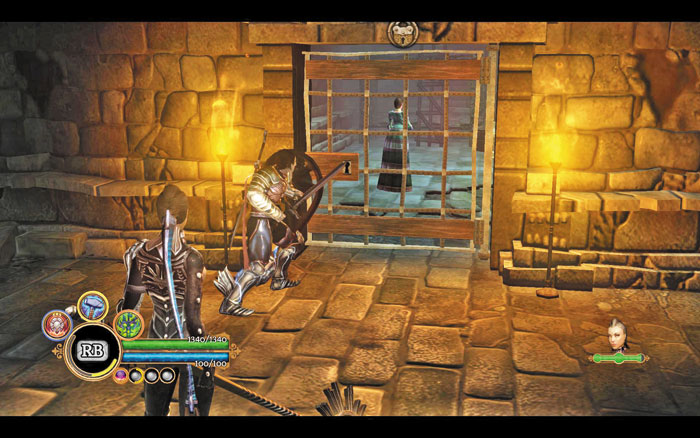
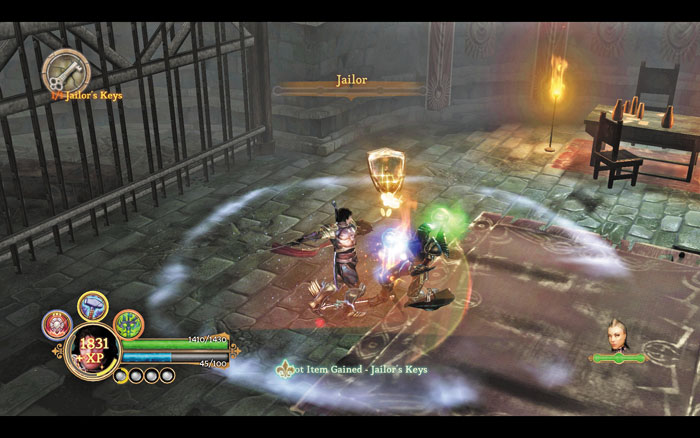
You can’t open any of the dungeon’s cells without the Azunite Jailor’s key, and many cells contain treasure—reason enough to confront the key’s keeper, even if you couldn’t care less about poor Fitch. Slay more Azunite troops on your way up the north steps, looting a couple of chests as you go. Then battle the Jailor in the far north block—he’s akin to an Azunite soldier, only more aggressive and resilient. Evade the Jailor’s predictable attacks and counter with your most powerful abilities.
Release the Noble Prisoners
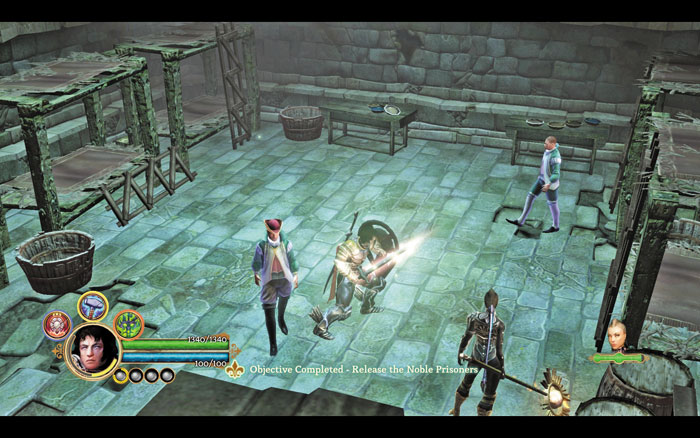
Destroy the weak wall in the east block’s northwest cell to access the sealed northeast cell—there you’ll discover a unique vambrace for Lucas and a new lore entry.
Time to open some cells. Slay the Azunite soldiers that guard the east block, then open each cell to release a number of innocent nobles who’ve been imprisoned by Jeyne. Release all of the nobles to complete an objective and receive a special Deed. Be sure to scour each cell for treasure.
Deed Gained—
Liberator -
Agility +5
You freed all the prisoners in the Spire Dungeon.
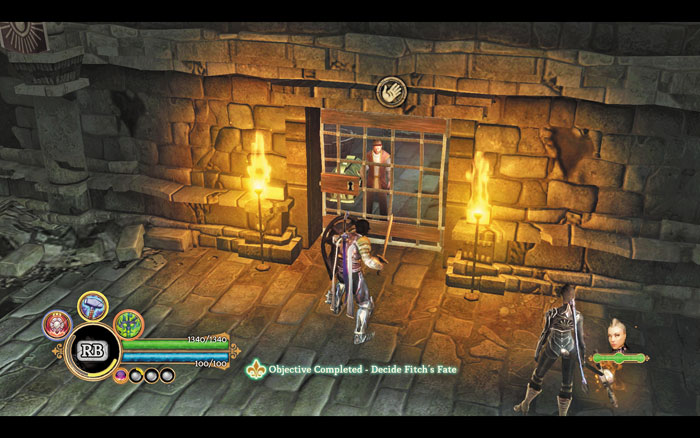
Decide Fitch’s Fate

To complete this side quest, you must return to Fitch and determine his fate. When Fitch asks if you’ve found the keys, respond by saying “yes” to free him—this will result in you encountering Fitch later in the adventure as a merchant who offers a host of unique artifacts at a steep discount. If Reinhart is by your side, you will also gain Influence with him by setting Fitch free. On the other hand, telling Fitch “I changed my mind” dooms the smuggler to remain in prison but also allows you to open a special treasure chest later in the adventure that contains a number of unique artifacts as well—albeit far fewer than the array of one-of-a-kind items that Fitch can sell you. The choice is yours, legionnaire—whatever you decide, be sure to loot the west block’s cells afterward.
Slay the Archon Gatekeepers
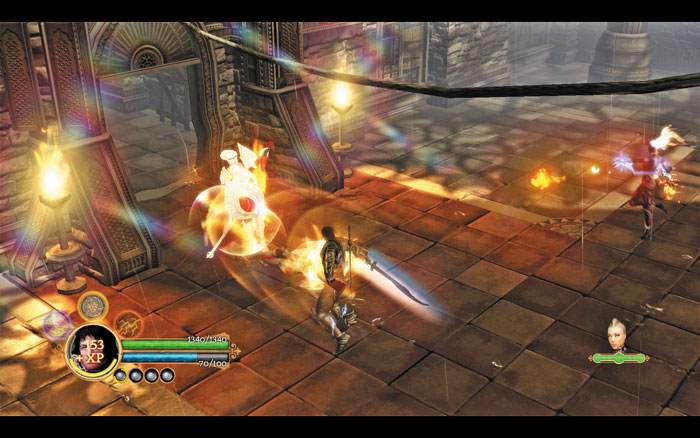
After you’ve finished sieging the Spire Dungeon, make your way back to the surface and follow the quest guide into the nearest archon gatekeeper’s tower. Be prepared to face strong resistance in the towers, for both are defended by numerous Azunite soldiers, priests, and formidable archon handmaids. Dodge often as you whittle away at these resilient adversaries, and try to dispatch the priests first to nullify their deadly spells.
Gavril
Search the east tower thoroughly to meet a man named Gavril, who is making ready to flee the Spire. Gavril is in need of gold for his journey, so he’s willing to sell you some precious stolen gear at a hefty discount—including a couple of unique artifacts. Take a moment to trade with Gavril—you’ll both profit from the exchange.
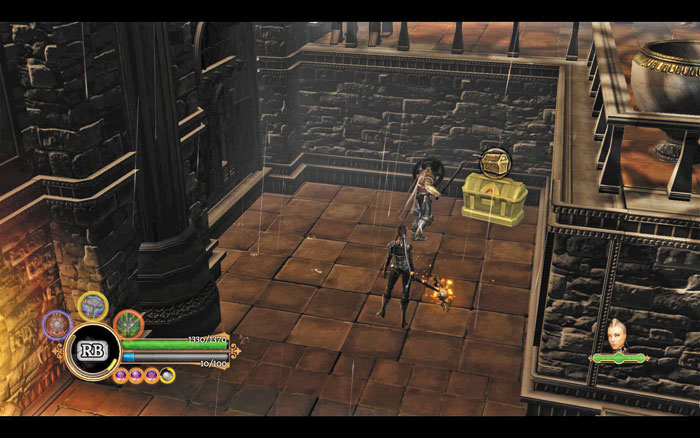
Fight onward through each tower, searching every nook and cranny for treasure until you come to a giant lift. Pull the lift’s lever to ascend to the top of the tower, where the archon gatekeeper awaits. Scale both towers and defeat both gatekeepers to unseal the courtyard’s north gate.
Boss Battles: Archon of War/Archon of Vengeance
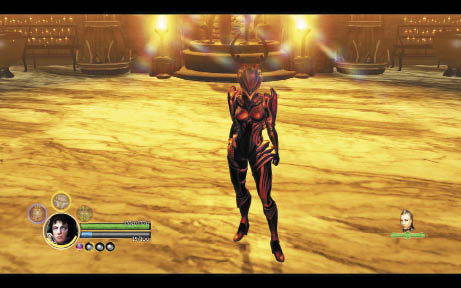
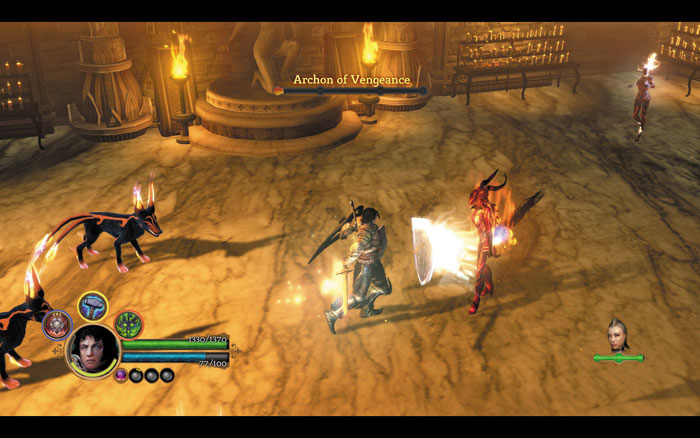
Both archon gatekeepers fight like the Legion’s own archon, Anjali—each uses a melee weapon and can unleash various fire-based abilities. The Archon of War can perform Anjali’s powerful Spinning Kick ability, while the Archon of Vengeance prefers to call upon Pillar of Fire. Skirt the archons’ melee blows and counter with fast strikes and abilities each time they miss. Don’t get greedy for damage—be ready to dodge after landing just a few blows. Fight smart to wear down and eventually dispatch these worthy adversaries.
Chancel of Azunai
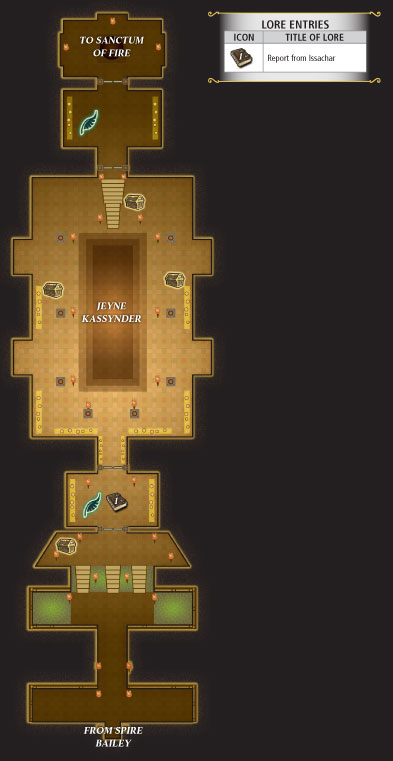
Face Jeyne Kassynder in the Chancel
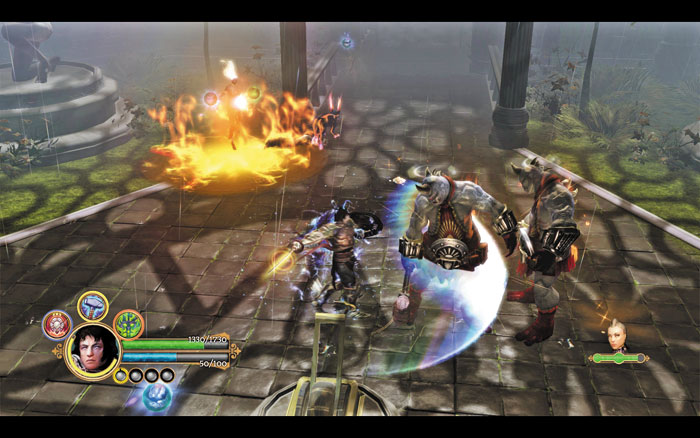
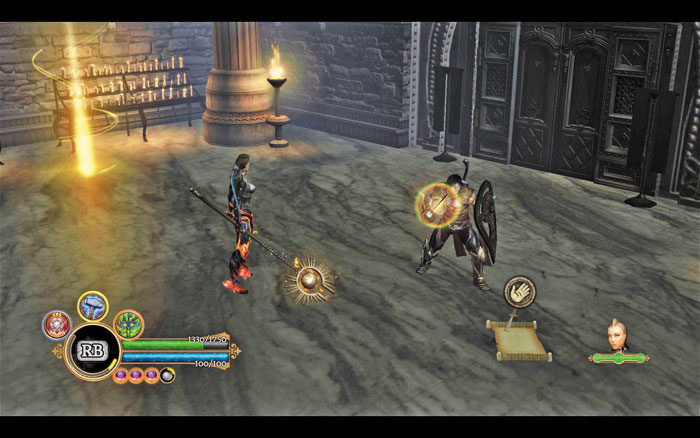
Make your way back to the central courtyard, then head north to reach the chancel. Continue north to reach a quiet, candlelit chamber with a save beacon. Collect a lore entry by examining the note on the floor, then save your progress before venturing north to confront the Legion’s greatest enemy.
Jeyne Kassynder

The AzuJeyne saysnites’ master awaits you in a wide chamber—the perfect place for battle. When that nothing about the Legion has changed in 30 years, respond by saying “We have unfinished business” to gain Influence with Anjali, or tell Jeyne to “surrender” to earn Influence with Reinhart. Or, choose to be flippant and tell Jeyne “I could say the same about you,” to gain Influence with Katarina. No matter what you say to Jeyne, the dialogue quickly ends, and a challenging battle begins.
Boss Battle: Jeyne Kassynder I
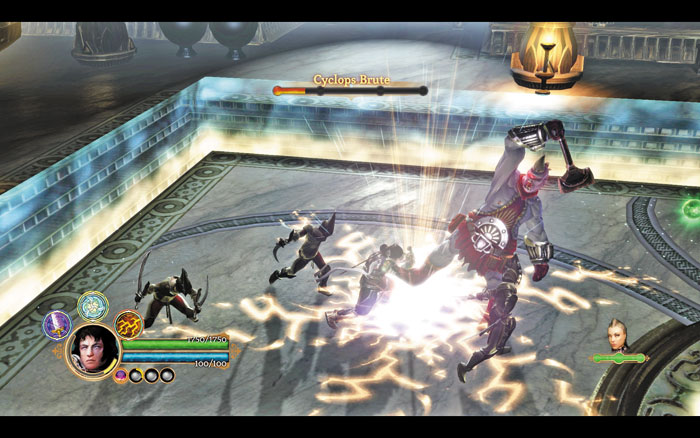
Slaughter the weaker Azunite troops to obtain Health and Focus Orbs.
Jeyne remains surrounded by an impenetrable force field throughout this battle. From her position of safety, Jeyne summons a host of Azunites to assault you, including armored soldiers and a dangerous Cyclops Brute. Eliminating the Cyclops Brute prompts another one to spawn in, and dispatching the second Cyclops Brute forces Jeyne’s archon bodyguard, Chakti, to enter the fray. Slaughter Chakti to at last convince Jeyne to flee the scene, and be sure to collect the one-of-a-kind staff that Chakti leaves behind.