
STRATEGY
Orchid’s Normals
- When in close, Crouching Light Punch and crouching Light Kick are your best poking normal attacks, especially Crouching Light Kick. Both Crouching Light Punch and crouching Light Kick are +2 advantage and both are fast attacks, having a 4-frame startup. Crouching Light Kick hits low and has more range, however, making it a better poking option.
- From outside of sweep range, standing Heavy Punch is one of your best normal attack options. It has great reach, and because it’s a Heavy attack it is able to crush other weaker attacks. When this attack is blocked, you can cancel into Ichi Ni San and initiate the string mix-up from that attack. When this attack hits, cancel into Ichi Ni San and go into your combo.
Using Danger Zone

Danger Zone is an air throw that is mainly used to finish off juggle combos. Usually you need to have your Ender built up to at least a level 3 Ender in order to land this air throw. After you land a successful Danger Zone air throw, you can follow up with one or more additional attacks, depending on what the KV Meter looks like.
Using Whiplash
Whiplash is best used on wake up as a way to whiff your opponent’s attacks as well as any attempt to jump away or back dash. Even though this attack is unsafe, you can cancel this attack into a Special attack to avoid being punished. Your best option is to cancel this attack into Orchid’s Ichi Ni San.
Using Flick Flack
The Heavy version of this attack is combo punished on block, making Light and Medium Flick Flack the only versions of the attack that should be used outside of a combo. This is very risky, however, when your opponent has Shadow Meter, as Flick Flack is an easy Shadow Counter when it gets blocked. If your opponent has no Shadow Meter, canceling into a Light or Medium Flick Flack is a great way to safely build Shadow Meter.
Using Ichi Ni San

This is Orchid’s best attack and is her main pressure tool. Orchid can start her Ichi Ni San string with any strength of Punch and continue through its follow-ups with a different Punch strength.
- Orchid can flow through the first and second hits of the string, and then finish with a 50/50 hit level mix-up. Finishing this 3-hits string with your Light option ends in a low attack, and finishing with the Medium option ends in an overhead. After either the low or overhead option hit, Orchid can go right into an Auto Double and continue her combo. Both the low and overhead follow-ups are slightly delayable, which comes in handy for throwing off an opponent’s timing should he or she try to fuzzy guard Shadow Counter.
- Finishing this string with Heavy Punch allows you to charge the punch through 4 levels. Levels 1 and 2 are both combo punished, level 3 is +5 advantage on block, and level 4 is unblockable. This is a VERY fast charge, allowing you to quickly charge to level 3 for the +5 advantage or release the charge slightly early, should your opponent attempt to interrupt you as you are charging the attack. If your opponent respects your option to release the attack pre-level 3 charge, you are then able to charge the attack to its level 4 unblockable state. This attack reaches its unblockable state quickly, which puts pressure on your opponent to make a quick decision as you are charging the attack. Should your opponent attempt to interrupt you out of the charge, you can just release the attack at its level 3 state, punishing that interrupt attempt.
- Ichi Ni San builds a tremendous amount of meter each time it gets blocked. For example, you can build three-quarters of one bar of Shadow Meter by canceling into a Heavy Ichi Ni San string from a Heavy normal.
- You can cancel out of the first and second hit of Ichi Ni San when blocked with any Shadow attack, but you cannot cancel out of the third hit when blocked.
Ichi Ni San Resets after a Wall Splat
When you have your opponent in a corner, ending your combos with a wall splat Ender sets up an opportunity to use Ichi Ni San. After the wall splat, your opponent must block your Ichi Ni San, allowing you to go into a 50/50 mix-up with your Light Ichi Ni San low and Medium Ichi Ni San overhead options, or go into a mix-up with a charged Heavy Ichi Ni San.
Ichi Ni San as a Linker

Ichi Ni San possesses a unique ability when used inside of combos. As a Linker, Ichi Ni San can be done back-to-back in a combo. In Killer Instinct, no other character can combo one Linker into another except for Orchid when she uses her Ichi Ni San. You can also vary the strength of the Ichi Ni San from one Linker to the next. For example, you can use Light Ichi Ni San for your first Linker, then follow up with a Medium or Heavy Ichi Ni San as the next Linker, then use two Light Ichi Ni San Linkers, etc. There is no order in which you have to link the strength of these attacks as a Linker. You can go from Heavy to Medium, Medium to Light, two Heavys, Medium to Heavy or Light, etc. This makes it extremely difficult to Combo Break Orchid out of her Linkers when she uses Ichi Ni San, making it an ideal way of hunting a lockout.
Using Blockade Runner
Blockade Runner is low Opener that can range anywhere from a close-range attack to long-ranged attacks, depending on what strength of the attack is used. This move is extremely unsafe, so it’s definitely not something to be abused. There isn’t much need for this attack in close because your crouching Light Kick is also a low attack that can be used to start a combo, and its advantage when blocked, making it a far better choice for hunting a low Opener when in close. From mid to far range is where this attack can become useful, but not as a surprise but as a whiff punisher instead. Both the Medium and Heavy versions of this attack travel pretty far and fast, allowing you to quickly whiff punish your opponent’s missed attacks.
Using Air Buster and Upper Firecat
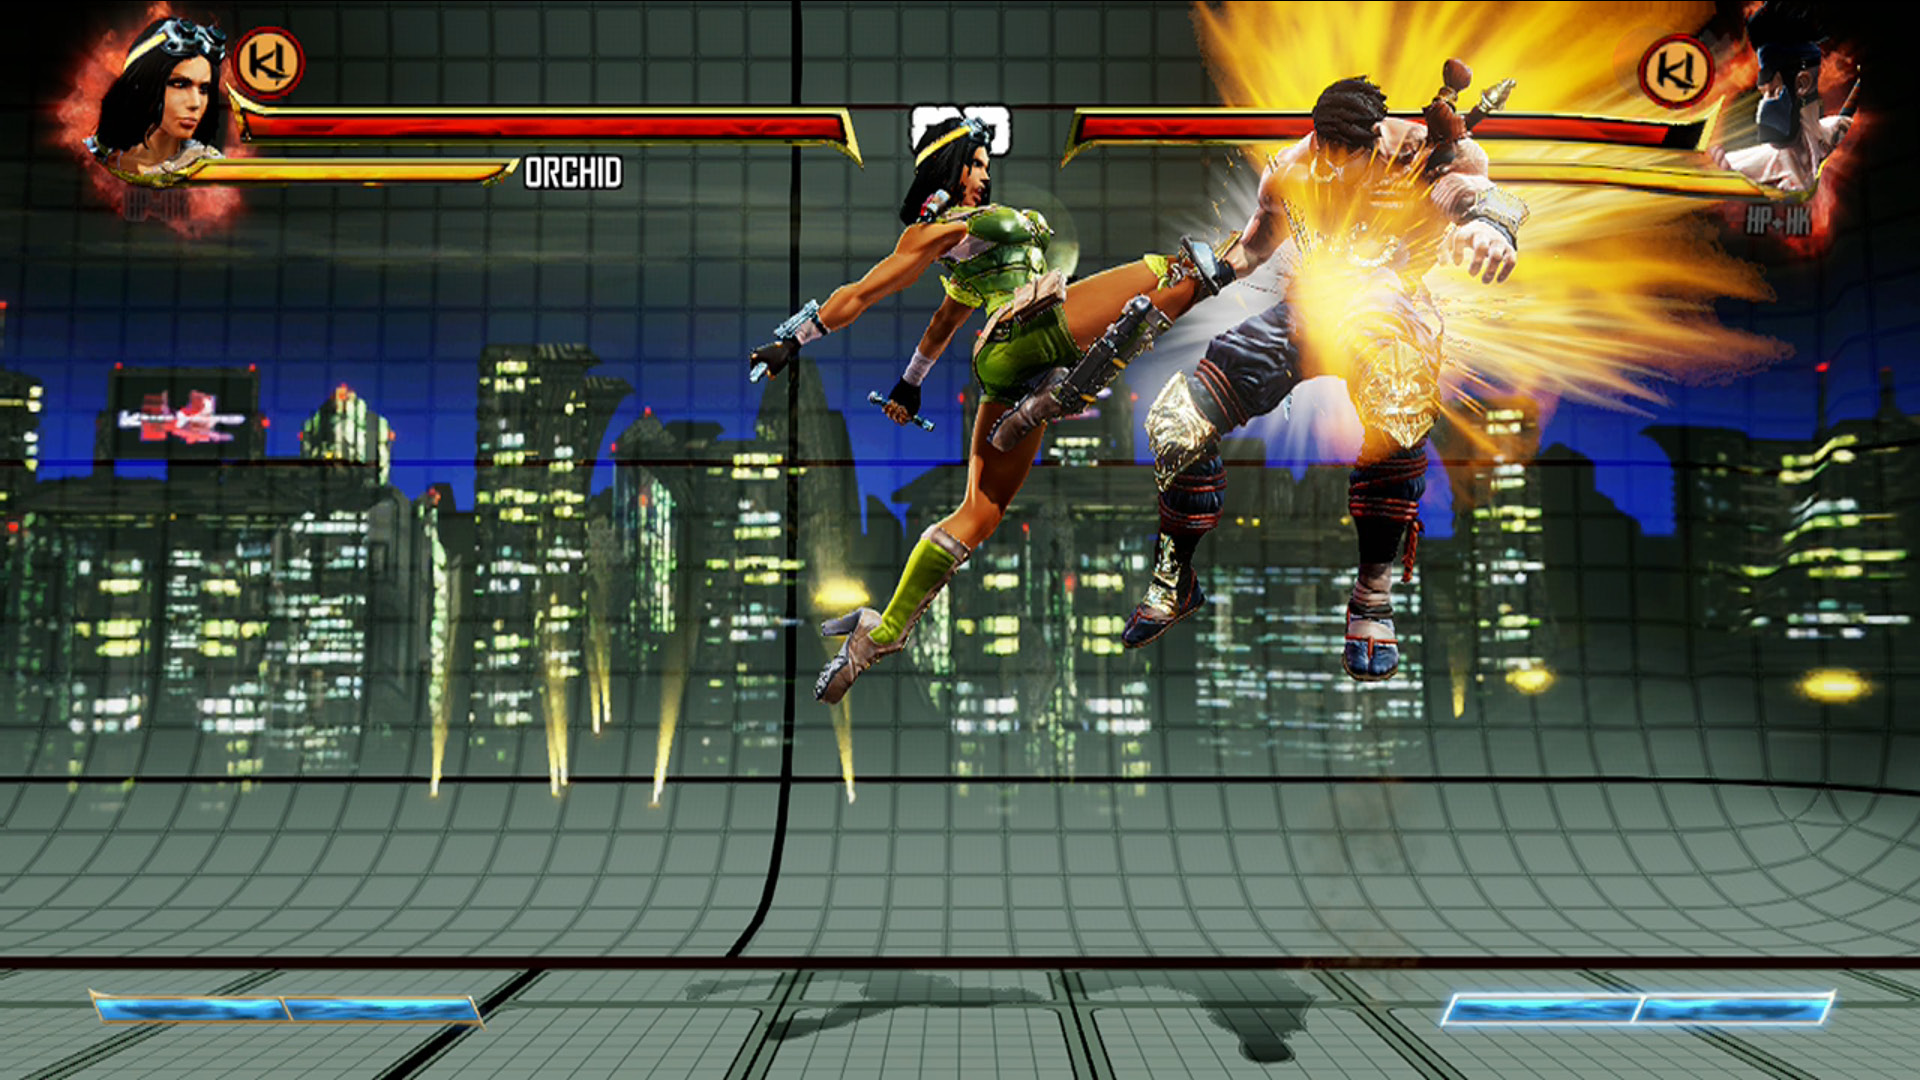
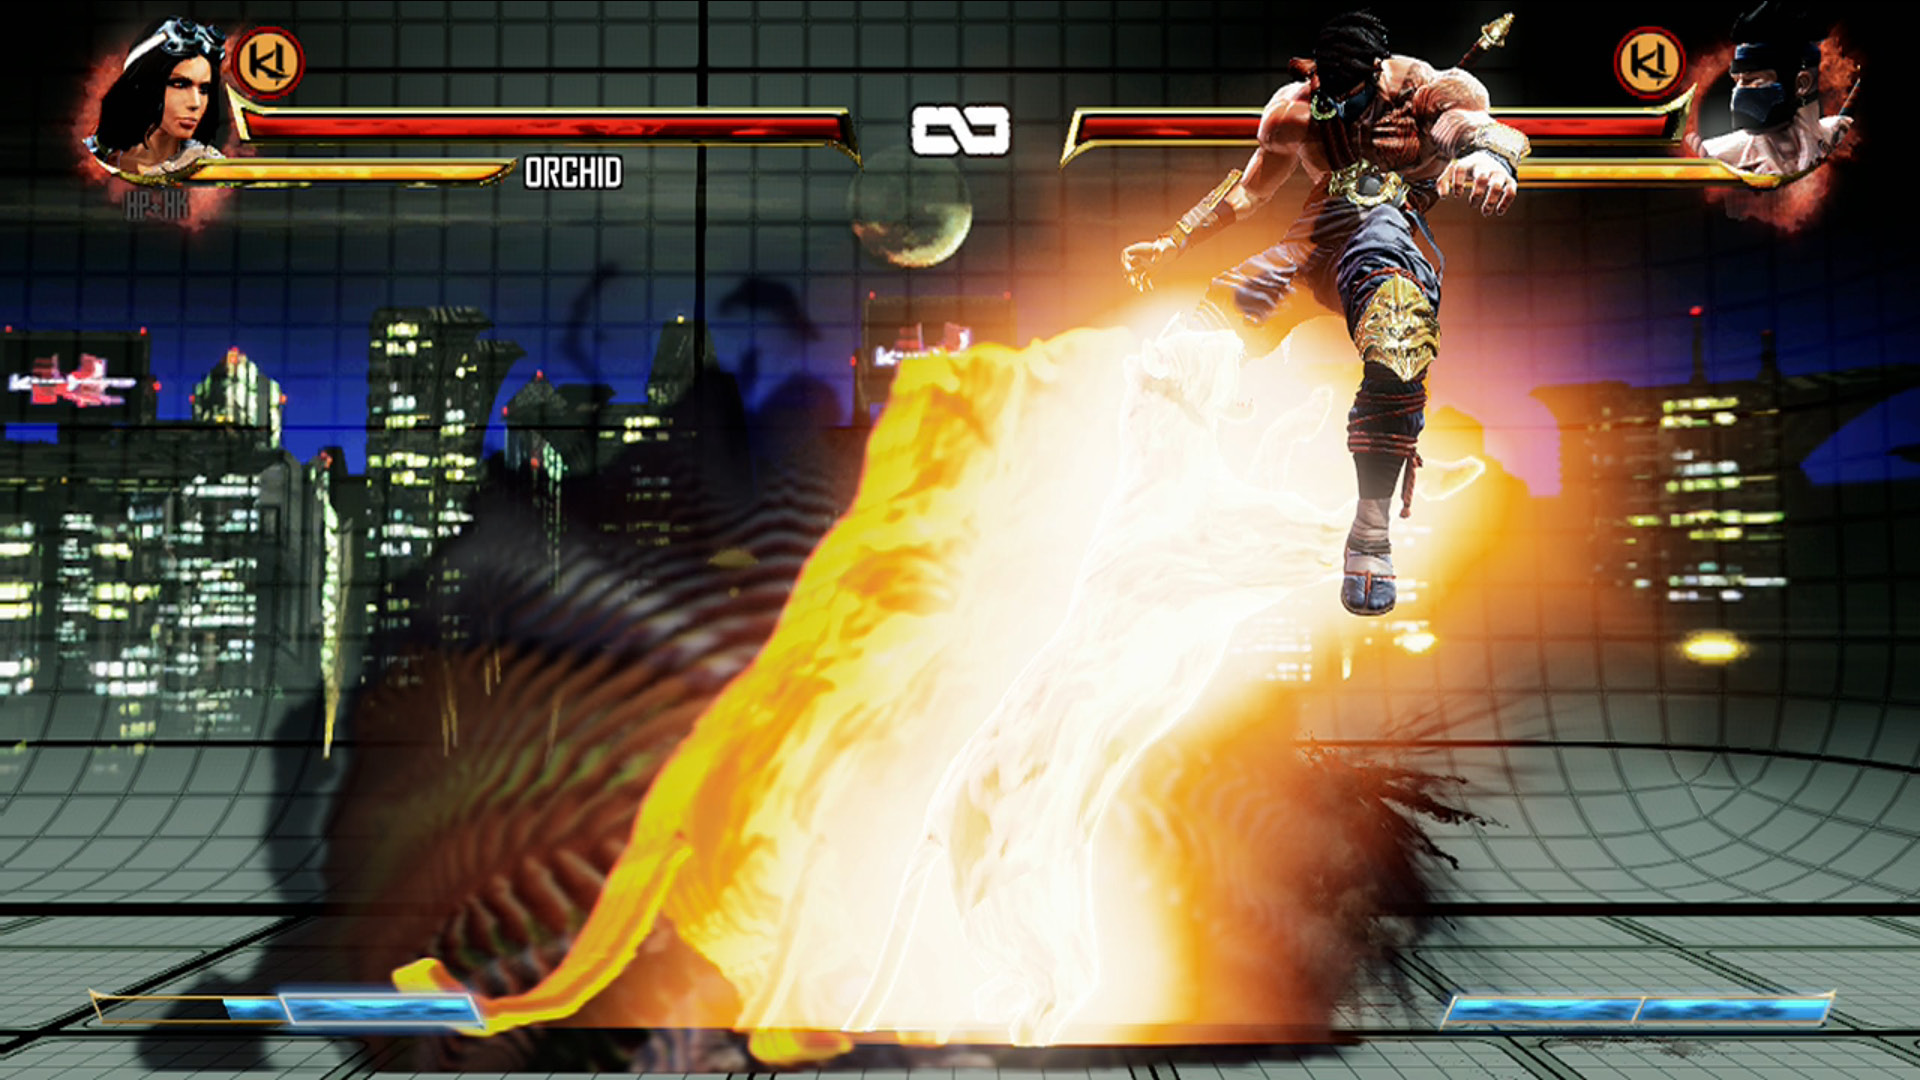
Both of these attacks have similar uses. Both have invulnerable frames—Air Buster has up to 4 if you use the Heavy version and Upper Firecat has 52. Both are good for getting you out of a jam as well as anti-air jumping opponents but with a lot more frames of invulnerability, Upper Firecat is a more damaging way to ensure you will beat out whatever it is you think is coming. Both of these attacks can also be used to follow up on juggle combos. Once again, while both attacks can finish off a juggle, Upper Firecat is again the more damaging option. In the end, both of these attacks can occupy a similar place in your arsenal.
Using Firecat

Firecat has projectile invulnerability, allowing you to easily pass throw any projectile attack and combo punish your opponent. Orchid’s Firecat is one of the best ant-projectile attacks in the entire game, with the range and speed that makes it hard for your opponent to use any sort of projectile attack, even from far ranges. Anytime you see an opponent attempt a projectile attack from mid to close range, do not hesitate to punish that opponent with Firecat.
Anti-Air
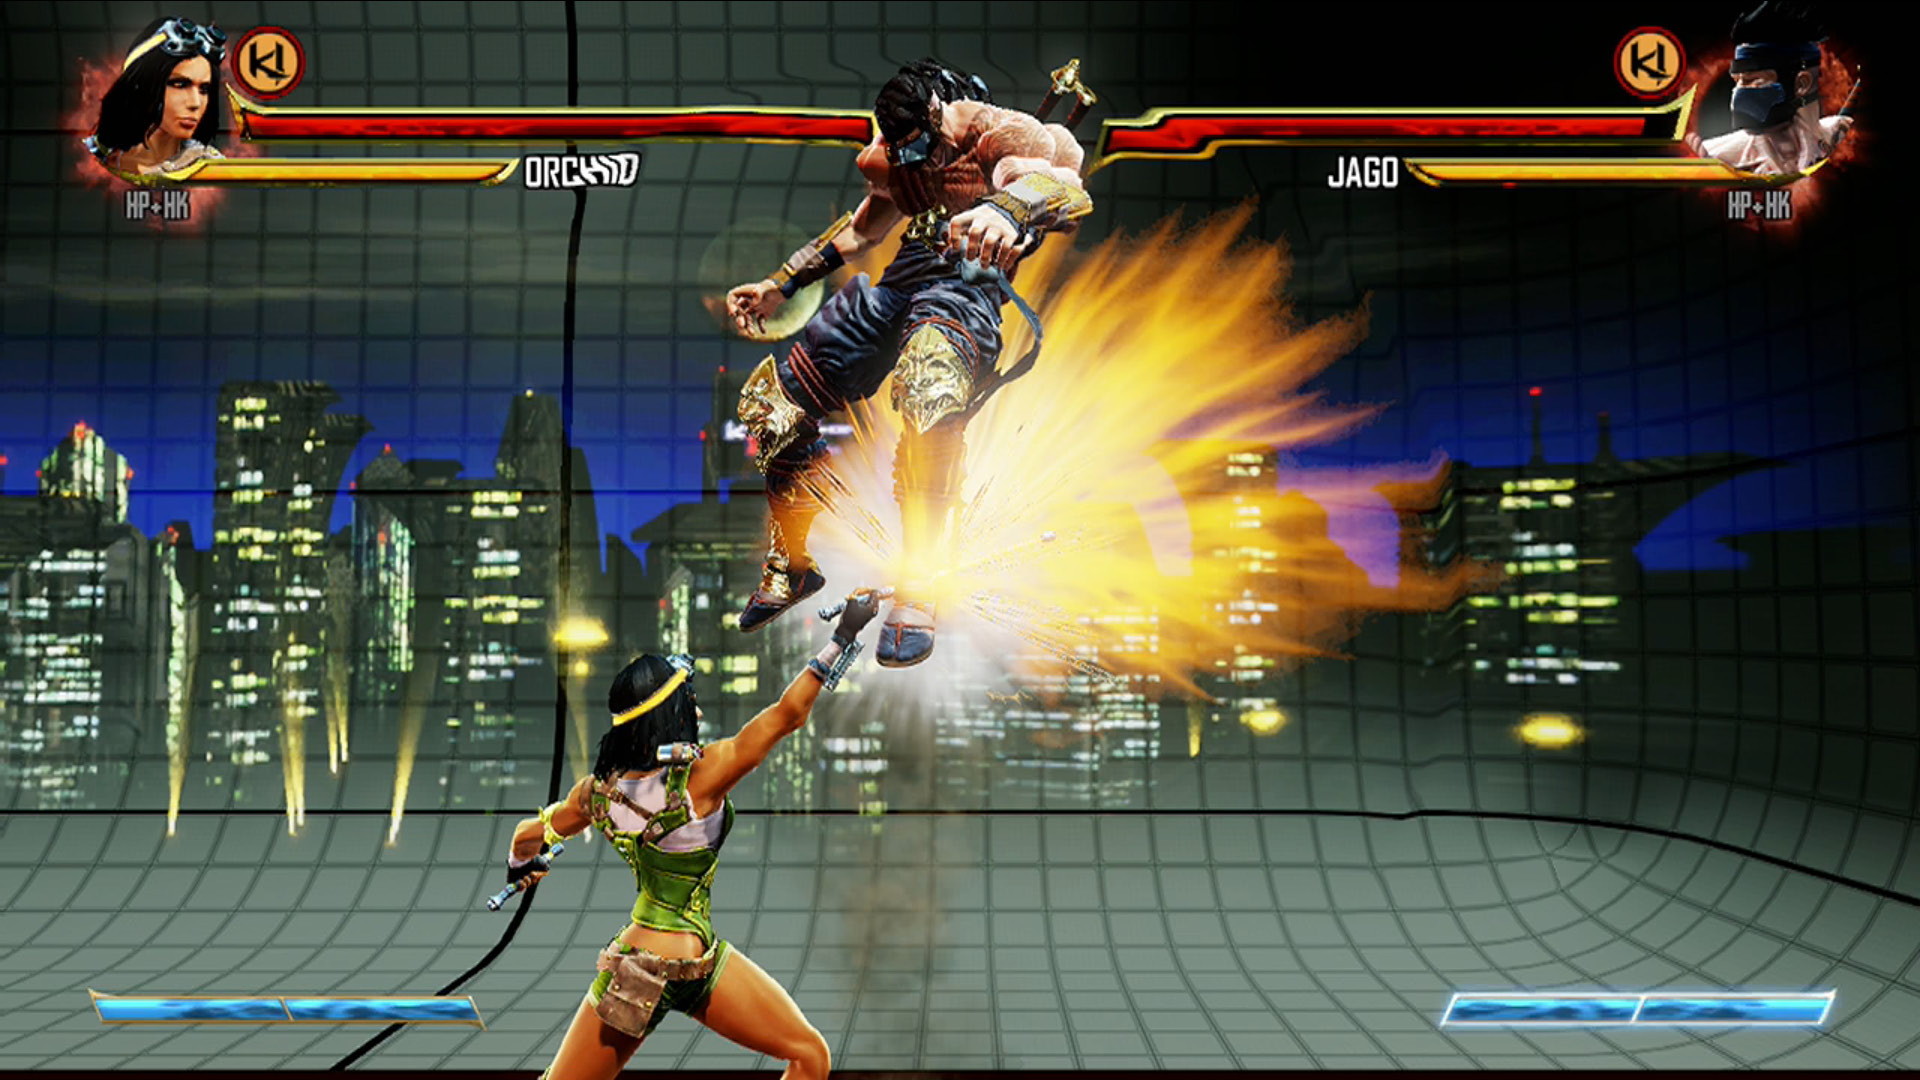
Orchid can use Air Buster or Upper Firecat, and those attacks will anti-air anything jumping at you. Air Buster requires three directional inputs, however, as does Upper Firecat, and Upper Firecat also requires one bar of Shadow Meter. This is where your crouching Heavy Punch comes in. It’s just as good as or better than Air Buster or Upper Firecat, and it’s a single directional command attack that doesn’t require any meter. Crouching Heavy Punch makes jumping at Orchid a next to impossible task for any opponent.
Instinct Mode
Orchid becomes an offensive juggernaut once she enters Instinct Mode. Her activation calls a Firecat on screen and can continuously call another every 45 frames. She can call a Firecat anytime she isn’t in a reaction (such as while in block stun or being hit by the opponent). Once she goes on the offensive with Instinct active, Orchid will lock her opponent down. Besides using Instinct for lock-down pressure, Orchid can also make any attack safe or advantage when blocked, as well as extend combos or juggles.