
SPECIAL MOVES
Blade Dash
|
# |
Attack Name |
Hit Location |
Damage |
Startup |
Active Frames |
Recovery after Impact Frame |
Frame Advantage on Hit |
Frame Advantage on Block |
Notes |
|---|---|---|---|---|---|---|---|---|---|
|
1 |
Light Blade Dash |
Mid |
10 |
8 |
9 |
22 |
2 |
-2 |
Higher level travels farther distance |
|
Light Blade Dash Lvl 1 |
Mid |
10 |
10 |
9 |
22 |
2 |
-1 |
||
|
Light Blade Dash Lvl 2 |
Mid |
12 |
29 |
9 |
22 |
3 |
1 |
||
|
Light Blade Dash Lvl 3 |
Mid |
14 |
51 |
9 |
22 |
4 |
3 |
||
|
2 |
Medium Blade Dash |
Mid |
12 |
10 |
24 |
22 |
3 |
-3 |
Higher level travels farther distance |
|
Medium Blade Dash Lvl 1 |
Mid |
12 |
12 |
23 |
22 |
3 |
-2 |
||
|
Medium Blade Dash Lvl 2 |
Mid |
14 |
31 |
23 |
22 |
4 |
0 |
||
|
Medium Blade Dash Lvl 3 |
Mid |
16 |
54 |
17 |
22 |
5 |
2 |
||
|
3 |
Heavy Blade Dash |
Mid |
15 |
12 |
9 |
22 |
4 |
-4 |
Higher level travels farther distance |
|
Heavy Blade Dash Lvl 1 |
Mid |
15 |
14 |
37 |
22 |
4 |
-3 |
||
|
Heavy Blade Dash Lvl 2 |
Mid |
17 |
33 |
37 |
22 |
5 |
-1 |
||
|
Heavy Blade Dash Lvl 3 |
Mid |
19 |
56 |
37 |
22 |
6 |
1 |
||
|
4 |
Shadow Blade Dash |
Mid |
10, 10, 10, 10, 25 |
3,3 |
44 |
19 |
5 |
1 |
Projectile and Throw Invulnerable |
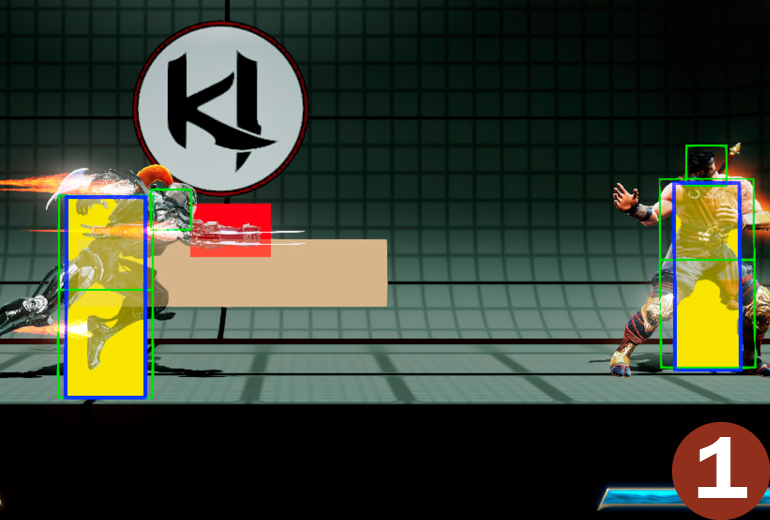
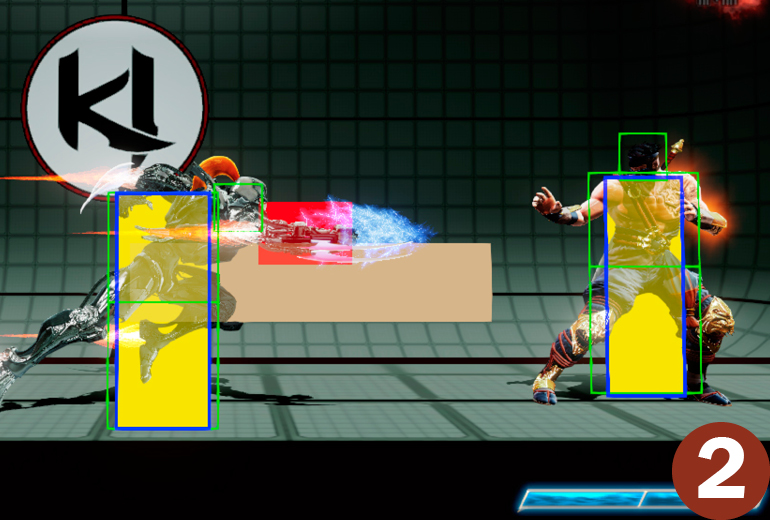
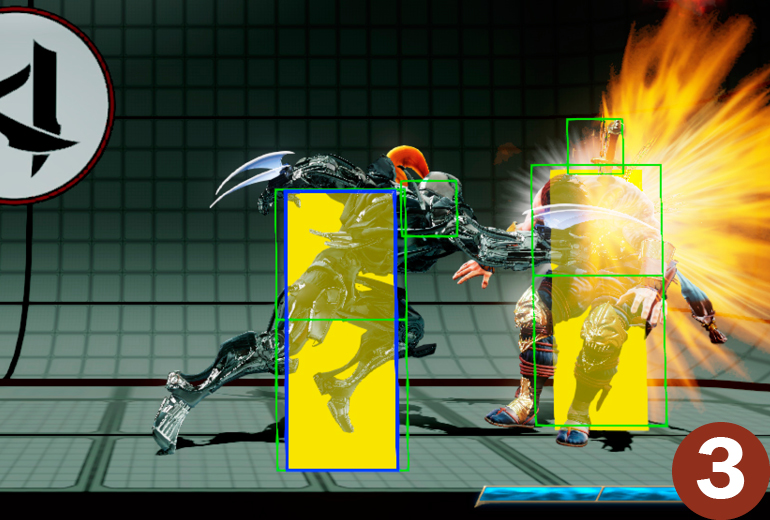
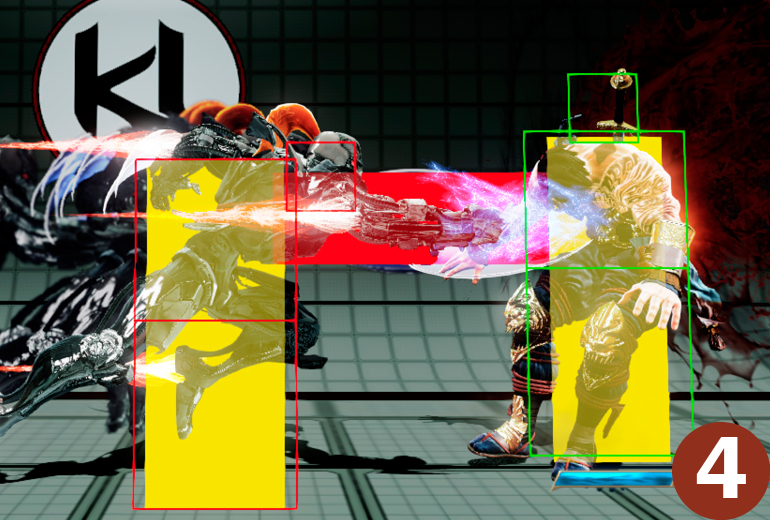
Command: 


Opener: 


Linker:


 /
/  or Hold (
 /
/ )
)
Ender: 


Shadow Blade Dash:


 x2
x2
Hit Level: Mid
Description: Fulgore dashes forward with his blades extended. If you hold the attack button, Fulgore will travel farther faster. Aside from the charged version, the Light version travels the least amount of distance while the Heavy version travels the farthest distance. When fully charged, the Heavy version can travel full screen. Generally, the longer you charge it, the more positive it is on block, with the charged Light version being the best to set up frame traps on wake up. All versions can be special canceled into Plasma Slice, but only on whiff, at the cost of 1 PIP of meter.
Shadow Version
The Shadow version hits 5 times and is projectile and throw invulnerable until recovery. This is Fulgore’s only option for projectile invulnerability.
Linker
As a Linker, Blade Dash is Fulgore’s Carry Linker. Use this when you want to push your opponent closer to a corner during your combo.
Ender
Blade Dash as an Ender is a Carry Ender. Use this to wall splat then mixup the opponent in the corner, or use it to push the opponent farther away from you and go back to zoning.
Energy Bolt
|
# |
Attack Name |
Hit Location |
Damage |
Startup |
Active Frames |
Recovery after Impact Frame |
Frame Advantage on Hit |
Frame Advantage on Block |
Notes |
|---|---|---|---|---|---|---|---|---|---|
|
1 |
Light Energy Bolt |
Mid |
16 |
15 |
NA |
26 |
3 |
-6 |
|
|
2 |
Medium Energy Bolt |
Mid |
14,14 |
15 |
NA |
23 |
2 |
-5 |
|
|
3 |
Heavy Energy Bolt |
Mid |
12,12,12 |
15 |
NA |
25 |
1 |
-4 |
|
|
4 |
Shadow Energy Bolt |
Mid |
12,12,12,12,12 |
5,2 |
NA |
37 |
89 |
-11 |
Hard Knockdown |
Command: 


Ender: 


Shadow Energy Bolt:


 x2
x2
Hit Level: Mid
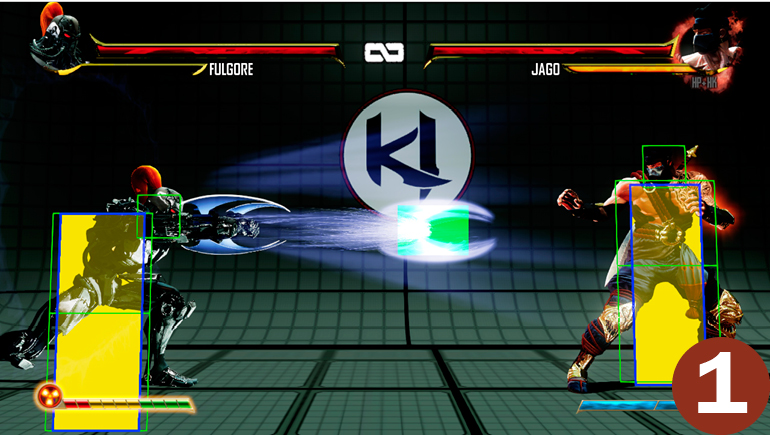
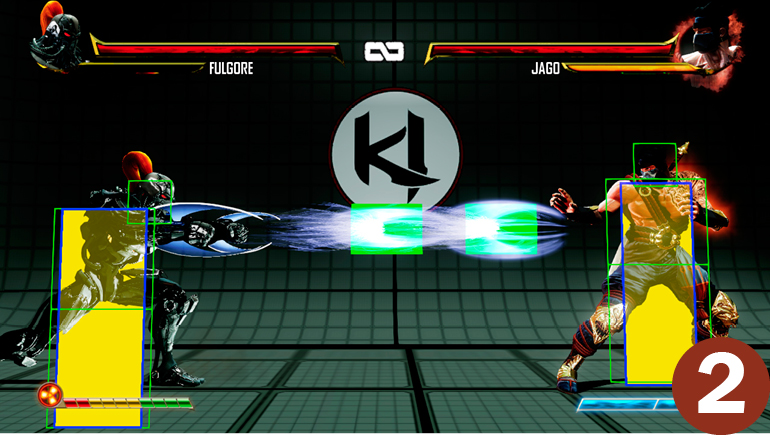
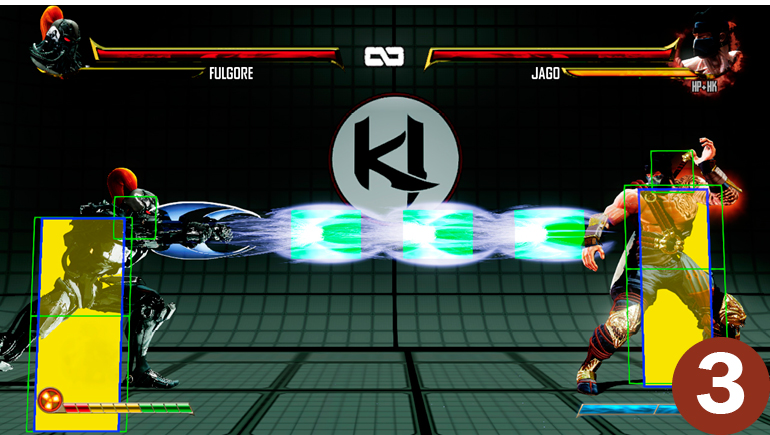
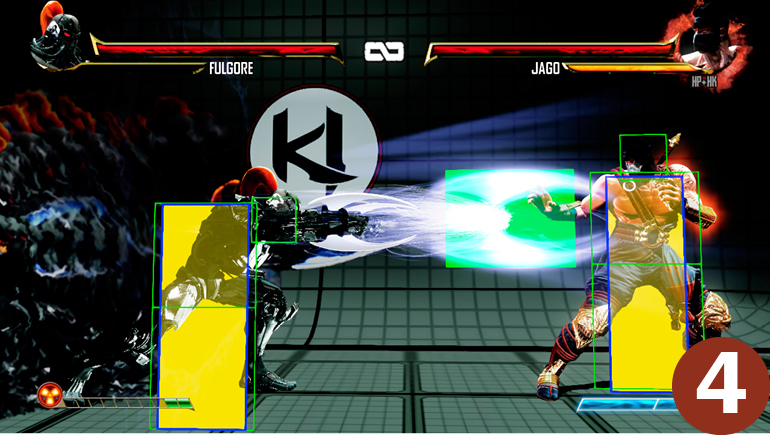
Description: Energy Bolt is Fulgore’s primary projectile. The Light version sends out 1 projectile, the Medium version sends out 2 projectiles, and the Heavy version sends out 3 projectiles. Any version can be special canceled into Plasmaport, Eye Laser, Blade Dash, or Plasma Slice at the cost of 1 PIP of meter.
Shadow Version
Shadow Energy Bolt is a multi-hitting variation that hits 5 times. This is very useful for juggles, as it keeps the opponent in place in the air. (See the Combo section for an example.) It is also worth noting that the Shadow version is the only Energy Bolt that causes a hard knockdown; all regular variations leave the opponent standing.
Ender
Energy Bolt is a Launcher Ender; however, it is more of a horizontal launch than a vertical launch. You can follow up with a juggle in the corner, but if you use it in the open, then it’s best to follow it up with Heavy Charge Reactor to build meter.
Plasma Slice
|
# |
Attack Name |
Hit Location |
Damage |
Startup |
Active Frames |
Recovery after Impact Frame |
Frame Advantage on Hit |
Frame Advantage on Block |
Notes |
|---|---|---|---|---|---|---|---|---|---|
|
1 |
Light Plasma Slice |
Mid |
18 |
3 |
9 |
48 |
KD |
-41 |
Invulnerable on Startup |
|
2 |
Medium Plasma Slice |
Mid |
22 |
3 |
9 |
50 |
KD |
-41 |
Invulnerable on Startup |
|
3 |
Heavy Plasma Slice |
Mid |
26 |
3 |
9 |
57 |
KD |
-43 |
Invulnerable on Startup |
|
4 |
Shadow Plasma Slice |
Mid |
11,12,12,12,31 |
3,0 |
3 |
56 |
KD |
-42 |
Invulnerable on Startup |
Command
General: 


Ender: 


Shadow Plasma Slice:


 x2
x2
Hit Level: Mid
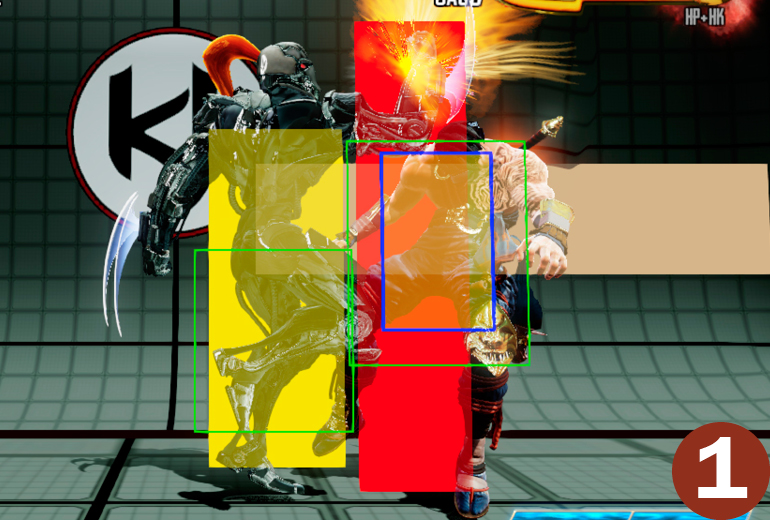
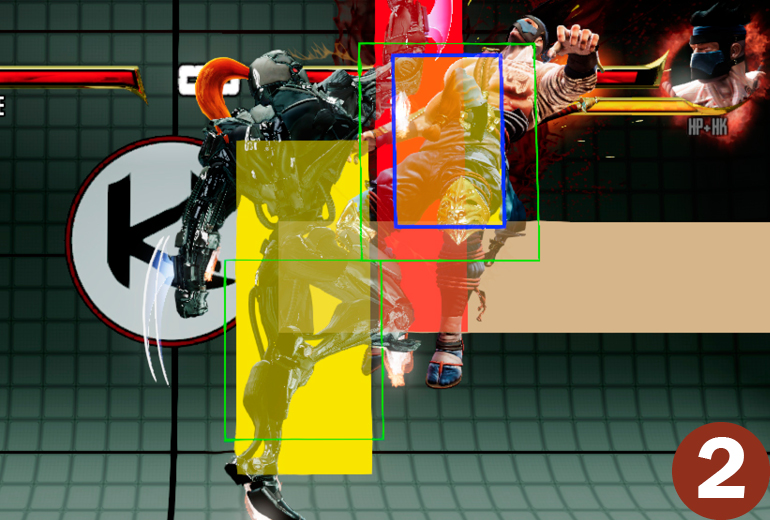
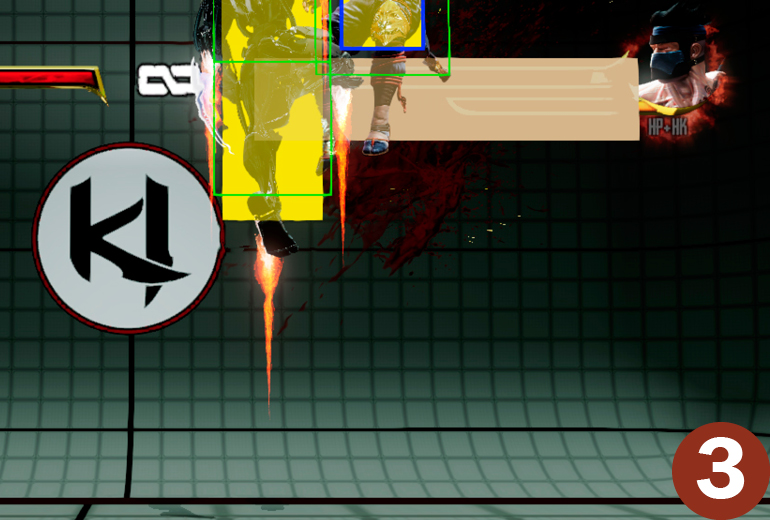
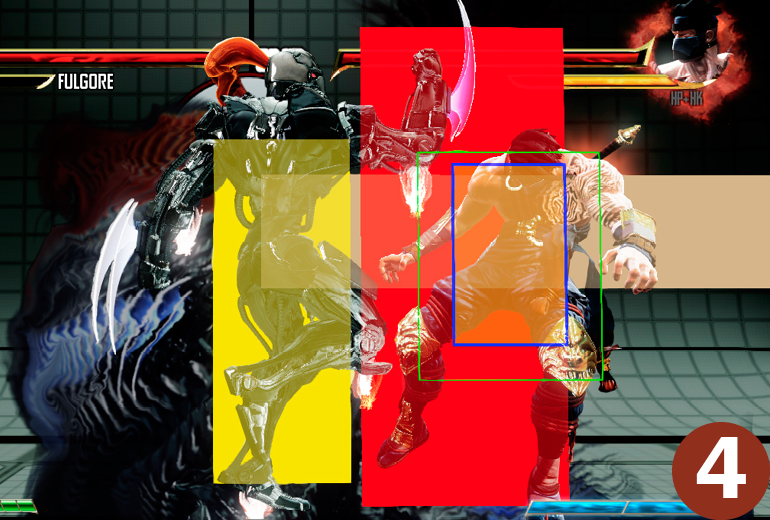
Description: Plasma Slice is Fulgore’s uppercut that has invincibility on startup. It starts up in 3 frames, which is the same as Jago’s and functionally works the same as Jago’s as well. This is useful for anti-air situations or to break through meaty attacks on wakeup. It cannot be canceled into any Special attack, but it can be canceled into Shadow attacks.
Shadow Version
The Shadow version of Plasma Slice is a multi-hitting variation of the original.
Ender
This is Fulgore’s Damage Ender, so it is useful if you don’t need to build meter. Generally, you will not want to use this unless you have at least one full stock of meter. Without meter, Fulgore can be frame trapped repeatedly, so keep this in mind when picking an Ender for your combo.
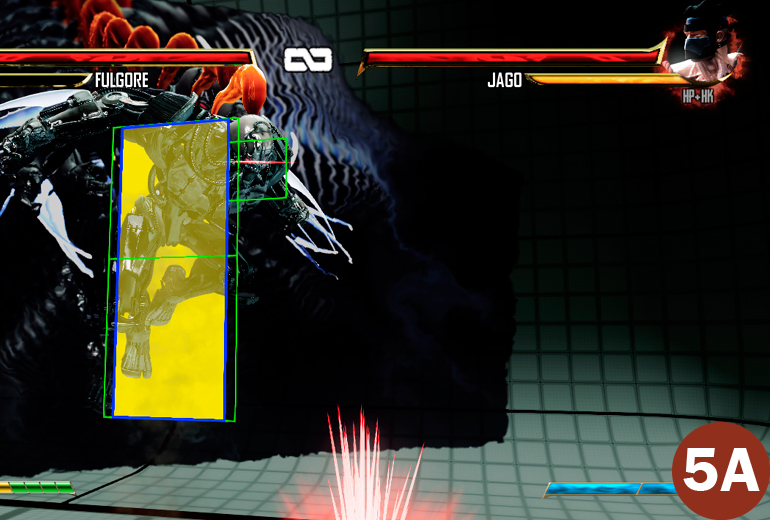
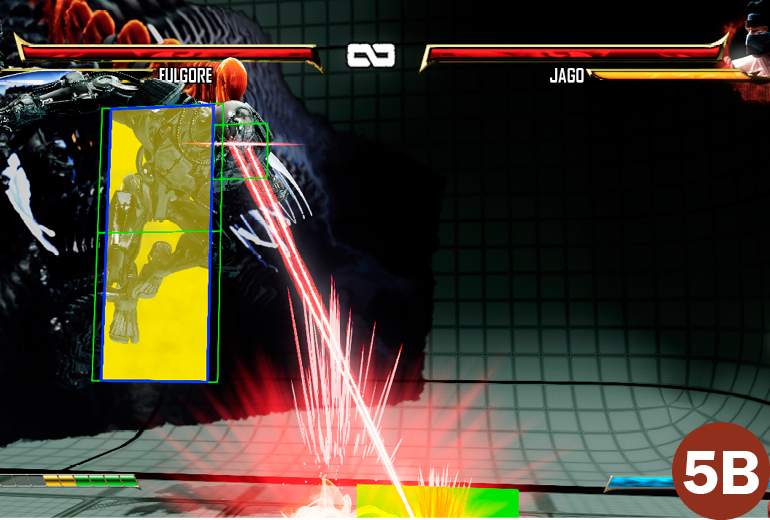
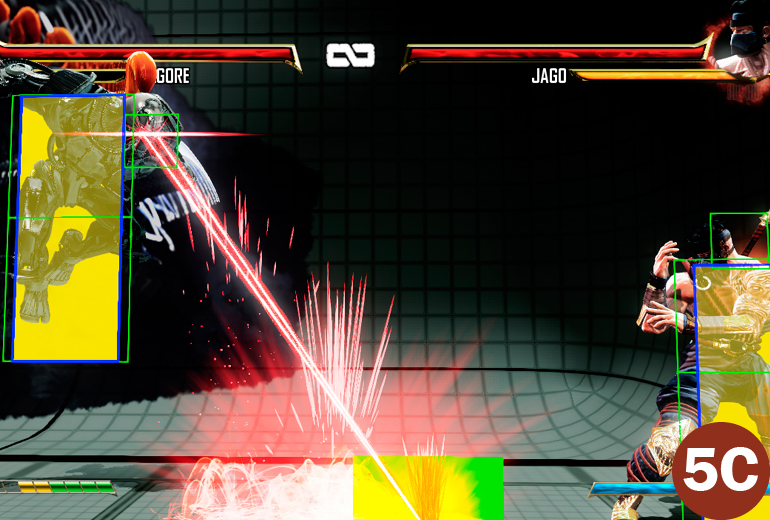
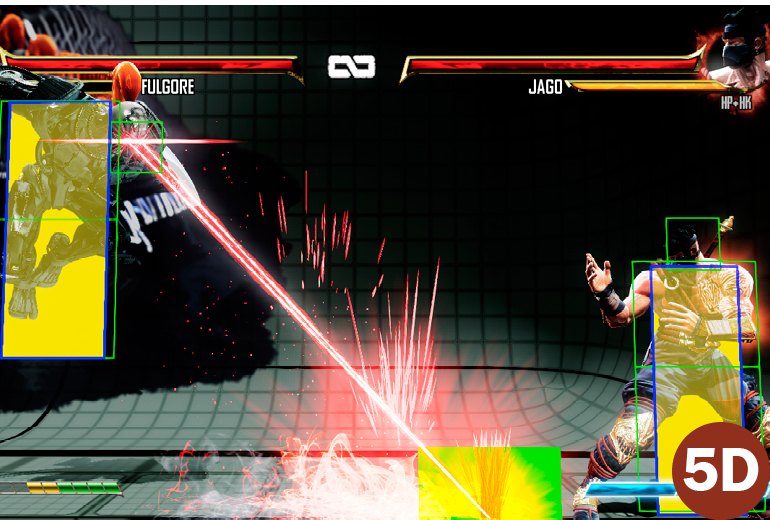
Eye Laser
|
# |
Attack Name |
Hit Location |
Damage |
Startup |
Active Frames |
Recovery after Impact Frame |
Frame Advantage on Hit |
Frame Advantage on Block |
|---|---|---|---|---|---|---|---|---|
|
1 |
Light Eye Laser |
Mid |
12 |
13 |
4 |
13 |
4 |
1 |
|
2 |
Medium Eye Laser |
Mid |
12 |
14 |
5 |
13 |
3 |
-2 |
|
3 |
Heavy Eye Laser |
Mid |
12 |
15 |
7 |
13 |
KD |
-3 |
|
4 |
Shadow Eye Laser (Ground) |
Low |
12,12,12,12,30 |
5,2 |
2 |
50 |
5 |
-3 |
|
5 |
Shadow Eye Laser (In Air) |
Low |
10,10,10,10,30 |
5,2 |
2 |
51 |
NA |
NA |
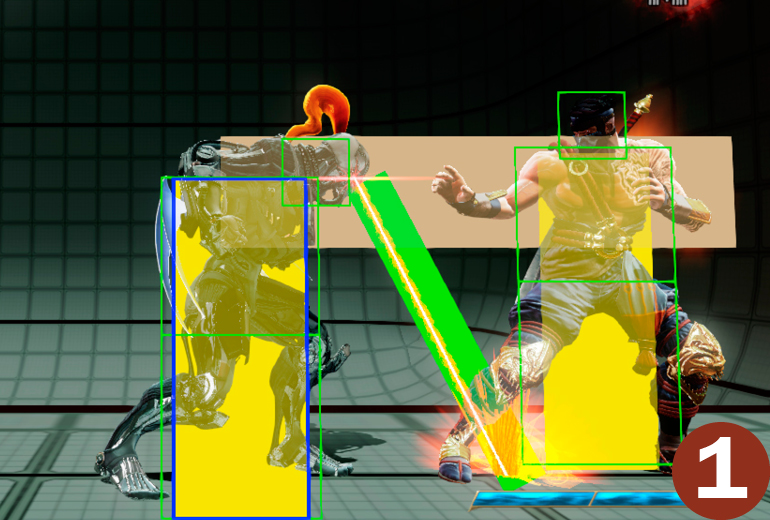
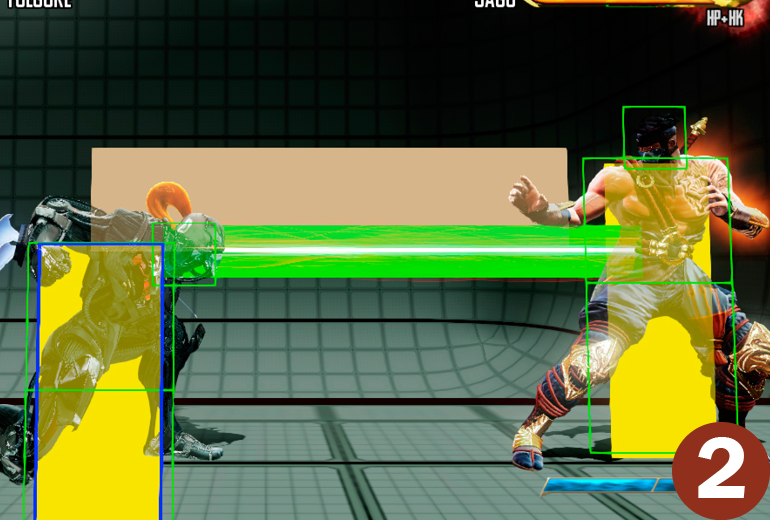
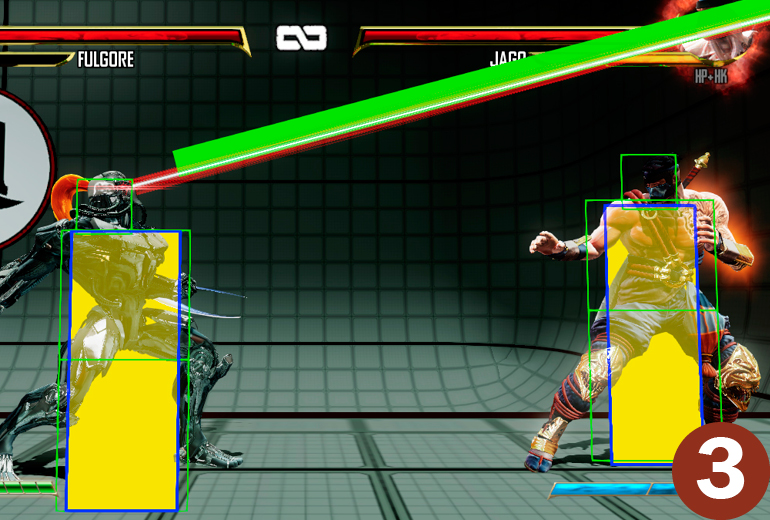
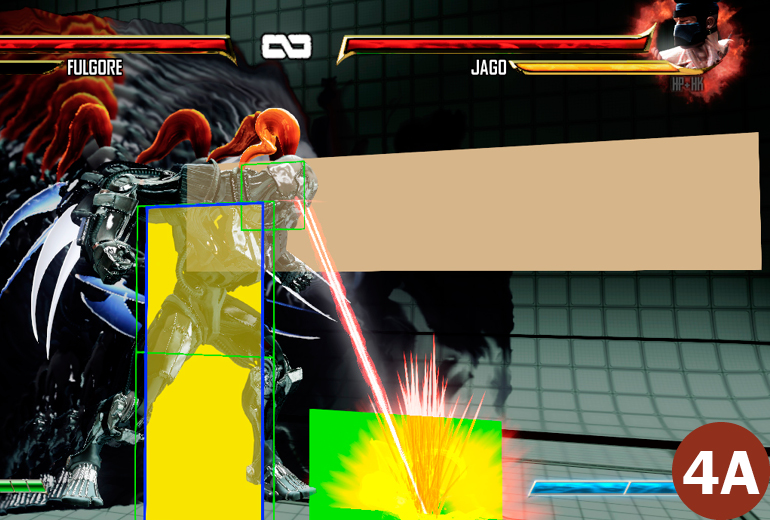
Command: 


Opener: 


Linker:


 /
/  or Hold (
 /
/ )
)
Ender: 


Shadow Eye Laser:


 x2 (can be done in air)
Hit Level: Light (Low), Medium (Mid), Heavy (anti-air)
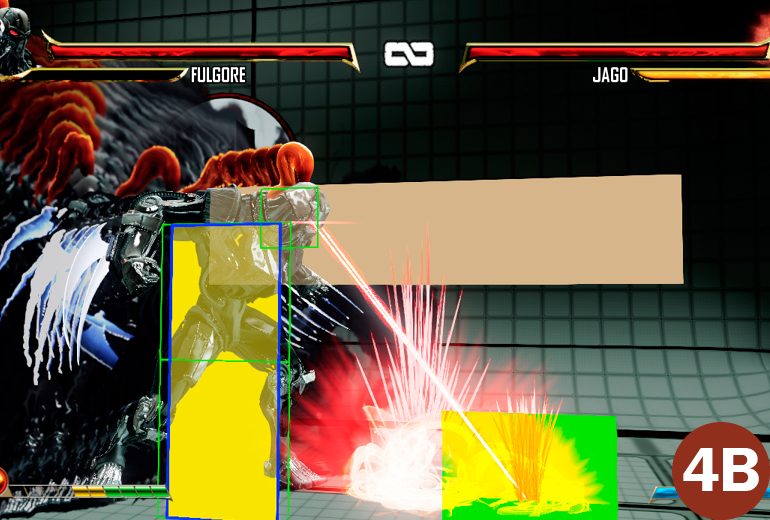
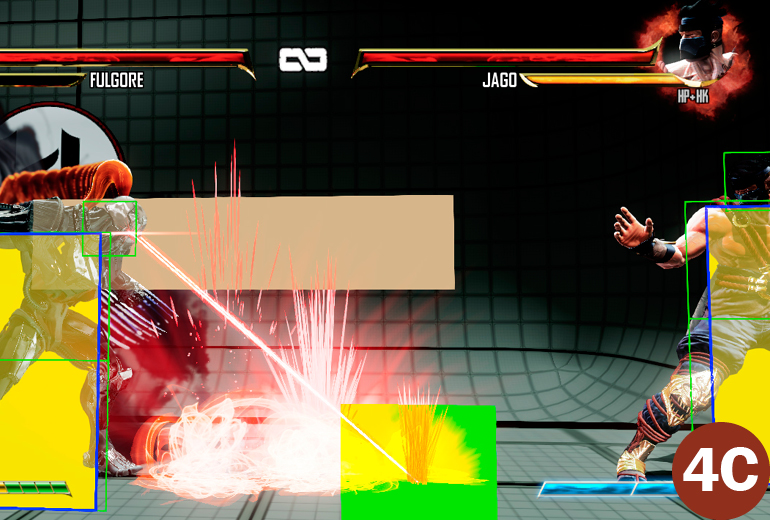
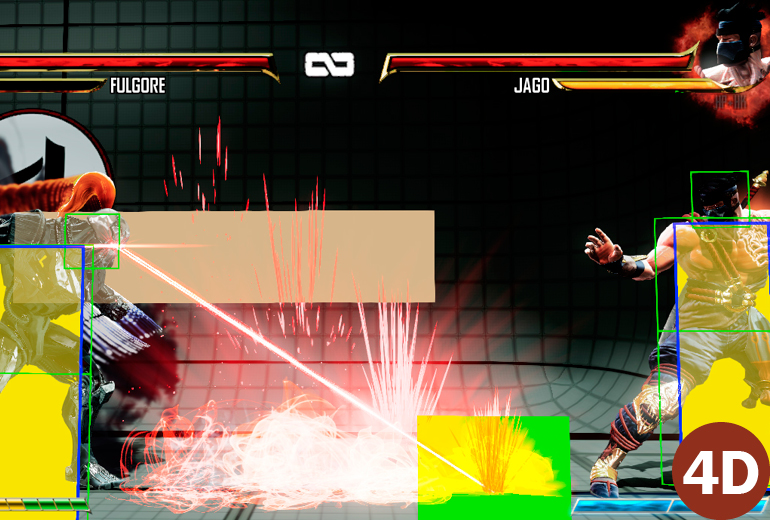
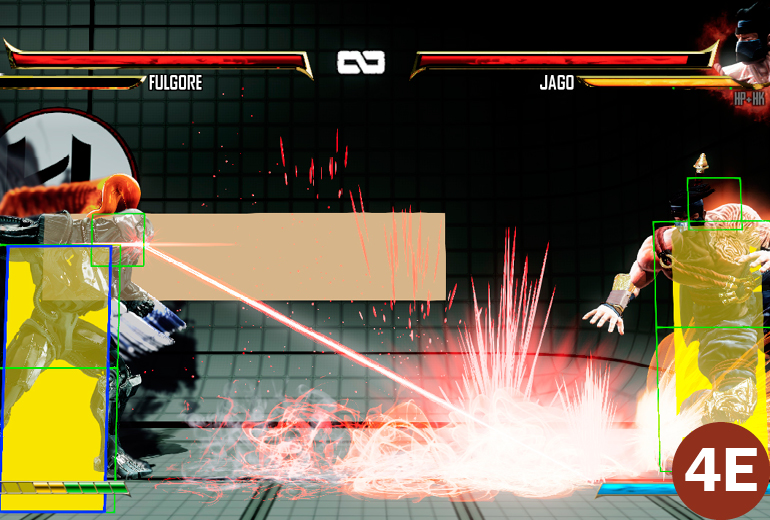
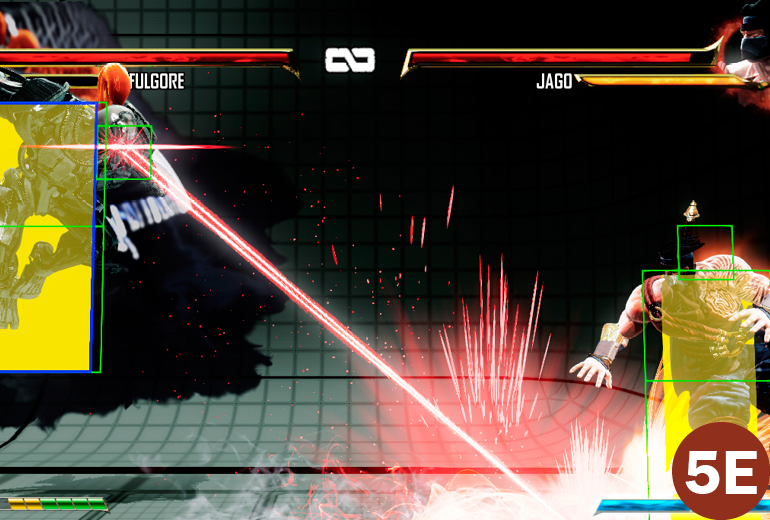
Description: Eye Laser is Fulgore’s laser projectile. The different strengths of Eye Laser change the hit level of the attack. The Light Eye Laser hits low at the opponent’s feet, the Medium Eye Laser is horizontal but does not go full screen, and the Heavy Eye Laser shoots upward at a 45-degree angle, making it useful as an anti-air. The Eye Laser can be special canceled into Energy Bolt, Plasma Slice, Plasmaport, and Blade Dash for the cost of 1 PIP of meter.
Shadow Version
The Shadow version is a multi-hitting variation, hits low like the Light Eye Laser, and can be used as a Linker, but not as an Opener. The Shadow variation can also be used in the air; however, it does not allow for any follow-up from the air. The ground version can combo into Shadow Blade Dash. (See the combo section for an example.)
Linker
The Eye Laser as a Linker is Fulgore’s most damaging Linker next to his Shadow Linkers. Shadow Eye Laser can also be used as a Linker. The Light version of this Linker is very fast, making it useful to throw off your opponent’s break timing.
Ender
Eye Laser Ender is a Launcher Ender, useful for juggling your opponent post-combo. End the juggle with Standing Heavy Kick to push the opponent across the screen to give you time to build meter with Heavy Charge Reactor.
Plasmaport
|
# |
Attack Name |
Hit Location |
Damage |
Startup |
Active Frames |
Recovery after Impact Frame |
Frame Advantage on Hit |
Frame Advantage on Block |
Notes |
|---|---|---|---|---|---|---|---|---|---|
|
1 |
Light Plasmaport |
NA |
NA |
12 |
14 |
9 |
NA |
NA |
Teleport to left side of screen |
|
2 |
Medium Plasmaport |
NA |
NA |
12 |
14 |
9 |
NA |
NA |
Teleport to middle of screen |
|
3 |
Heavy Plasmaport |
NA |
NA |
12 |
14 |
9 |
NA |
NA |
Teleport to right side of screen |
|
4 |
Shadow Plasmaport |
Mid |
8,8,8,8,8 |
10,10 |
2 |
28 |
4 |
-2 |
Teleport behind opponent and attack |
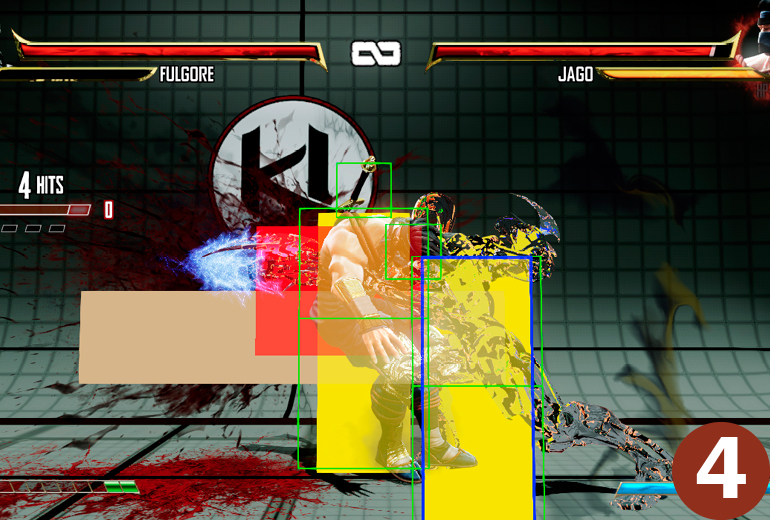
Command
General: 


Shadow Plasmaport:


 x2
x2
Shadow Linker:


 x2
x2
Hit Level: Mid
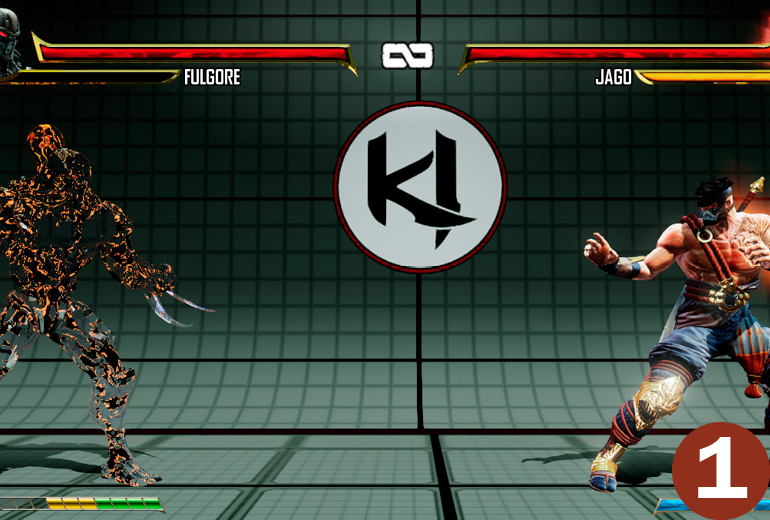
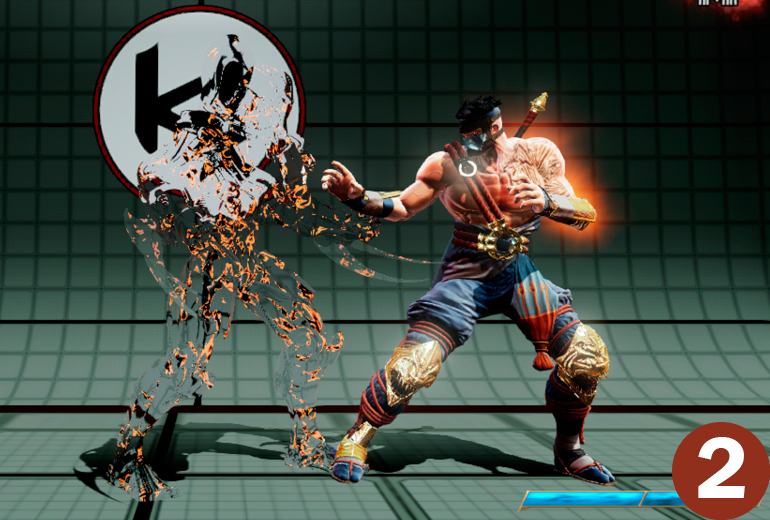
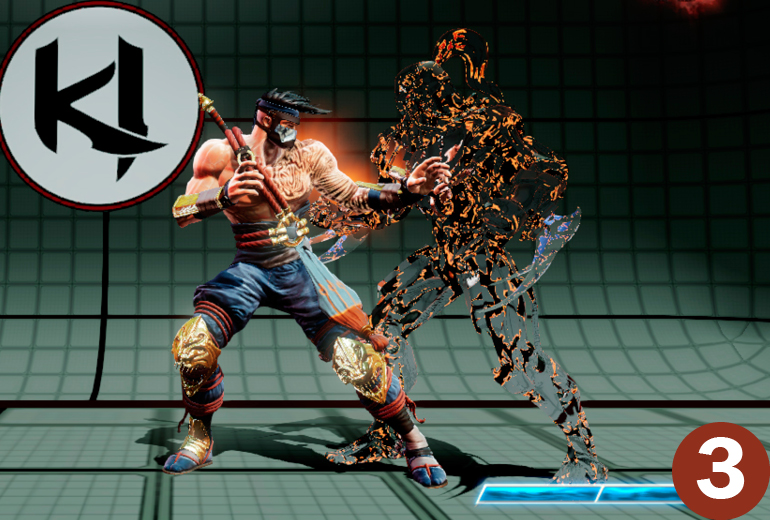
Description: This is Fulgore’s teleport. Where you end up on the screen is dependent upon which kick button you use. Light Kick will always take you to the left side of the screen, Heavy kick will always take you to the right side of the screen, and Medium Kick will always take you to the center of the screen. It can take some practice to figure out where the Medium Kick version will take you, but generally it is aiming for the center of the screen. Generally, if you are close enough to your opponent and closer to the corner, you can cross up your opponent with a Medium Plasmaport. Unlike Spinal’s teleport, which is invulnerable to everything but throws on the way down, Fulgore’s is only invulnerable when fully invisible. This means you can hit him both going into and coming out of the teleport.
Shadow Version
The Shadow Plasmaport teleports Fulgore immediately behind the opponent and does an attack similar to Shadow Blade Dash from the opposite side. This can also be used as a Linker.
Linker
Only the Shadow Plasmaport is available as an Exchange Linker. It switches sides with the opponent, allowing you to control positioning to combo them back into or out of the corner.
Charge Reactor
|
# |
Attack Name |
Hit Location |
Damage |
Startup |
Active Frames |
Recovery after Impact Frame |
Frame Advantage on Hit |
Frame Advantage on Block |
Notes |
|---|---|---|---|---|---|---|---|---|---|
|
1 |
Light Charge Reactor |
NA |
NA |
37 |
0 |
0 |
NA |
NA |
Builds one meter increment |
|
2 |
Medium Charge Reactor |
NA |
NA |
57 |
0 |
0 |
NA |
NA |
Build two meter increment |
|
3 |
Heavy Charge Reactor |
NA |
NA |
77 |
0 |
0 |
NA |
NA |
Builds three meter increments, can Hold to build more |
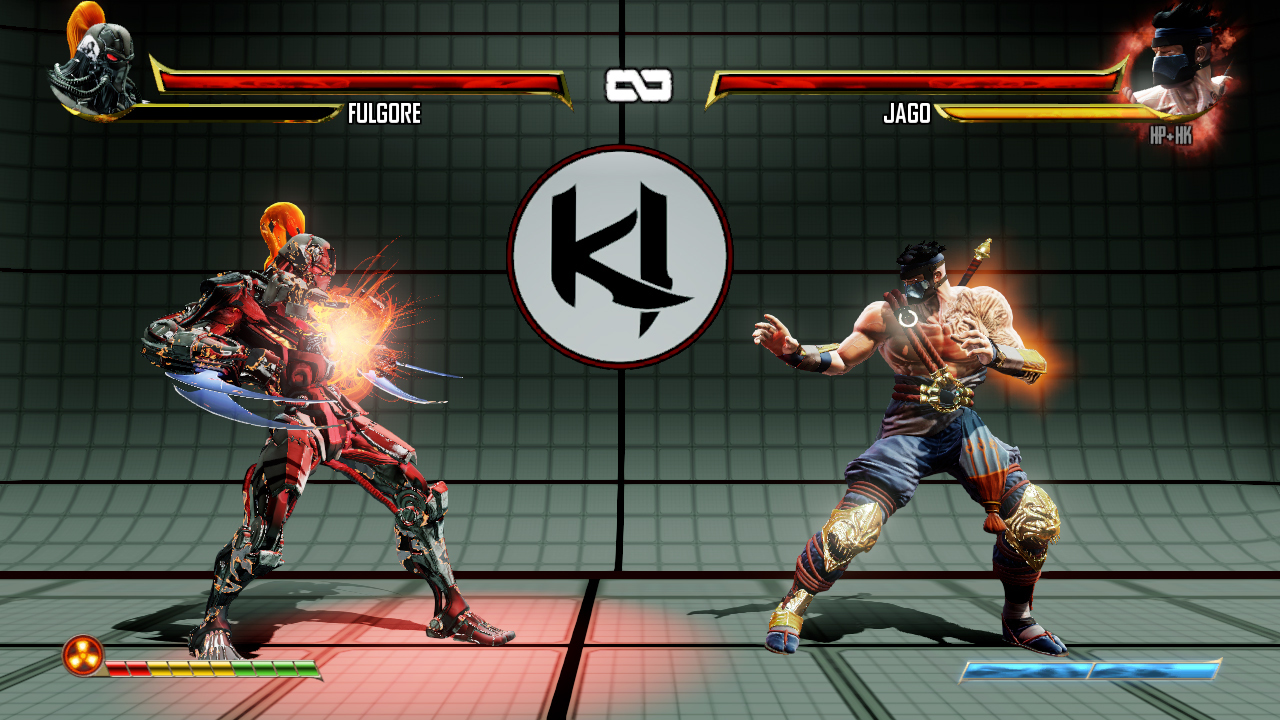
Command: 


Hit Level: NA
Description: Charge Reactor is Fulgore’s primary method of building meter. The Light Charge Reactor builds 1 PIP of meter, the Medium Charge Reactor builds 2 PIPs of meter, and the Heavy Charge Reactor builds 3 PIPs of meter. You can also hold Heavy Kick to continuously keep building PIPs until your meter is full. When holding Heavy Kick, you will generate an additional PIP every 0.4 seconds. Fulgore is vulnerable during the Charge Reactor, with the Light version being least vulnerable and the Heavy version being most vulnerable. Mastering Charge Reactor usage is extremely important in using Fulgore effectively.
Devastation Beam
|
# |
Attack Name |
Hit Location |
Damage |
Startup |
Active Frames |
Recovery after Impact Frame |
Frame Advantage on Hit |
Frame Advantage on Block |
Notes |
|---|---|---|---|---|---|---|---|---|---|
|
1 |
Devastation Beam |
Mid |
29,29,29,29,29,29,29,29,29,29 |
5,2 |
35 |
25 |
59 |
-10 |
Requires Instinct and full meter to execute |
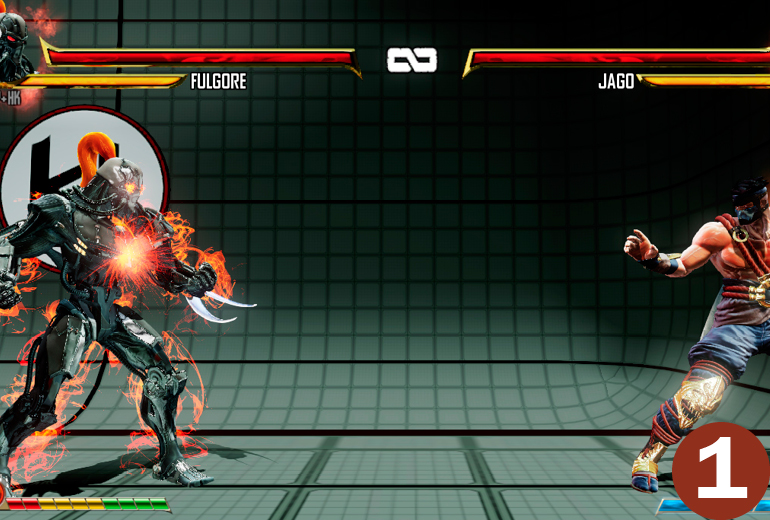
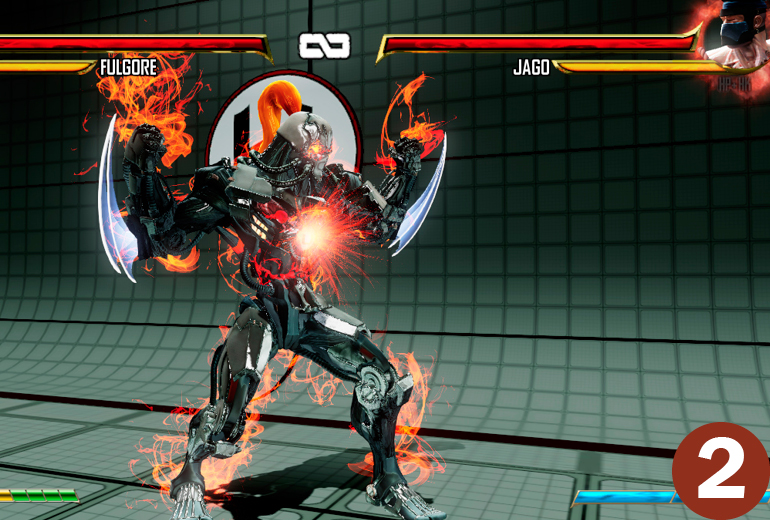
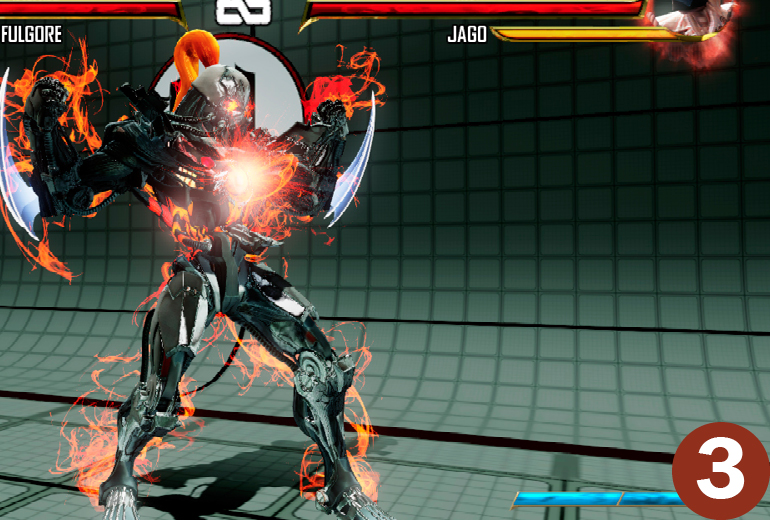
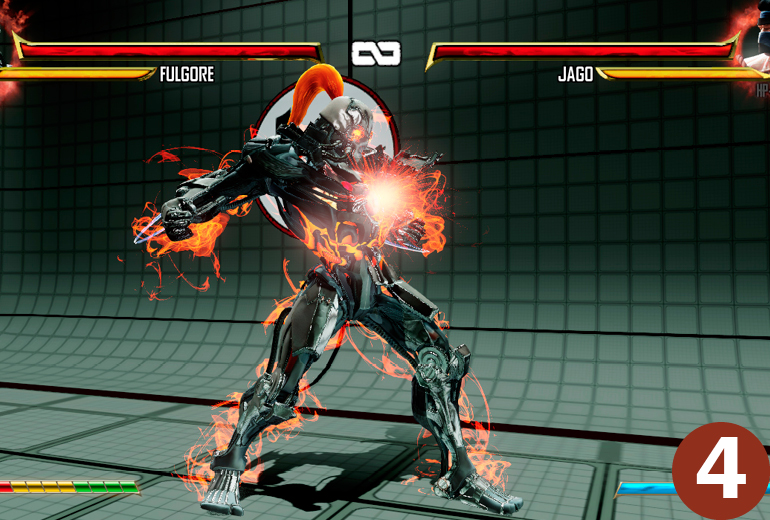
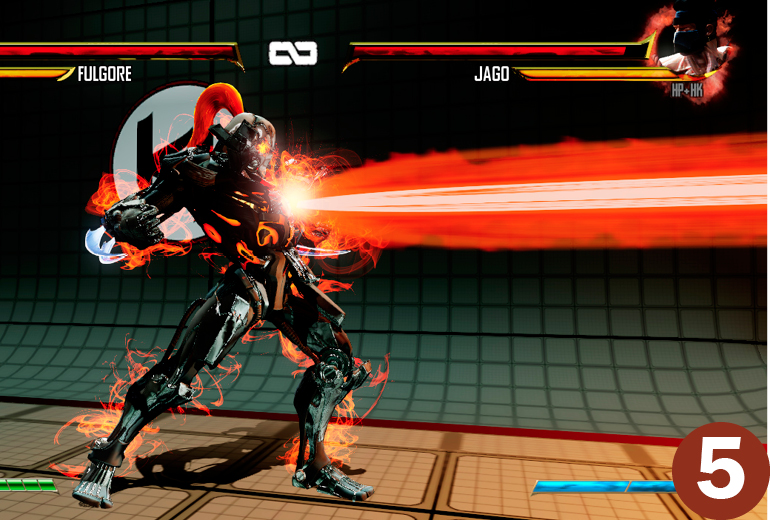
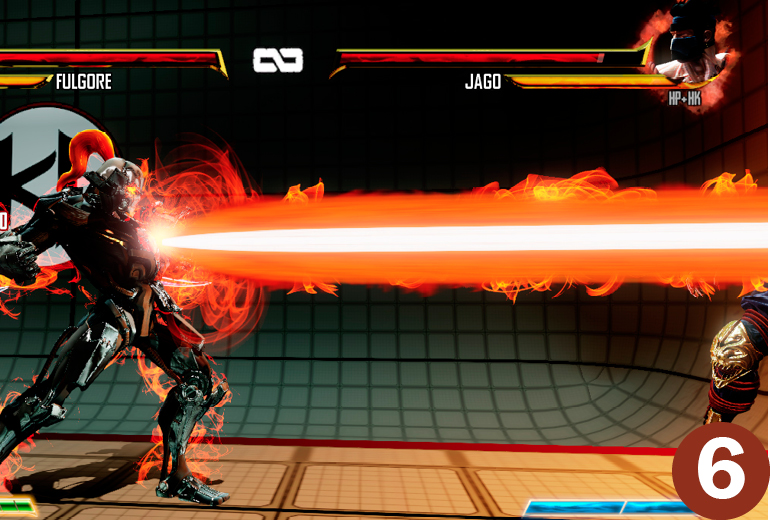
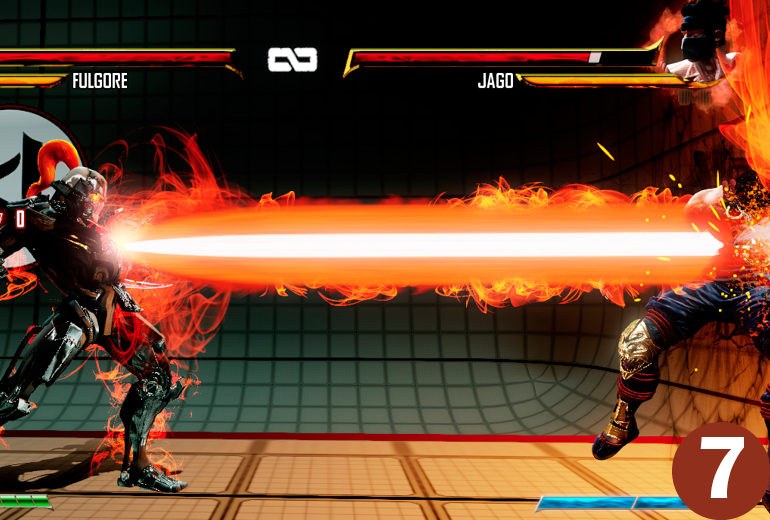
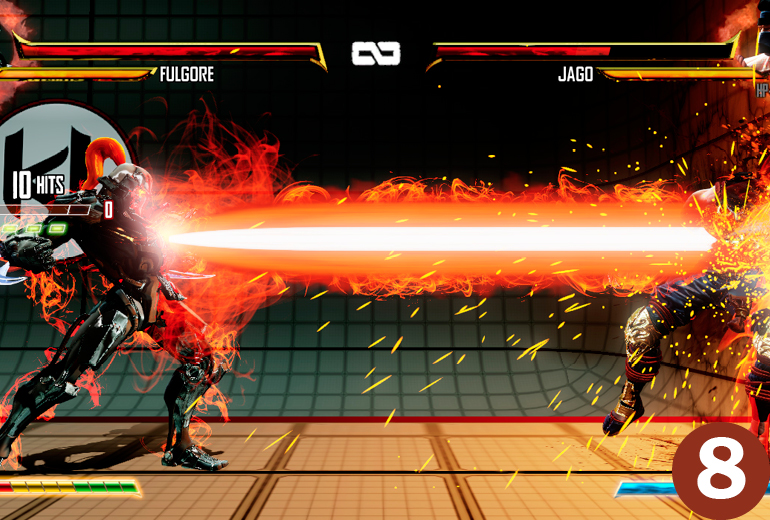
Command:


 (requires Instinct active and full meter)
Hit Level: Mid
Description: Fulgore unleashes his entire reactor reserve in one massive beam that does 41% damage! Because Fulgore’s Instinct is building meter continually, this is always a threat whenever Fulgore has Instinct. Use it whenever you see the opponent jump or hit a button. You can also cancel into it from normal attacks as you would any other special. Optimally, with full meter you will want to hit a normal, cancel into Instinct, then cancel into Devastation Beam. This way you are using it at the beginning of your Instinct, allowing you to regain full meter and the ability to use it again before your Instinct runs out! If you have full meter and full Instinct and get a Combo Breaker, you can actually pop Instinct, then go straight into Devastation Beam to juggle from the Combo Breaker!