
Disney Universe Guide Walkthrough Aladdin
Cave of Wonders
Level 1
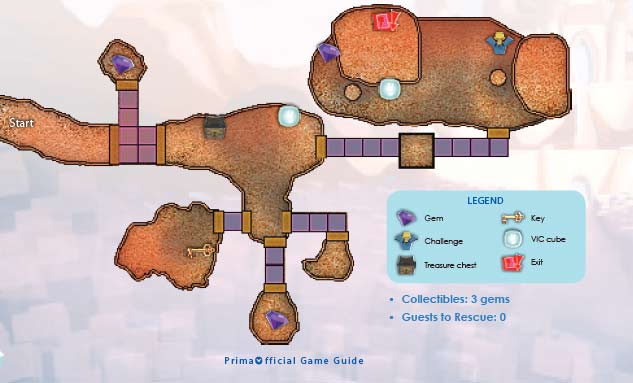
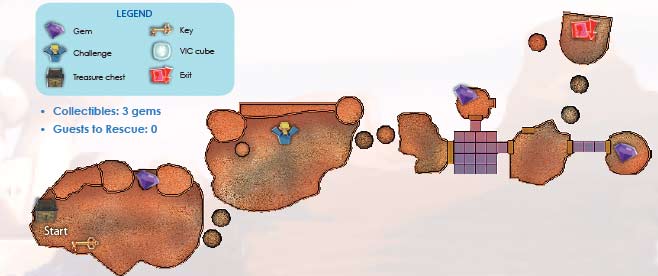
Collectibles: 3 gems
Guests to Rescue : 0
BUILD THE SCARAB
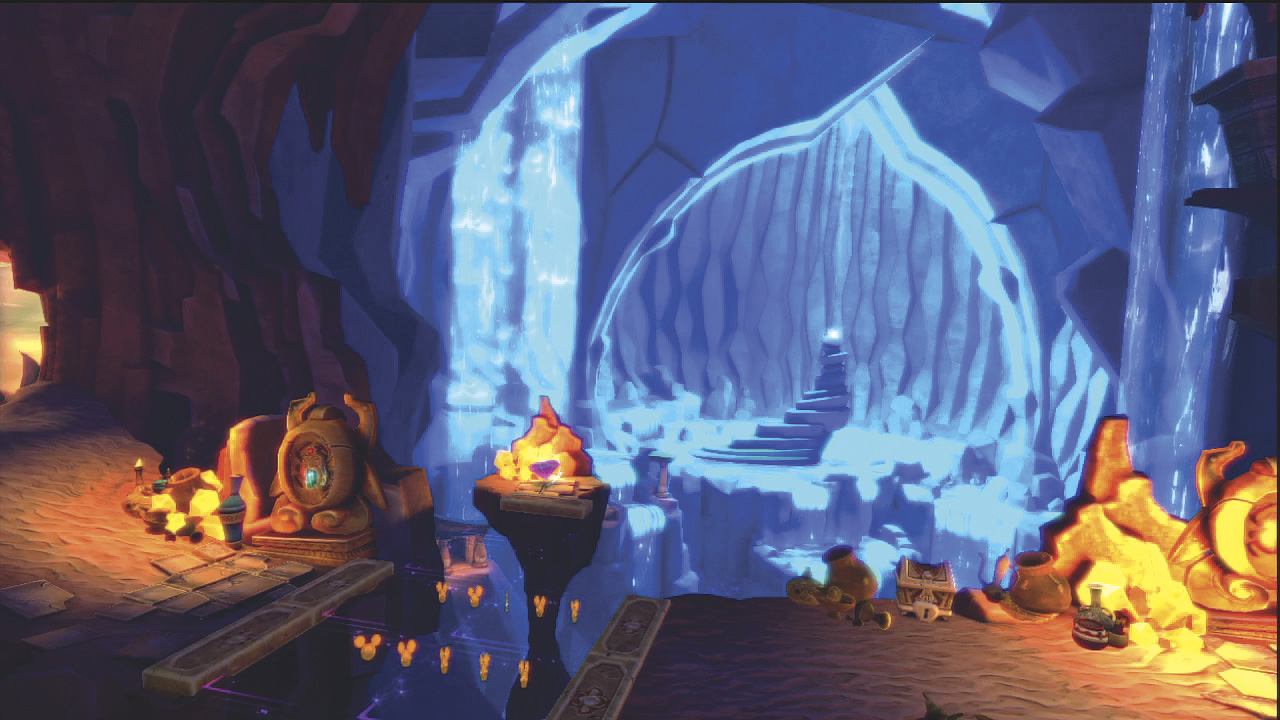
The first location in the Aladdin world is the Cave of Wonders. The magic is strong in this level and things can appear and disappear right in front of your eyes.
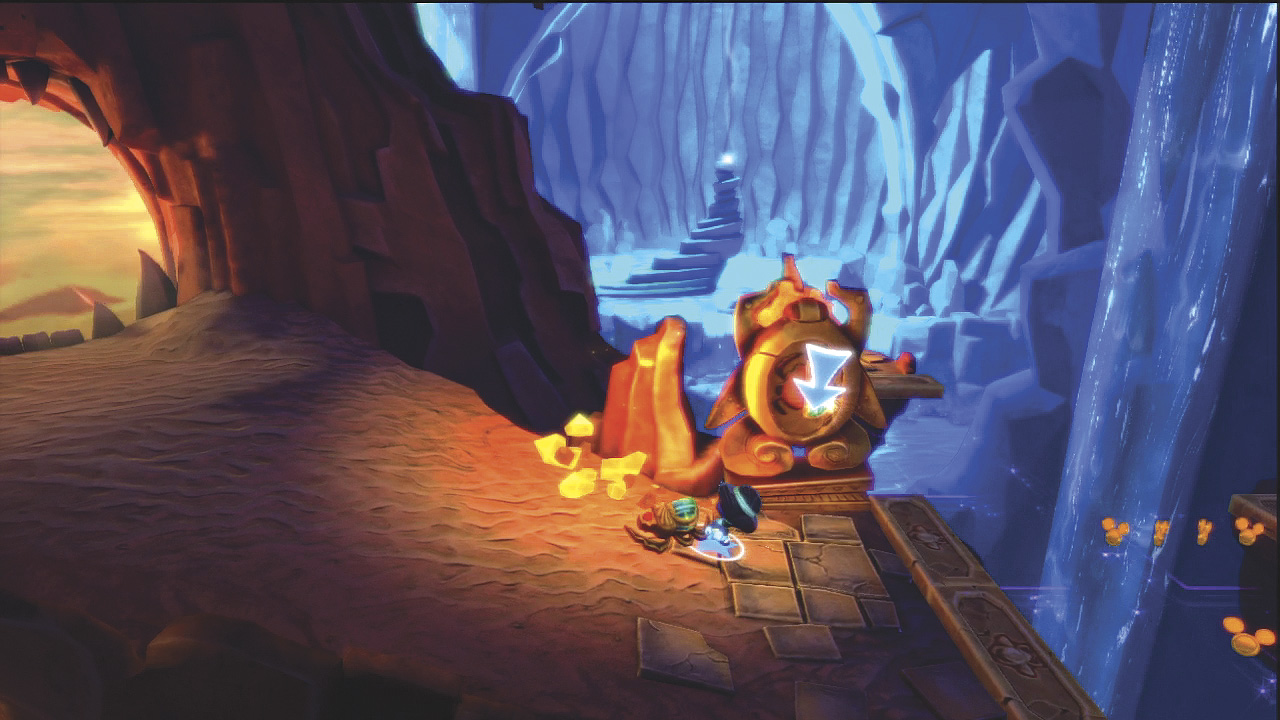
From the start, walk over to the scarab piece on the ground and move it over to the statue to assemble a scarab.
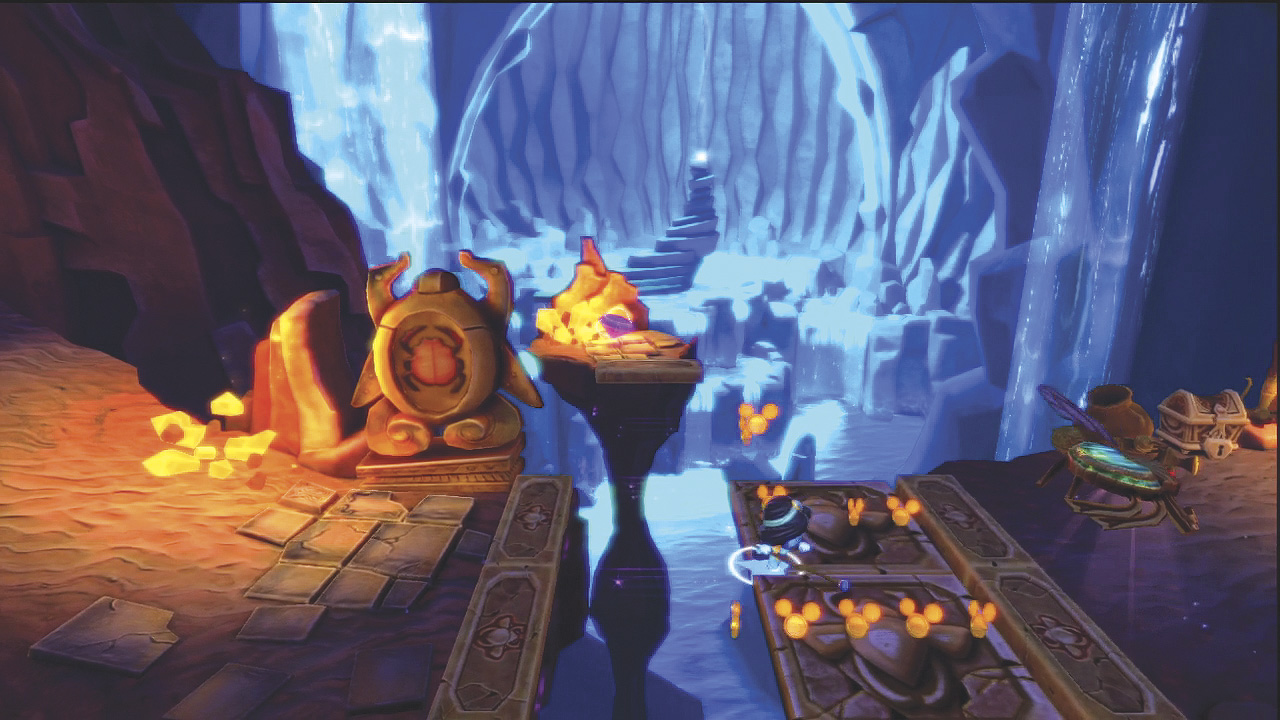
As the scarab flies over the gap to the right, sections of a bridge appear. Move across quickly since the sections disappear as the scarab flies away.
FIND THE SCARAB PIECES
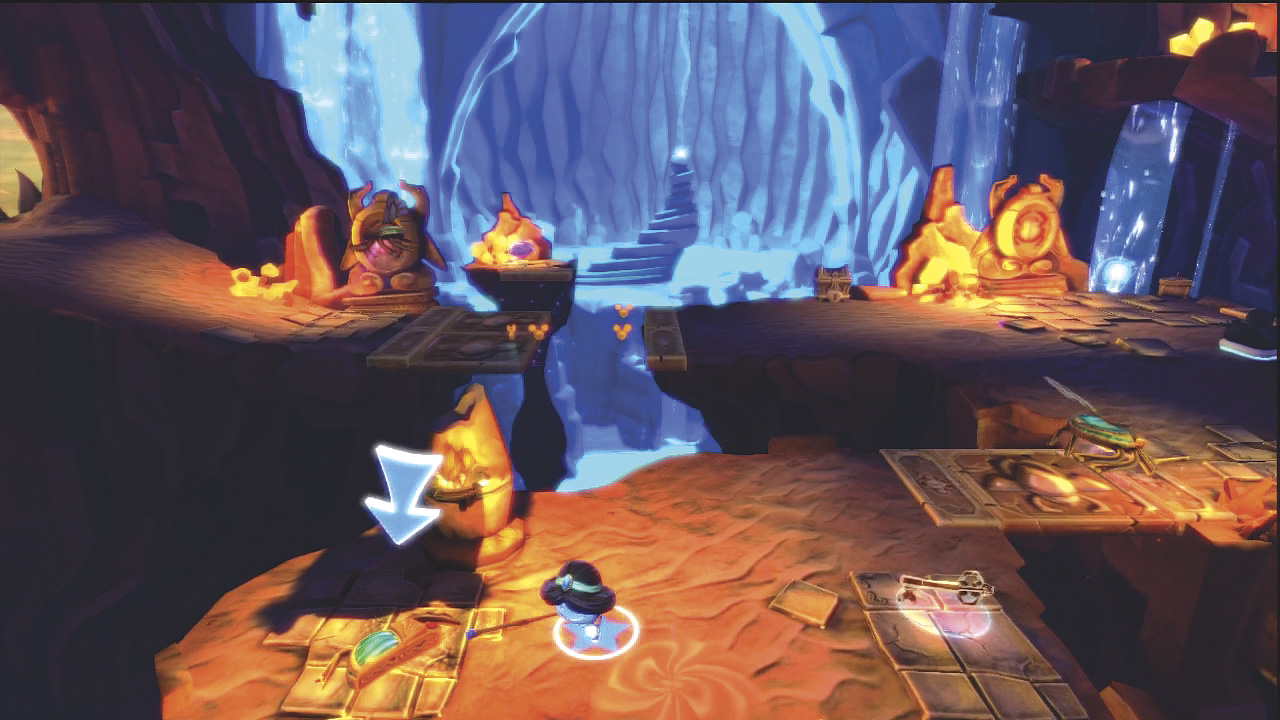
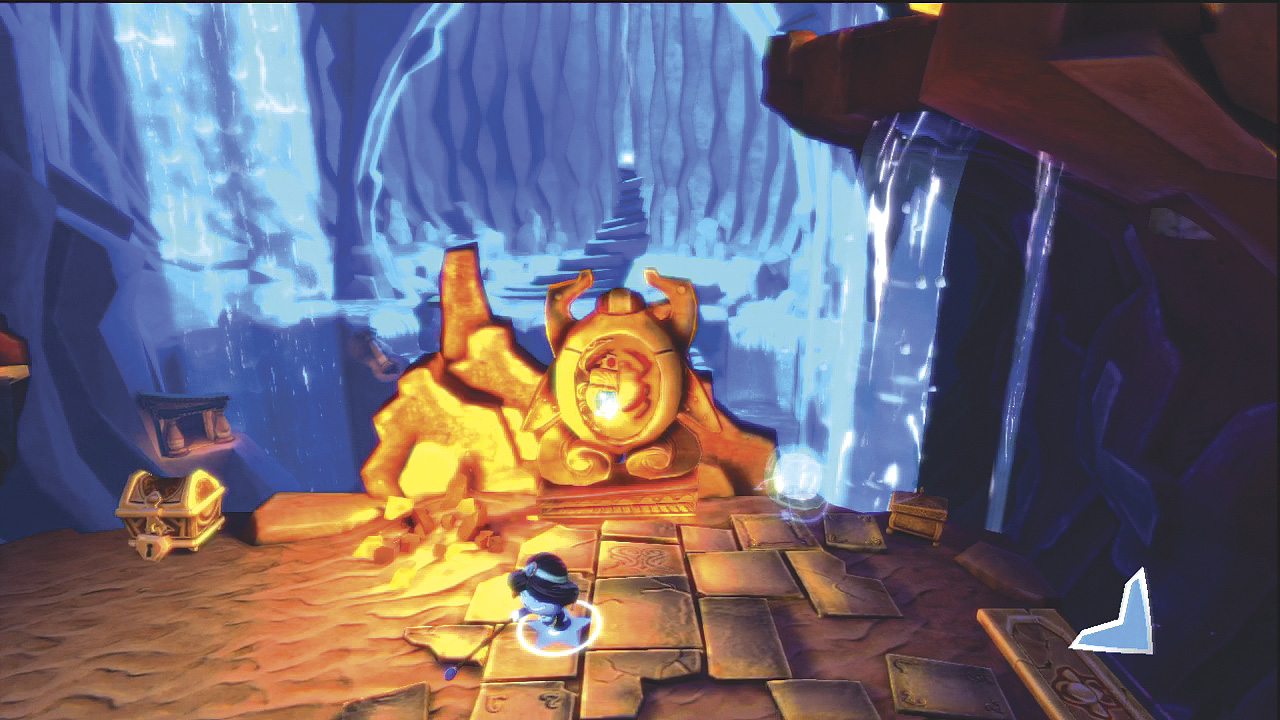
Another scarab is flying toward the front of the area. Wait for it to fly to the left and reveal a bridge, or jump over the gap, to find another scarab piece along with a key. When the flying scarab returns, move the scarab piece across the small bridge and take it to another statue. Then take the key to the chest by the statue to get a blue star for upgrading your tool.
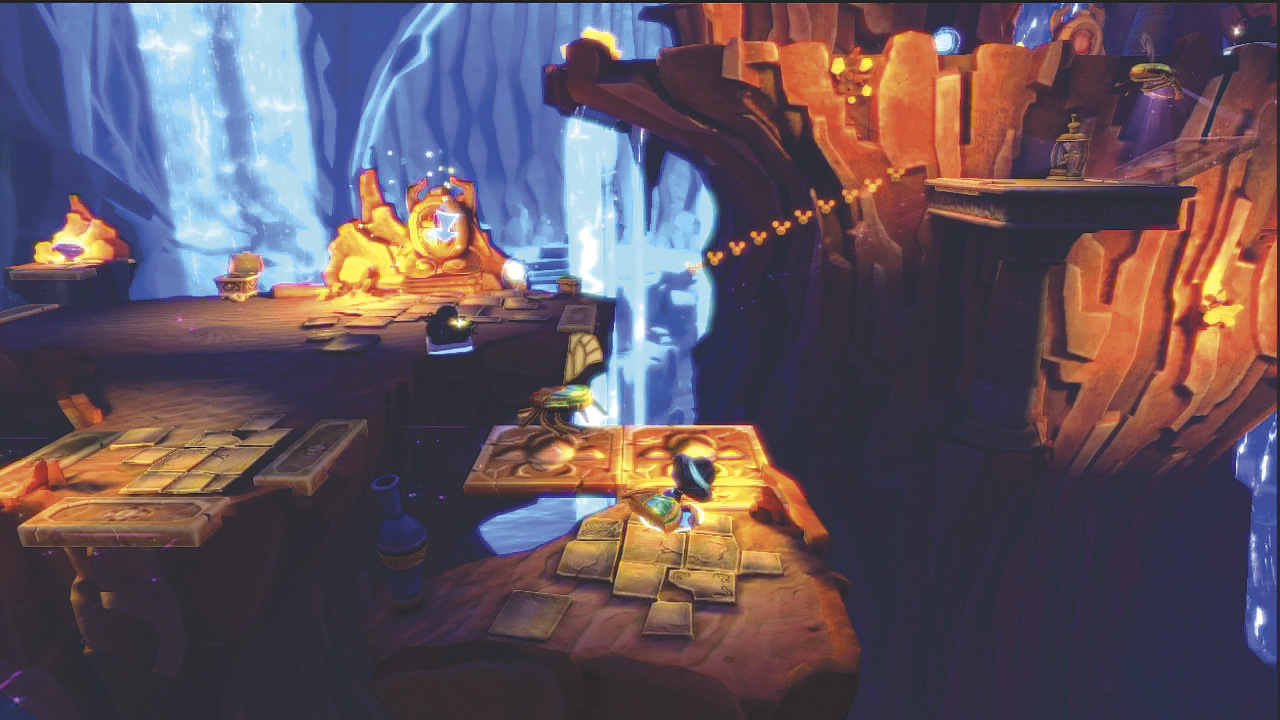
Now pick up another scarab piece located to the right of the previous piece and take it back to the statue to release another flying scarab. Then follow this scarab up a series of bridge sections to the right to find the lantern.
UNCOVER SECRETS IN THE SAND
GEM
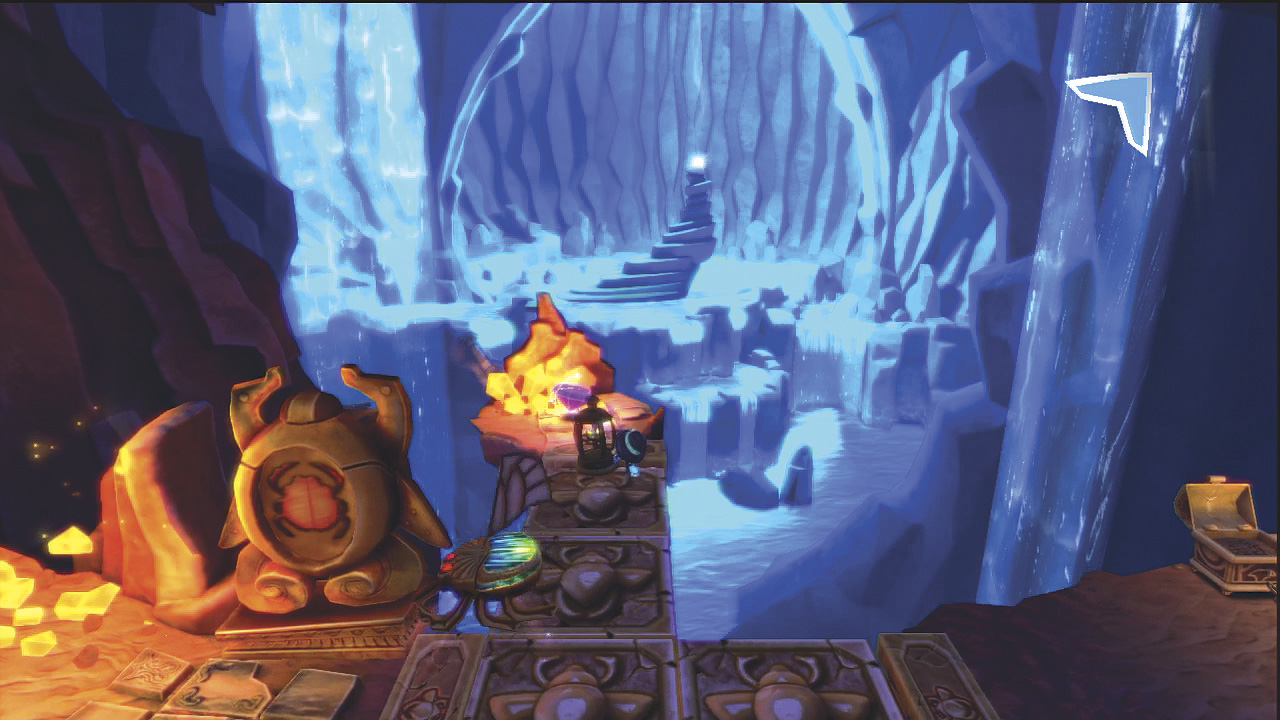
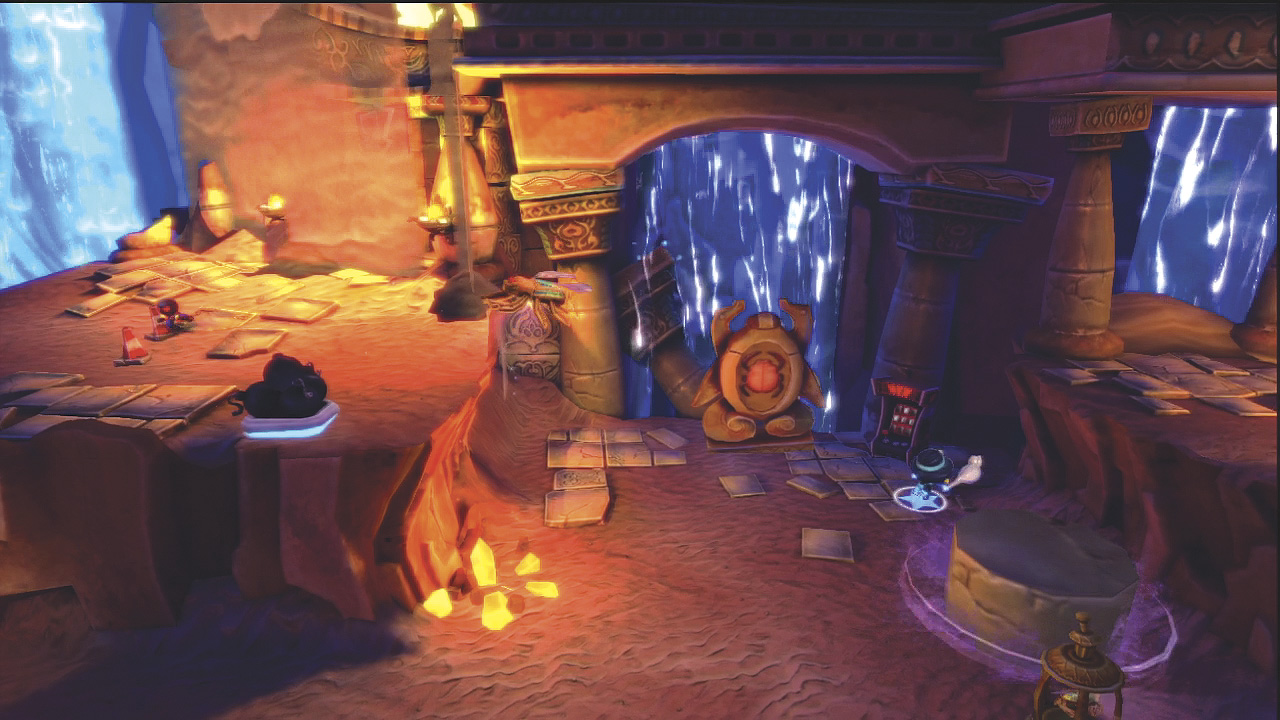
Move the lantern down the platform and toward the place where you entered the Cave of Wonders. The lantern causes bridge sections to appear so you can move across to the first gem.
GEM
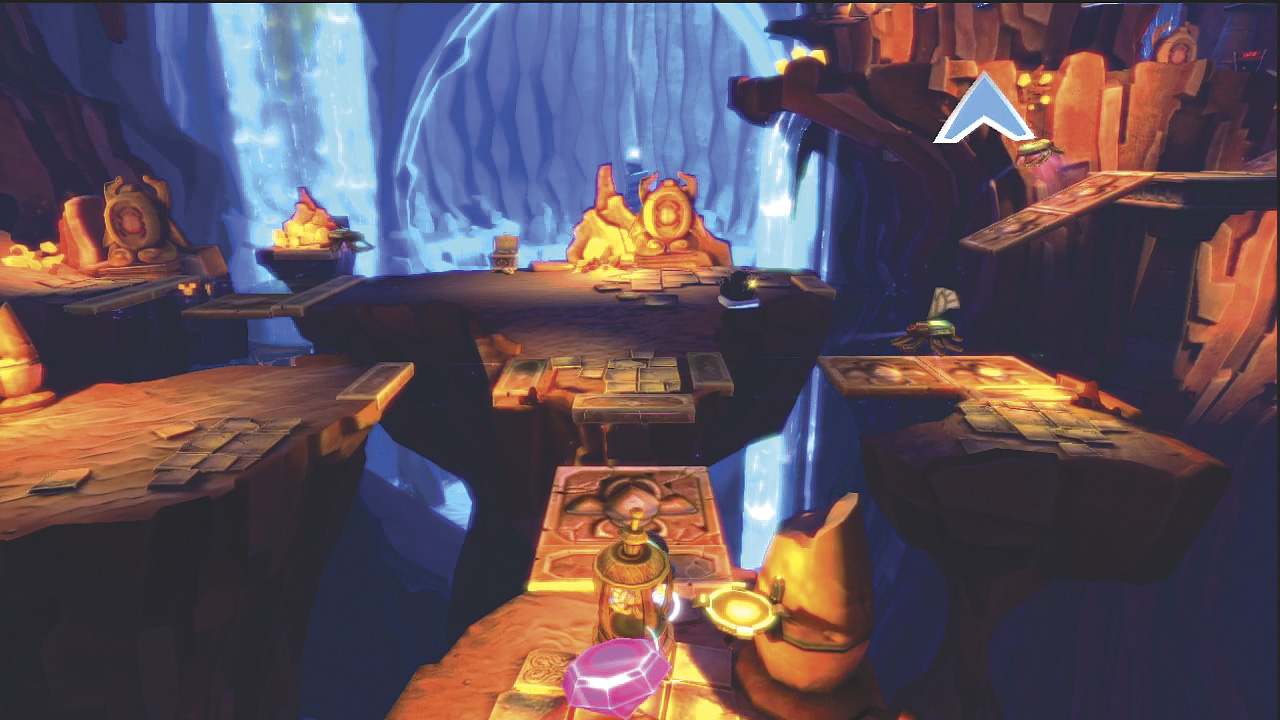
Take the lantern to the front of the area between the two platforms where you found the scarab pieces. There you can find the second gem.
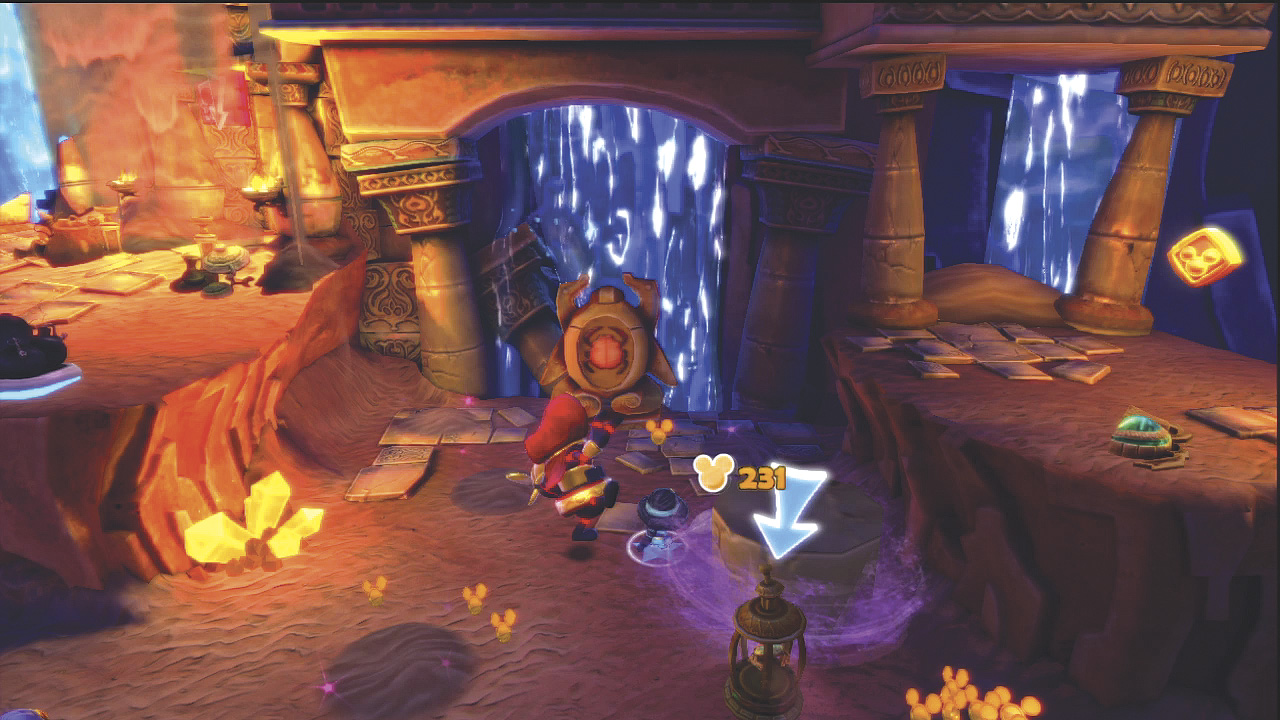
Now move the lantern all the way to the right and up the bridge sections to the upper area of this level. There, you must defeat more ene-mies, including a Roto. Pick up the VIC cube to the left and use the power-up for the fight.
BUILD THE SCARAB
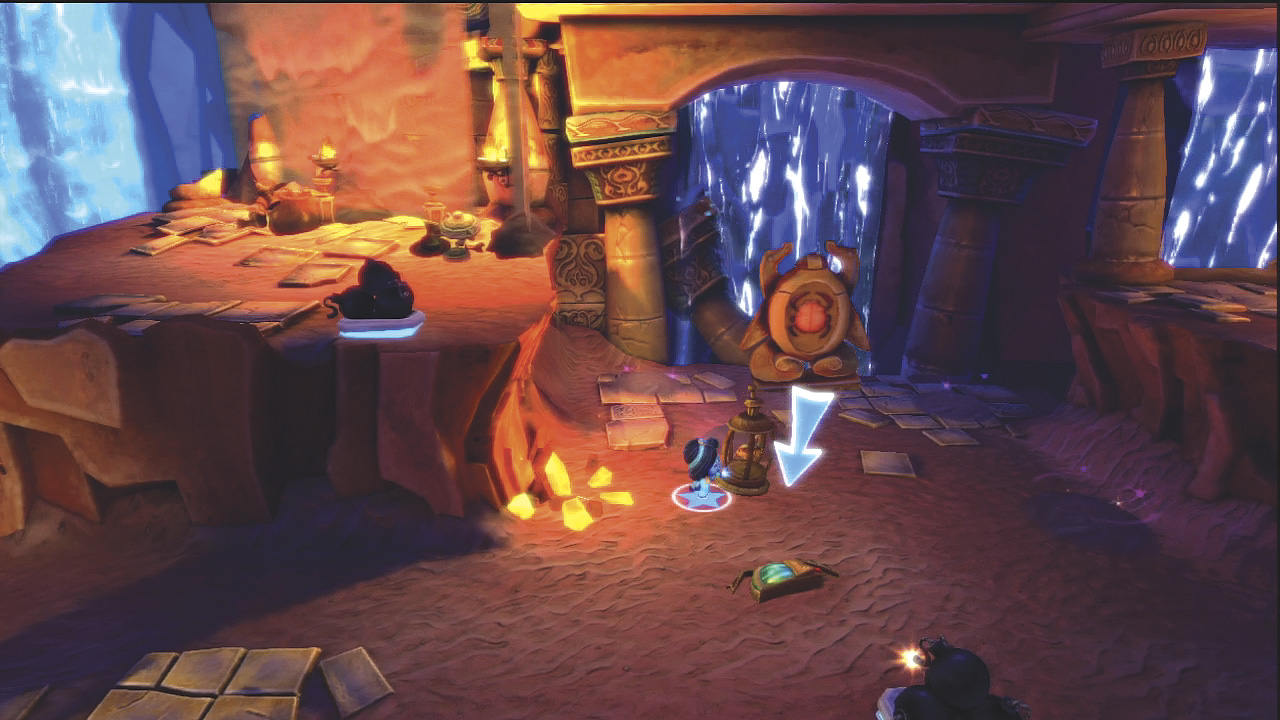
Place the lantern over the sparkling sand near the bombs to reveal another scarab piece. Move it to the statue.
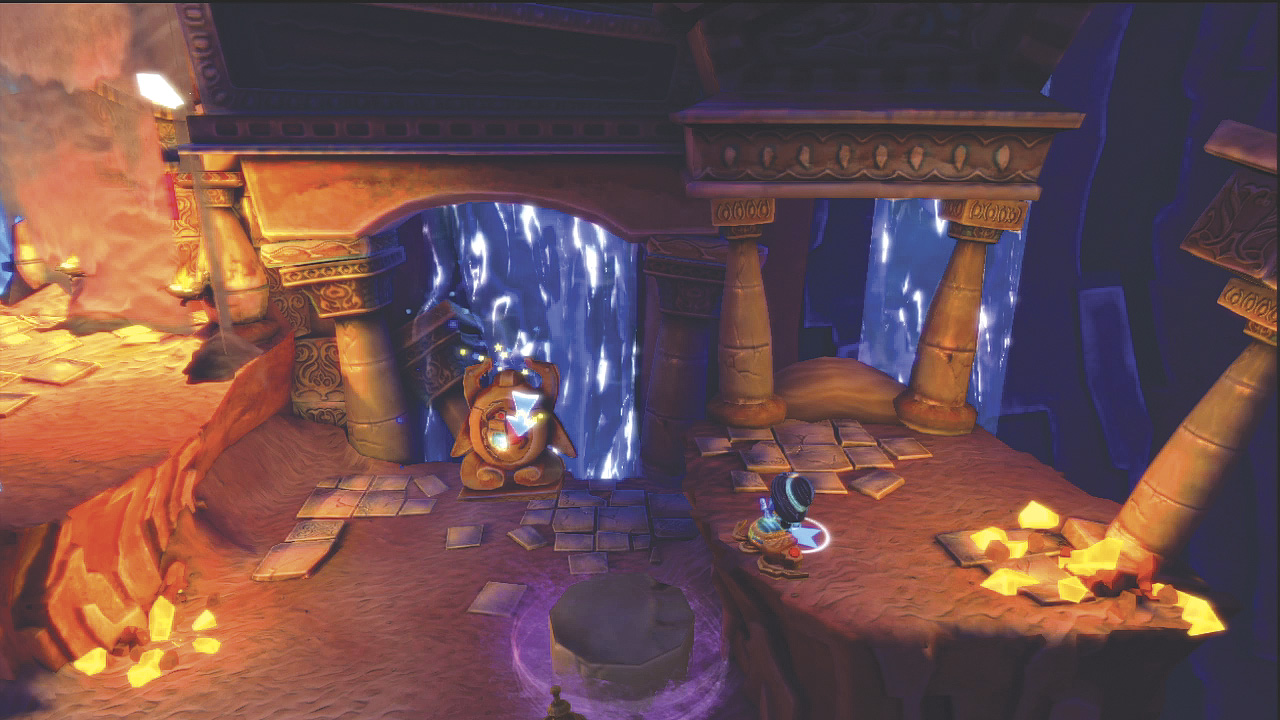
Now move the lantern to the right to make a short pillar appear. Jump up on this to get onto the ledge on the right and move another scarab piece to the statute. A flying scarab then moves to open the exit.
Challenge - As soon as you build the scarab on the upper area, an arcade game appears. Play a challenge to get more coins.
EXIT THE LEVEL
GEM
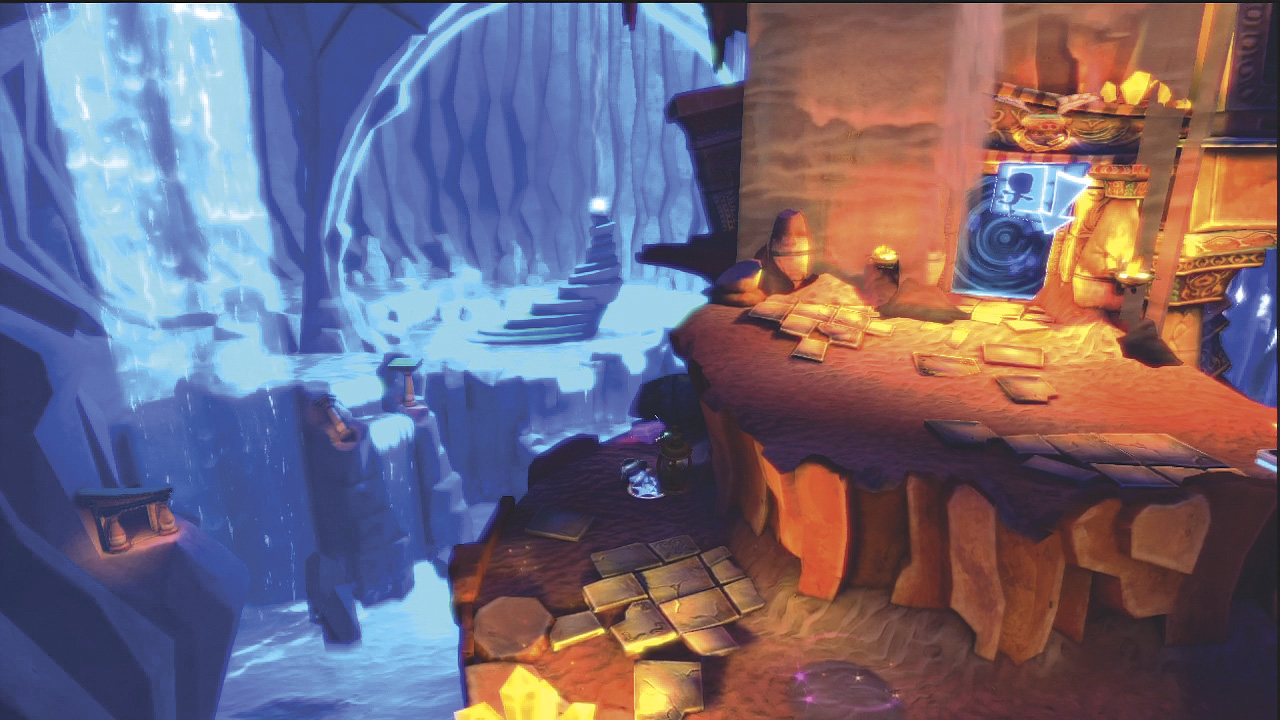
Move the lantern to the far-left side of the upper area to reveal the third gem. Collect it to unlock some music.
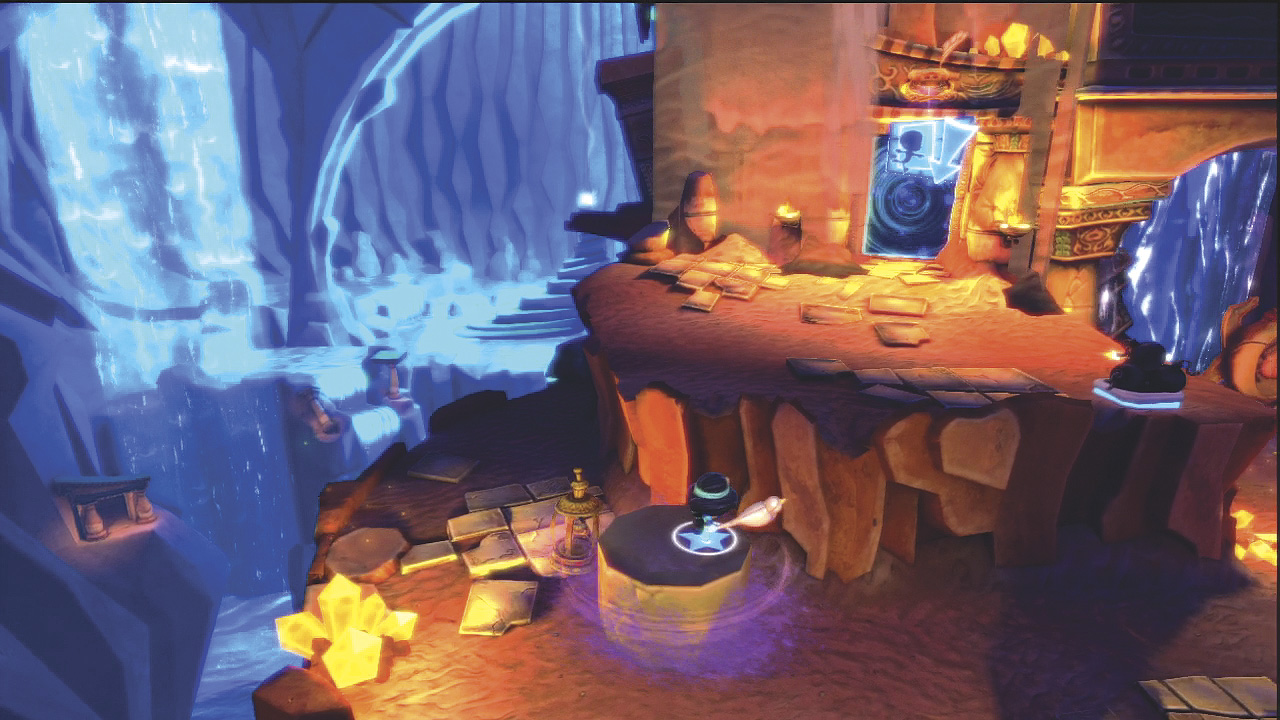
Finally, use the lantern to reveal a short pillar at the edge of the left ledge so that you can get up to the exit. Go through it to continue to the next level.
Level 2
Collectibles: 3 gems
Guests to Rescue: 0
RETURN THE RUBY TO THE STATUE
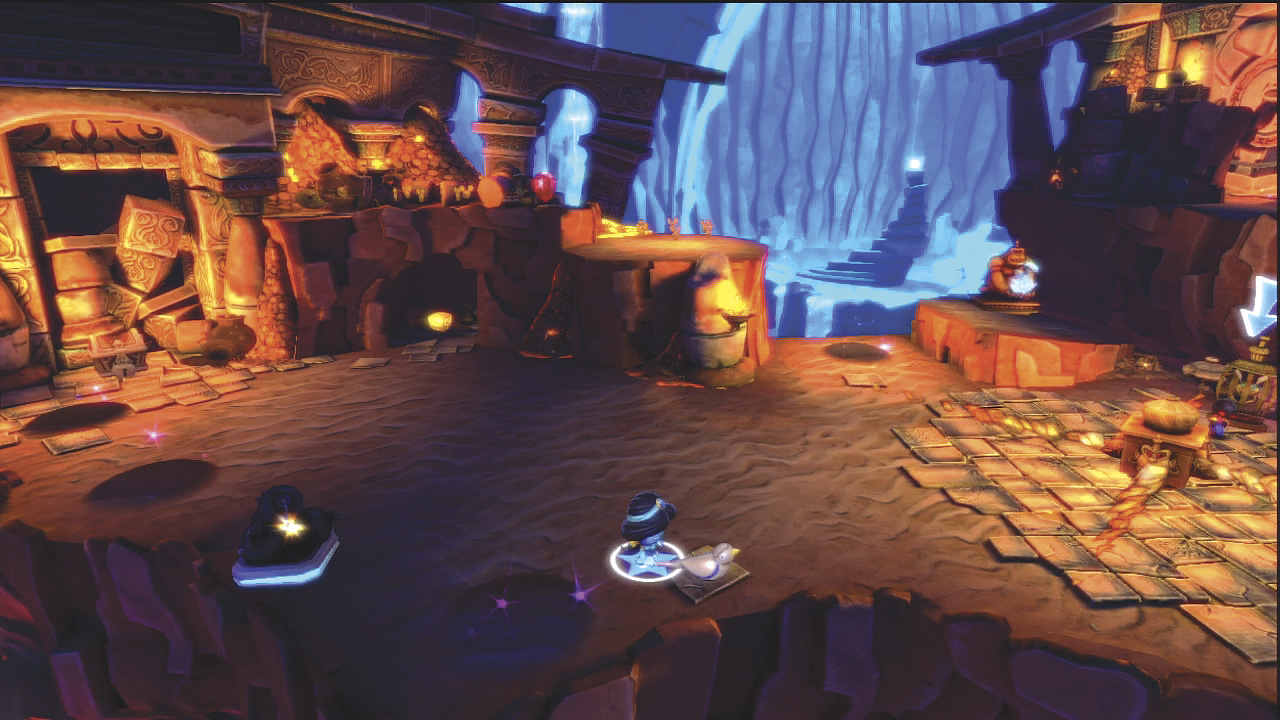
At the start, fight against some enemies as they try to stop you from getting the lantern. One may even try to carry it away.
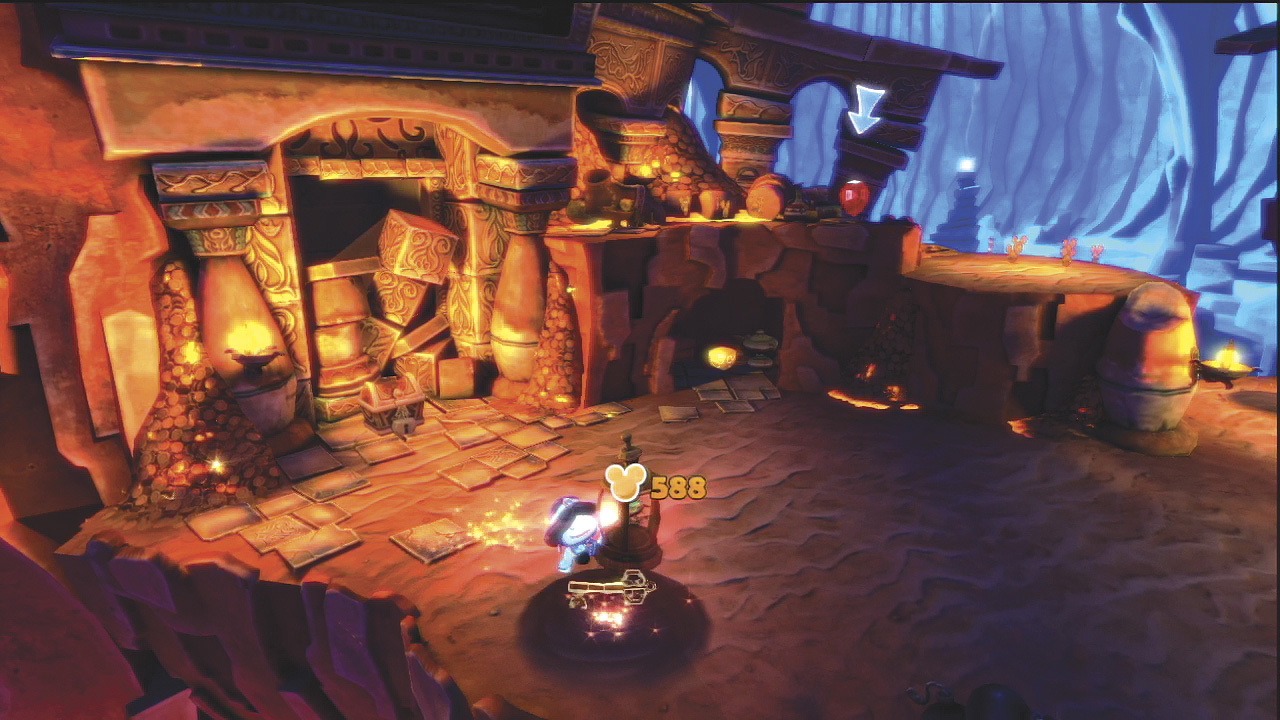
Move the lantern around to reveal coins and a key. Use this key to open the nearby chest to get a blue star and upgrade your tool to the next level.
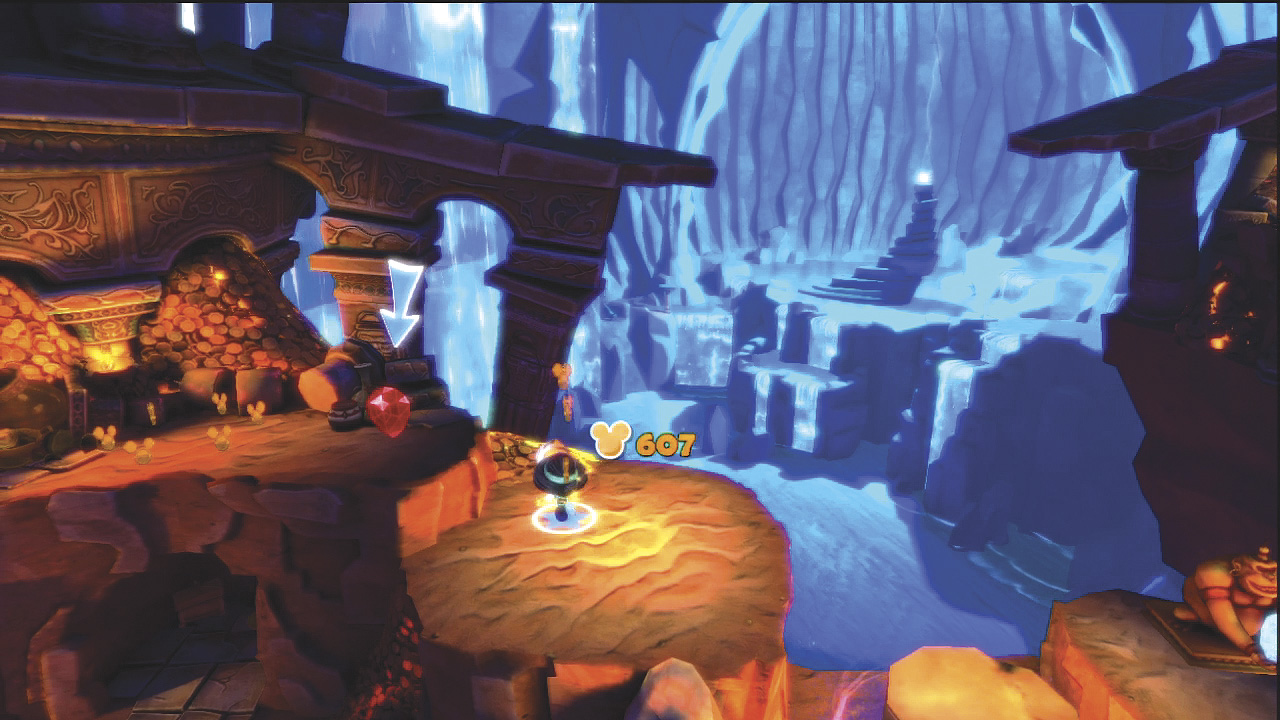
Take the lantern over by the monkey statue to reveal a small pillar. Jump up onto it and then onto the ledge to the left. Pick up the ruby and take it to the monkey statue.
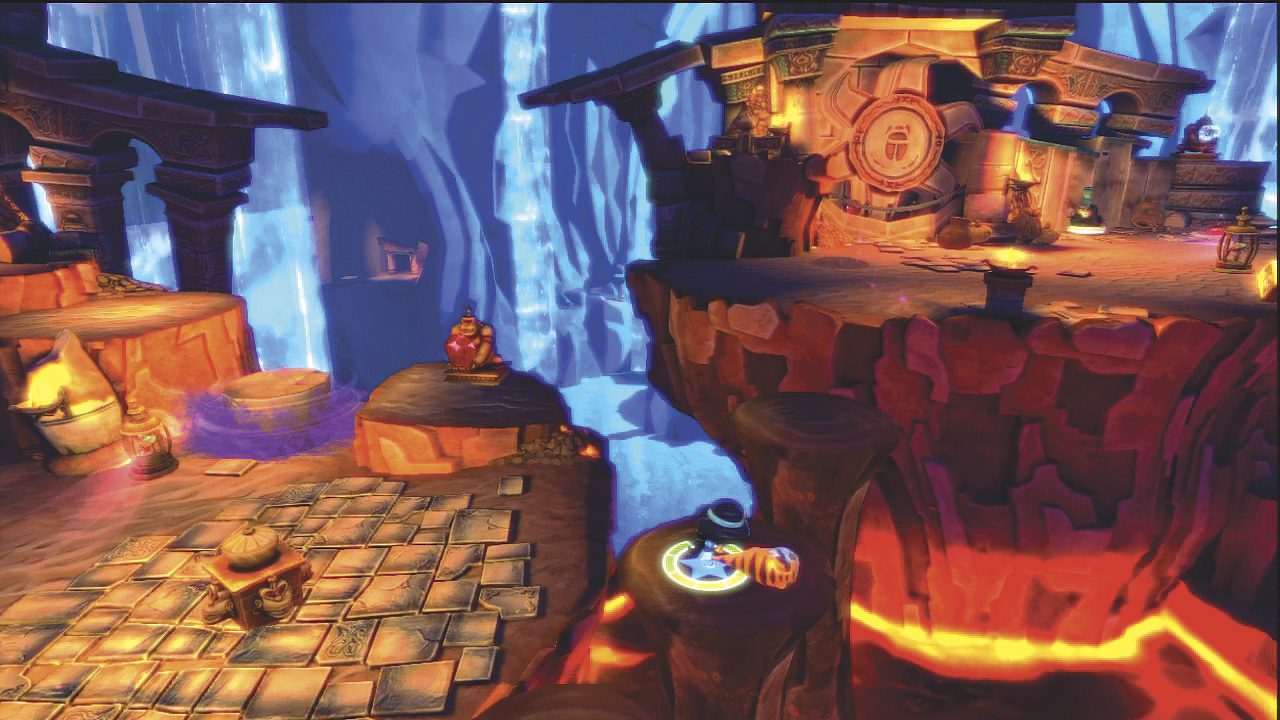
A series of stone steps appear. Jump up them to get to the upper area.
RETURN THE RUBY TO THE STATUE
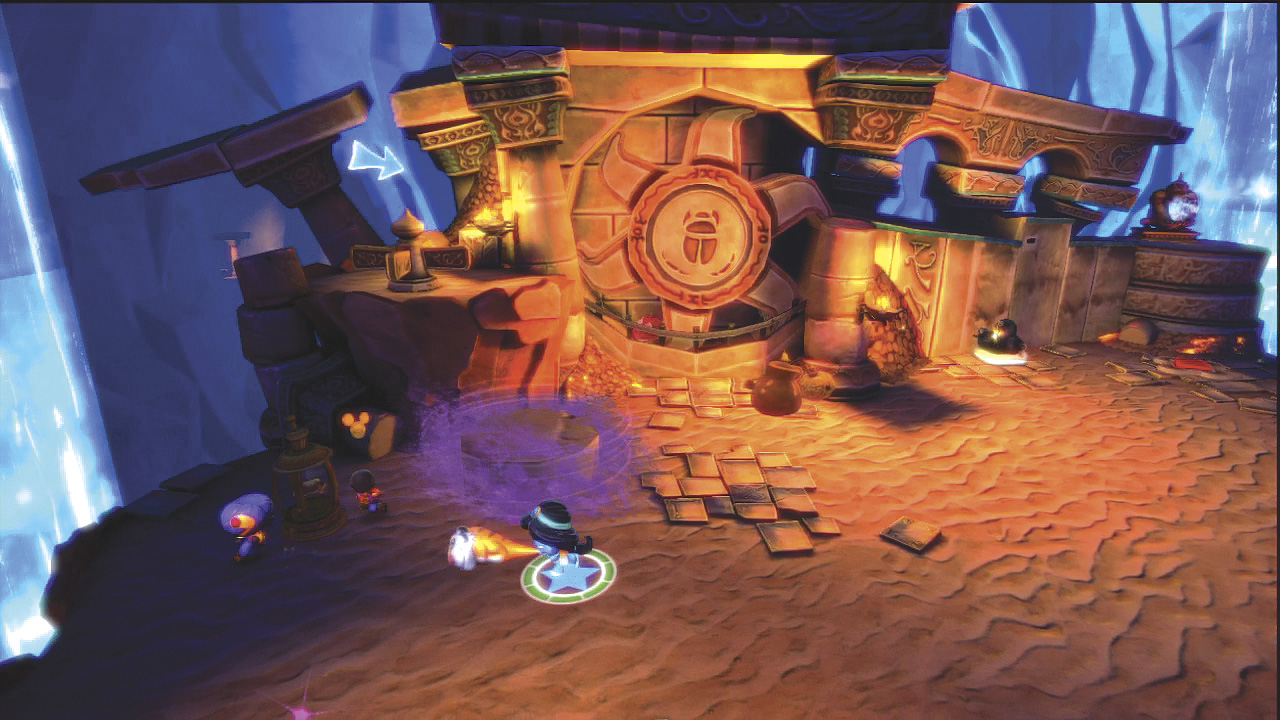
Defeat more enemies here so you can get the lantern away from them.
GEM
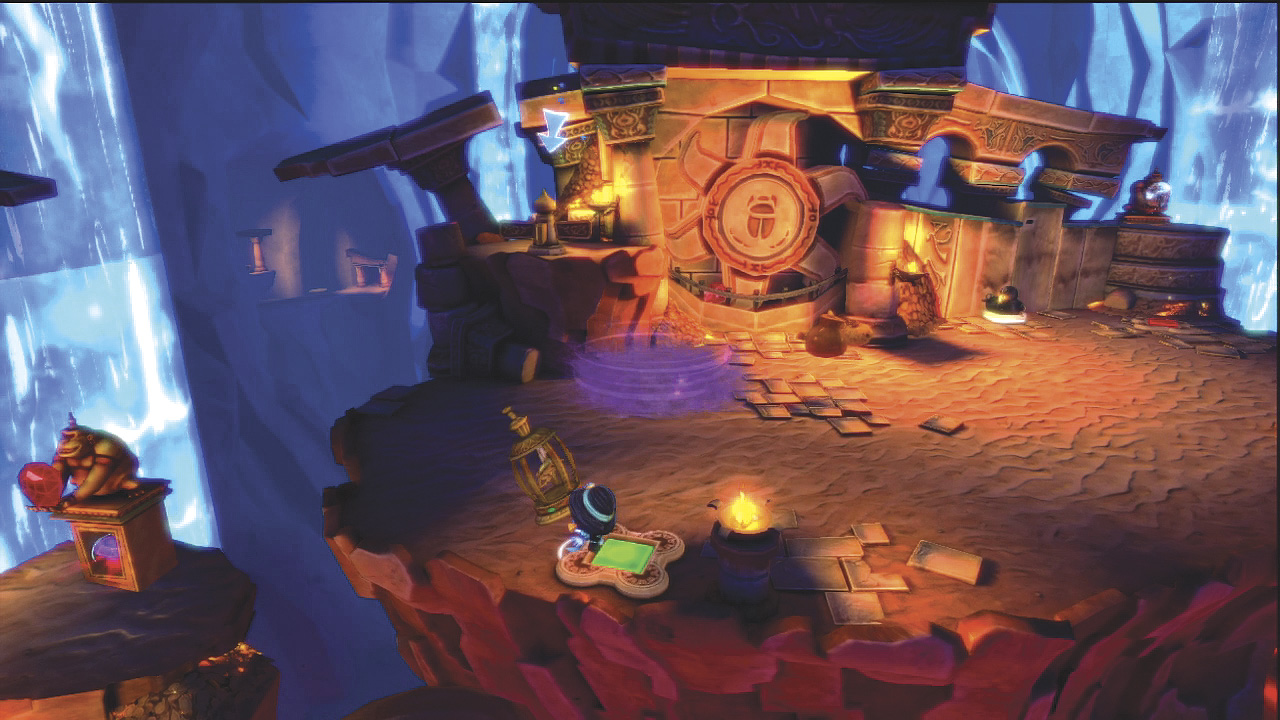
Take the lantern to the front of the upper area to reveal a red switch. Step on it to make the monkey statue below, where you already returned a ruby, rise up to reveal a gem. Jump back down the stone steps to get the gem. Then come back up to the upper area.
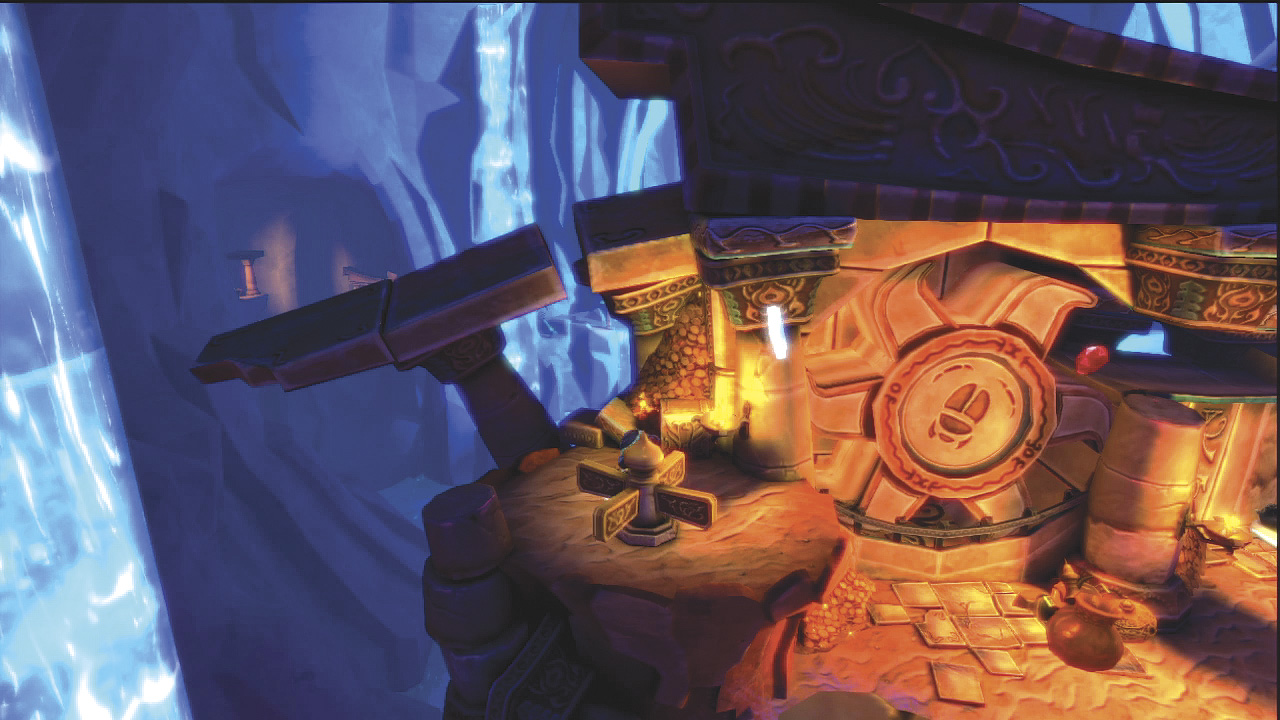
Move the lantern over by the crank to raise a short pillar. Jump up to the crank and turn it. A gear along the back wall moves a ruby up and drops it onto a ramp.
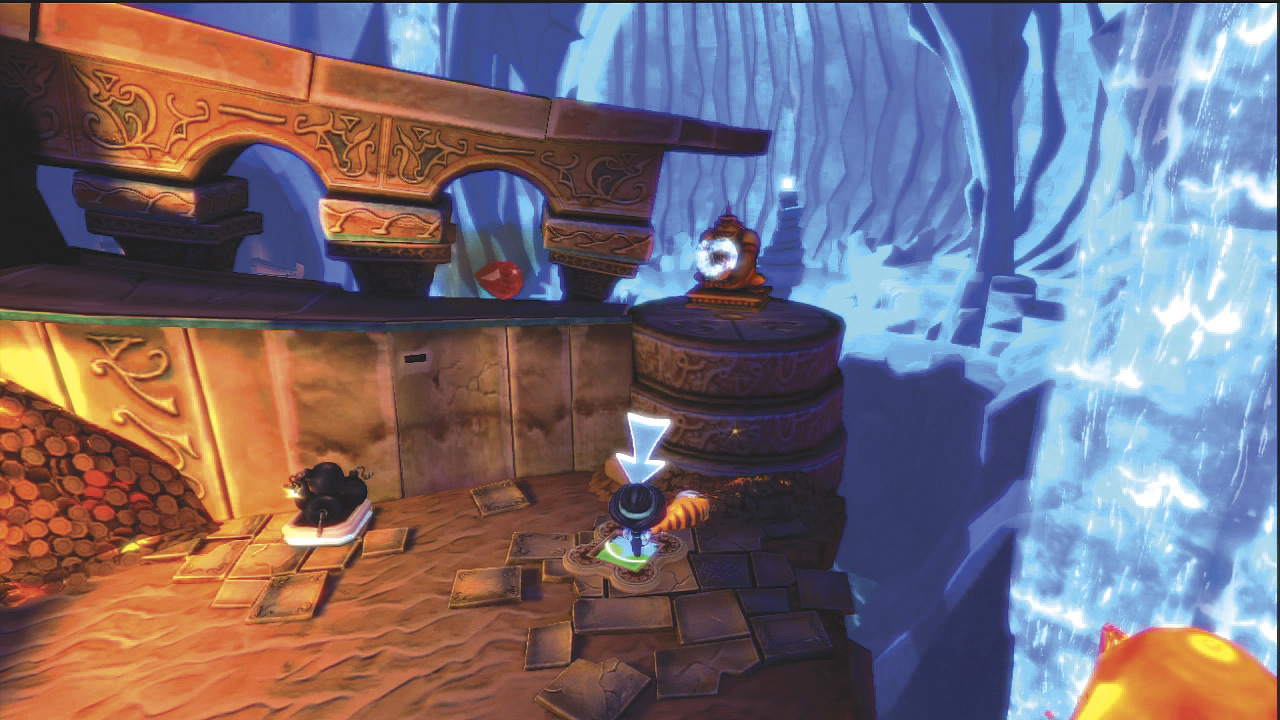
Now take the lantern over by the monkey statue to reveal another red switch. Stand on the switch to lower a section of stone that is blocking the ruby. Once the stone is lowered, the ruby rolls into the monkey statue.
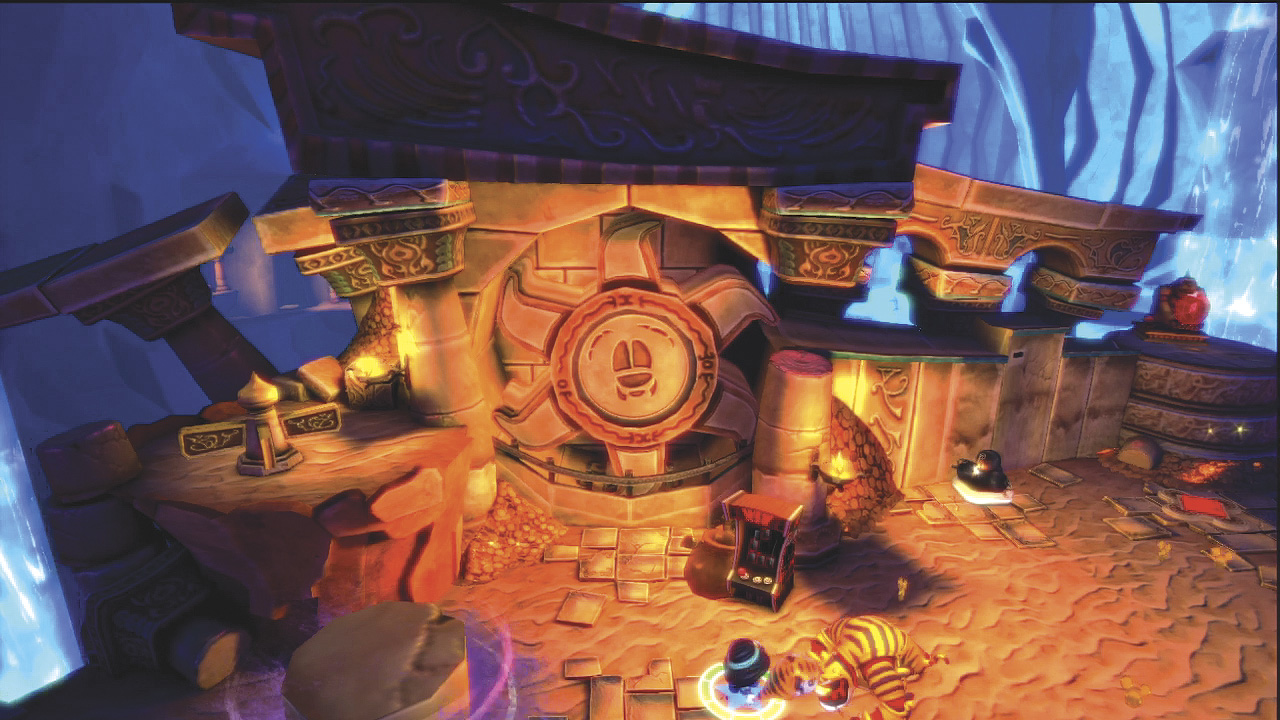
As some more stone steps appear to the right, a Bulldog begins attacking. Watch out for its charging and get in some hits as it pauses at the end of its attacks.
Challenge -
Putting the ruby in the second monkey statue causes an arcade game to appear. Use it to play a challenge
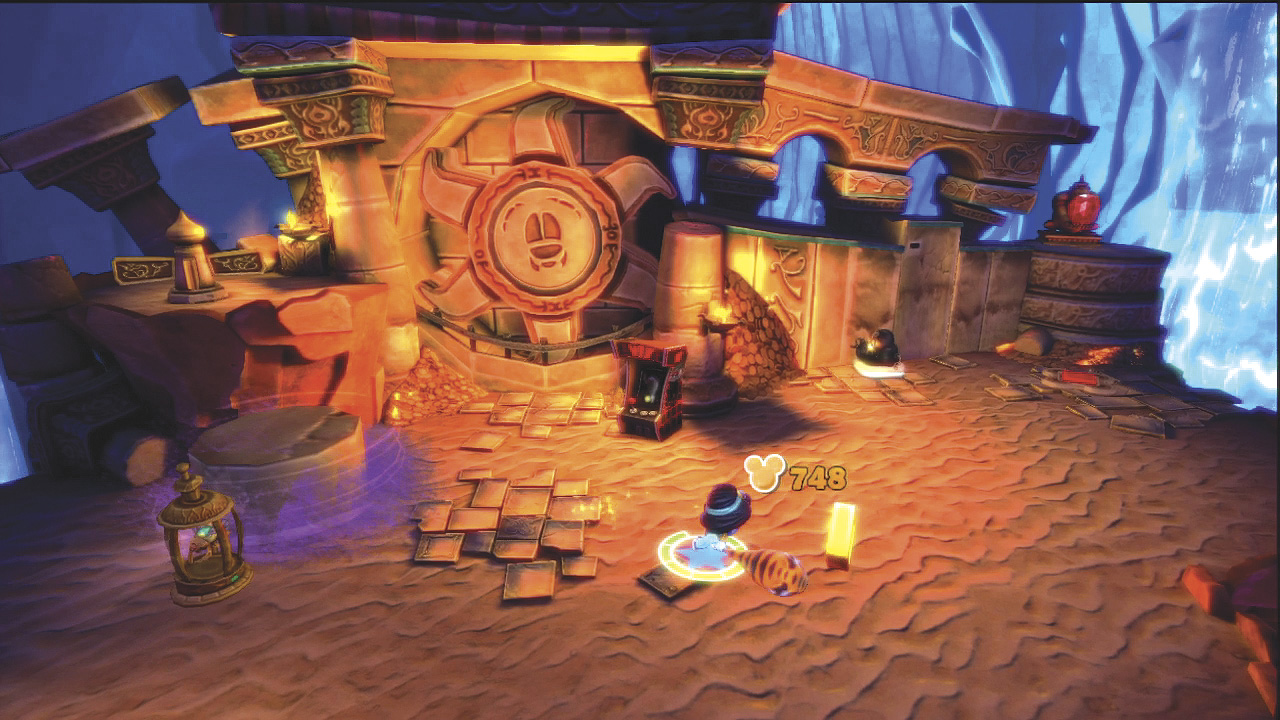
RETURN THE RUBY TO THE STATUE
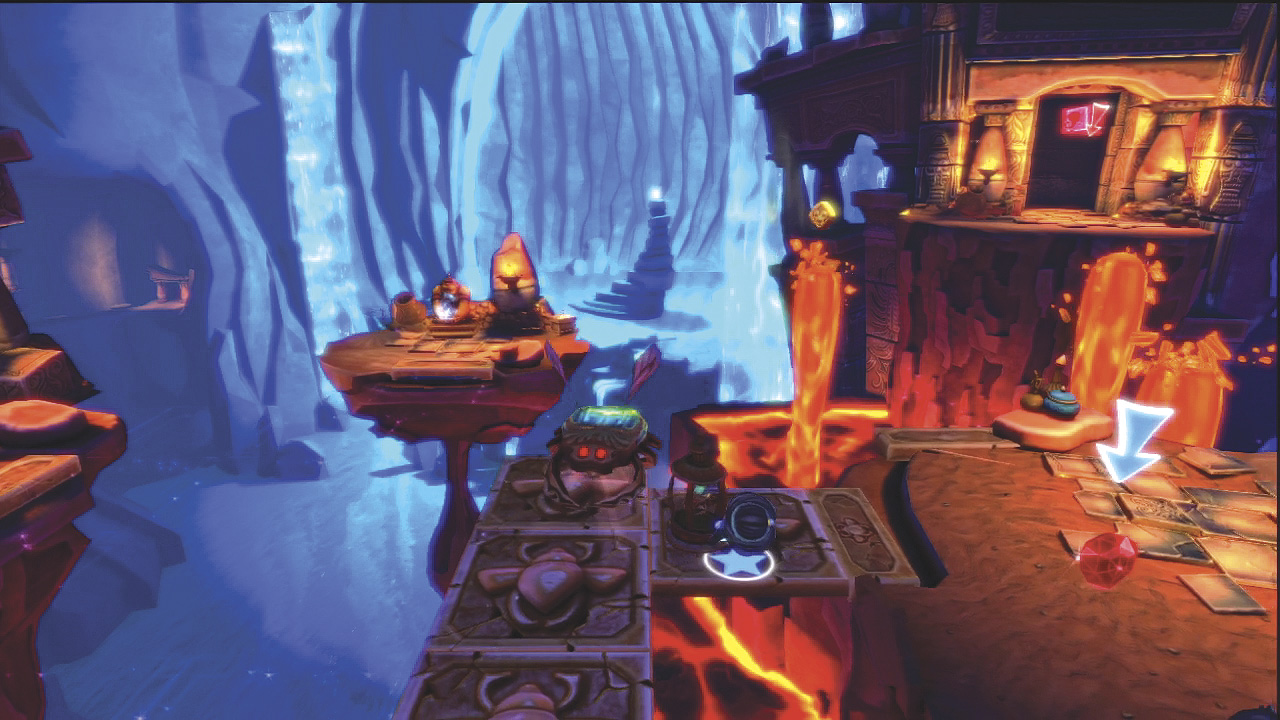
Jump up the stone steps to get to another area. Use the lantern to move across some bridge sections to get to another area where a ruby is waiting for you.
GEM
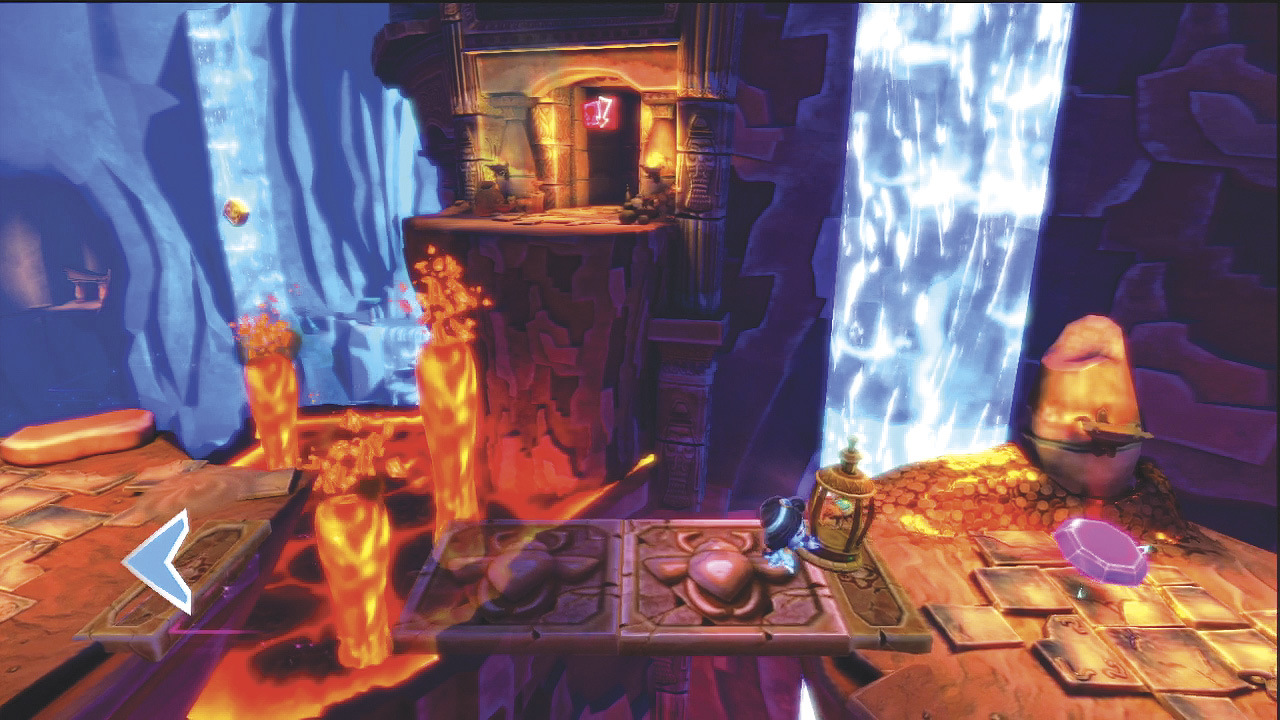
Move the lantern farther to the right and across more bridge sections to find the second gem.
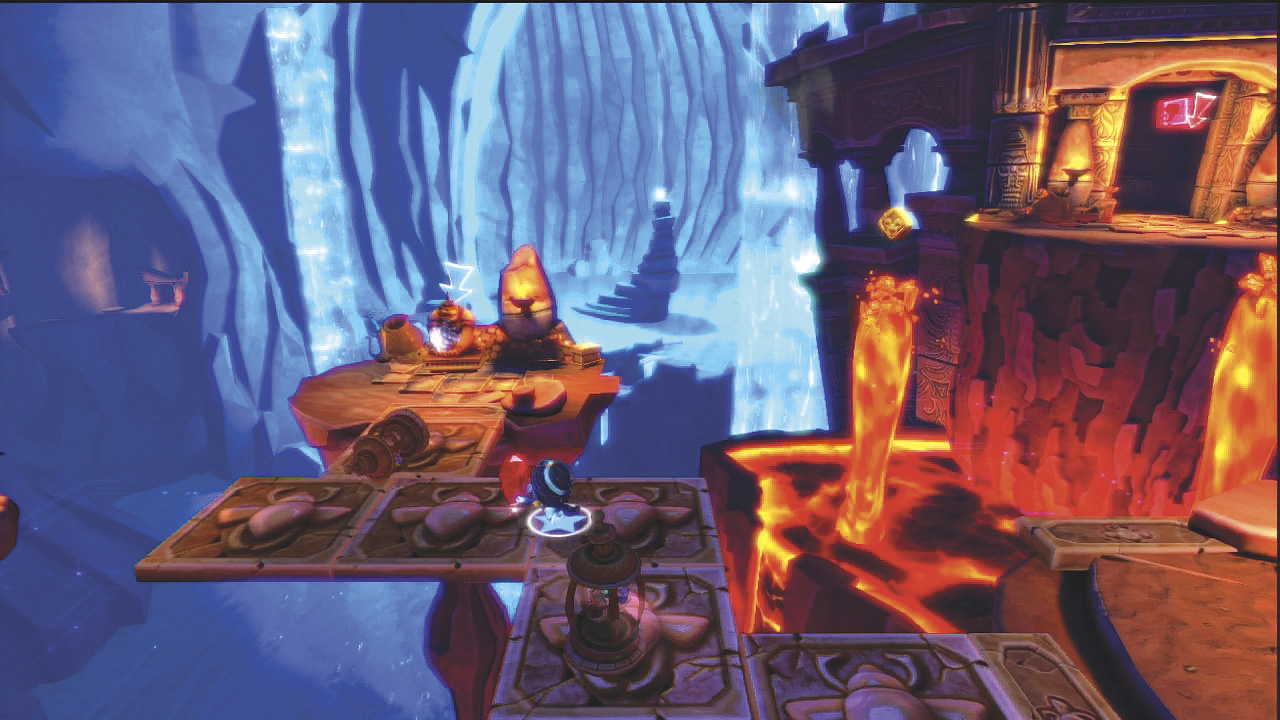
Position two lanterns on the bridge sections so that they stay visible. Then carry the last ruby to the monkey statue to open the exit.
GEM
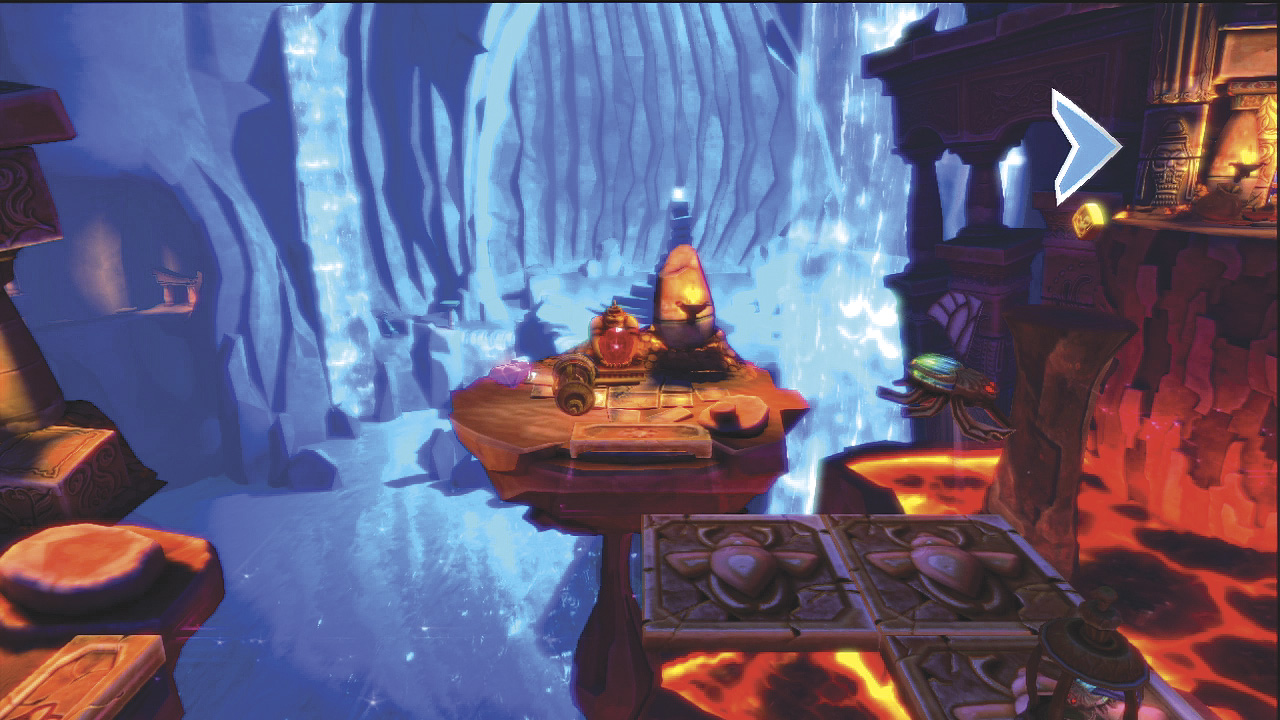
Move a lantern to the area to the left of the monkey statue to find the third gem and unlock some concept art.
EXIT THE LEVEL
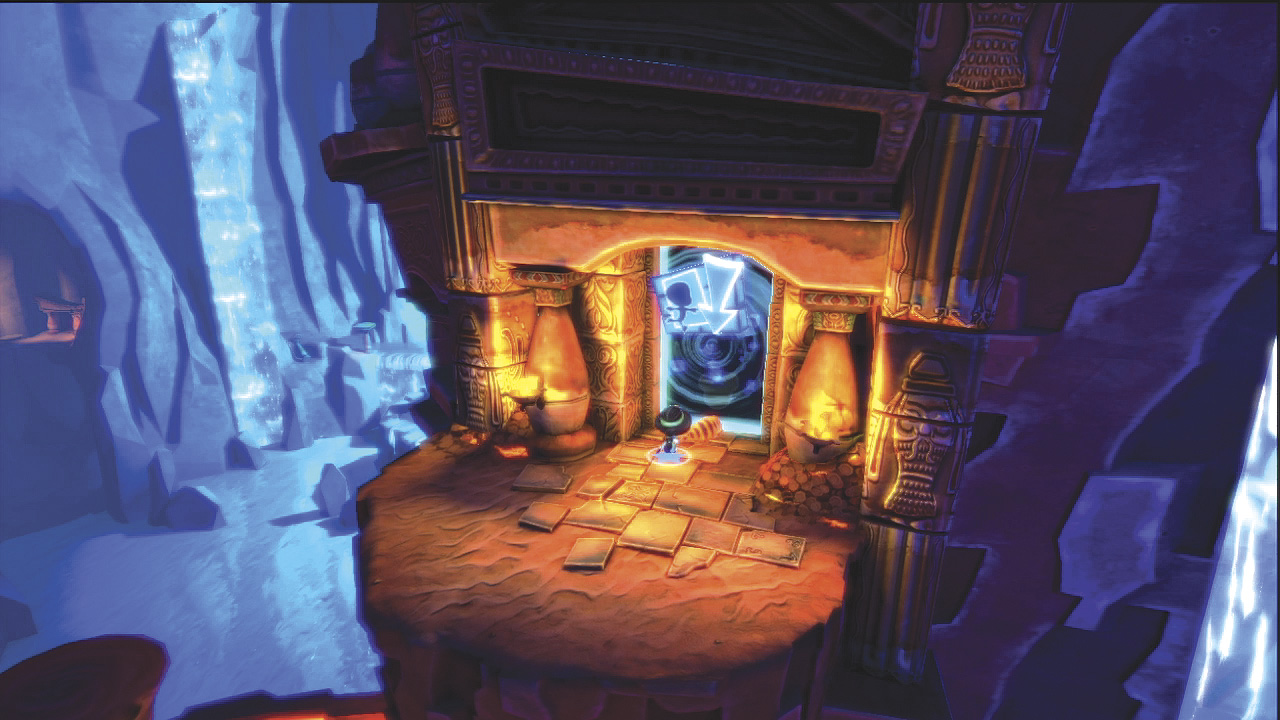
Finally, walk back to where you found the last ruby, fight off some enemies, and then jump across some stone steps to get to the exit. Go through and get ready for the next level.
Level 3
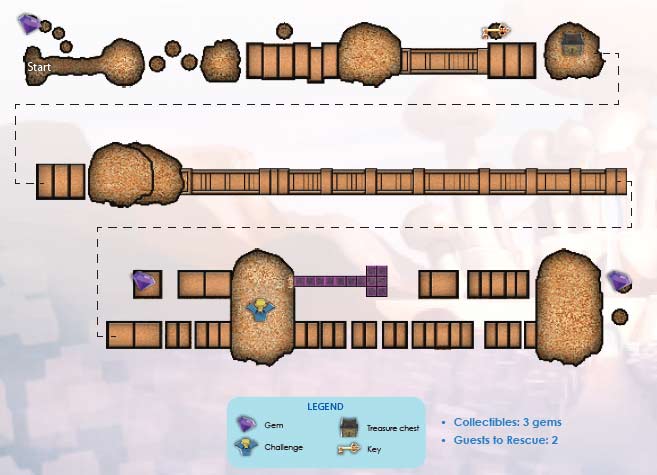
Collectibles: 3 gems
Guests to Rescue: 2
FIND THE LAMP
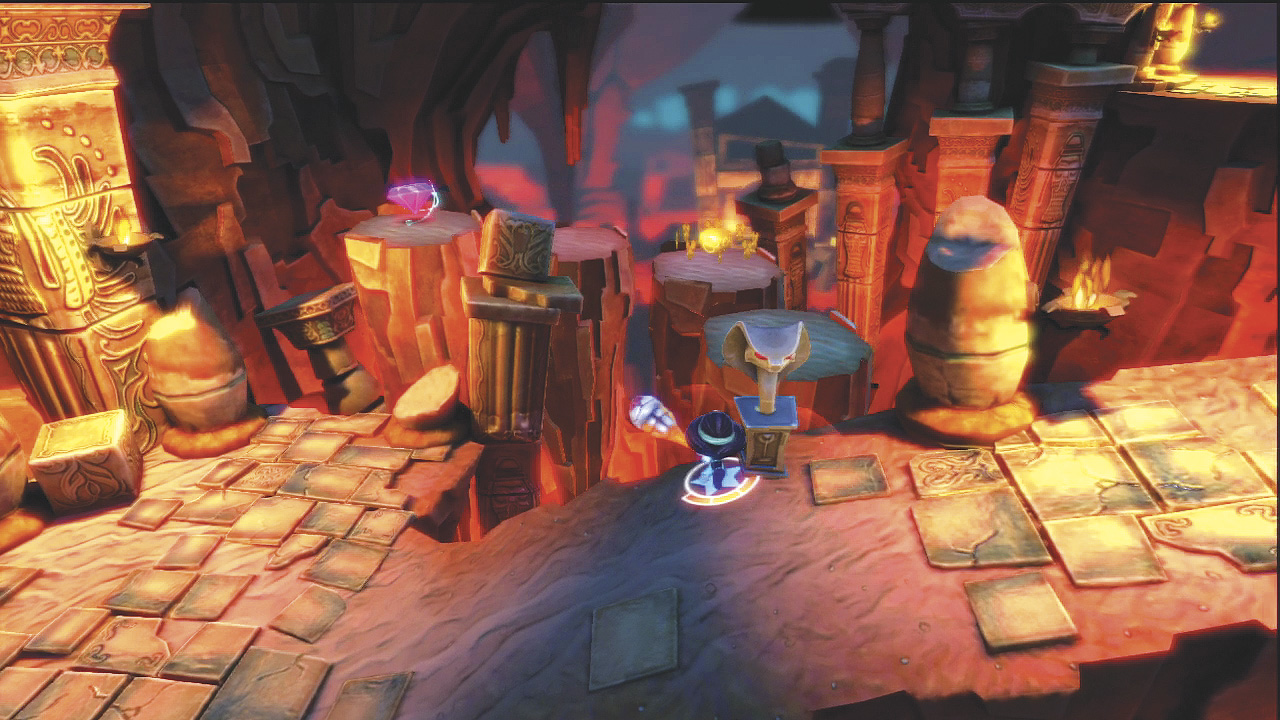
Collect some coins at the start and be sure to destroy the cobra statue.
GEM
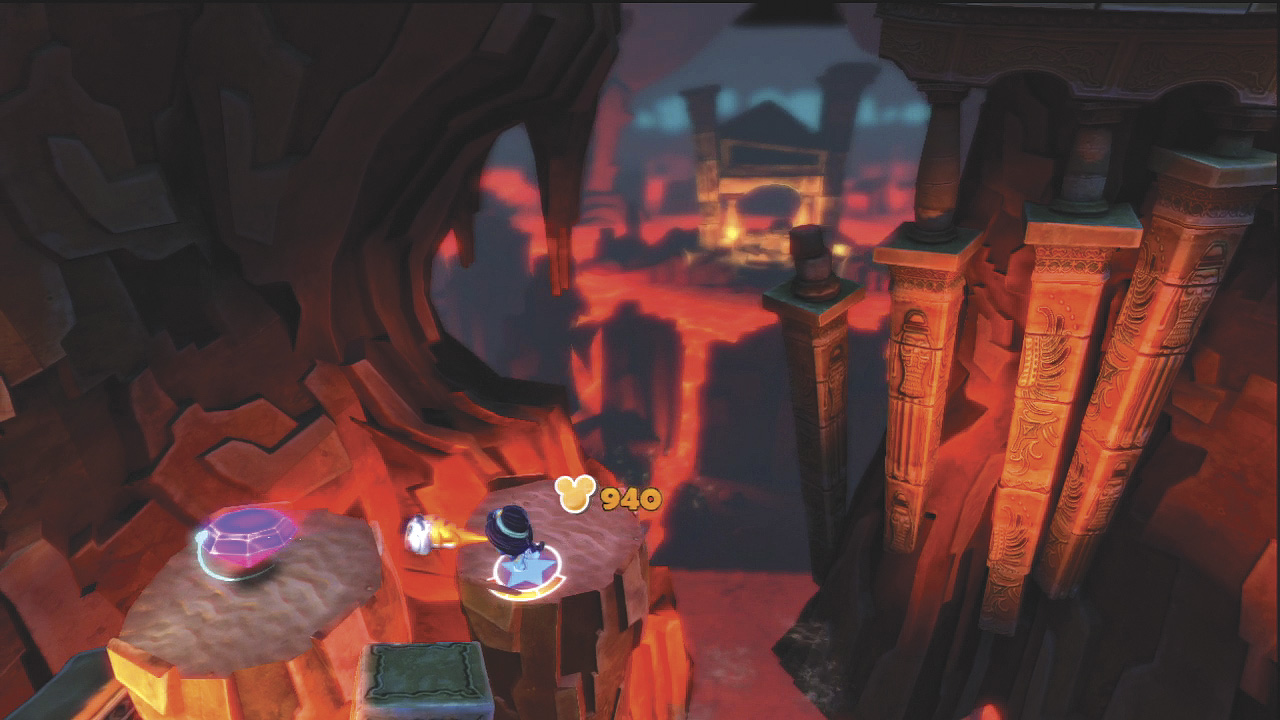
Jump across a series of stone steps to get to the first gem. These steps collapse soon after you step on them, so be quick and accurate. You get only one chance to get this gem.
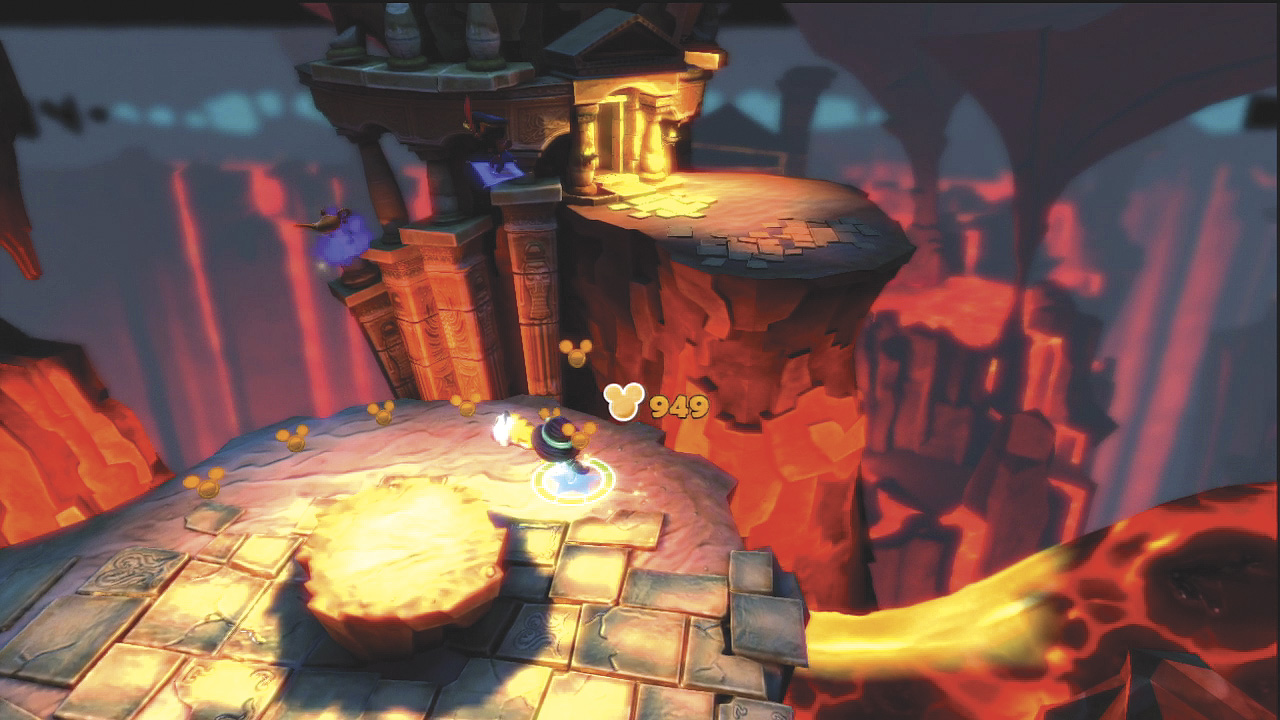
Walk up the ramp to the right to find the lamp. However, before you can get it, Jafar comes by on a magic carpet and steals it away from you.
ESCAPE THE CAVE
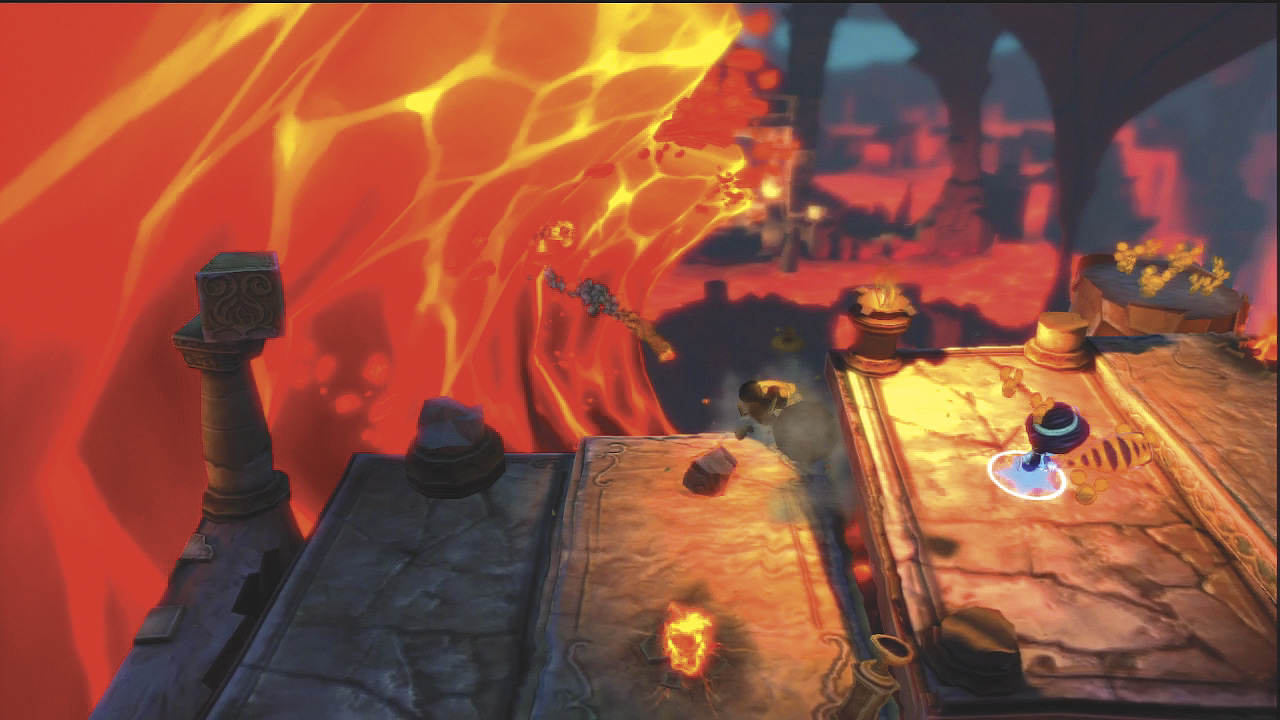
Jump across some stone steps and then onto some platforms. Keep moving to the right. A giant wave of lava is following behind you. It is now a race to stay in front of the lava.
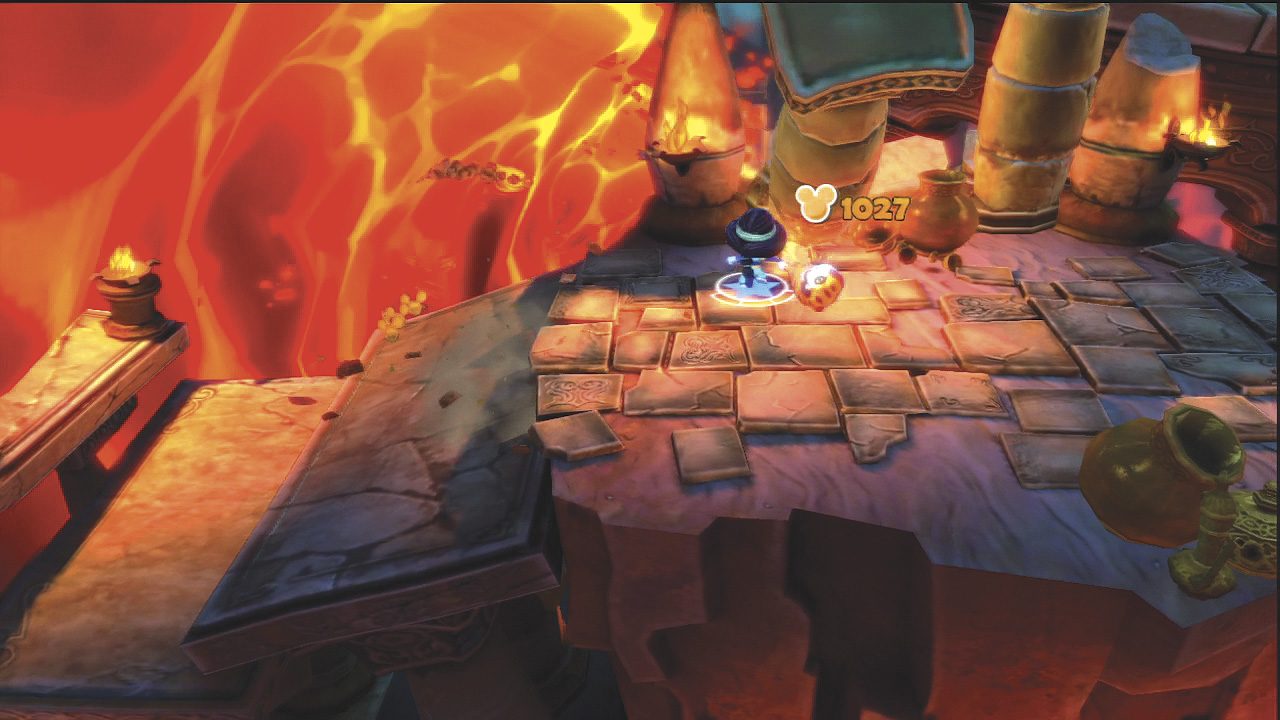
Watch out for falling rocks and pillars as you go. Pick up what coins you can along the way, but don’t lag behind.
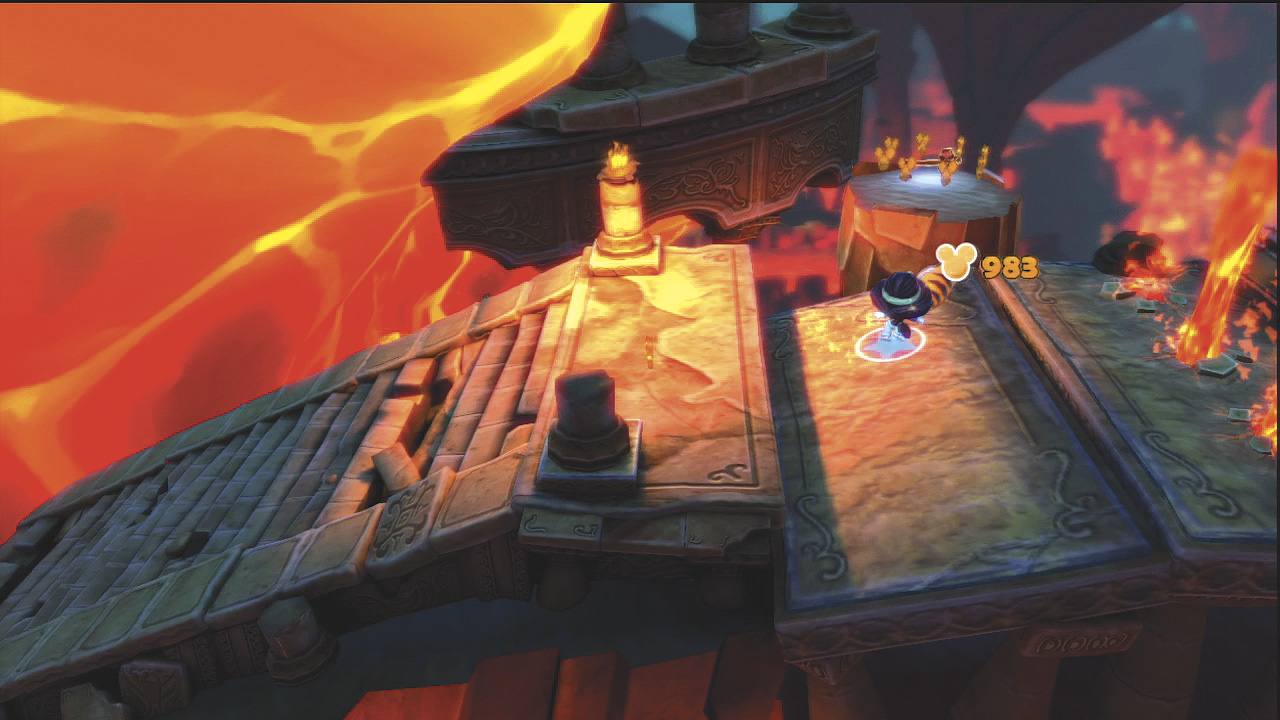
After dodging a rolling boulder as you climb some steps, jump across to a stone platform to grab a key. Quickly jump back before the platform collapses.
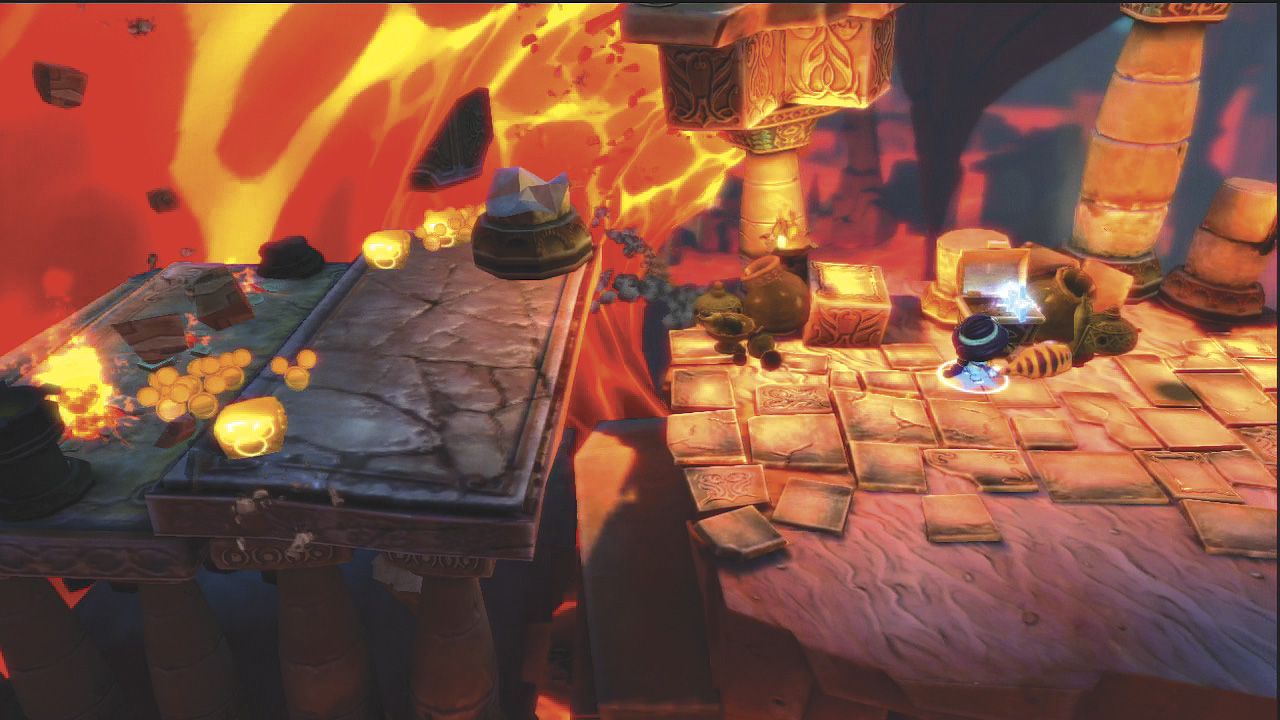
Take the key to the chest just a bit farther to the right and quickly open it to get a blue star for upgrading your tool.
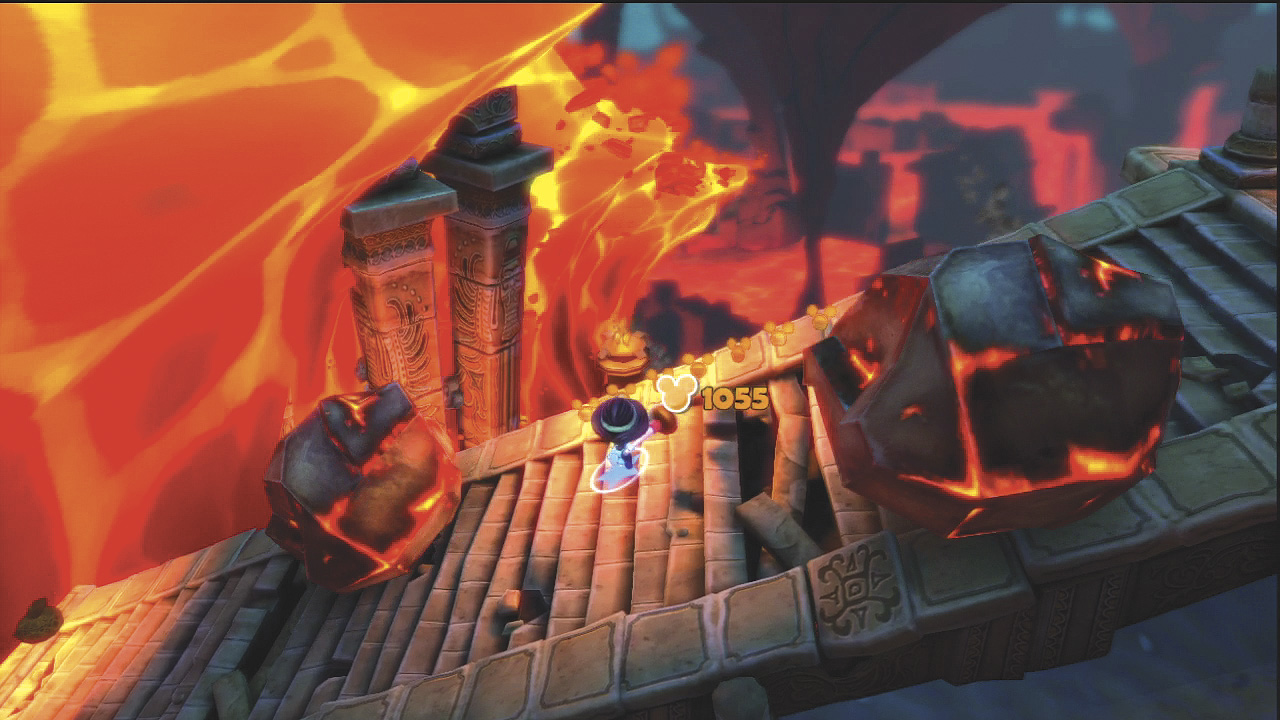
Watch out for more rolling boulders. Dodge them and keep moving up the steps to the top where you must grab a scarab piece and move it to the right.
GEM
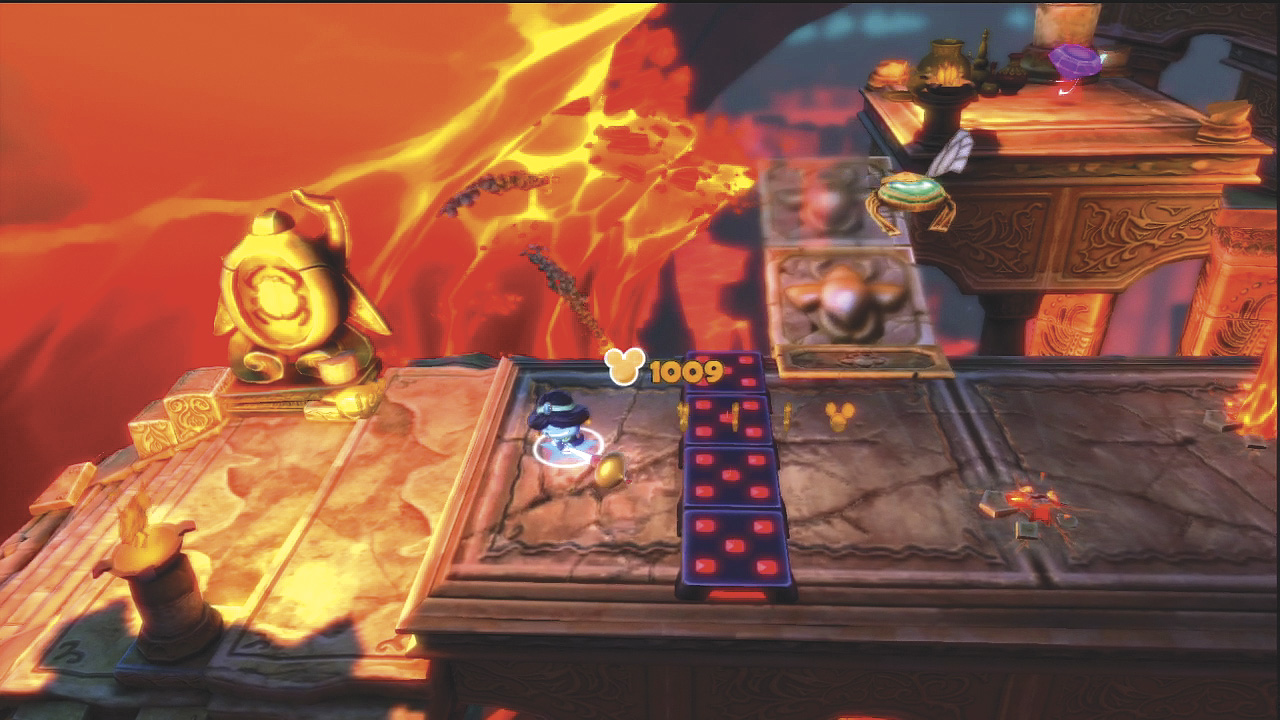
Place the scarab piece in the statue to release a flying scarab. Jump over the trap and follow the scarab as it reveals bridge sections that lead to the second gem.
Challenge - When you get to the place where the two paths converge, stop by the arcade machine to take a break from running and play a challenge.
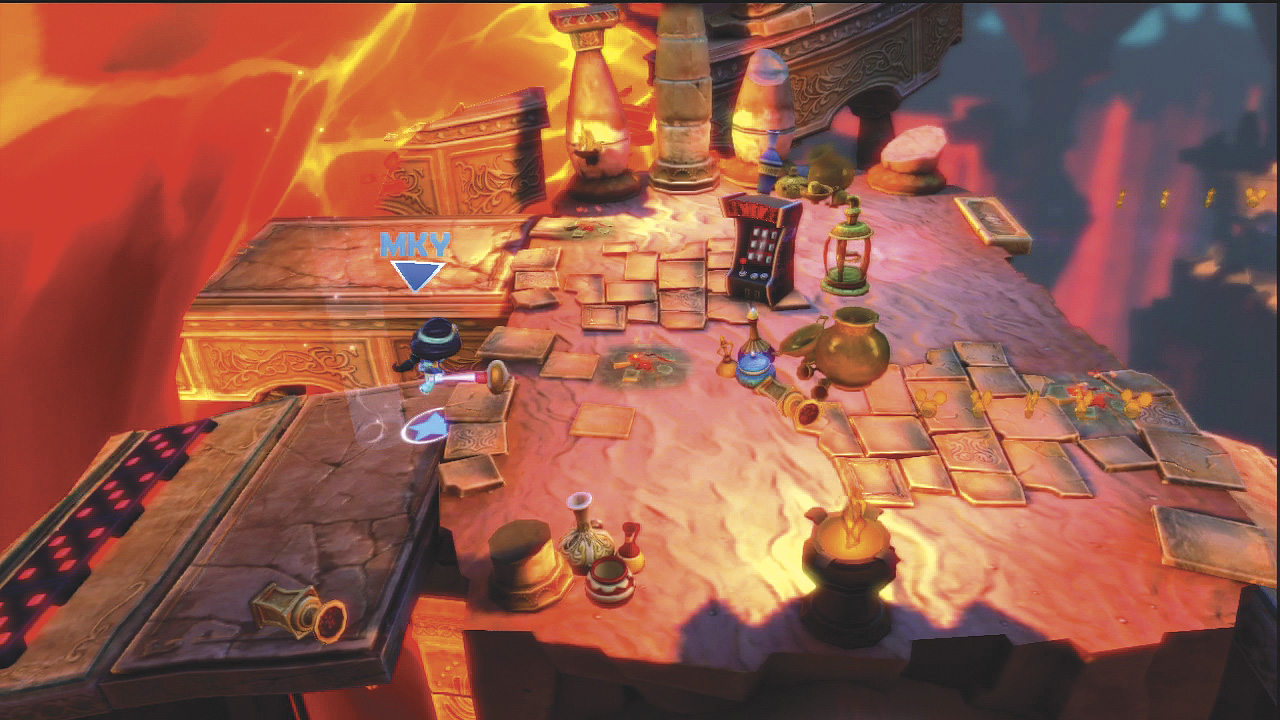
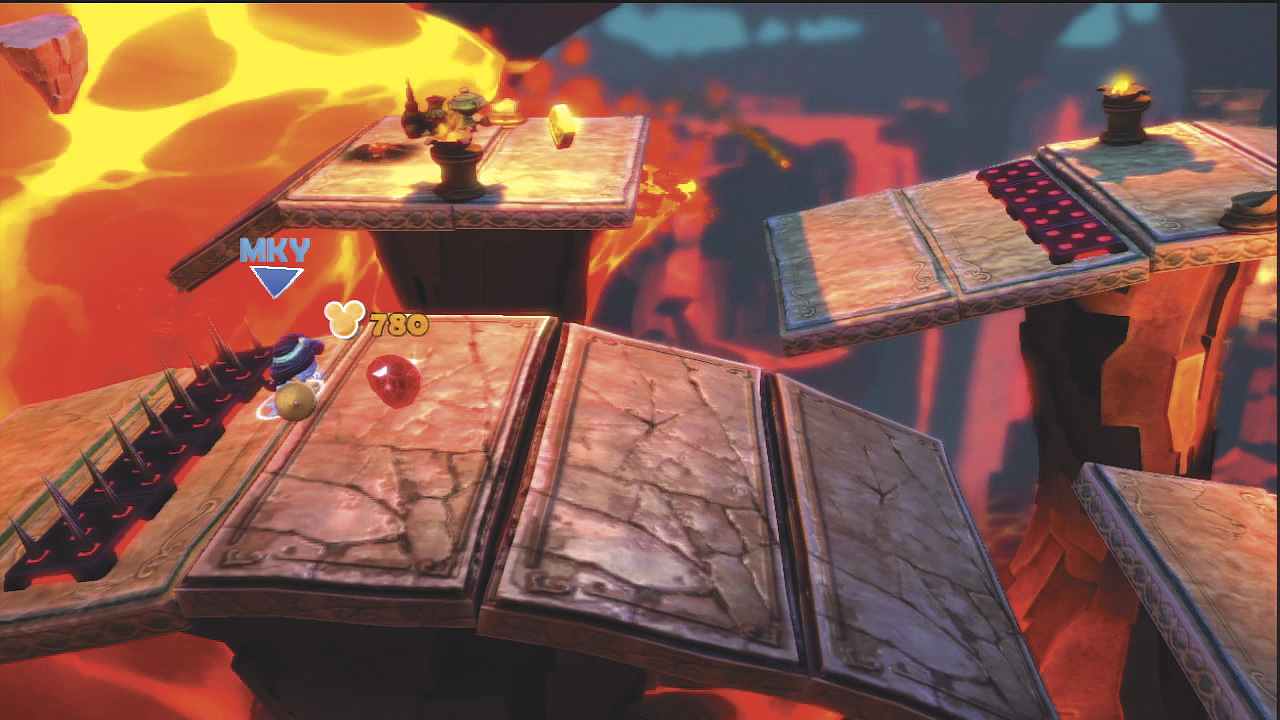
As you come across a ruby along the front pathway, pick it up and carry it all the way to the end. Don’t die or you drop the ruby.
GEM
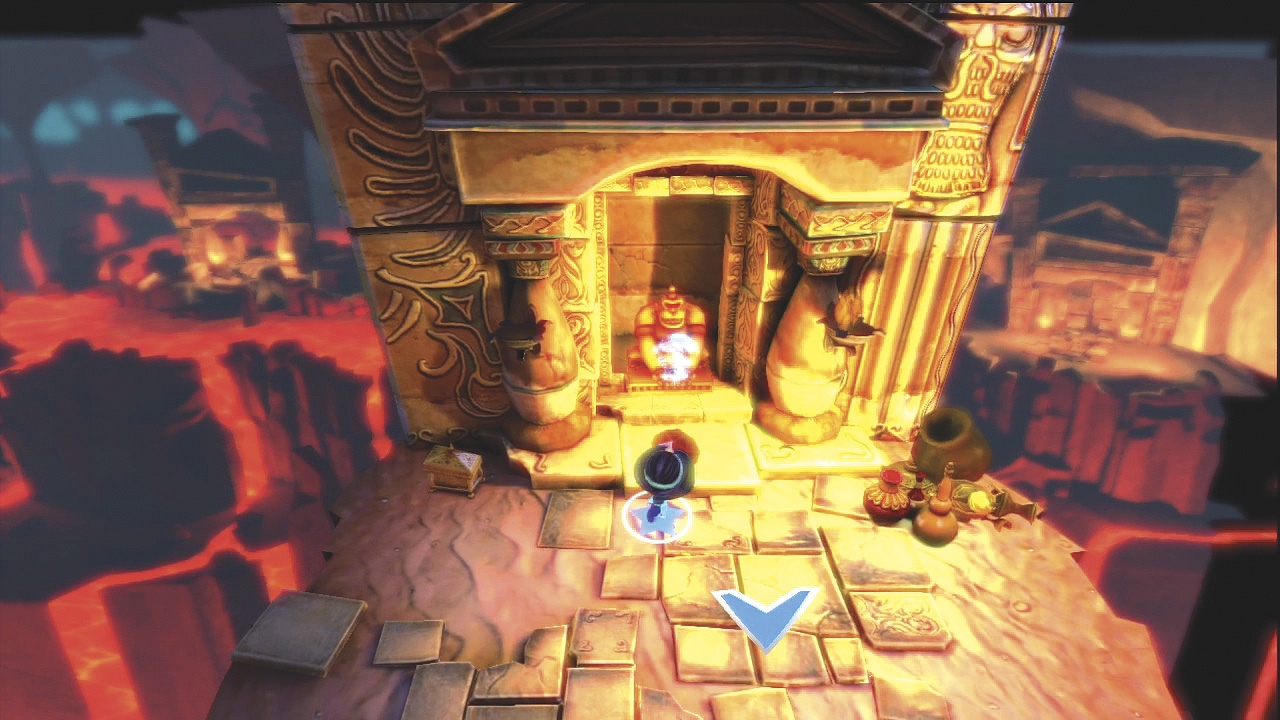
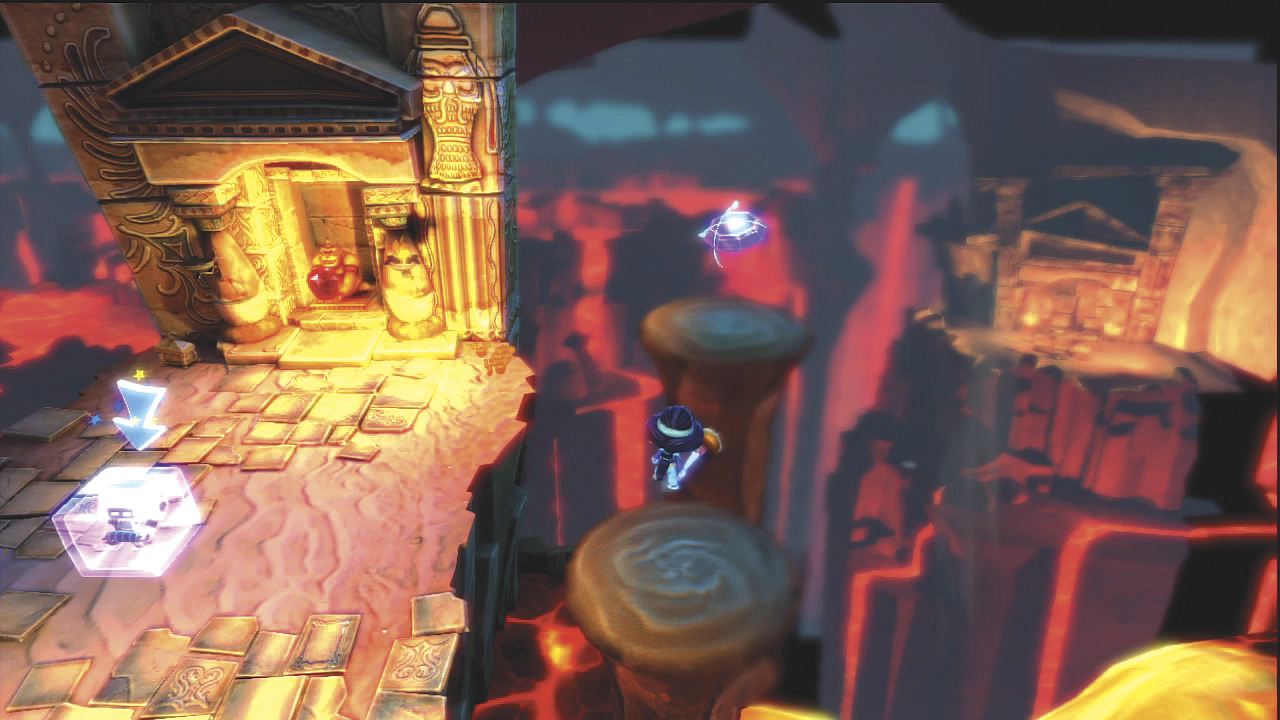
Take the ruby to the monkey statue and place it in the statue’s hands. Some stone steps appear to the right. Jump up them to get the third gem and unlock some character models.
FREE THE GUEST
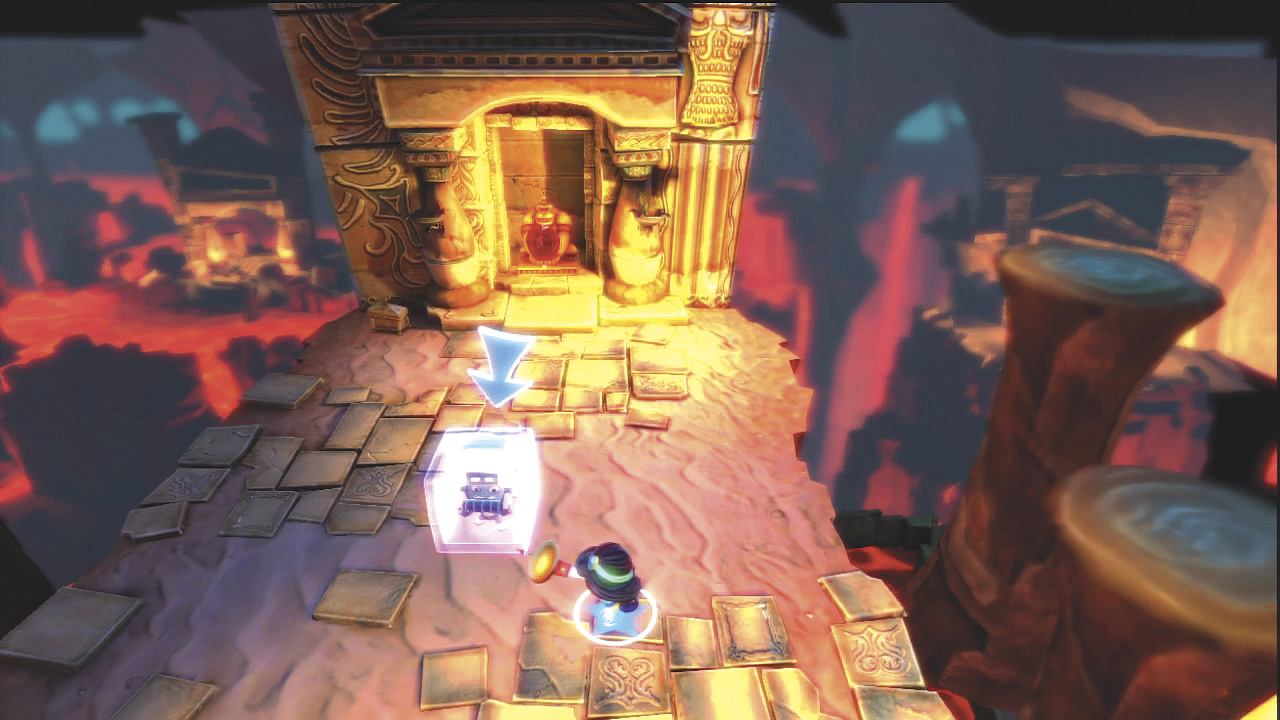
Finally, free the guest being help prisoner and unlock the M-O costume.