
Disney Universe Guide Walkthrough Aladdin
Agrabah Palace
Level 1
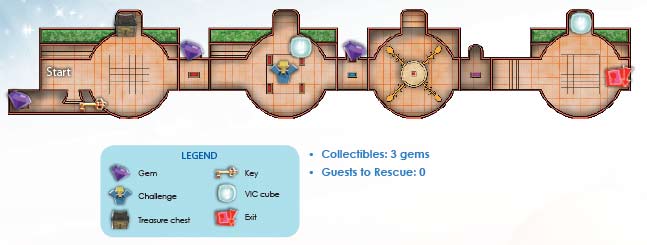
Collectibles: 3 gems
Guests to Rescue: 0
UNCOVER THE PICTURE
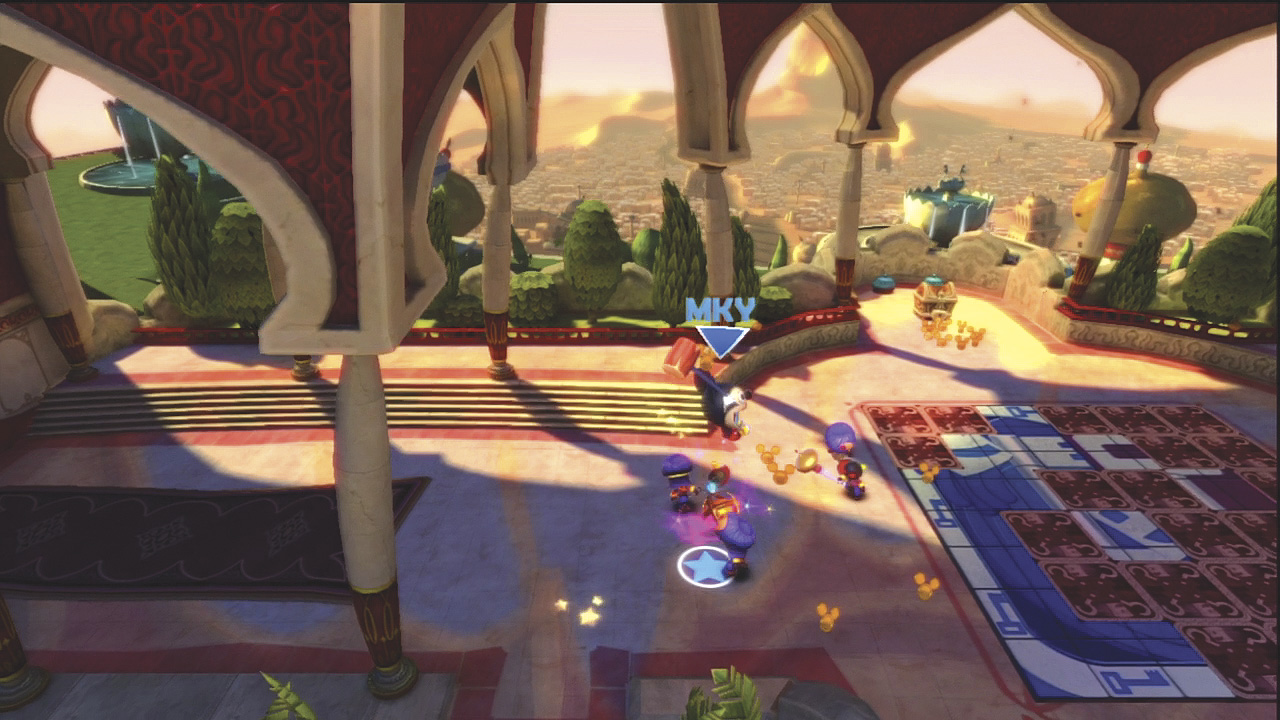
At the start, move to the right and start fighting against the enemies. It is easier to complete your objective when the area is clear.
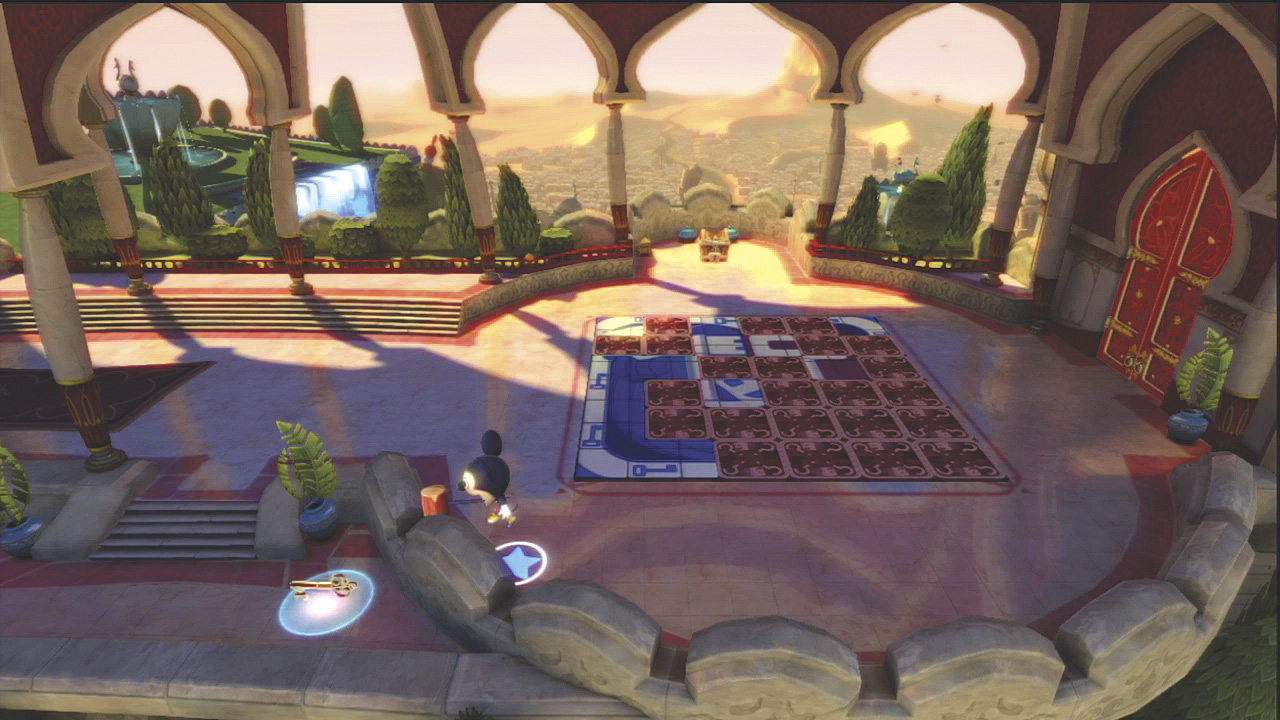
Pick up the key near the front of the area, then take it to the back, where a chest is waiting. Open it to upgrade your tool with a blue star.
GEM
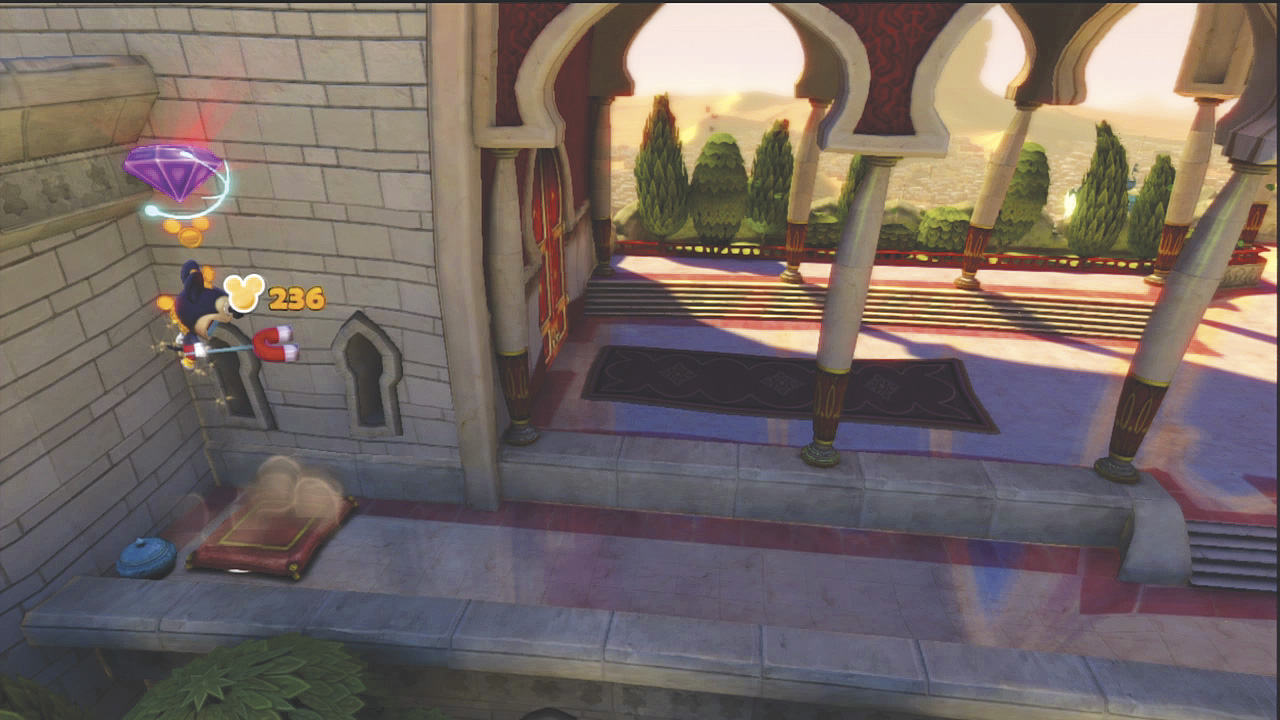
Walk to the front and then along the walkway to the left. Jump onto the cushion to bounce up and get the first gem.
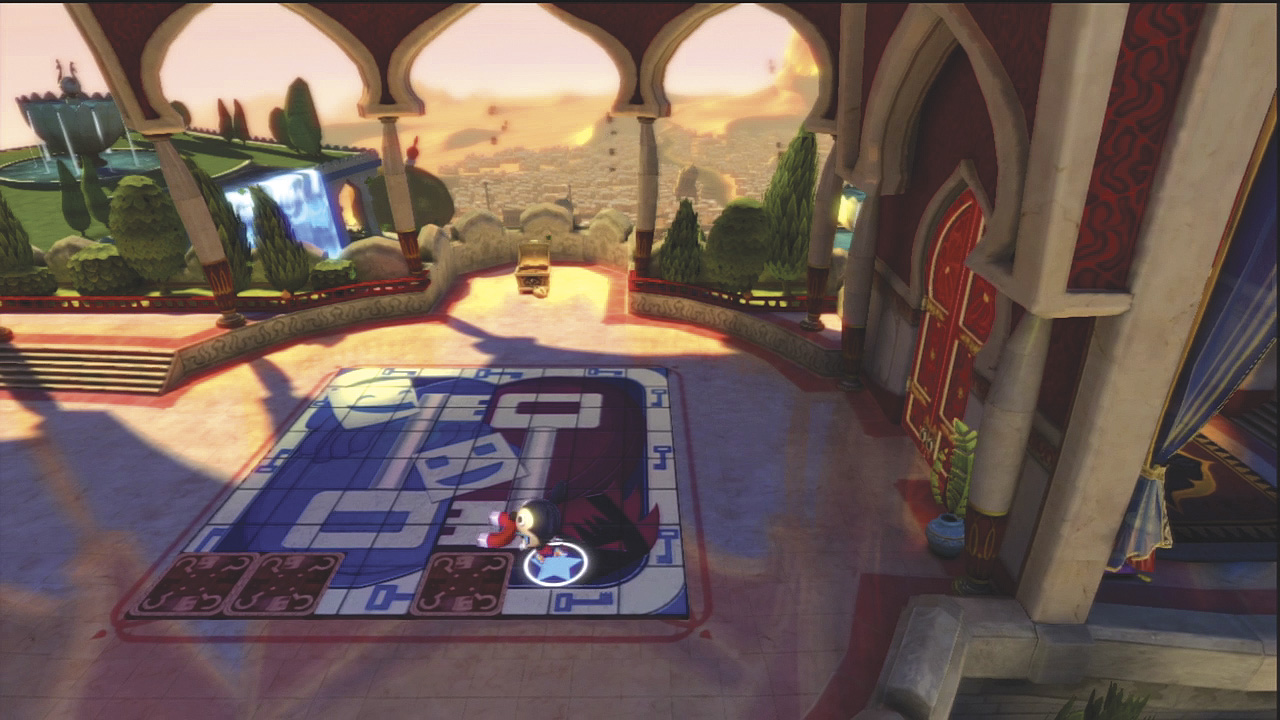
Now it is time to work on the picture. Each tile changes when you touch it. Walk across the patterned side of the tiles to change them to the picture side. Then jump over the tiles with the picture side up so you don’t turn them back to the pattern side by stepping on them a second time. Once the picture is complete, the door to the right opens. Move through the doorway to the next large area.
LIGHT THE LAMPS
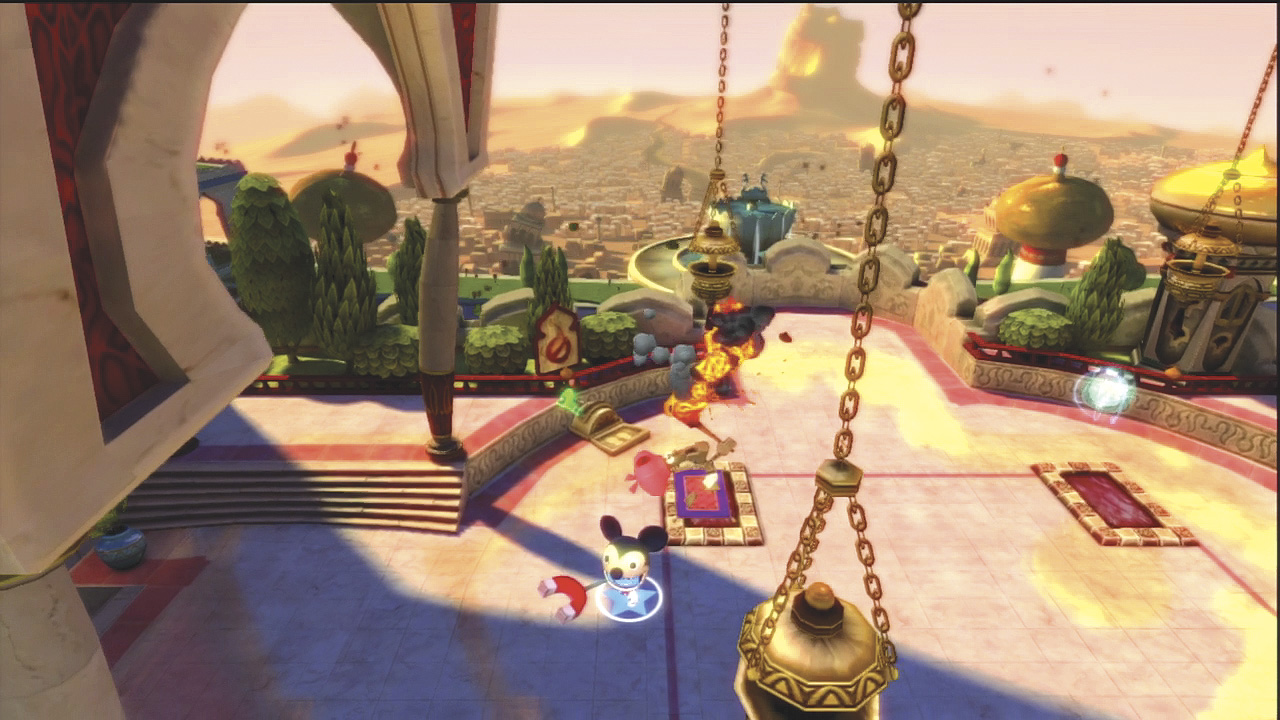
In this room, you must light four lamps. However, first deal with the enemies. When they are gone, drag the fire-eater onto one of the red pads so he can light the first lamp.
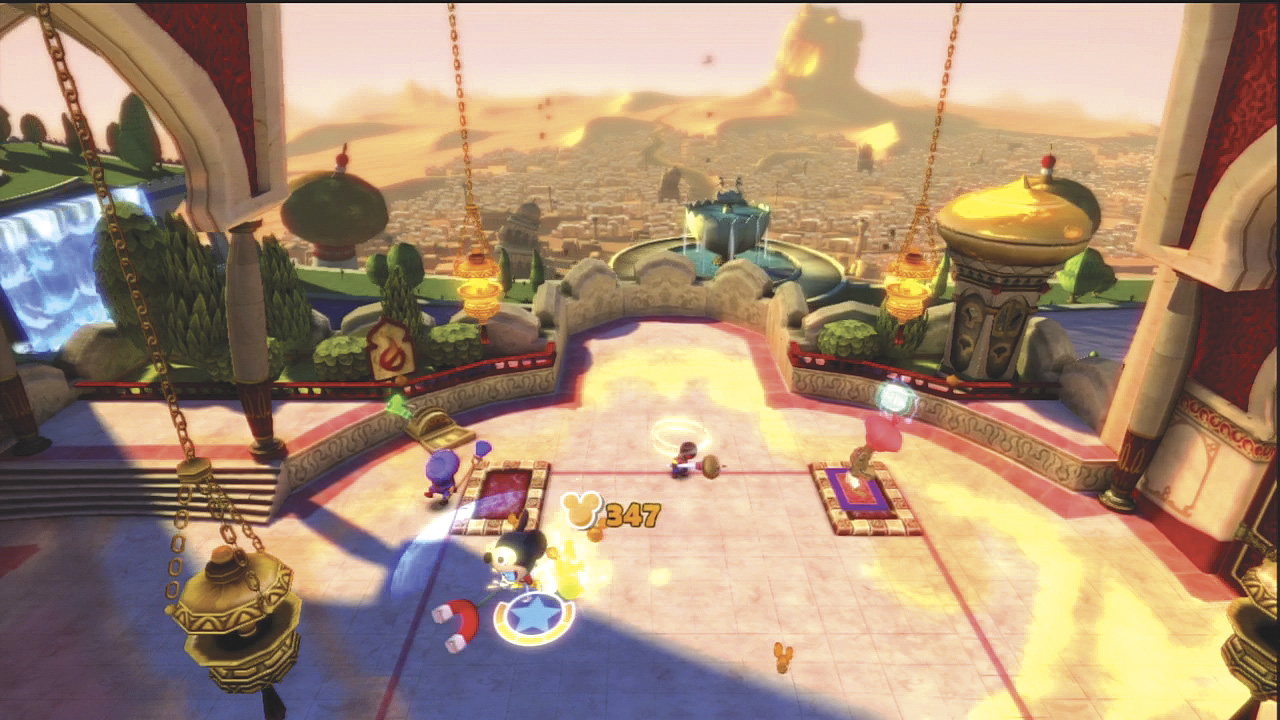
No sooner does he light the lamp than enemies appear and attack. Furthermore, they try to get to the green lever, which extinguishes all the flames in the lamps. Defeat them and then start moving the fire-eater around to light the lamps.
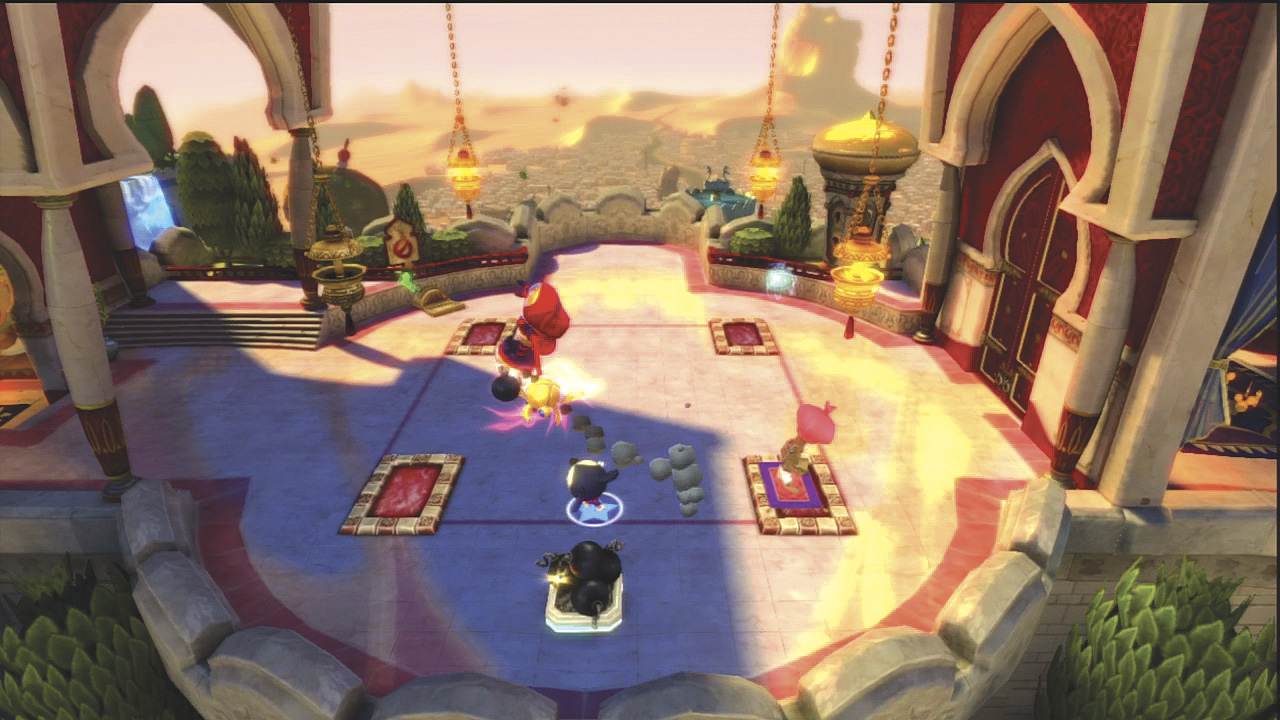
Eventually, a Roto appears and attacks. Stay out of its way and throw bombs at him. There is also a VIC cube in the back corner that you can pick up for a power-up. Once all the enemies are defeated, move the fire-eater around to light the remaining lamps, which opens the next set of doors to the right.
Challenge - After all the lamps are lit, an arcade game appears in the center of the room. Stop by and use it to play a challenge. Extra coins always come in handy for purchasing new costumes to wear.
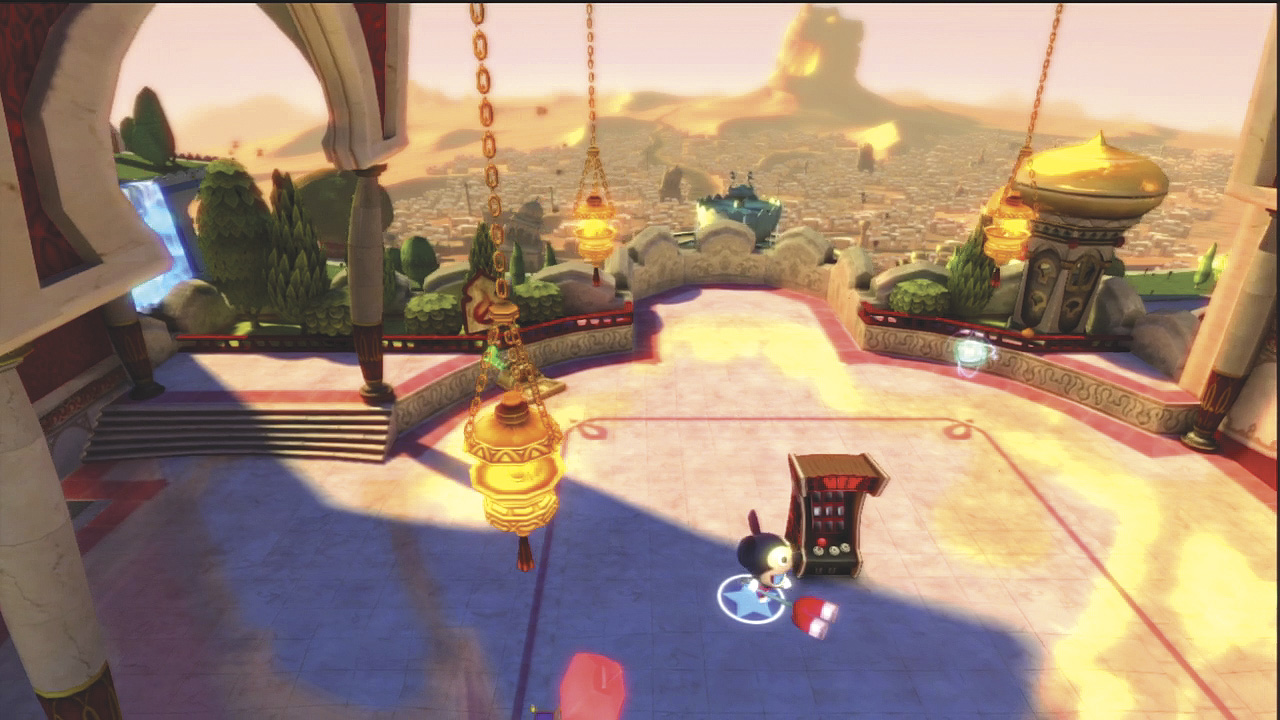
GEM
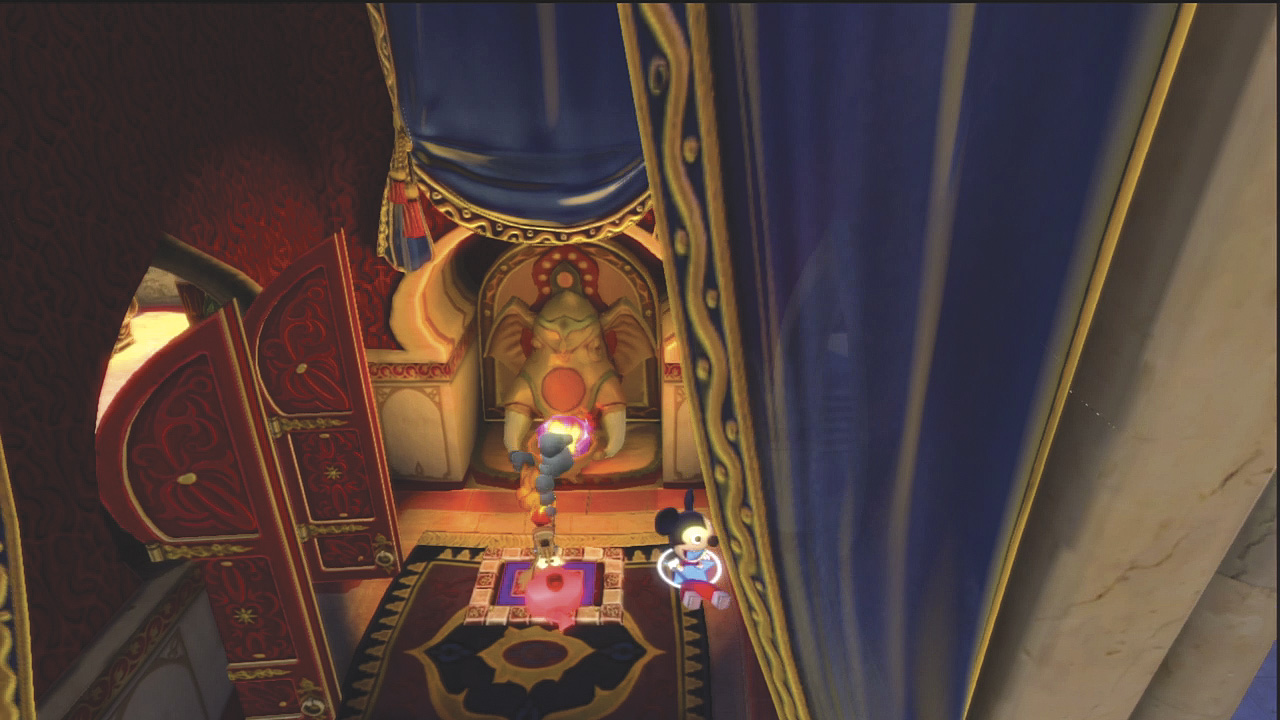
Drag the fire-eater into the small room to the left and put him on the red pad. After he lights the bowl held by the elephant statue, a gem appears for you to collect. Now head to the right into the next large room.
SWALLOW THE SWORDS
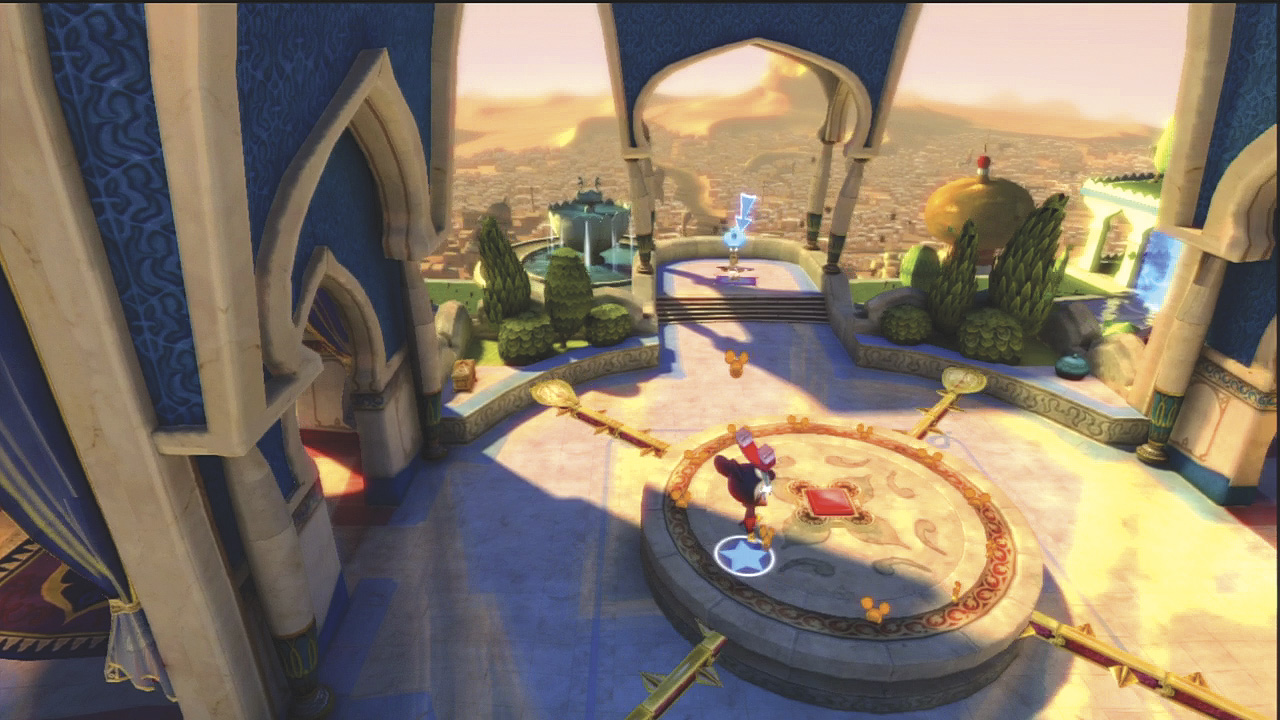
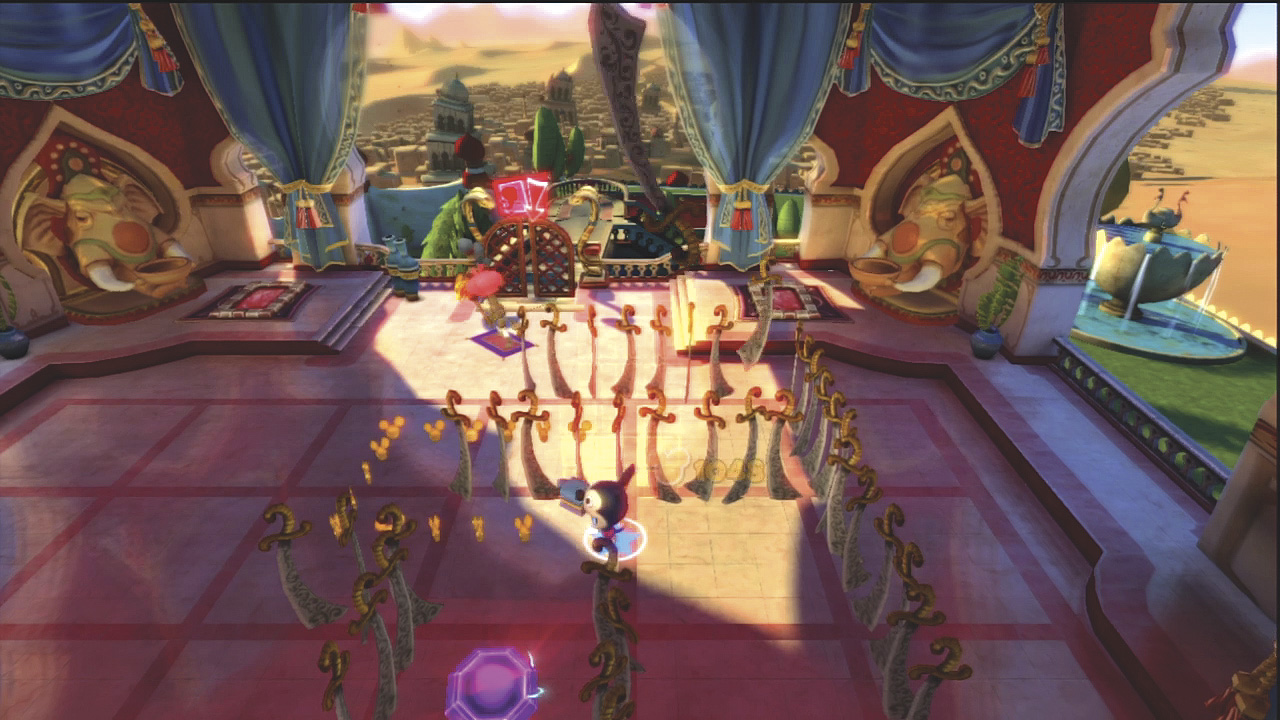
In the next room, four sharp bars spin around a central platform. If these bars hit you, you are dead. As soon as one passes by, quickly move toward the right and jump up onto the platform. Step on the red switch to slow down the bars’ speed.
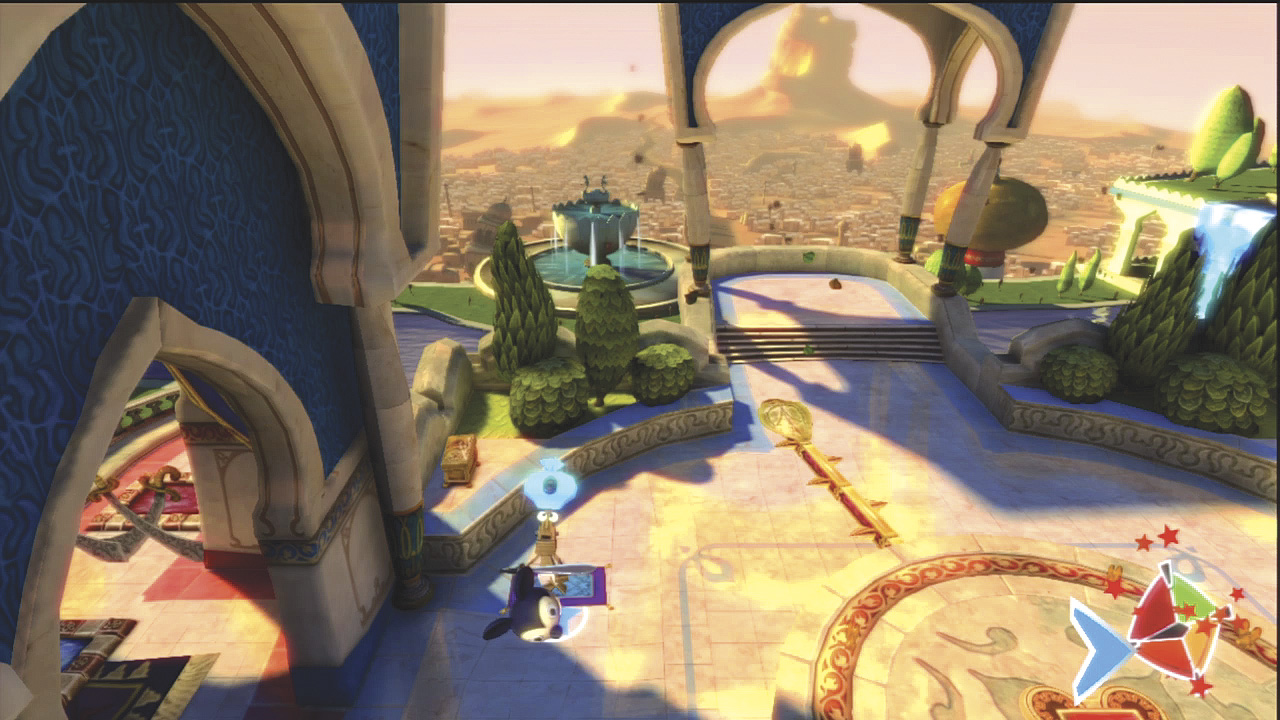
While the bars are moving slowly, drag the sword swallower around to the small room on the left and out of danger.
GEM
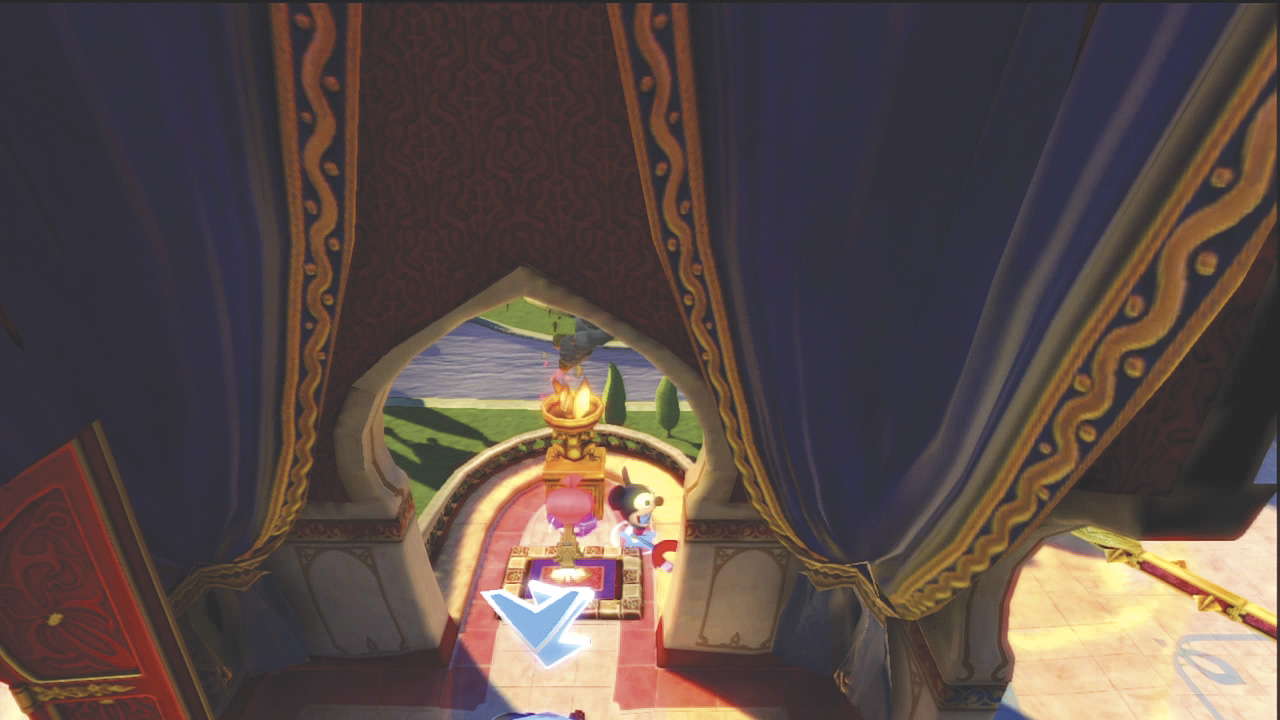
Place the sword swallower on the blue pad in the room on the left to remove the sword barrier. Then drag the fire-eater onto the red pad to make the third gem appear and unlock some music.
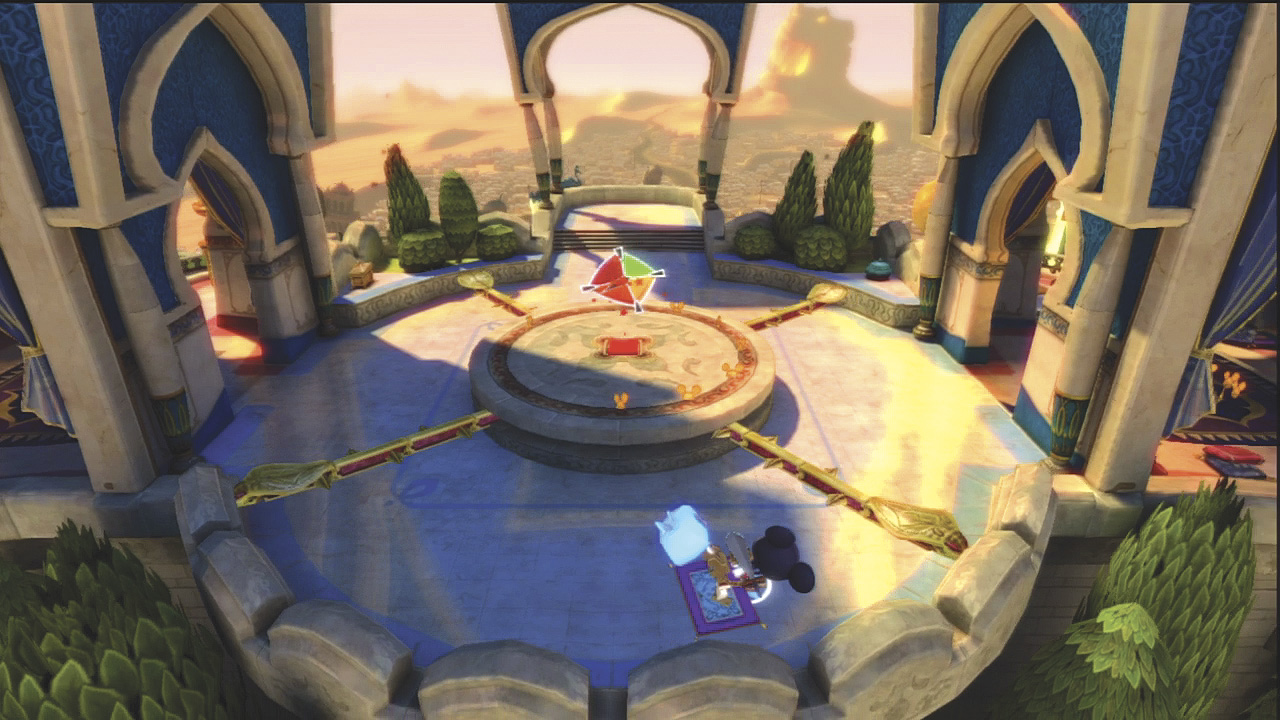
Now run out and stand on the switch to slow the bars down again. Then go get the sword swallower and drag him around to the doorway on the right side.
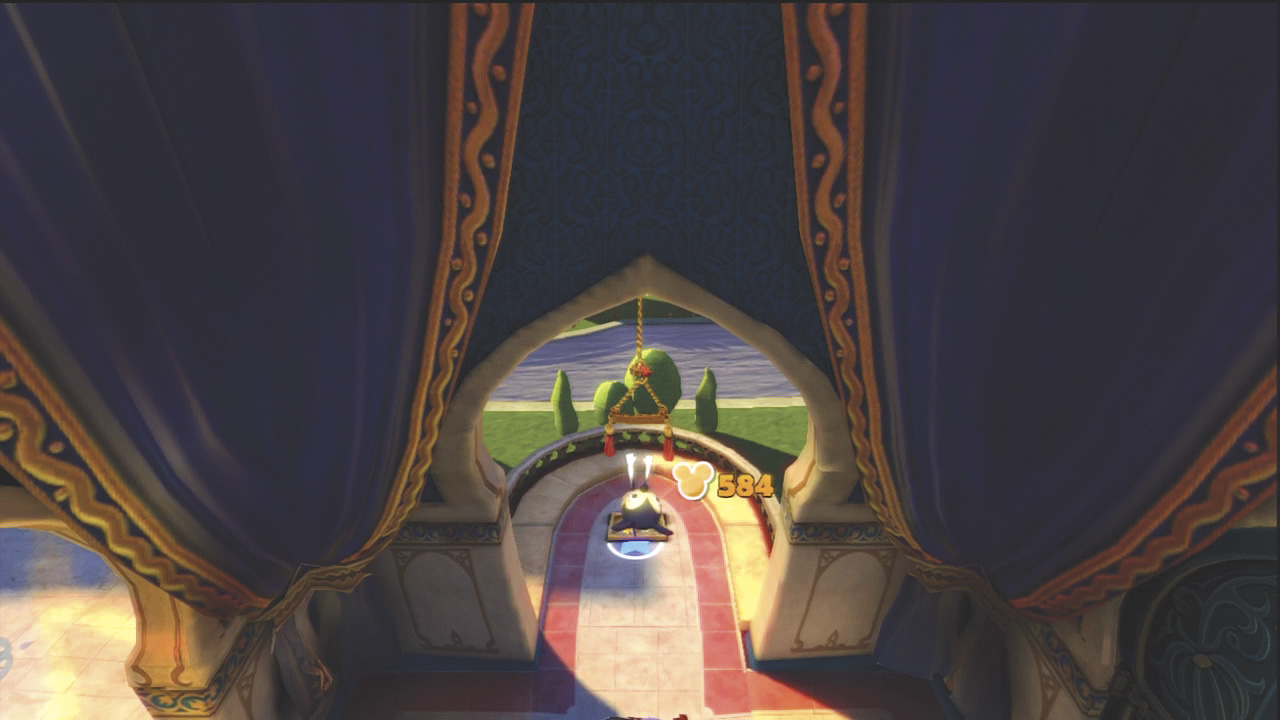
Place the sword swallower on the blue pad to remove the barrier, then stand on the footprint pad and press the Use button to pull down on the handle to open the door to the right. Go through the door into another large room.
UNCOVER THE PICTURE
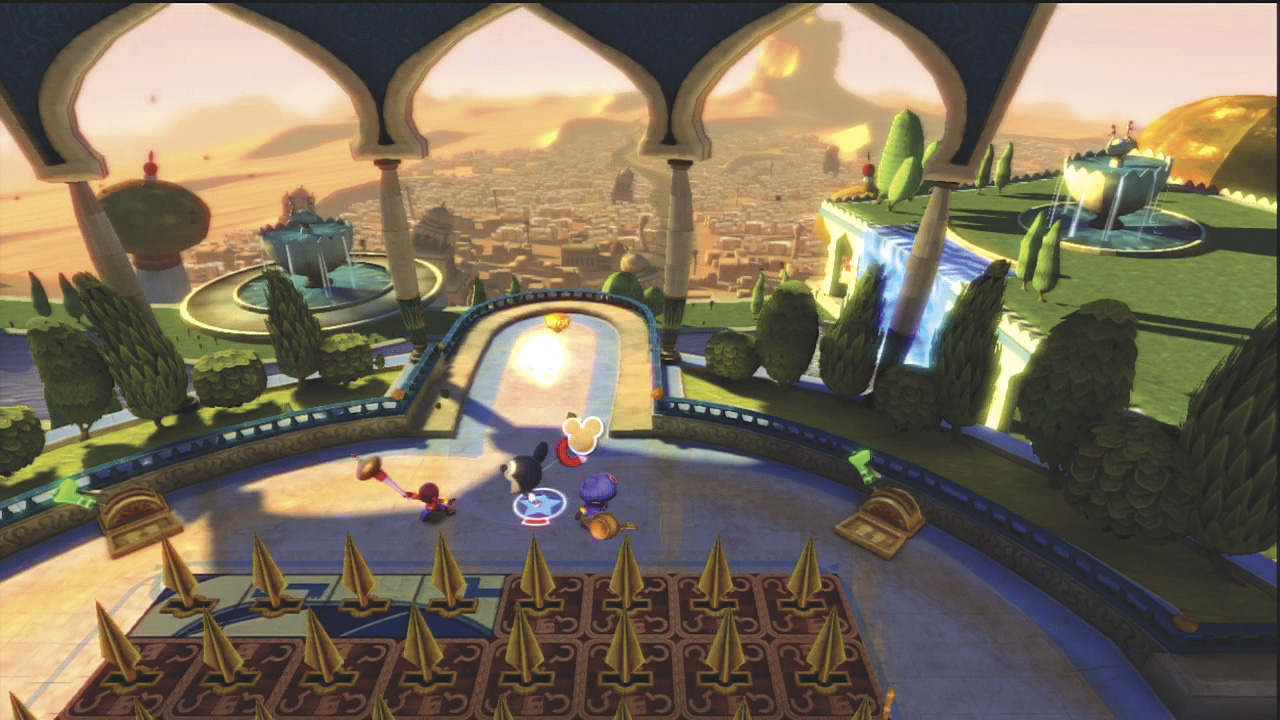
Before you can begin working on the picture, you have to clear out the enemies and then pull on the green levers to lower the spears in the areas where they are poking up through the floor. If you don’t get rid of the enemies, they keep pulling the levers again to raise the spears.
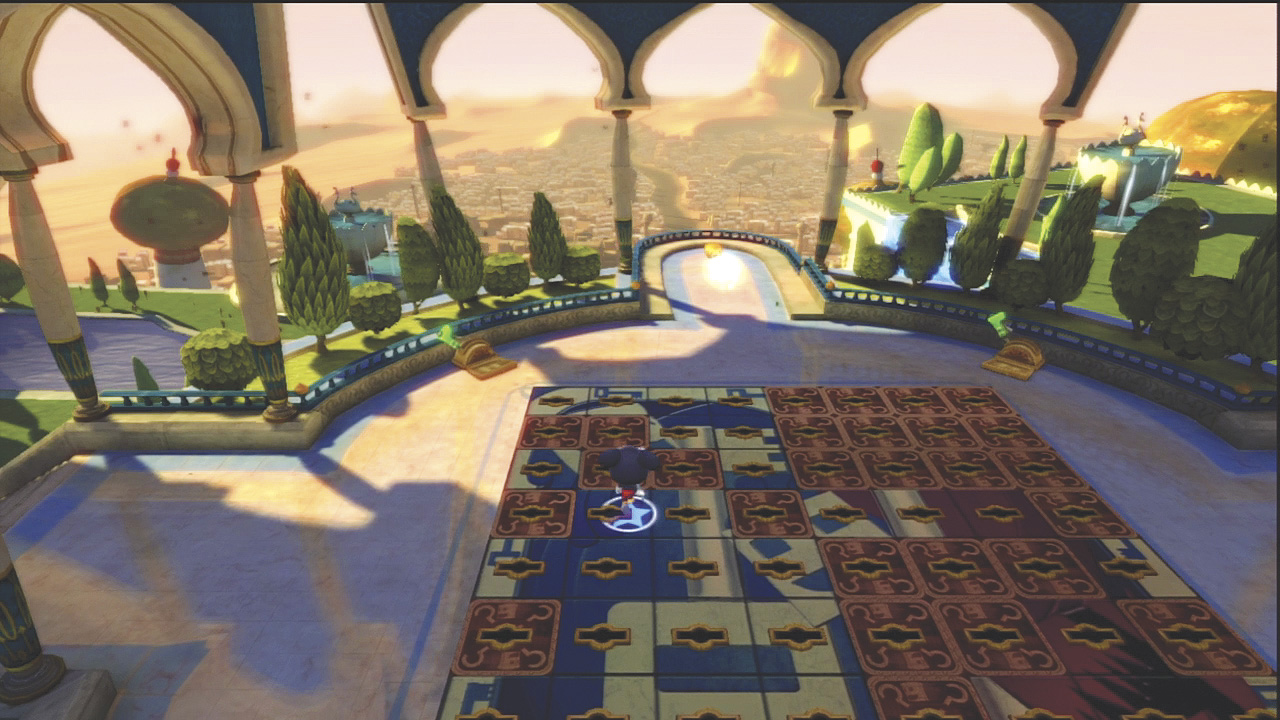
As you start stepping on tiles to uncover the picture, more enemies show up, so take time to deal with them before continuing. Defeat the second wave. It stays clear for you to walk and jump on the picture to flip the patterned side over to the picture side. When the picture is complete, the exit opens.
EXIT THE LEVEL
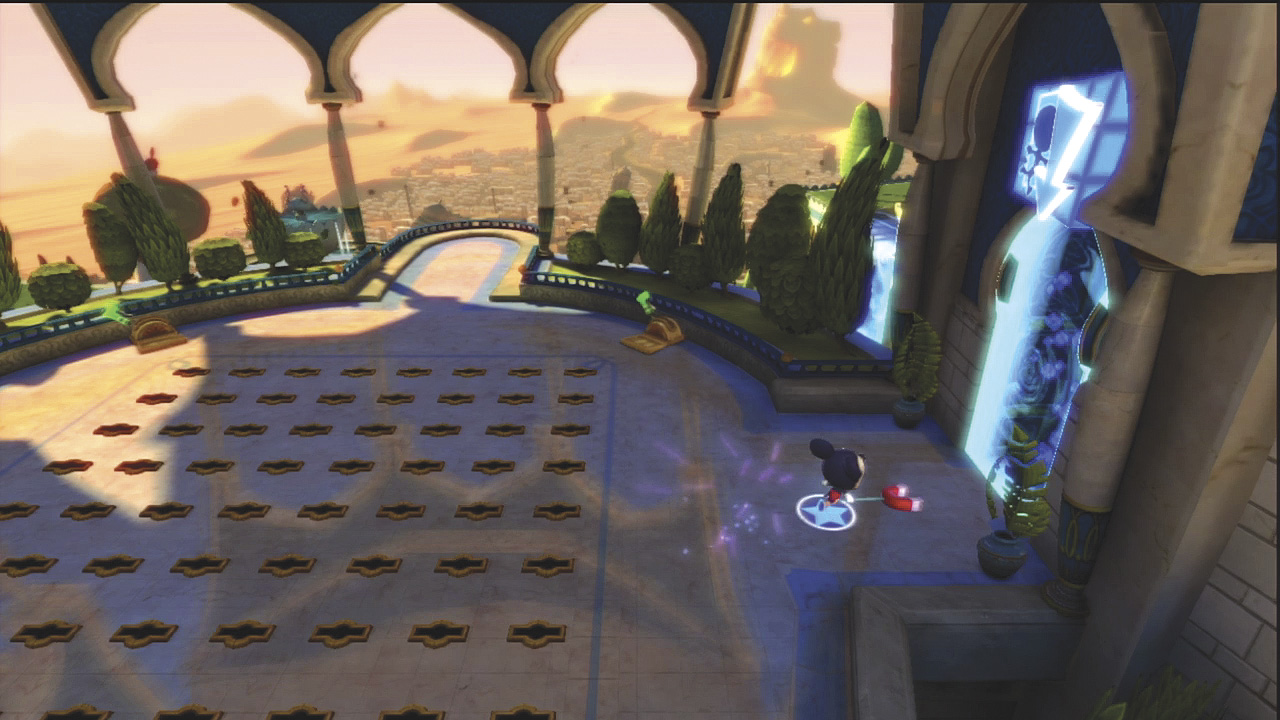
Now walk through the exit to continue on to the next level in the palace.
Level 2
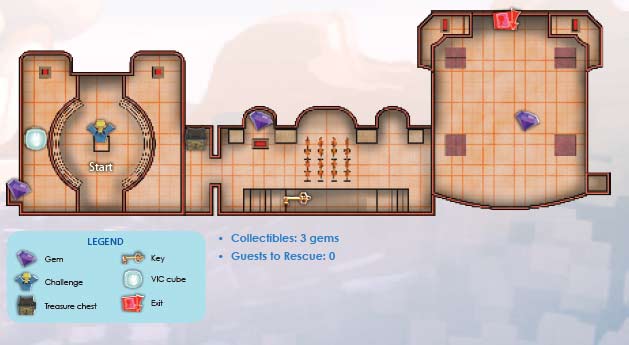
Collectibles: 3 gems
Guests to Rescue: 0
EXPLORE THE PALACE
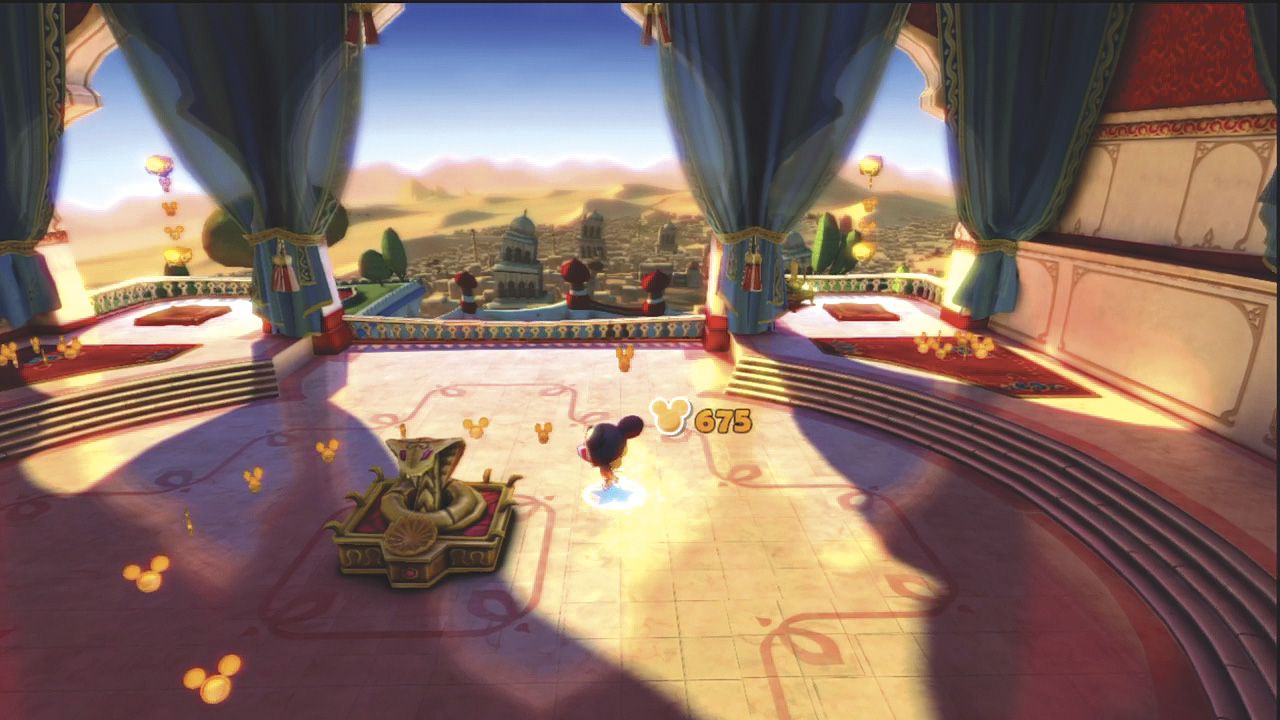
You begin in a large room with a cobra statue in the center. Walk around, picking up coins. However, if you move toward the steps, swords drop down and block your way.
SURVIVE THE ENEMY ATTACK
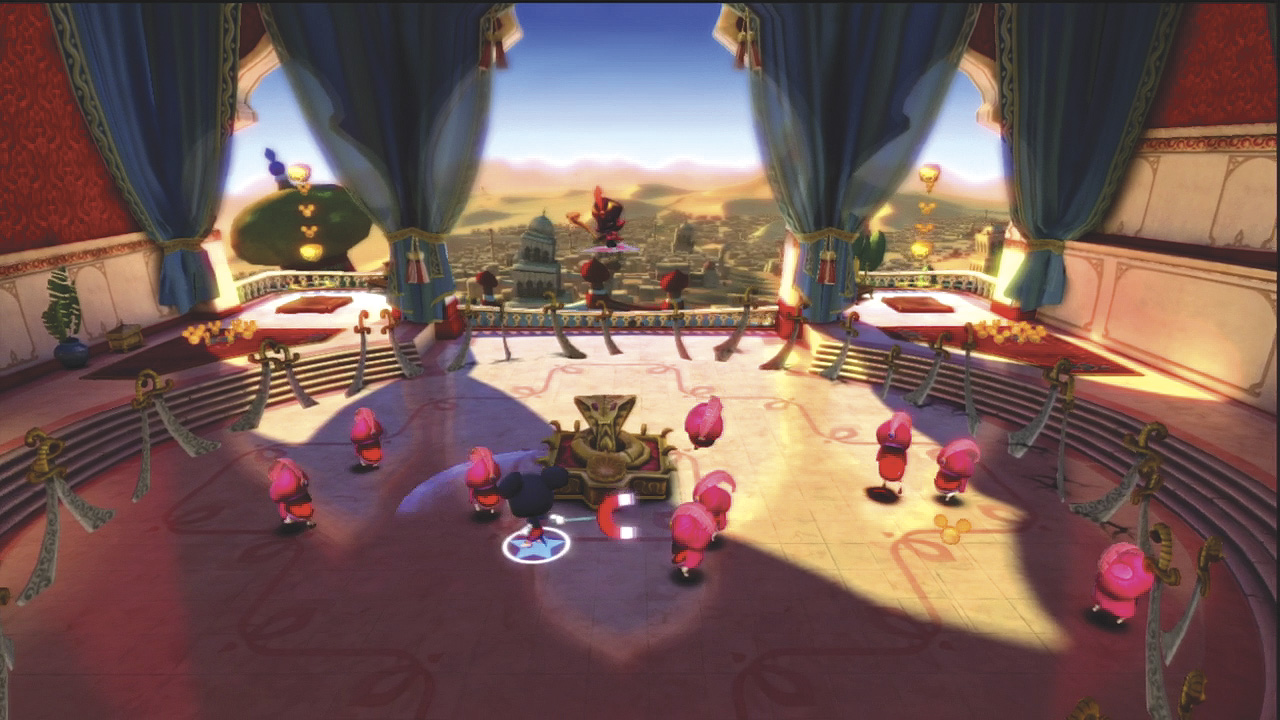
Jafar arrives and summons lots of Fodder to attack. Use slam attacks to cause area damage so that you can hurt several enemies at the same time.
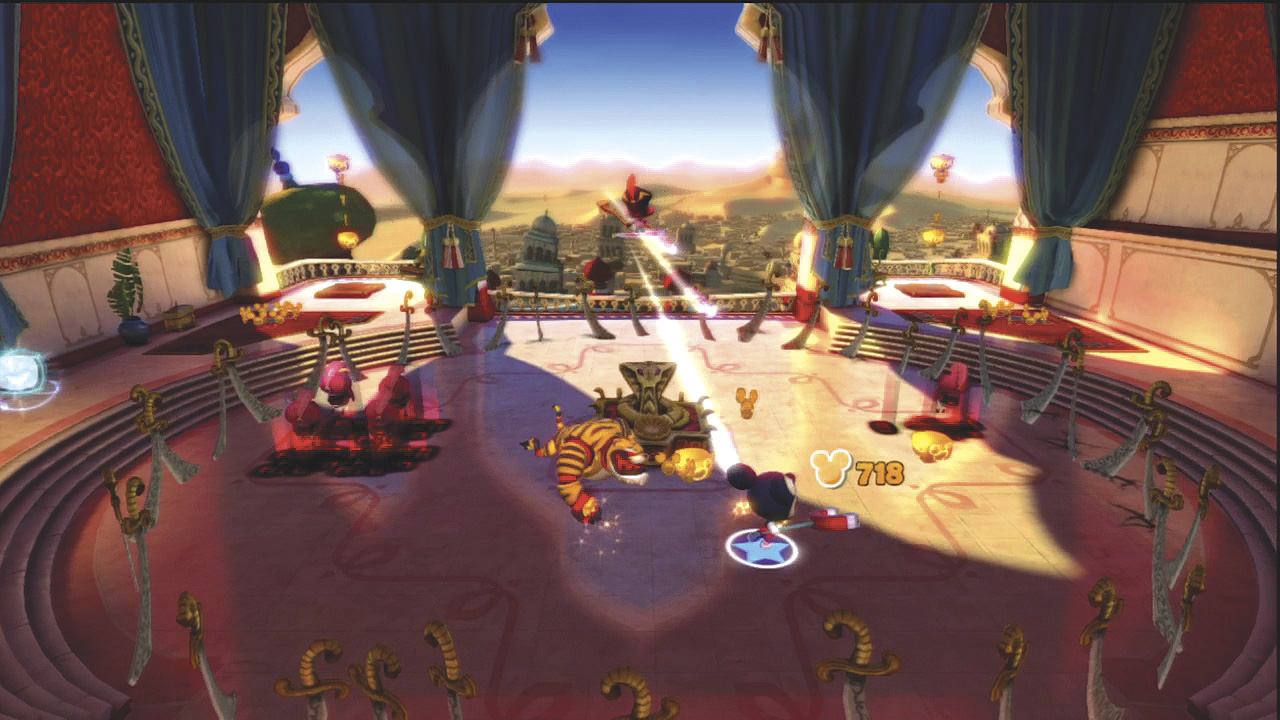
After you defeat the first wave, Jafar fires energy beams and summons more Fodder as well as a Bulldog. Use the skills you have developed in previous worlds to defeat all the enemies.
UNCOVER THE PICTURE
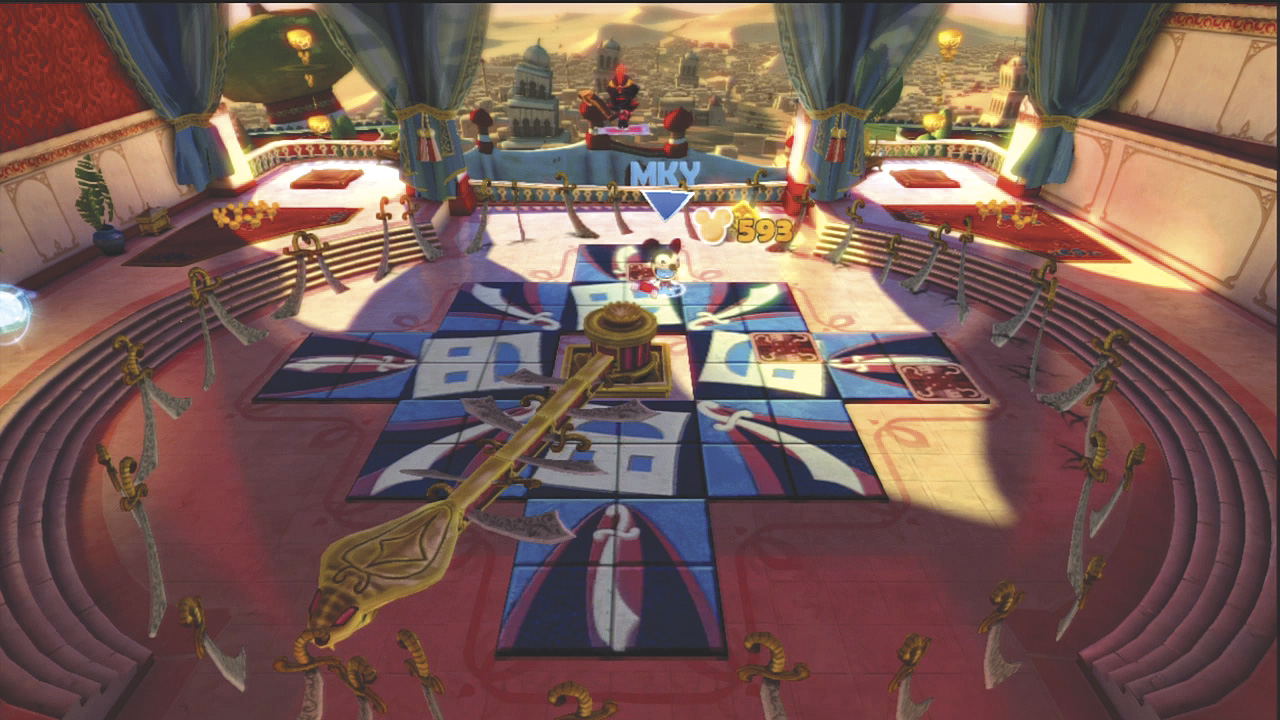
Now tiles appear on the floor. You have to flip some of them over to make a picture. However, the cobra statue is now a sharp bar that spins around. Jump over it to avoid getting hit. Complete the picture and the cobra disappears. The swords that were blocking you in now form steps on the right side.
Challenge - After you complete the picture, an arcade game appears in the center of the room. Use it to play a challenge.
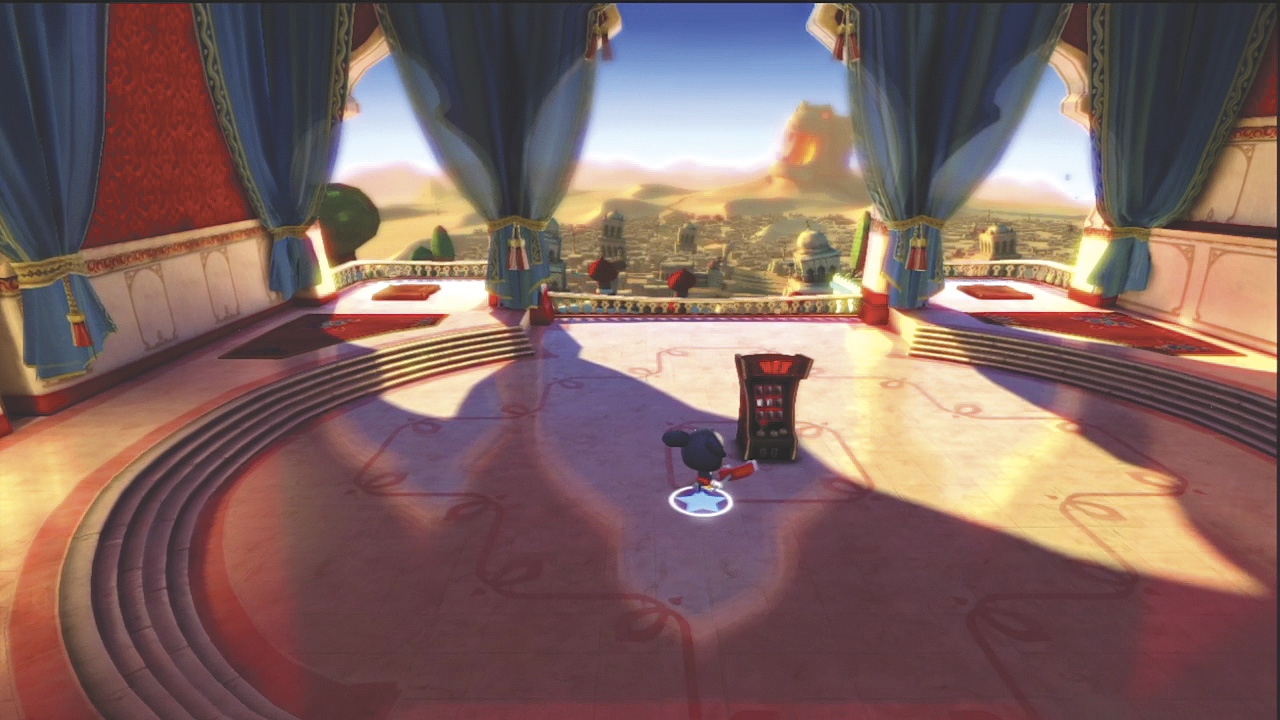
GEM
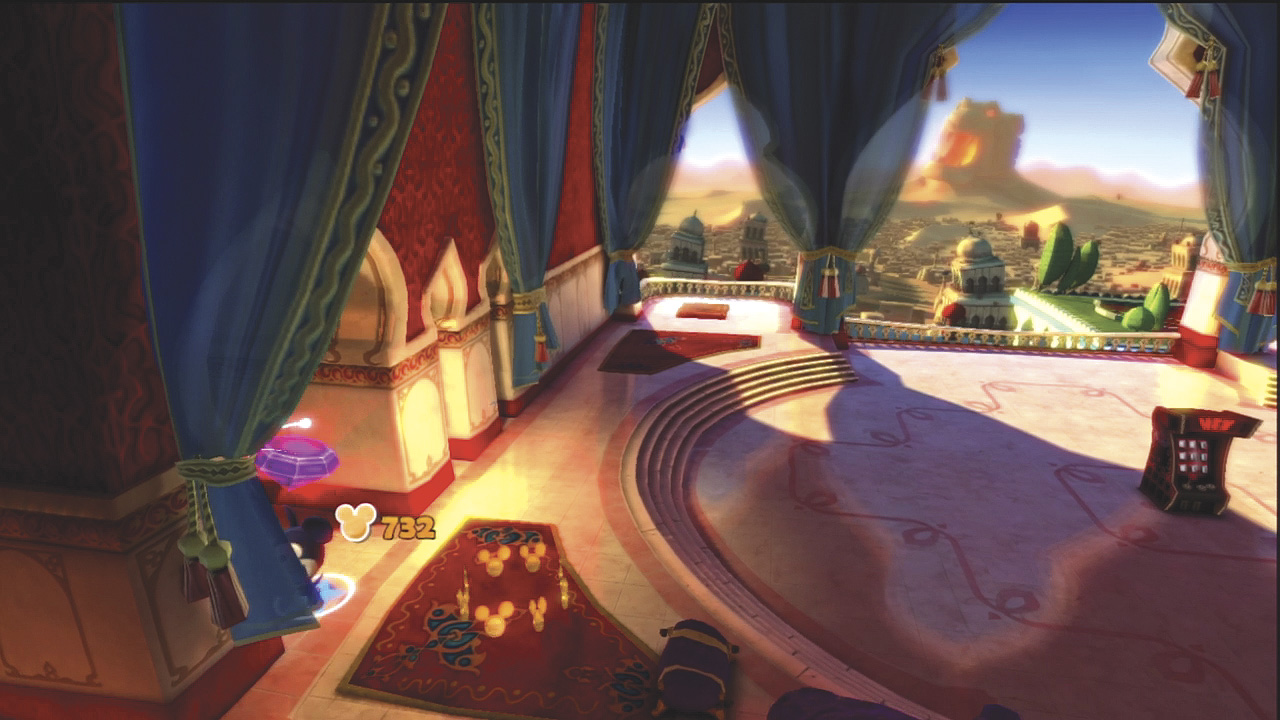
Look in a little alcove on the room’s left side to find the first gem.
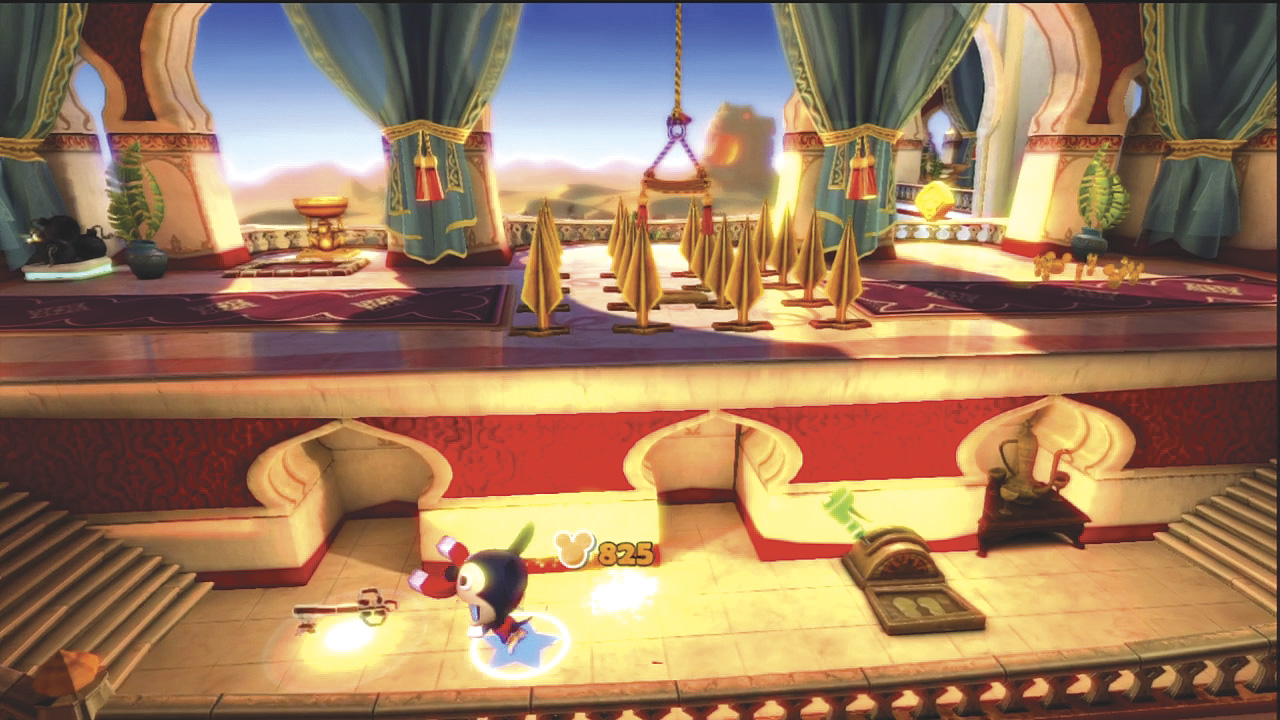
Climb up the sword steps and continue into the next room. Pick up the key in the lower area at the front and go back by the sword steps to find the chest. Unlock it and upgrade your tool with the blue star inside.
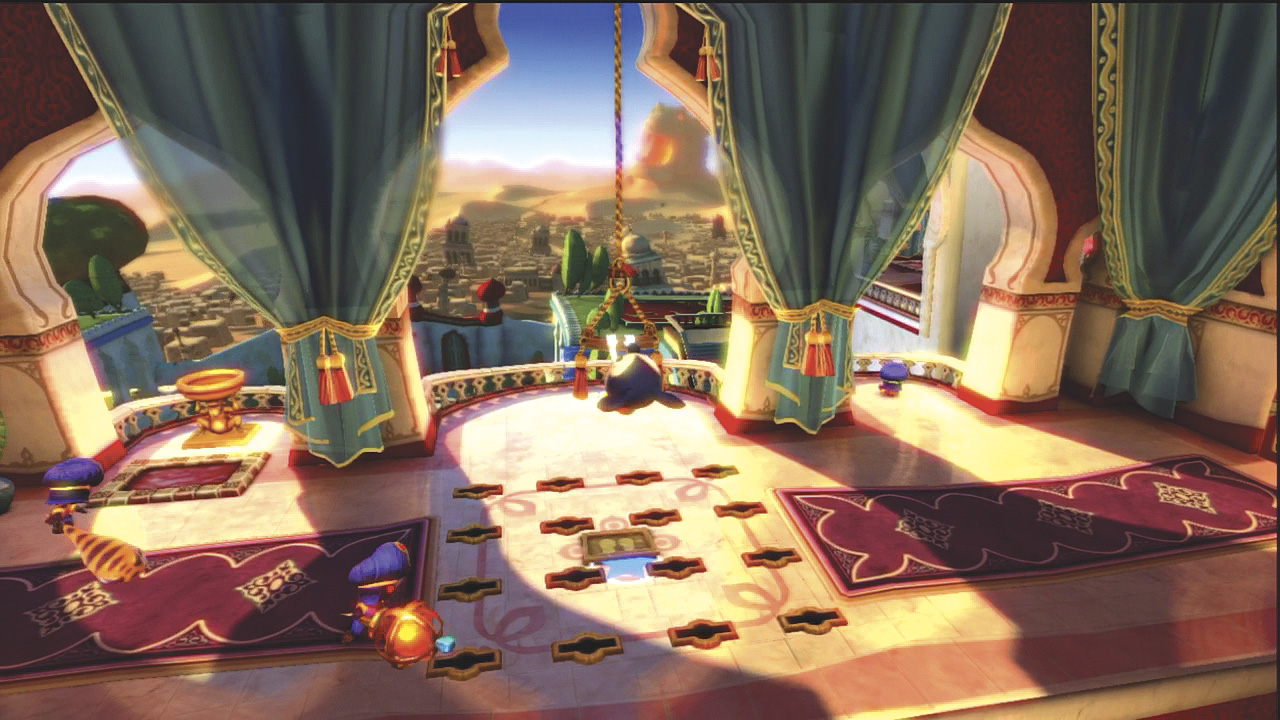
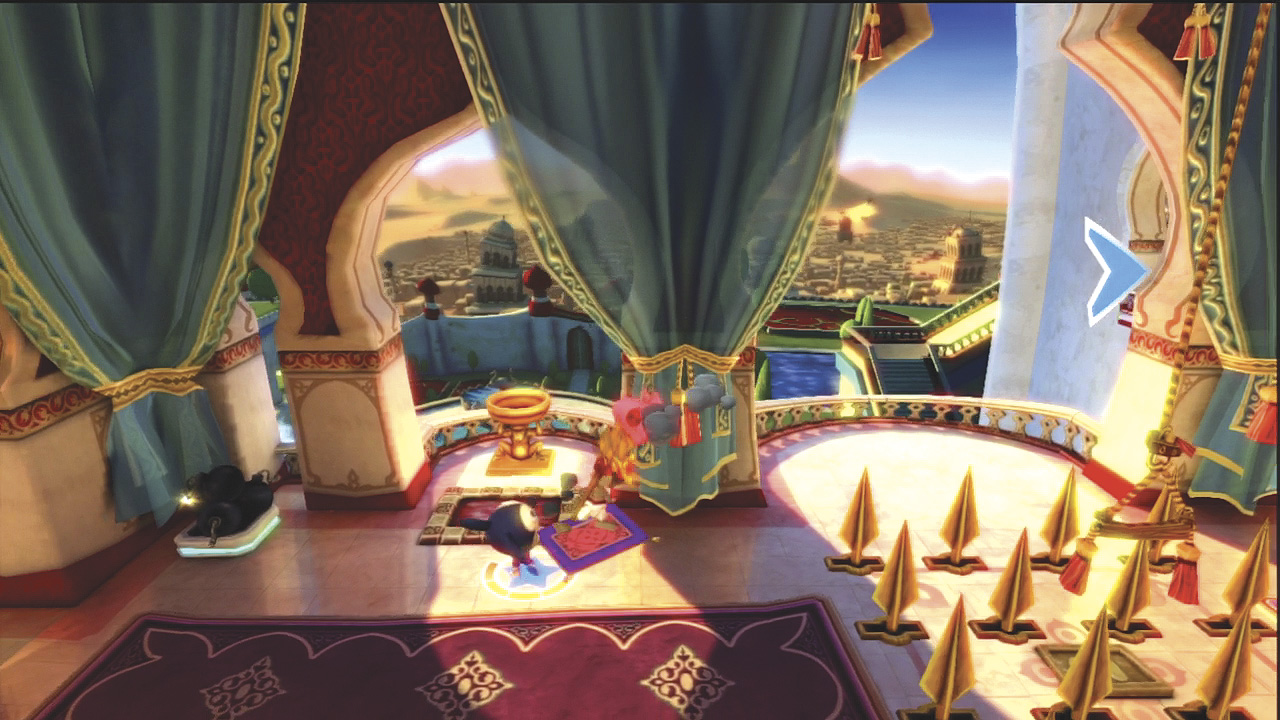
Go back to the area where the key was and pull the green lever. This lowers the spears for a short amount of time. Quickly run up the steps and get to the footprint pad in the center. Pull on the lever to open the door to the right. When enemies appear, defeat them and destroy any traps they build because you’ll be coming back here again.
UNCOVER THE PICTURES
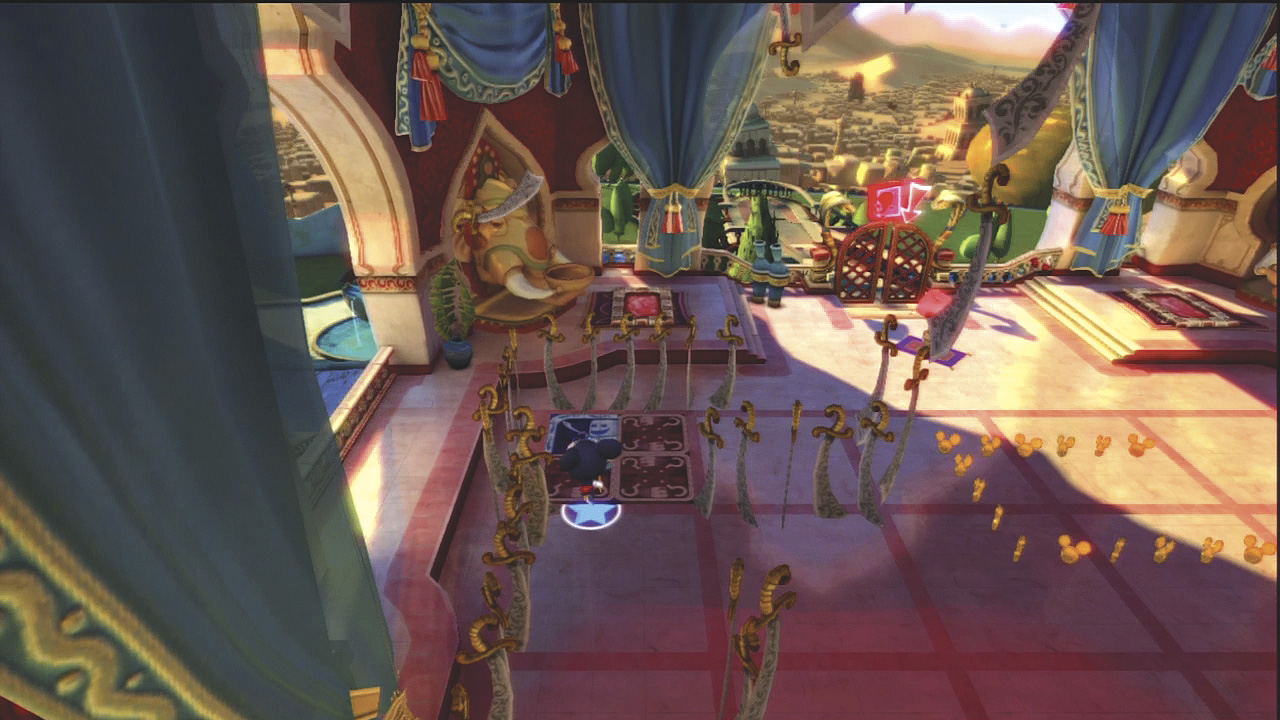
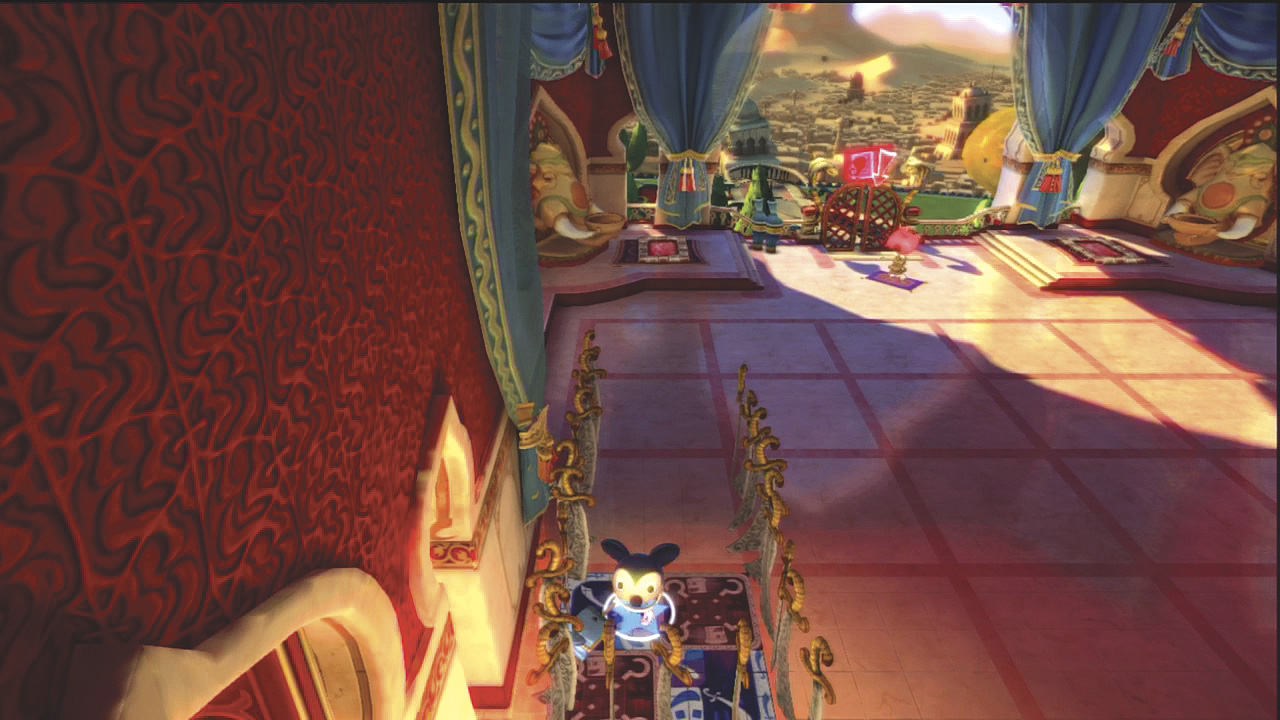
In the next room, it all looks clear until you begin to move across it. Swords drop down and form a maze that is built as you go. In each corner of the maze, you must uncover a four-tile picture.
GEM
A gem is waiting in the middle of the maze. Work your way around to get to it. Or you can just uncover all the pictures and pick it up at the end.
After you finish with the last picture, all the swords fly away and the exit at the far end of this room opens up.
EXIT THE LEVEL
GEM
Before you exit, drag the fire-eater into the room with the spears and the handle. Place him on the red pad to light the bowl and make the third gem appear.
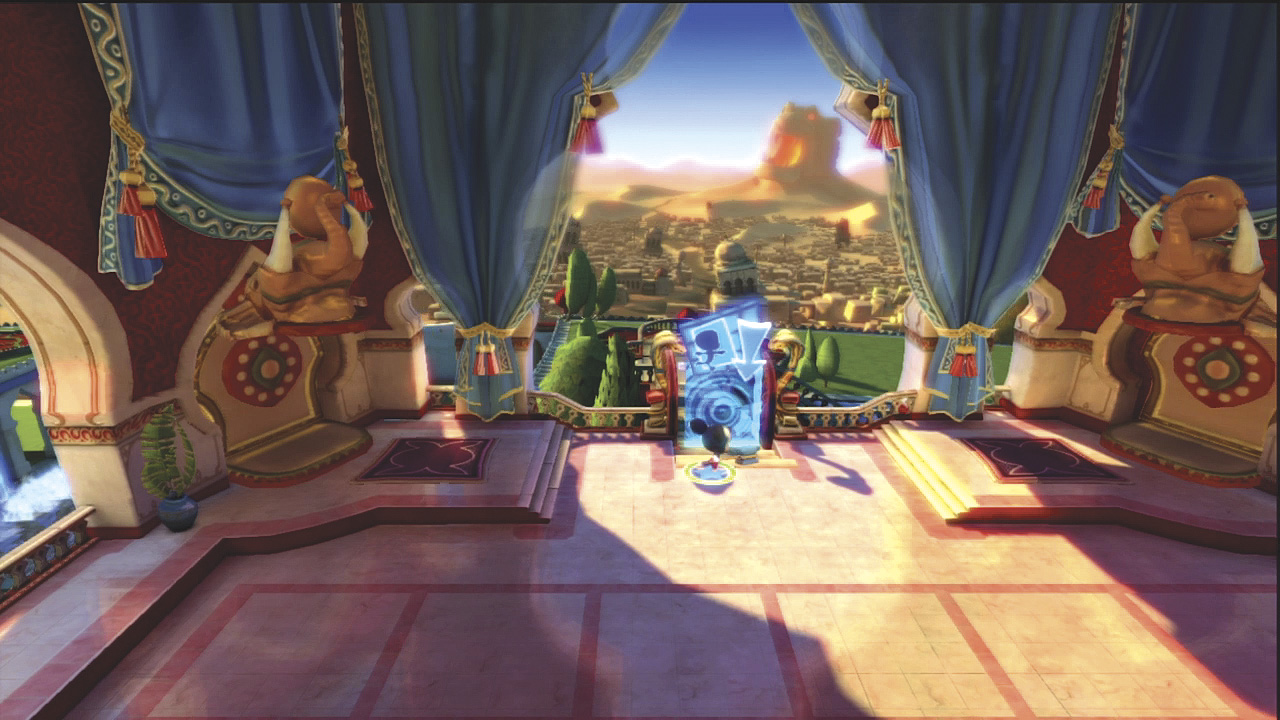
Finally, walk through the blue exit to advance to the final level in the Aladdin world.
Level 3
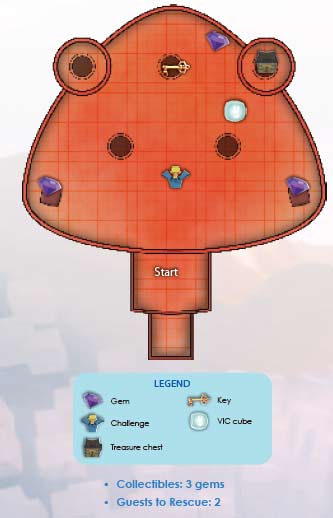
Collectibles: 3 gems
Guests to Rescue: 2
DEFEAT JAFAR
GEM
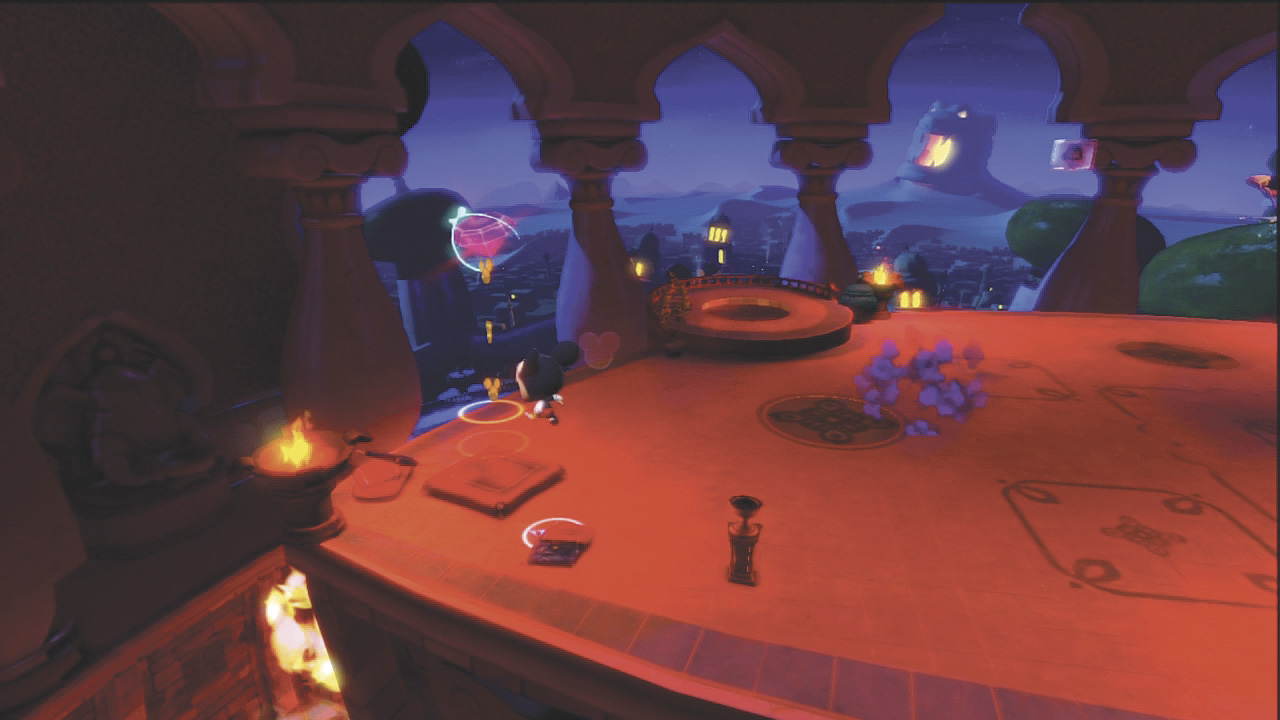
This level is a boss battle and it takes place in the same area. At the start, rush over to the left side of the area and jump onto the cushion to bounce up and get the first gem.
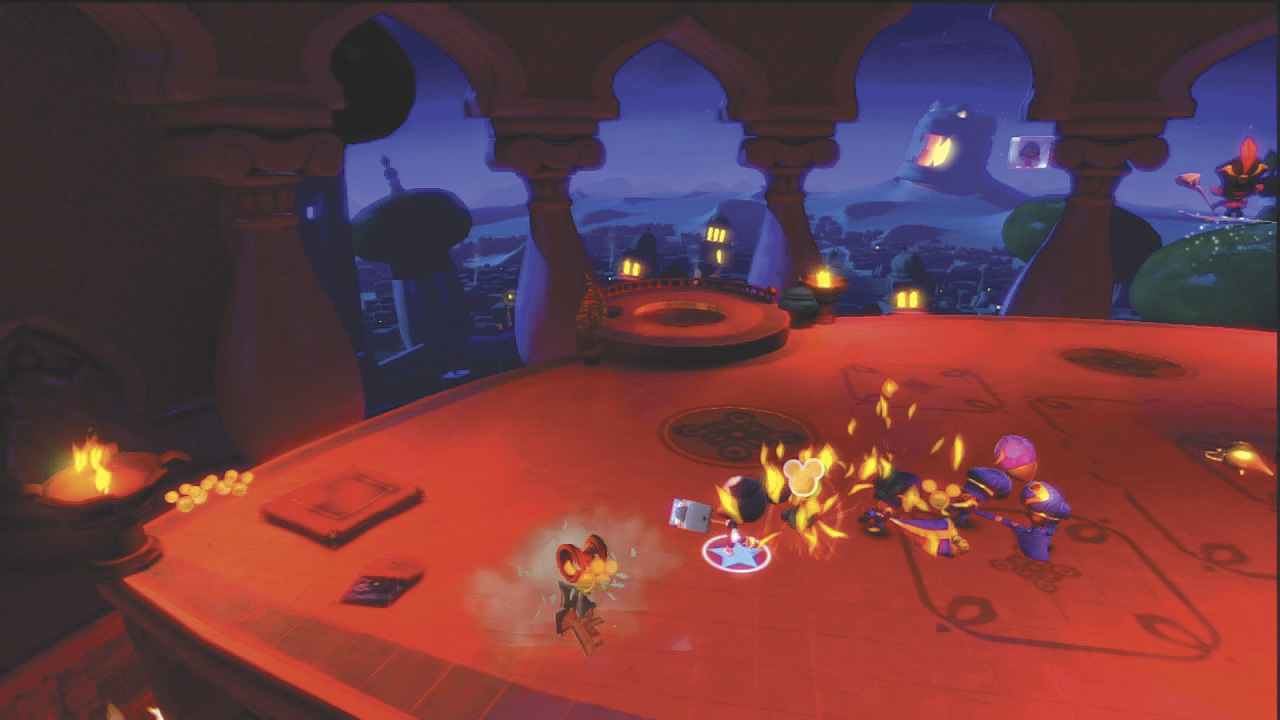
Jafar starts the battle by sending some Fodder to attack. Defeat them with your own attacks and keep an eye on Jafar.
GEM
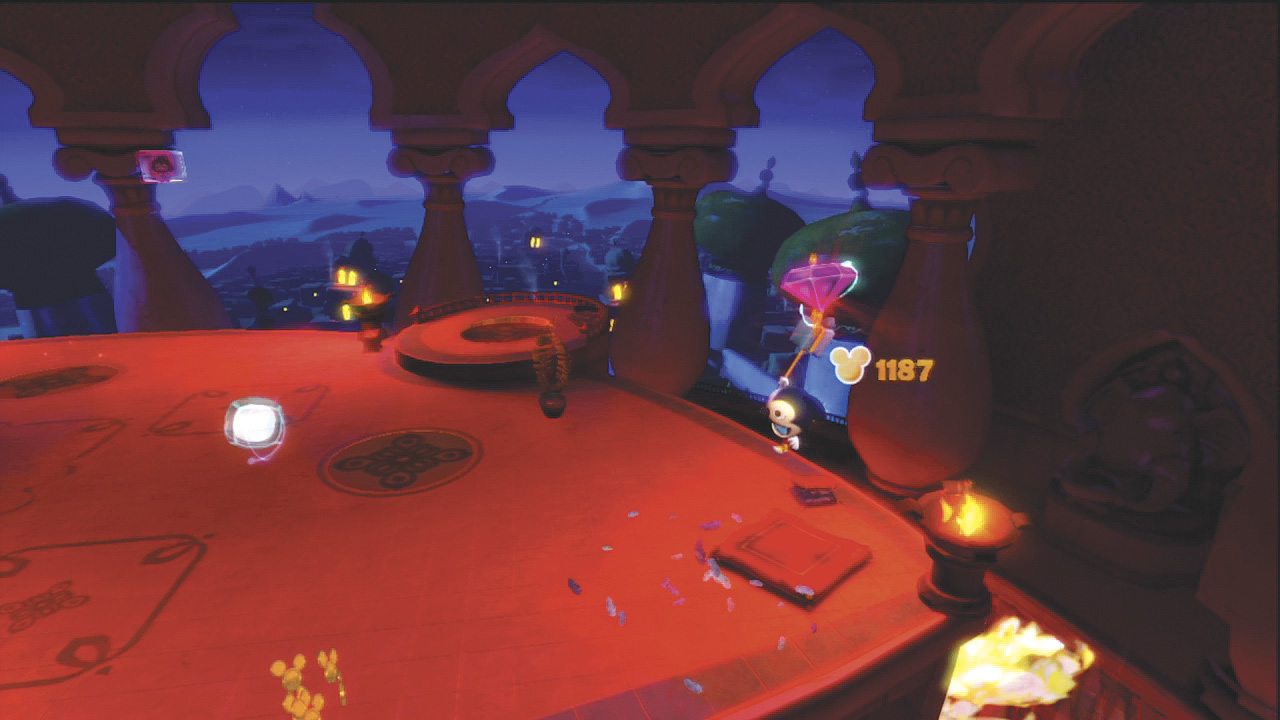
While Jafar is transforming into a giant cobra, rush to the right side and bounce up from a cushion to get a second gem.
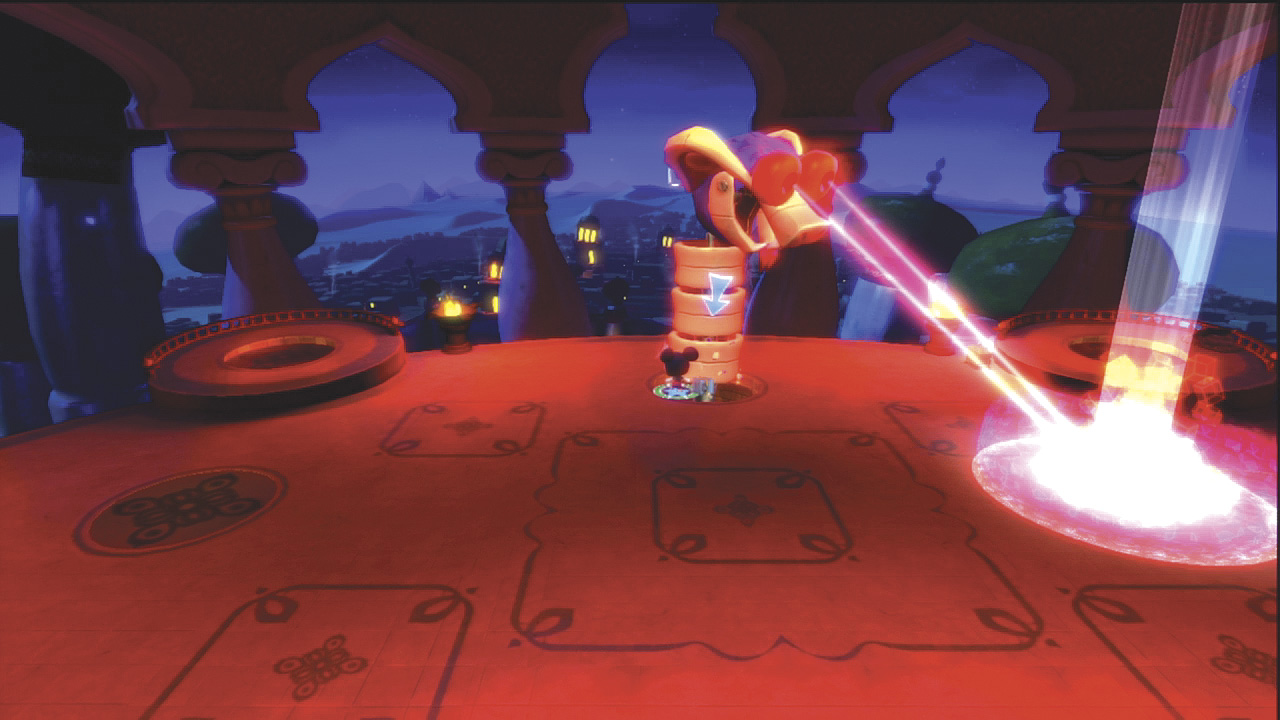
Jafar pops up through several different circles in this area. Get in close and start attacking the snake’s body while he fires his laser eyes.
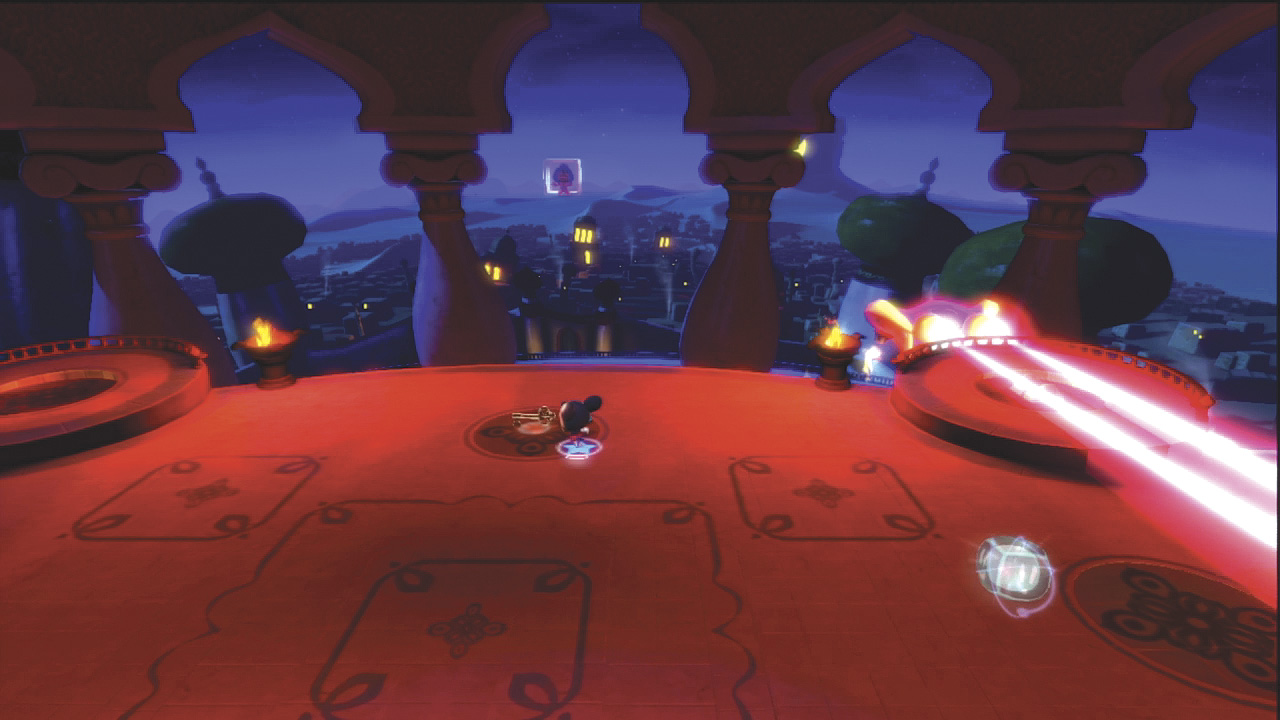
After you destroy one section of the snake’s body, the head flies up into the air and then moves across the room, firing the laser eyes. Jump over the lasers as they pass by. Also pick up the key that appears in the middle of the room and take it to the chest in the back-right corner to get a blue star that upgrades your tool.
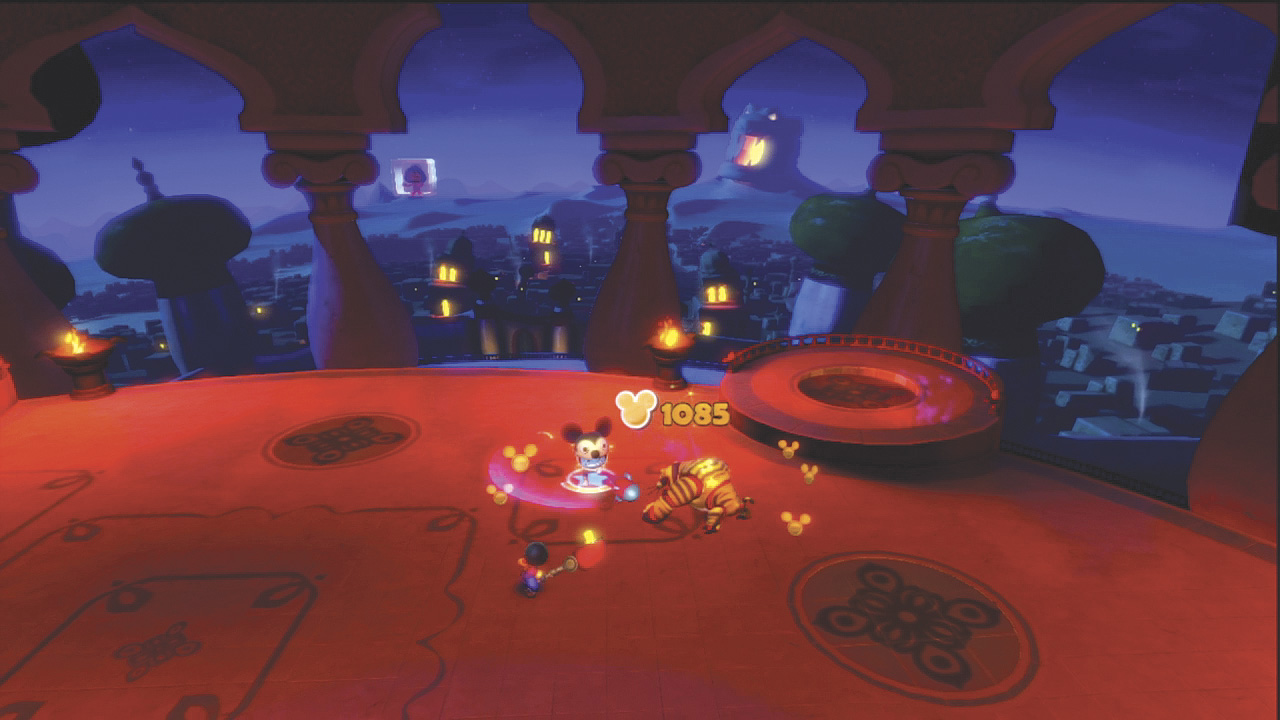
Jafar sends a Bulldog and more enemies to attack while his snake’s head returns to his body. Use a VIC cube if you need it for a power-up.
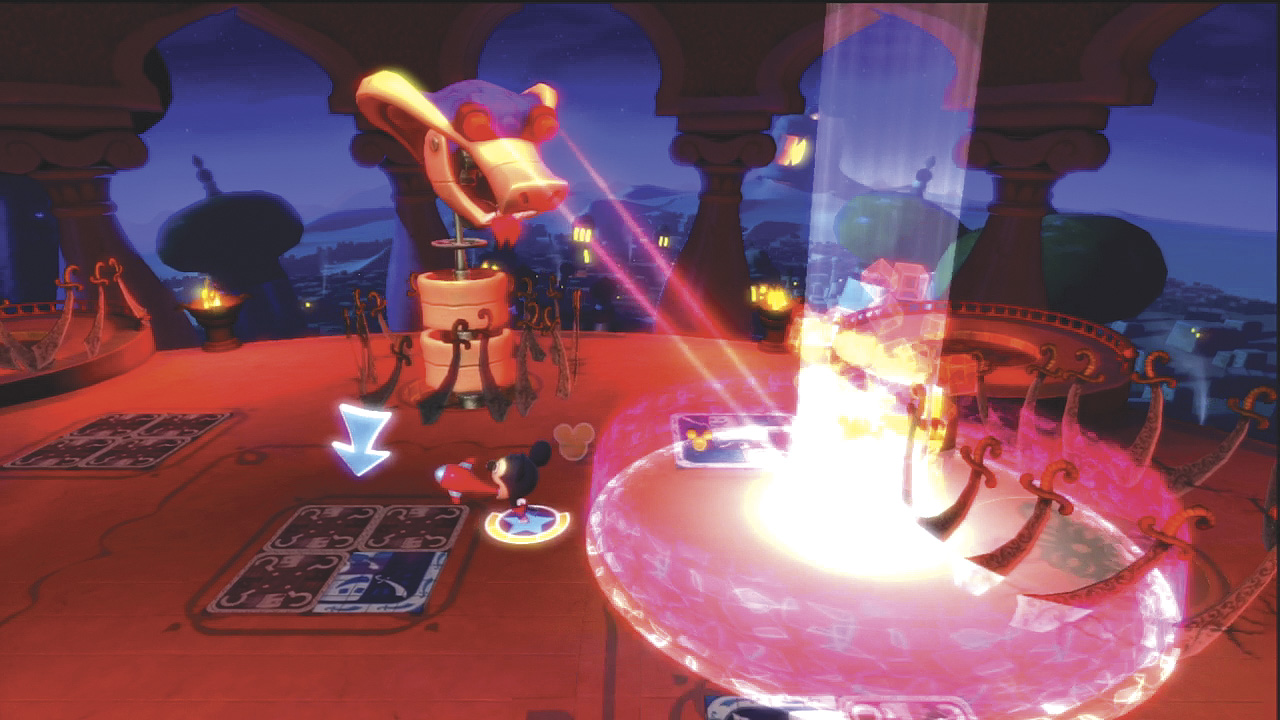
Jafar has surrounded the snake body with swords to prevent you from attacking. However, he keeps blasting away with the laser eyes.
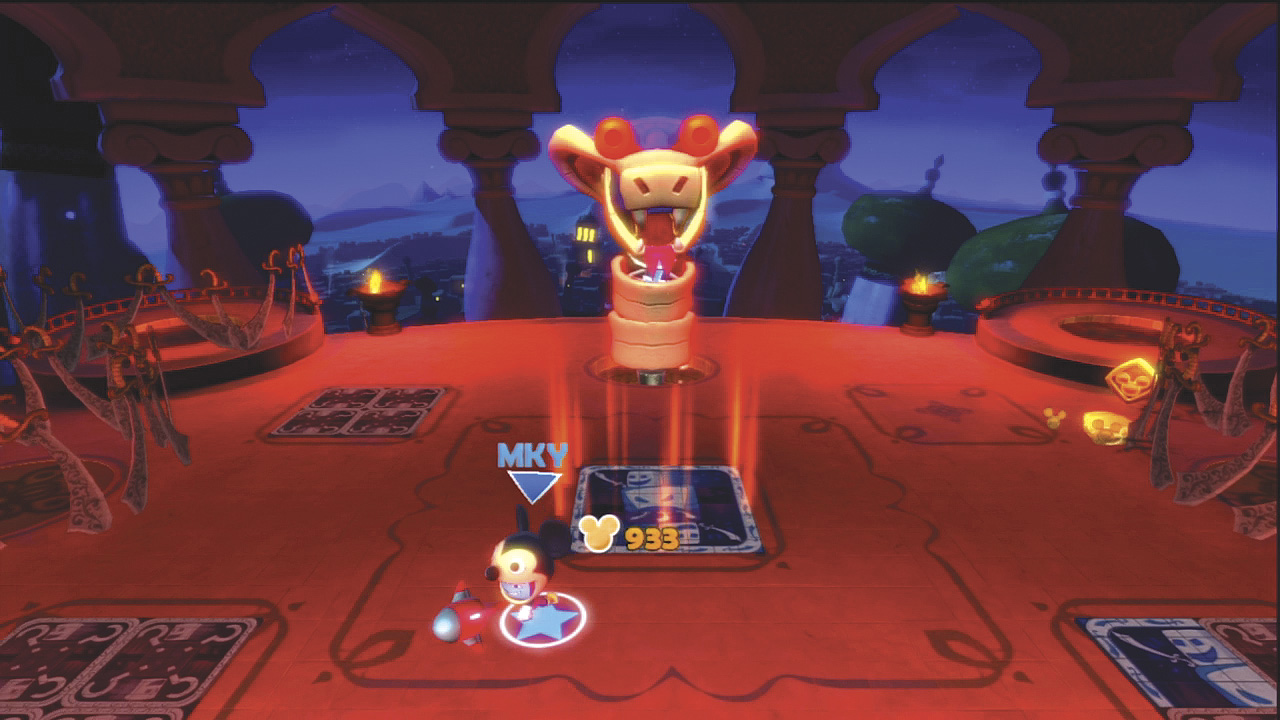
There are five four-tile pictures on the floor. Each time you uncover a picture, one of the holes through which Jafar appears loses its sword barrier. Quickly uncover all five pictures to resume the attack on the giant cobra.
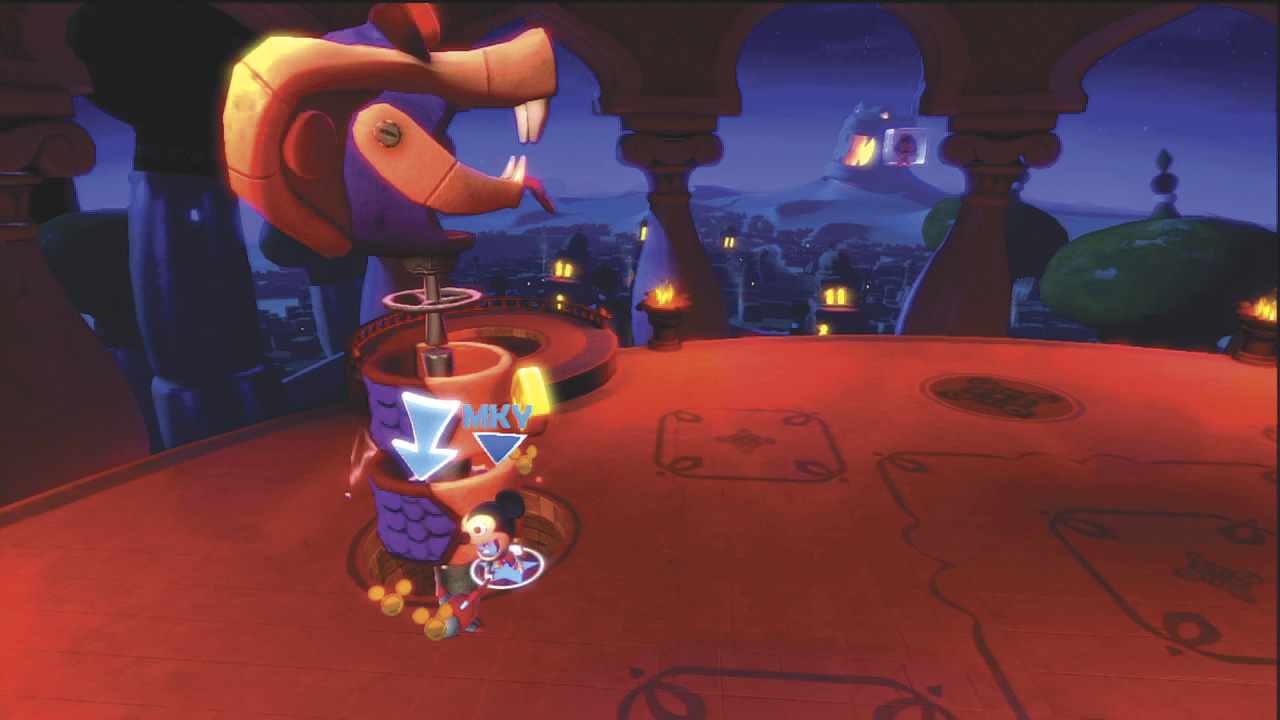
Only two body segments are left. Keep hitting with your strongest attacks. Combine backhands with slam attacks. As Jafar moves to other holes, follow him.
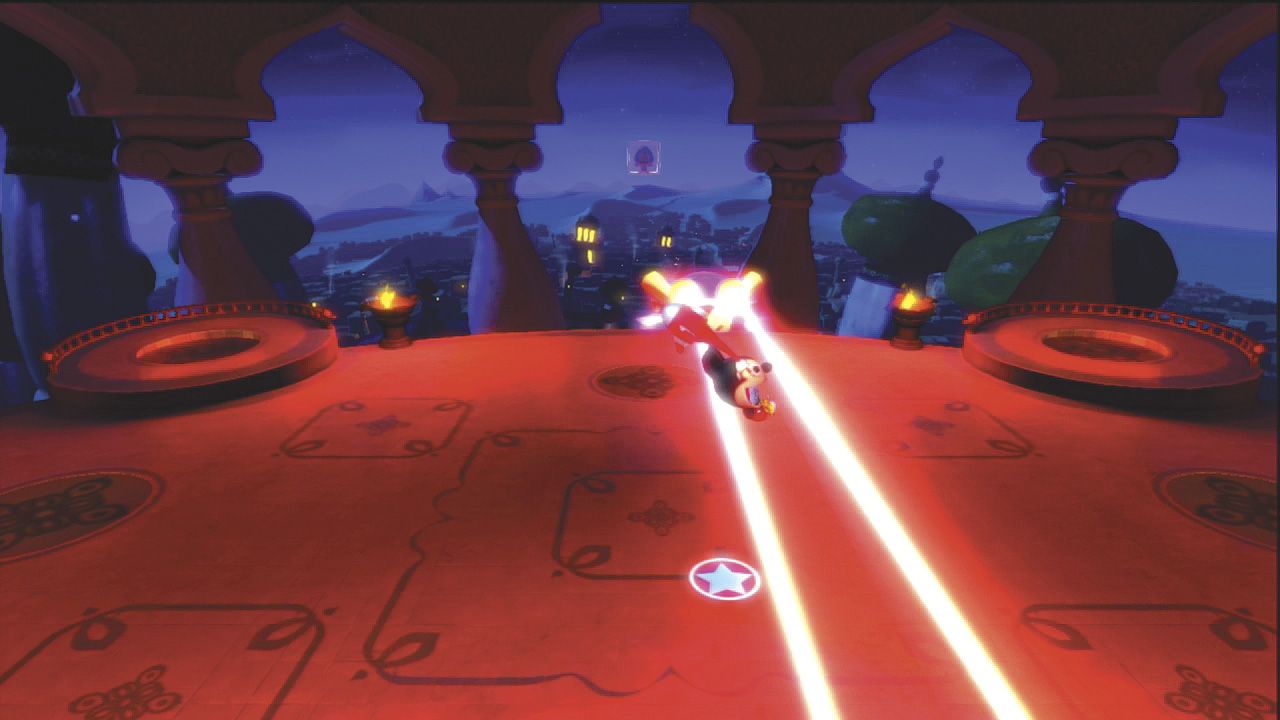
Destroy a second body segment and the cobra’s head flies off again. Jump over the eyes’ laser beams as it goes back and forth.
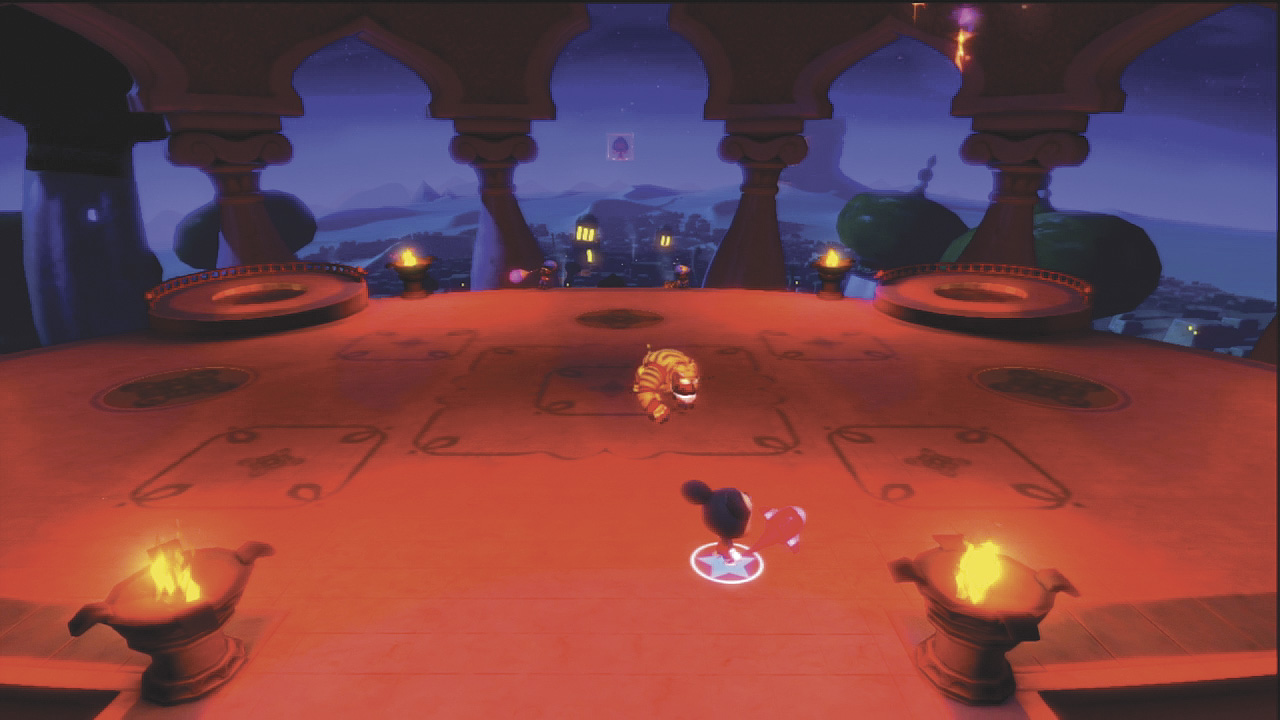
You now face another Bulldog and some Fodder. Defeat them and then focus on the snake again.
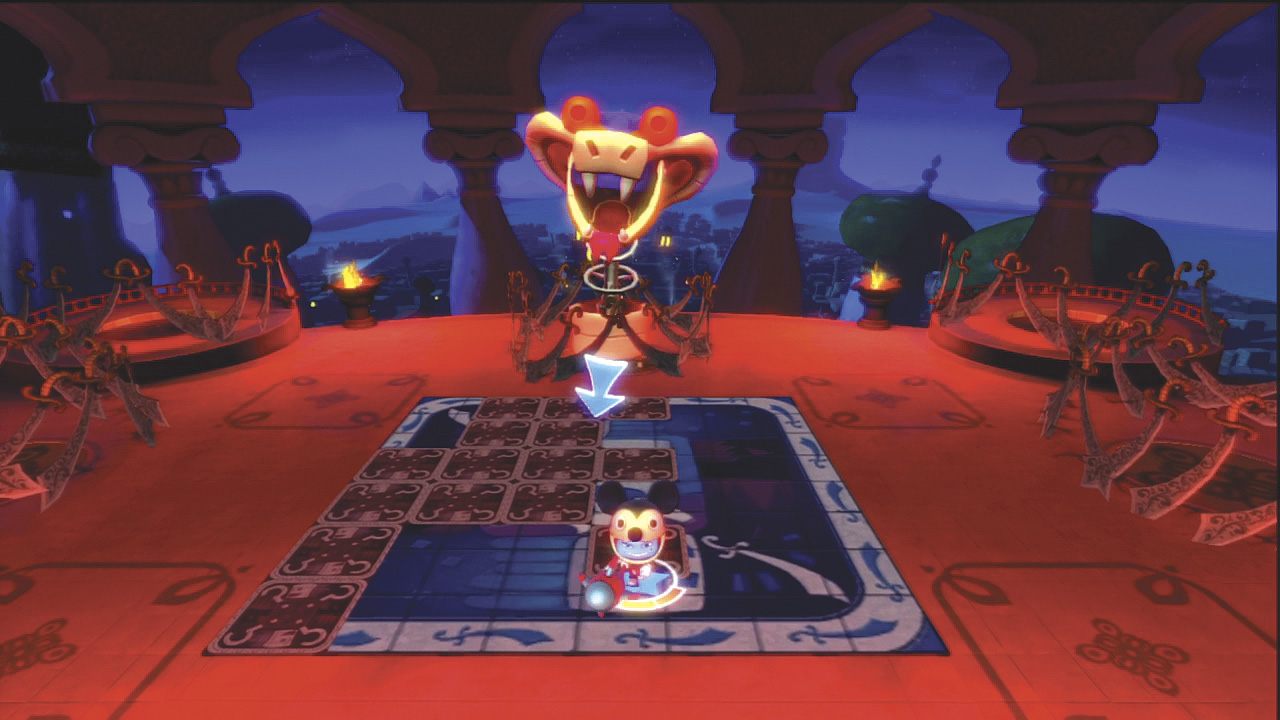
Once again, Jafar has surrounded his holes with swords. However, this time, you must uncover a large picture to remove all of them. In addition, he keeps firing lasers at you.
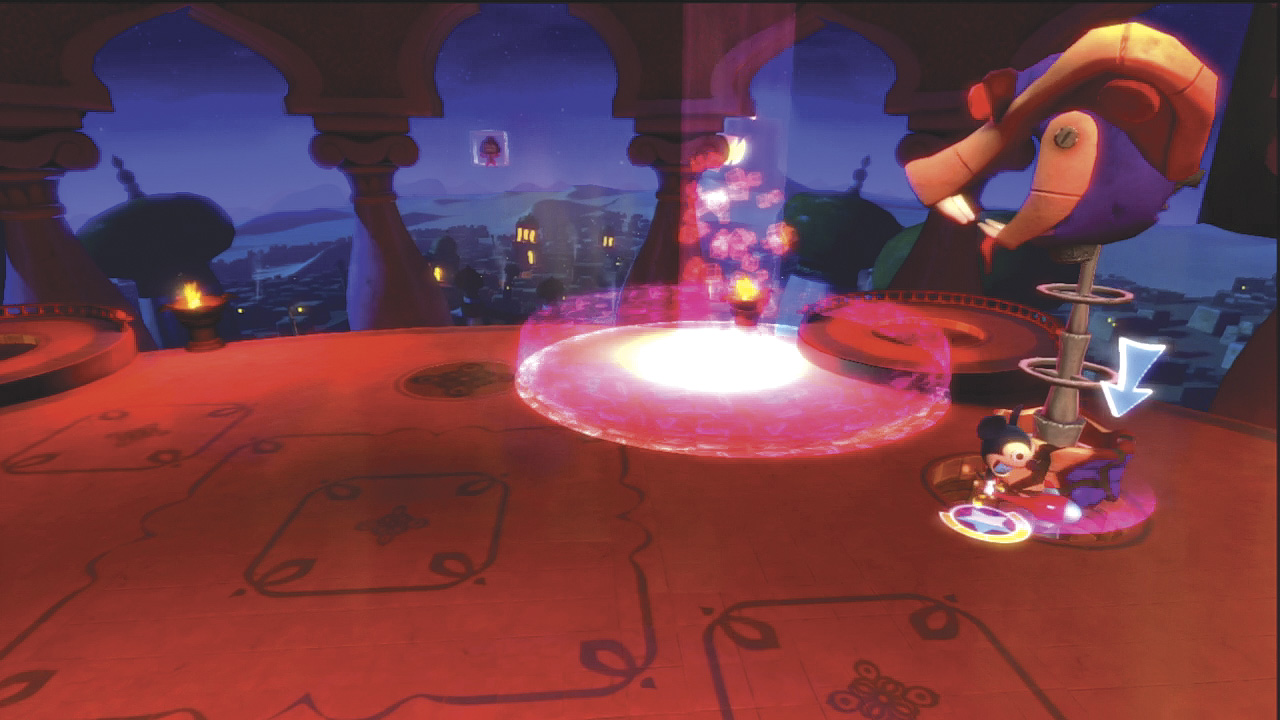
Only one body segment remains. Keep hitting it and following Jafar where ever he goes.
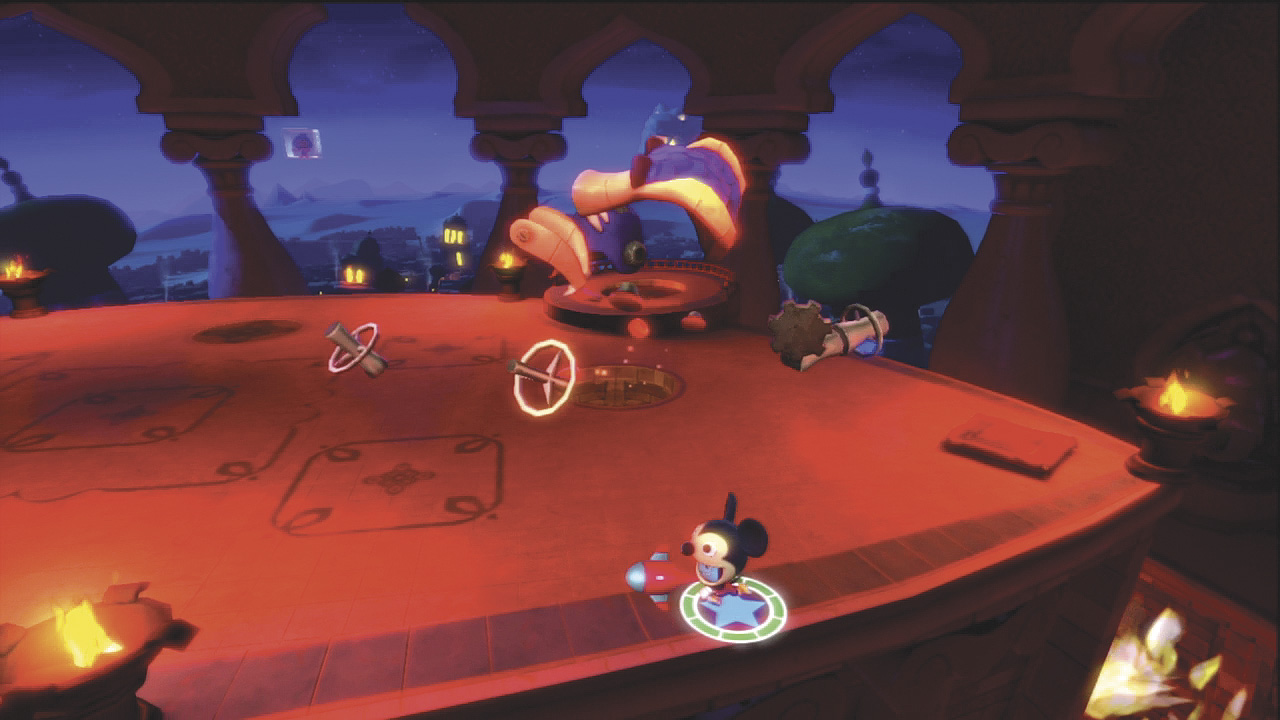
As that last body segment is destroyed, the Jafar cobra falls to pieces.
Challenge - Just as soon as you have defeated Jafar, an arcade game appears in the center of the room. Play a challenge for some more coins and bragging rights.
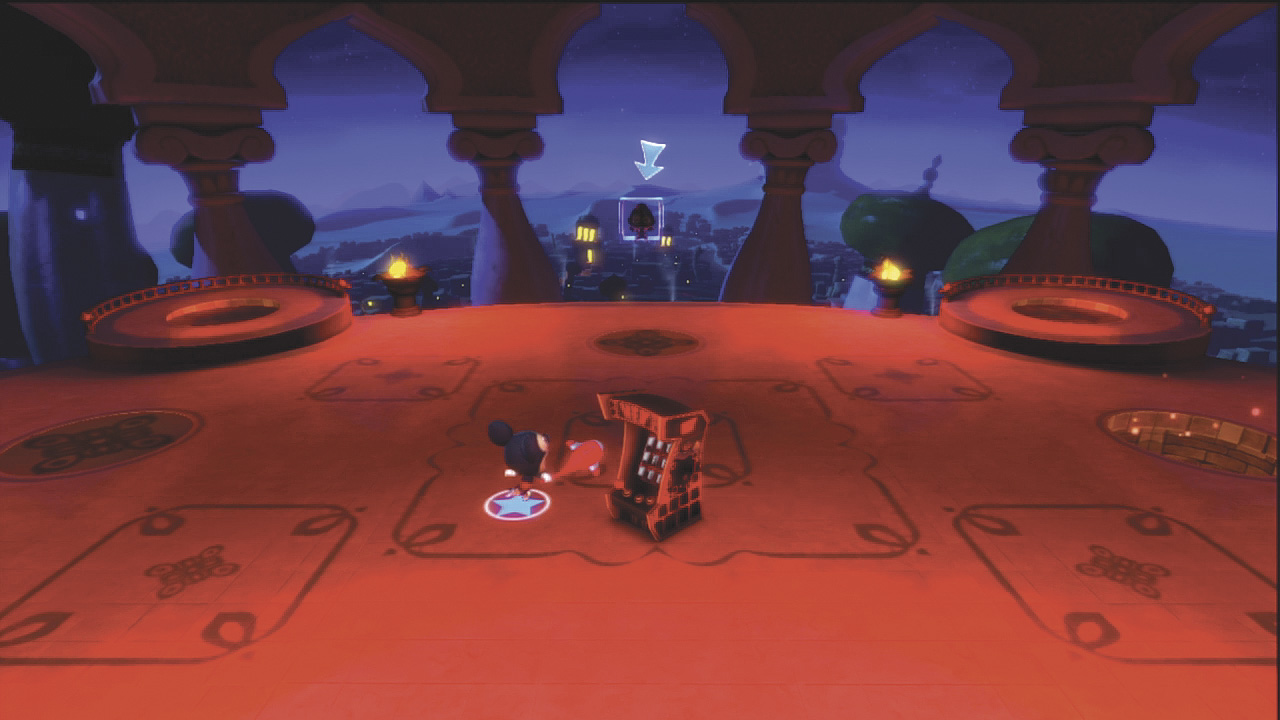
FREE THE GUEST
GEM
The final Gem can be found out in the open, near the battle area. Examine the circular platform near the top right, where Jafar pops out and you'll find the Gem ready to be claimed. Just be sure to grab it while Jafar is not attacking.
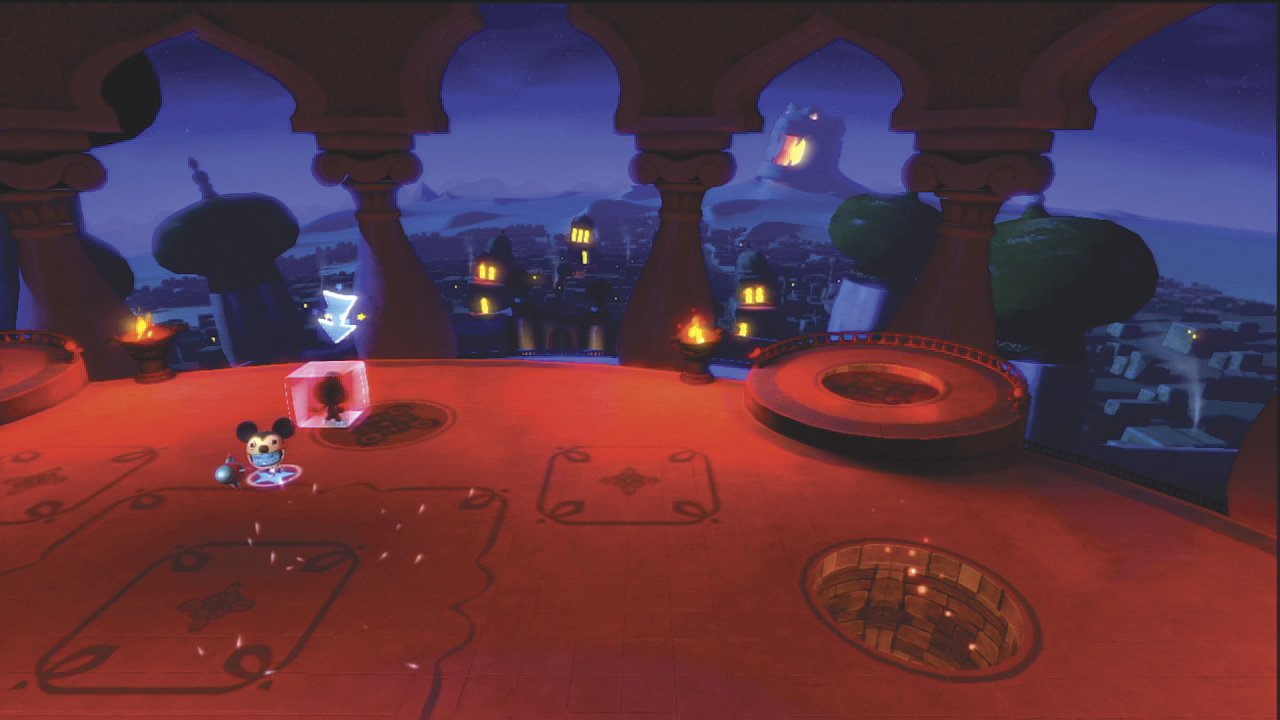
Finally, walk up and release the guest. Doing so unlocks the Aladdin costume.
HERO OF THE SANDS
Complete the Aladdin world to earn this award.