
Bayonetta 2 Guide Chapter V: Know Your Journey - Walkthrough
Lost Chapter
Think you’ve finished Bayonetta 2 once you’ve laid waste to Aesir? Think again. After the credits have rolled, the Lost Chapter opens up, inviting you test your skills against the toughest battles around!
The Lost Chapter is split up into five Witch Trials, each with their own loose themes when it comes to enemy placements. Read on to gain essential tips for surviving this unforgiving gauntlet.
Witch Trial I (difficulty: 2nd climax)
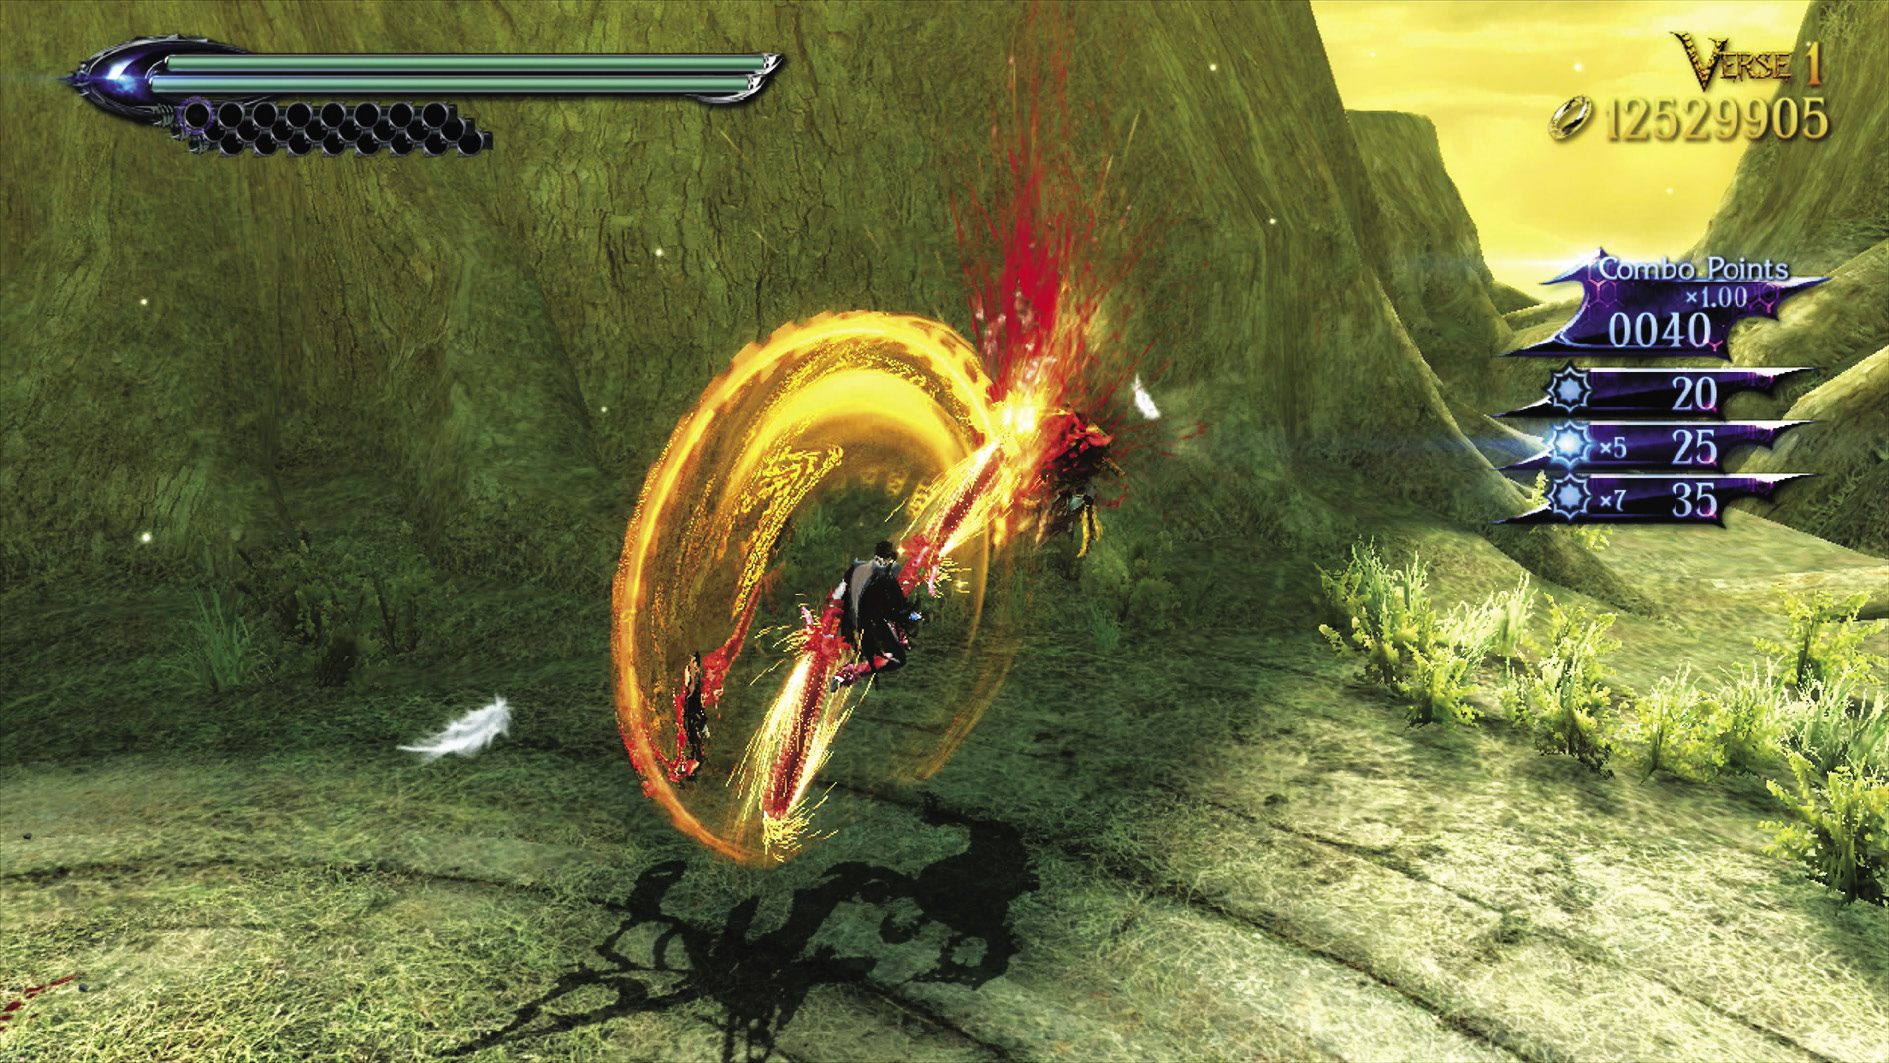
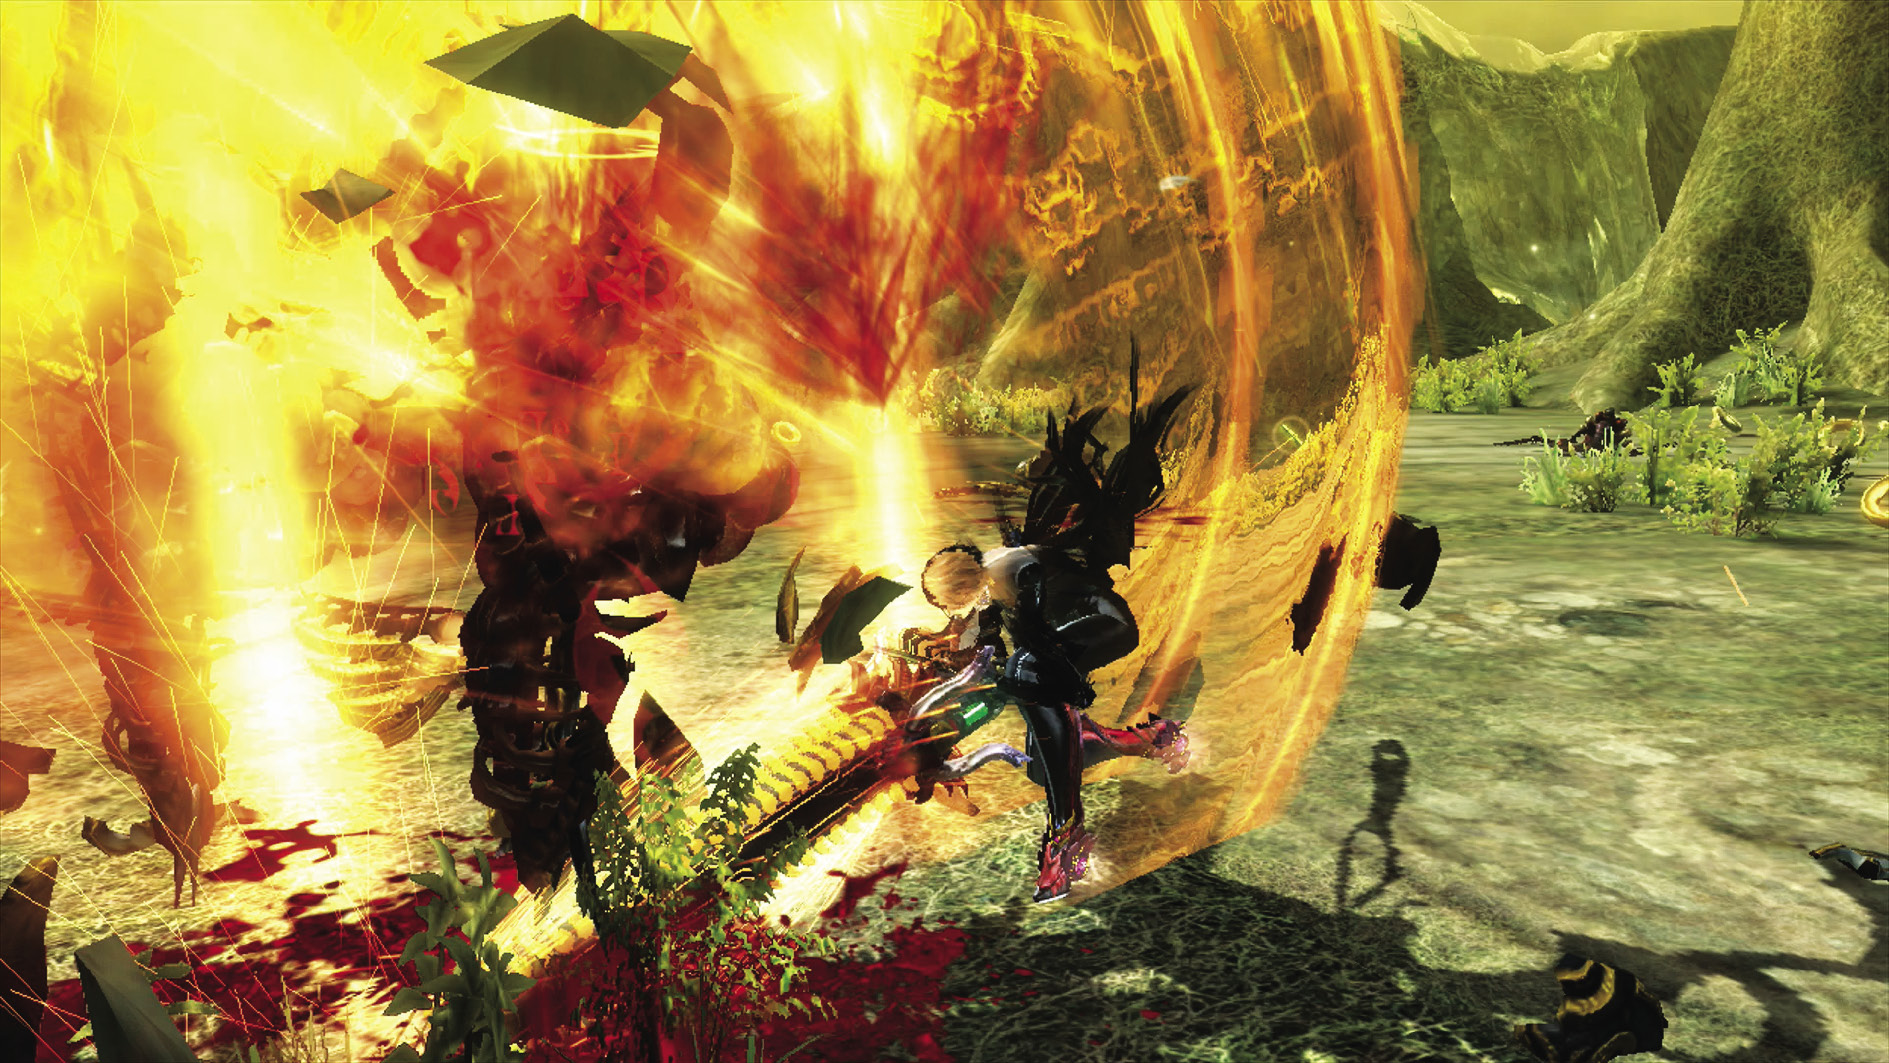
Verse 1
| Lost 1 V1 | 2nd Climax | ||
|---|---|---|---|
| Time | Damage | Combo | |
| PLATINUM | 00:15 | 0 | 390 |
| GOLD | 00:20 | 400 | 340 |
| SILVER | 00:25 | 800 | 320 |
| BRONZE | 00:30 | 1600 | 310 |
| BOSS BONUS | 0 | ||

Suggested Weapon(s): Salamandra (Arms), Alruna (Legs)
Enemies: Compassion x8
The Compassions come out fairly slowly in this Verse, so your toughest challenge is keeping your combo going for high scores. Pick Compassions off one or more at a time, and use Stiletto to rocket to a new one each time you find yourself between fights.
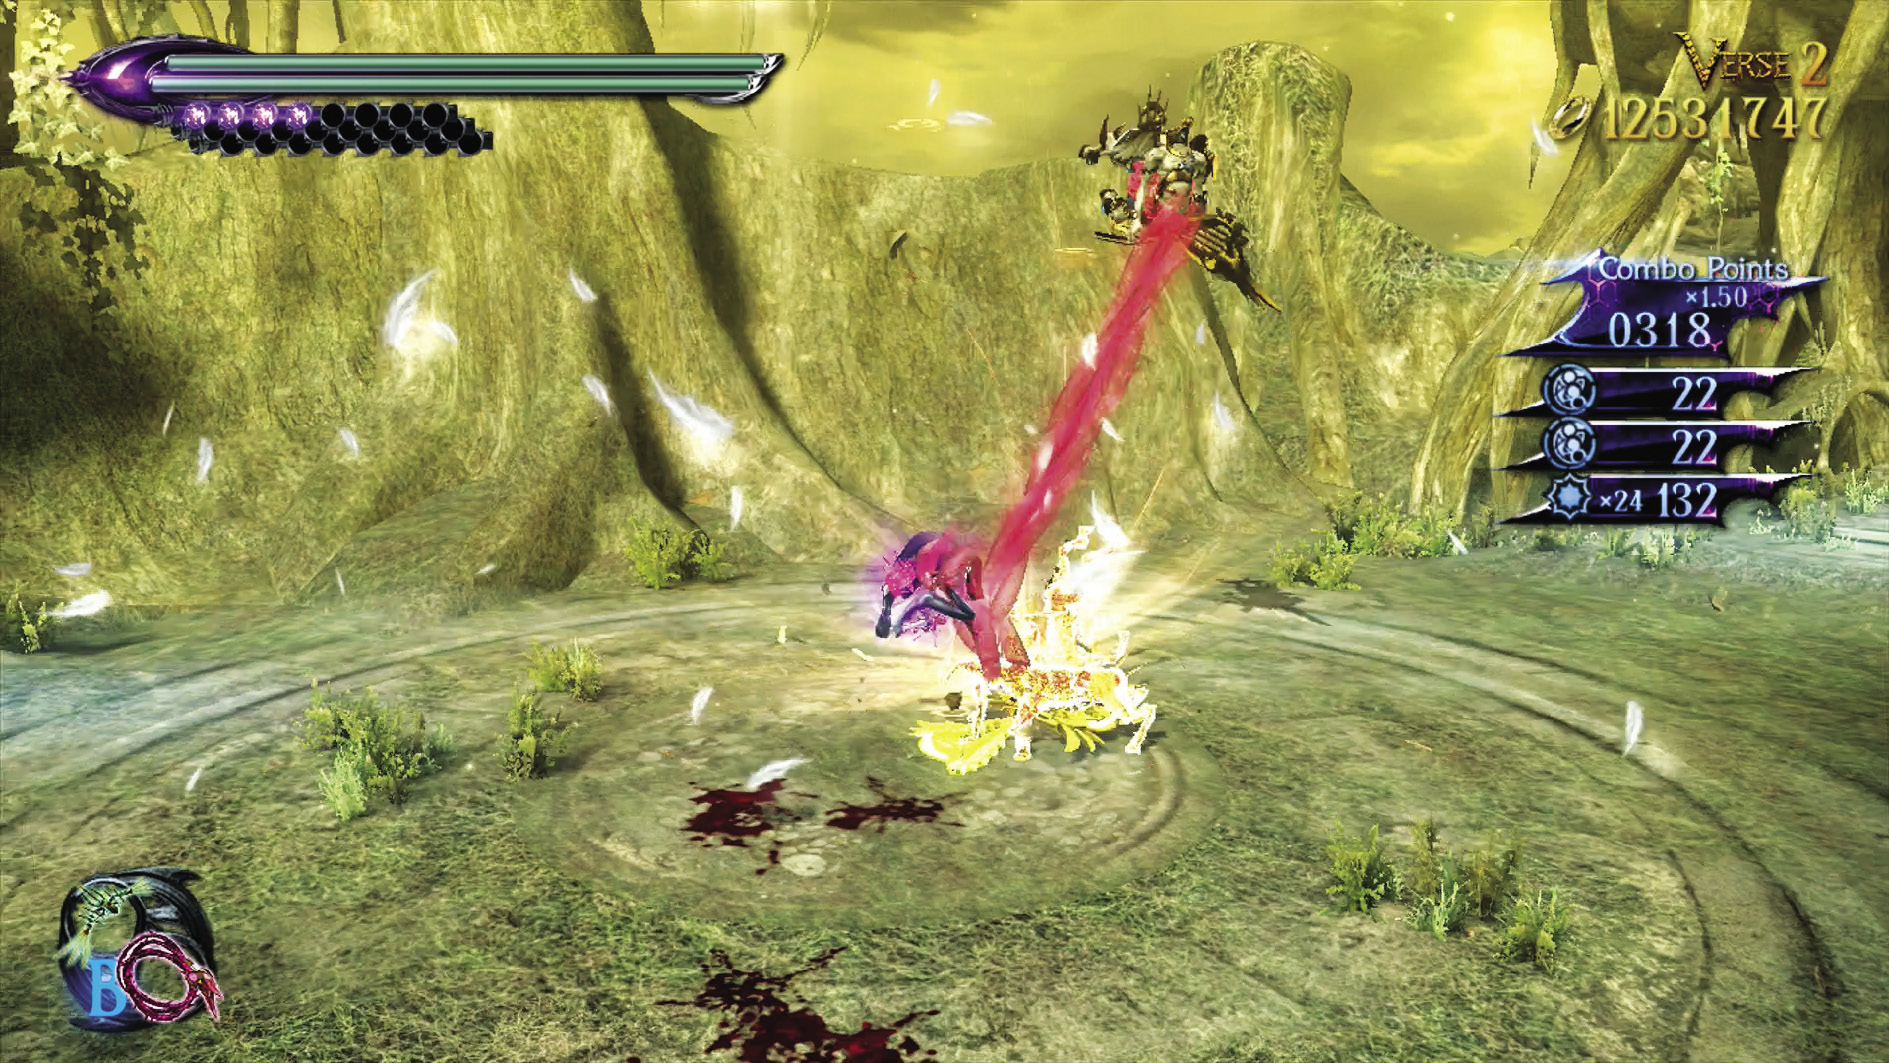
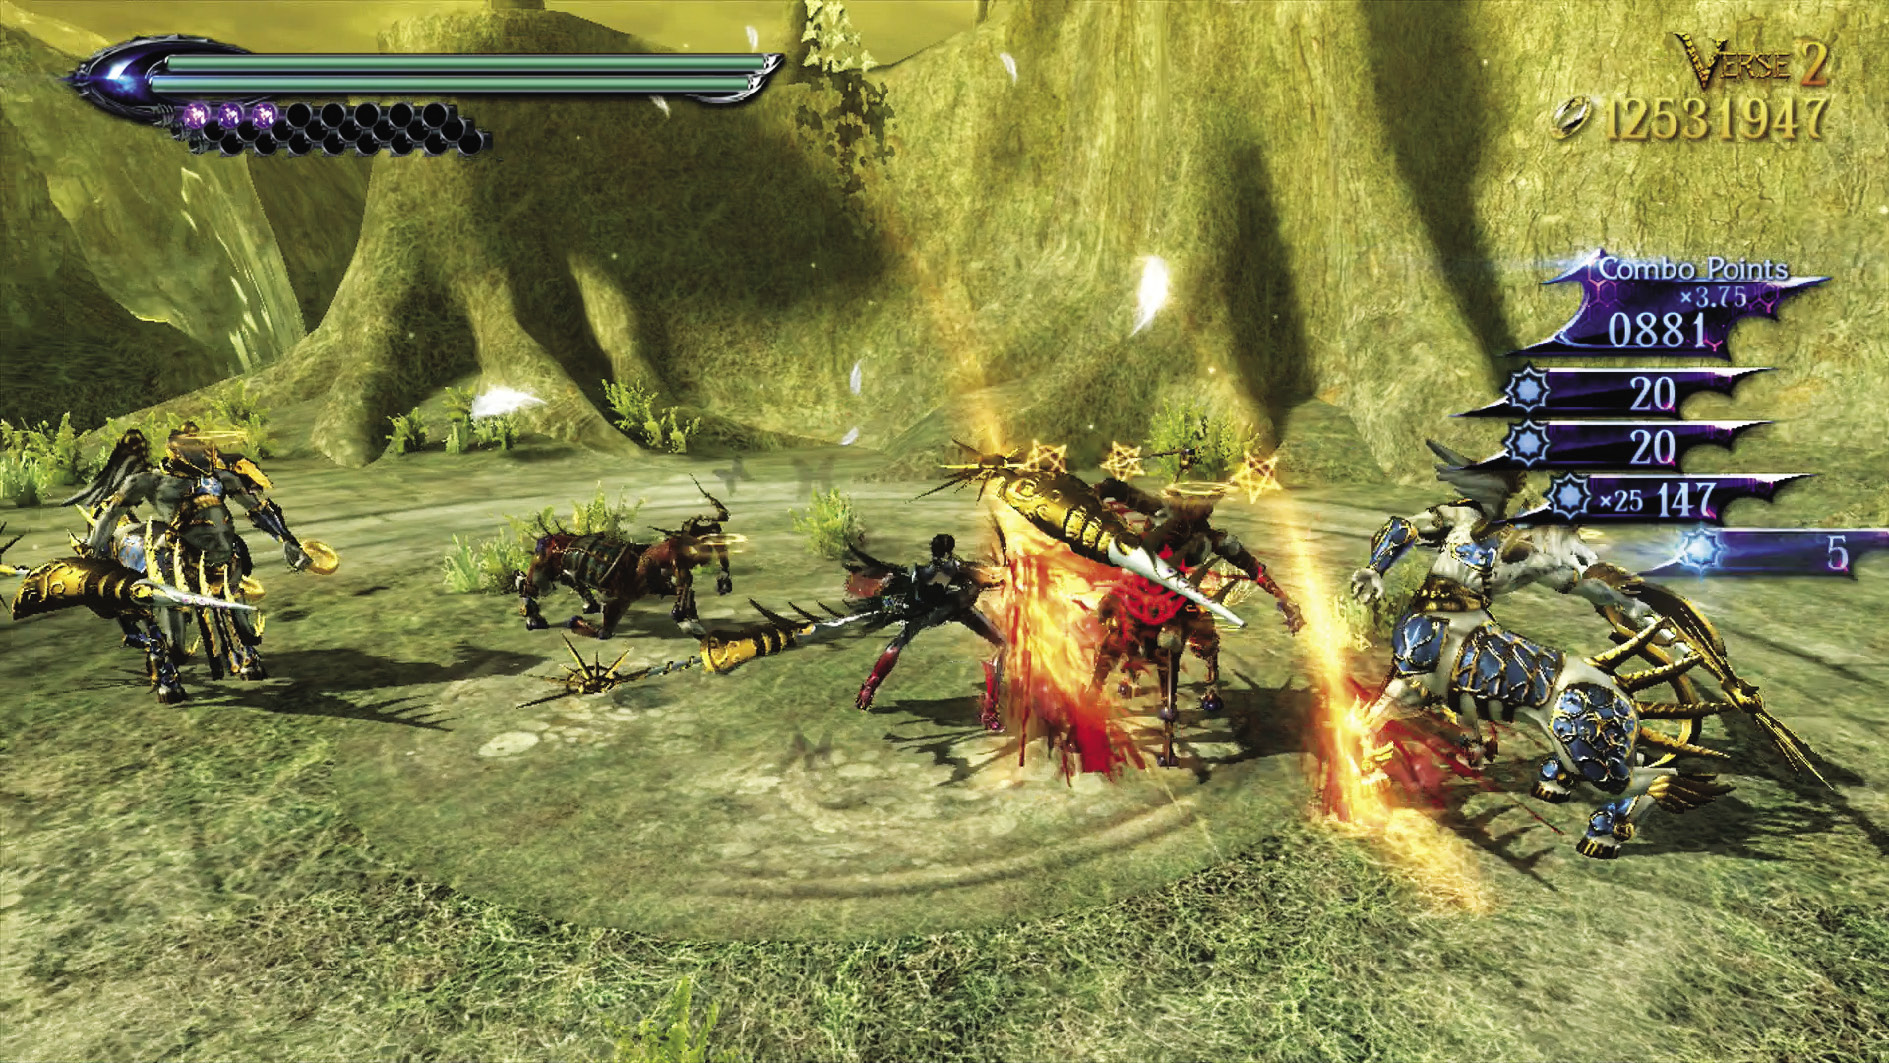
Verse 2
Suggested Weapon(s): Salamandra (Arms), Alruna (Legs)
Enemies: Acceptance (Harp) x4, Acceptance (Spear) x4
Keep one eye to the ground so you can see the Harp Acceptances’ arrows—they’re usually a little easier to dodge than the other Acceptances’ spears for Witch Time. Otherwise, you’ve been here before. Dodge attacks, slice to ribbons during Witch Time, repeat.
| Lost 1 V2 | 2nd Climax | ||
|---|---|---|---|
| Time | Damage | Combo | |
| PLATINUM | 00:55 | 0 | 8910 |
| GOLD | 01:10 | 200 | 4420 |
| SILVER | 01:30 | 400 | 3300 |
| BRONZE | 01:55 | 800 | 2170 |
| BOSS BONUS | 0 | ||
Verse 3
Suggested Weapon(s):Salamandra (Arms), Alruna (Legs)
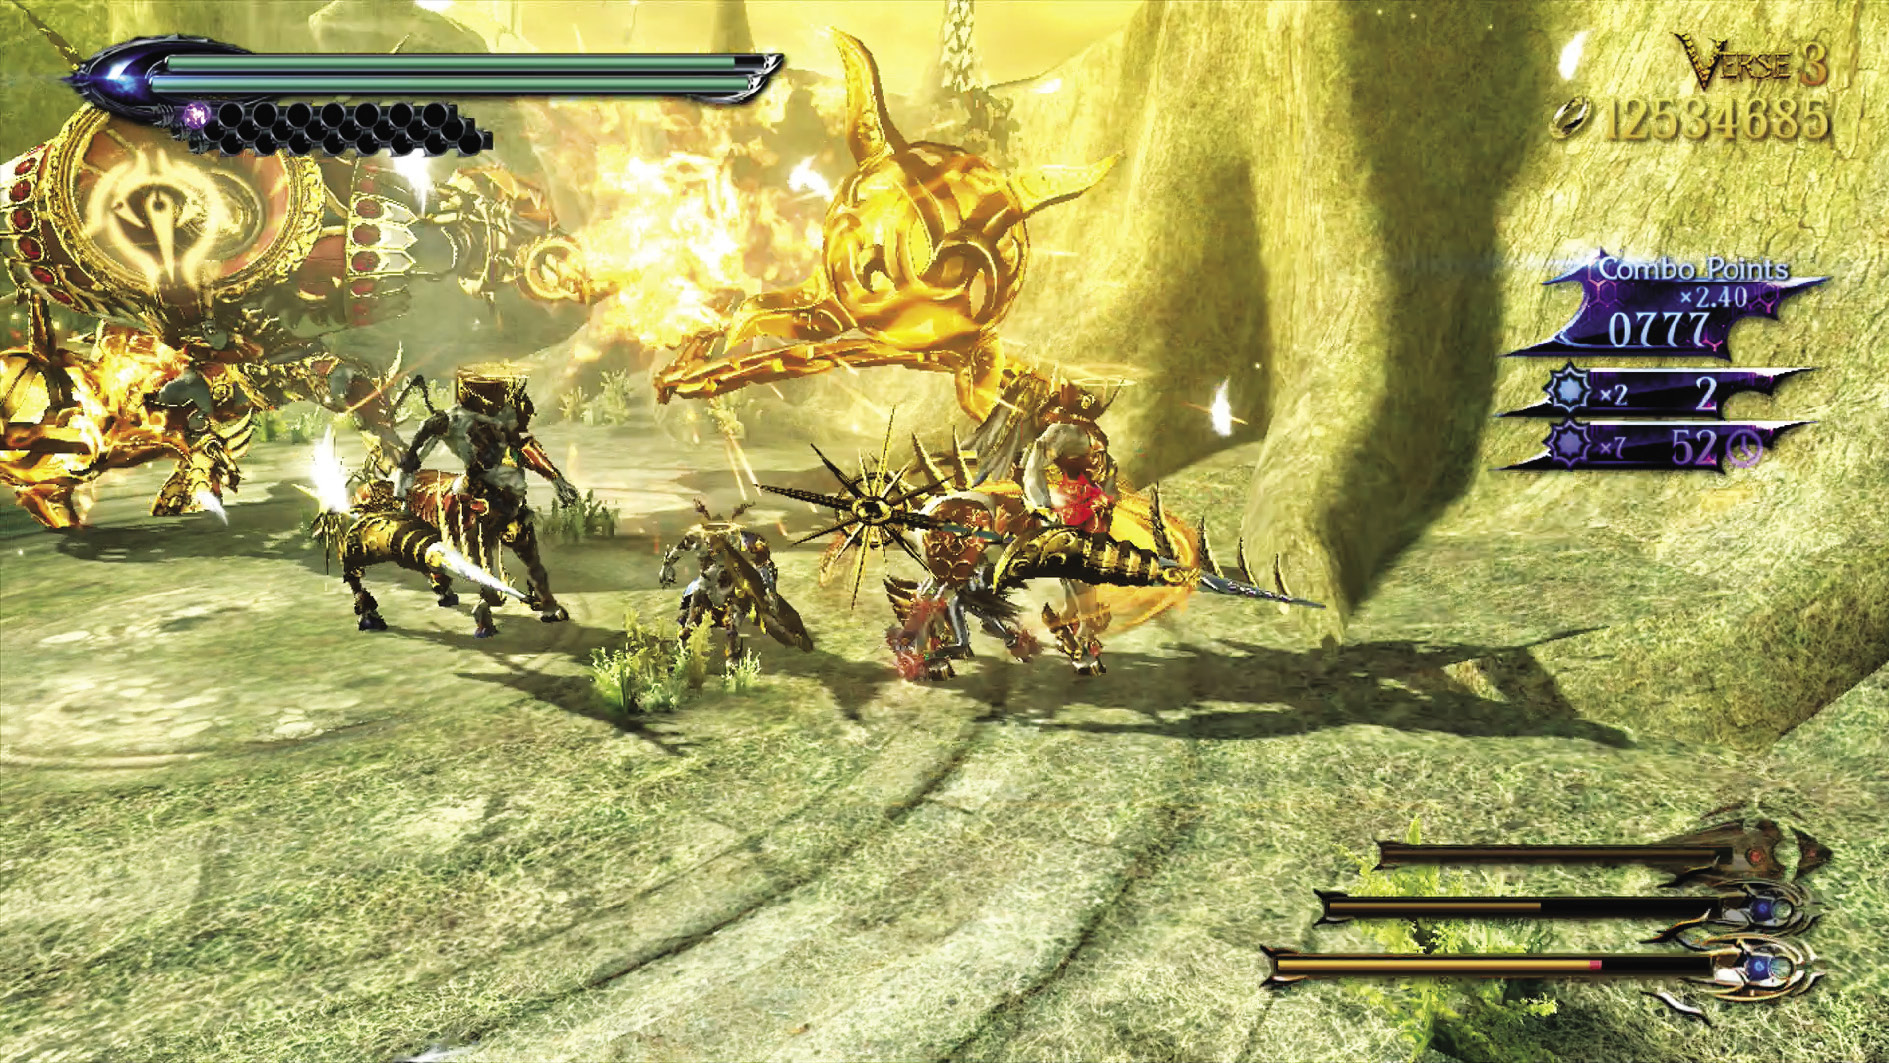
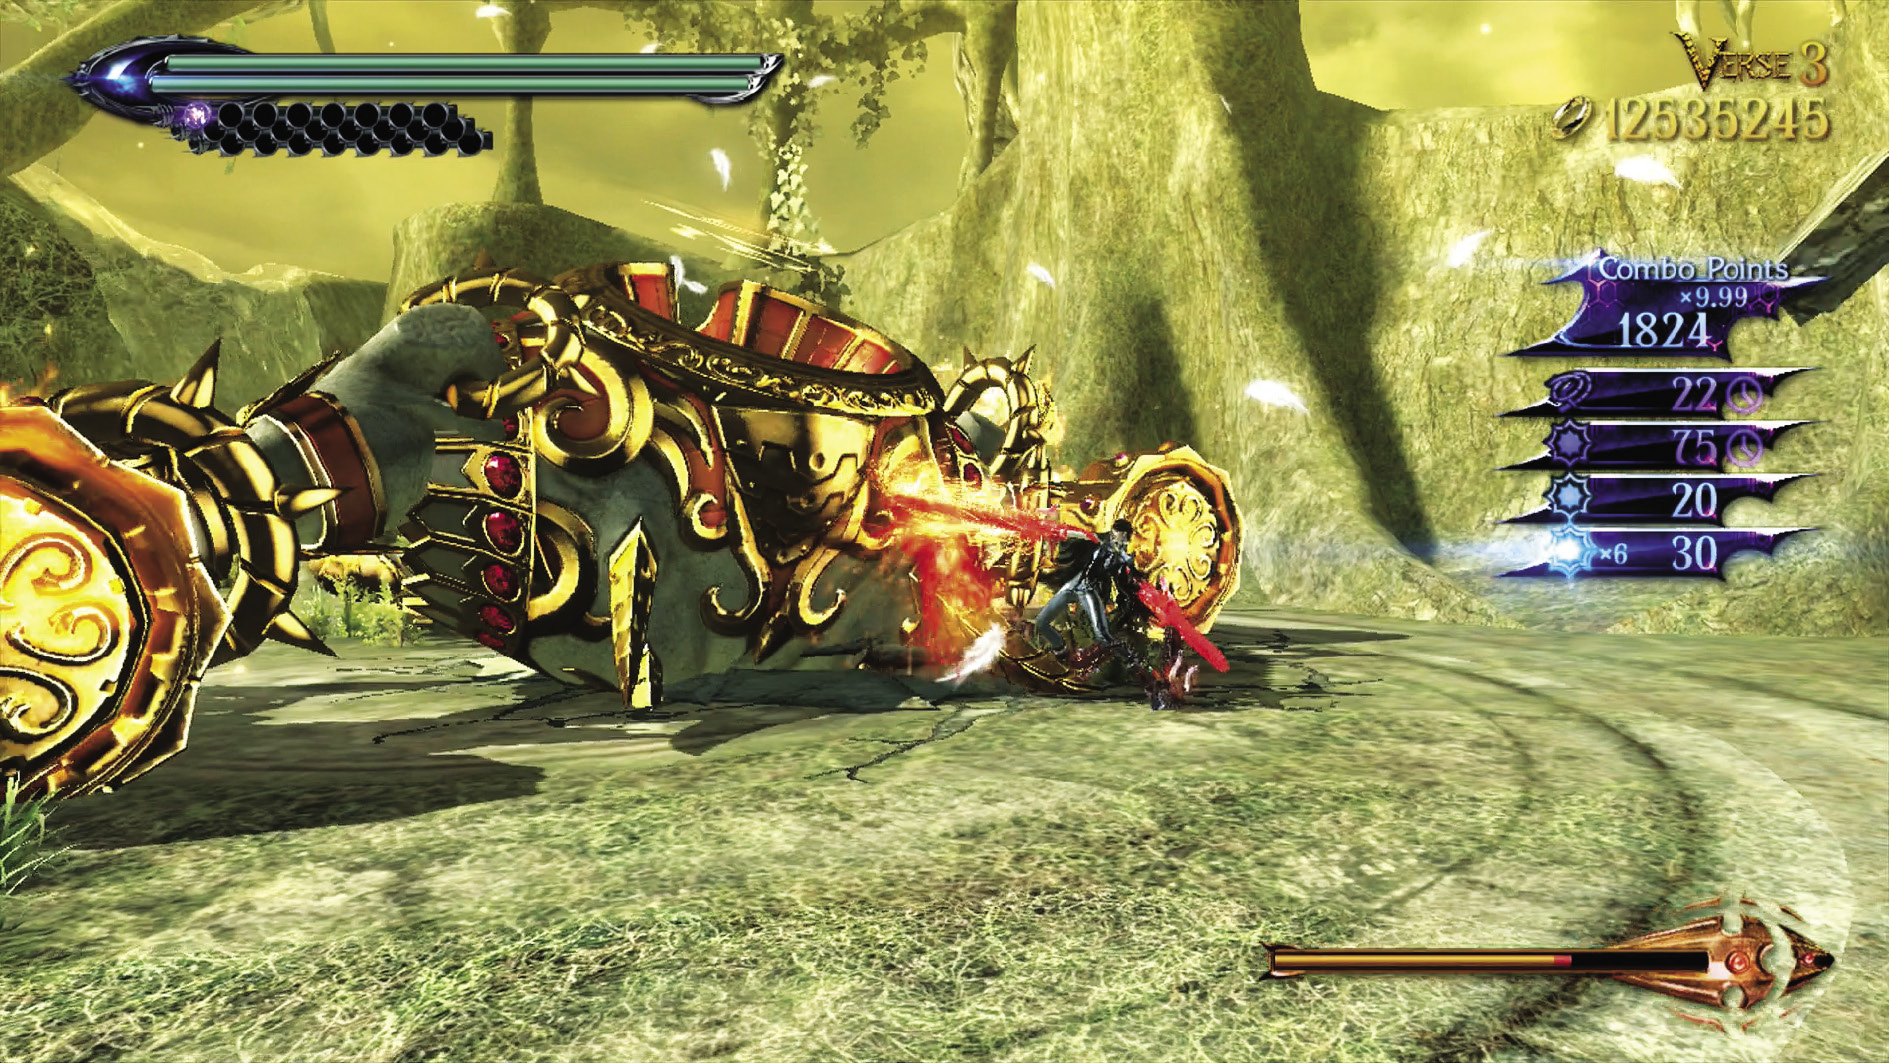
Enemies: Acceptance (Harp) x2, Accolade (Spear) x2, Urbane x1
In this Verse you’ve got a big ol’ Urbane stomping around while you’re trying to get rid of some horses. Dodge the attacks from the small fry in order to destroy them during Witch Time. Take on the big cheese one-on-one by slamming him to the ground with Alruna by holding K during Witch Time, and whaling on him while he’s helpless!
| Lost 1V3 | 2nd Climax | ||
|---|---|---|---|
| Time | Damage | Combo | |
| PLATINUM | 01:30 | 0 | 79980 |
| GOLD | 01:50 | 500 | 33850 |
| SILVER | 02:20 | 1000 | 22320 |
| BRONZE | 03:00 | 2000 | 10790 |
| BOSS BONUS | 0 | ||
Verse 4
Suggested Weapon(s): Salamandra (Arms), Alruna (Legs)
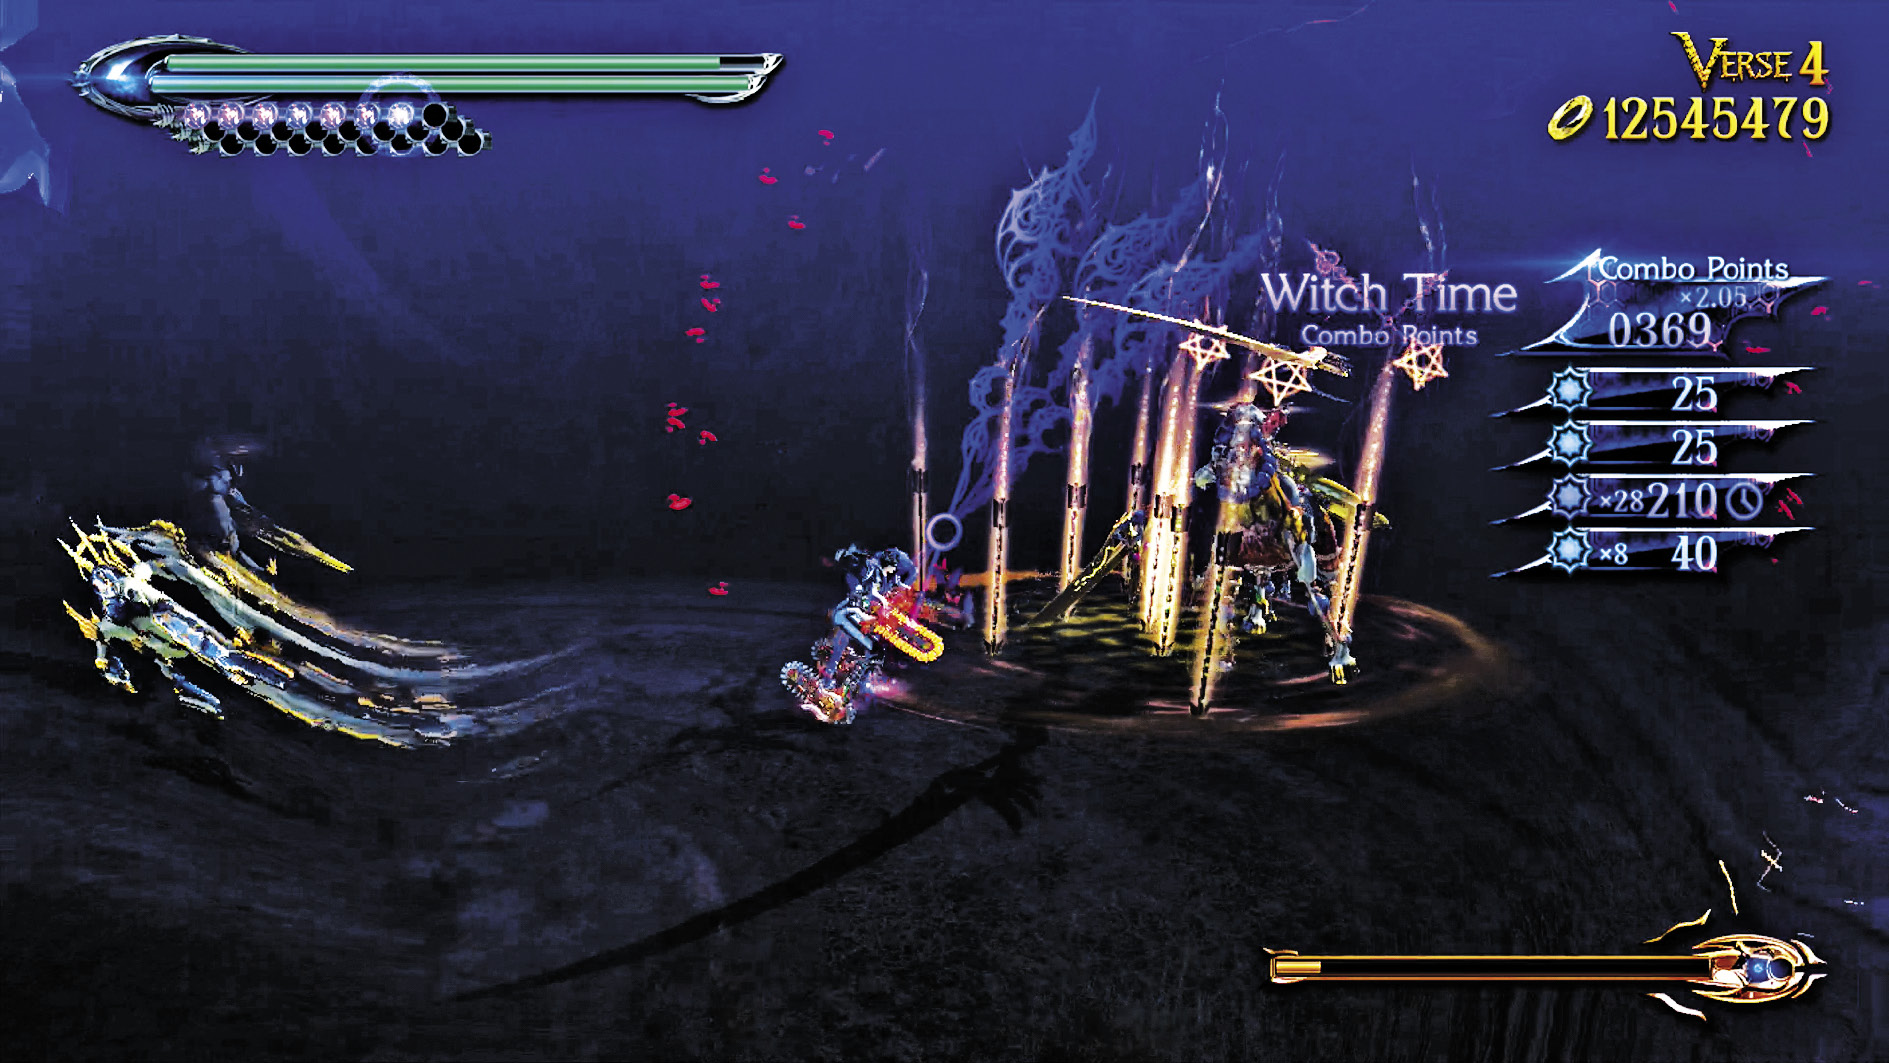
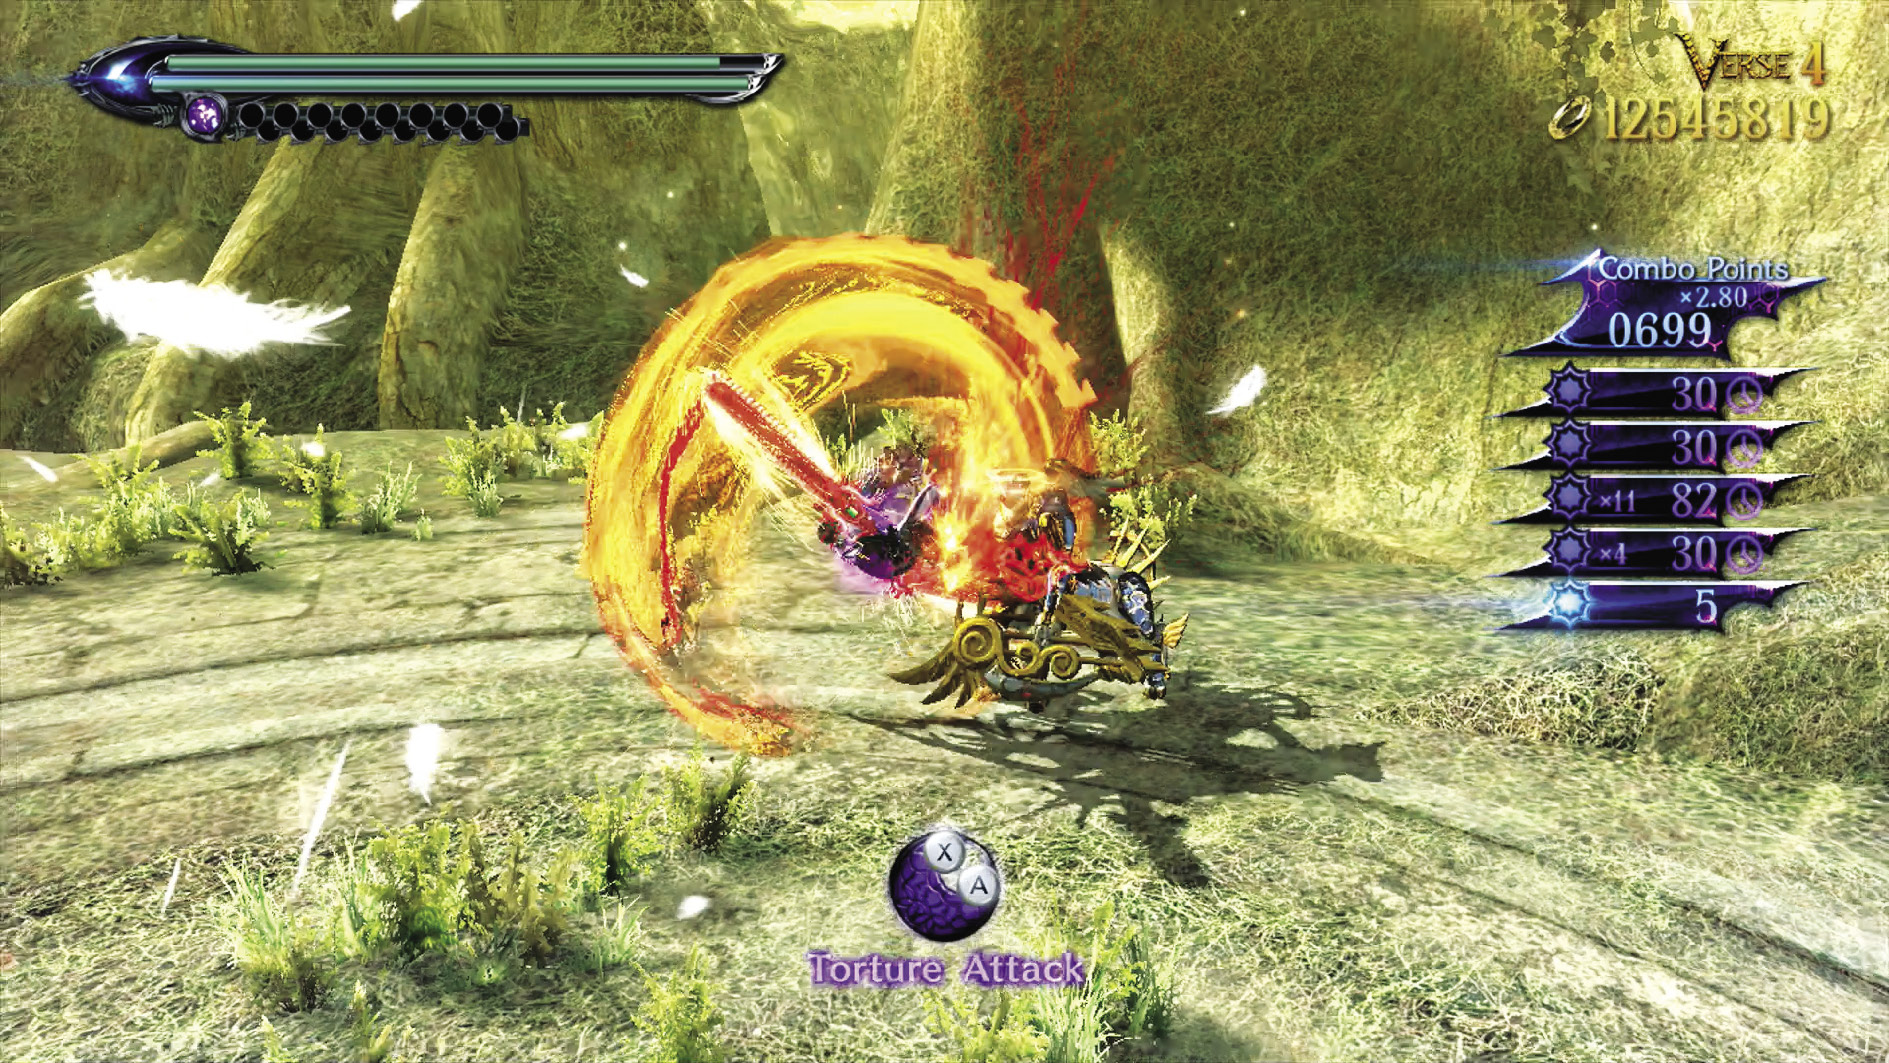
Enemies: Acceptance (Harp) x4, Accolade (Twin Blades) x1
Use the arrow shots from the Acceptances for easy Witch Time dodges so you can take out the Accolade first. Then go for the Acceptances.
| Lost 1 V4 | 2nd Climax | ||
|---|---|---|---|
| Time | Damage | Combo | |
| PLATINUM | 00:50 | 0 | 6130 |
| GOLD | 01:05 | 300 | 3200 |
| SILVER | 01:25 | 600 | 2470 |
| BRONZE | 01:50 | 1200 | 1740 |
| BOSS BONUS | 0 | ||
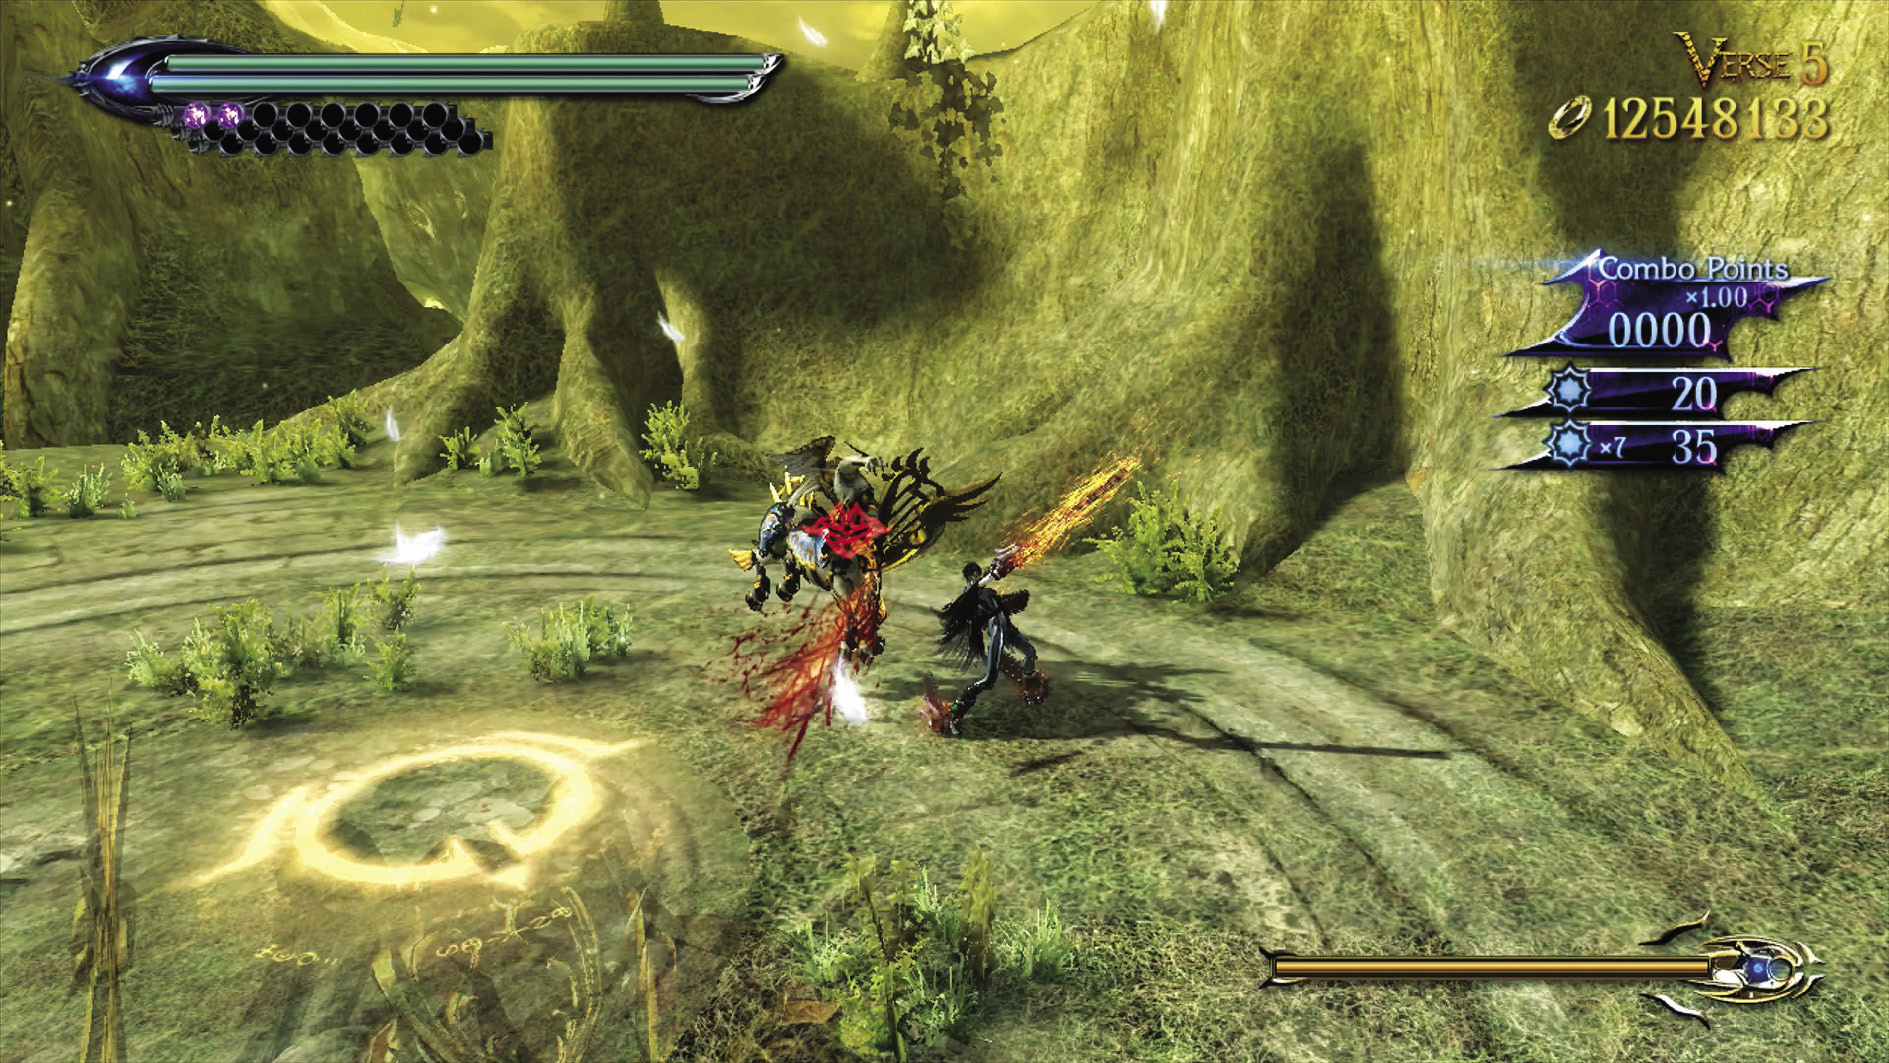
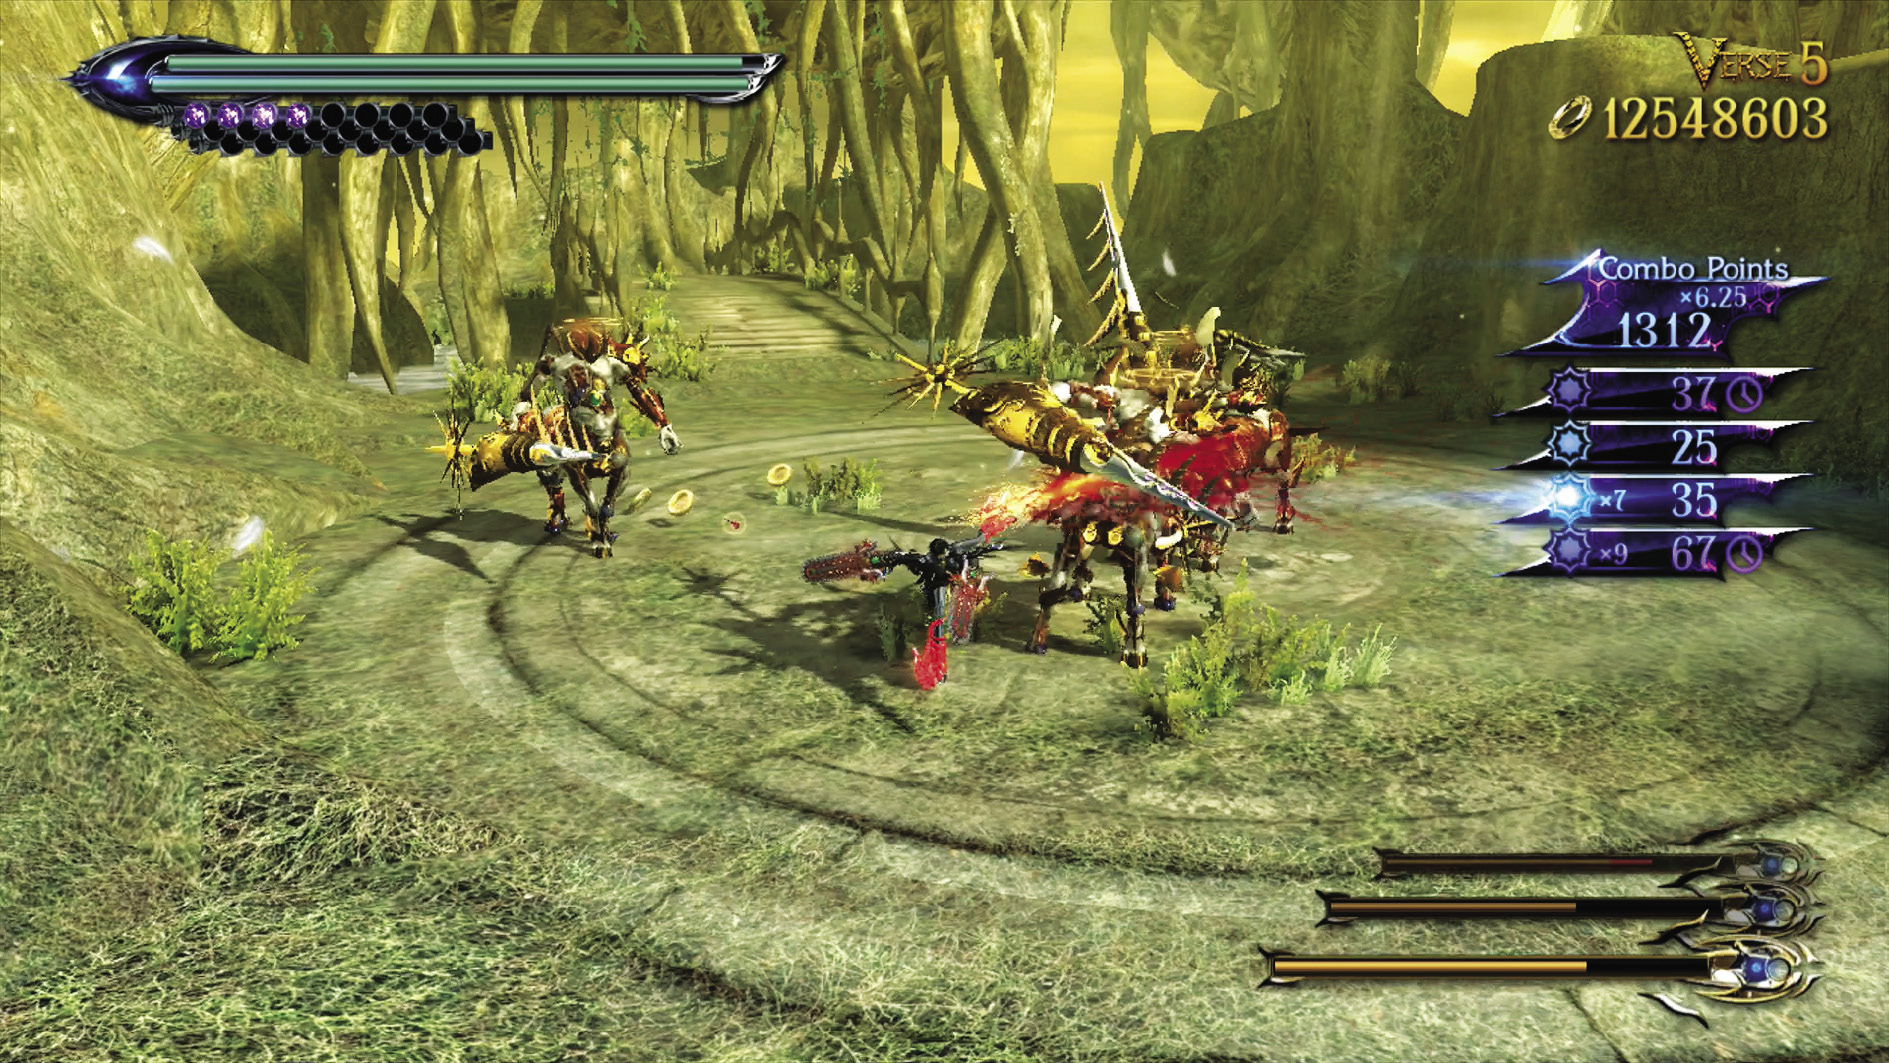
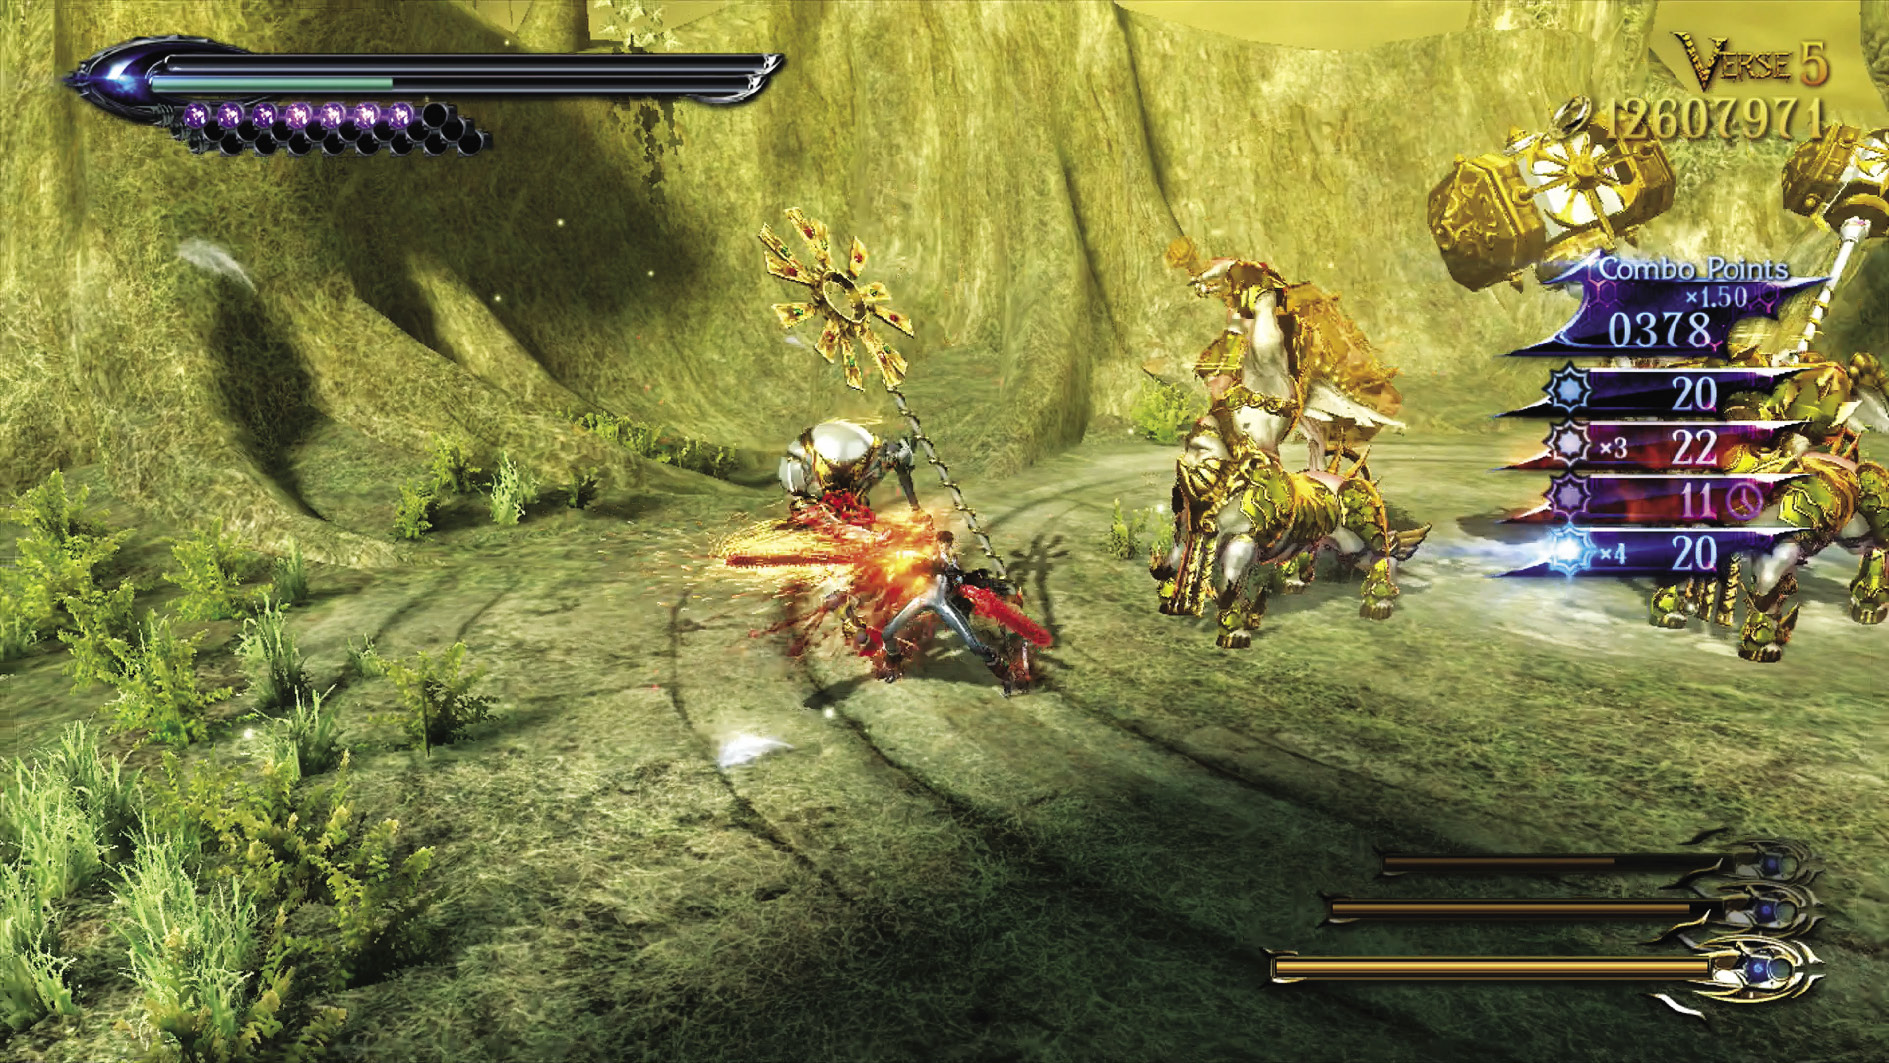
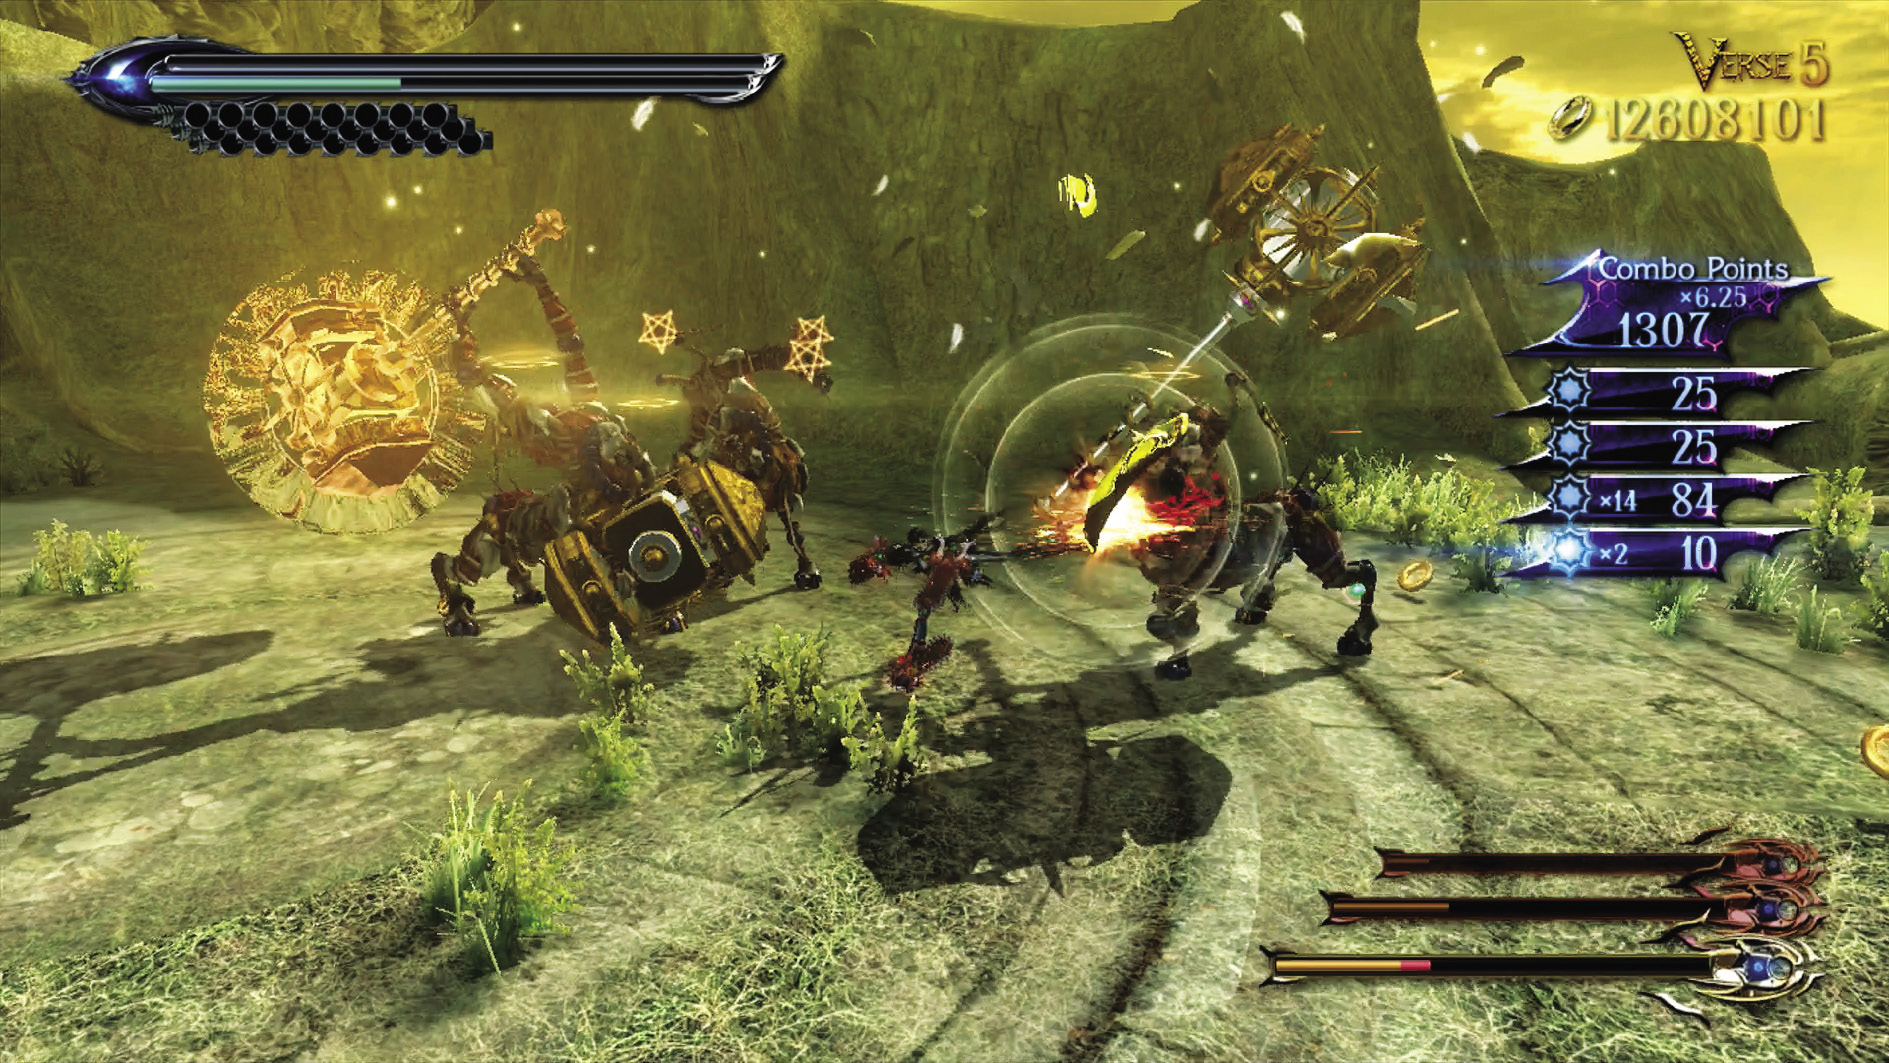
Verse 5
Suggested Weapon(s):Salamandra (Arms), Alruna (Legs)
Enemies: Acceptance (Harp) x2, Accolade (Spear) x4
Follow the same technique as last Verse for the Harp Acceptances. Spear Accolades’ wide, telegraphed swings make dodging into Witch Time easy. If you find yourself overwhelmed by the Accolades, slam one or two to the ground with Alruna during Witch Time by holding K.
| Lost 1 V5 | 2nd Climax | ||
|---|---|---|---|
| Time | Damage | Combo | |
| PLATINUM | 01:10 | 0 | 30030 |
| GOLD | 01:25 | 300 | 13330 |
| SILVER | 01:45 | 600 | 9160 |
| BRONZE | 02:10 | 1200 | 4980 |
| BOSS BONUS | 0 | ||
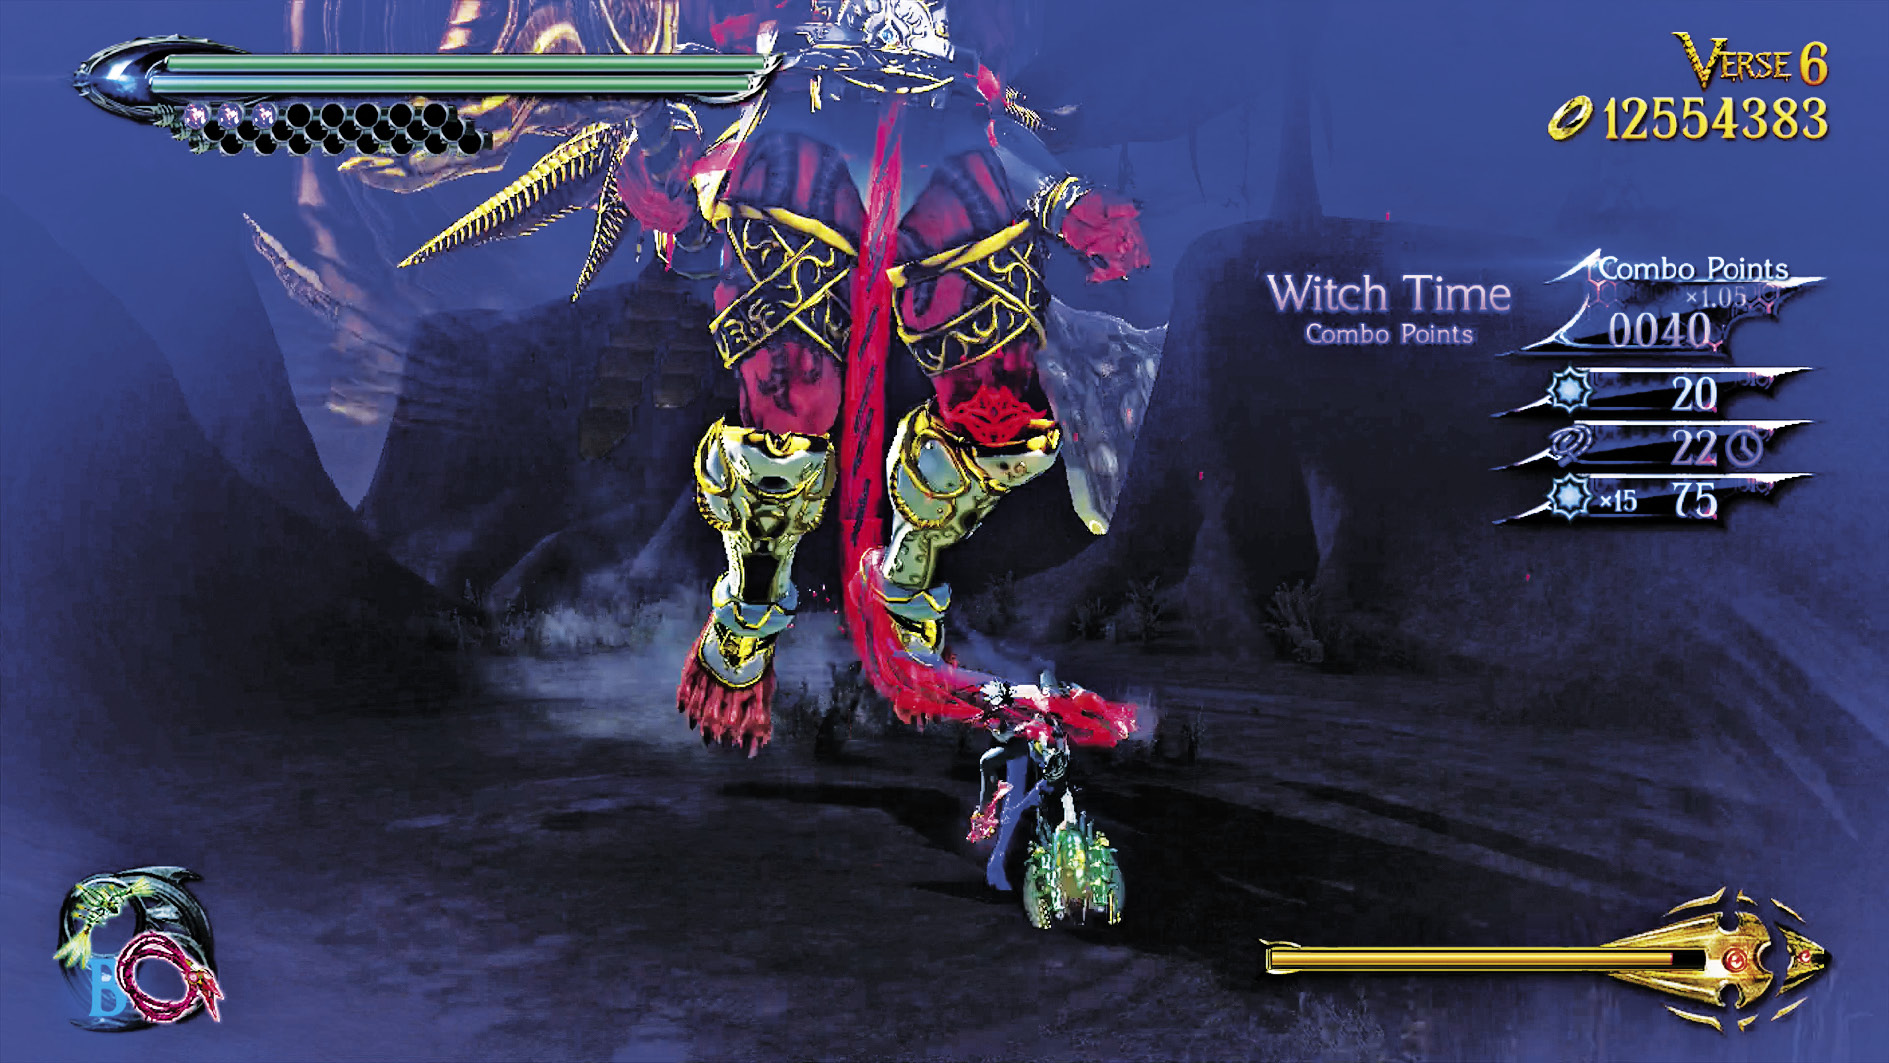
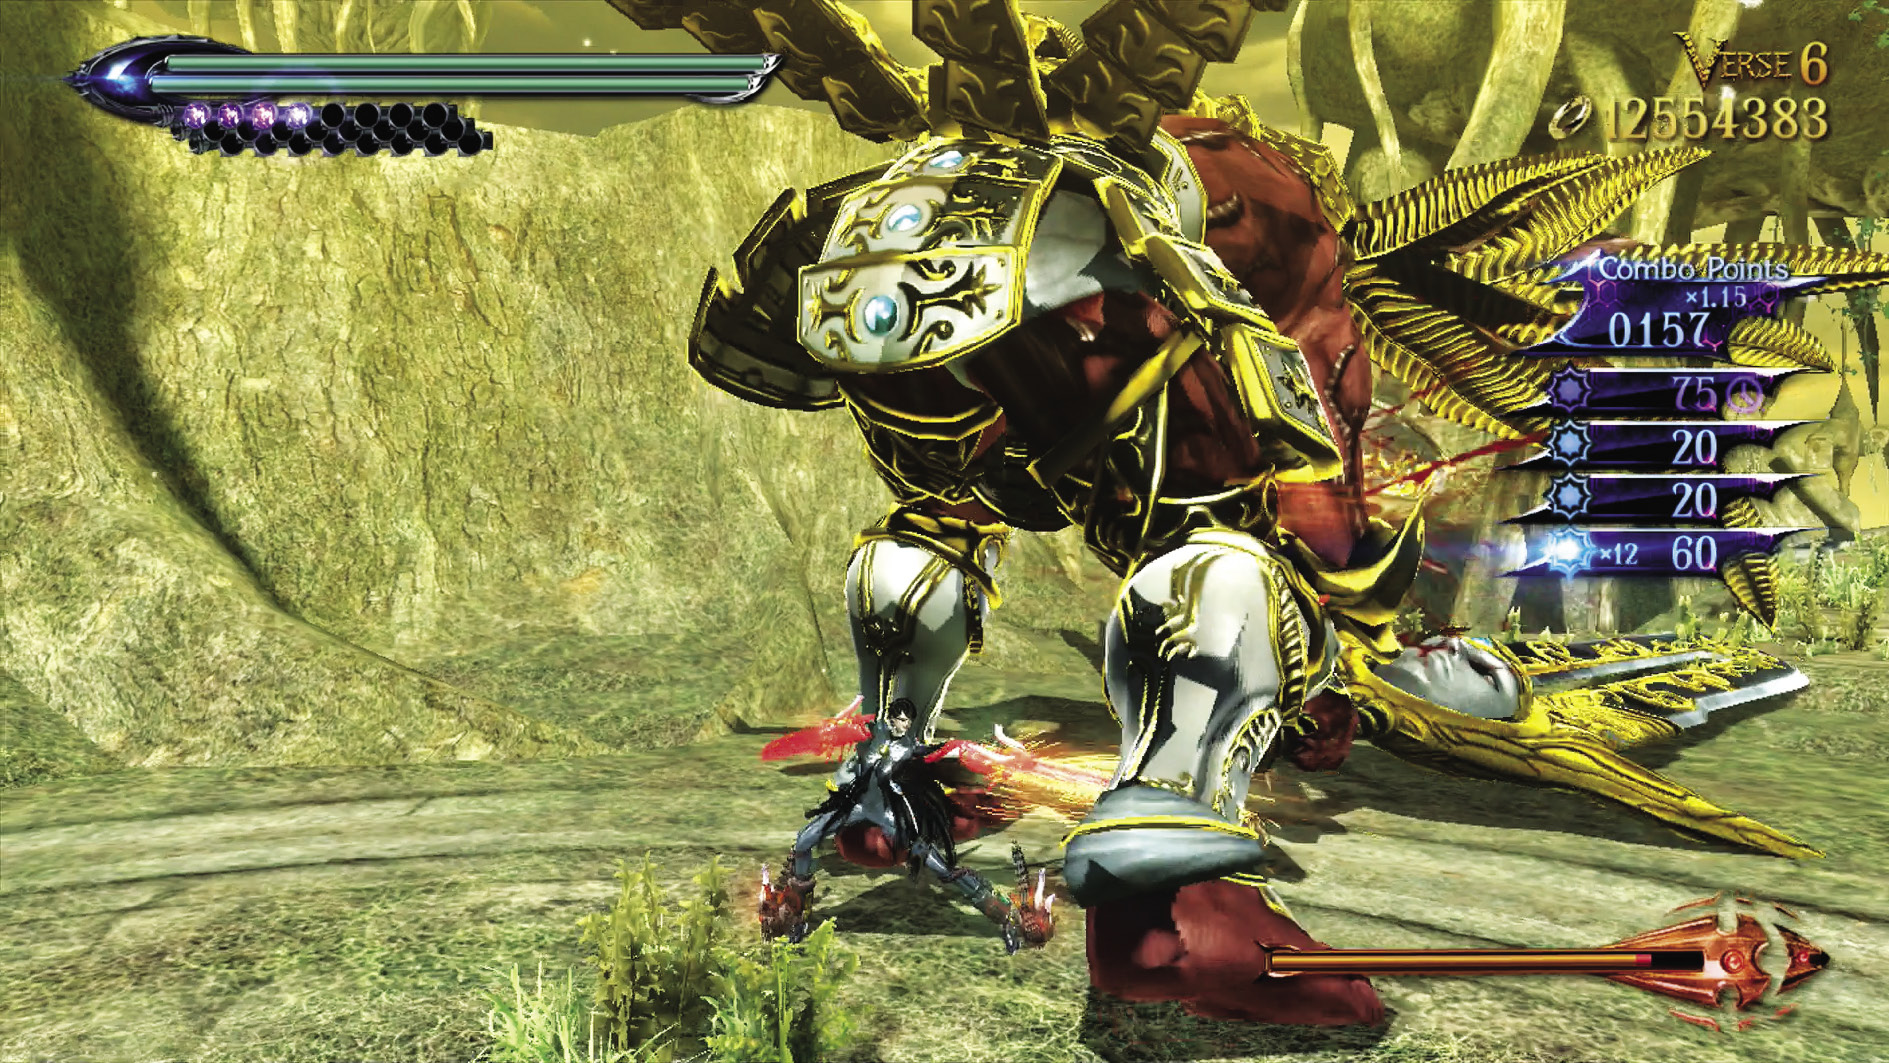
Verse 6
Suggested Weapon(s): Salamandra (Arms), Alruna (Legs)
Enemies: Valiance x1
The bigger they are, the harder they fall! Dodge his sword, then bring him to the ground with the Alruna by holding K. While he’s recovering, slice him with the Salamandra for all you’re worth! Repeat until he’s vanquished.
post-chapter spoils 1 Verse Card (Fortitudo)
| Lost 1 V6 | 2nd Climax | ||
|---|---|---|---|
| Time | Damage | Combo | |
| PLATINUM | 01:10 | 0 | 23000 |
| GOLD | 01:30 | 300 | 10400 |
| SILVER | 02:00 | 600 | 7250 |
| BRONZE | 02:40 | 1200 | 4100 |
| BOSS BONUS | 1500 | ||
Witch Trial II (difficulty: 3rd climax)
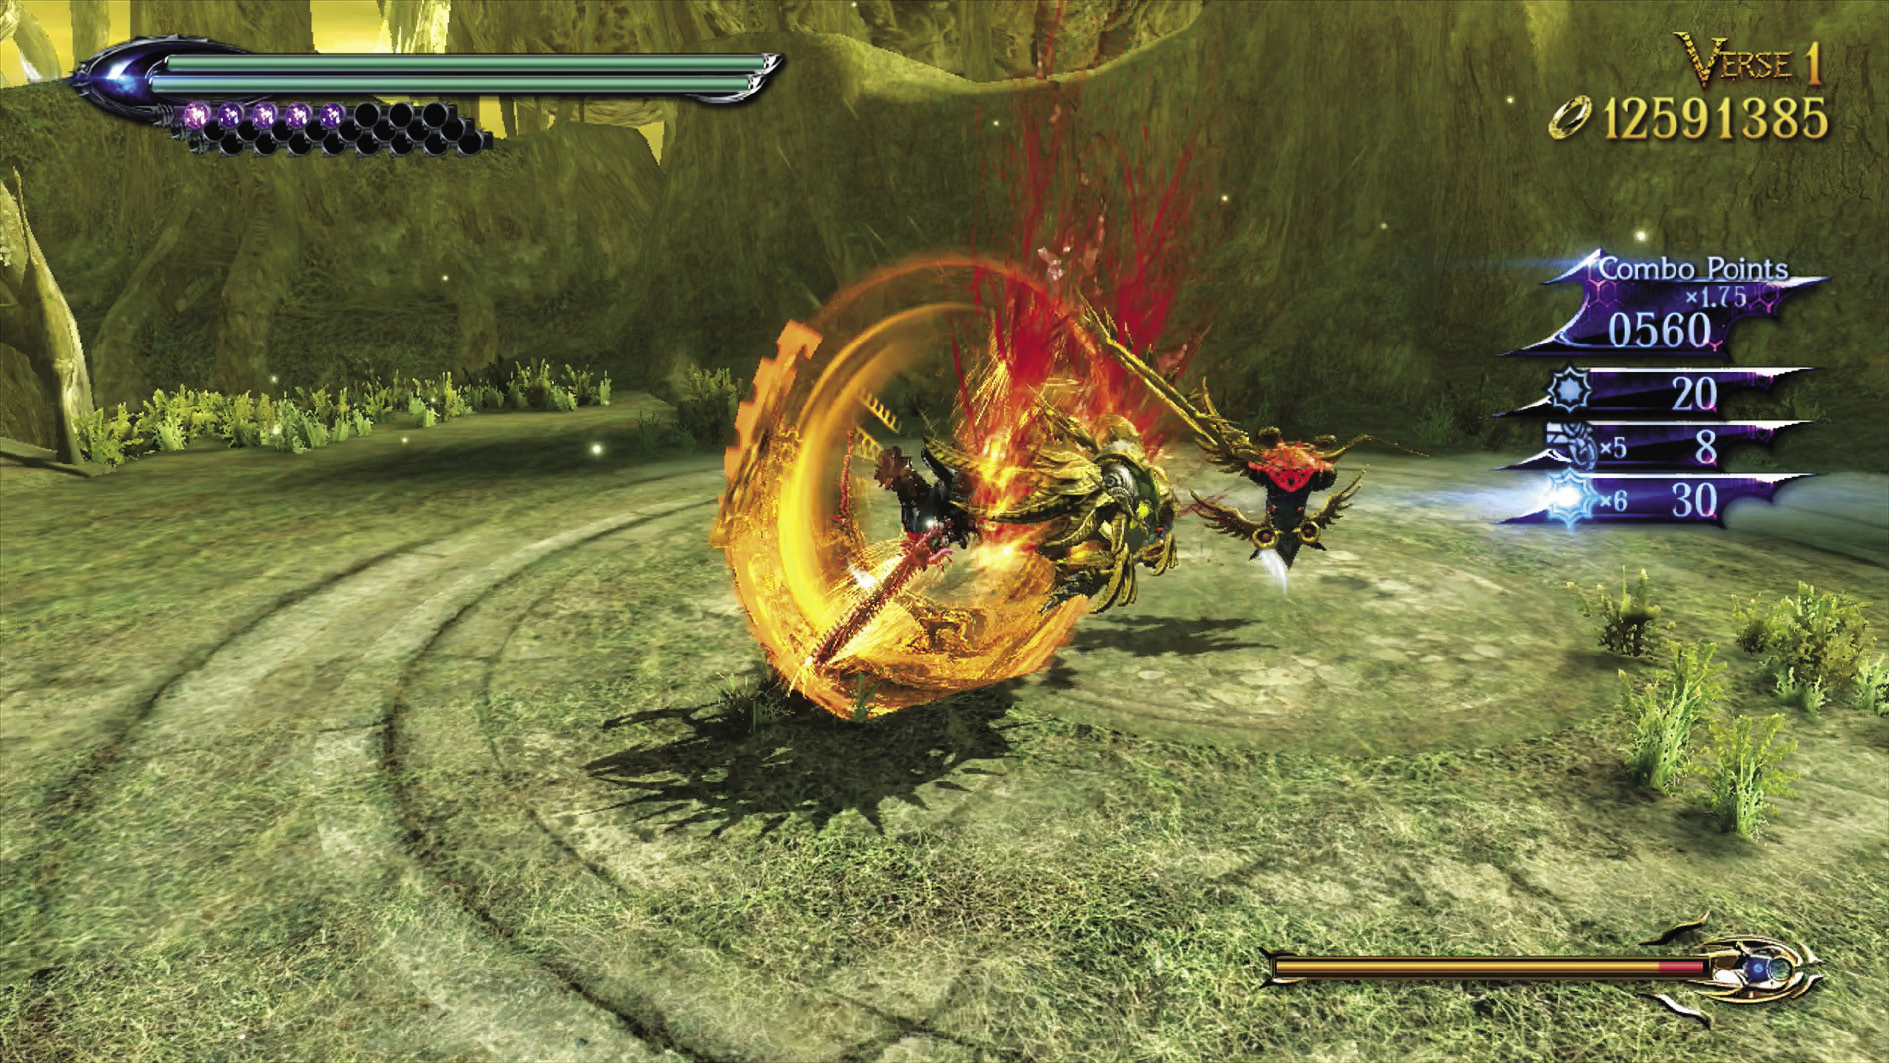
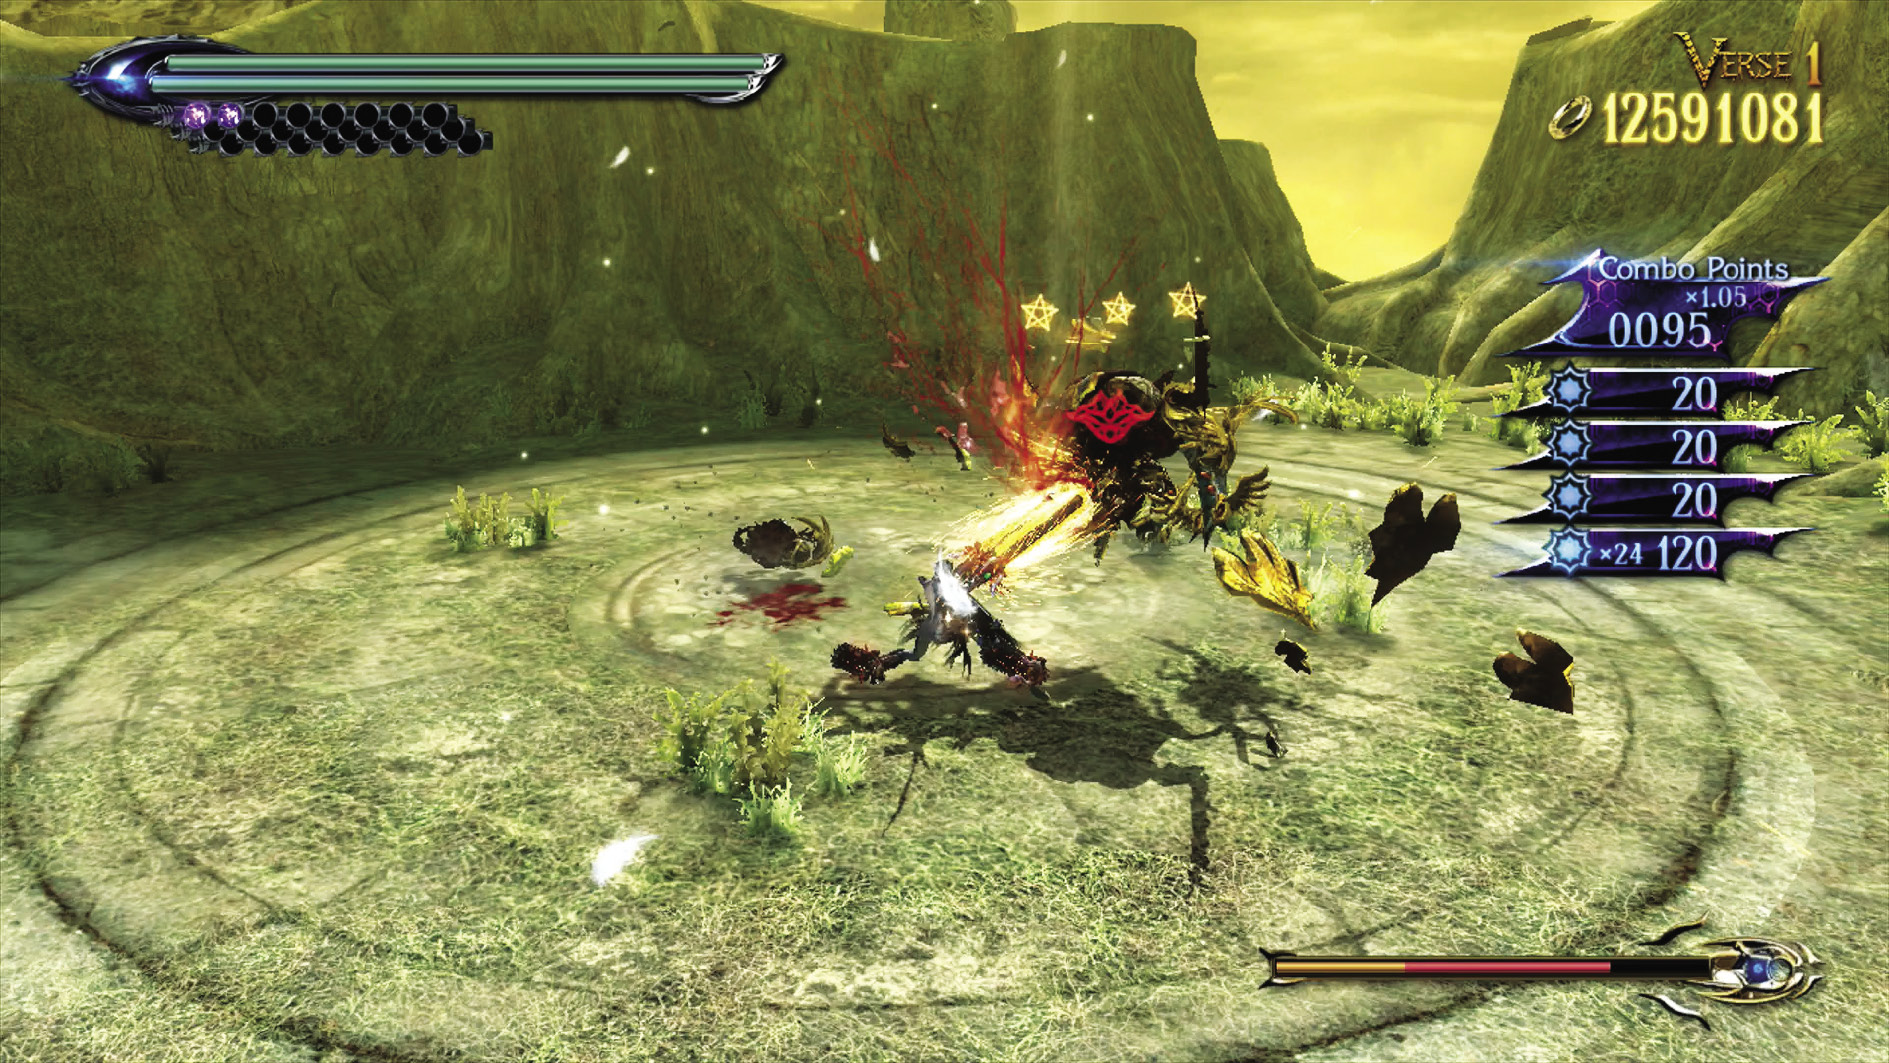
Verse 1
Suggested Weapon(s): Salamandra (Arms & Legs)
Enemies: Cachet x2, Compassion x5
Pick off all of the enemies, dodging and retaliating where applicable. The Cachets usually come to you, but use Stiletto to track down enemies yourself if you find yourself in an empty space.
| Lost 2 V1 | 3rd Climax | ||
|---|---|---|---|
| Time | Damage | Combo | |
| PLATINUM | 00:35 | 0 | 1870 |
| GOLD | 00:50 | 1000 | 1220 |
| SILVER | 01:10 | 2000 | 1050 |
| BRONZE | 01:35 | 4000 | 890 |
| BOSS BONUS | 0 | ||
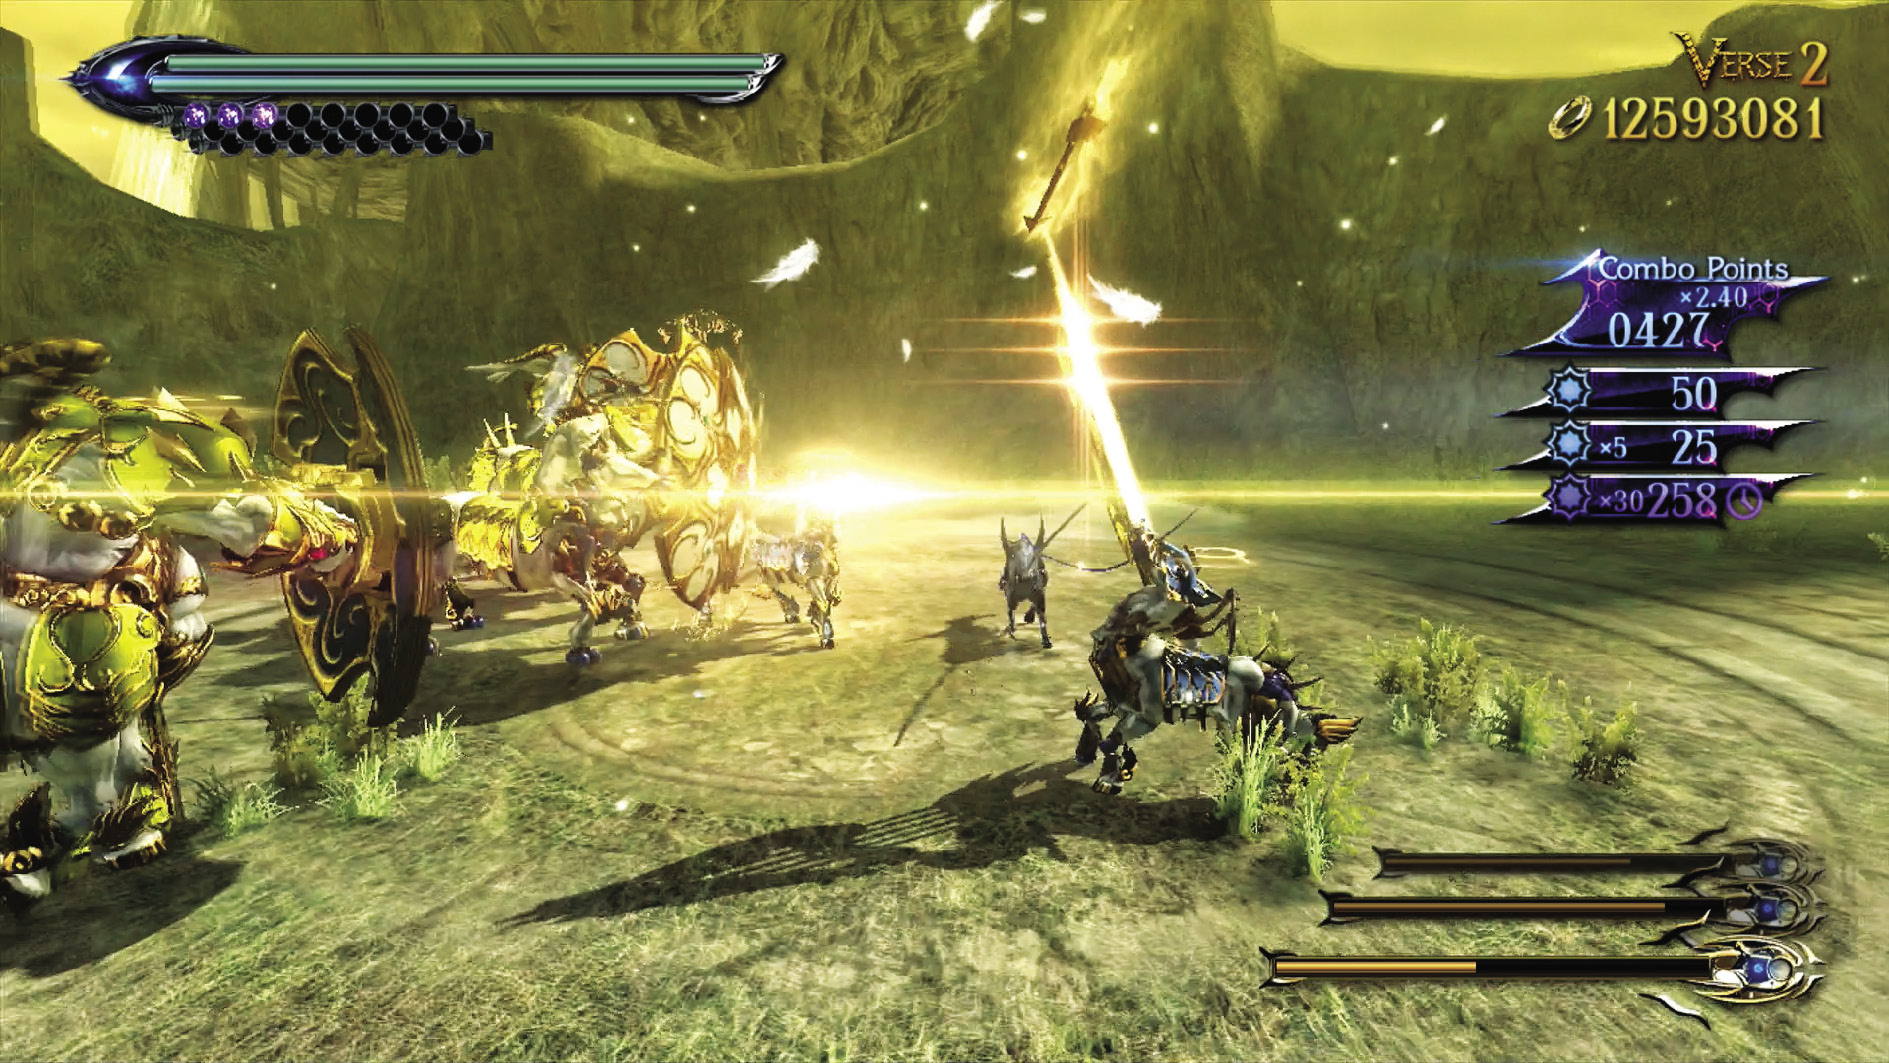
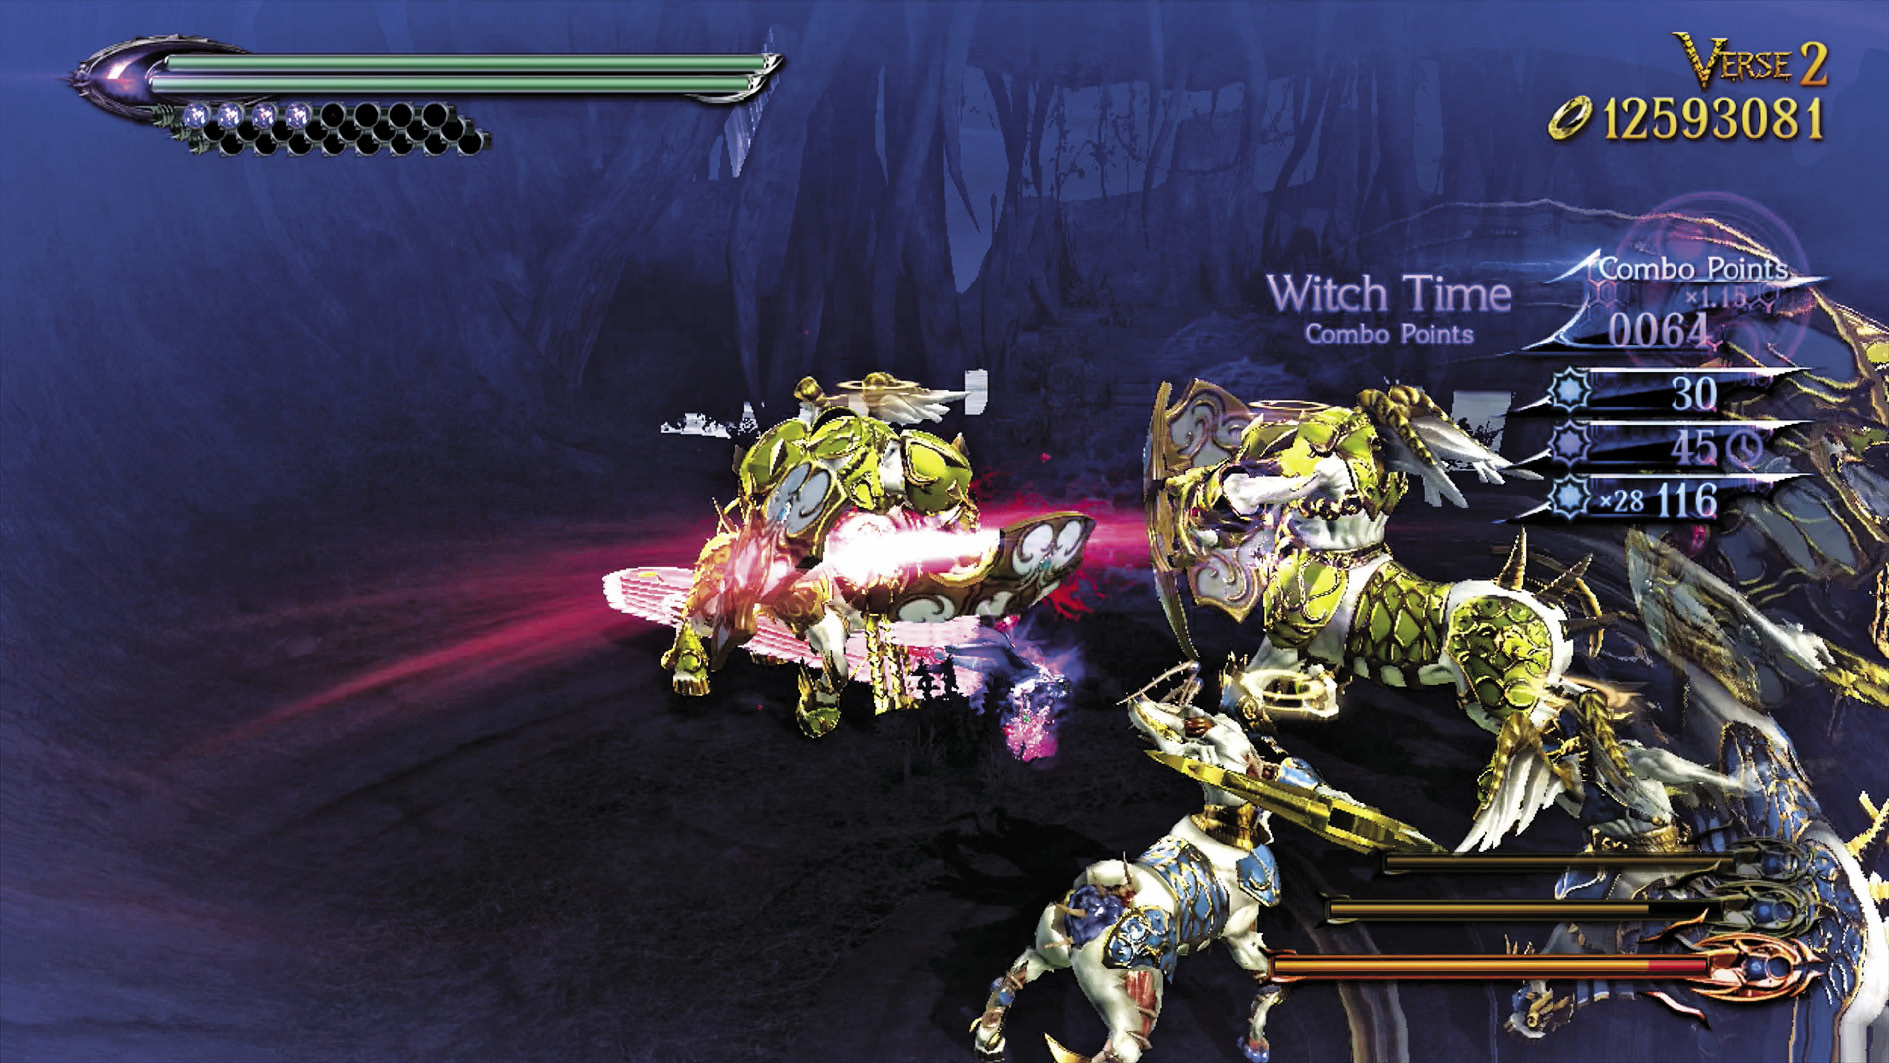
Verse 2
Suggested Weapon(s): Salamandra (Arms), Alruna (Legs)
Enemies: Acceptance (Harp) x2, Accolade (Shield) x3
Witch Time and Umbran Climax are your best friends in this Verse, as you’ll need both to get past the Accolades’ shields and keep your combo multiplier up. Dodge every attack you can. You might want to leave the Acceptances for last, as their arrows make for easy Witch Time opportunities.
| Lost 2 V2 | 3rd Climax | ||
|---|---|---|---|
| Time | Damage | Combo | |
| PLATINUM | 01:10 | 0 | 10500 |
| GOLD | 01:25 | 600 | 5100 |
| SILVER | 01:45 | 1200 | 3750 |
| BRONZE | 02:10 | 2400 | 2400 |
| BOSS BONUS | 0 | ||
Verse 3
Suggested Weapon(s): Salamandra (Arms), Alruna (Legs)
Enemies: Belief x1, Accolade (Shield) x2
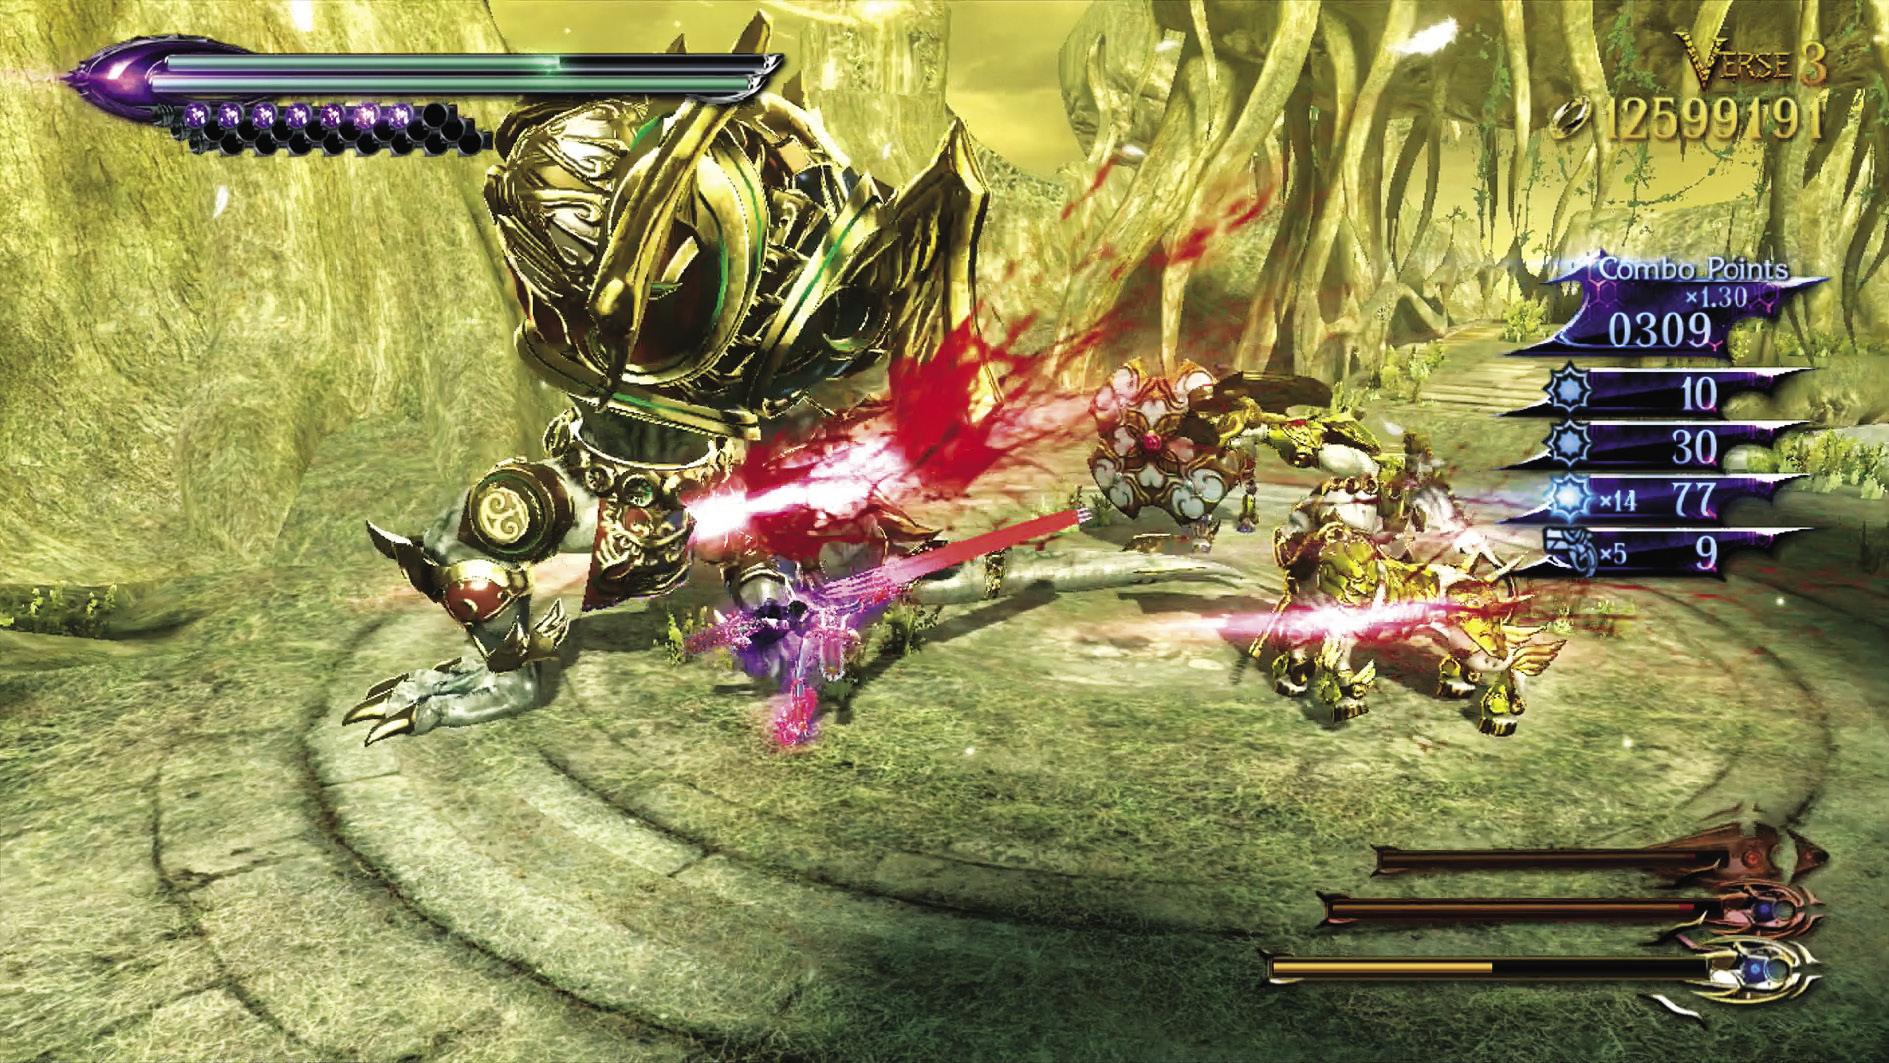
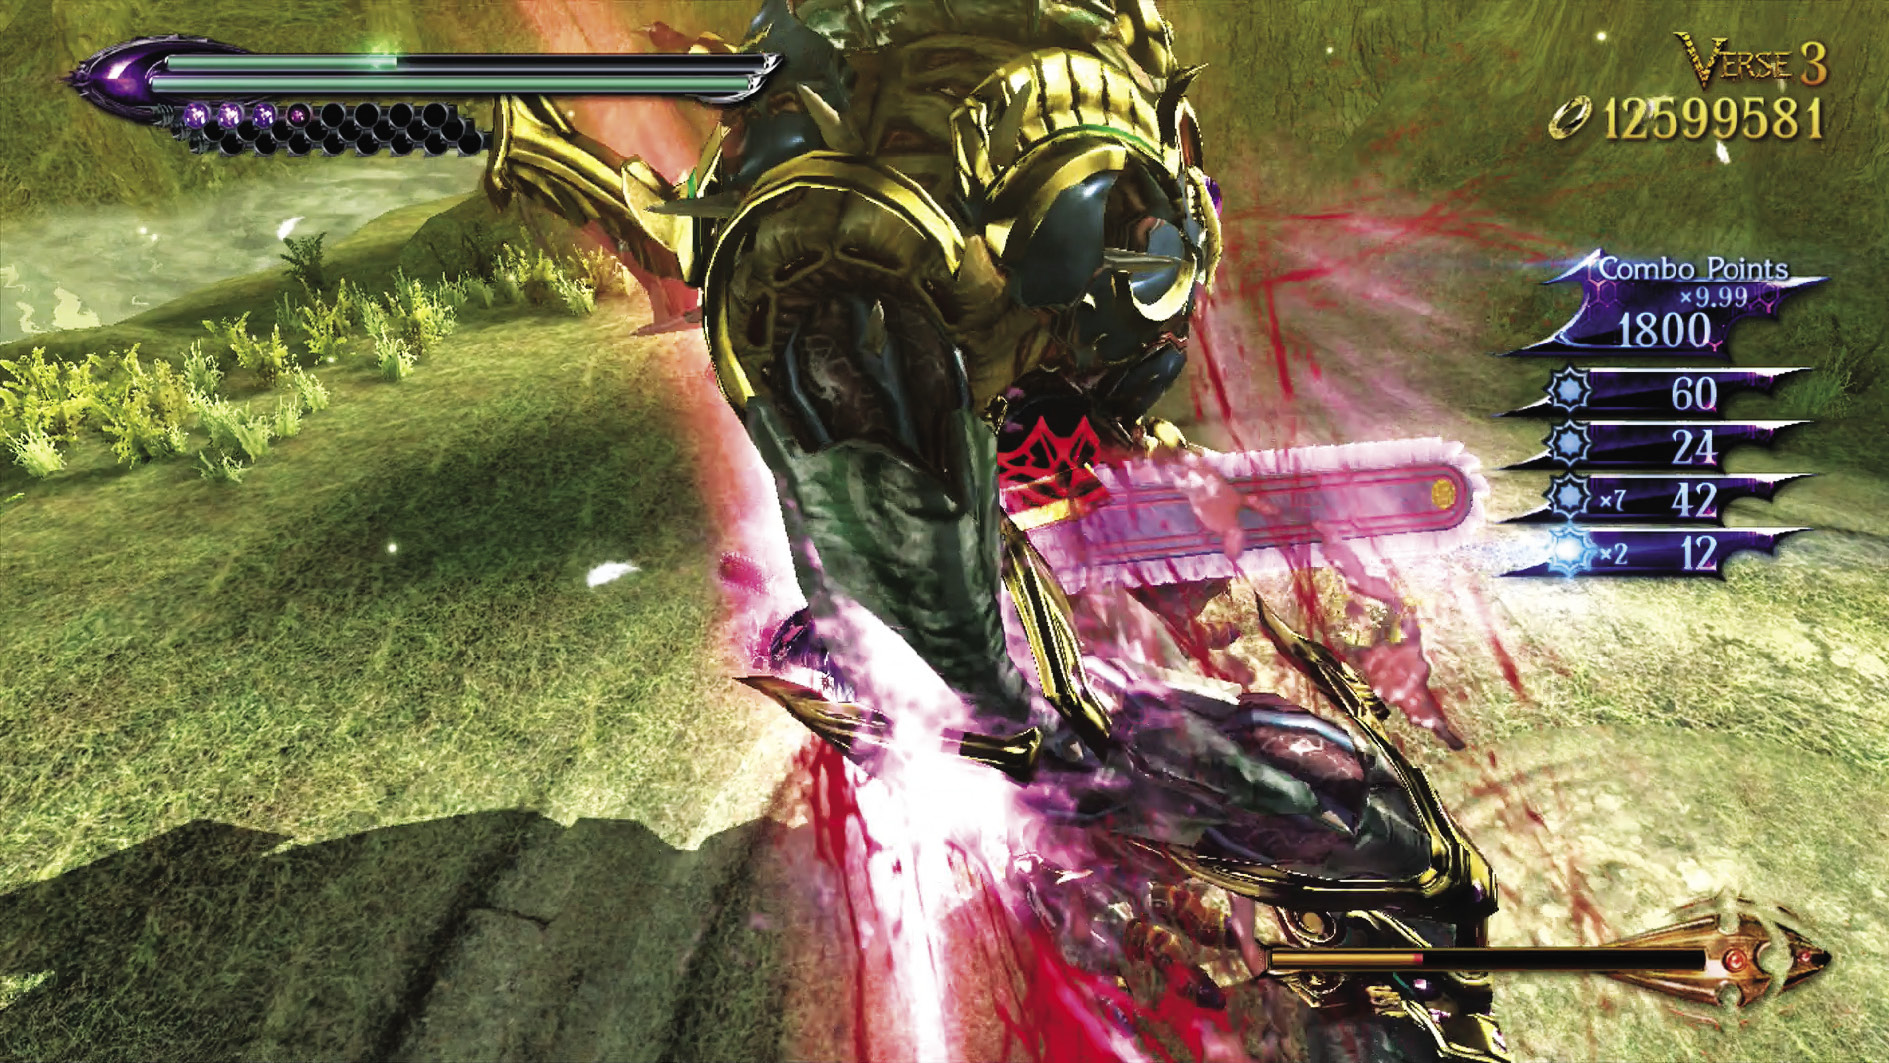
Use the same strategy as last Verse, except you might also want to occasionally use Witch Time to slam the Belief to the ground by holding K. This temporarily stops him from attacking, and leaves him a sitting duck.
| Lost 2V3 | 3rd Climax | ||
|---|---|---|---|
| Time | Damage | Combo | |
| PLATINUM | 01:30 | 0 | 59640 |
| GOLD | 01:50 | 600 | 25540 |
| SILVER | 02:20 | 1200 | 17010 |
| BRONZE | 03:00 | 2400 | 8480 |
| BOSS BONUS | 0 | ||
Verse 4
Suggested Weapon(s): Salamandra (Arms & Legs)
Enemies: Enrapture x2, Acceptance (Harp) x2, Accolade (Twin Blades) x1
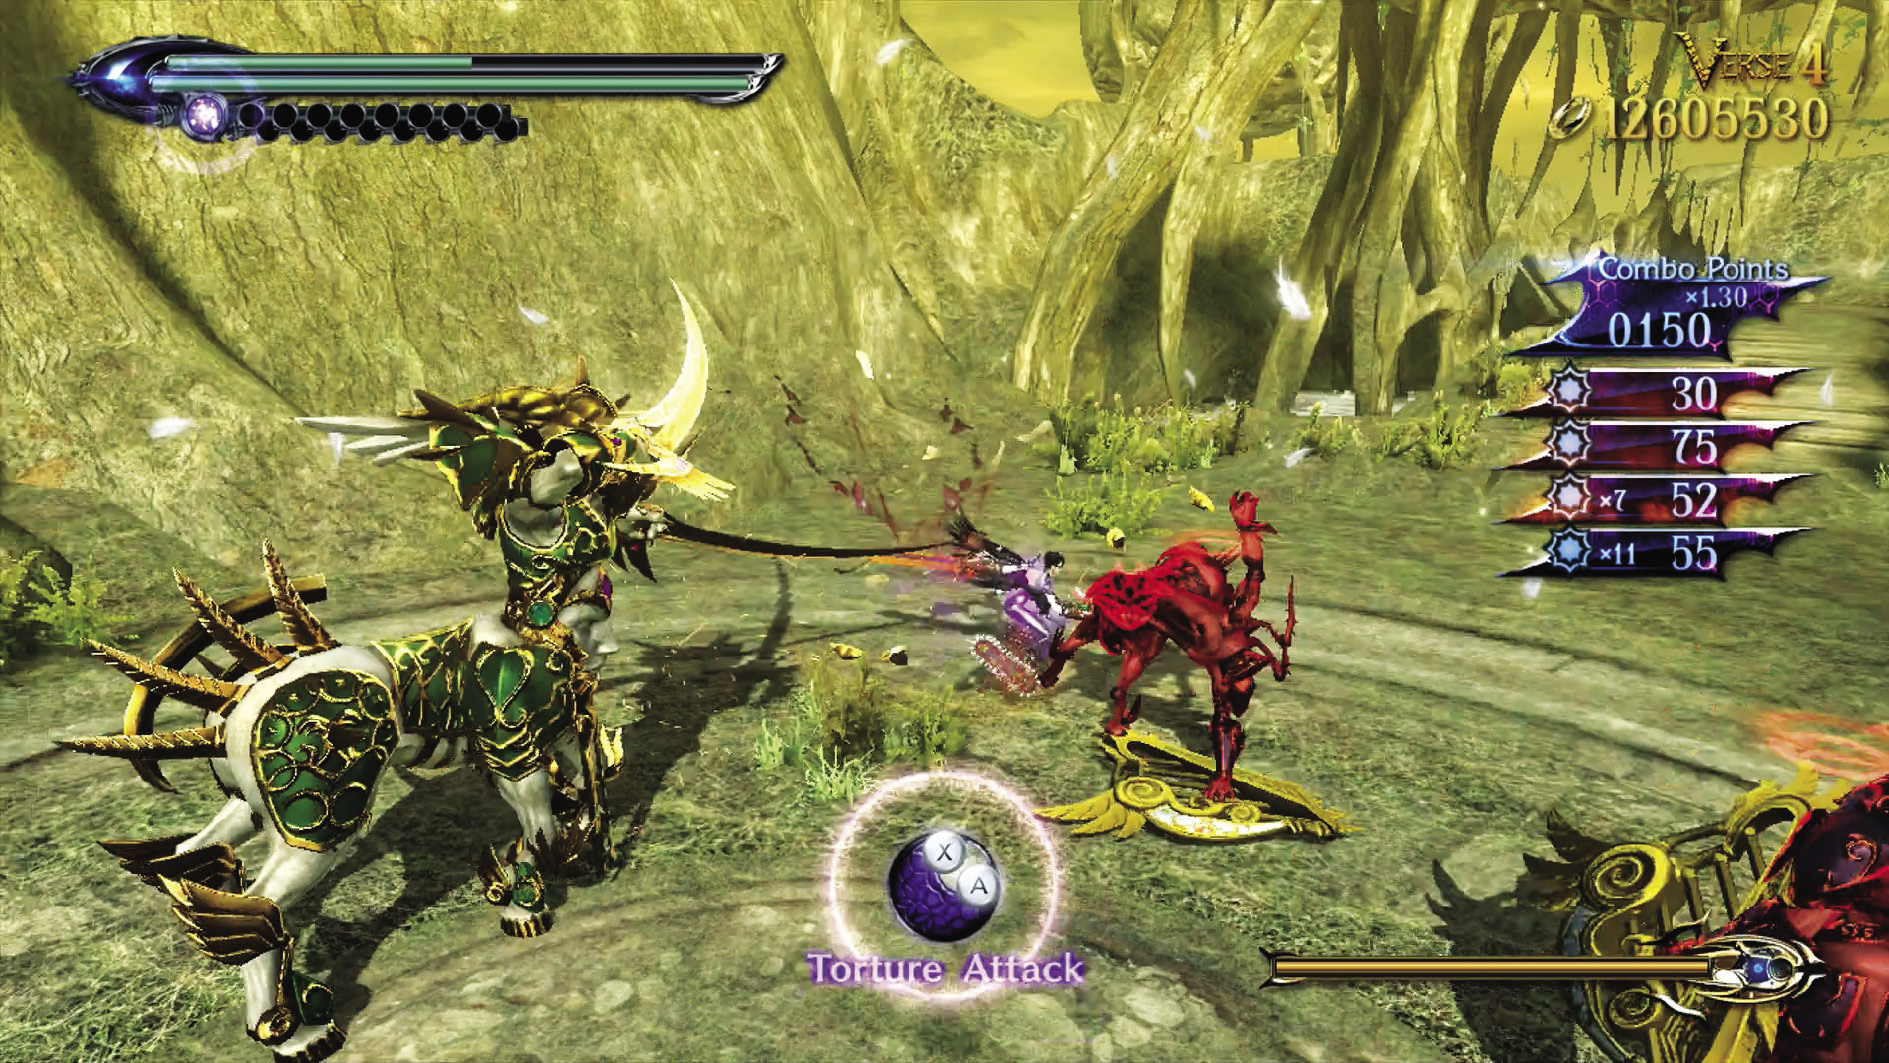
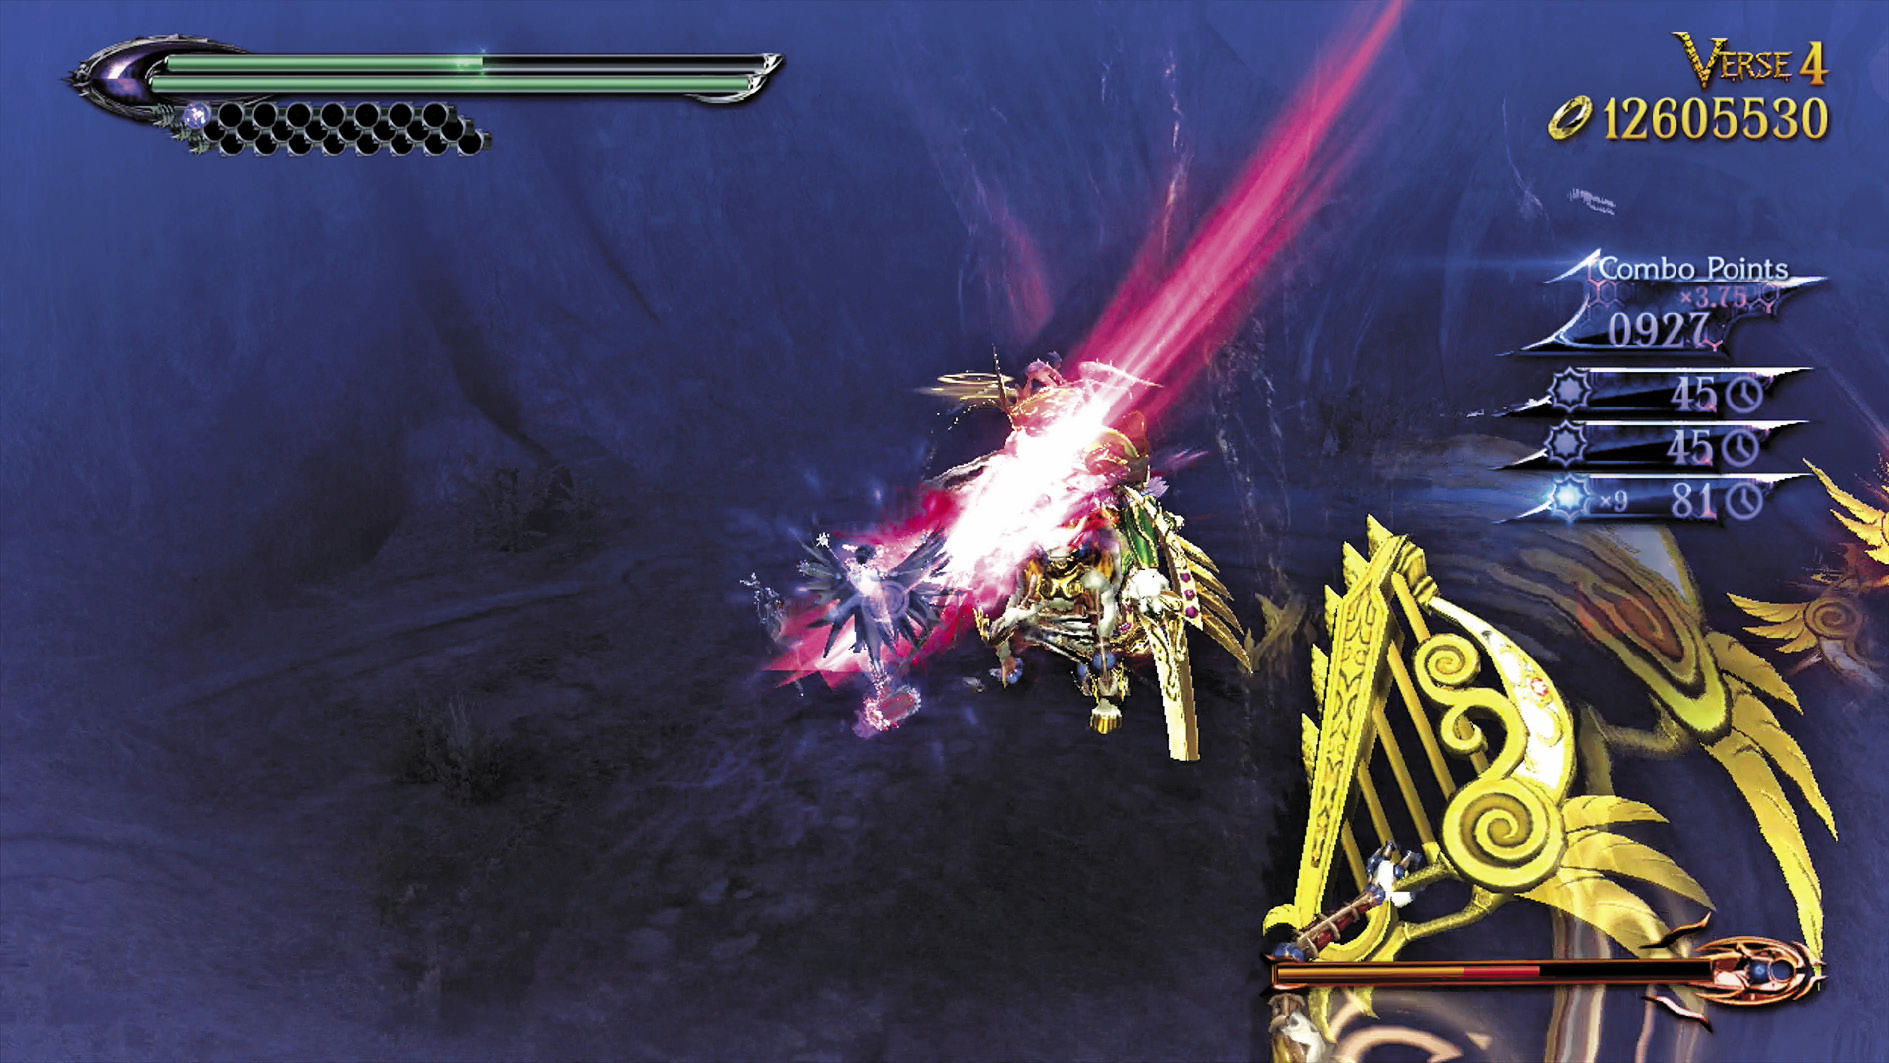
This all comes down to your dodging skills. The Accolade’s blade attacks are fast, and arrows from the Acceptances rain from above. It’s your choice as to whether or not you want to take out the Enraptures first (an enraged Accolade swings even faster) or leave them alive for more points. Whatever choice you make, slice and dice until all are destroyed.
| Lost 2 V4 | 3rd Climax | ||
|---|---|---|---|
| Time | Damage | Combo | |
| PLATINUM | 00:40 | 0 | 3940 |
| GOLD | 00:50 | 600 | 2210 |
| SILVER | 01:05 | 1200 | 1770 |
| BRONZE | 01:25 | 2400 | 1340 |
| BOSS BONUS | 0 | ||
Verse 5
Suggested Weapon(s): Salamandra (Arms & Legs)
Enemies: Accolade (Hammer) x3, Enrapture x2
This one’s a much easier choice. Destroy the Enraptures ASAP, because Accolade hammers hurt like nothing else, and a faster attack rate only means increased pain. With them out of the way you can more easily dodge the hammers, then retaliate with Salamandra swipes during Witch Time. Don’t get crowded!
| Lost 2V5 | 3rd Climax | ||
|---|---|---|---|
| Time | Damage | Combo | |
| PLATINUM | 01:00 | 0 | 14710 |
| GOLD | 01:15 | 800 | 6900 |
| SILVER | 01:35 | 1600 | 4950 |
| BRONZE | 02:00 | 3200 | 3000 |
| BOSS BONUS | 0 | ||
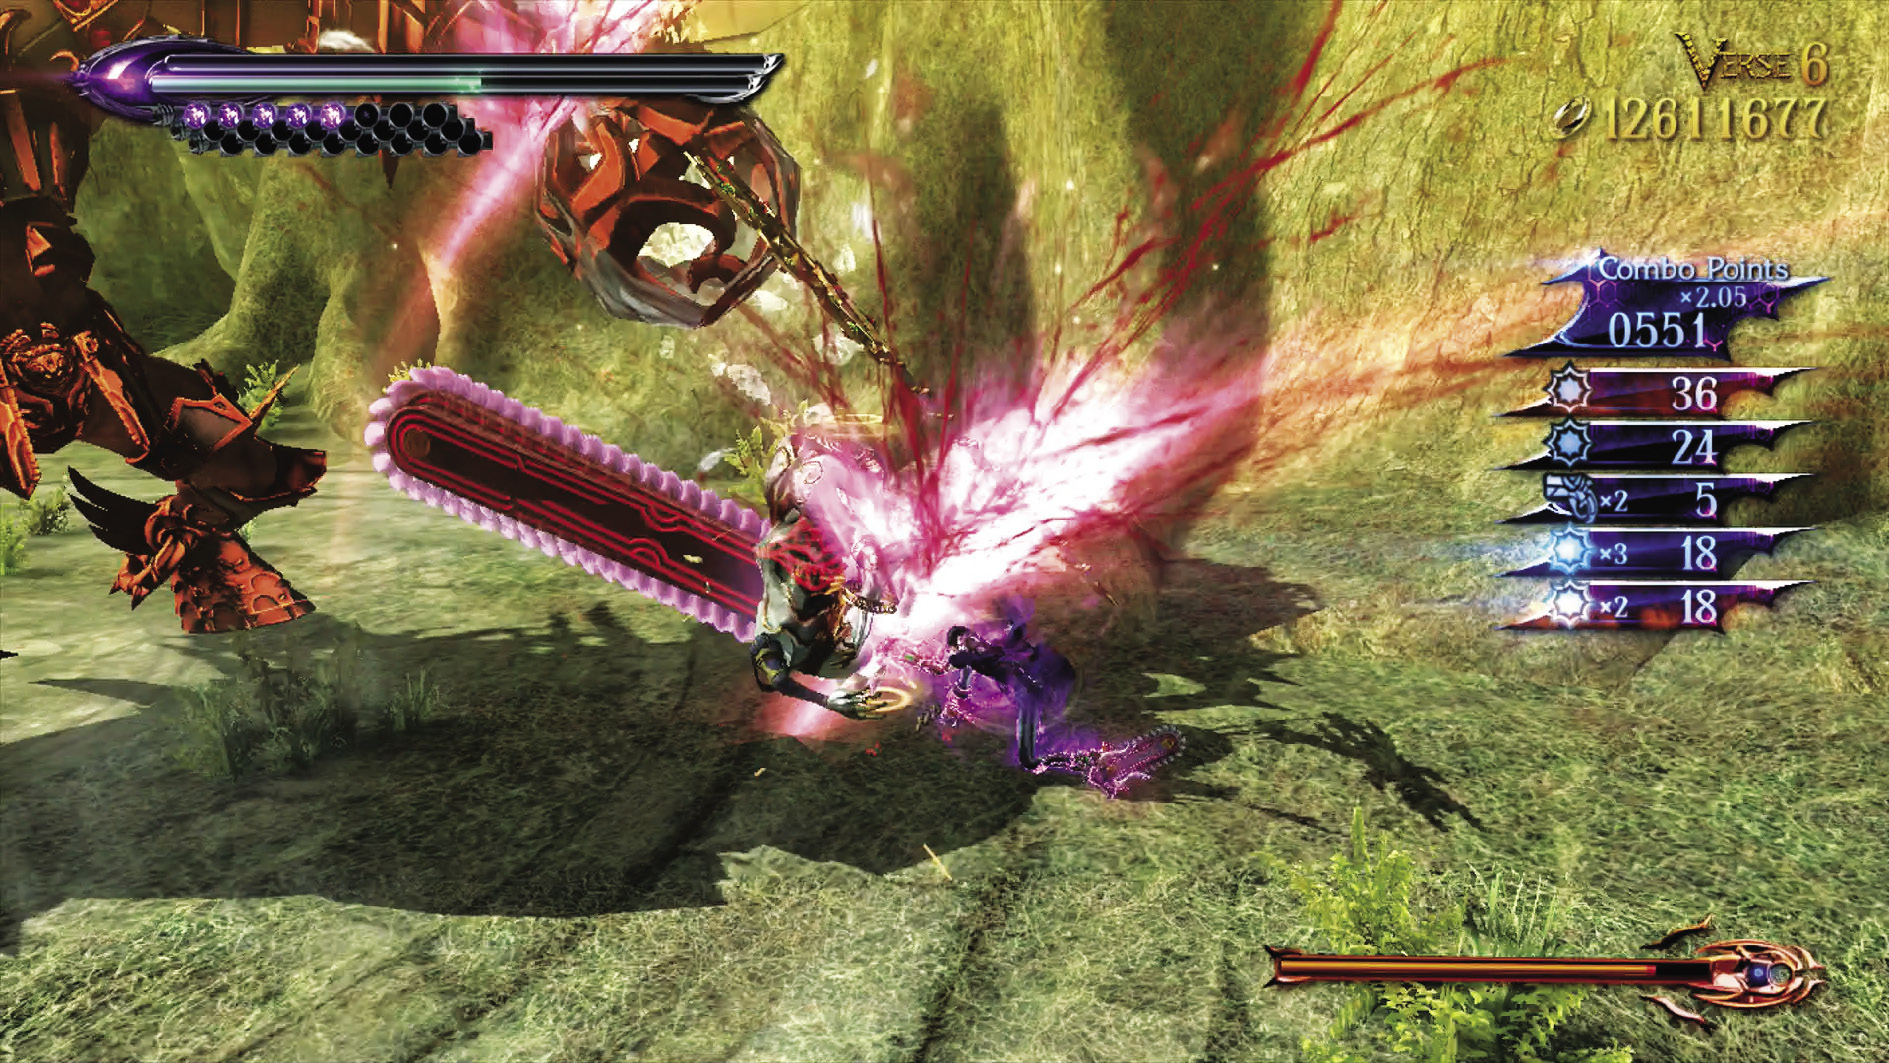
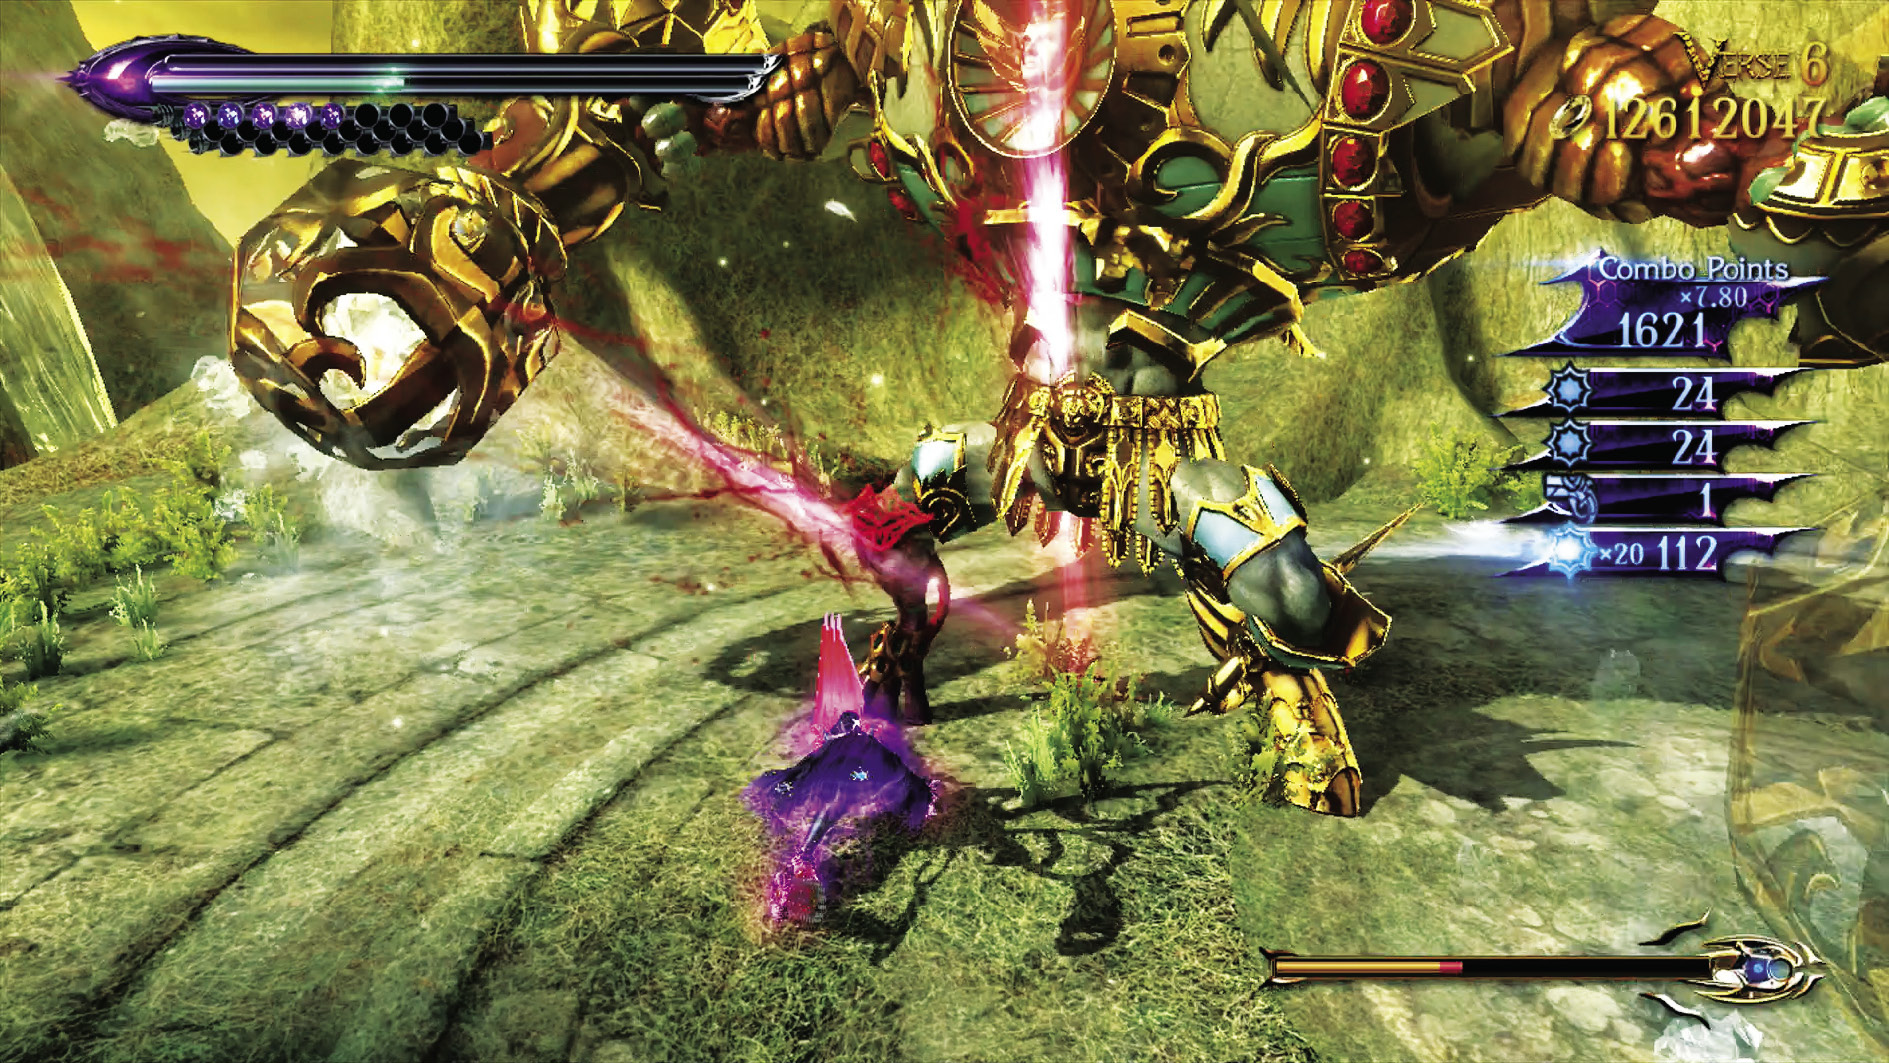
Verse 6
Suggested Weapon(s): Salamandra (Arms), Alruna (Legs)
Enemies: Enrapture x4, Gravitas x1
Destroy the Enraptures first again to make the Gravitas a much easier time. Once Gravitas is alone, slam him to the ground by holding K during Witch Time, then attack without mercy!
| Lost 2 V6 | 3rd Climax | ||
|---|---|---|---|
| Time | Damage | Combo | |
| PLATINUM | 01:40 | 0 | 34040 |
| GOLD | 02:00 | 1000 | 15000 |
| SILVER | 02:30 | 2000 | 10240 |
| BRONZE | 03:10 | 4000 | 5470 |
| BOSS BONUS | 0 | ||
Verse 7
Suggested Weapon(s): Salamandra (Arms & Legs)
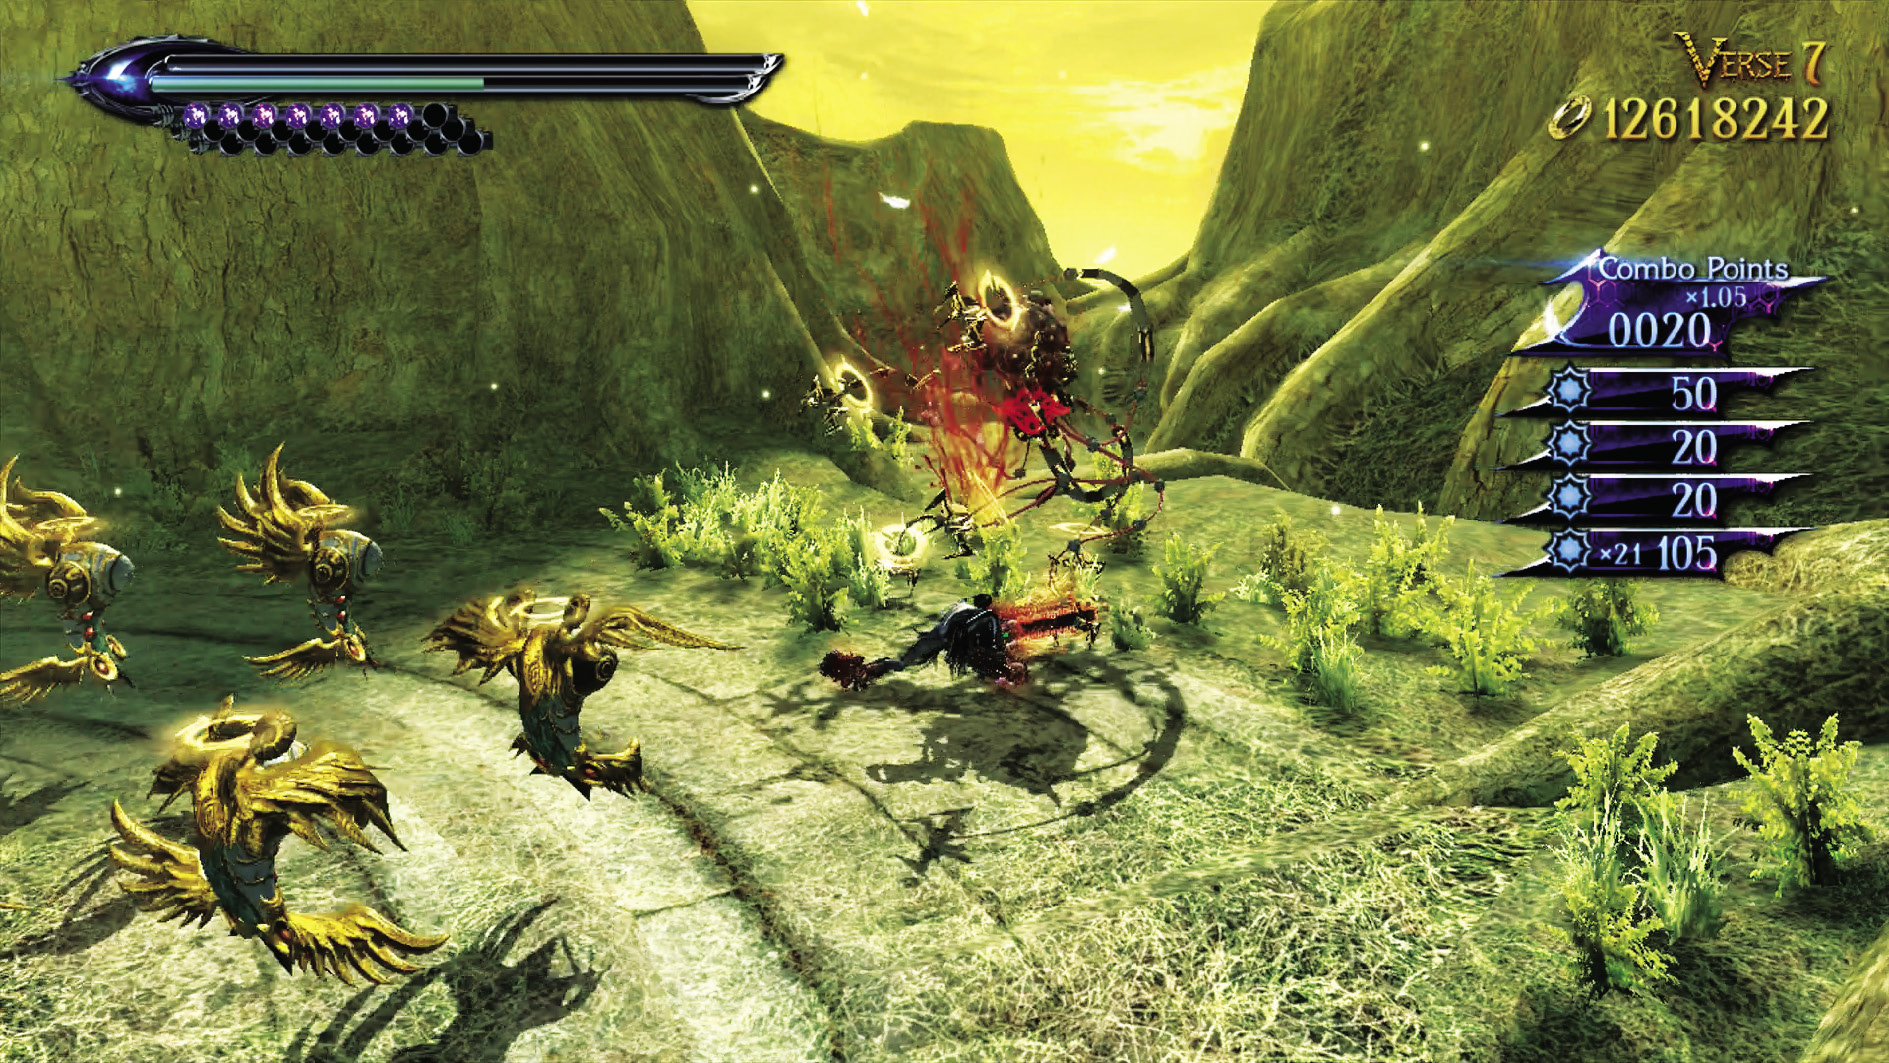
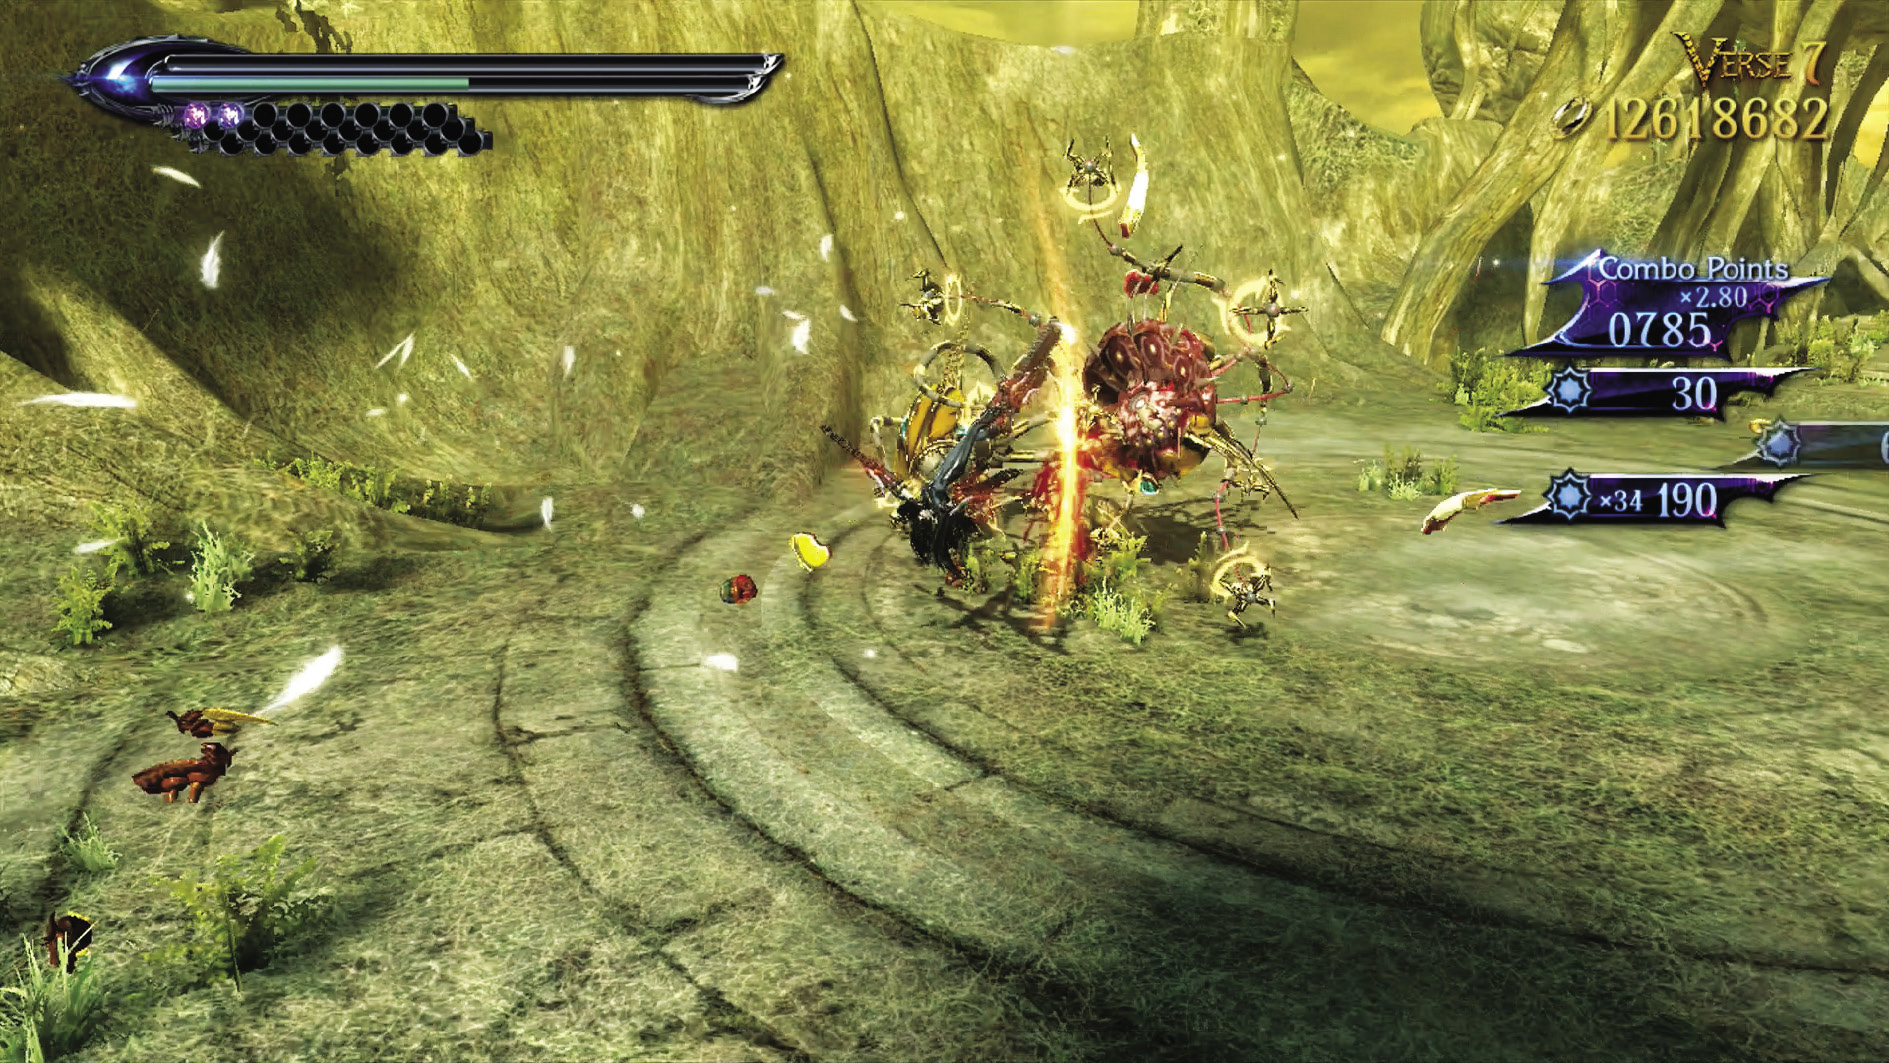
Enemies: Compassion x6, Fidelity x3
Dodge and slice, dodge and dice. This Verse is straightforward, but keep an eye on your surroundings as both enemy types here are mobile and can come from all sides.
| Lost 2V7 | 3rd Climax | ||
|---|---|---|---|
| Time | Damage | Combo | |
| PLATINUM | 00:45 | 0 | 7660 |
| GOLD | 01:00 | 400 | 3890 |
| SILVER | 01:20 | 800 | 2950 |
| BRONZE | 01:45 | 1600 | 2010 |
| BOSS BONUS | 0 | ||
Verse 8
Suggested Weapon(s): Rakshasa (Arms)
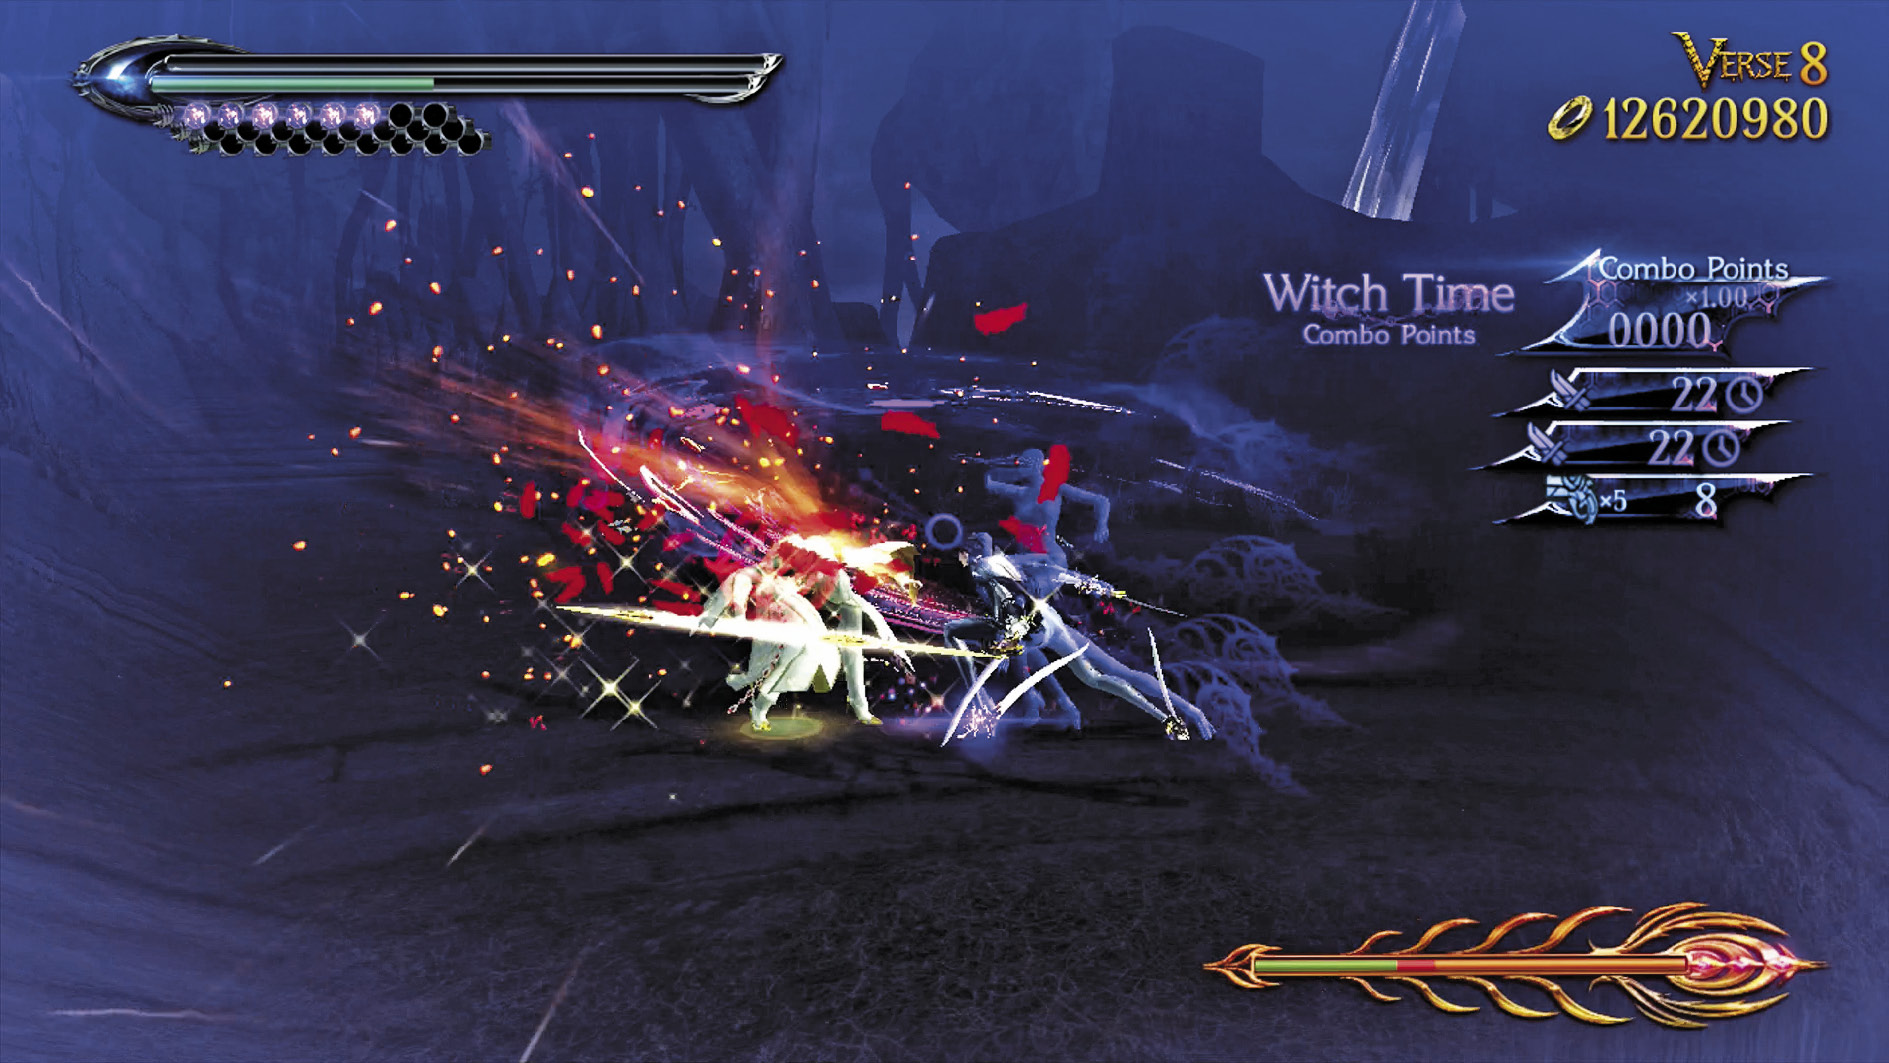
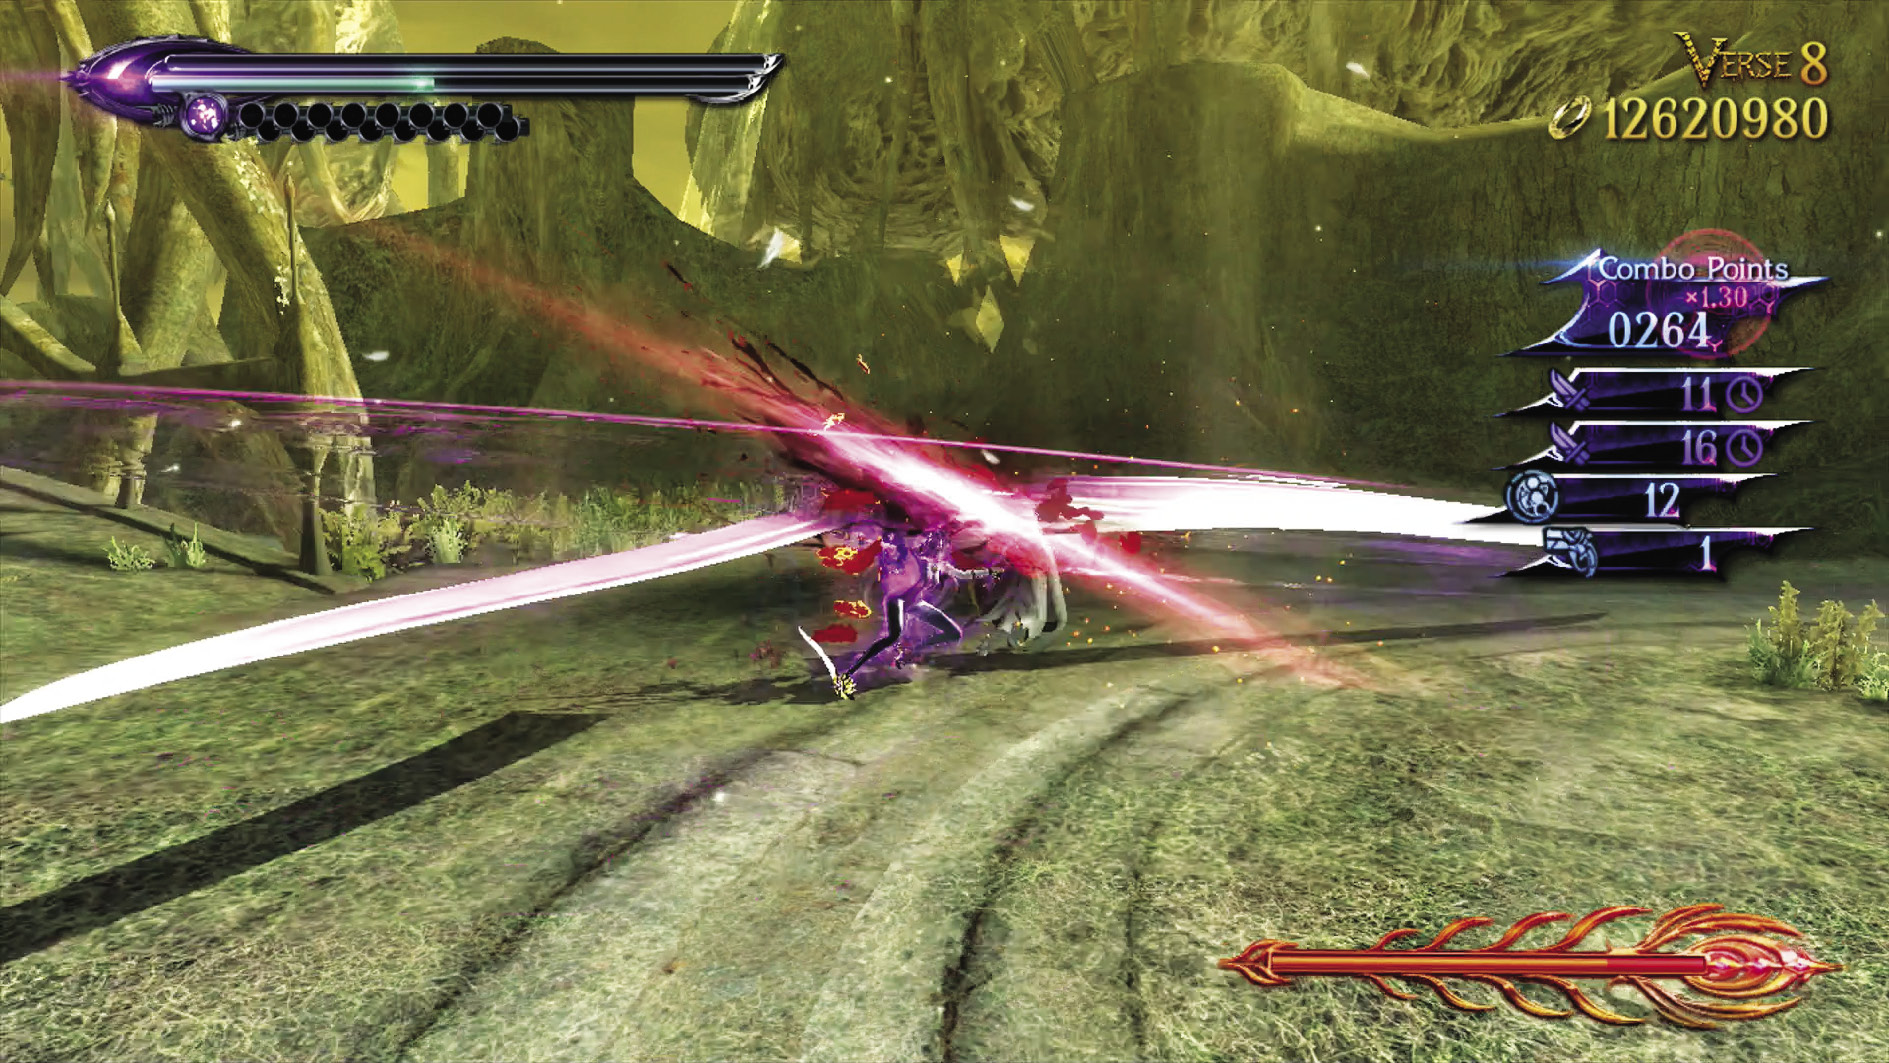
Enemies: Masked Lumen
Your combo score requirement’s pretty high, so equip Rakshasa here. Dodge the Lumen’s attacks, retaliate with up to four slashes, dodge away, fire your gun until he attacks again, then repeat. Never break the combo if you can help it. Because this is 3rd Climax, some Umbran Climax attacks will work outside of Witch Time, but not all.
post-chapter spoils 1 Verse Card (Iustitia)
| Lost 2 V8 | 3rd Climax | ||
|---|---|---|---|
| Time | Damage | Combo | |
| PLATINUM | 01:30 | 0 | 3750 |
| GOLD | 01:50 | 400 | 2100 |
| SILVER | 02:20 | 800 | 1690 |
| BRONZE | 03:00 | 1600 | 1280 |
| BOSS BONUS | 3000 | ||
Witch Trial III (difficulty: 3rd climax)
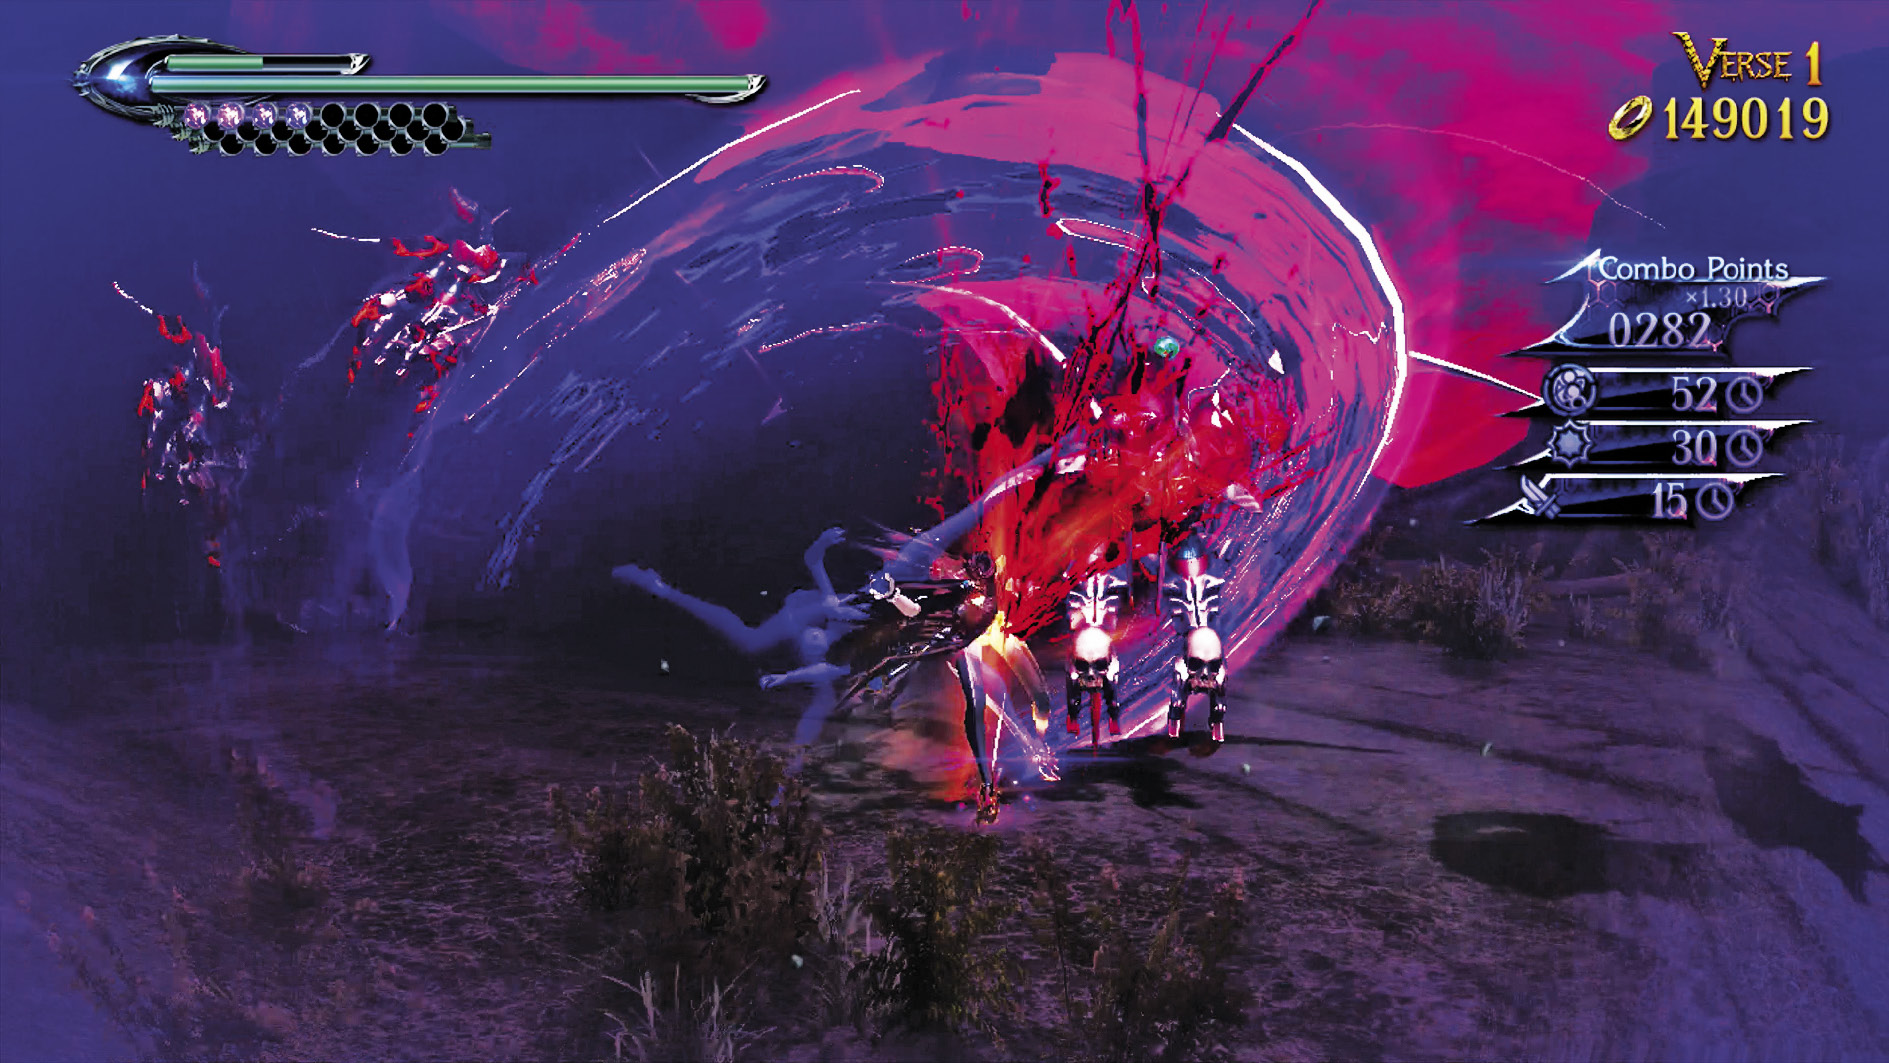
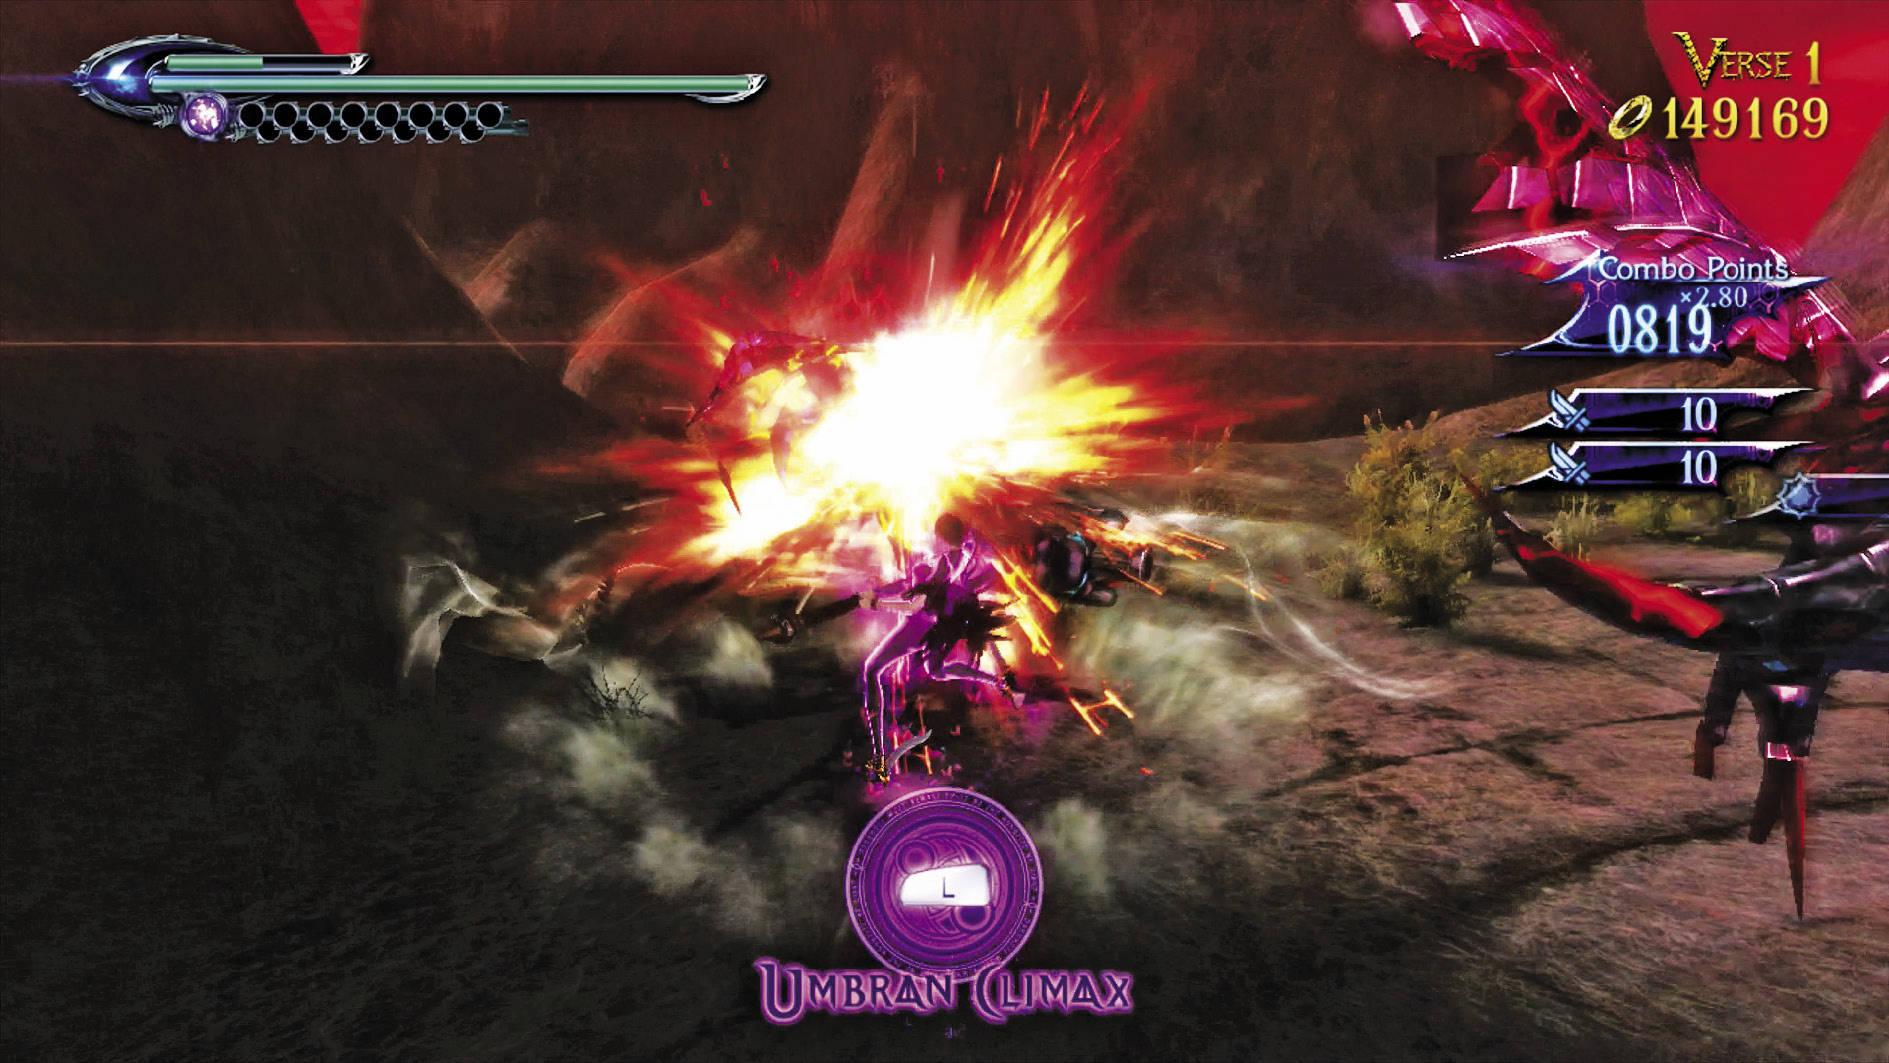
Verse 1
Suggested Weapon(s): Salamandra (Arms & Legs)
Enemies: Fury x10
You have to do a little bit of air-chasing to bring down the Furies, but it’s worth it. Treat them like Compassions or Decorations. Use Stiletto to rocket to a new Fury, and pick them off as quickly as you can.
| Lost 3 V1 | 3rd Climax | ||
|---|---|---|---|
| Time | Damage | Combo | |
| PLATINUM | 00:50 | 0 | 4730 |
| GOLD | 01:05 | 200 | 2550 |
| SILVER | 01:25 | 400 | 2010 |
| BRONZE | 01:50 | 800 | 1460 |
| BOSS BONUS | 0 | ||
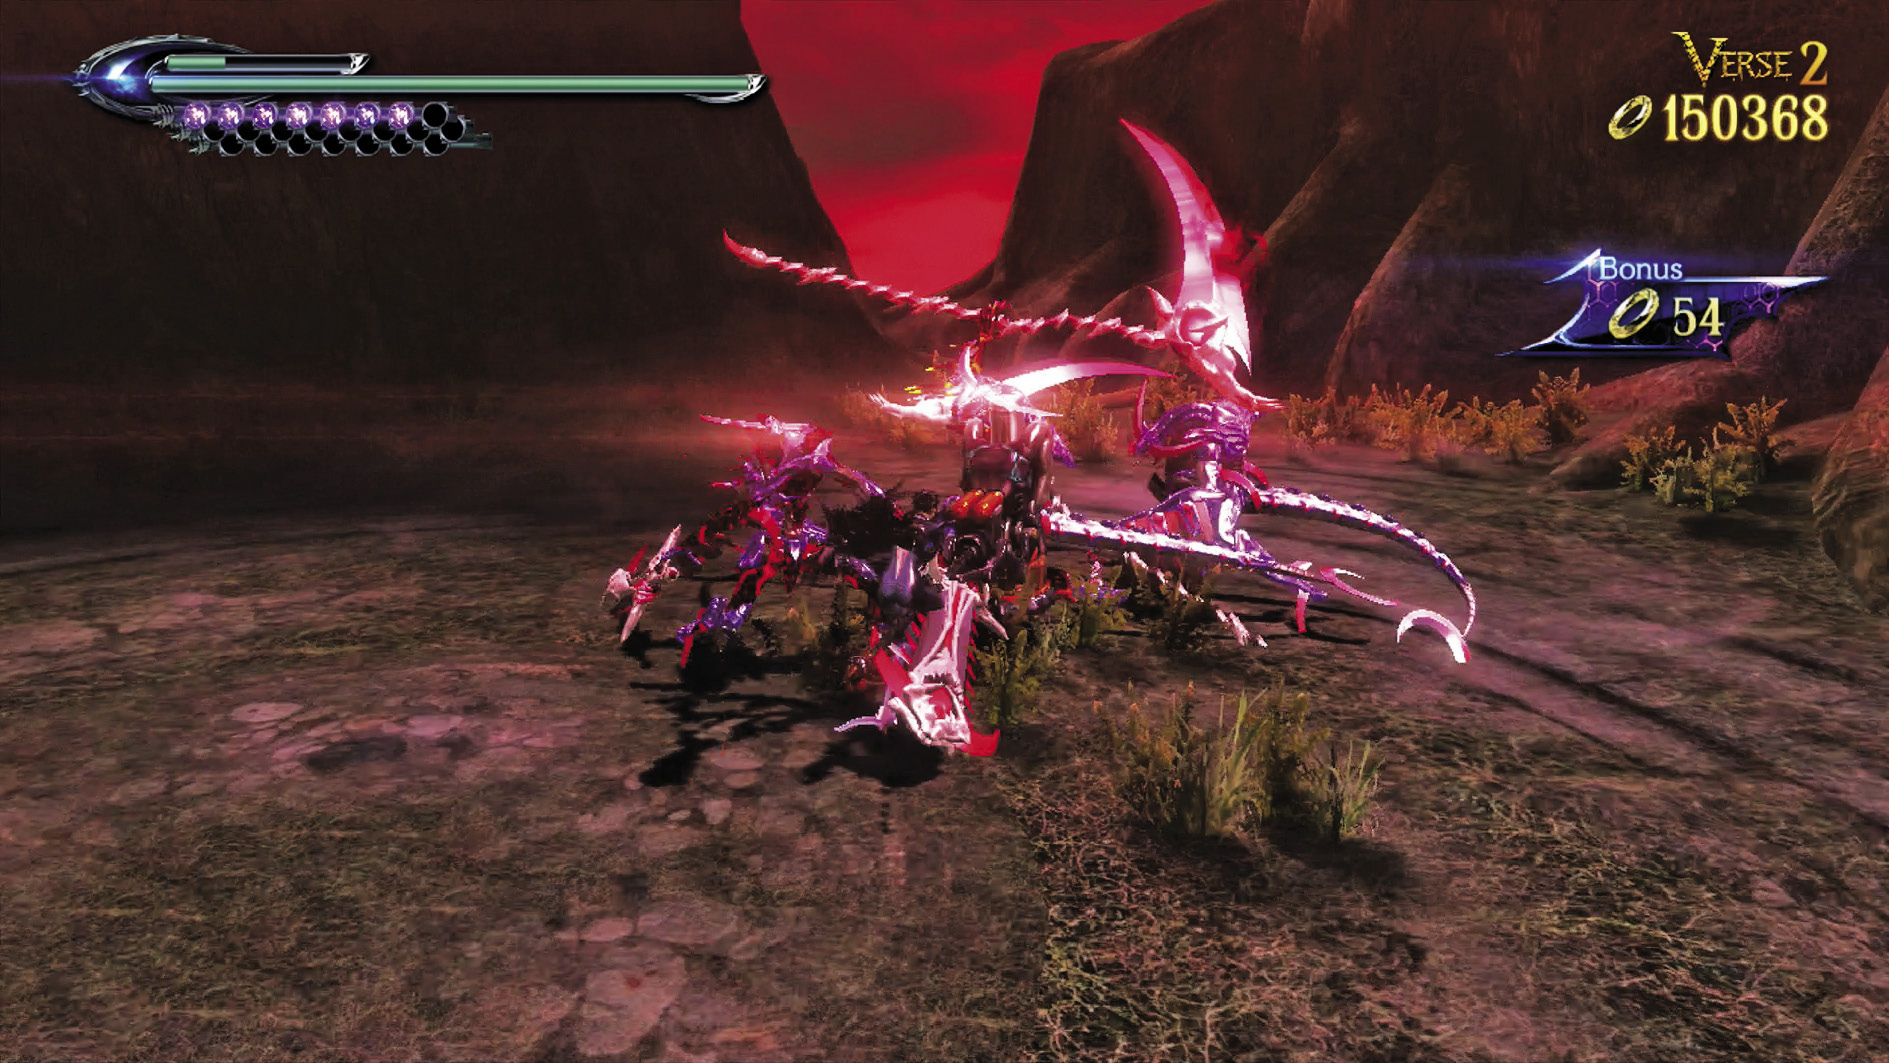
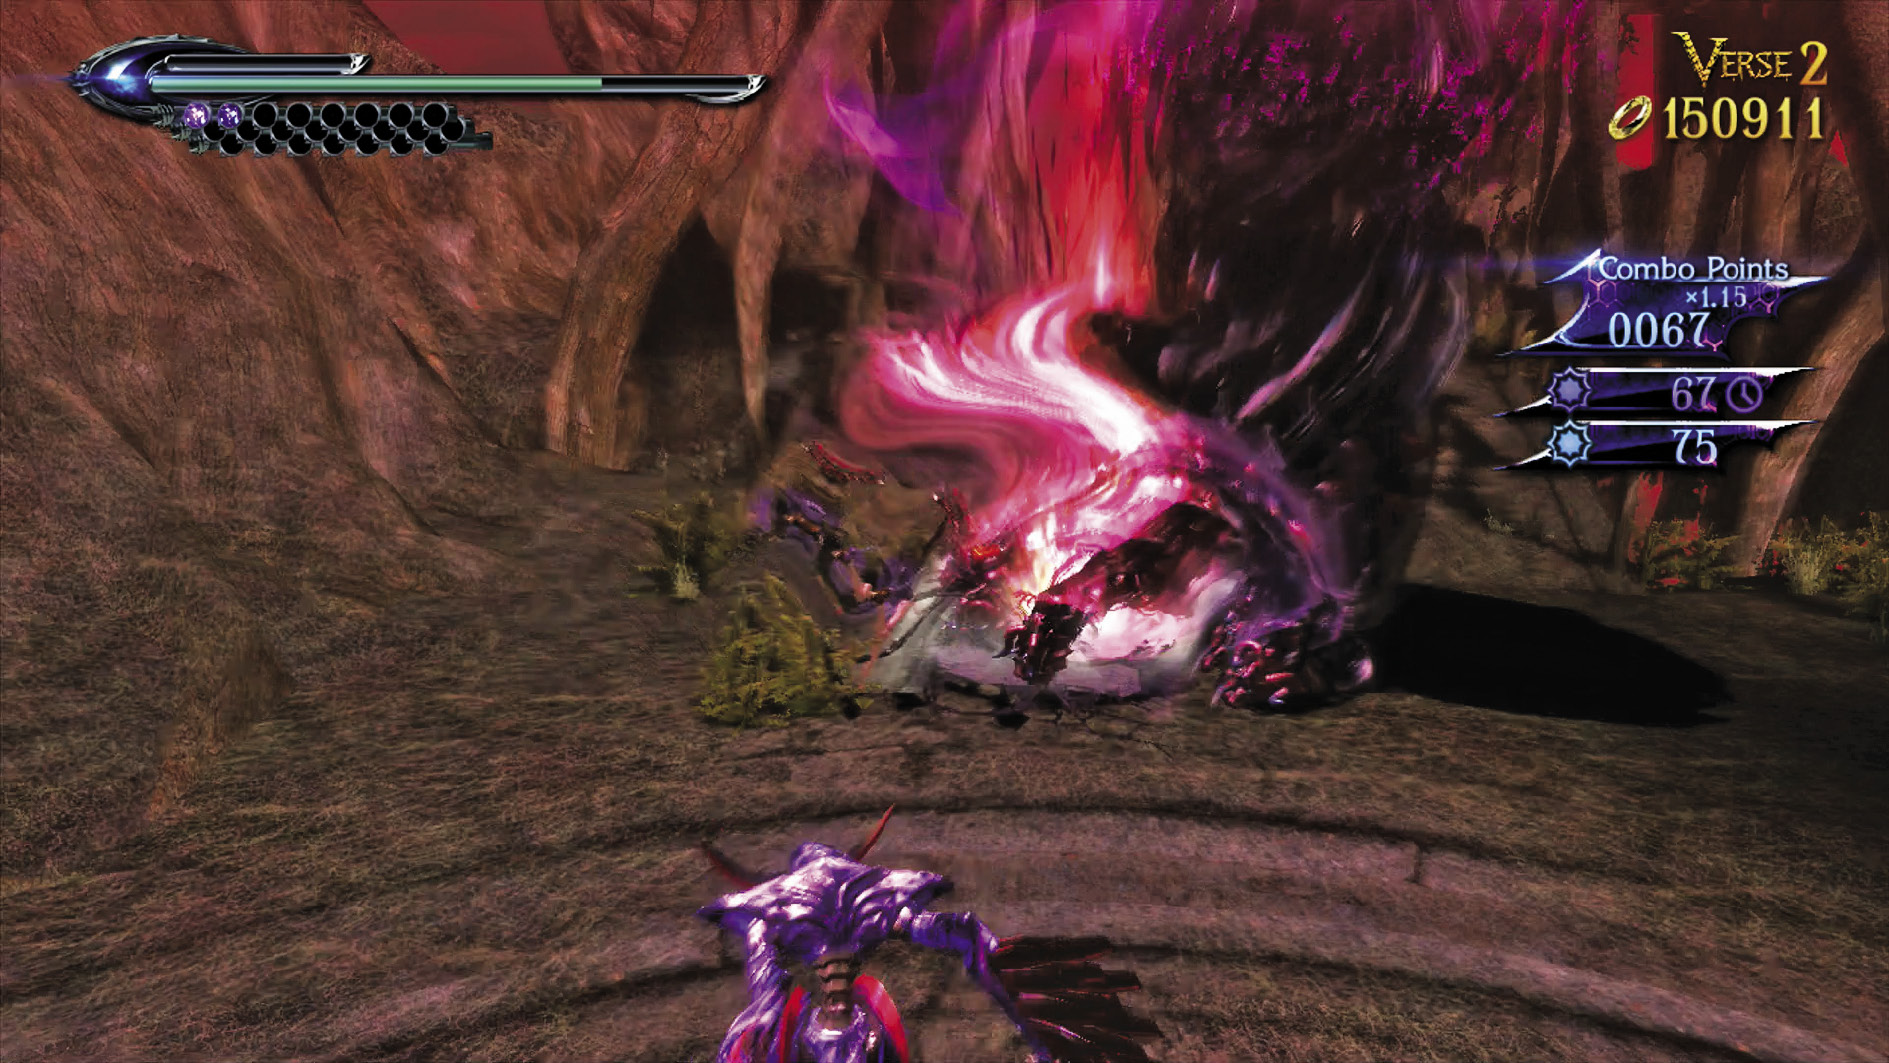
Verse 2
Suggested Weapon(s): Salamandra (Arms & Legs)
Enemies: Hideous (Twin Blades) x1, Hideous (Scythe) x2, Hideous (Gun) x2
Dodge the attacks of the Hideous and counter with Salamandra swipes. Pay special attention to the attacks of the Gun Hideous—if you see a red trail on the ground extending toward you, get ready to dodge!
| Lost 3 V2 | 3rd Climax | ||
|---|---|---|---|
| Time | Damage | Combo | |
| PLATINUM | 00:55 | 0 | 10500 |
| GOLD | 01:10 | 600 | 5100 |
| SILVER | 01:30 | 1200 | 3750 |
| BRONZE | 01:55 | 2400 | 2400 |
| BOSS BONUS | 0 | ||
Verse 3
Suggested Weapon(s): Salamandra or Takemikazuchi (Arms), Alruna (Legs)
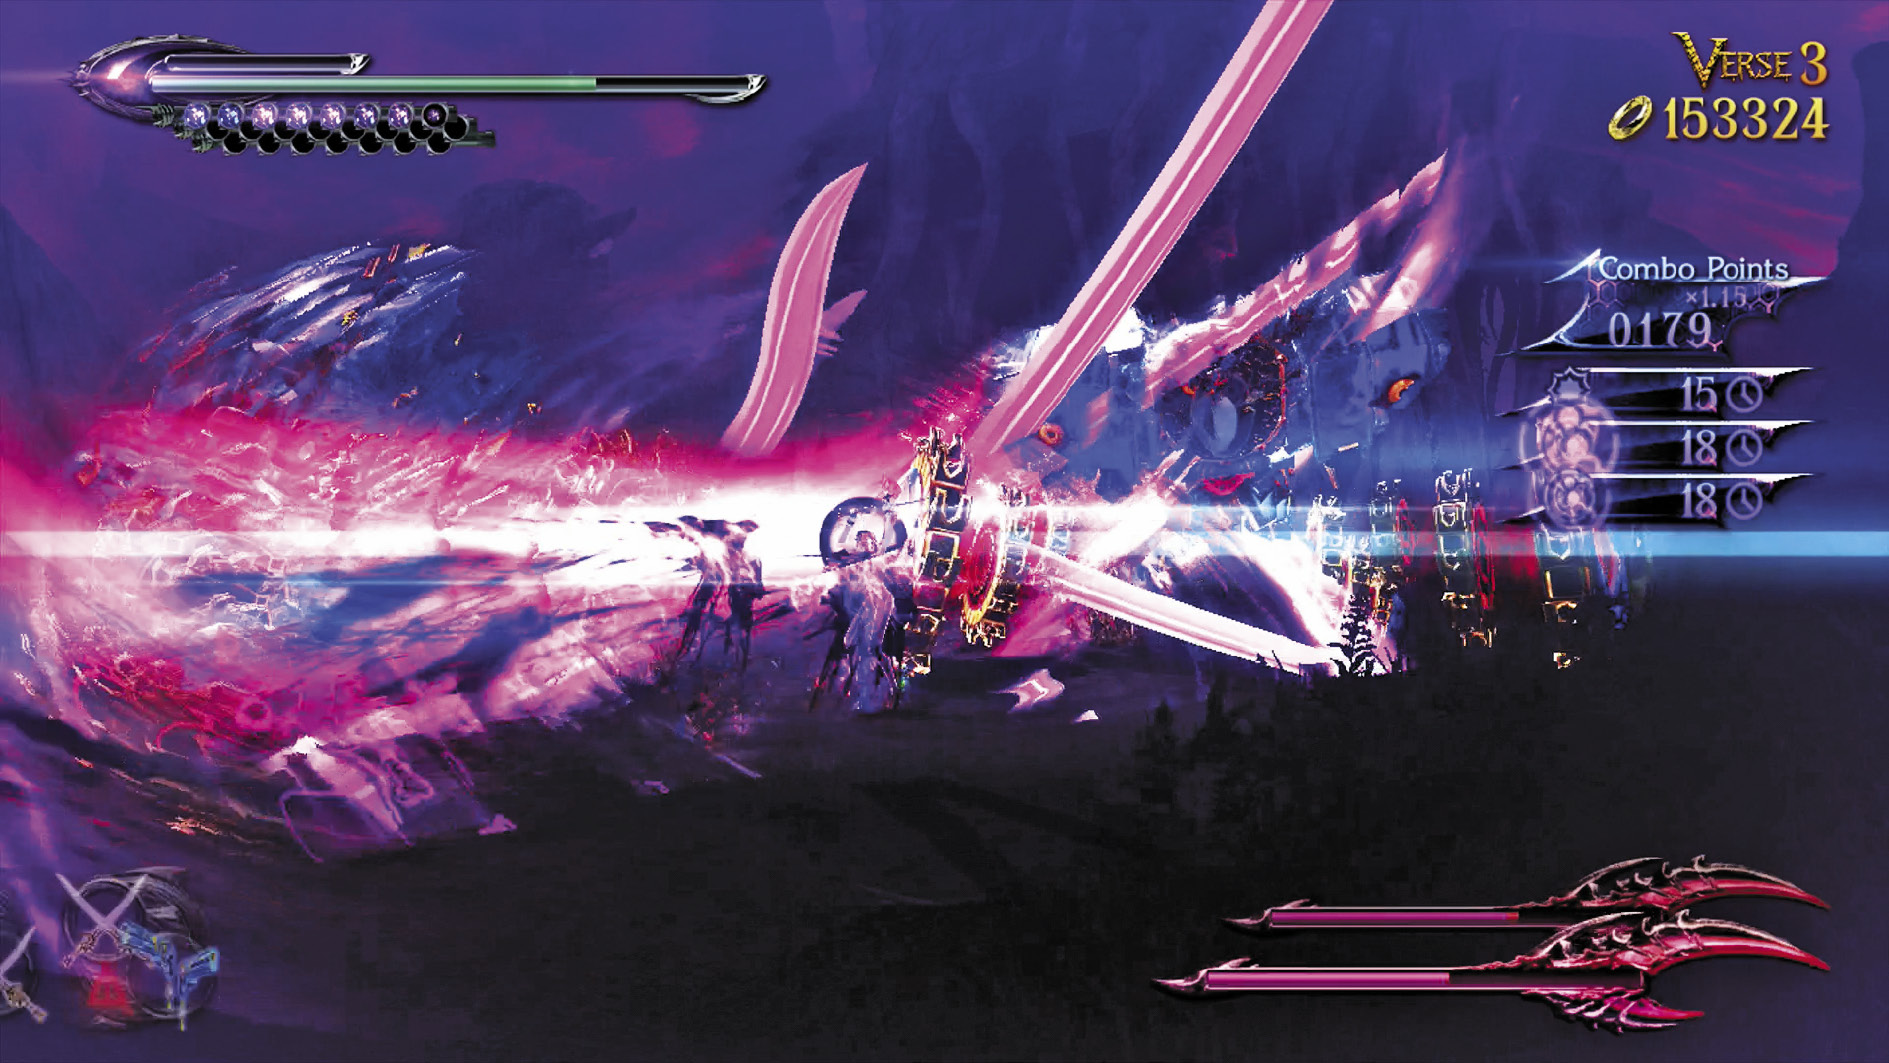
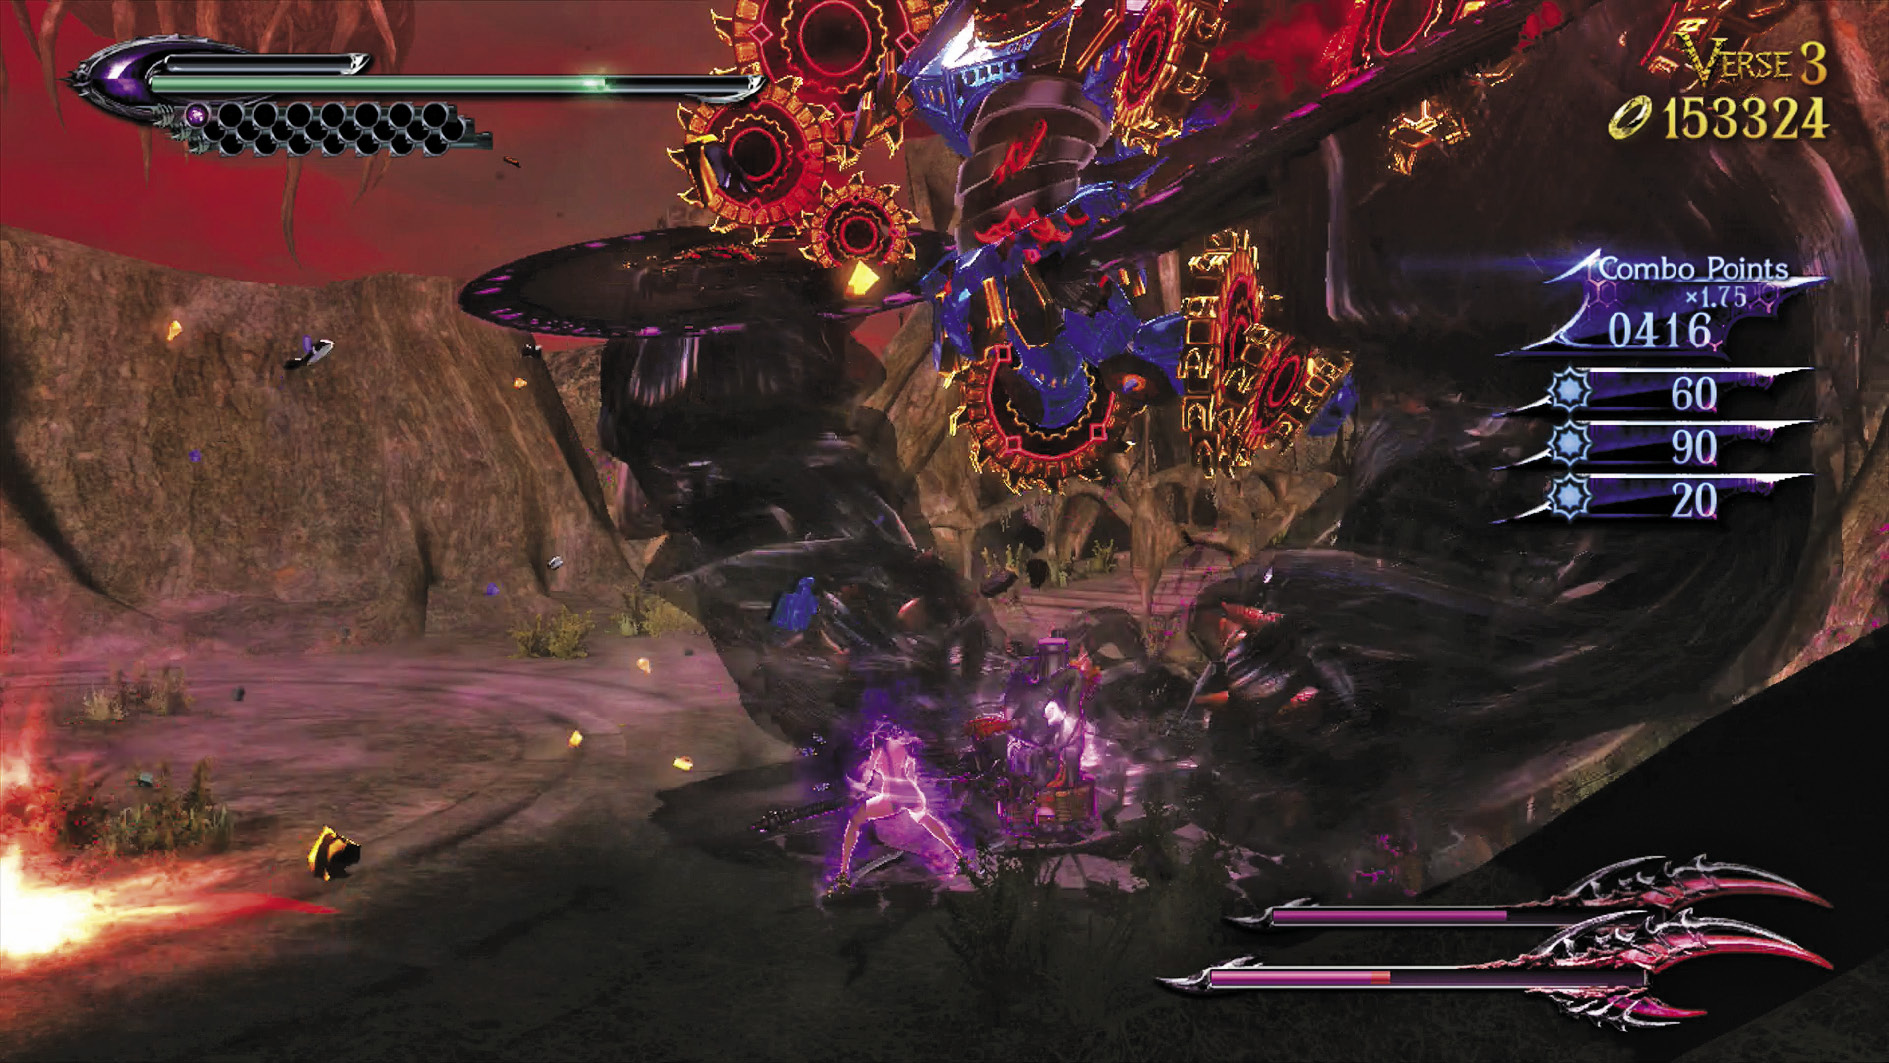
Enemies: Pain x2
You’re up against two fairly mobile heavy hitters. Your best course of action? Hit harder. During Witch Time, slam one to the ground by holding K for the occasional breather. In all other situations, dodge and repeatedly smack them with your arm-equipped weapon.
| Lost 3V3 | 3rd Climax | ||
|---|---|---|---|
| Time | Damage | Combo | |
| PLATINUM | 02:00 | 0 | 123480 |
| GOLD | 02:20 | 600 | 51550 |
| SILVER | 02:50 | 1200 | 33570 |
| BRONZE | 03:30 | 2400 | 15590 |
| BOSS BONUS | 0 | ||
Verse 4
Suggested Weapon(s): Salamandra or Takemikazuchi (Arms)
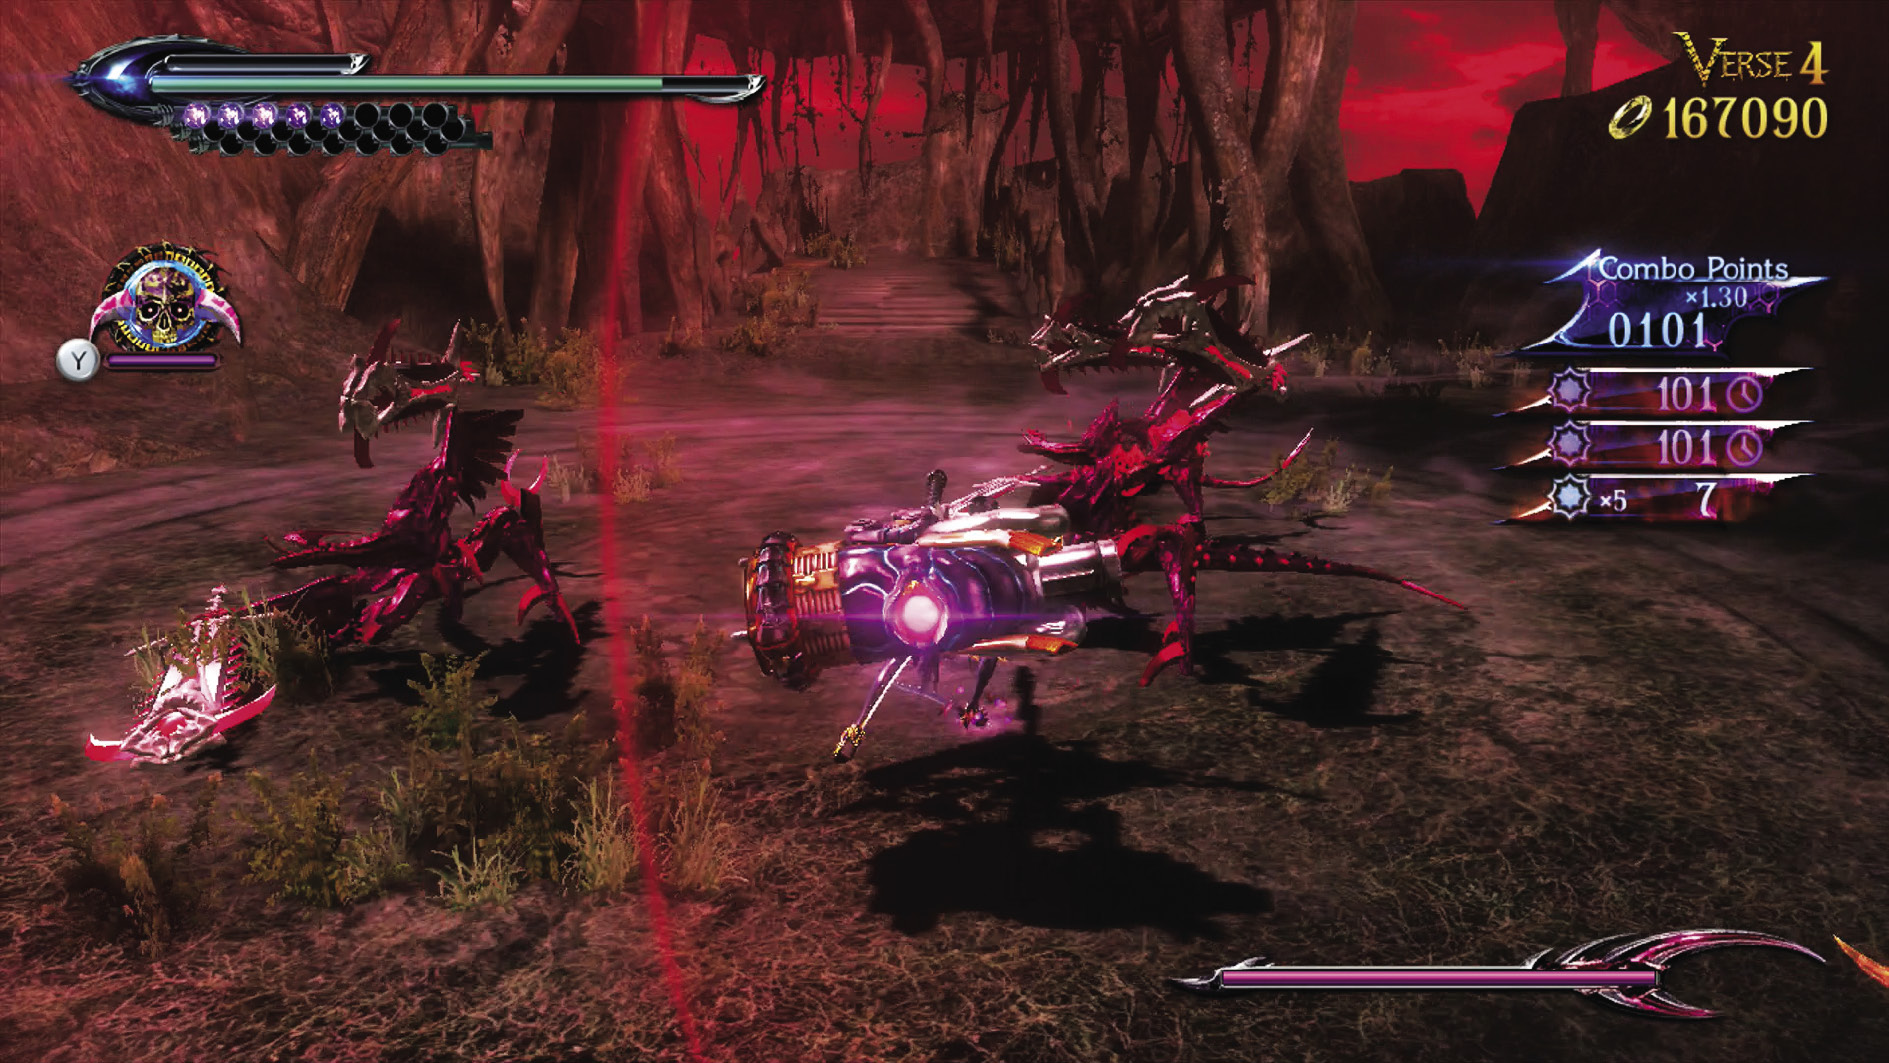
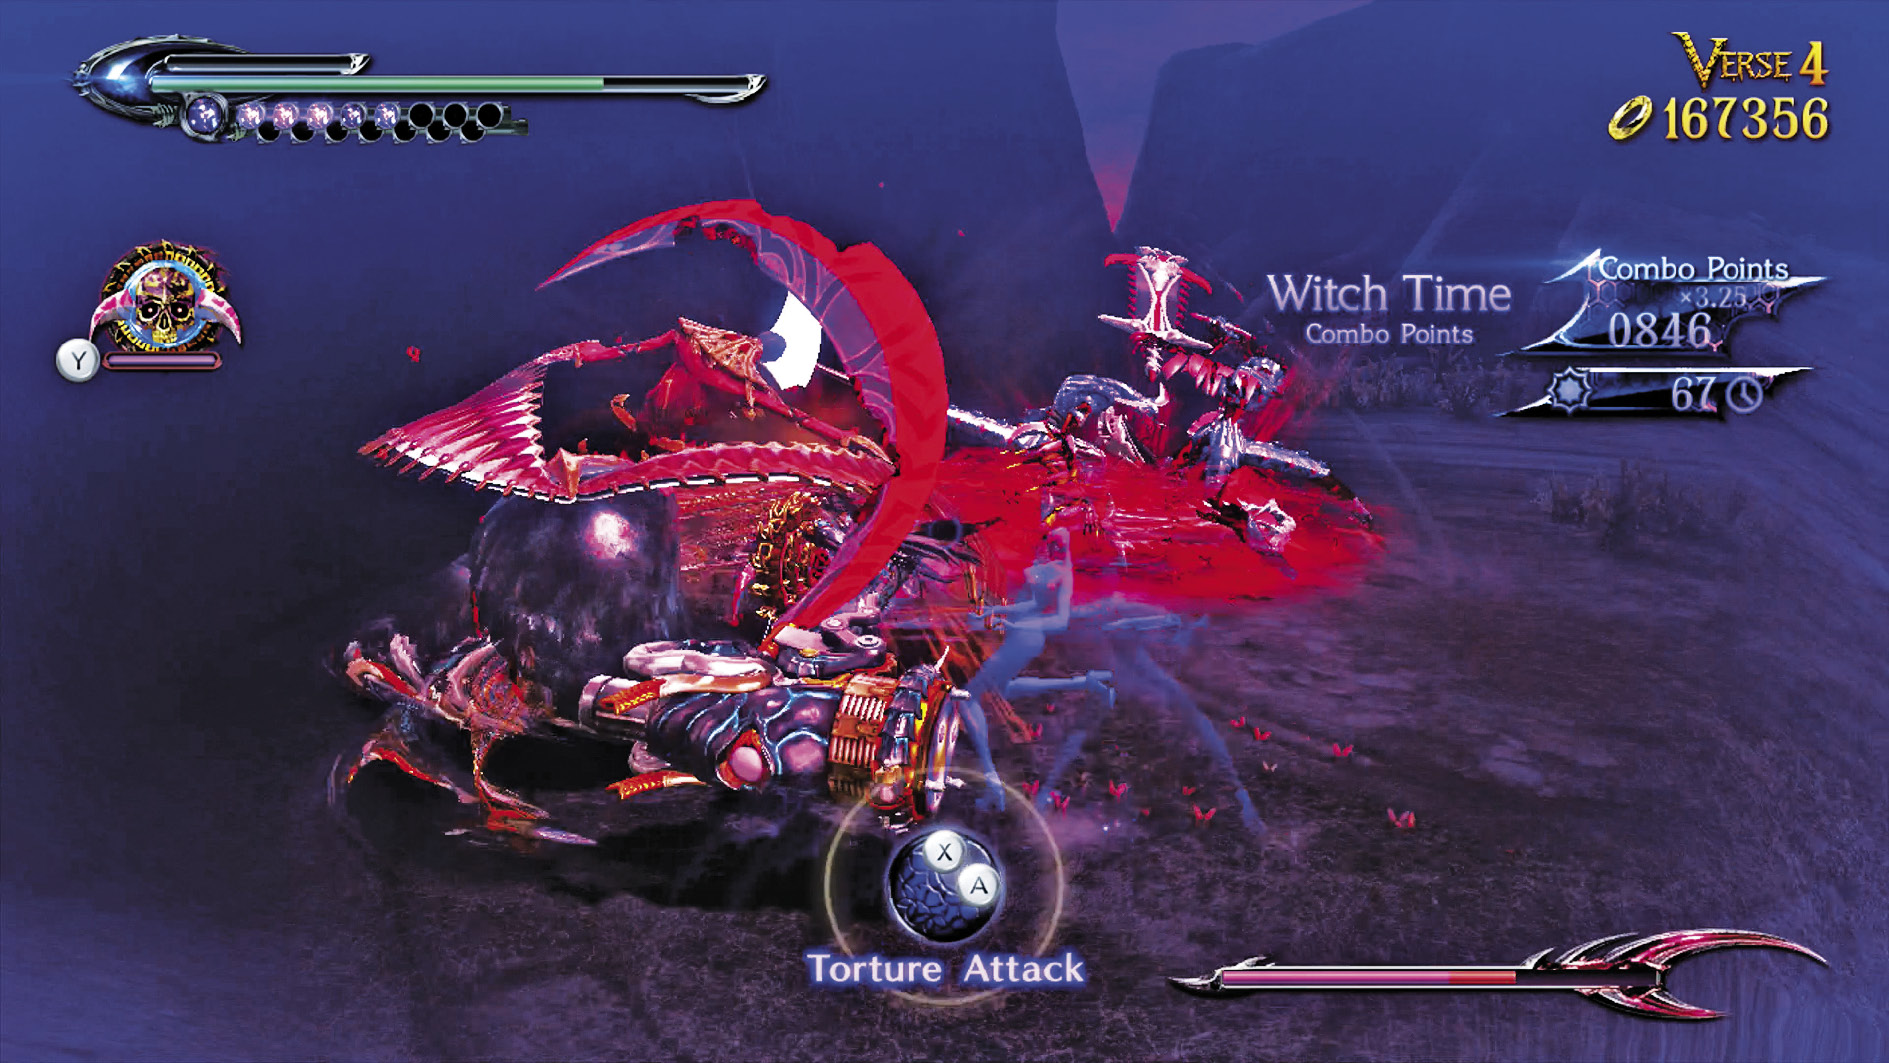
Enemies: Malicious x1, Hideous (Twin Blades) x3
Down the Malicious first—unless you’re really hungering for the extra points, the last thing you need is six super-fast angry blades after you. The wide swings of the Takemikazuchi can lay down some crowd control if you need it.
| Lost 3 V4 | 3rd Climax | ||
|---|---|---|---|
| Time | Damage | Combo | |
| PLATINUM | 00:50 | 0 | 5880 |
| GOLD | 01:05 | 600 | 3070 |
| SILVER | 01:25 | 1200 | 2370 |
| BRONZE | 01:50 | 2400 | 1670 |
| BOSS BONUS | 0 | ||
Verse 5
Suggested Weapon(s):Salamandra or Takemikazuchi (Arms)
Enemies: Resentment x2, Fury x2
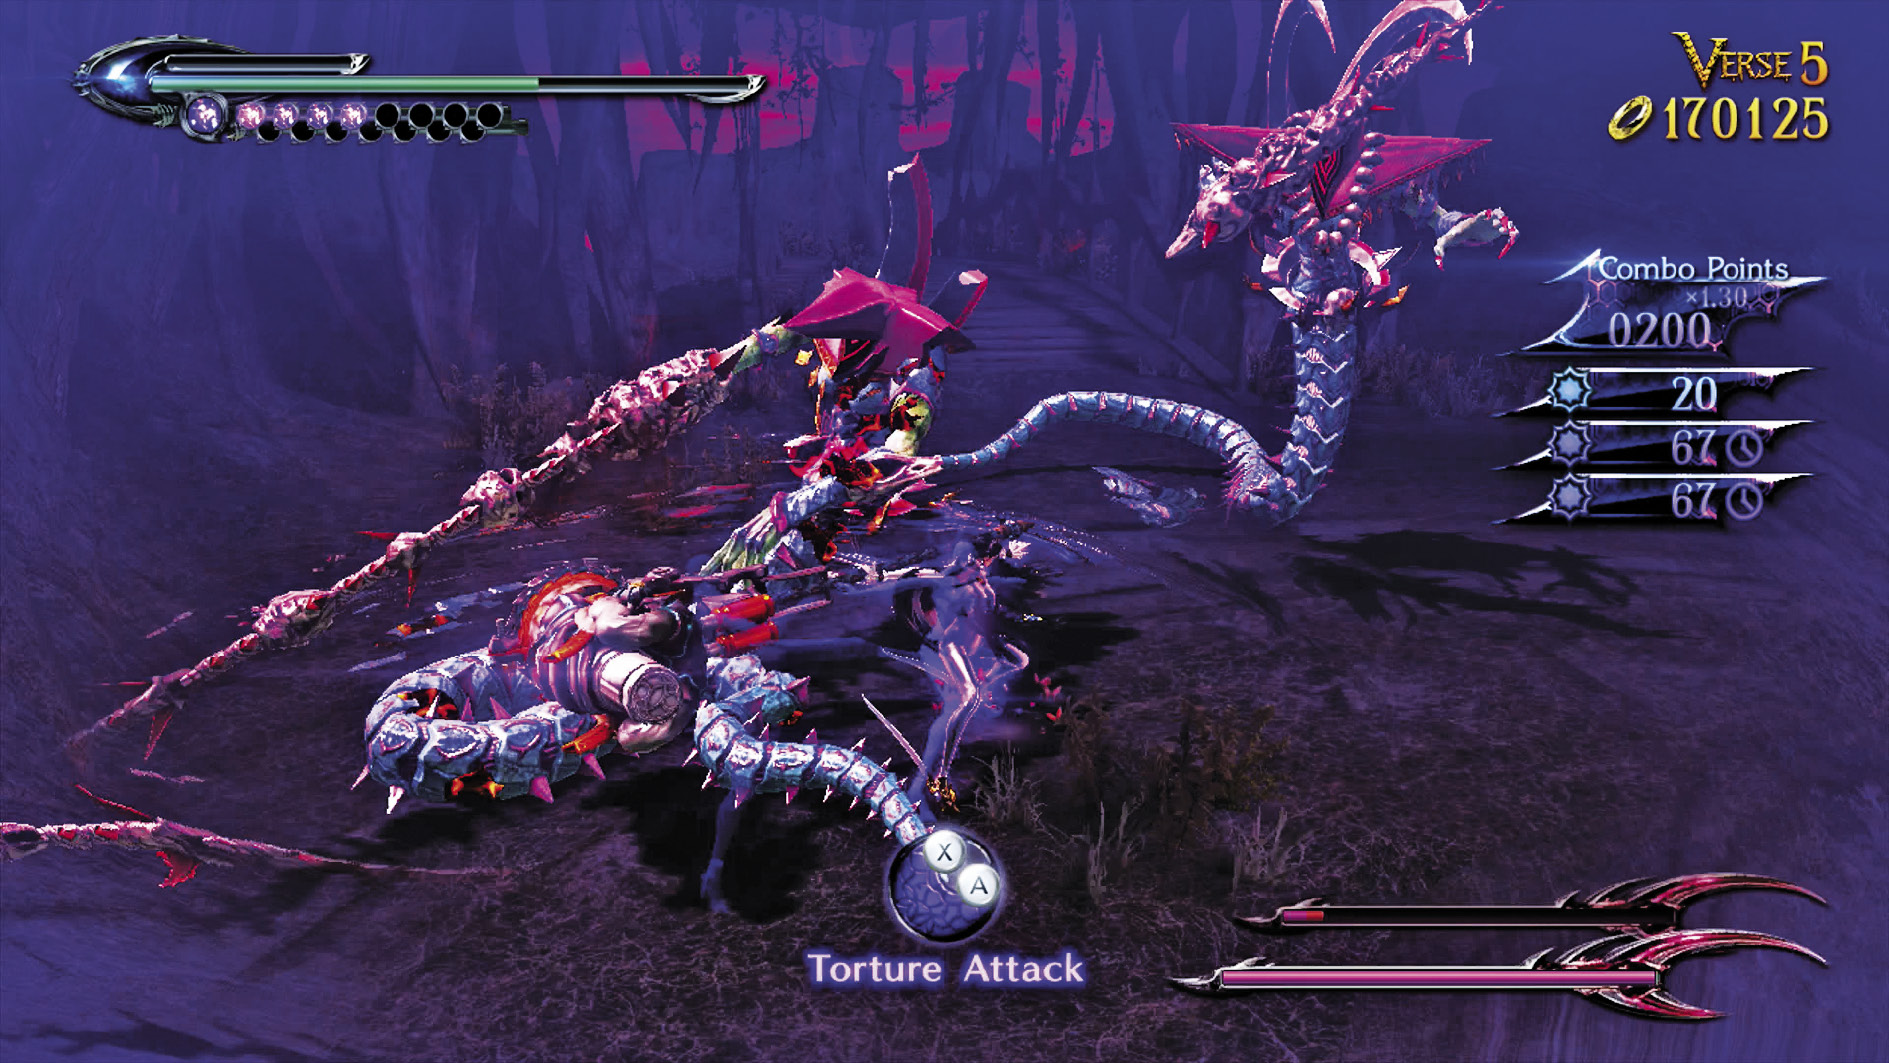
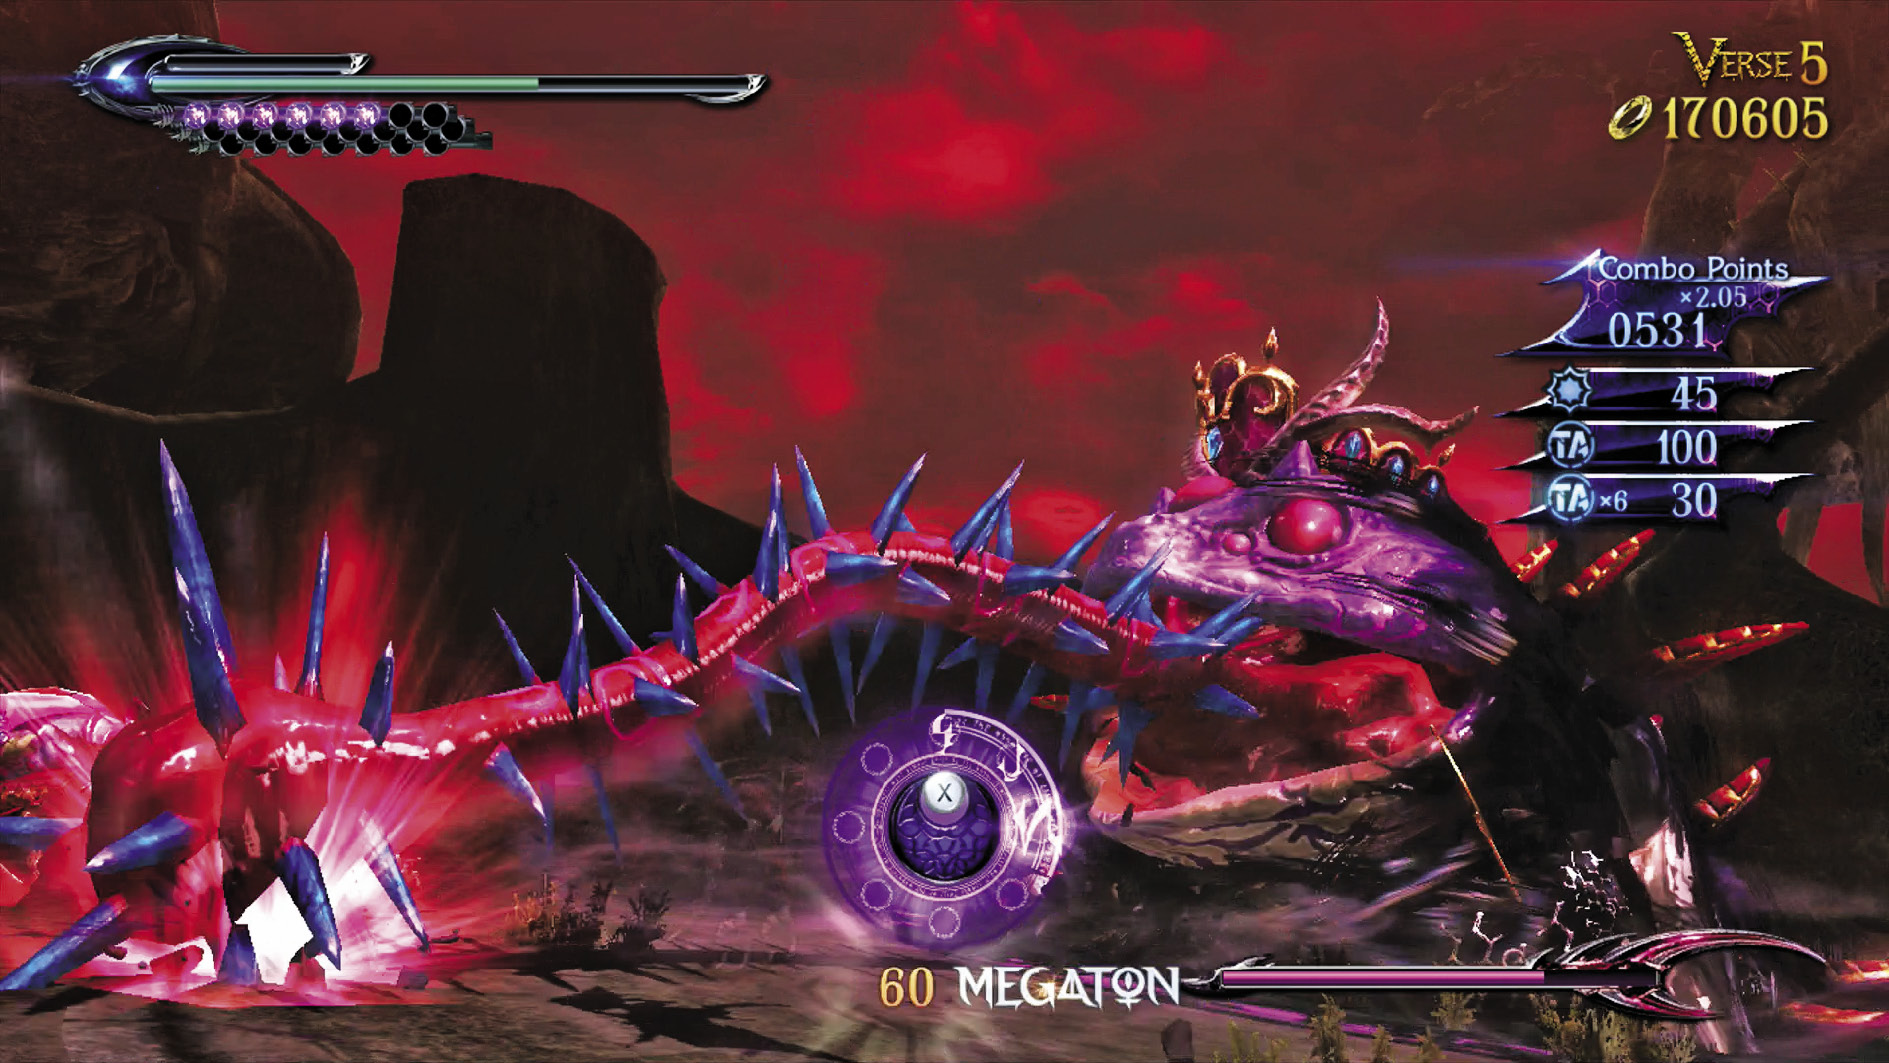
Once again, the Takemikazuchi comes in handy—a staggered Resentment is a Resentment who isn’t attacking you. That said, the Salamandra is the best way to gain combo score in this scenario, so keep it around as an option. You can apply Torture Attacks on the Resentments, but do this only as a last resort, as it will, again, hurt your combo score.
| Lost 3V5 | 3rd Climax | ||
|---|---|---|---|
| Time | Damage | Combo | |
| PLATINUM | 01:10 | 0 | 8750 |
| GOLD | 01:25 | 600 | 4340 |
| SILVER | 01:45 | 1200 | 3240 |
| BRONZE | 02:10 | 2400 | 2140 |
| BOSS BONUS | 0 | ||
Verse 6
Suggested Weapon(s): Salamandra (Arms)
Enemies: Phantasmaraneae
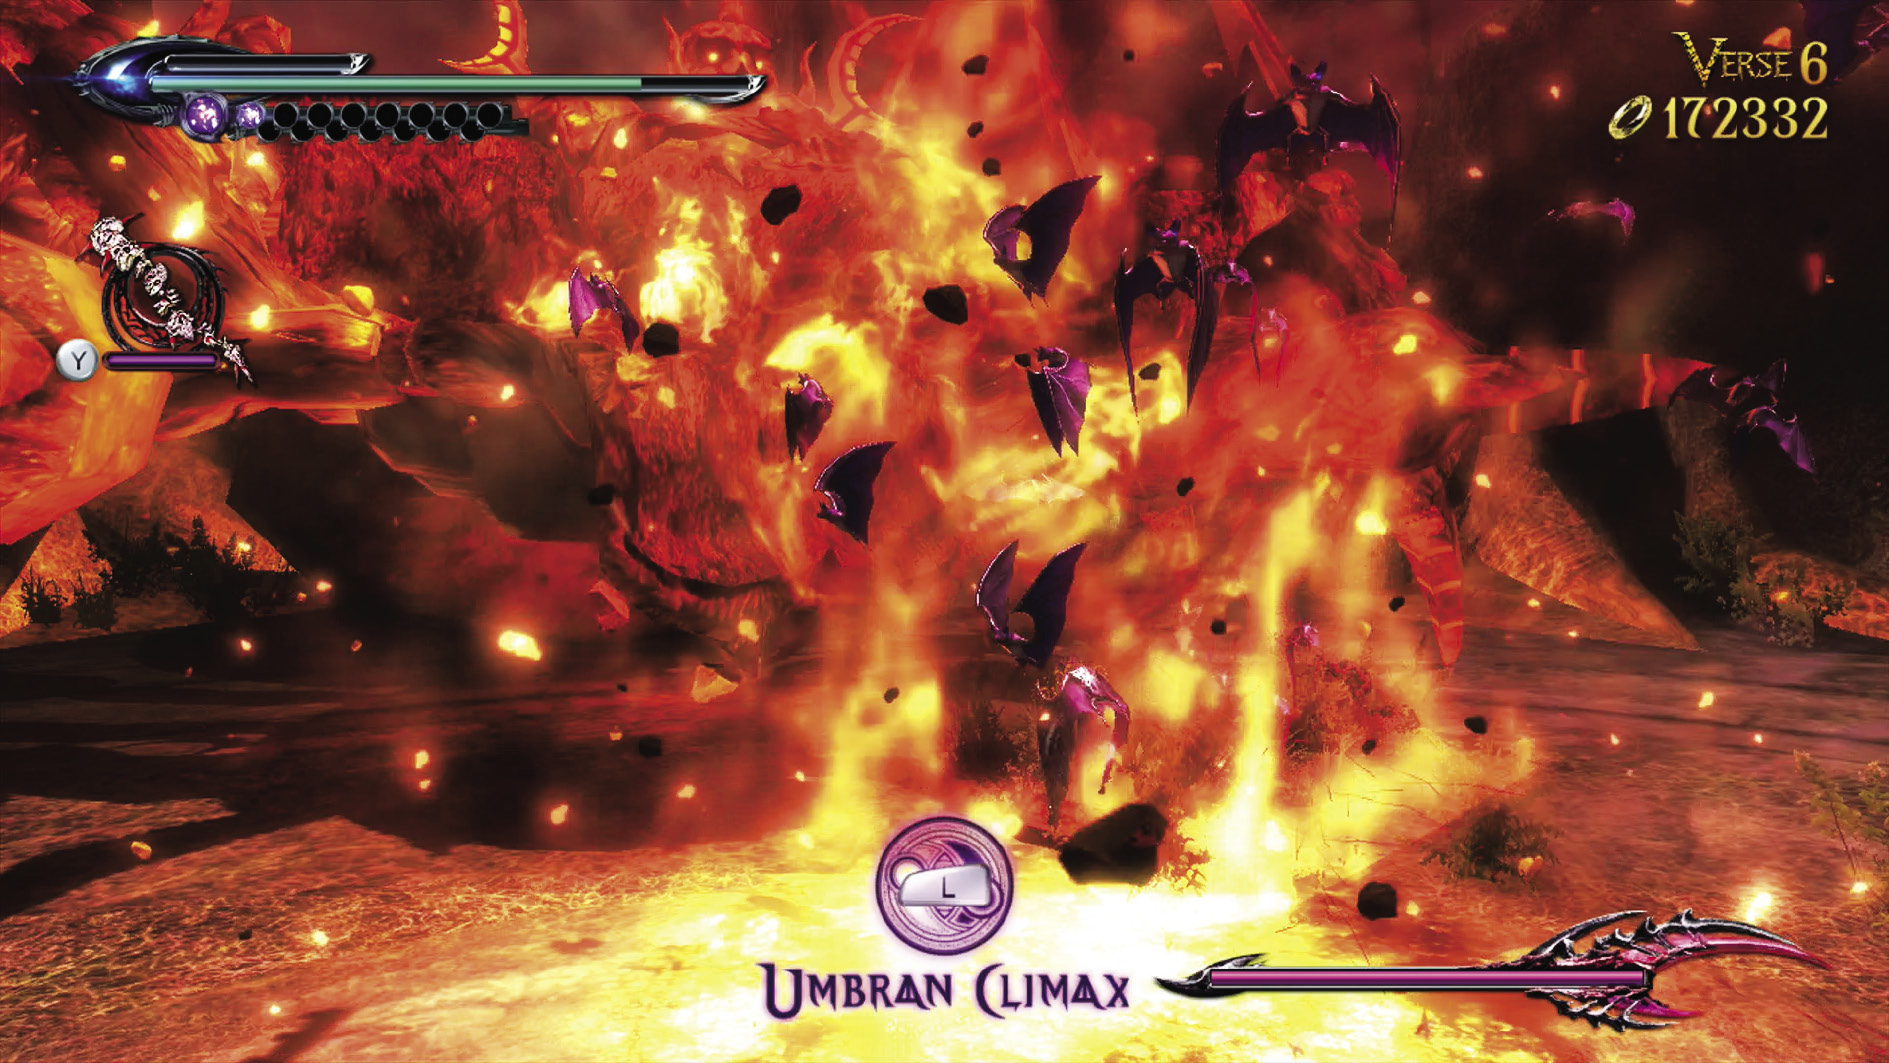
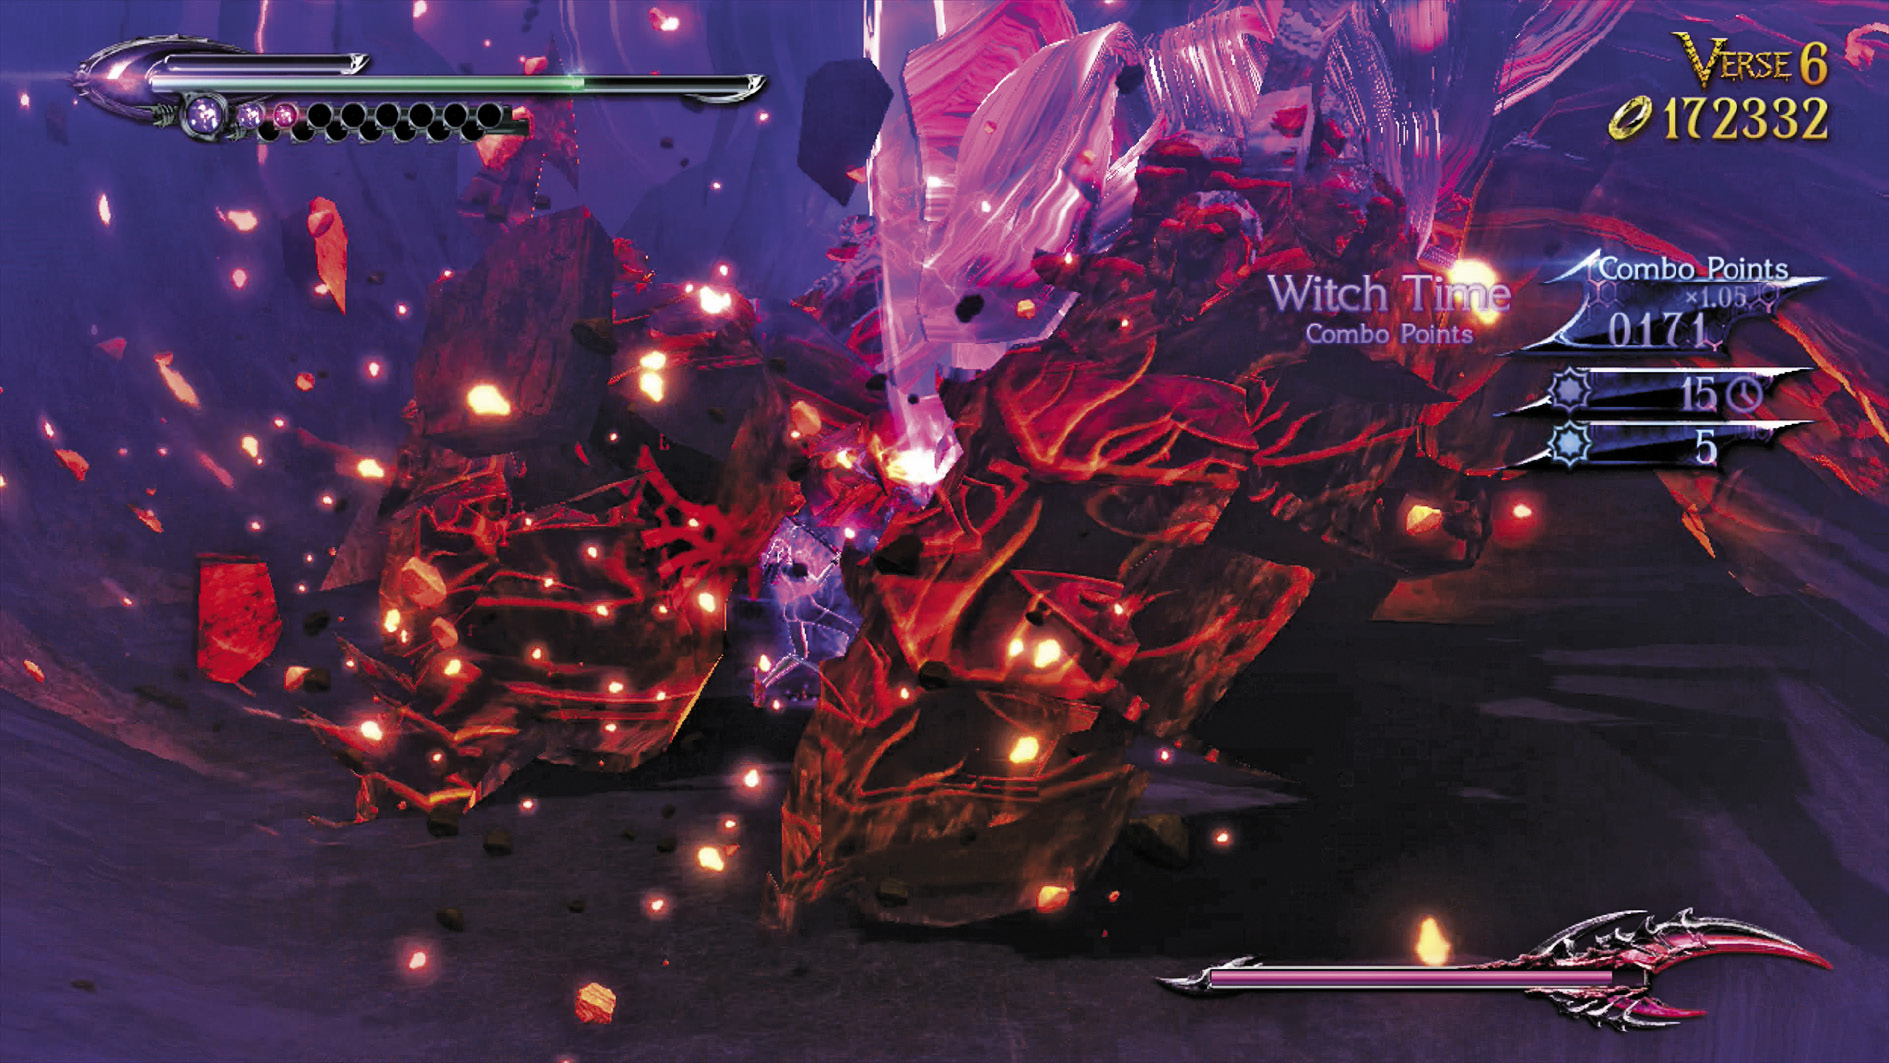
Handle this spider the same way you did in Chapter X—by dodging its slow attacks and retaliating with blades! You won’t even have to deal with its offspring during this battle, making things much easier!
| Lost 3 V6 | 3rd Climax | ||
|---|---|---|---|
| Time | Damage | Combo | |
| PLATINUM | 01:30 | 0 | 23000 |
| GOLD | 01:50 | 700 | 10400 |
| SILVER | 02:20 | 1400 | 7250 |
| BRONZE | 03:00 | 2800 | 4100 |
| BOSS BONUS | 0 | ||
Verse 7
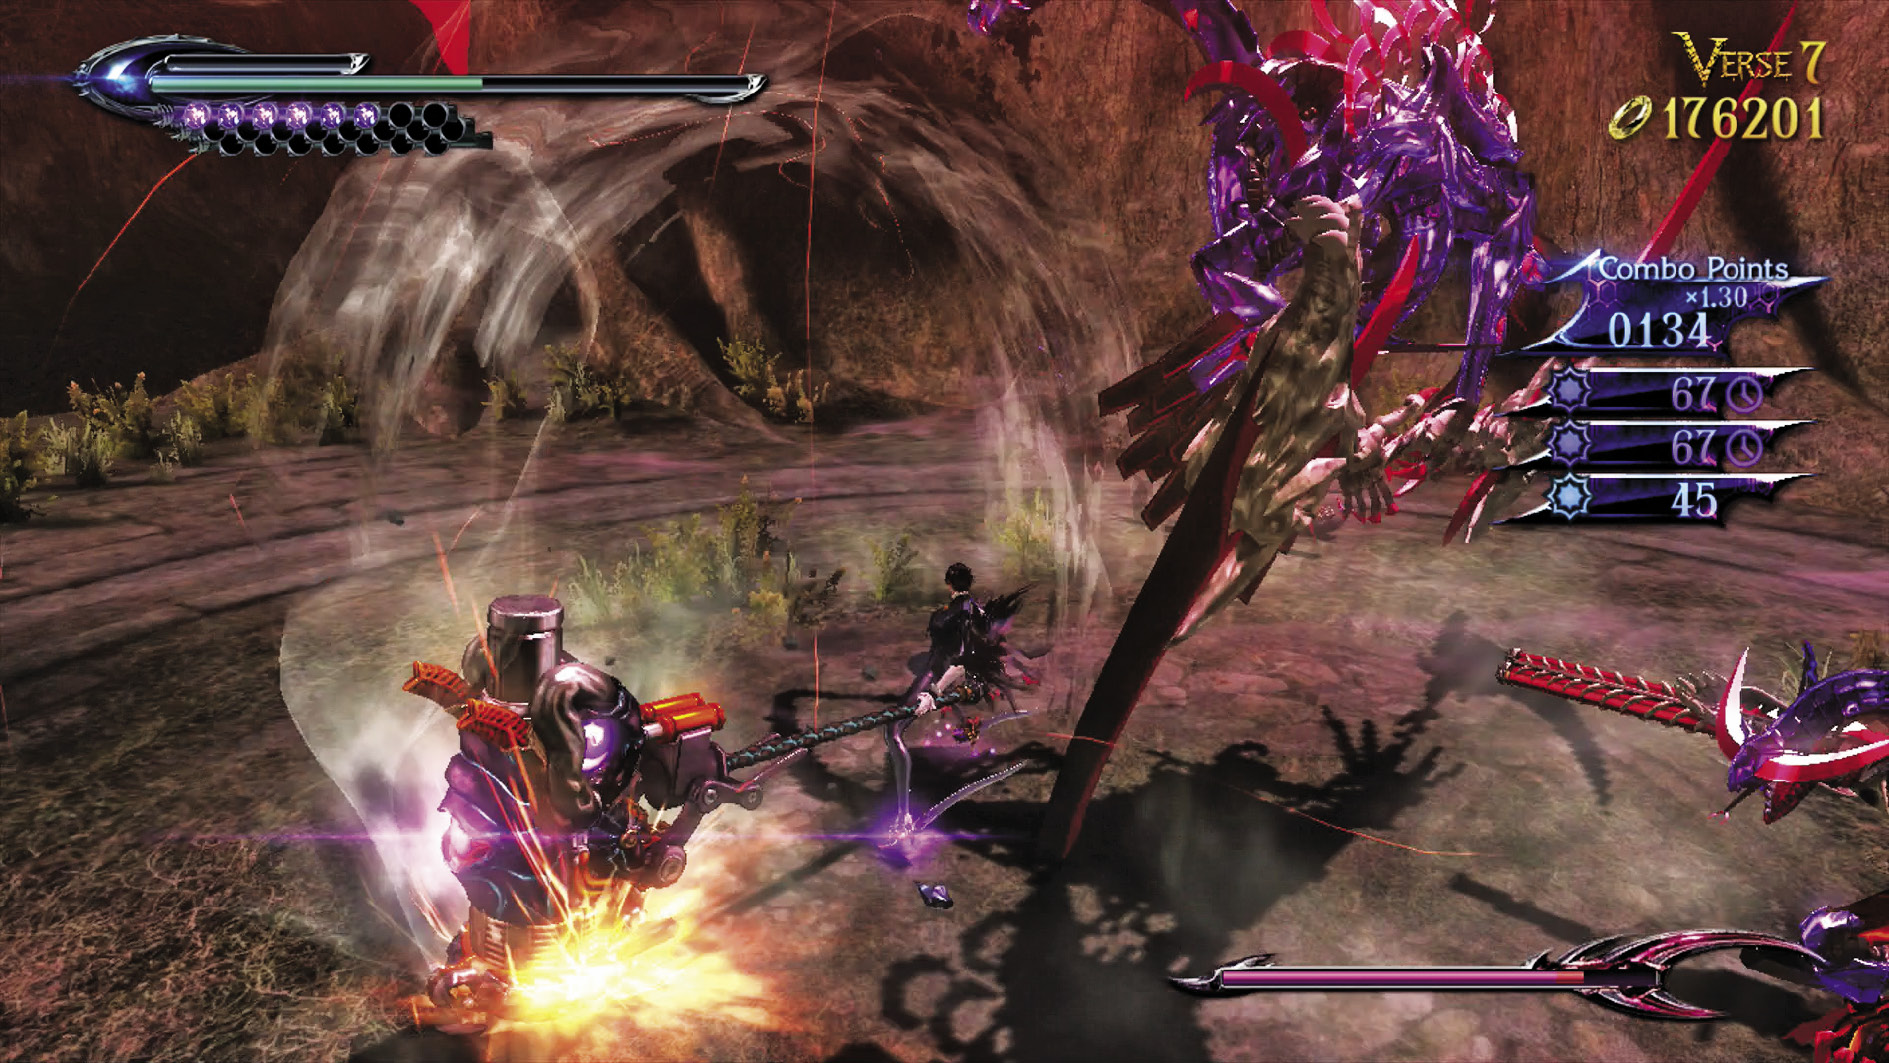
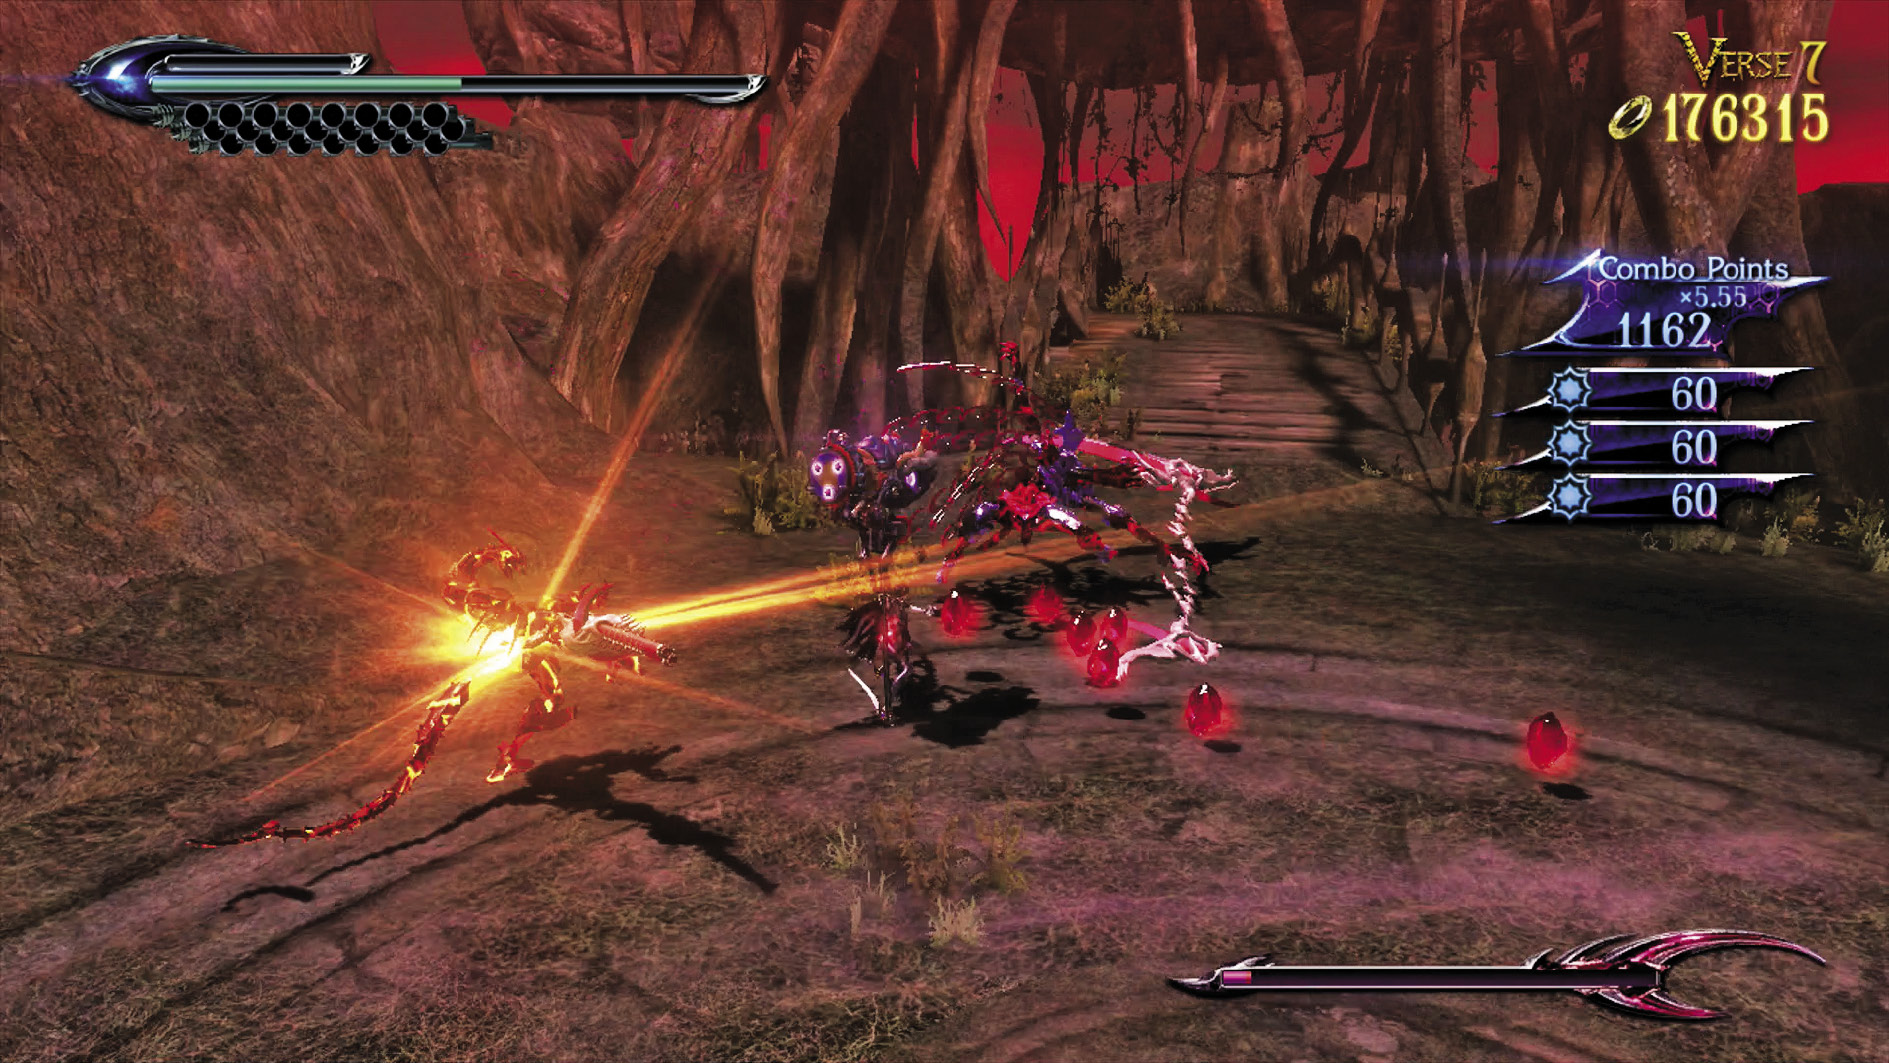
Suggested Weapon(s): Salamandra or Takemikazuchi (Arms)
Enemies: Hatred x1, Hideous (Gun) x2
This one’s a bit of a breather after that last boss fight. Keep an eye out for the Hatred’s scythe swipes while avoiding the Hideous’s gun blasts. Watch for that red line on the ground!
| Lost 3V7 | 3rd Climax | ||
|---|---|---|---|
| Time | Damage | Combo | |
| PLATINUM | 01:00 | 0 | 5880 |
| GOLD | 01:15 | 800 | 3070 |
| SILVER | 01:35 | 1600 | 2370 |
| BRONZE | 02:00 | 3200 | 1670 |
| BOSS BONUS | 0 | ||
Verse 8
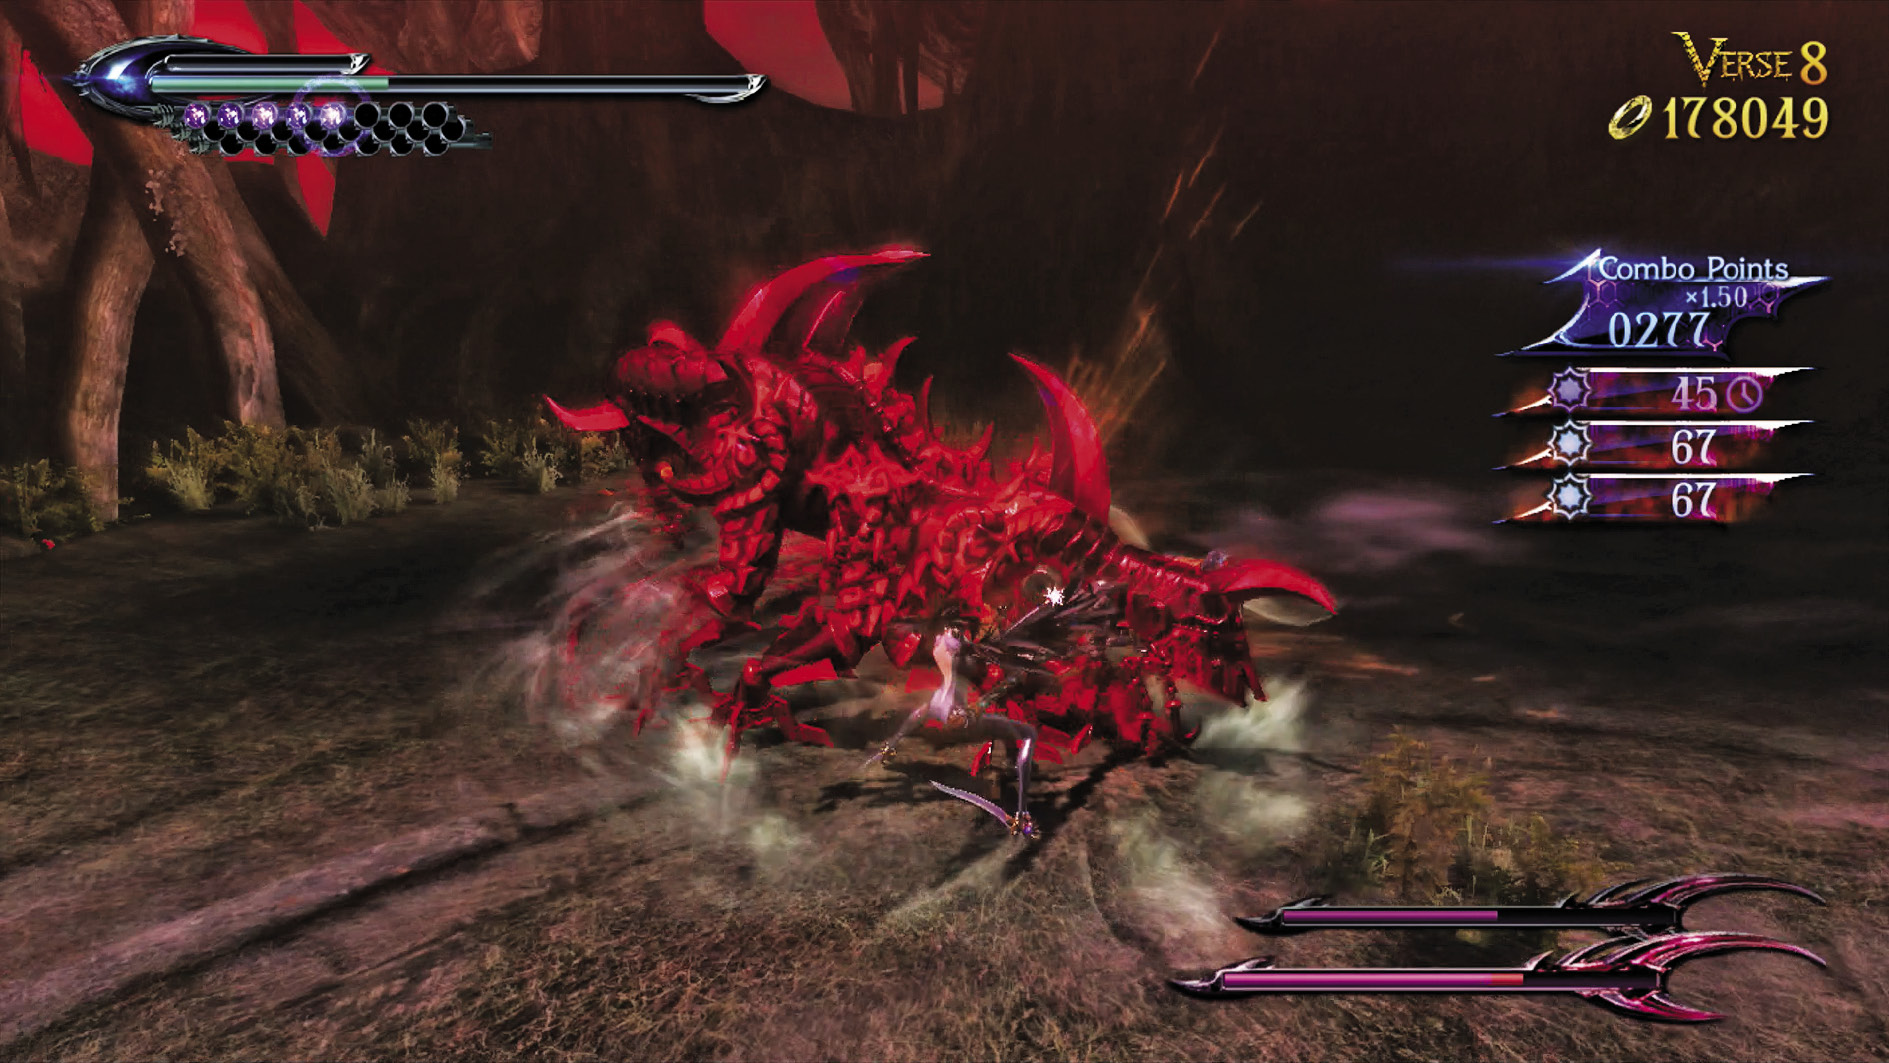
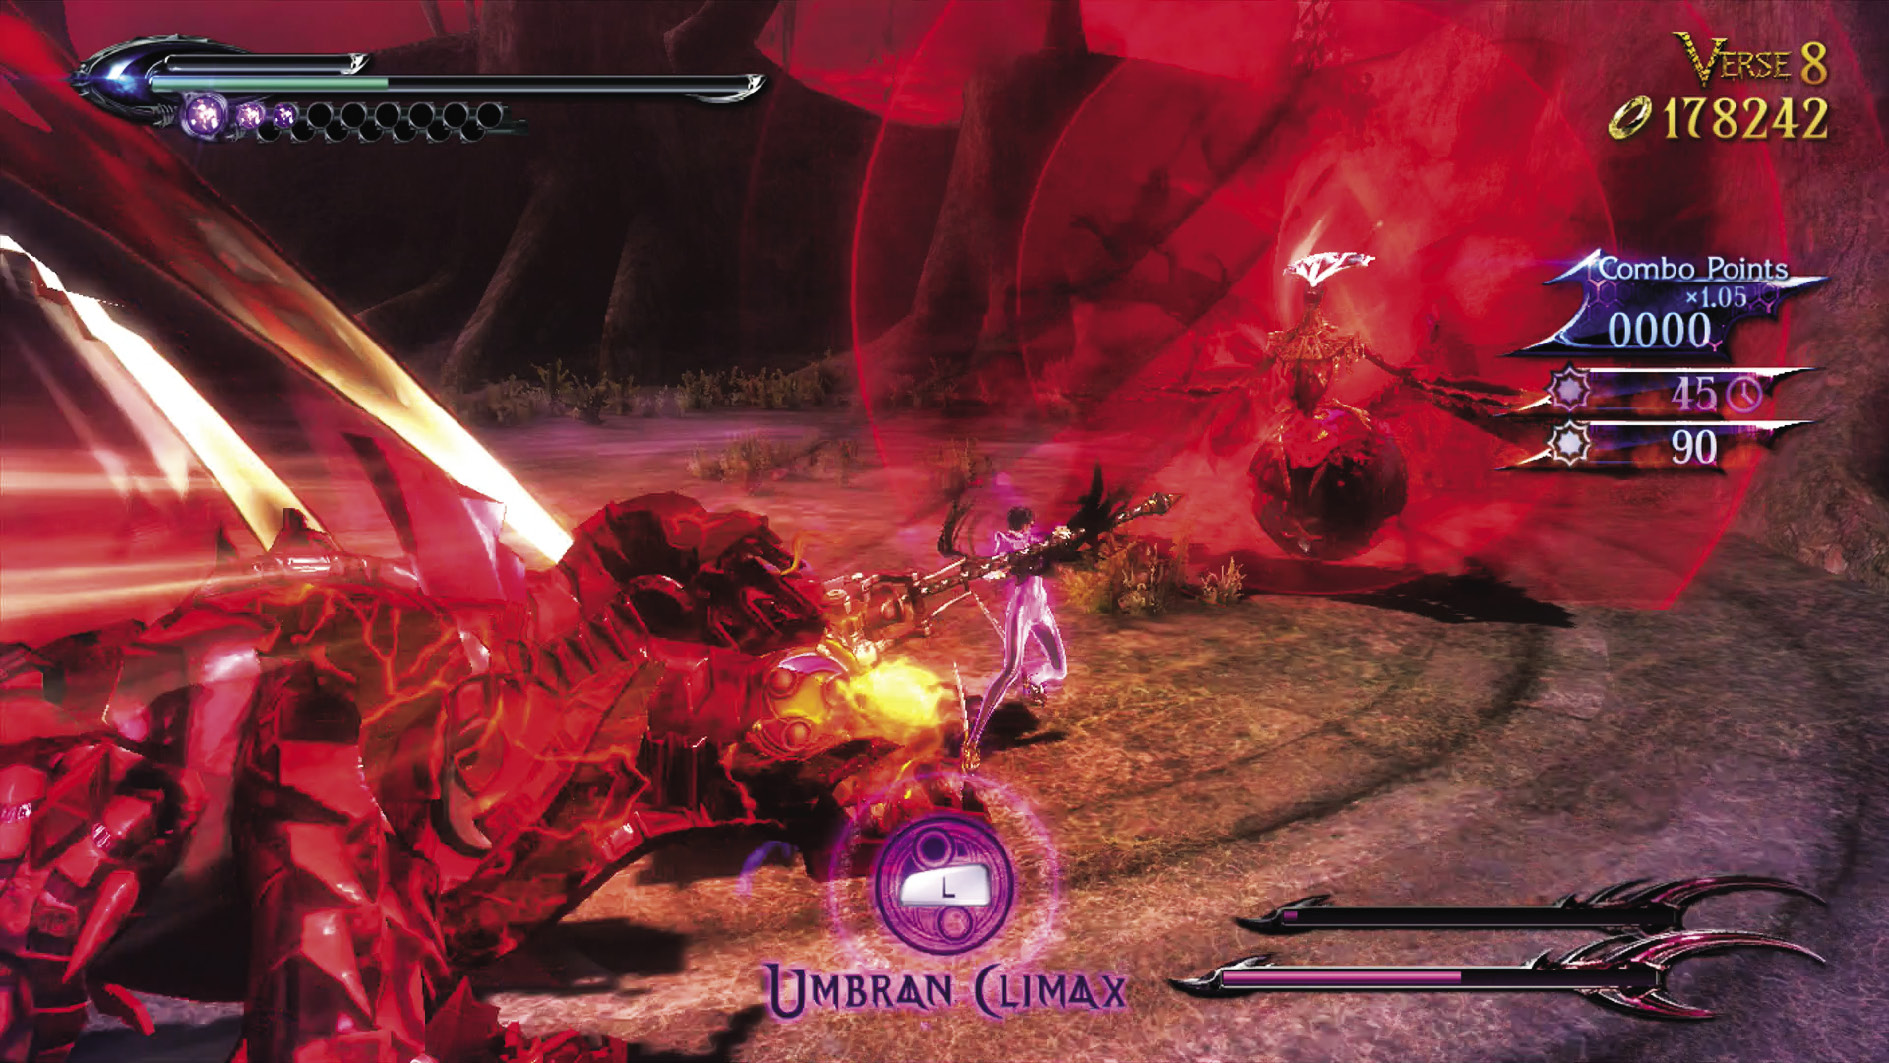
Suggested Weapon(s): Salamandra (Arms)
Enemies: Malicious x1, Greed x1
It’s actually a viable strategy to keep the Malicious alive so you can attack the angered Greed for more points. The choice is yours.
| Lost 3 V8 | 3rd Climax | ||
|---|---|---|---|
| Time | Damage | Combo | |
| PLATINUM | 00:45 | 0 | 2930 |
| GOLD | 01:00 | 600 | 1710 |
| SILVER | 01:20 | 1200 | 1410 |
| BRONZE | 01:45 | 2400 | 1100 |
| BOSS BONUS | 0 | ||
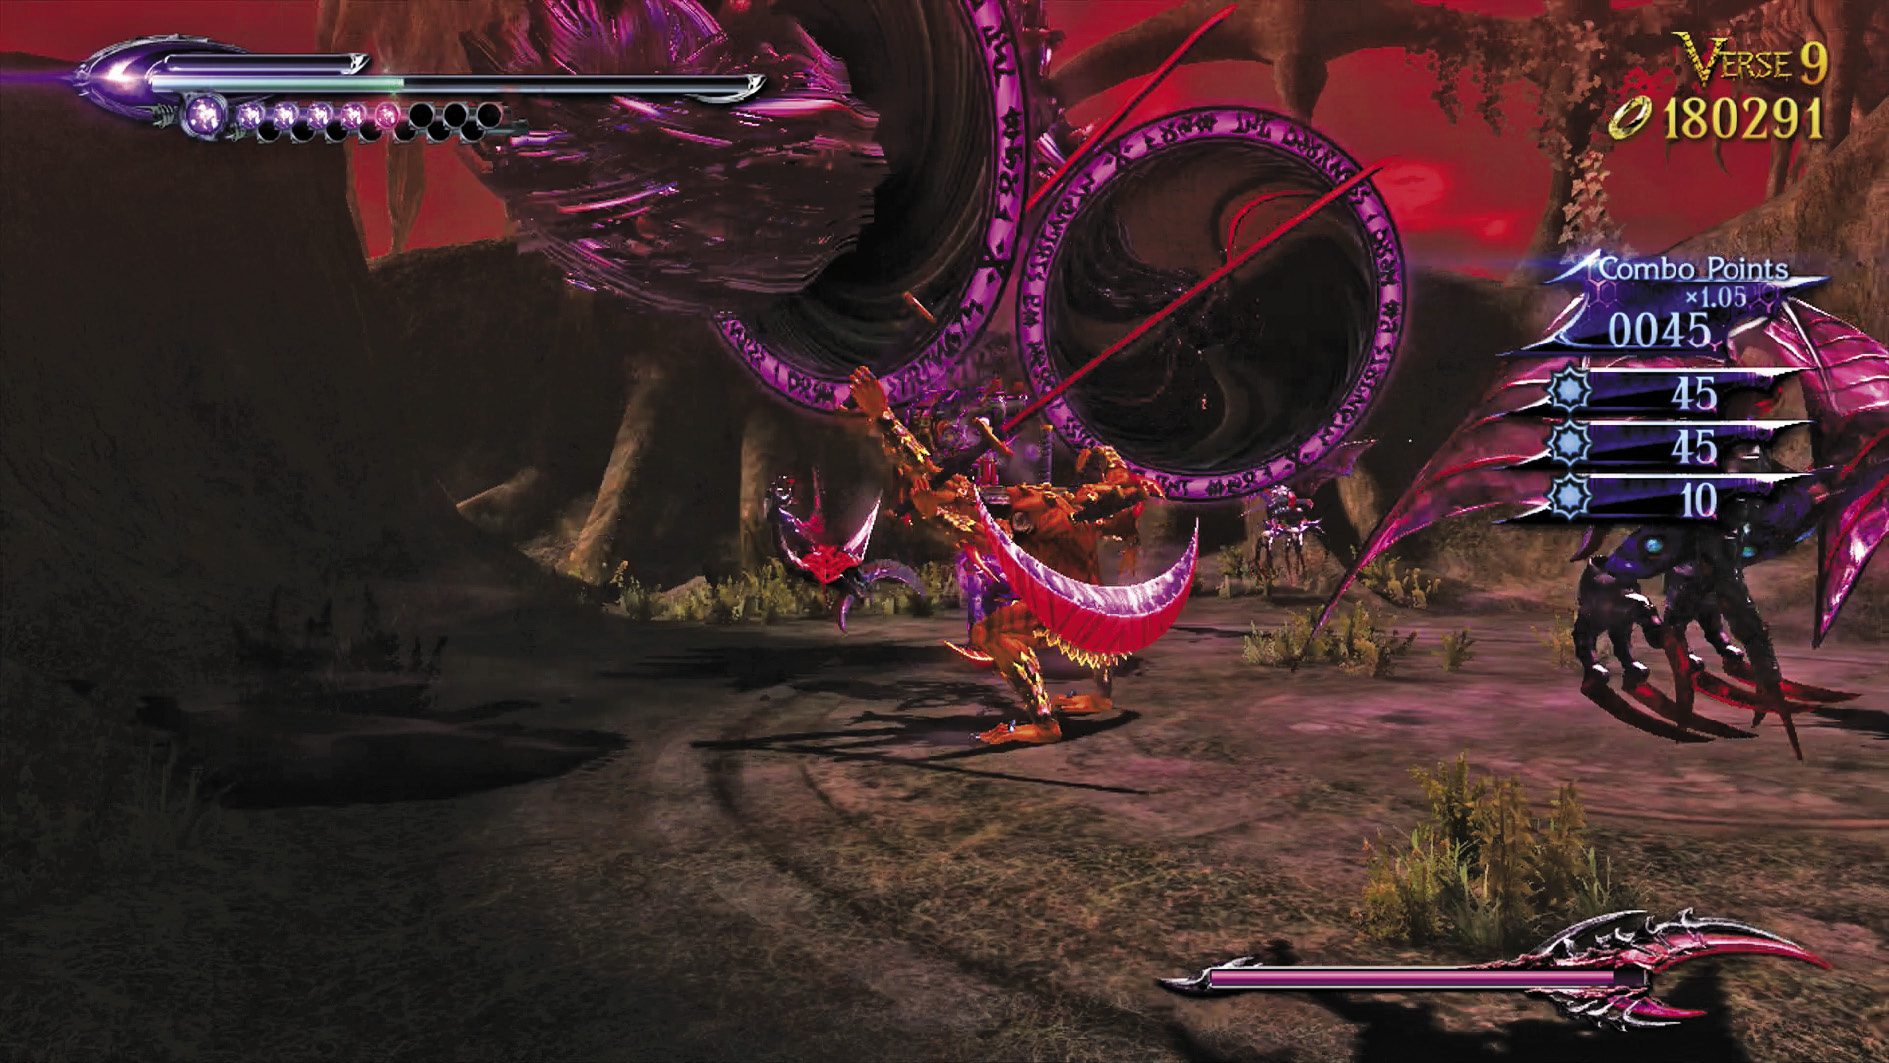
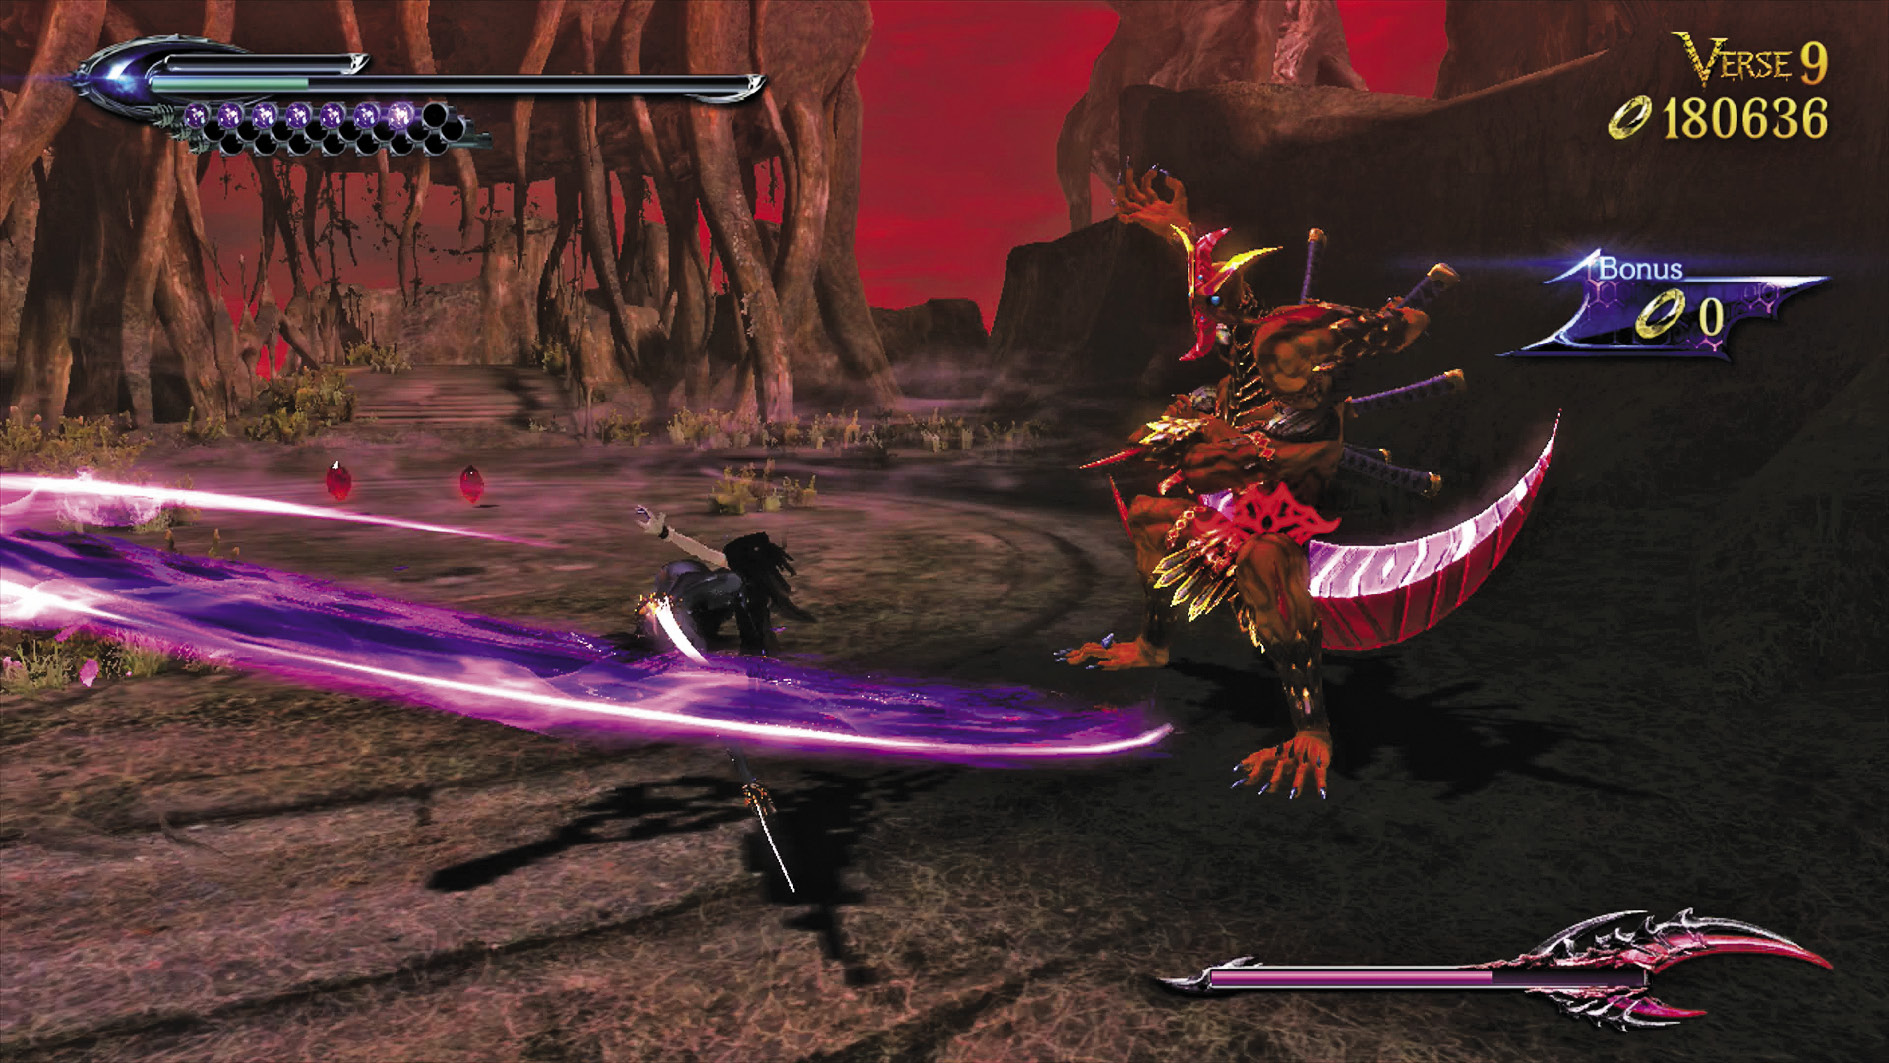
Verse 9
Suggested Weapon(s): Rakshasa (Arms)
Enemies: Fury x4, Sloth x1
You’re up against a Sloth on 3rd Climax, which means you’ll have to match blades. Keep your combo score up by handling the Furies when you can’t quite get a bead on the Sloth. It’s tough to Pure Platinum this Verse, but not impossible.
| Lost 3V9 | 3rd Climax | ||
|---|---|---|---|
| Time | Damage | Combo | |
| PLATINUM | 01:05 | 0 | 5880 |
| GOLD | 01:25 | 600 | 3070 |
| SILVER | 01:55 | 1200 | 2370 |
| BRONZE | 02:35 | 2400 | 1670 |
| BOSS BONUS | 0 | ||
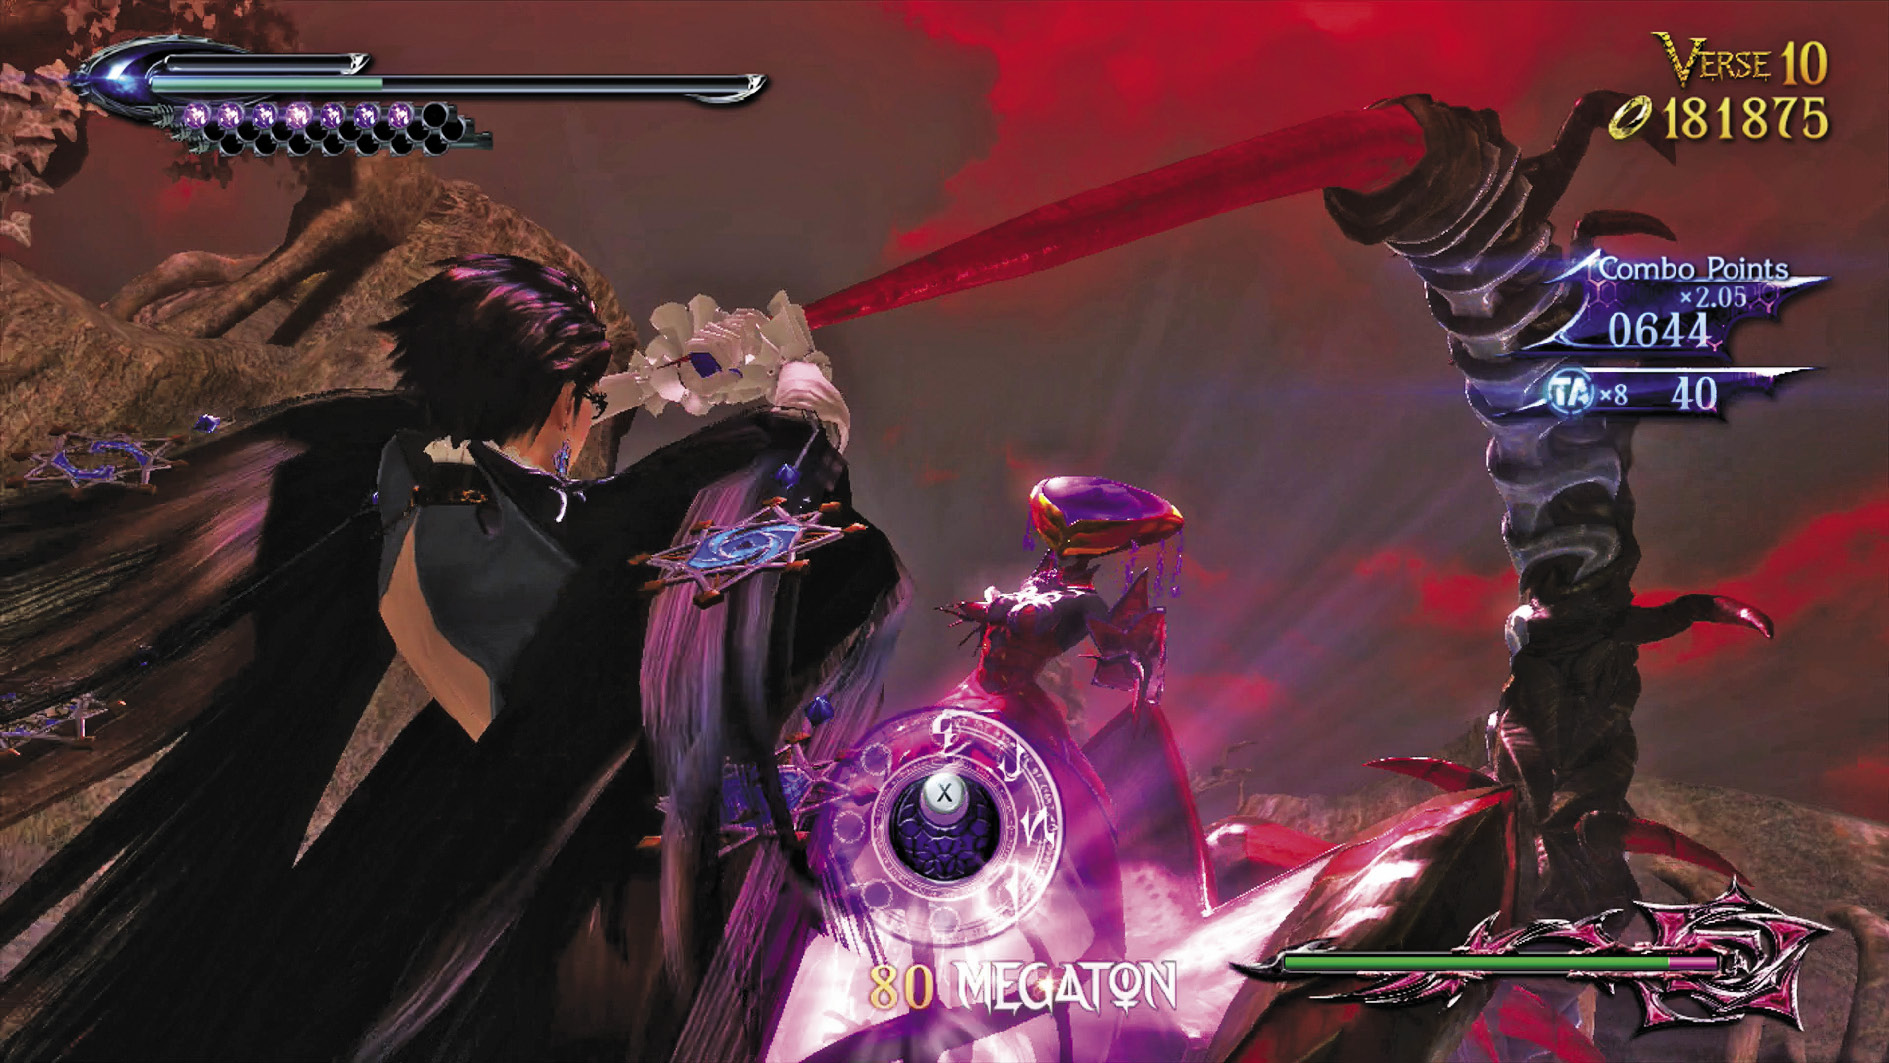
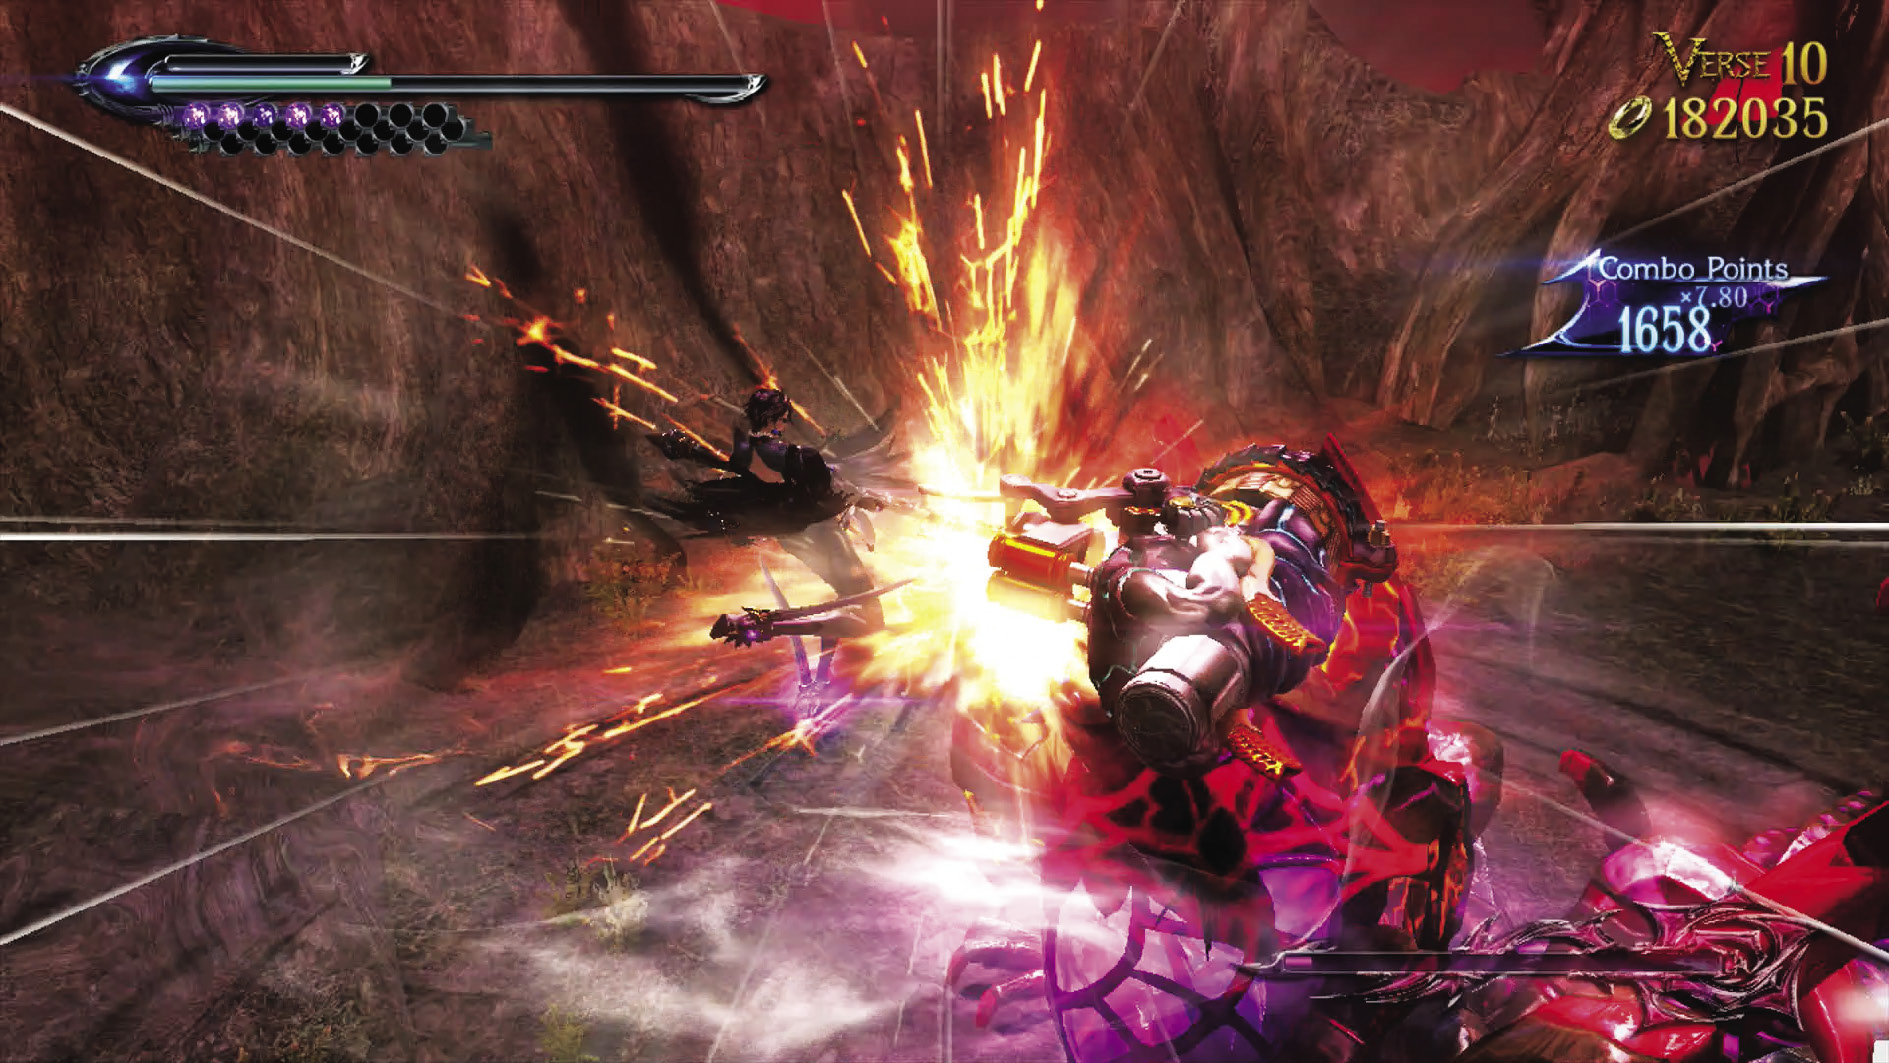
Verse 10
Suggested Weapon(s): Salamandra or Takemikazuchi (Arms), Alruna (Legs)
Enemies: Alraune (2nd Form)
This is the same fight as in Chapter XI, except now you both have much less room to move around. Make this work to your advantage by not giving an inch. Attack relentlessly while looking for Alraune’s attack tells, and punish everything she throws out. Alraune can be taken down with her own weapon fairly easily by holding K during Witch Time or Umbran Climax.
post-chapter spoils 1 Verse Card (Temperantia)
| Lost 3 V10 | 3rd Climax | ||
|---|---|---|---|
| Time | Damage | Combo | |
| PLATINUM | 01:00 | 0 | 10500 |
| GOLD | 01:20 | 800 | 5100 |
| SILVER | 01:50 | 1600 | 3750 |
| BRONZE | 02:30 | 3200 | 2400 |
| BOSS BONUS | 3000 | ||
Witch Trial IV (difficulty: 3rd climax)
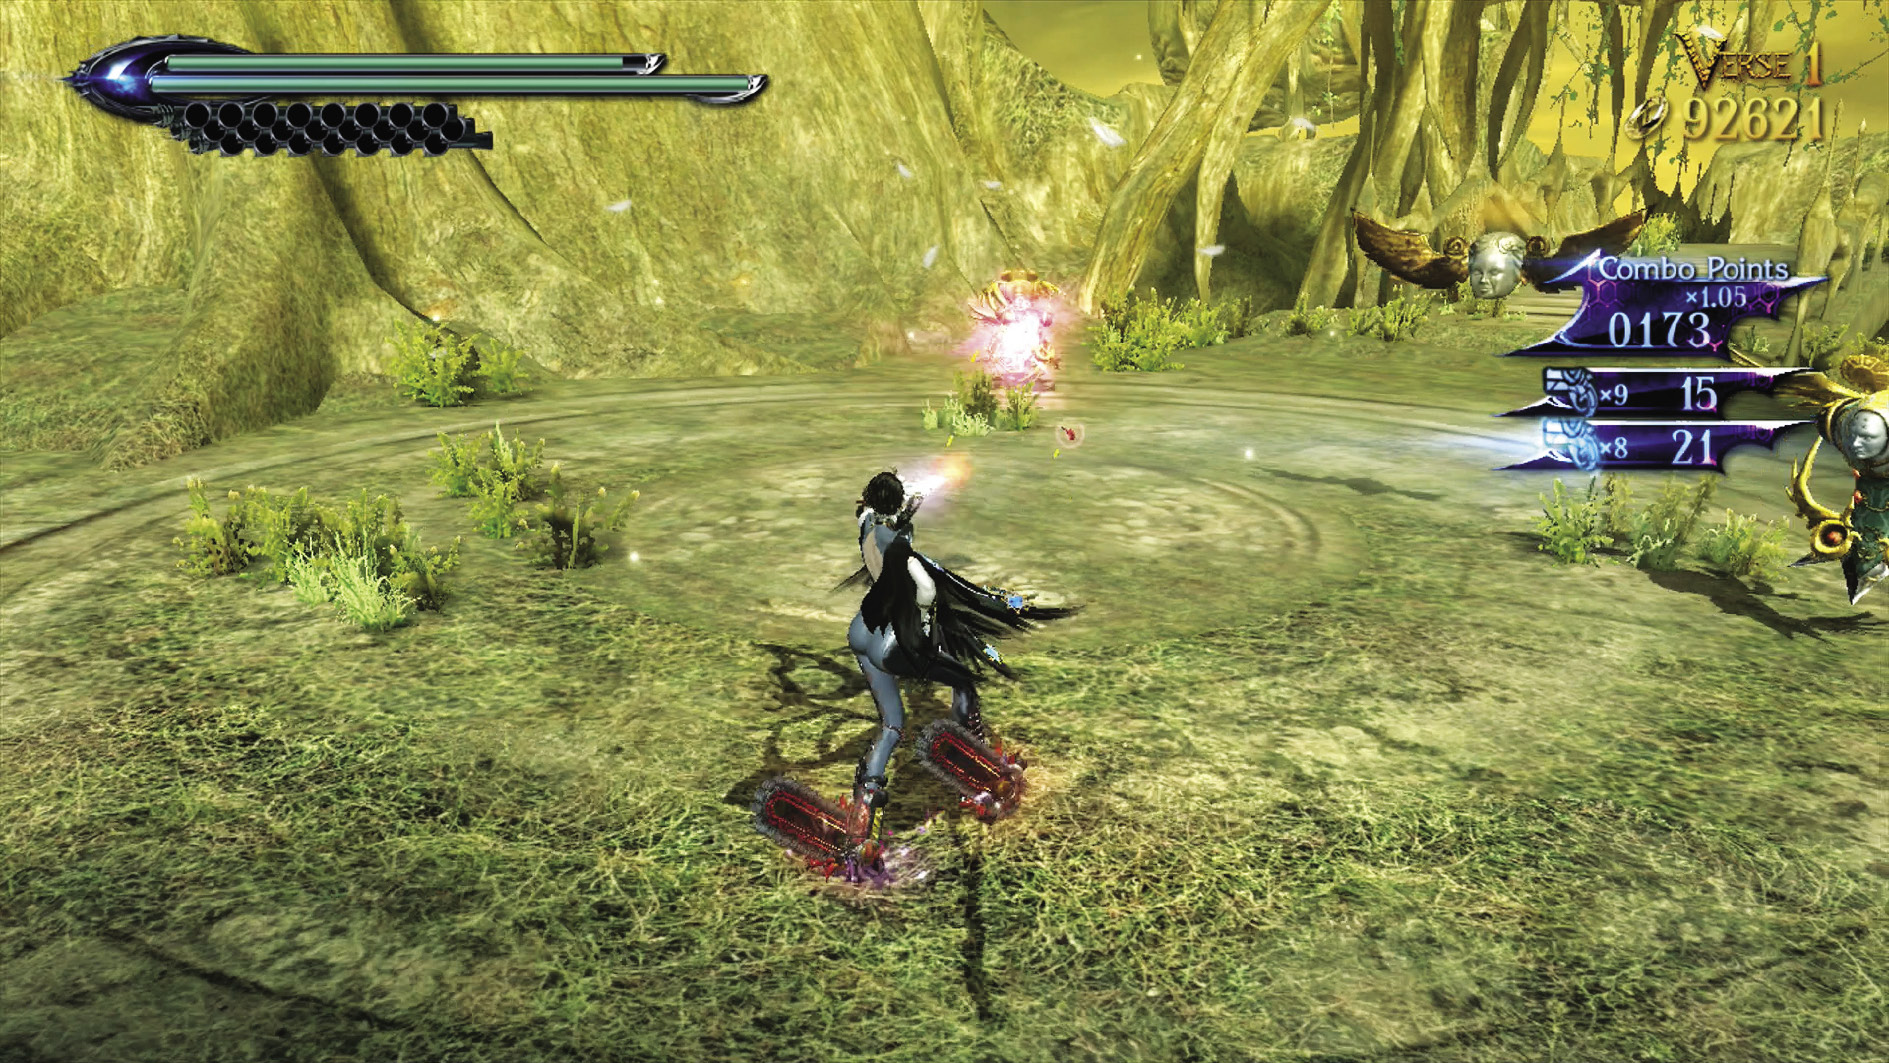
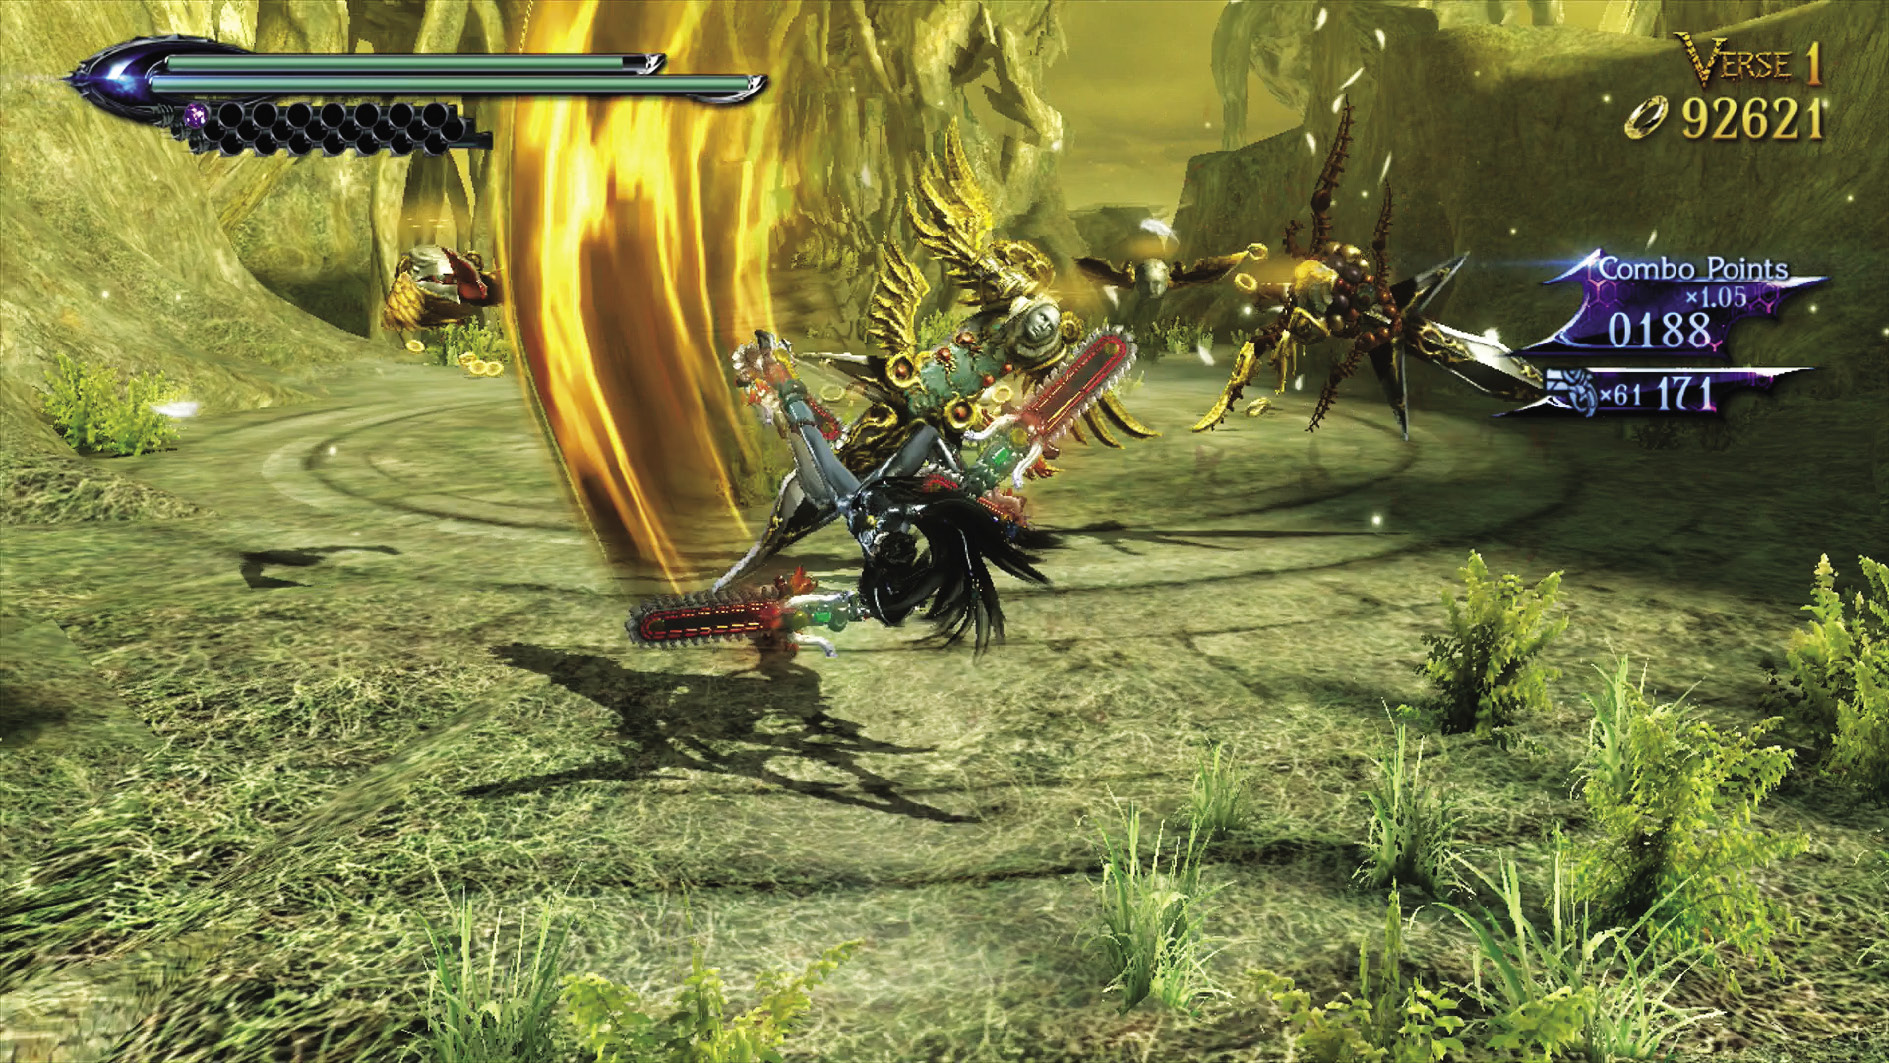
Verse 1
Suggested Weapon(s): Salamandra (Arms)
Enemies: Compassion x3, Decorations x6
The feared tiny angels of Bayonetta and Bayonetta 2 team up! It’s a shame that doesn’t make them any harder to kill. Use your guns and your chainsaws and slice them to bits. Use Stiletto to track them down if they start moving too quickly.
| Lost 4 V1 | 3rd Climax | ||
|---|---|---|---|
| Time | Damage | Combo | |
| PLATINUM | 00:25 | 0 | 960 |
| GOLD | 00:40 | 160 | 720 |
| SILVER | 01:00 | 320 | 650 |
| BRONZE | 01:25 | 640 | 590 |
| BOSS BONUS | 0 | ||
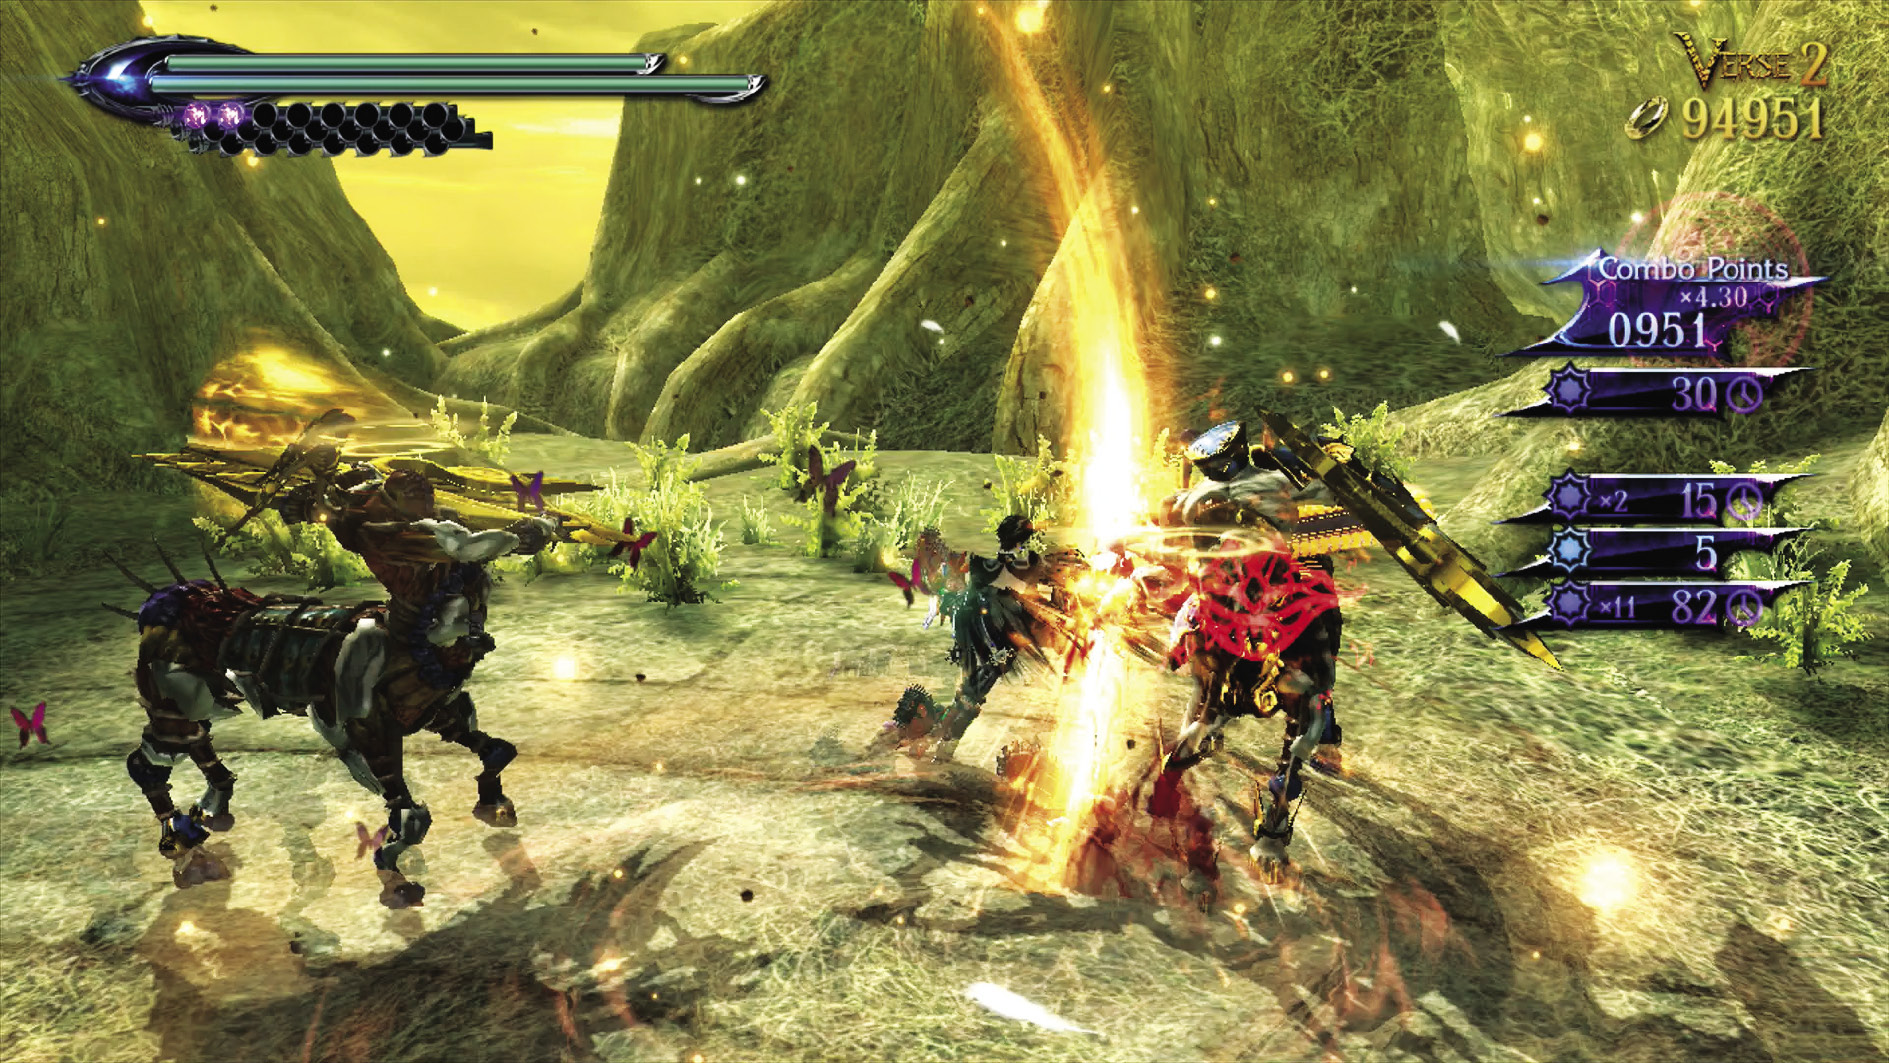
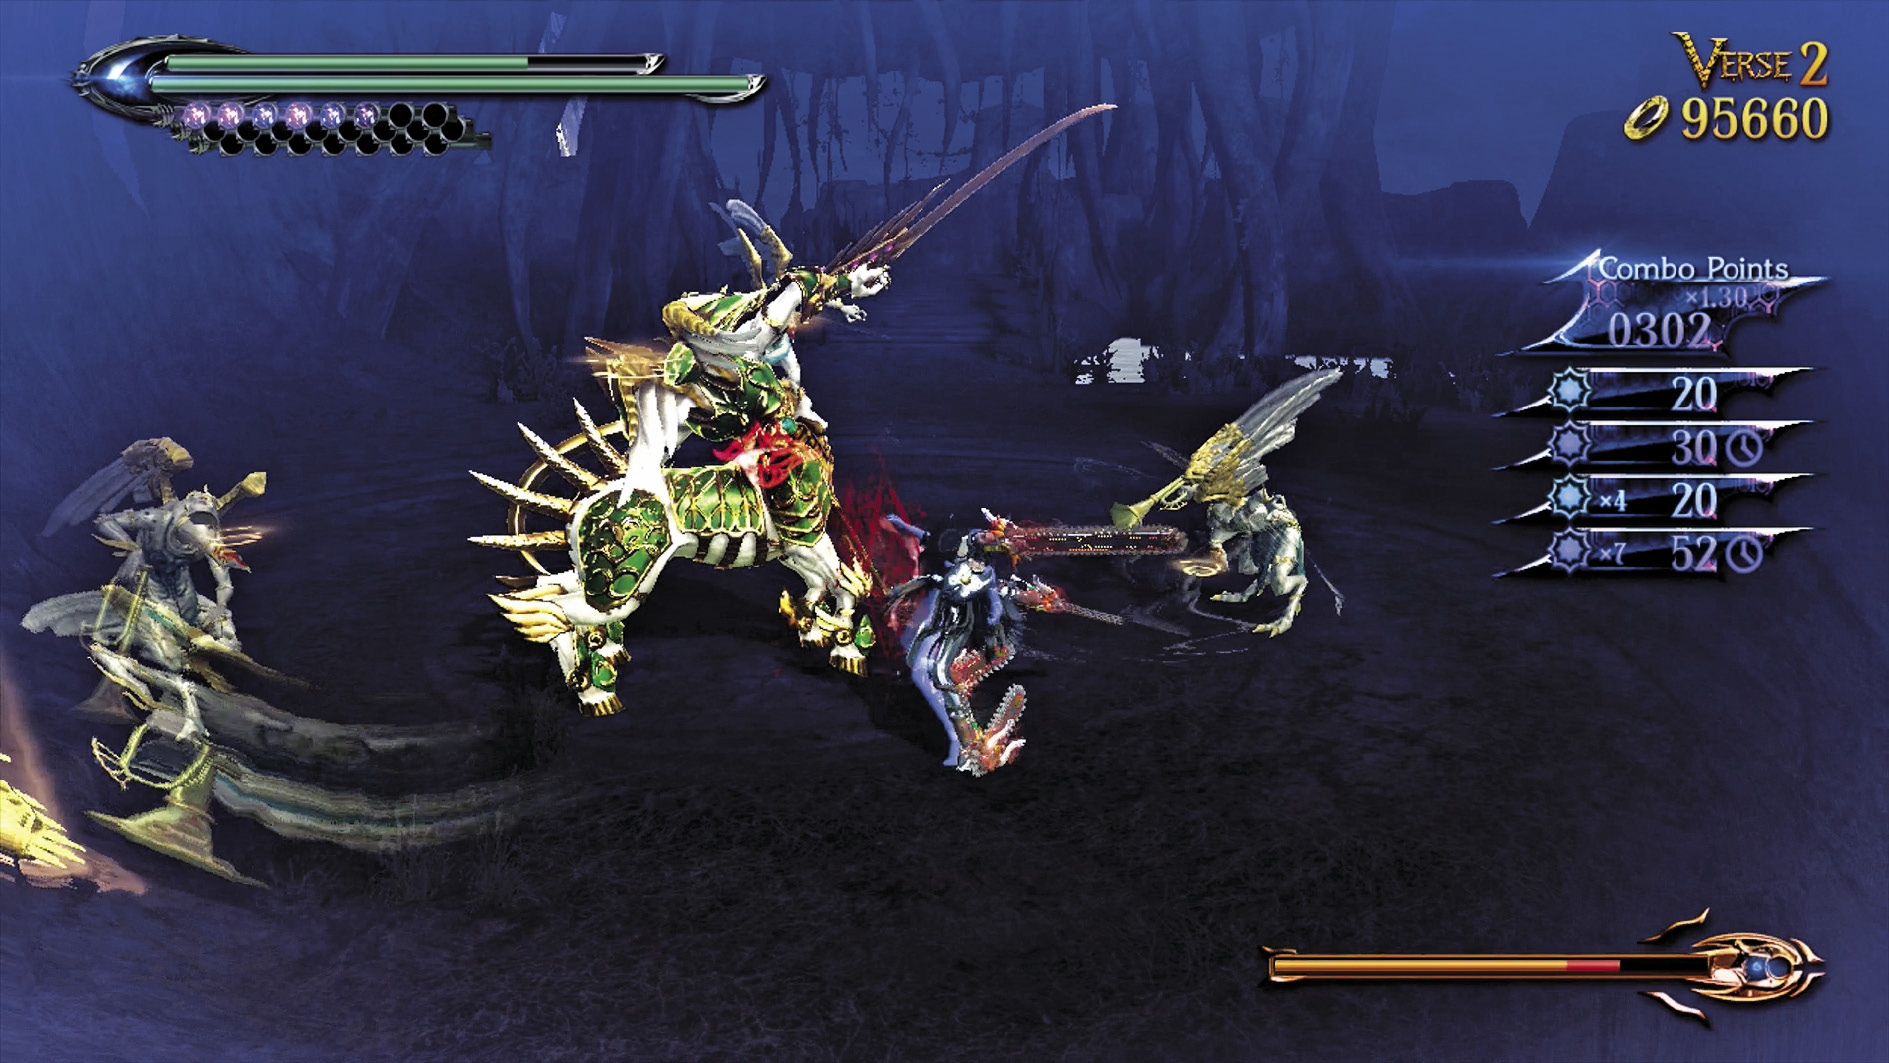
Verse 2
Suggested Weapon(s): Salamandra (Arms & Legs)
Enemies: Acceptance (Harp) x3, Affinity (Staff) x1, Affinity (Mace) x1, Affinity (Horn) x3, Accolade (Twin Blades) x1
This one’s a running gauntlet of angels, all of which you know how to deal with by now. Dodge the arrows from the Acceptances, and the horn blasts from the Affinities. Use all of the gained Witch Time opportunities to take out the Accolade so you don’t have to try to dodge his fast attacks one-on-one!
| Lost 4 V2 | 3rd Climax | ||
|---|---|---|---|
| Time | Damage | Combo | |
| PLATINUM | 01:15 | 0 | 23580 |
| GOLD | 01:30 | 600 | 10660 |
| SILVER | 01:50 | 1200 | 7430 |
| BRONZE | 02:15 | 2400 | 4200 |
| BOSS BONUS | 0 | ||
Verse 3
Suggested Weapon(s): Salamandra (Arms), Alruna (Legs)
Enemies: Cachet x2, Beloved x1, Beloved (Lava) x1
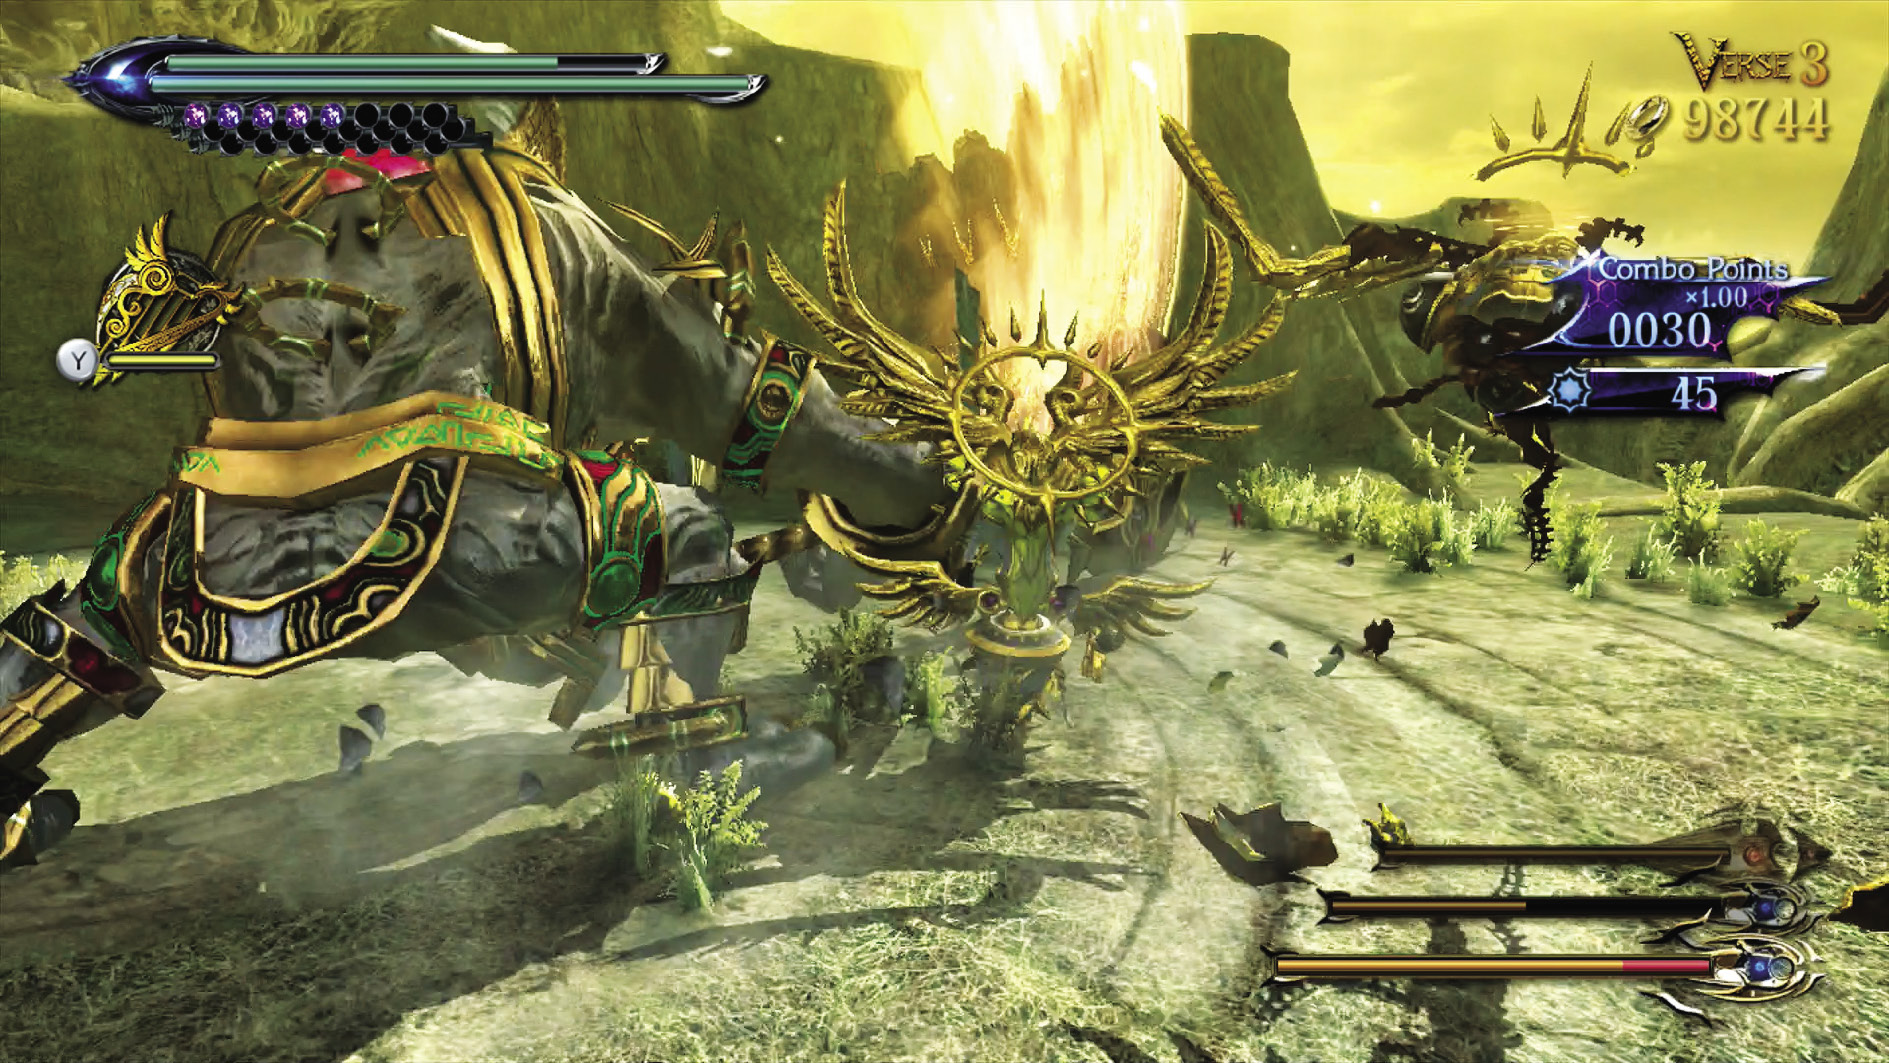
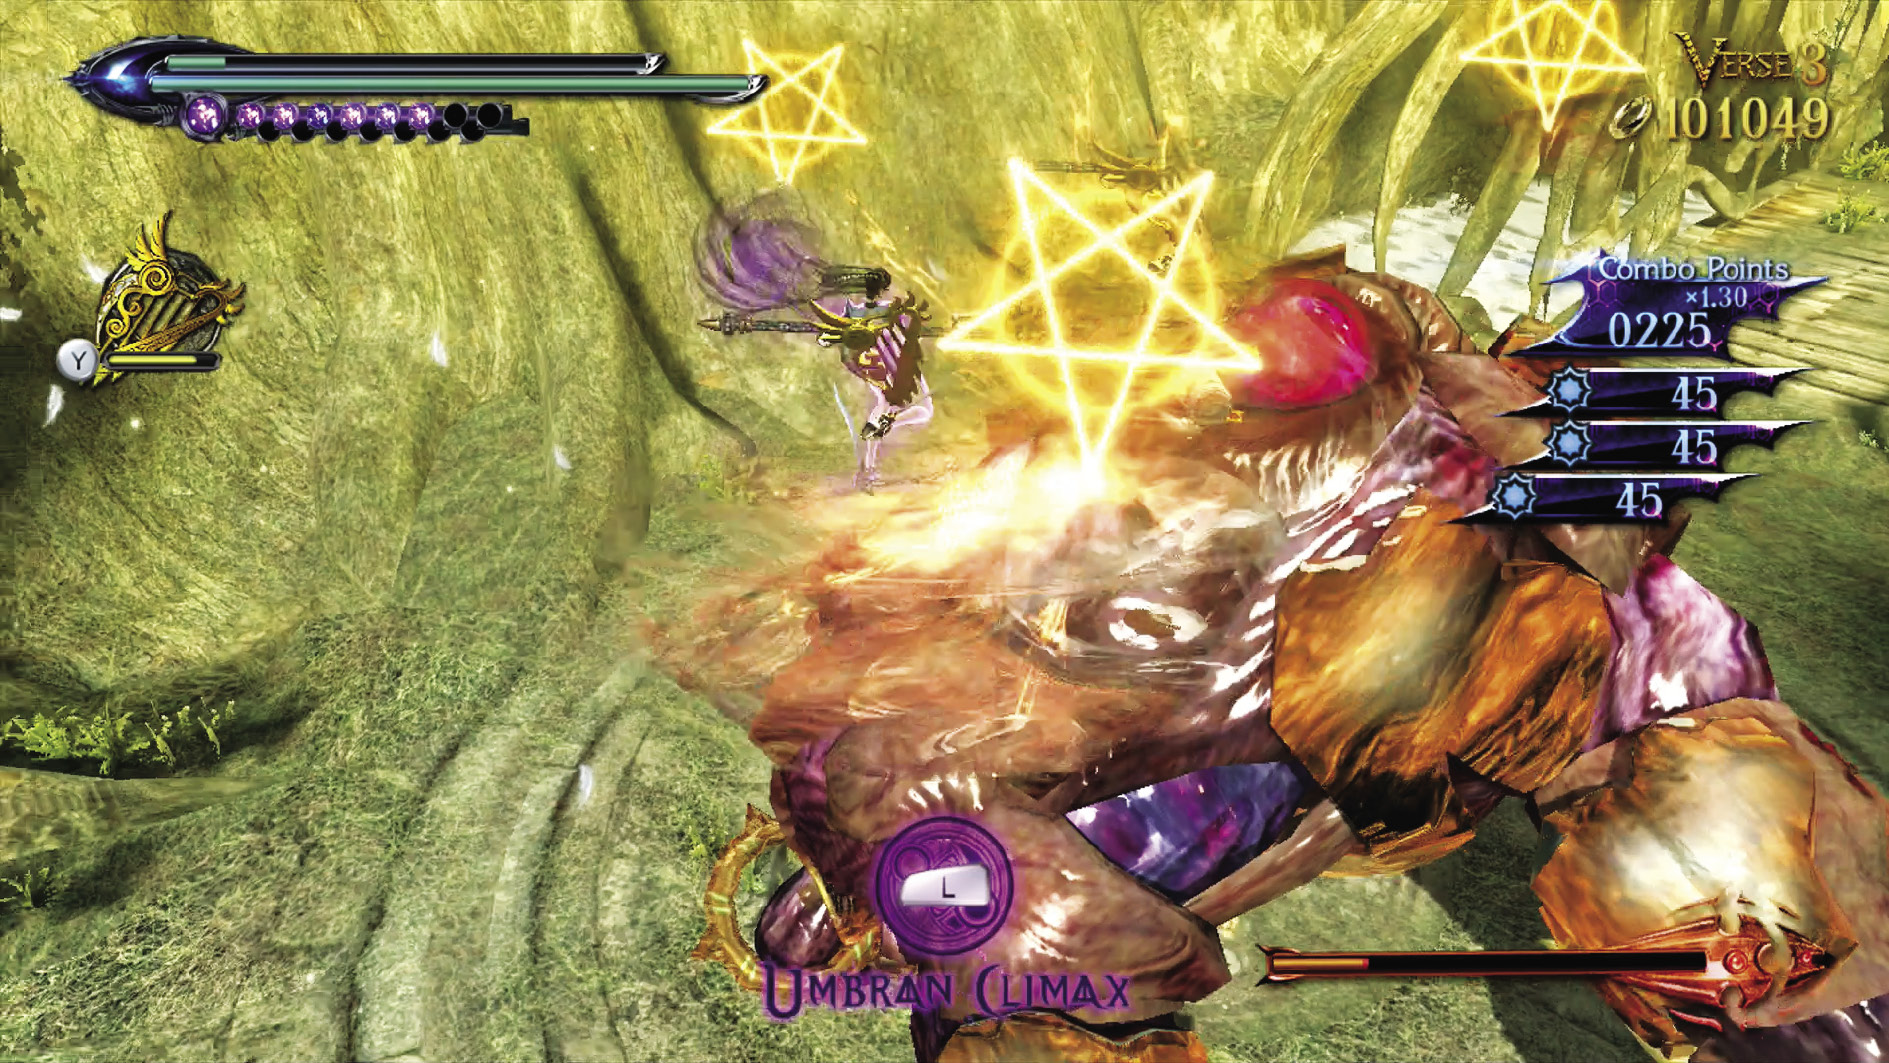
The Cachets aren’t much to worry about—just make sure their drill attacks don’t catch you unaware. What is worrisome, however, are the heavy attacks from the Beloveds. Hold K during Witch Time to have Bayonetta bring down these giant beasts with the Alruna, then slice them up!
| Lost 4V3 | 3rd Climax | ||
|---|---|---|---|
| Time | Damage | Combo | |
| PLATINUM | 02:30 | 0 | 237370 |
| GOLD | 02:50 | 700 | 97650 |
| SILVER | 03:20 | 1400 | 62720 |
| BRONZE | 04:00 | 2800 | 27790 |
| BOSS BONUS | 0 | ||
Verse 4
Suggested Weapon(s): Salamandra (Arms & Legs)
Enemies: Affinity (Mace) x1, Affinity (Staff) x2, Applaud (Bow) x1, Applaud (Staff) x2
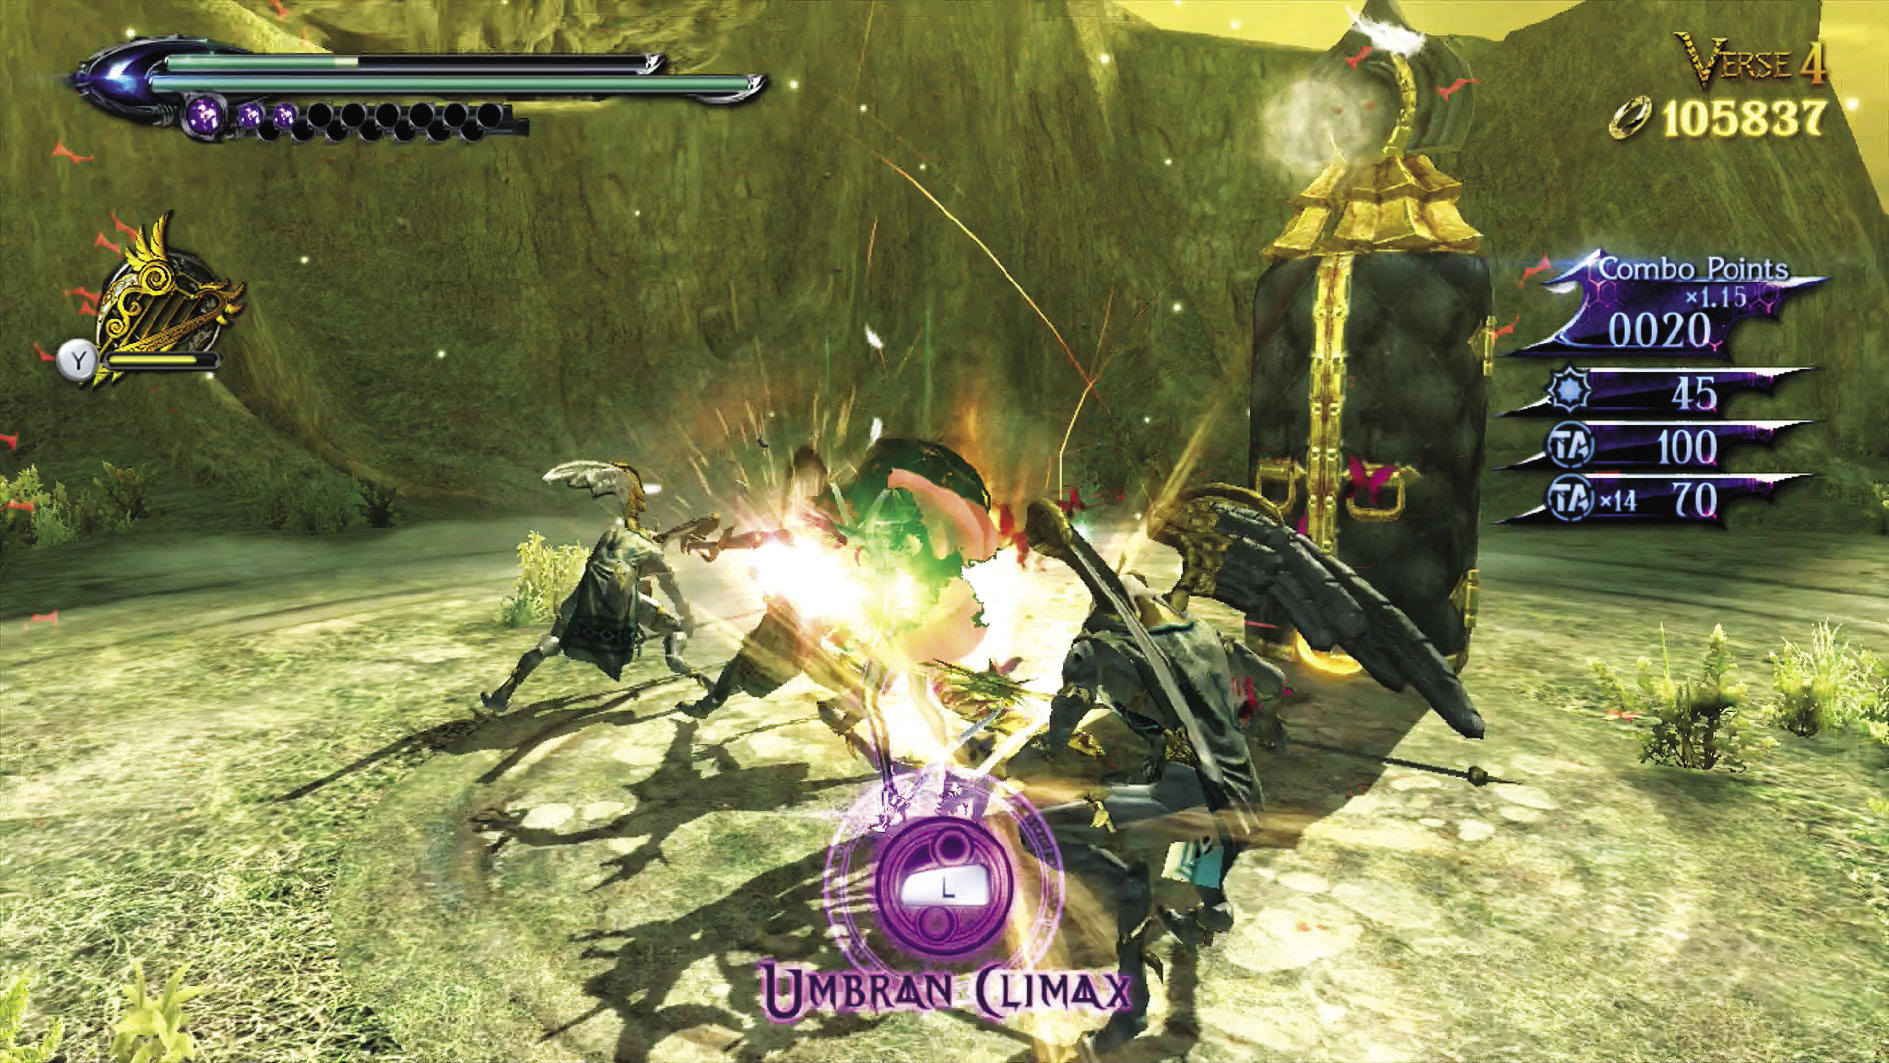
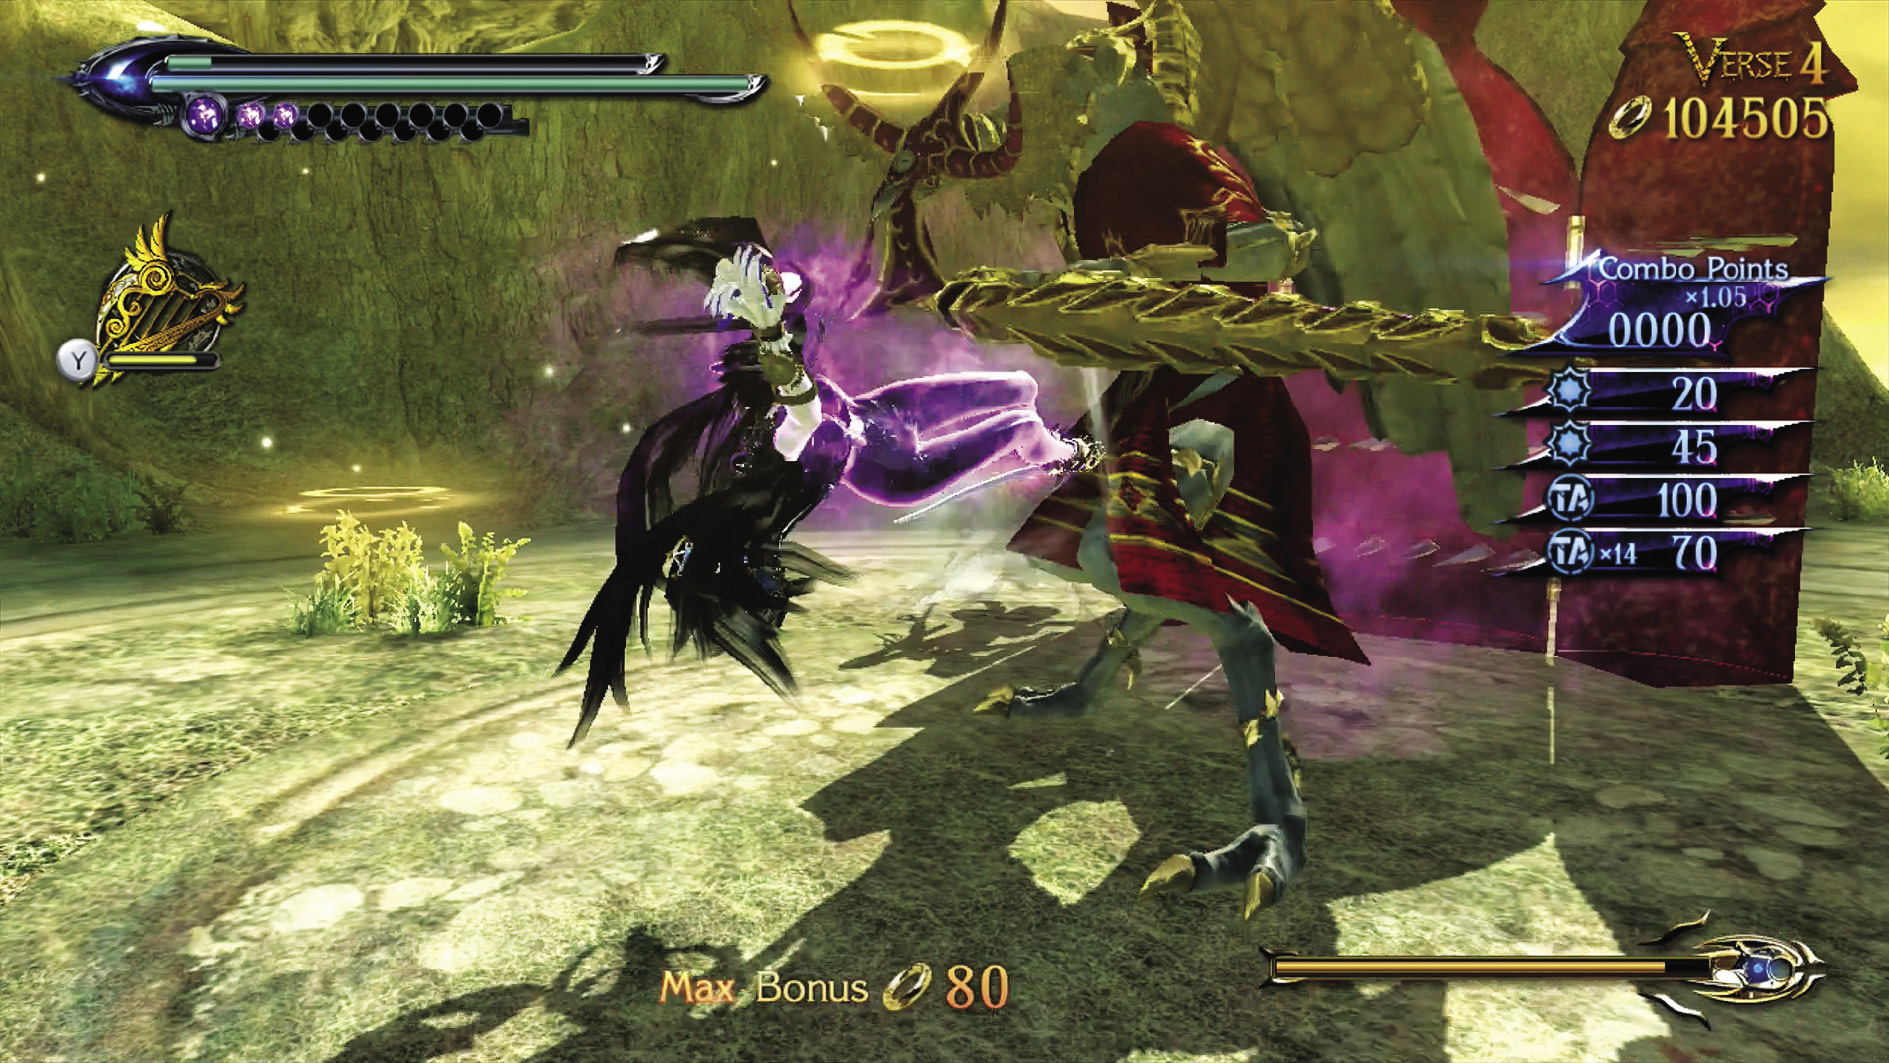
This Verse sports another cadre of low-level angels from the original Bayonetta. Dodge, then retaliate. Keep in mind the many different types of weapons being used against you here, and be mindful of attacks from afar.
| Lost 4 V4 | 3rd Climax | ||
|---|---|---|---|
| Time | Damage | Combo | |
| PLATINUM | 01:00 | 0 | 20480 |
| GOLD | 01:15 | 600 | 9360 |
| SILVER | 01:35 | 1200 | 6580 |
| BRONZE | 02:00 | 2400 | 3800 |
| BOSS BONUS | 0 | ||
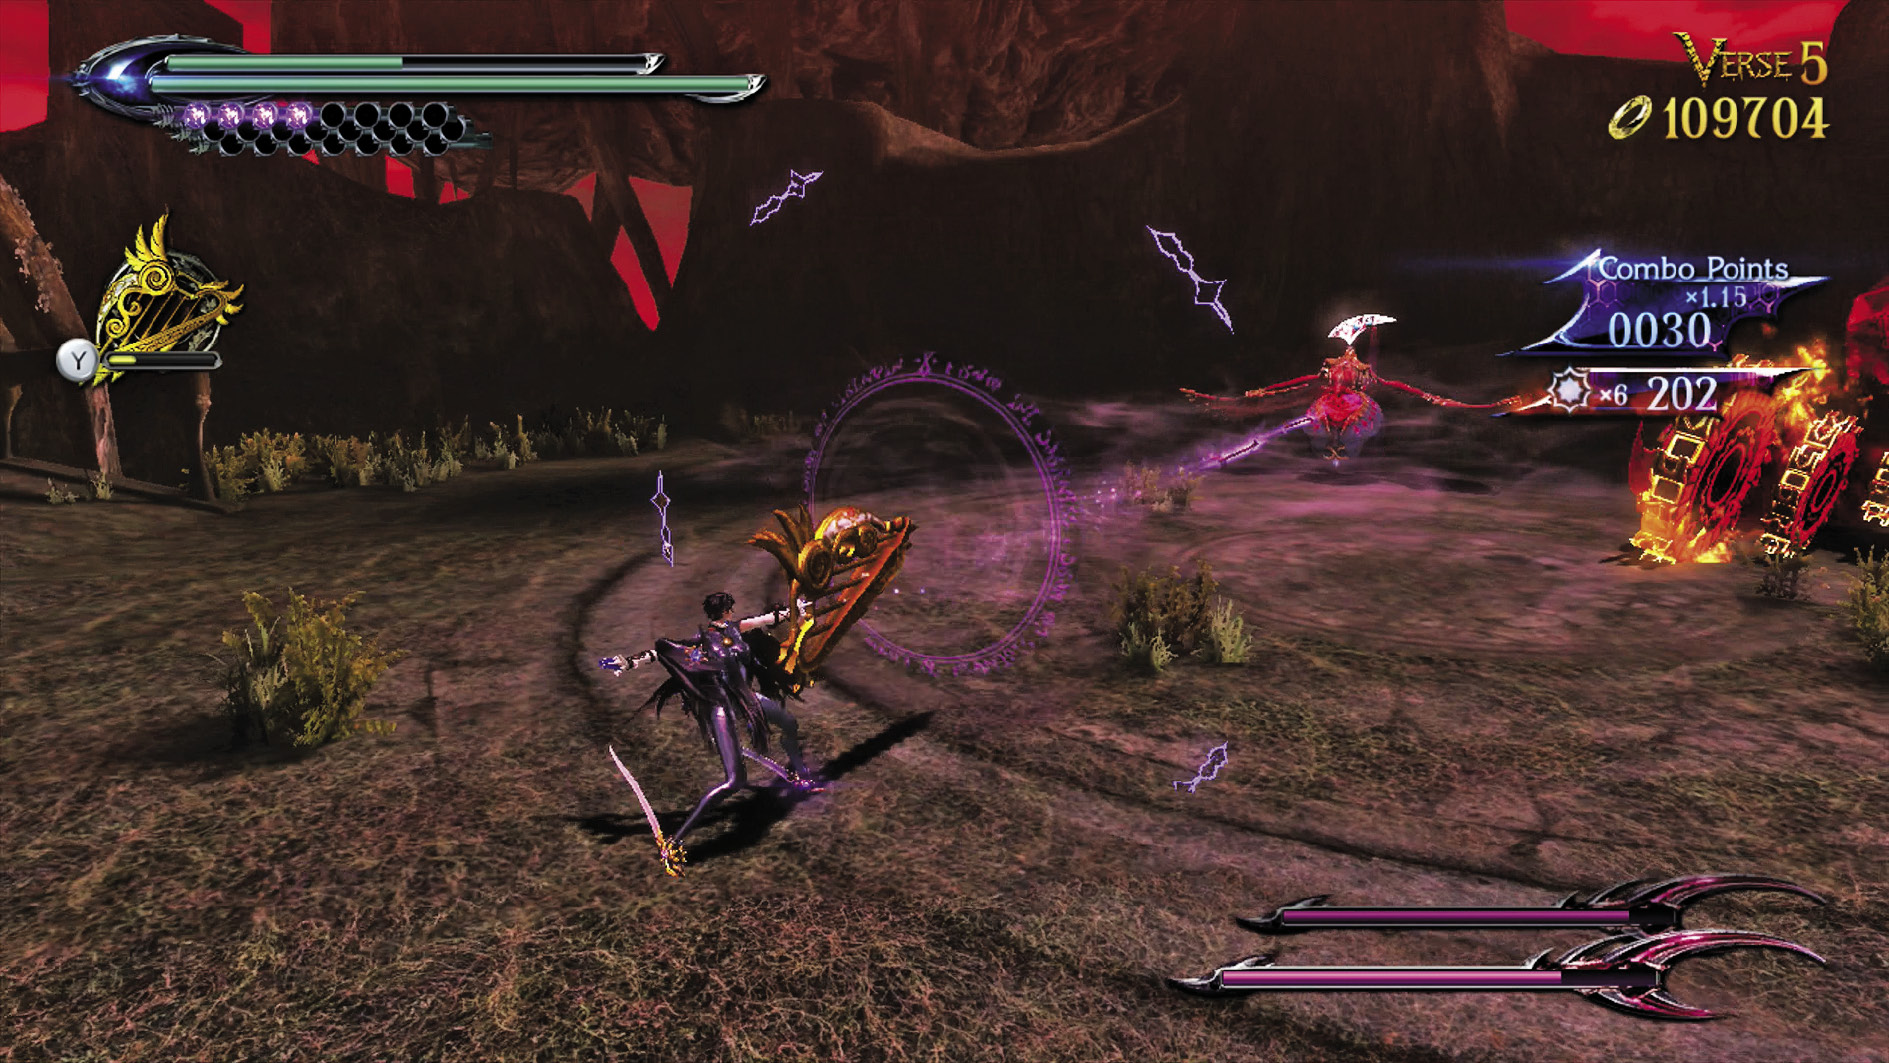
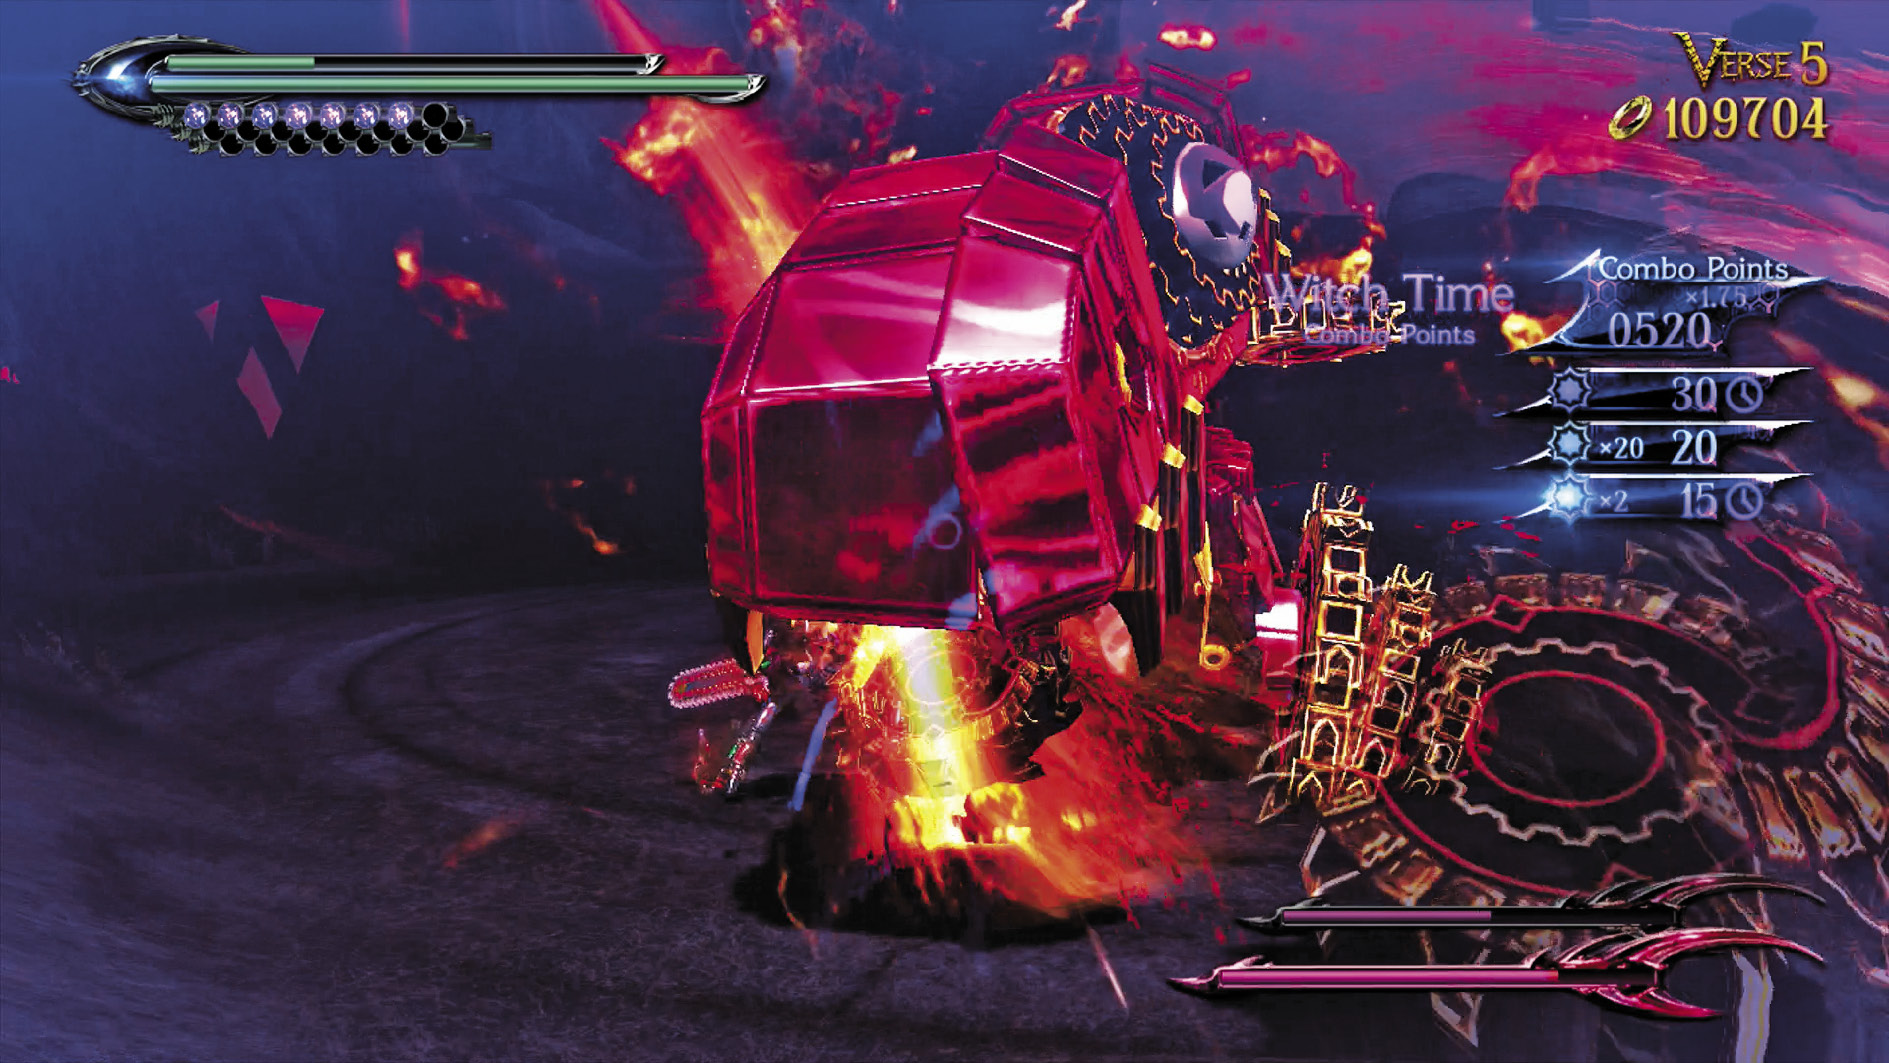
Verse 5
Suggested Weapon(s): Salamandra (Arms & Legs)
Enemies: Malicious x1, Pride x1
If you can take the heat, let the Malicious live and attack the Pride to rake in the points. Otherwise, defeat the Malicious ASAP, then go for the Pride.
| Lost 4V5 | 3rd Climax | ||
|---|---|---|---|
| Time | Damage | Combo | |
| PLATINUM | 01:15 | 0 | 17190 |
| GOLD | 01:30 | 600 | 7960 |
| SILVER | 01:50 | 1200 | 5650 |
| BRONZE | 02:15 | 2400 | 3340 |
| BOSS BONUS | 0 | ||
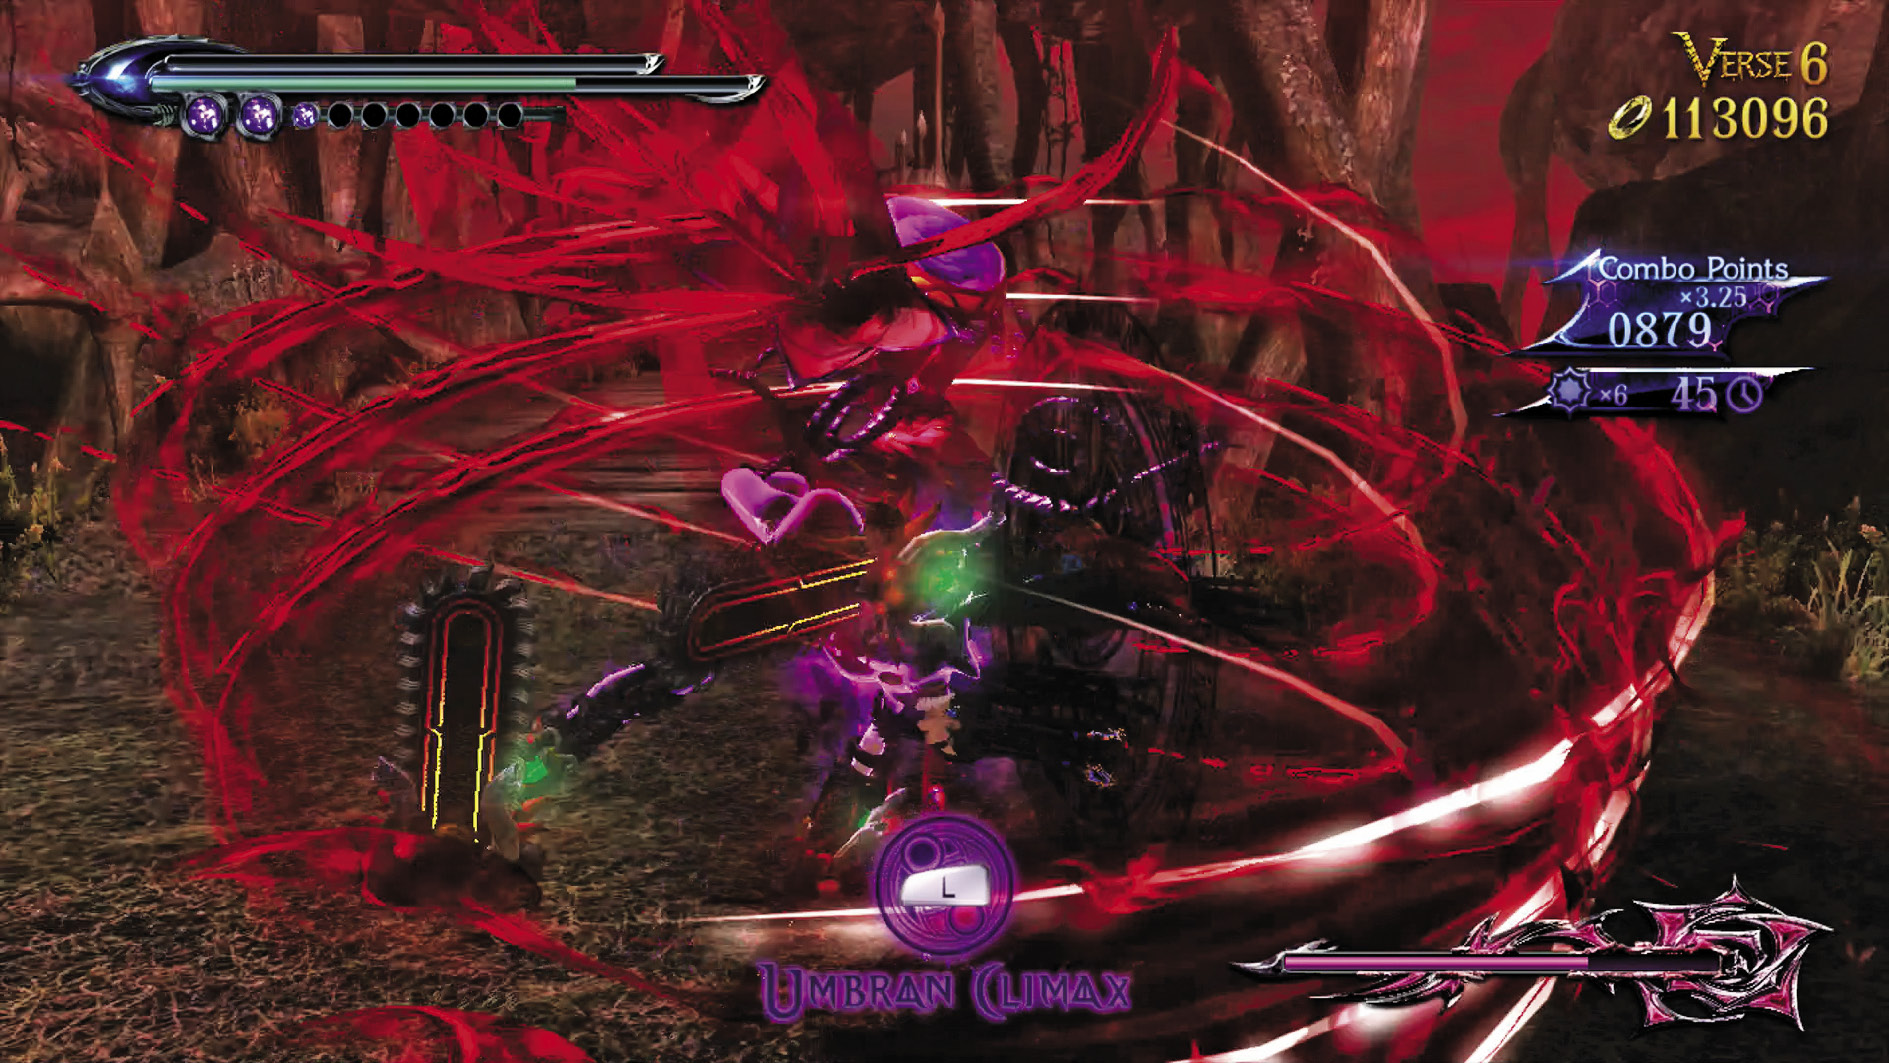
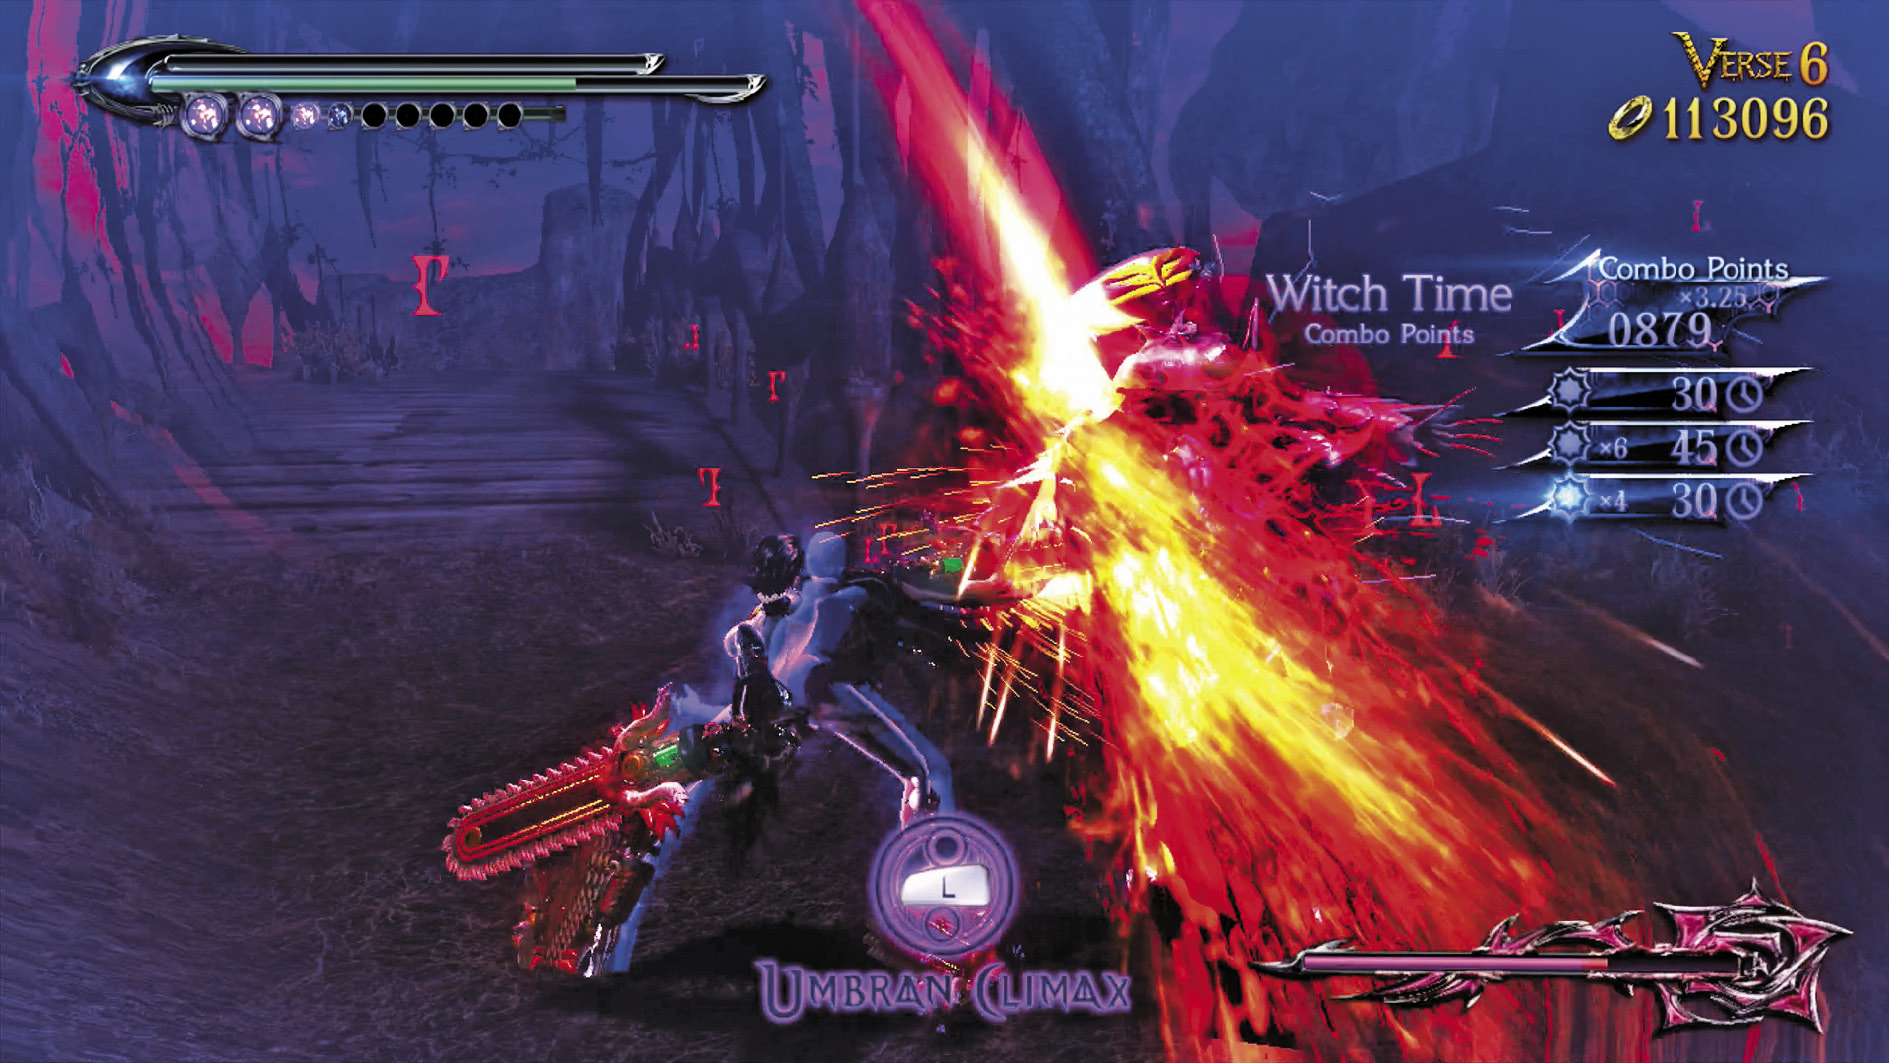
Verse 6
Suggested Weapon(s): Salamandra or Rakshasa (Arms)
Enemies: Alraune (1st Form)
The first form of Alraune acts the same way as she did in Chapter XI, and you’re not fighting her on ∞ Climax, so you’ve got a bit of leeway. Dodge her spinning attacks and retaliate with your weapon of choice for a short time before jumping away and firing your gun. When she puts down her flowers, destroy them ASAP. Follow this general strategy to emerge victorious.
| Lost 4 V6 | 3rd Climax | ||
|---|---|---|---|
| Time | Damage | Combo | |
| PLATINUM | 01:30 | 0 | 10500 |
| GOLD | 01:50 | 650 | 5100 |
| SILVER | 02:20 | 1300 | 3750 |
| BRONZE | 03:00 | 2600 | 2400 |
| BOSS BONUS | 3000 | ||
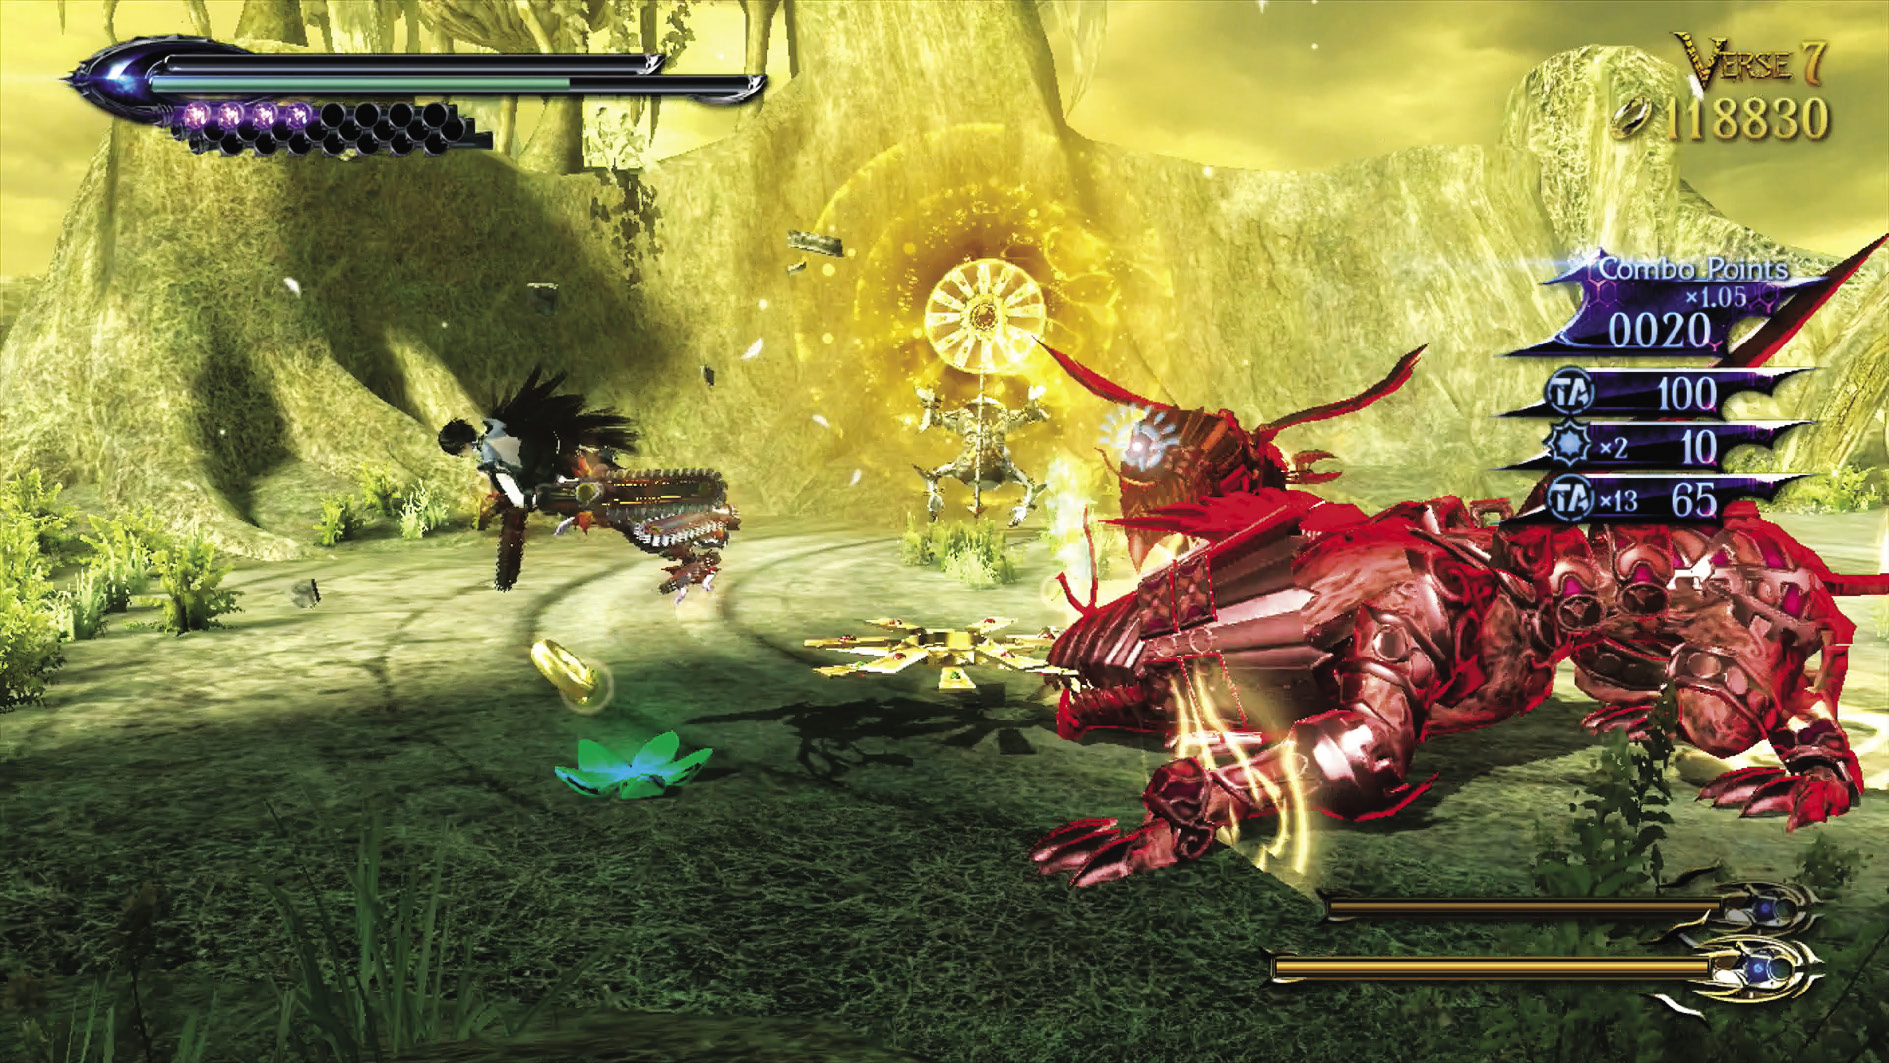
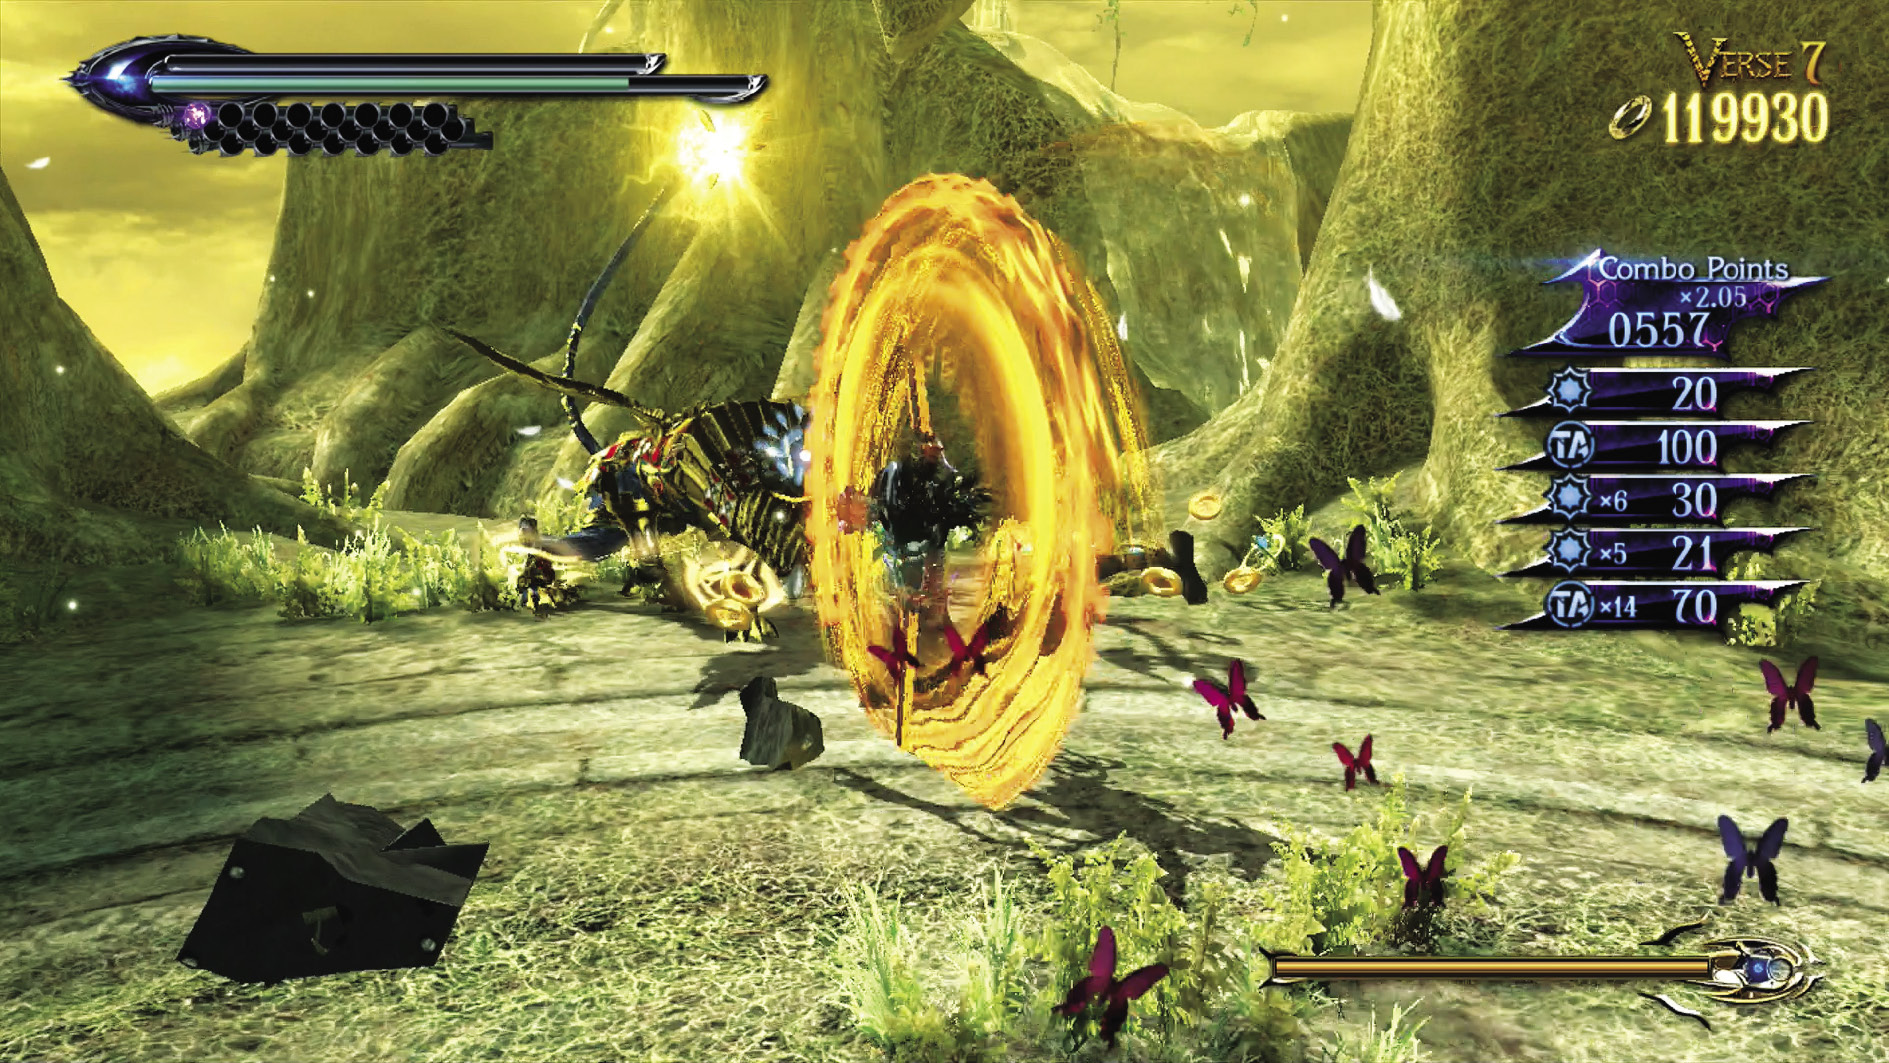
Verse 7
Suggested Weapon(s): Salamandra (Arms)
Enemies: Enrapture x2, Fearless x1, Fairness x1
Fearless and Fairness are tough enough without being angered by Enraptures. In the interest of points, try to hold out as long as you can against F&F in their angered states before taking the Enraptures down. Watch out for F&F’s bite attacks and tail attacks at all times.
| Lost 4V7 | 3rd Climax | ||
|---|---|---|---|
| Time | Damage | Combo | |
| PLATINUM | 01:00 | 0 | 8750 |
| GOLD | 01:10 | 600 | 4340 |
| SILVER | 01:25 | 1200 | 3240 |
| BRONZE | 01:45 | 2400 | 2140 |
| BOSS BONUS | 0 | ||
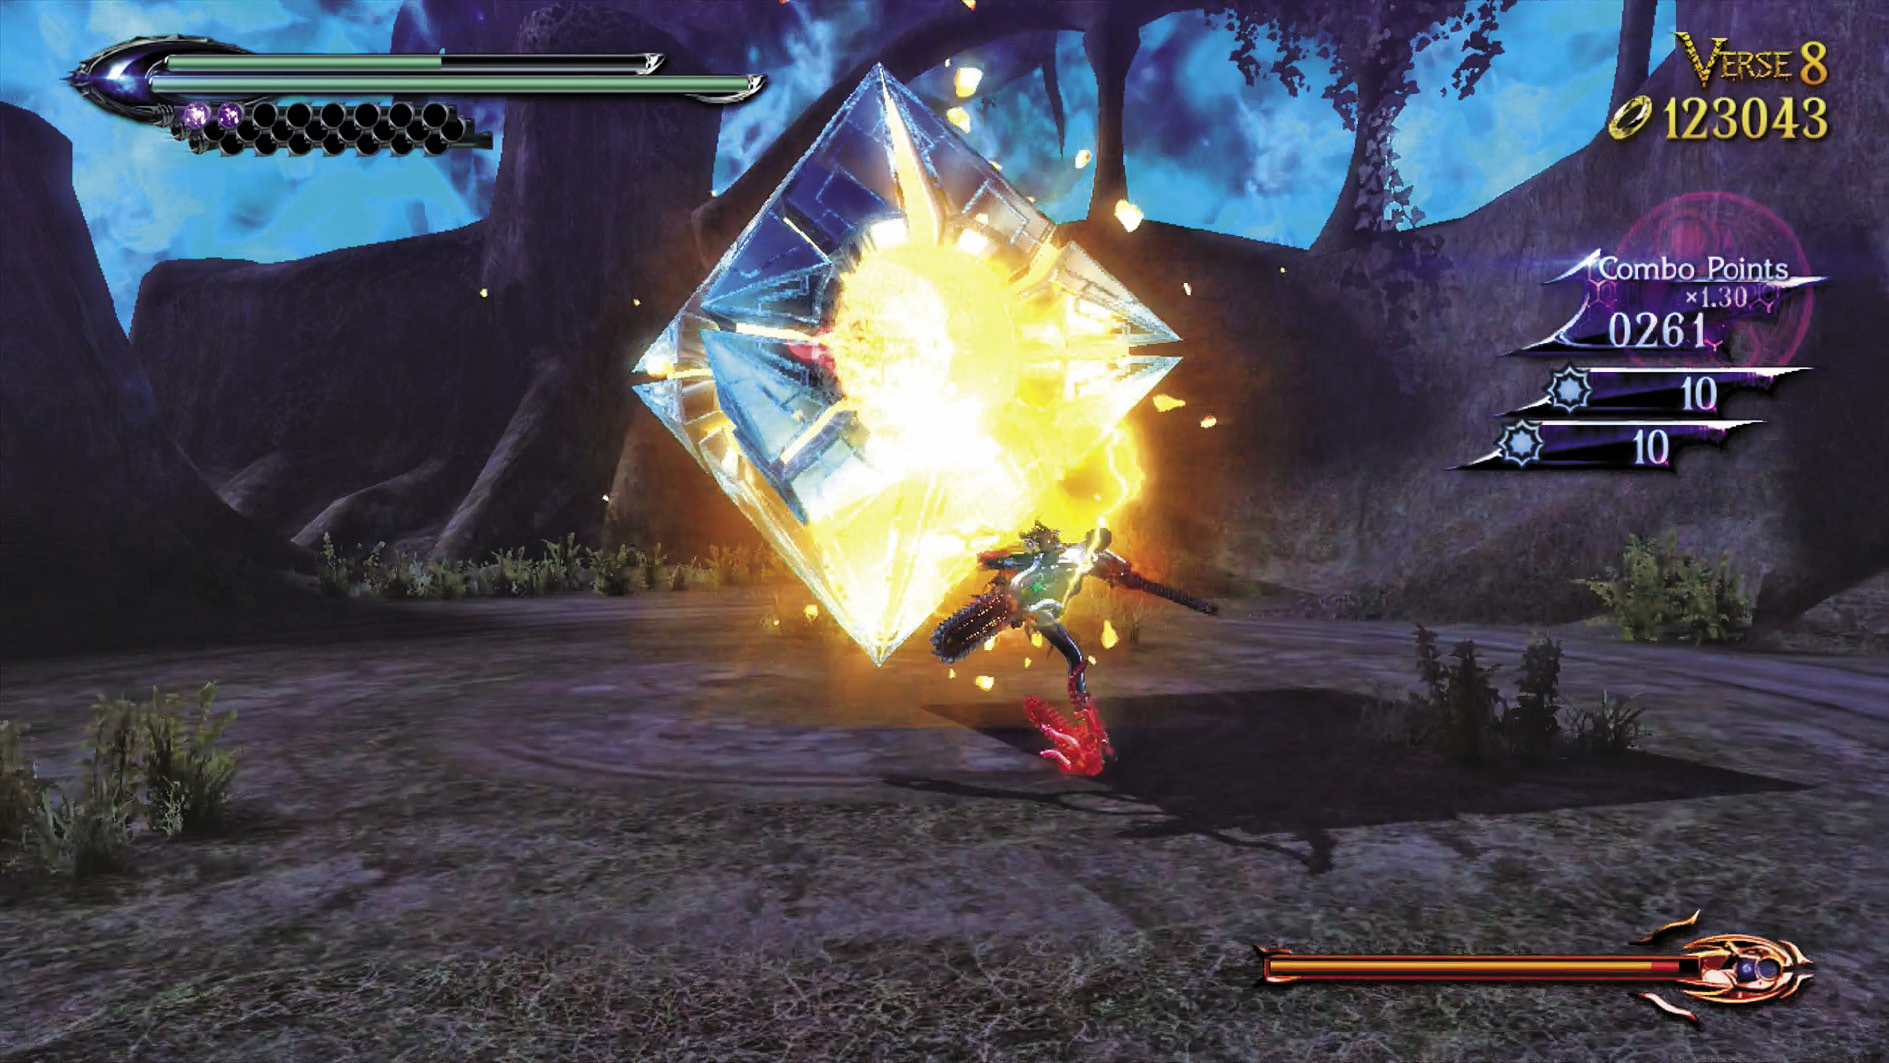
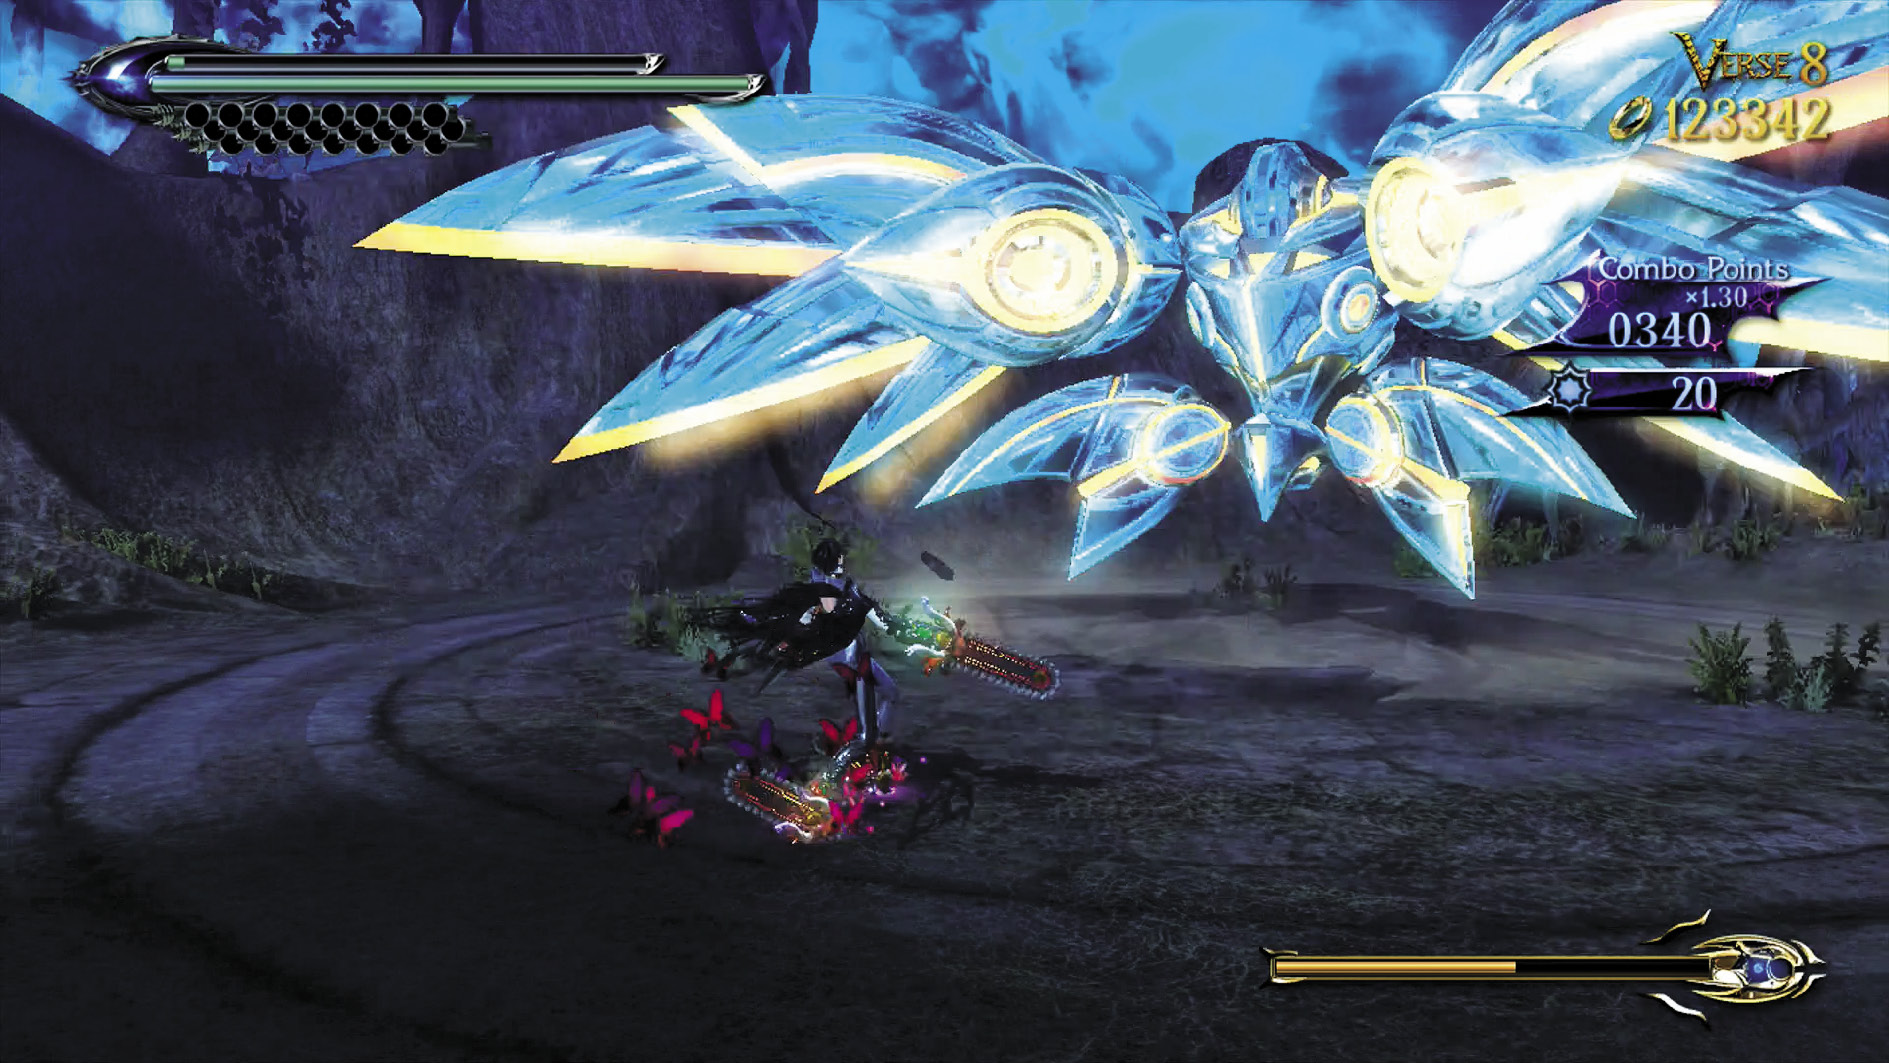
Verse 8
Suggested Weapon(s): Salamandra (Arms)
Enemies: Golem
A single Golem without backup is a simple dodge-and-strike-back affair. Use the same strategies you did in Chapters VIII and IX and it’ll fall with ease.
| Lost 4 V8 | 3rd Climax | ||
|---|---|---|---|
| Time | Damage | Combo | |
| PLATINUM | 01:30 | 0 | 59640 |
| GOLD | 01:45 | 500 | 25540 |
| SILVER | 02:05 | 1000 | 17010 |
| BRONZE | 02:30 | 2000 | 8480 |
| BOSS BONUS | 3000 | ||
Verse 9
Suggested Weapon(s): Salamandra or Rakshasa (Arms)
Enemies: Loptr
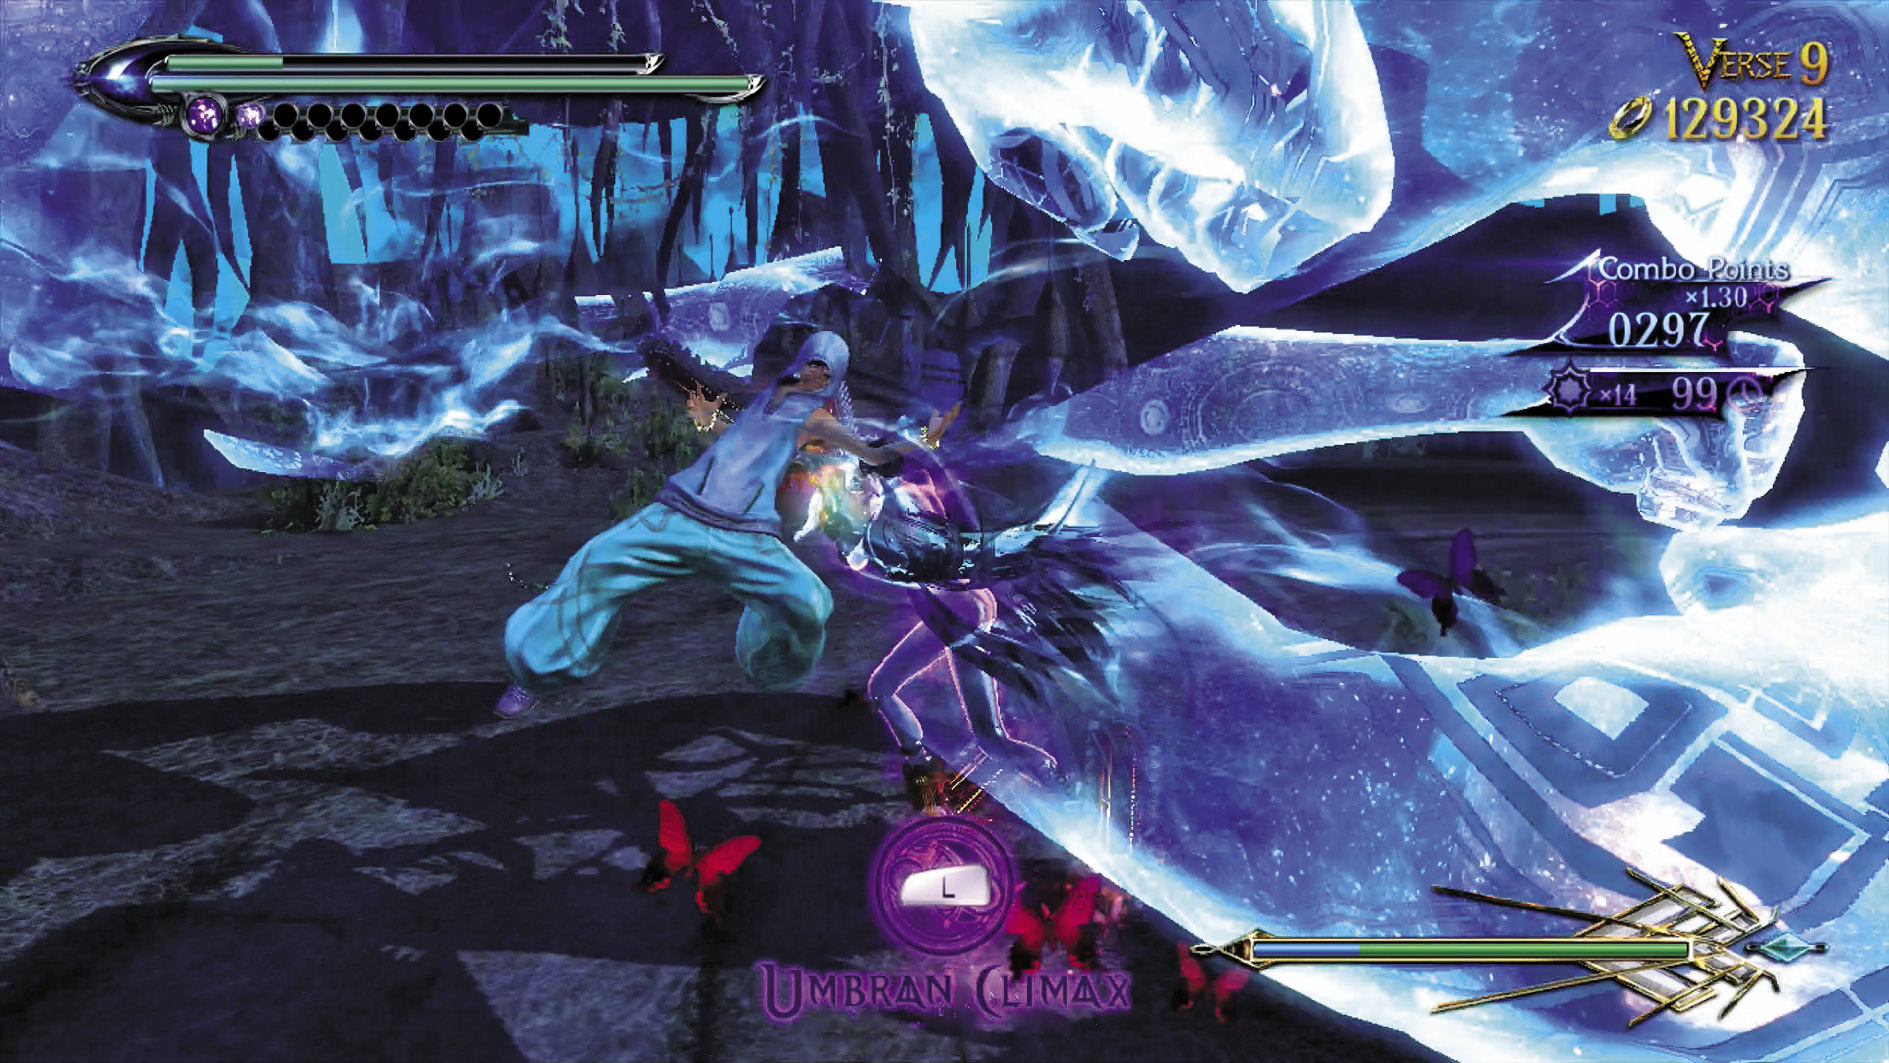
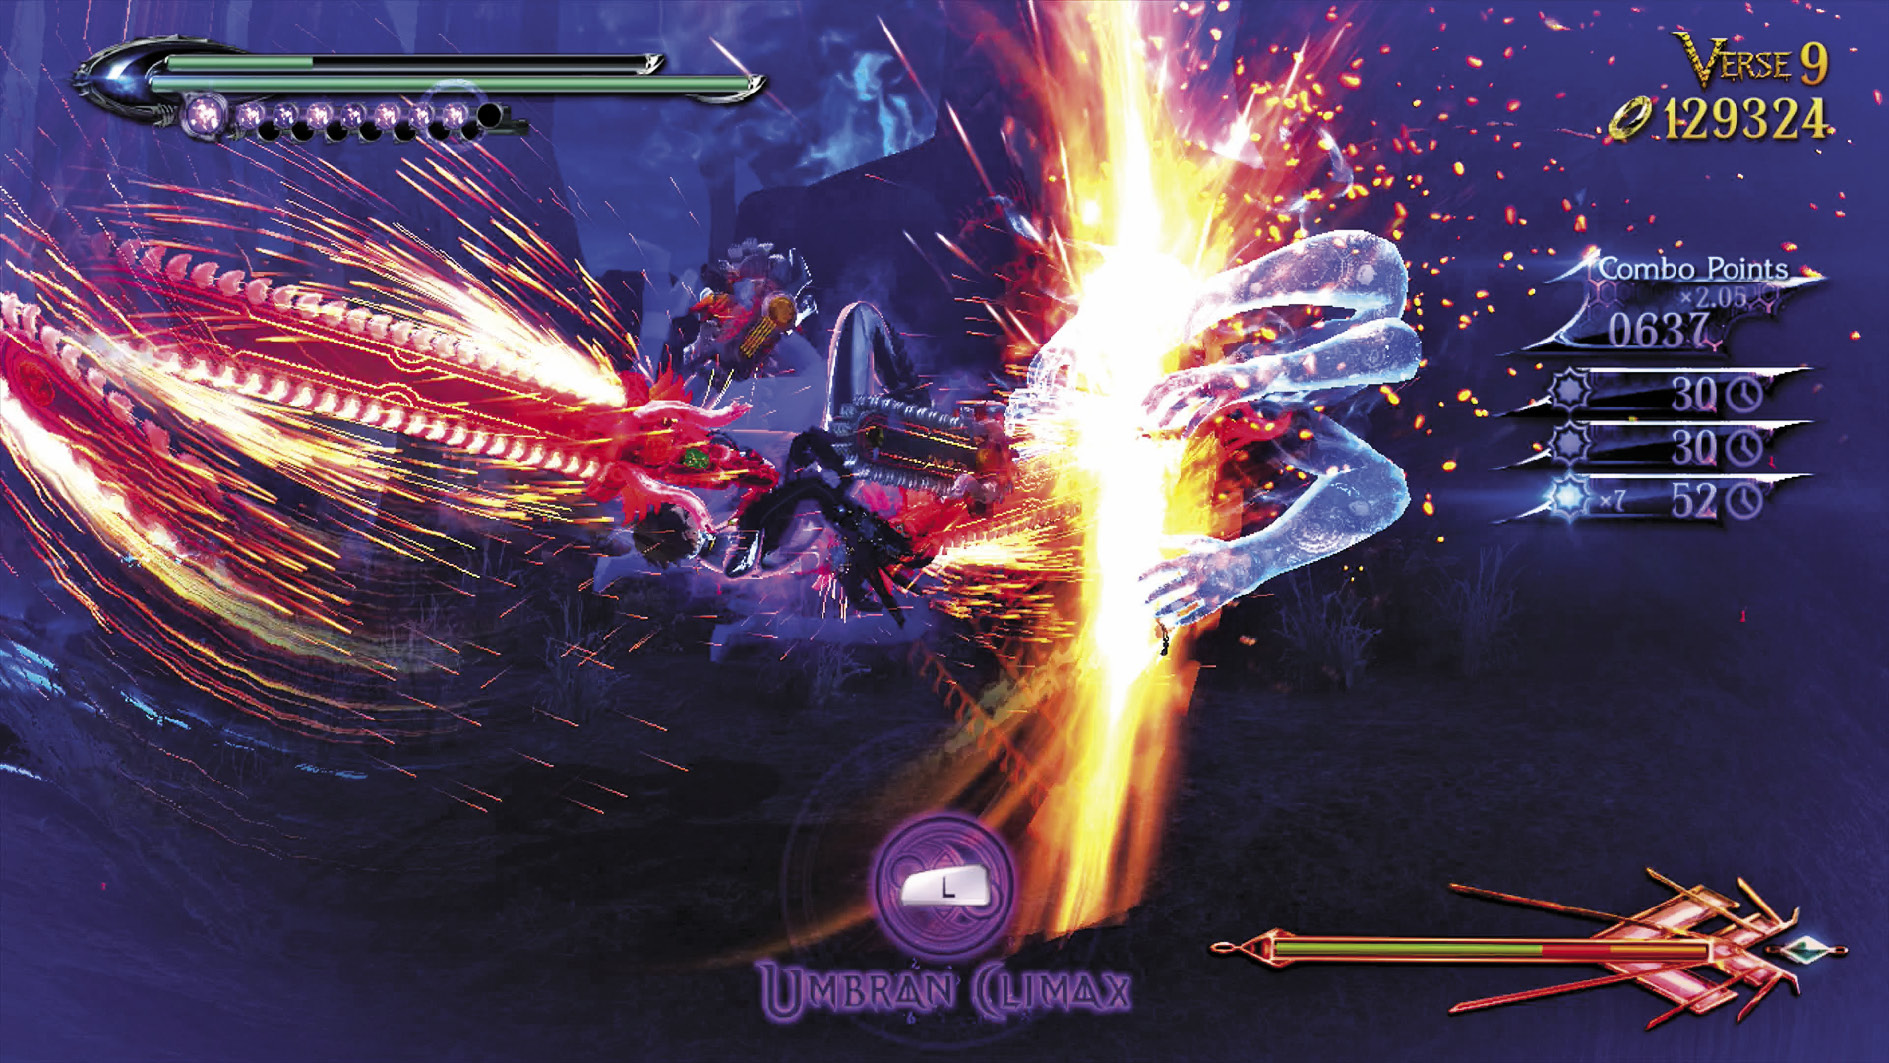
This actually plays out a lot like the Golem fight, as well as Loptr’s own fight in Story mode. Watch out for Loptr’s multi-layered attacks. Once you’ve dodged into Witch Time, rush in and get as many strikes as you can before your advantage fades.
| Lost 4V9 | 3rd Climax | ||
|---|---|---|---|
| Time | Damage | Combo | |
| PLATINUM | 01:30 | 0 | 5880 |
| GOLD | 01:50 | 300 | 3070 |
| SILVER | 02:20 | 600 | 2370 |
| BRONZE | 03:00 | 1200 | 1670 |
| BOSS BONUS | 5000 | ||
Verse 10
Suggested Weapon(s): Salamandra (Arms)
Enemies: Allegiance x1, Accolade (Shield) x2
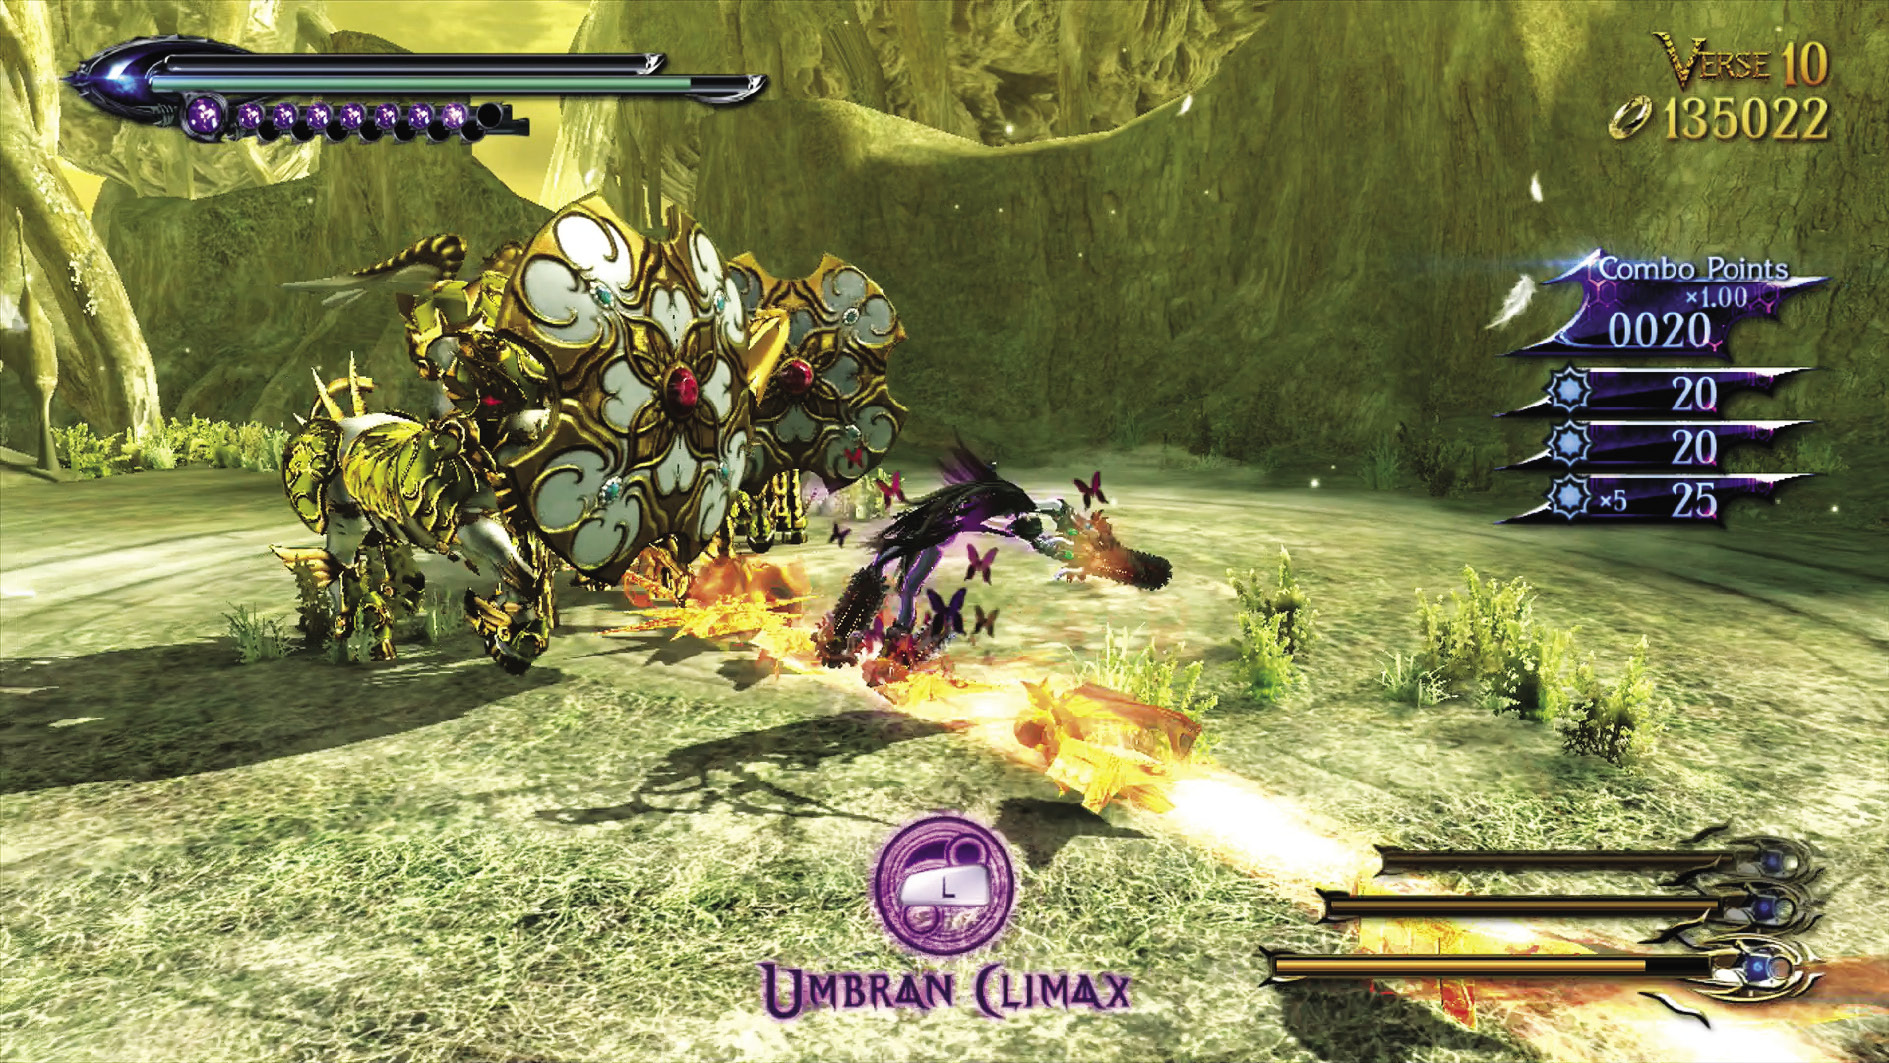
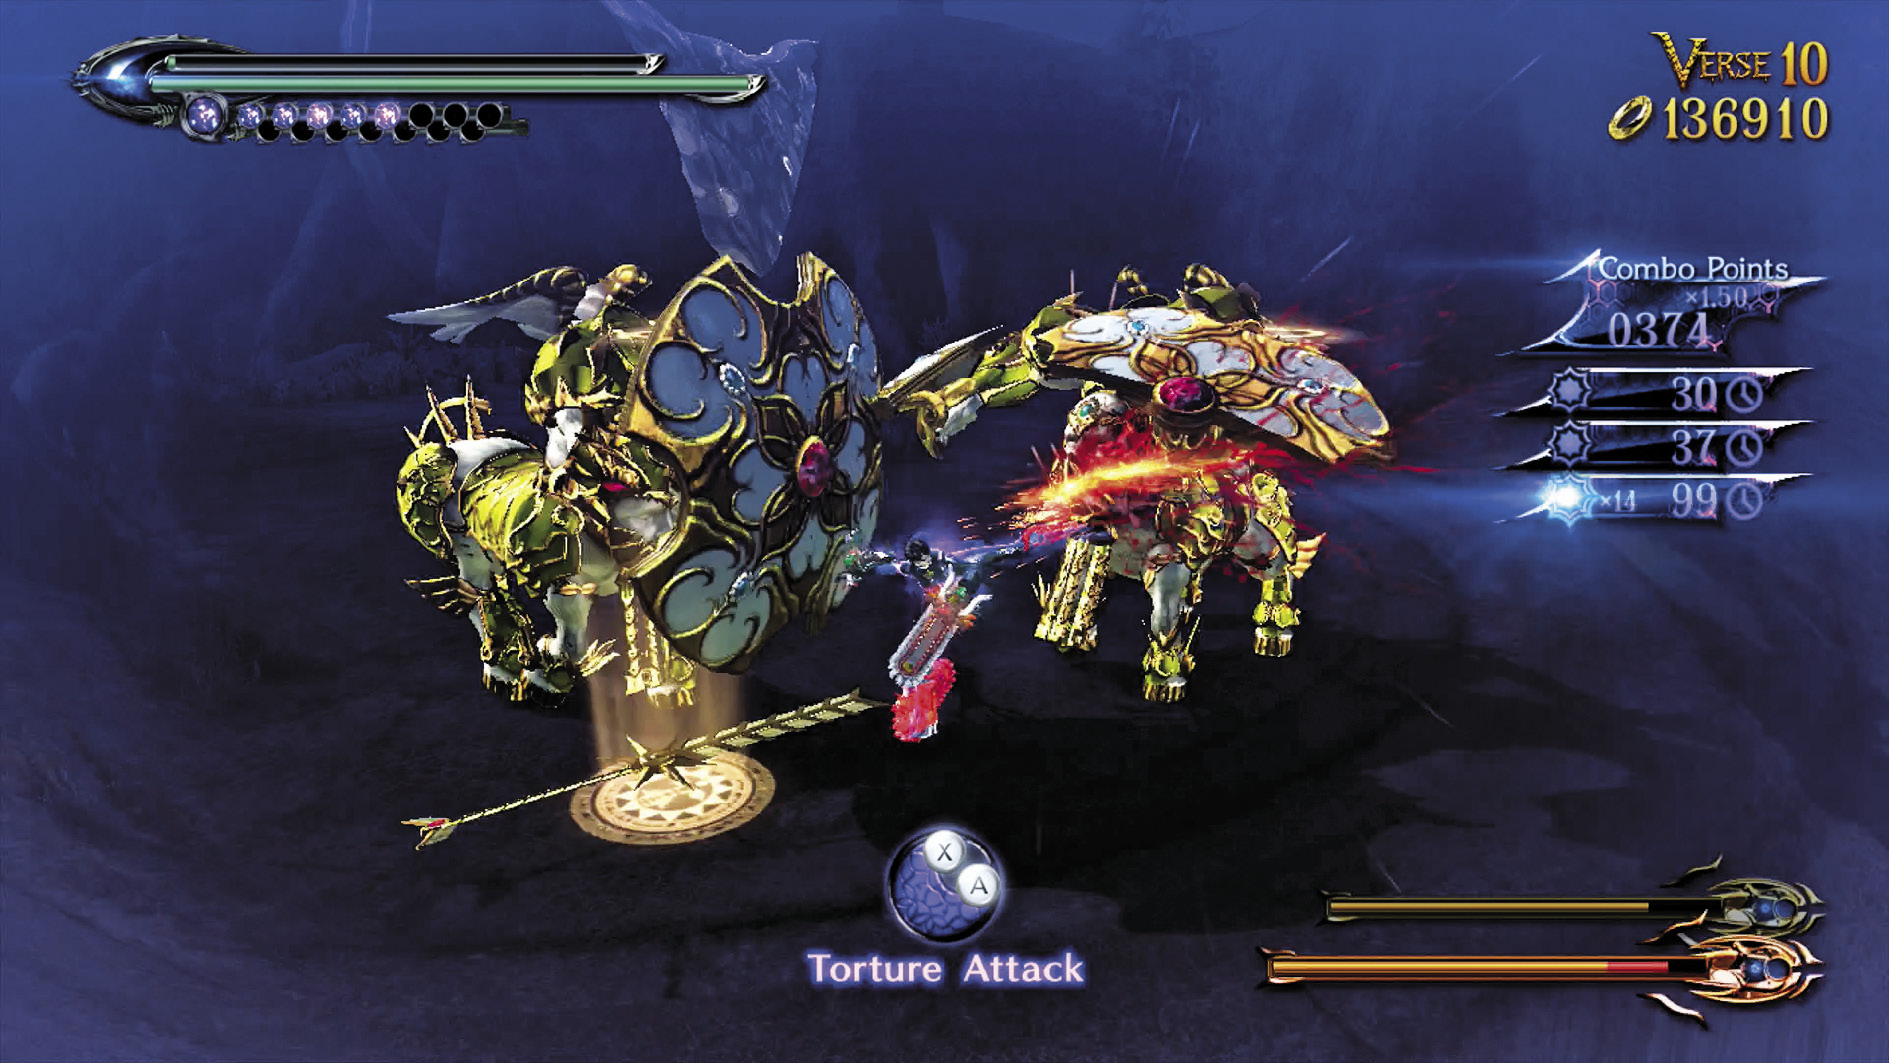
You may be out of boss territory (for now), but that doesn’t mean the battles get any easier! You’re up against three shield masters. Umbran Climax is most certainly your friend here. Abuse it as you look for as many dodge openings as possible.
| Lost 4 V10 | 3rd Climax | ||
|---|---|---|---|
| Time | Damage | Combo | |
| PLATINUM | 01:00 | 0 | 5880 |
| GOLD | 01:15 | 600 | 3070 |
| SILVER | 01:35 | 1200 | 2370 |
| BRONZE | 02:00 | 2400 | 1670 |
| BOSS BONUS | 0 | ||
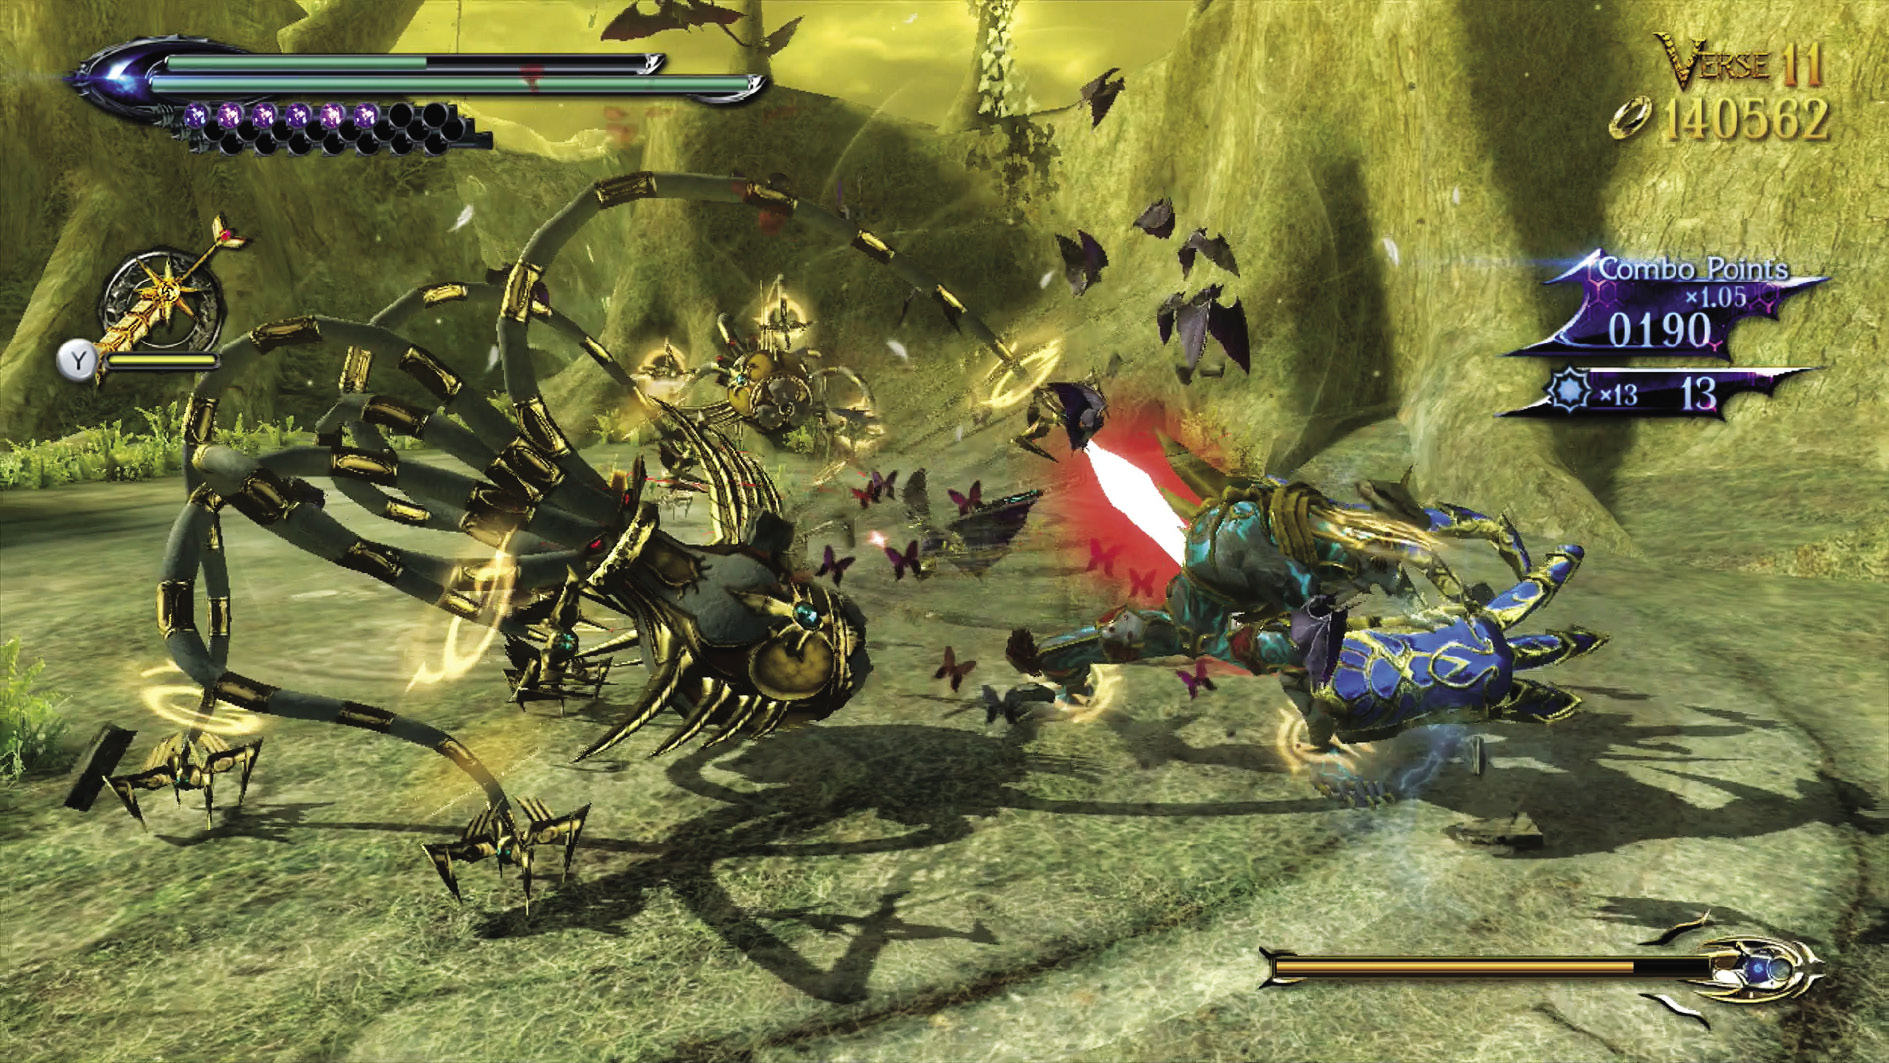
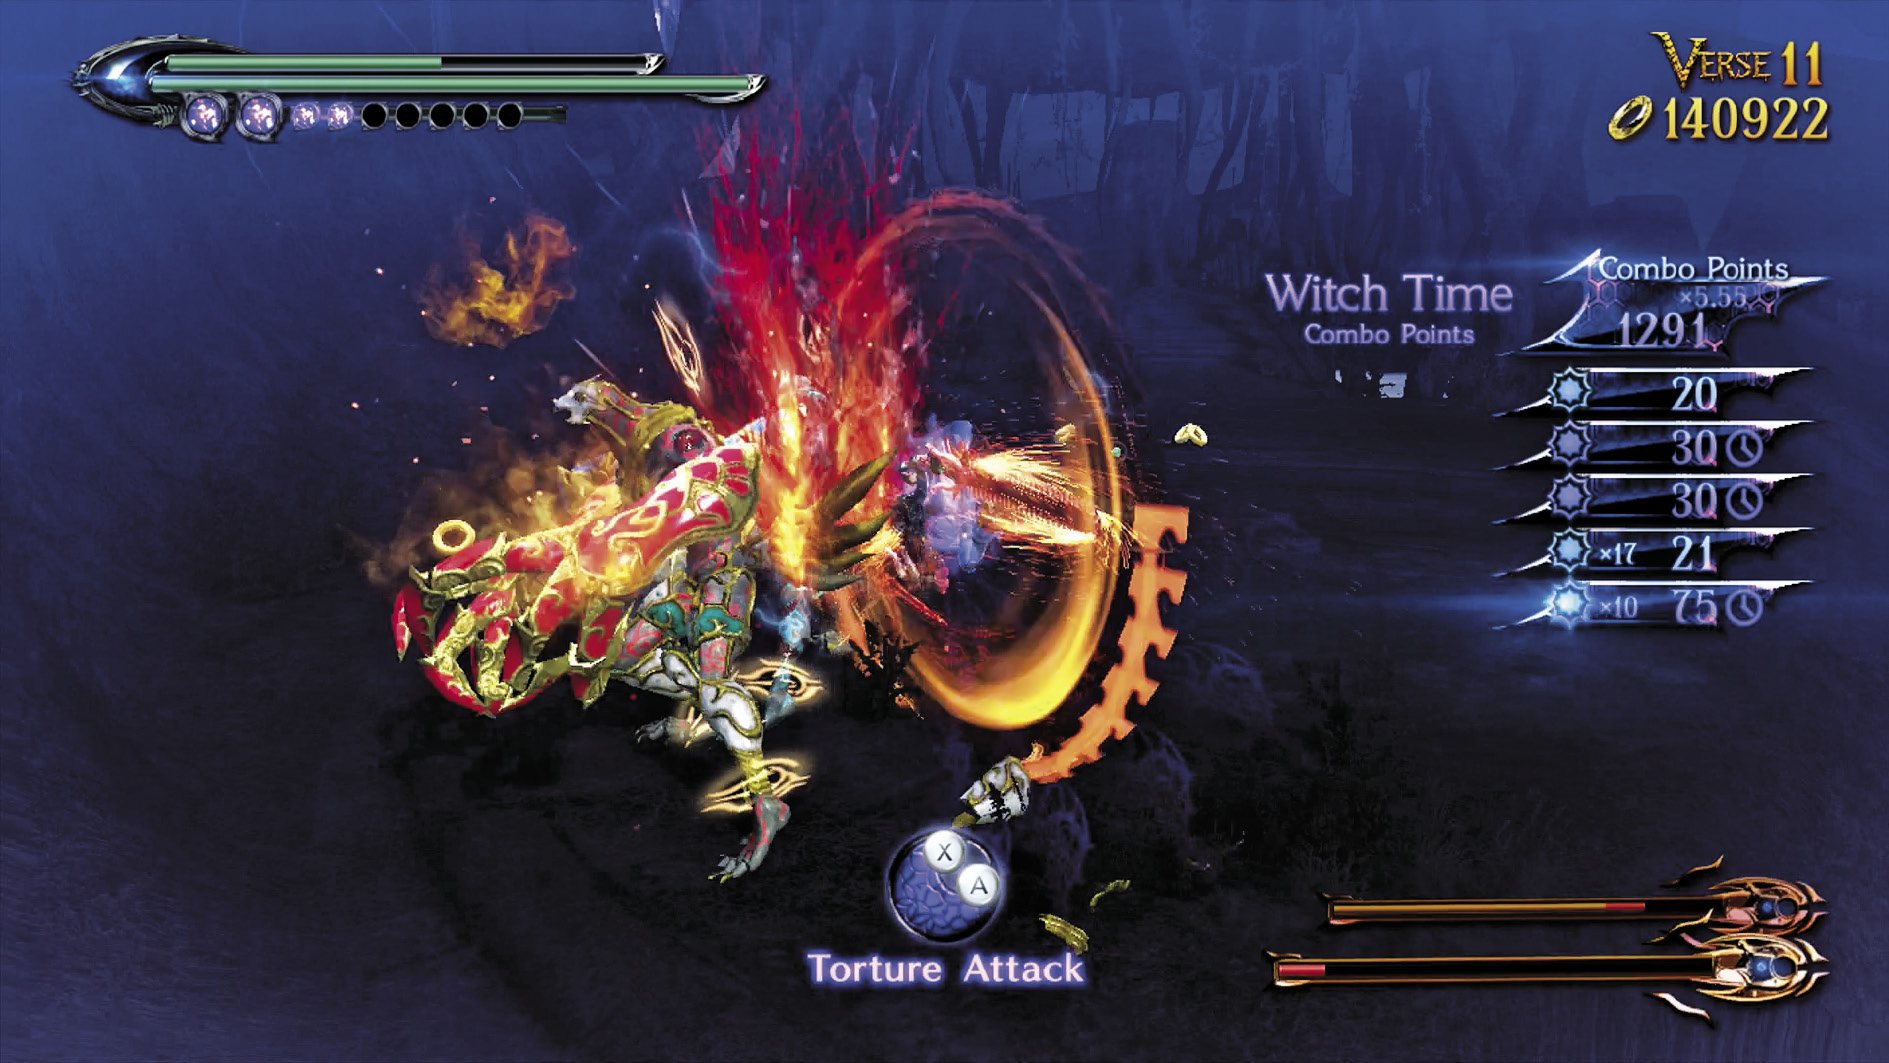
Verse 11
Suggested Weapon(s): Salamandra (Arms)
Enemies: Fidelity x2, Grace x1, Glory x1
Defeating these enemies together is a case of outmaneuvering. Use Dodge Offset, dodge cancelling, and Panther Within cancelling liberally as you weave through your foes, then flank them and slice!
| Lost 4V11 | 3rd Climax | ||
|---|---|---|---|
| Time | Damage | Combo | |
| PLATINUM | 01:30 | 0 | 12480 |
| GOLD | 01:55 | 600 | 5950 |
| SILVER | 02:15 | 1200 | 4320 |
| BRONZE | 02:40 | 2400 | 2690 |
| BOSS BONUS | 0 | ||
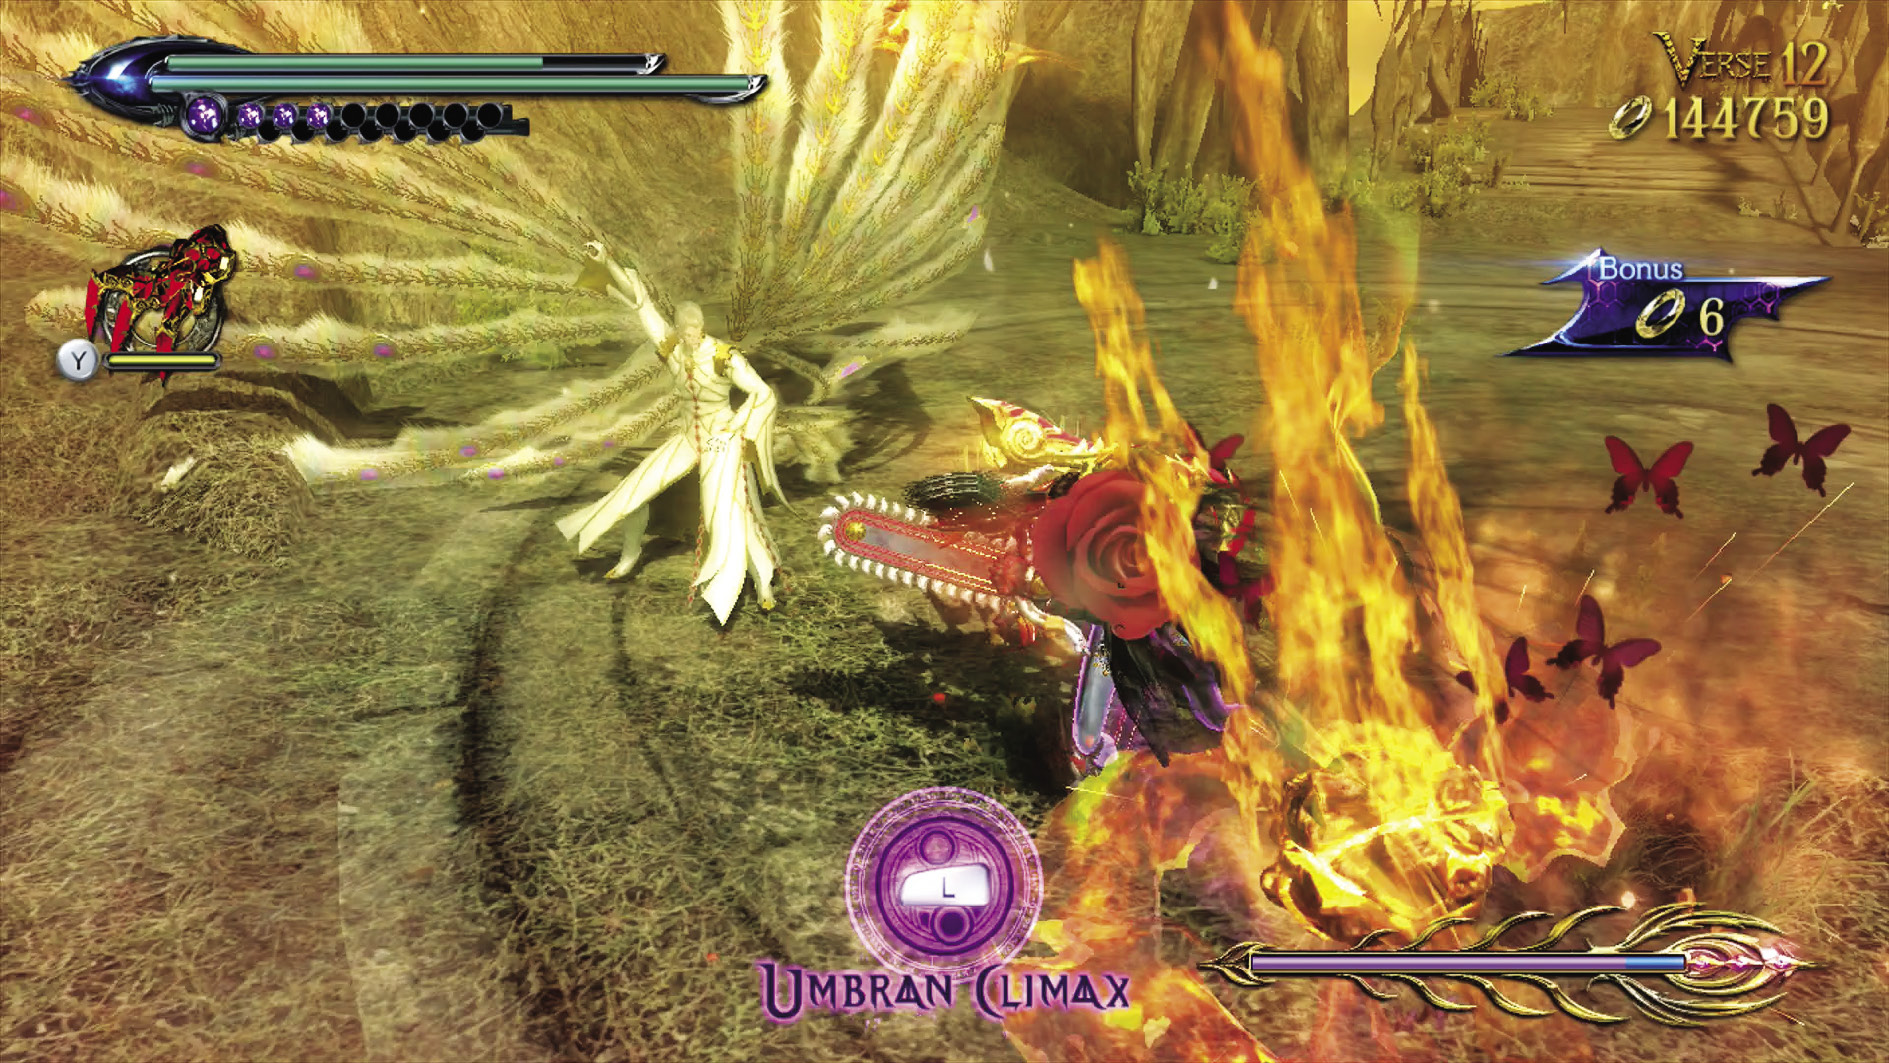
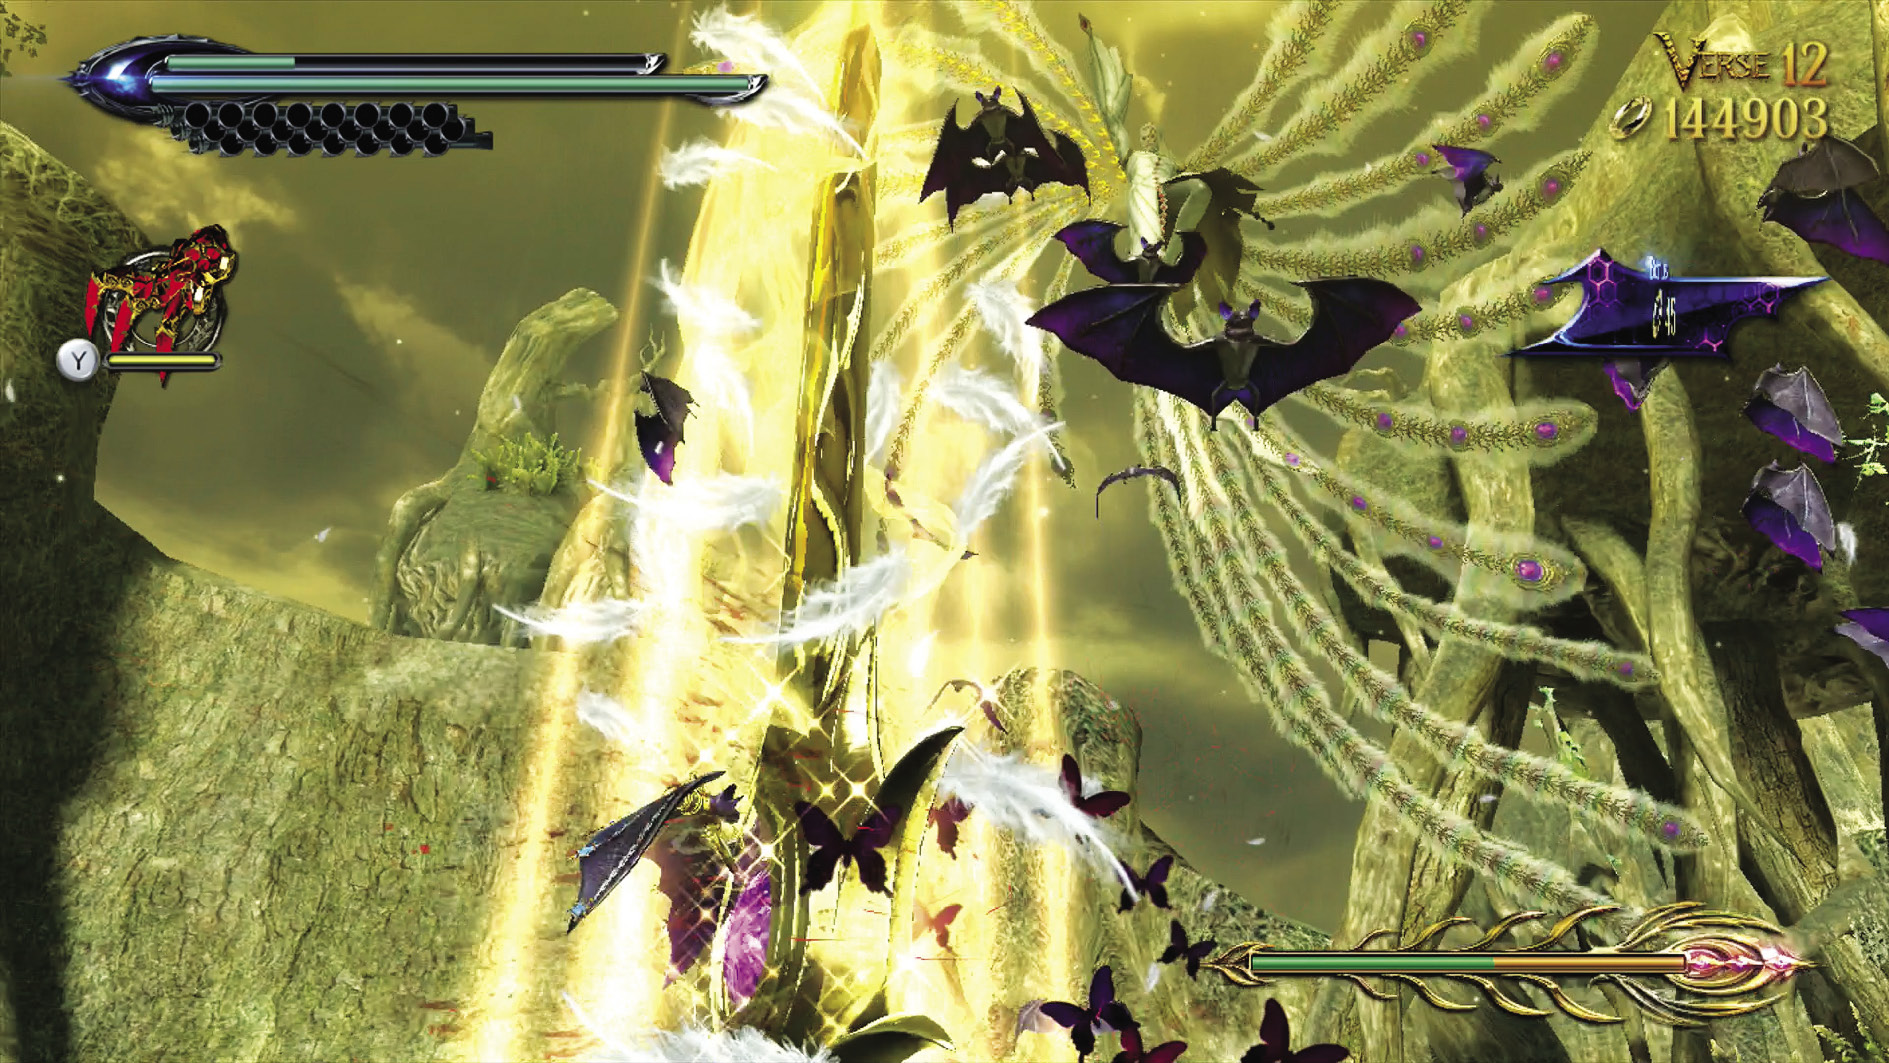
Verse 12
Suggested Weapon(s): Rakshasa (Arms)
Enemies: Balder
Balder fights the same as he always does, but the smaller arena actually makes him a little easier than usual. Dodge, slash, dodge away, shoot, repeat. Because this is 3rd Climax, you have some mild leeway with weapon choice. If the Rakshasa are making the fight go a bit slowly for you, try subbing in the Salamandra or the Takemikazuchi.
post-chapter spoils 1 Verse Card (Sapientia)
| Lost 4 V12 | 3rd Climax | ||
|---|---|---|---|
| Time | Damage | Combo | |
| PLATINUM | 02:30 | 0 | 2930 |
| GOLD | 02:50 | 400 | 1710 |
| SILVER | 03:20 | 800 | 1410 |
| BRONZE | 04:00 | 1600 | 1100 |
| BOSS BONUS | 5000 | ||
Witch Trial V Difficulty: ∞ Climax
Verse 1
Suggested Weapon(s):Salamandra (Arms), Alruna (Legs)
Enemies: Enrapture x1, Allegiance x1, Hatred x1
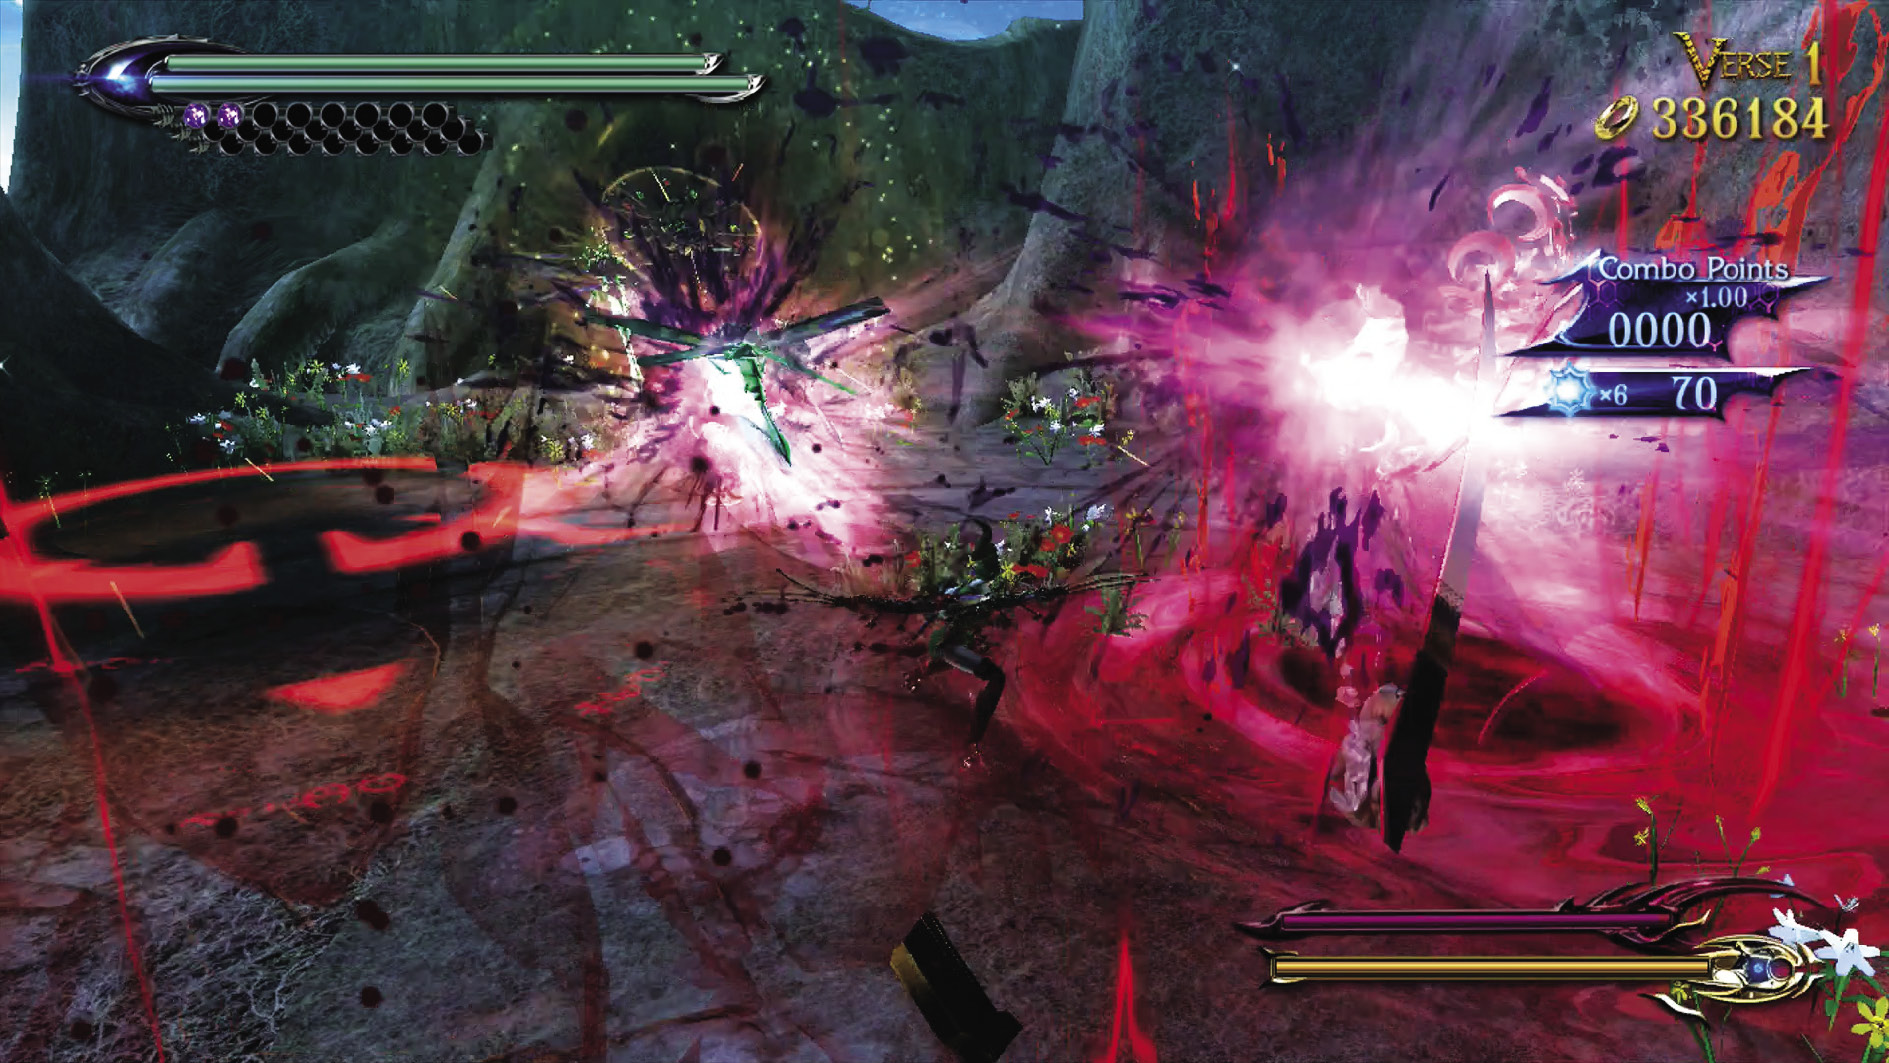
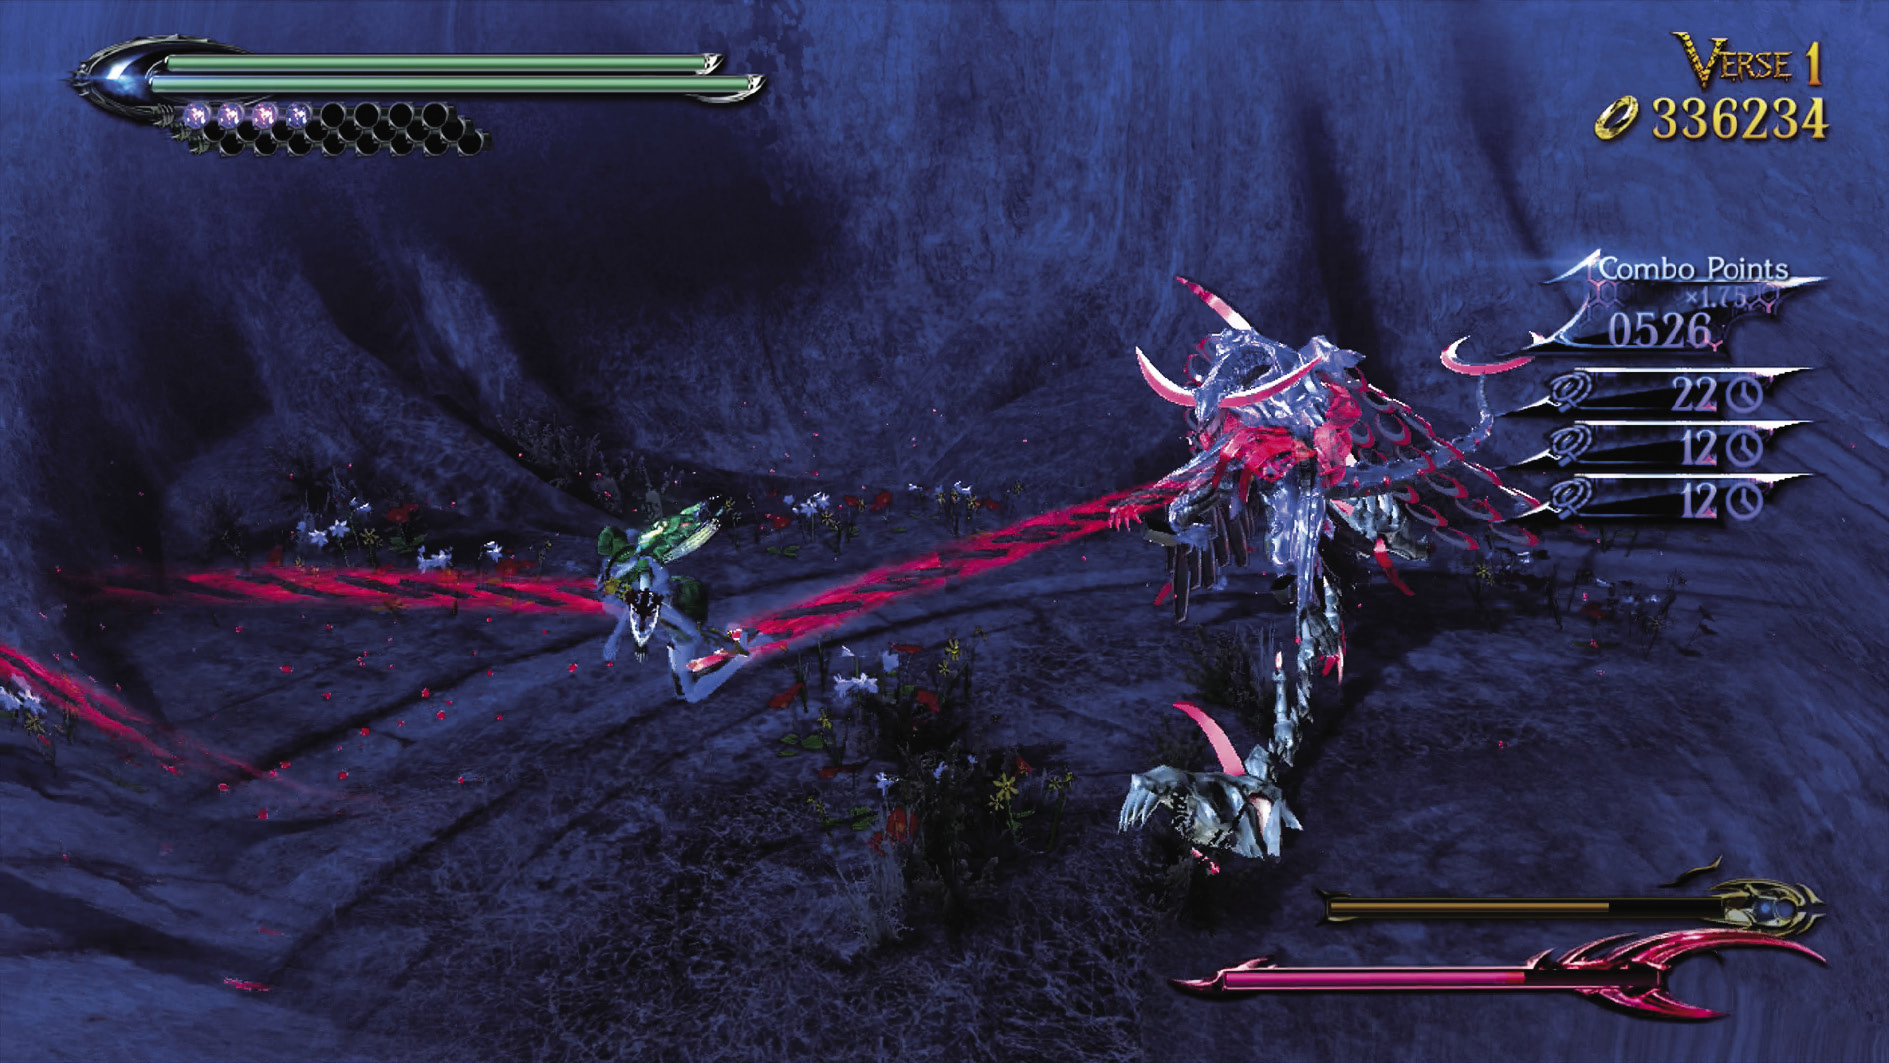
Your first order of business is to run straight ahead and take out the Enrapture, which should take you about two seconds. After that, go for the Allegiance and Hatred. You can whip both to the ground by pressing KK, while holding the button on the second press of K, during Witch Time. Repeat until they’re destroyed.
| Lost 5 V1 | ∞ Climax | ||
|---|---|---|---|
| Time | Damage | Combo | |
| PLATINUM | 01:30 | 0 | 7220 |
| GOLD | 01:50 | 2000 | 3670 |
| SILVER | 02:20 | 4000 | 2780 |
| BRONZE | 03:00 | 8000 | 1890 |
| BOSS BONUS | 0 | ||
Verse 2
Suggested Weapon(s): Salamandra or Kafka (Arms), Alruna (Legs)
Enemies: Allegiance x2
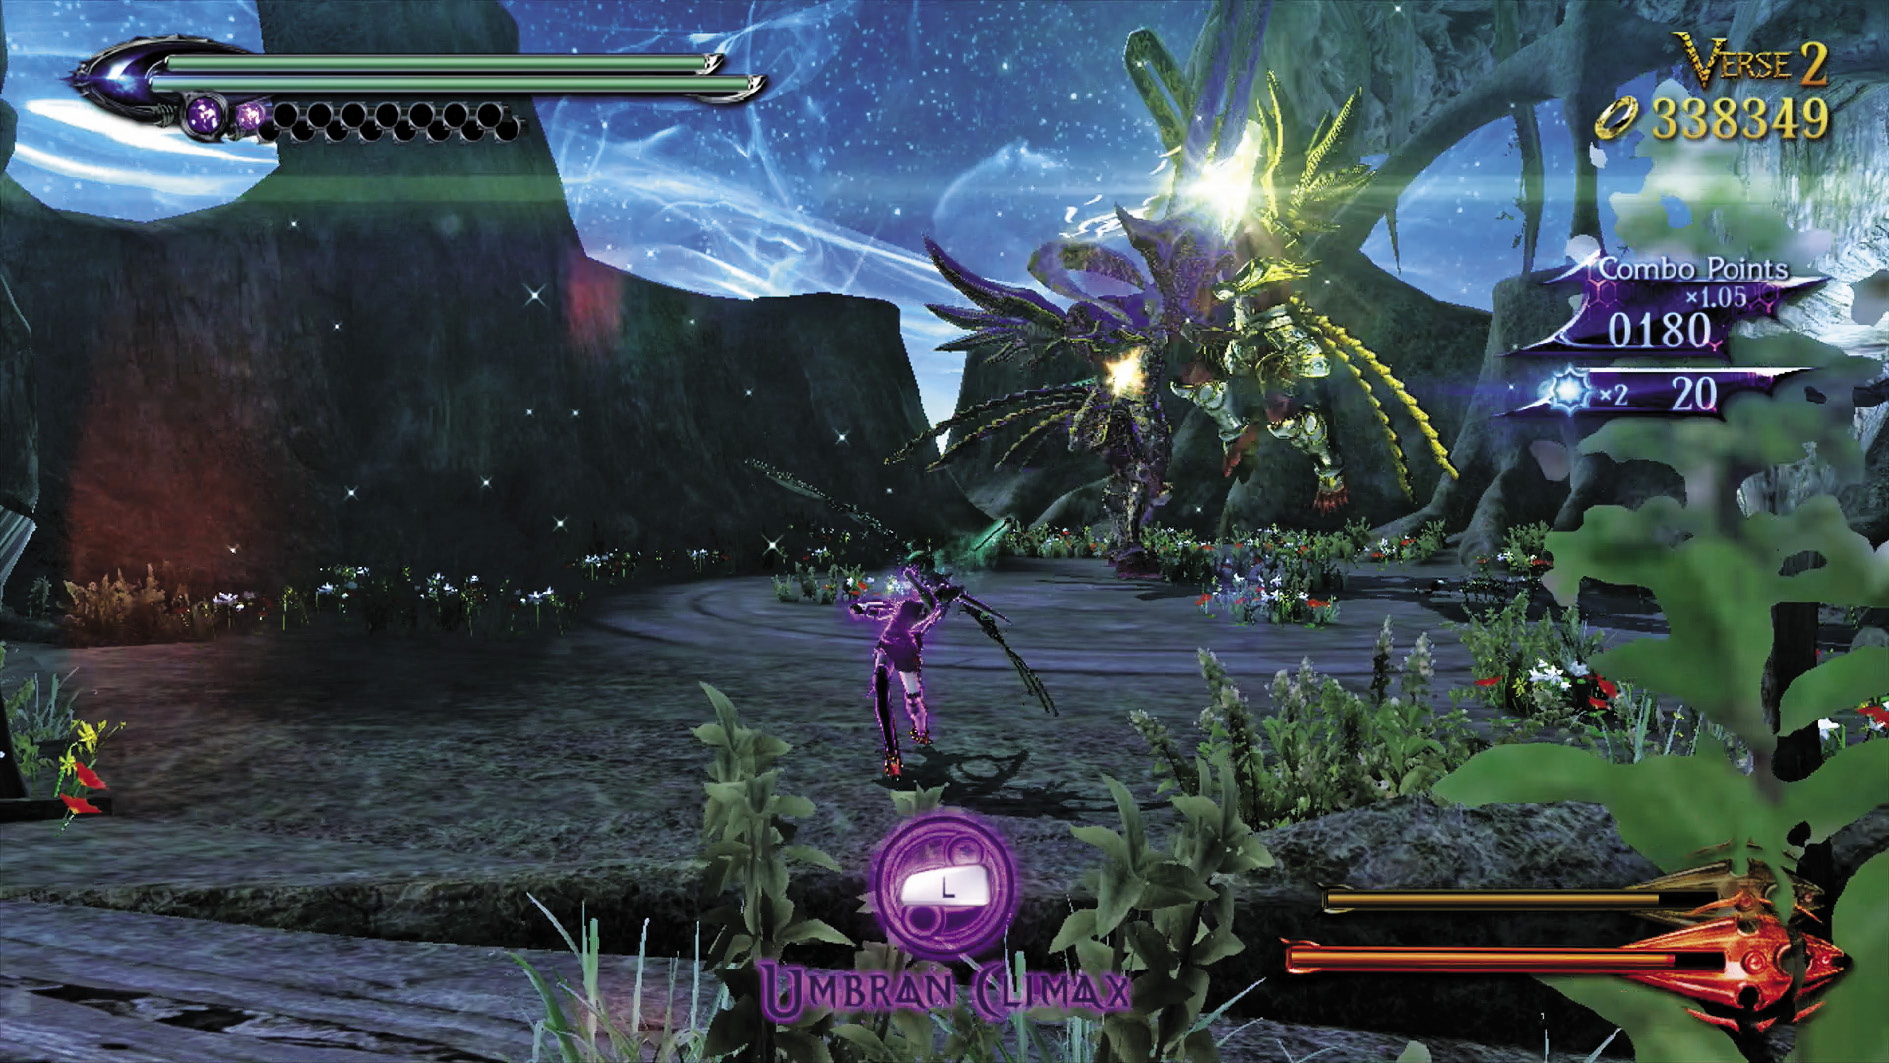
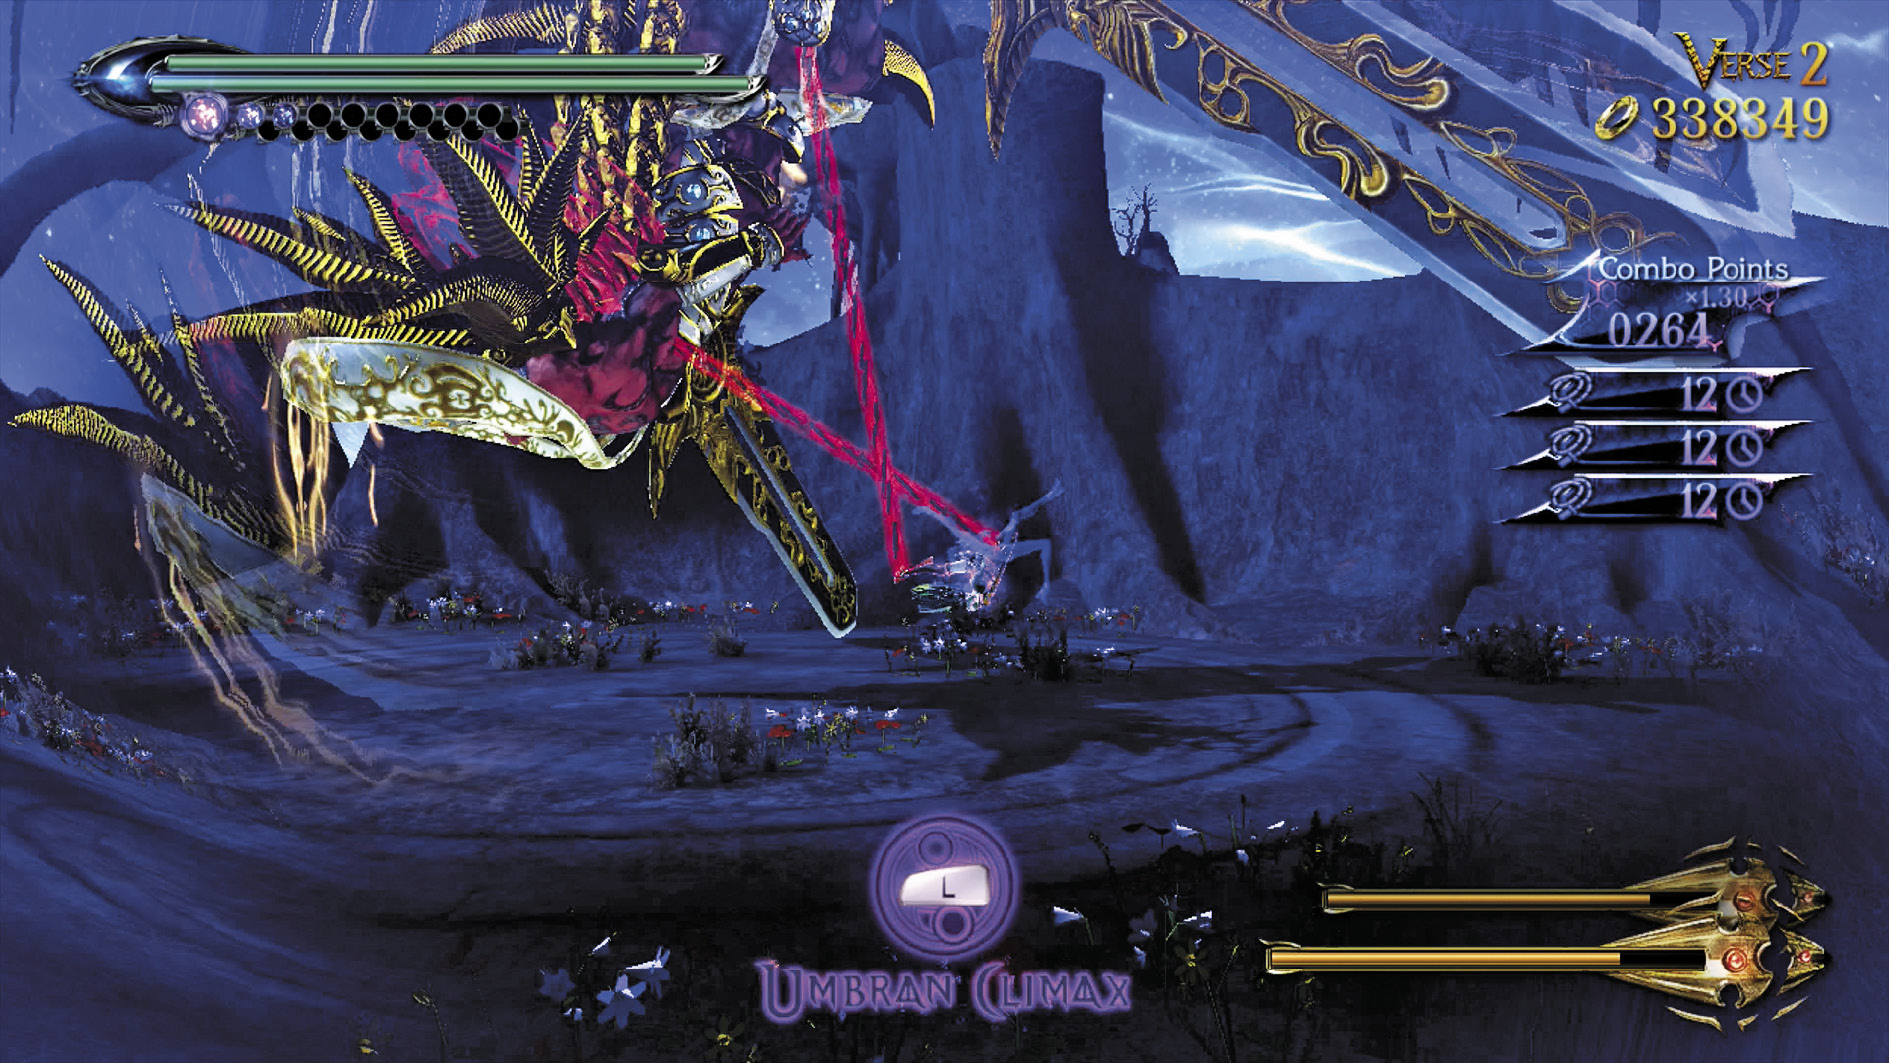
One Allegiance is bad enough, but two can get under your skin real fast. Dodge an attack, then down both of them at the same time with the same procedure described in Verse 1. Whale on them as they recover, and repeat the process.
| Lost 5 V2 | ∞ Climax | ||
|---|---|---|---|
| Time | Damage | Combo | |
| PLATINUM | 01:30 | 0 | 23000 |
| GOLD | 02:00 | 1500 | 10400 |
| SILVER | 02:40 | 3000 | 7250 |
| BRONZE | 03:30 | 8000 | 4100 |
| BOSS BONUS | 0 | ||
Verse 3
Suggested Weapon(s): Rakshasa (Arms), Alruna (Legs)
Enemies: Alraune, Loptr
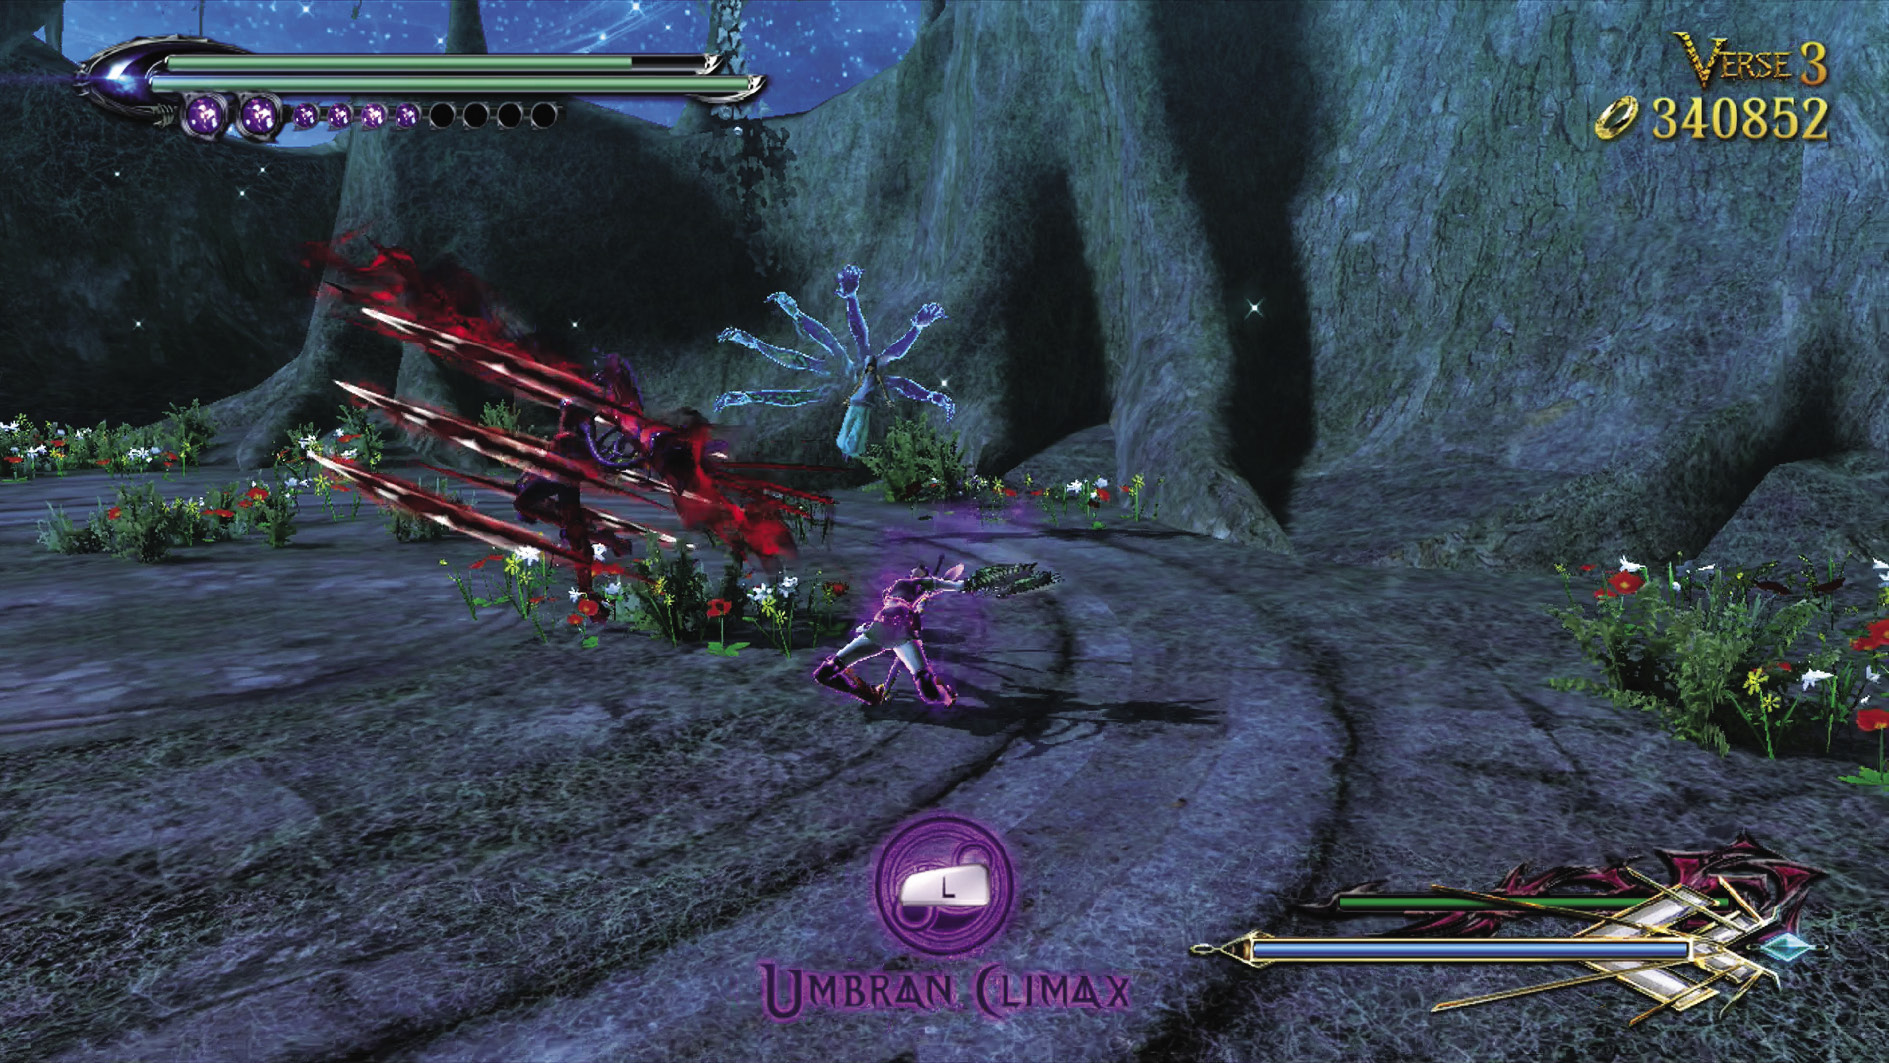
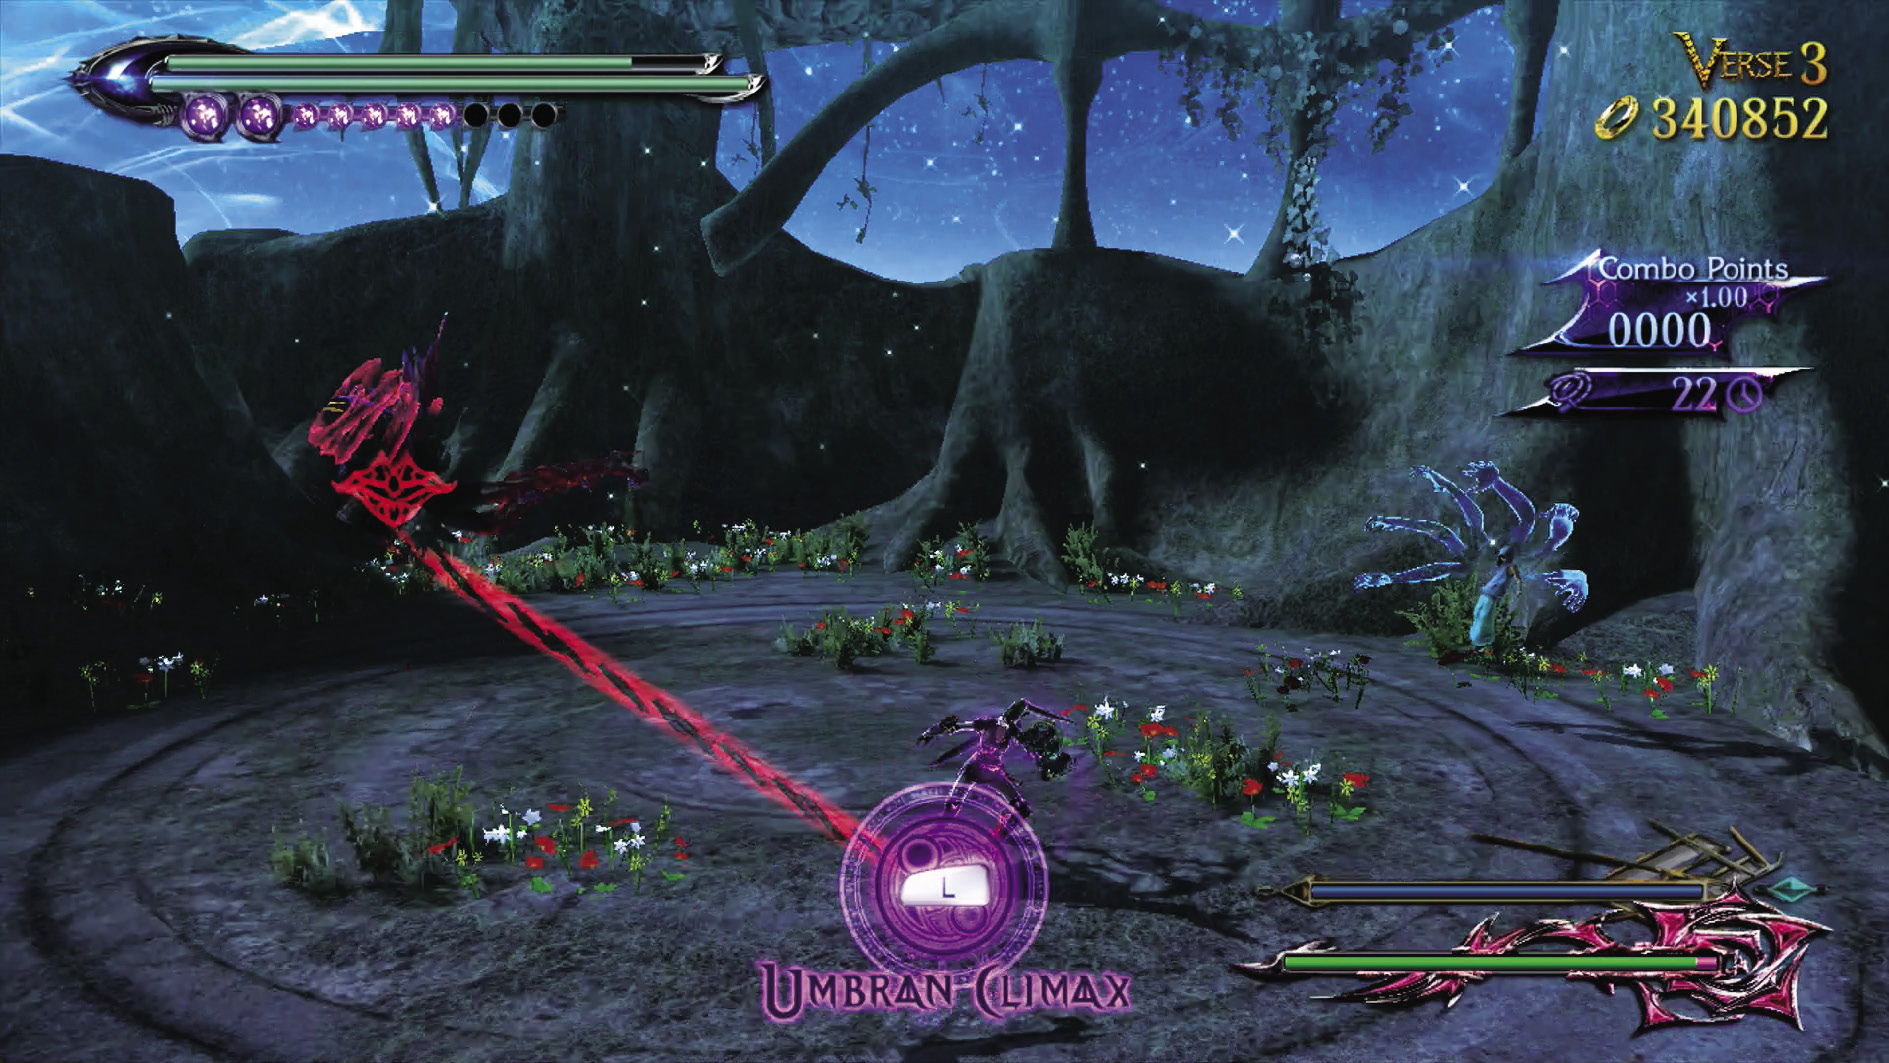
The ∞ Climax Rakshasa trick works here, but you can arguably have a better time of things by dodging either boss’s attack, then slamming them to the ground by holding K. In this Verse, bosses take more damage than they do in Story mode, so the Verse will go quicker than you think.
| Lost 5V3 | ∞ Climax | ||
|---|---|---|---|
| Time | Damage | Combo | |
| PLATINUM | 02:00 | 0 | 5880 |
| GOLD | 02:30 | 2500 | 3070 |
| SILVER | 03:10 | 5000 | 2370 |
| BRONZE | 04:00 | 8000 | 1670 |
| BOSS BONUS | 8000 | ||
Verse 4
Suggested Weapon(s): Salamandra (Arms), Alruna (Legs)
Enemies: Fearless x1, Fairness x1, Greed x1
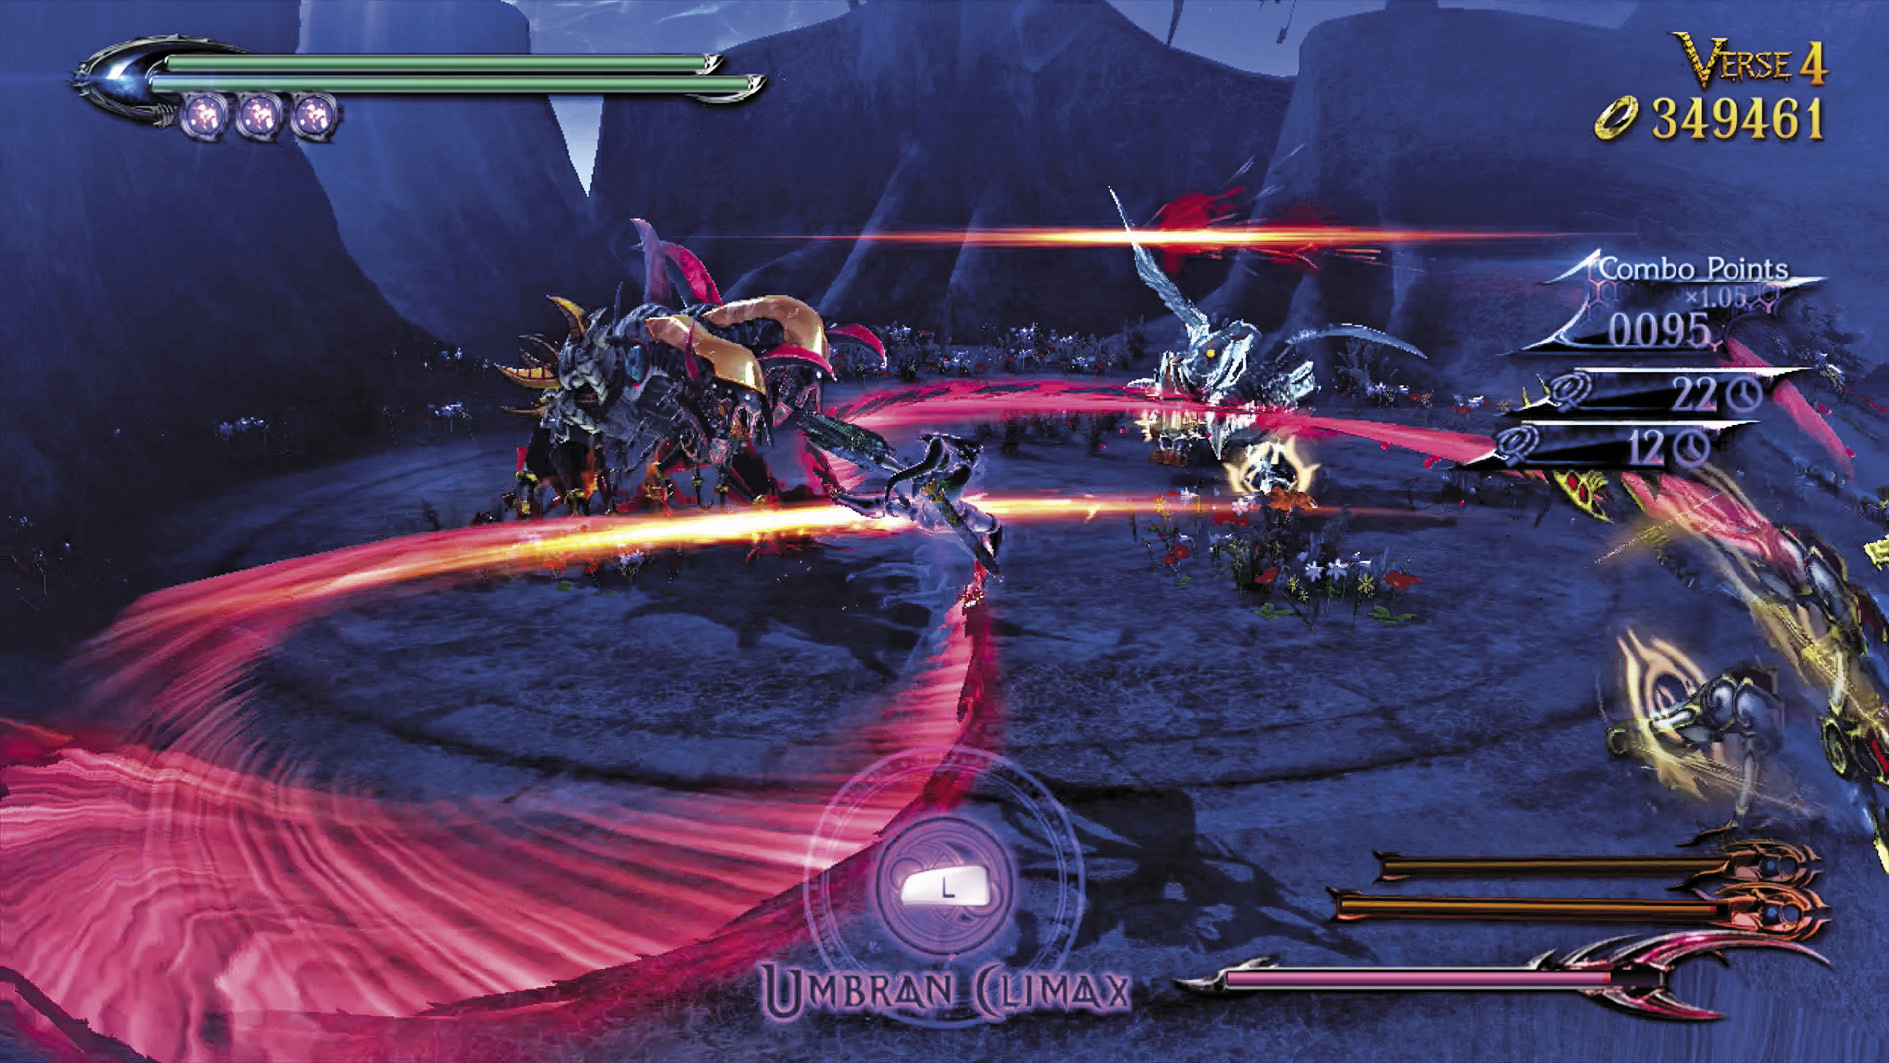
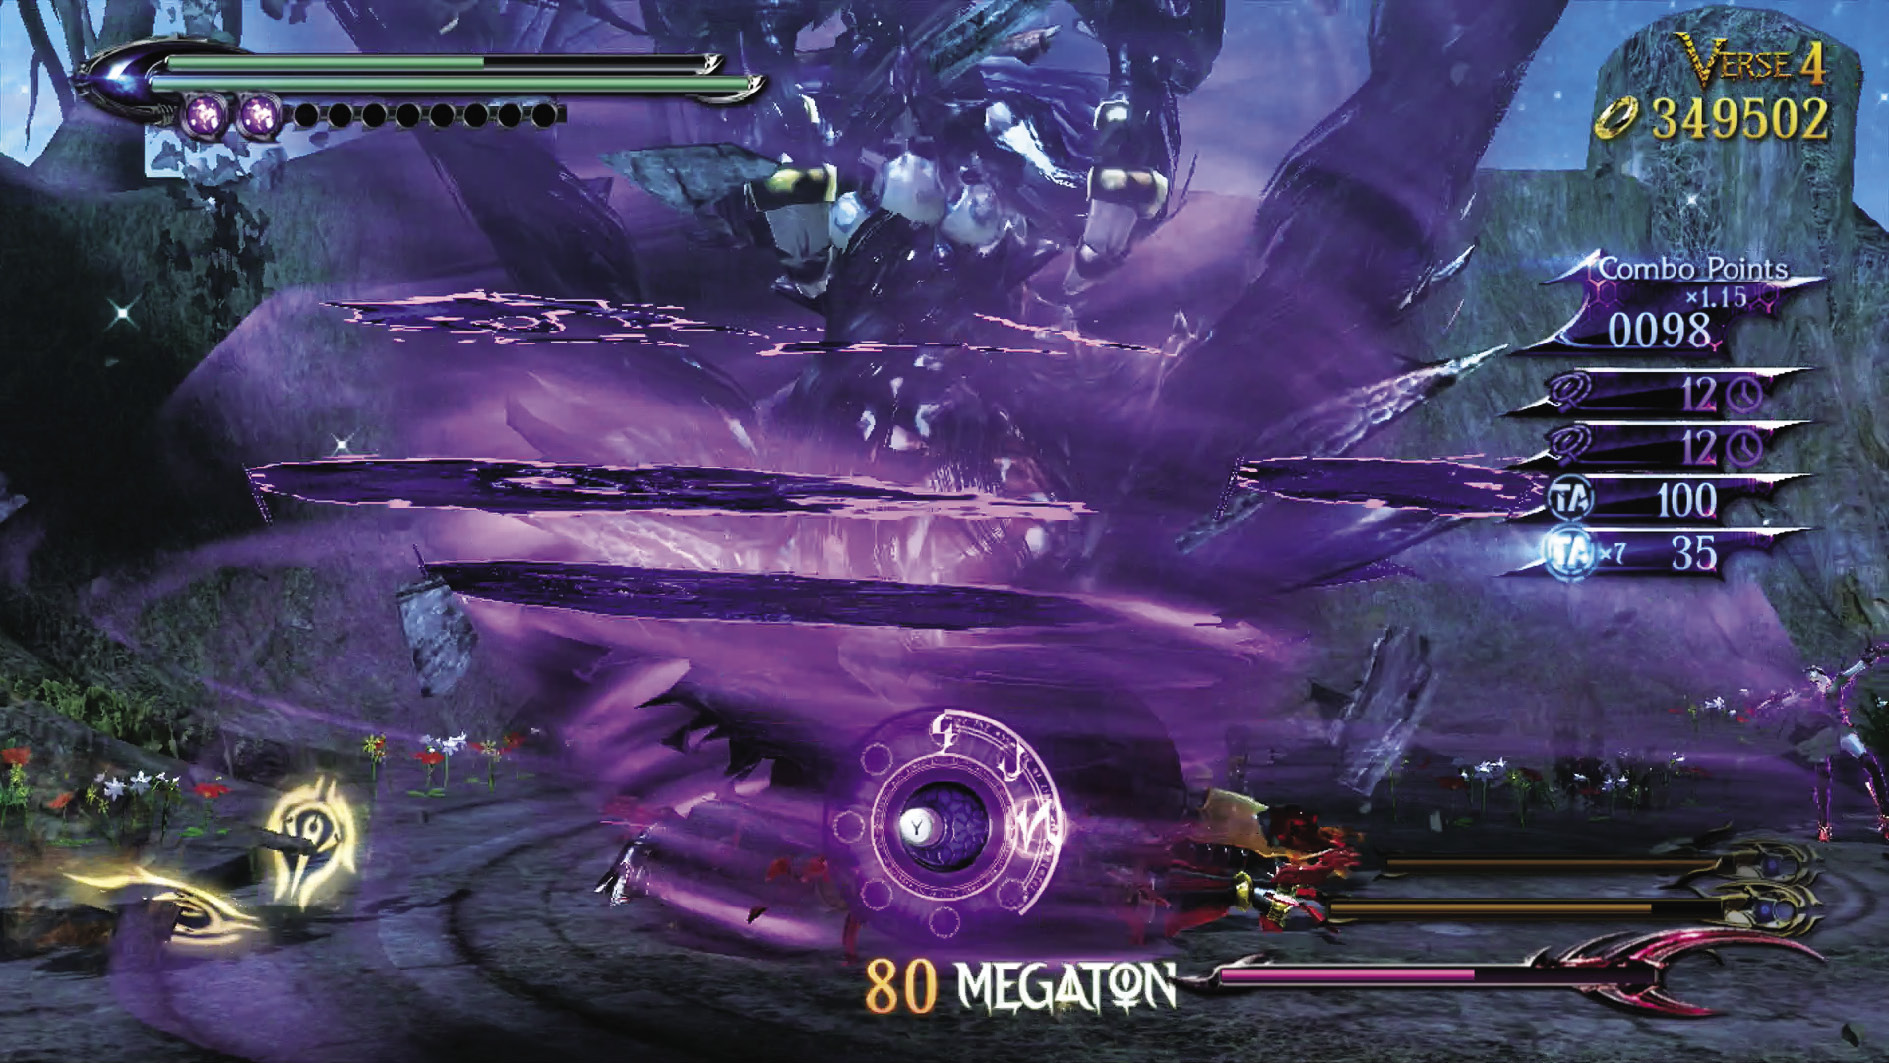
Use Witch Time to gain the opportunity to slam down at least one enemy with Alruna as in previous Verses. If you find yourself needing a vitality refill here, equip the Mallet of Rewards accessory and finish at least one of these beasties with a Torture Attack.
| Lost 5 V4 | ∞ Climax | ||
|---|---|---|---|
| Time | Damage | Combo | |
| PLATINUM | 01:30 | 0 | 17190 |
| GOLD | 01:40 | 1500 | 7960 |
| SILVER | 01:55 | 3000 | 5650 |
| BRONZE | 02:05 | 8000 | 3340 |
| BOSS BONUS | 0 | ||
Verse 5
Suggested Weapon(s): Rakshasa (Arms), Alruna (Legs)
Enemies: Prophet, Masked Lumen
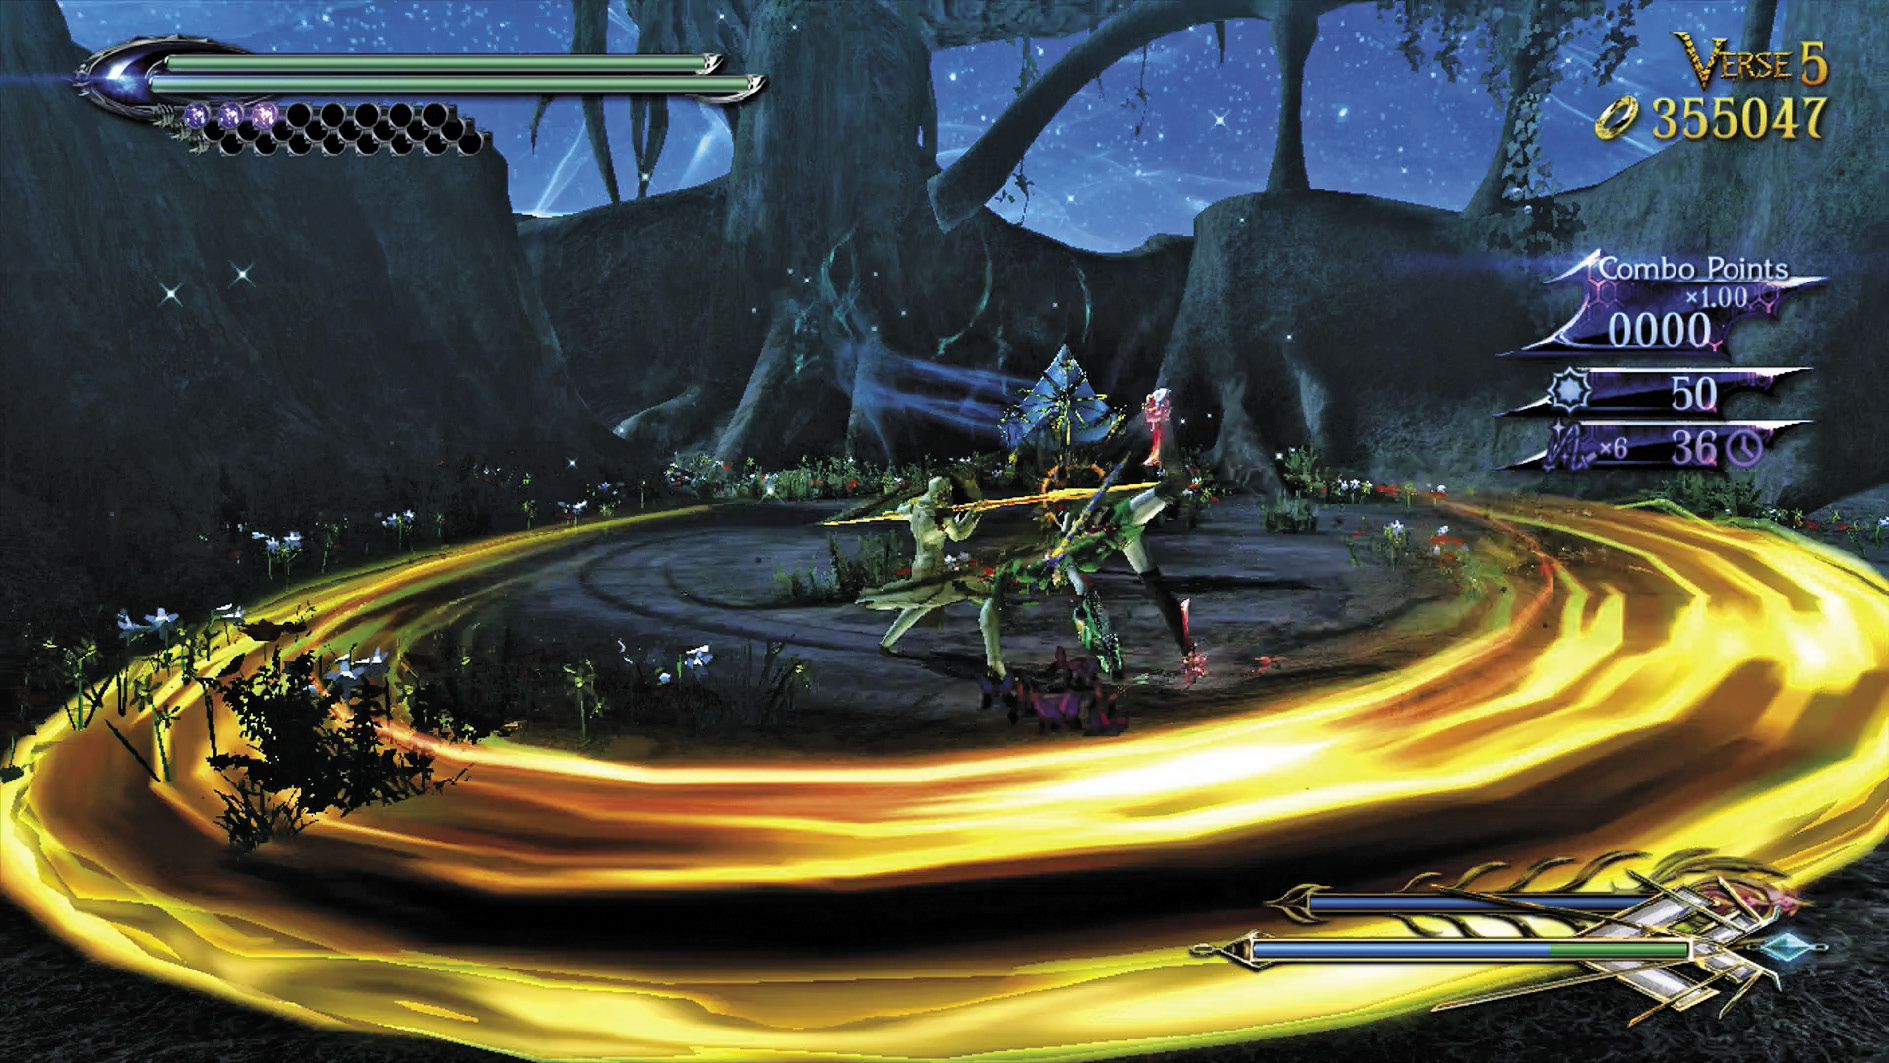
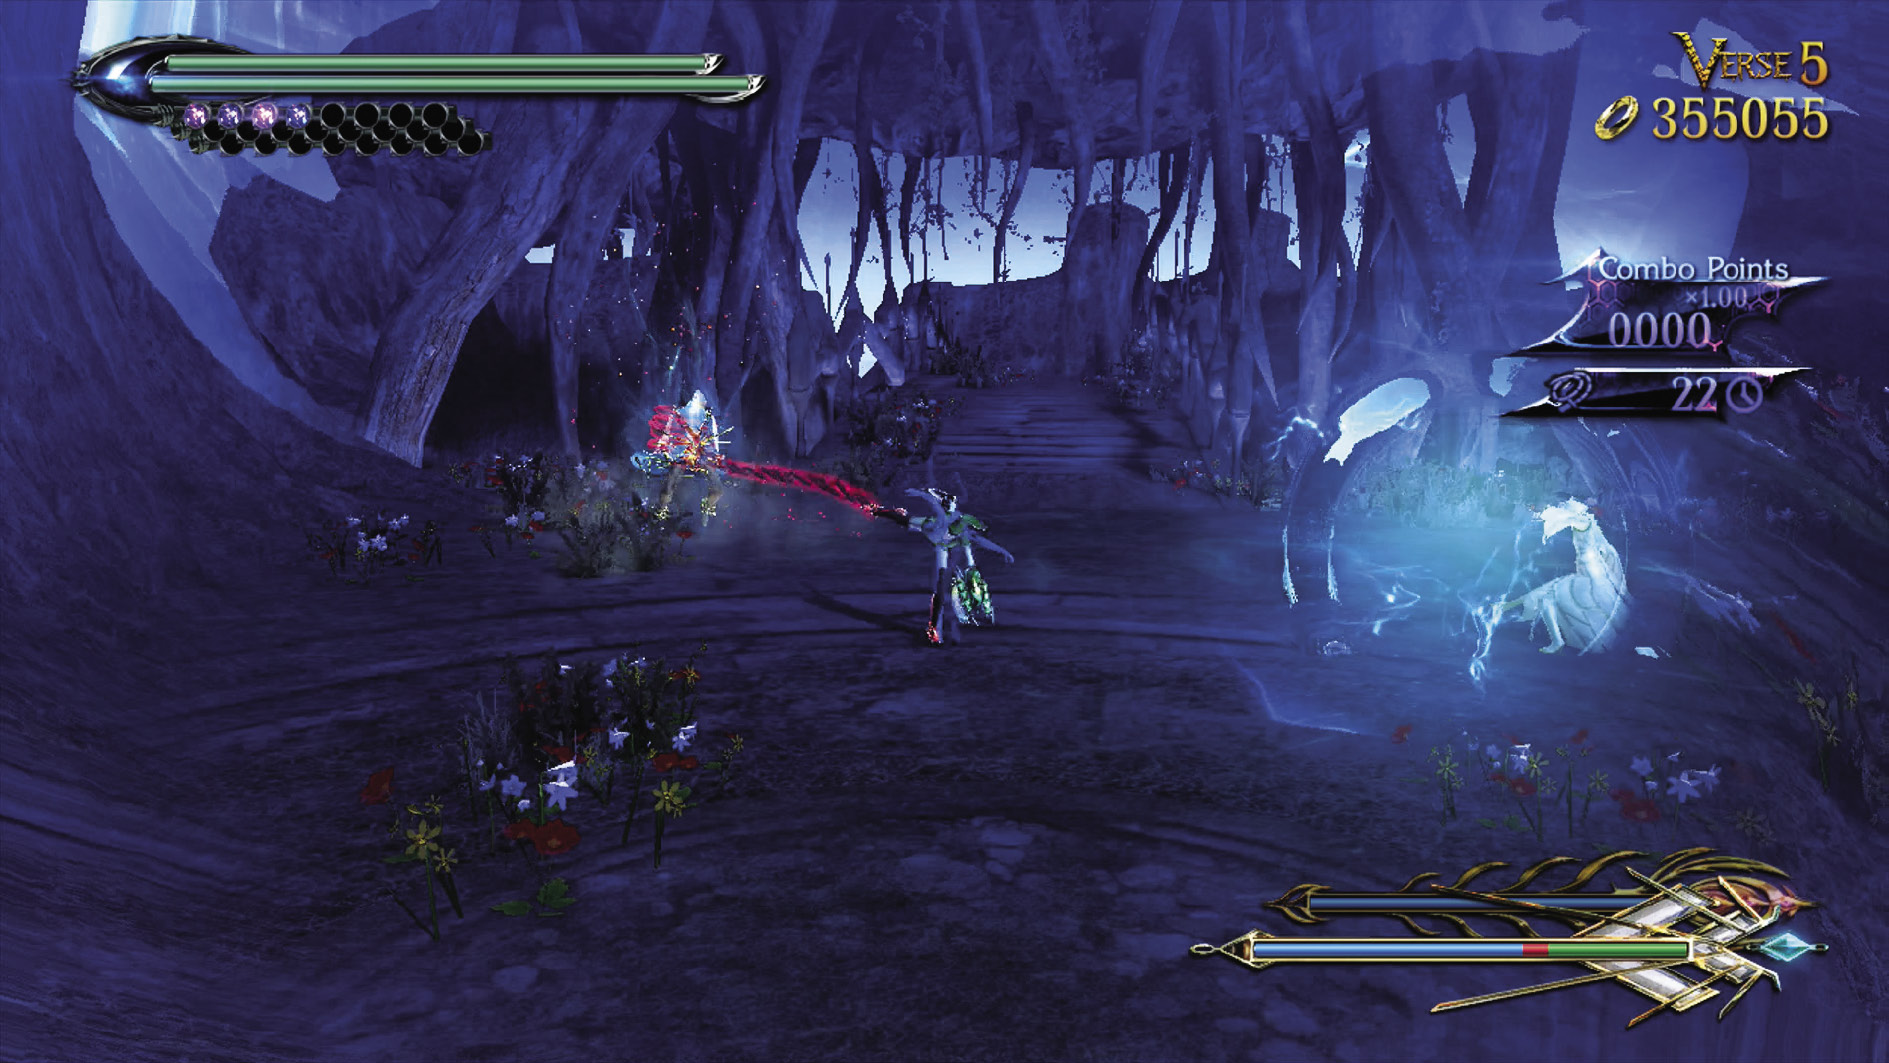
Follow the exact procedure as in Verse 3. Dodge, then either slice or slam during Witch Time. Make sure to engage only one boss at a time—this fight moves so fast you won’t have time to engage both!
| Lost 5V5 | ∞ Climax | ||
|---|---|---|---|
| Time | Damage | Combo | |
| PLATINUM | 03:00 | 0 | 8750 |
| GOLD | 03:30 | 1000 | 4340 |
| SILVER | 04:10 | 2000 | 3240 |
| BRONZE | 05:00 | 8000 | 2140 |
| BOSS BONUS | 8000 | ||
Verse 6
Suggested Weapon(s): Rakshasa (Arms), Alruna (Legs)
Enemies: Aesir
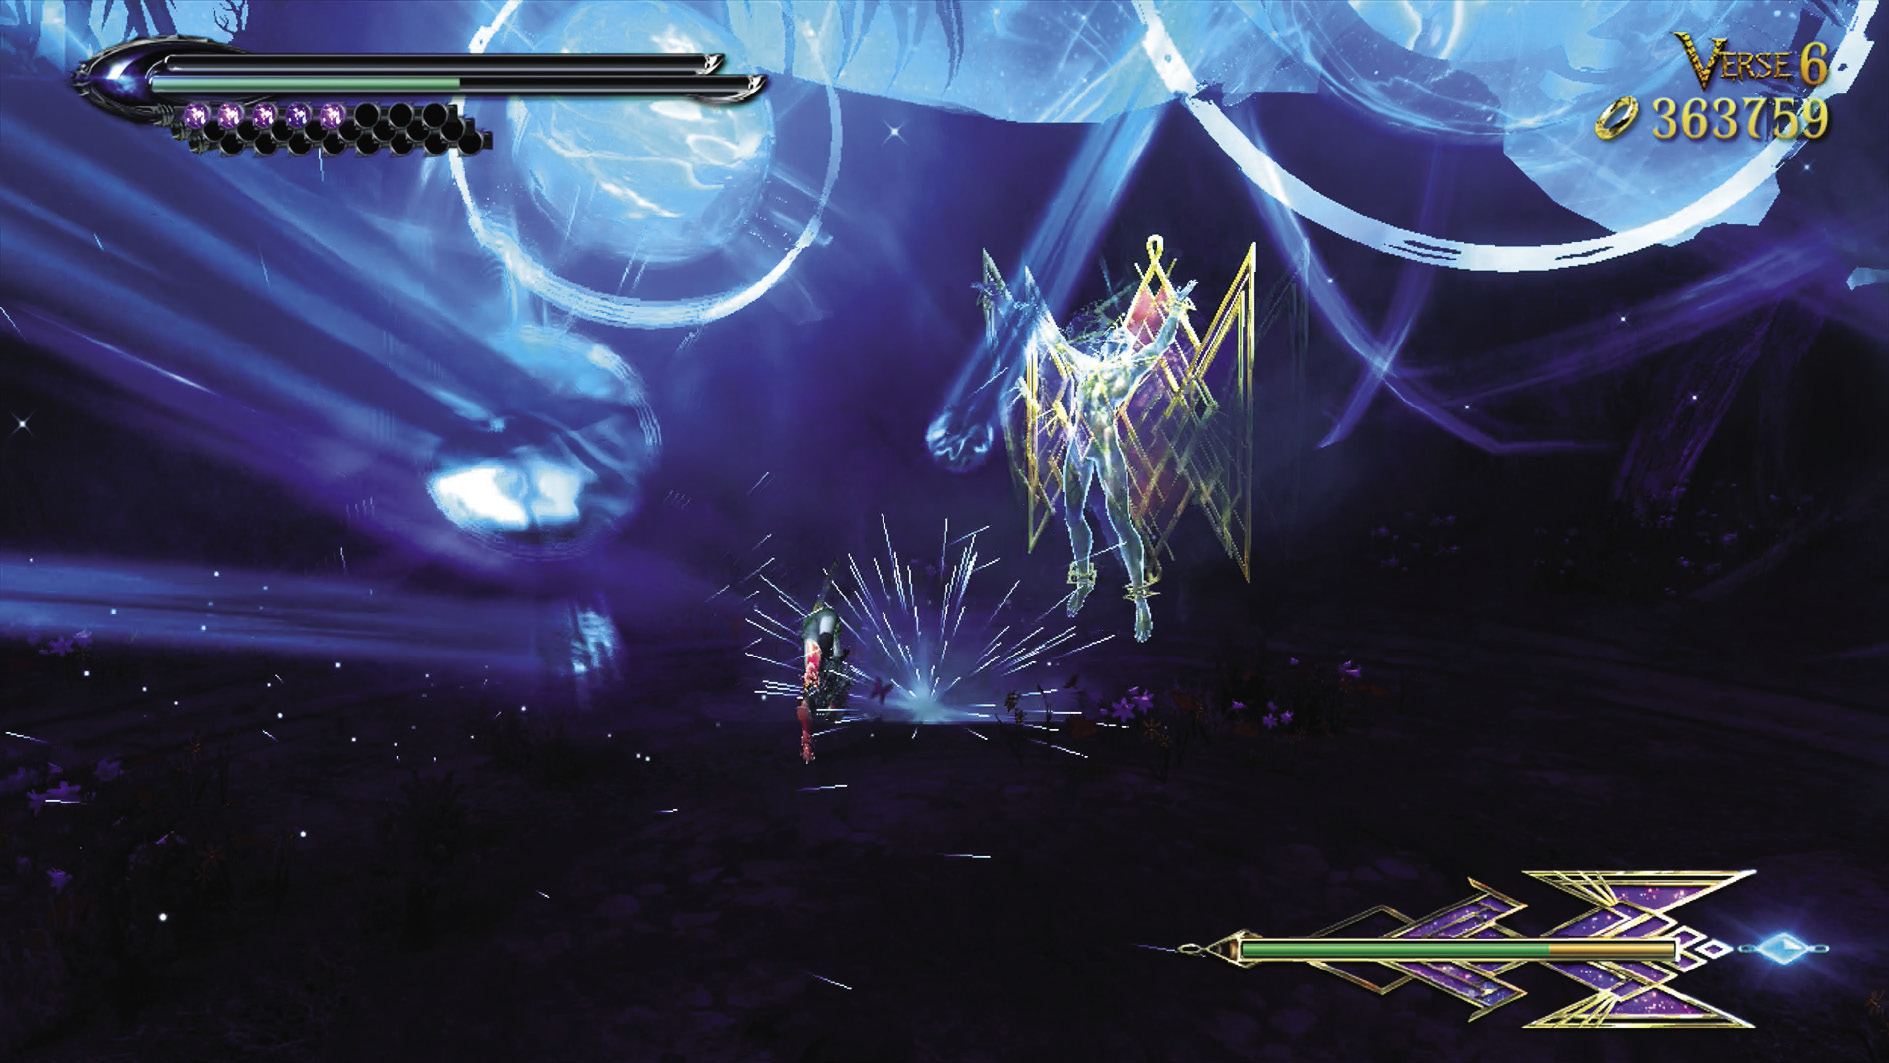
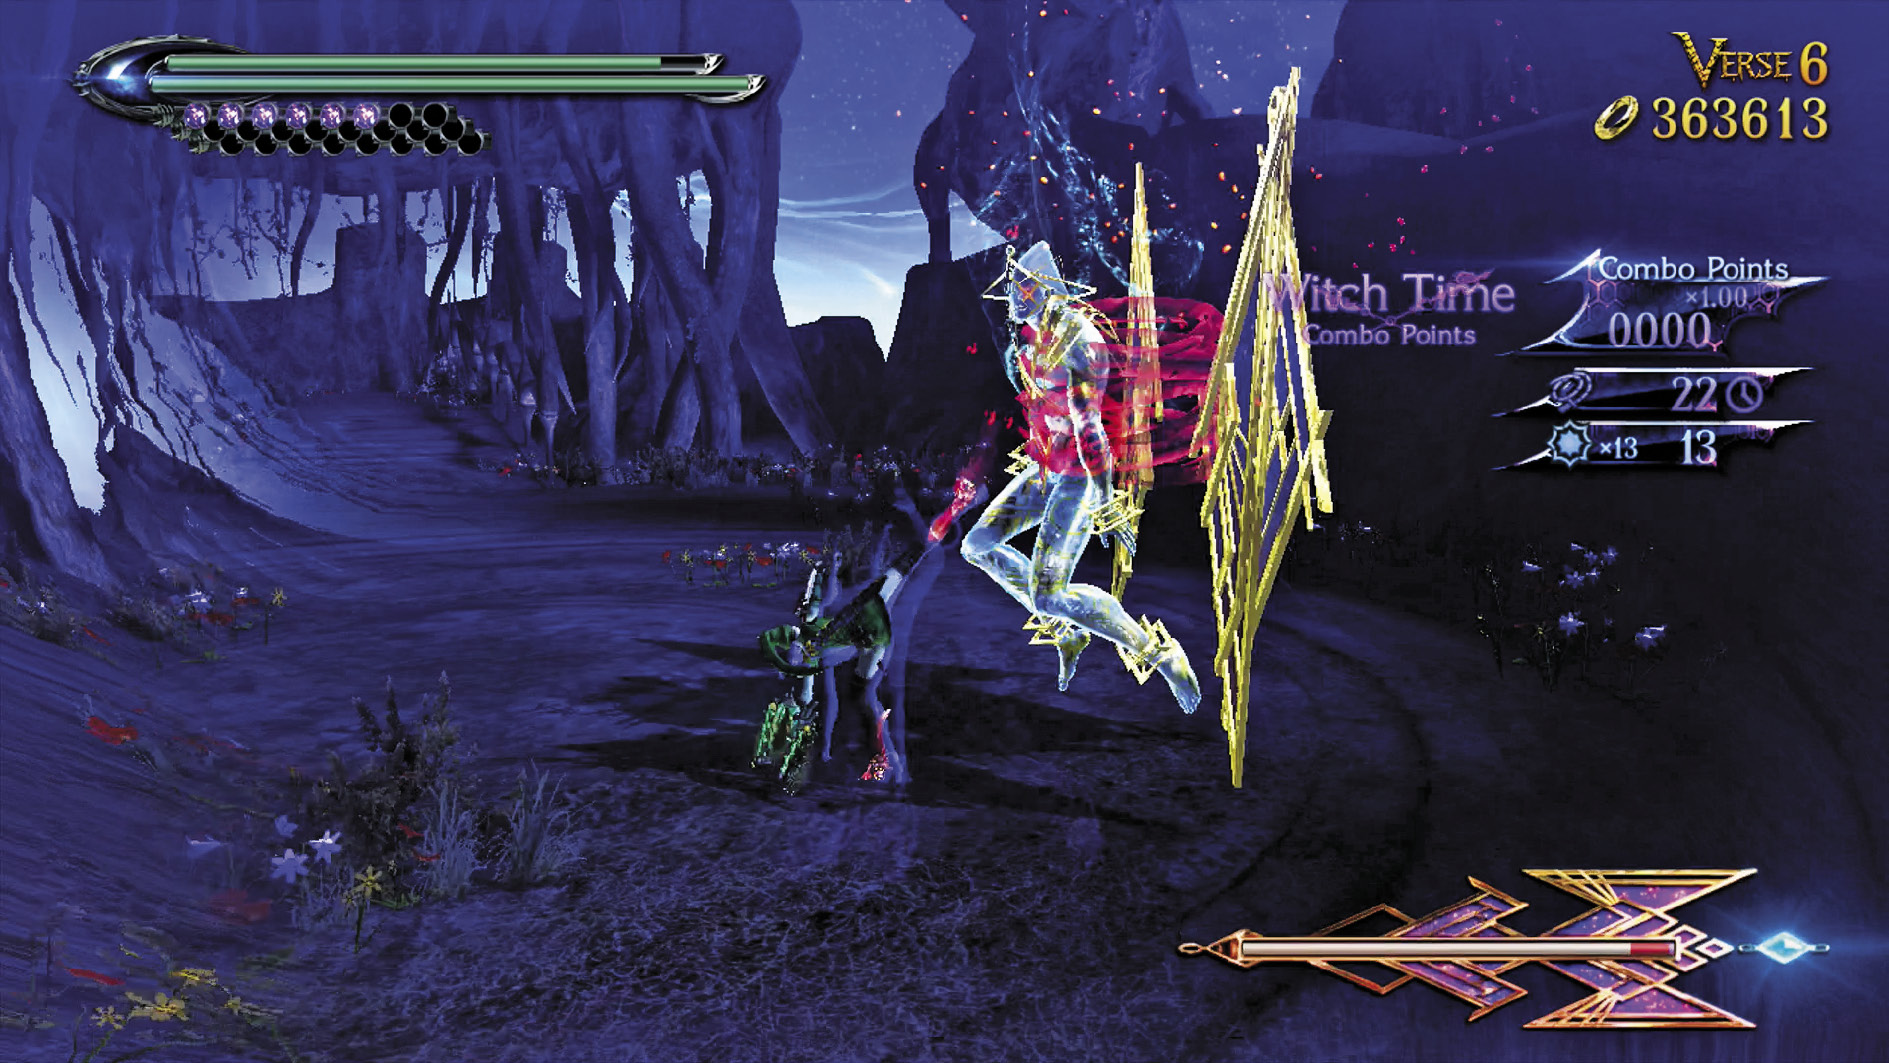
This would be a reprieve from the double-boss fights, except that Aesir has loads of attacks and they all love to fill the screen. The same tactics from Verses 3 and 5 apply, except you’ll have to keep an eye out for attacks that can come from absolutely anywhere.
| Lost 5 V6 | ∞ Climax | ||
|---|---|---|---|
| Time | Damage | Combo | |
| PLATINUM | 02:30 | 0 | 3750 |
| GOLD | 03:00 | 2000 | 2100 |
| SILVER | 03:40 | 4000 | 1690 |
| BRONZE | 04:30 | 8000 | 1280 |
| BOSS BONUS | 5000 | ||
Verse 7
Suggested Weapon(s): Rakshasa (Arms), Alruna or Salamandra (Legs)
Enemies: Sloth x1, Grace x1, Glory x1
Grace and Glory by themselves are bad enough, but then you have a Sloth mucking up things. Bring in Rakshsa and as many defensive accessories as you can; you’ll be doing a whole lot of dodging. Any one of these enemies on ∞ Climax can shale your vitality meter down to nothing in a heartbeat.
| Lost 5V7 | ∞ Climax | ||
|---|---|---|---|
| Time | Damage | Combo | |
| PLATINUM | 02:30 | 0 | 2240 |
| GOLD | 02:50 | 1500 | 1380 |
| SILVER | 03:20 | 3000 | 1160 |
| BRONZE | 04:00 | 8000 | 940 |
| BOSS BONUS | 0 | ||
Verse 8
Suggested Weapon(s): Rakshasa (Arms), Alruna or Salamandra (Legs)
Enemies: Bayonetta x1, Jeanne x1
Veterans of the original Bayonetta have been in this kind of scenario before. For those who started with Bayonetta 2, treat this like the other boss fights, except Umbra Witches really know how to play the range game. You’ll be abusing your dodge, Panther Within and the Moon of Mahaa-Kalaa a lot as you fight to control space on this small battlefield.
| Lost 5 V8 | ∞ Climax | ||
|---|---|---|---|
| Time | Damage | Combo | |
| PLATINUM | 05:00 | 0 | 880 |
| GOLD | 05:30 | 2000 | 650 |
| SILVER | 06:10 | 4000 | 590 |
| BRONZE | 07:00 | 8000 | 540 |
| BOSS BONUS | 10000 | ||
Verse 9
Suggested Weapon(s): Rakshasa (Arms), Alruna or Salamandra (Legs)
Enemies: Rosa x1, Balder x1
You already know how to fight Balder, but Rosa brings a powerful ranged game to the table which perfectly complements him. Play this Verse similarly to the last, only faster. Luck and skill be with you —this is the home stretch!
| Lost 5V9 | ∞ Climax | ||
|---|---|---|---|
| Time | Damage | Combo | |
| PLATINUM | 05:00 | 0 | 1800 |
| GOLD | 05:30 | 2000 | 1170 |
| SILVER | 06:10 | 4000 | 1010 |
| BRONZE | 07:00 | 8000 | 860 |
| BOSS BONUS | 999999 | ||