
Bayonetta 2 Guide Chapter V: Know Your Journey - Walkthrough
Chapter VII: The Ark
Wherein Bayonetta and Loki’s journey undergoes a monstrous interruption...
Verse 1
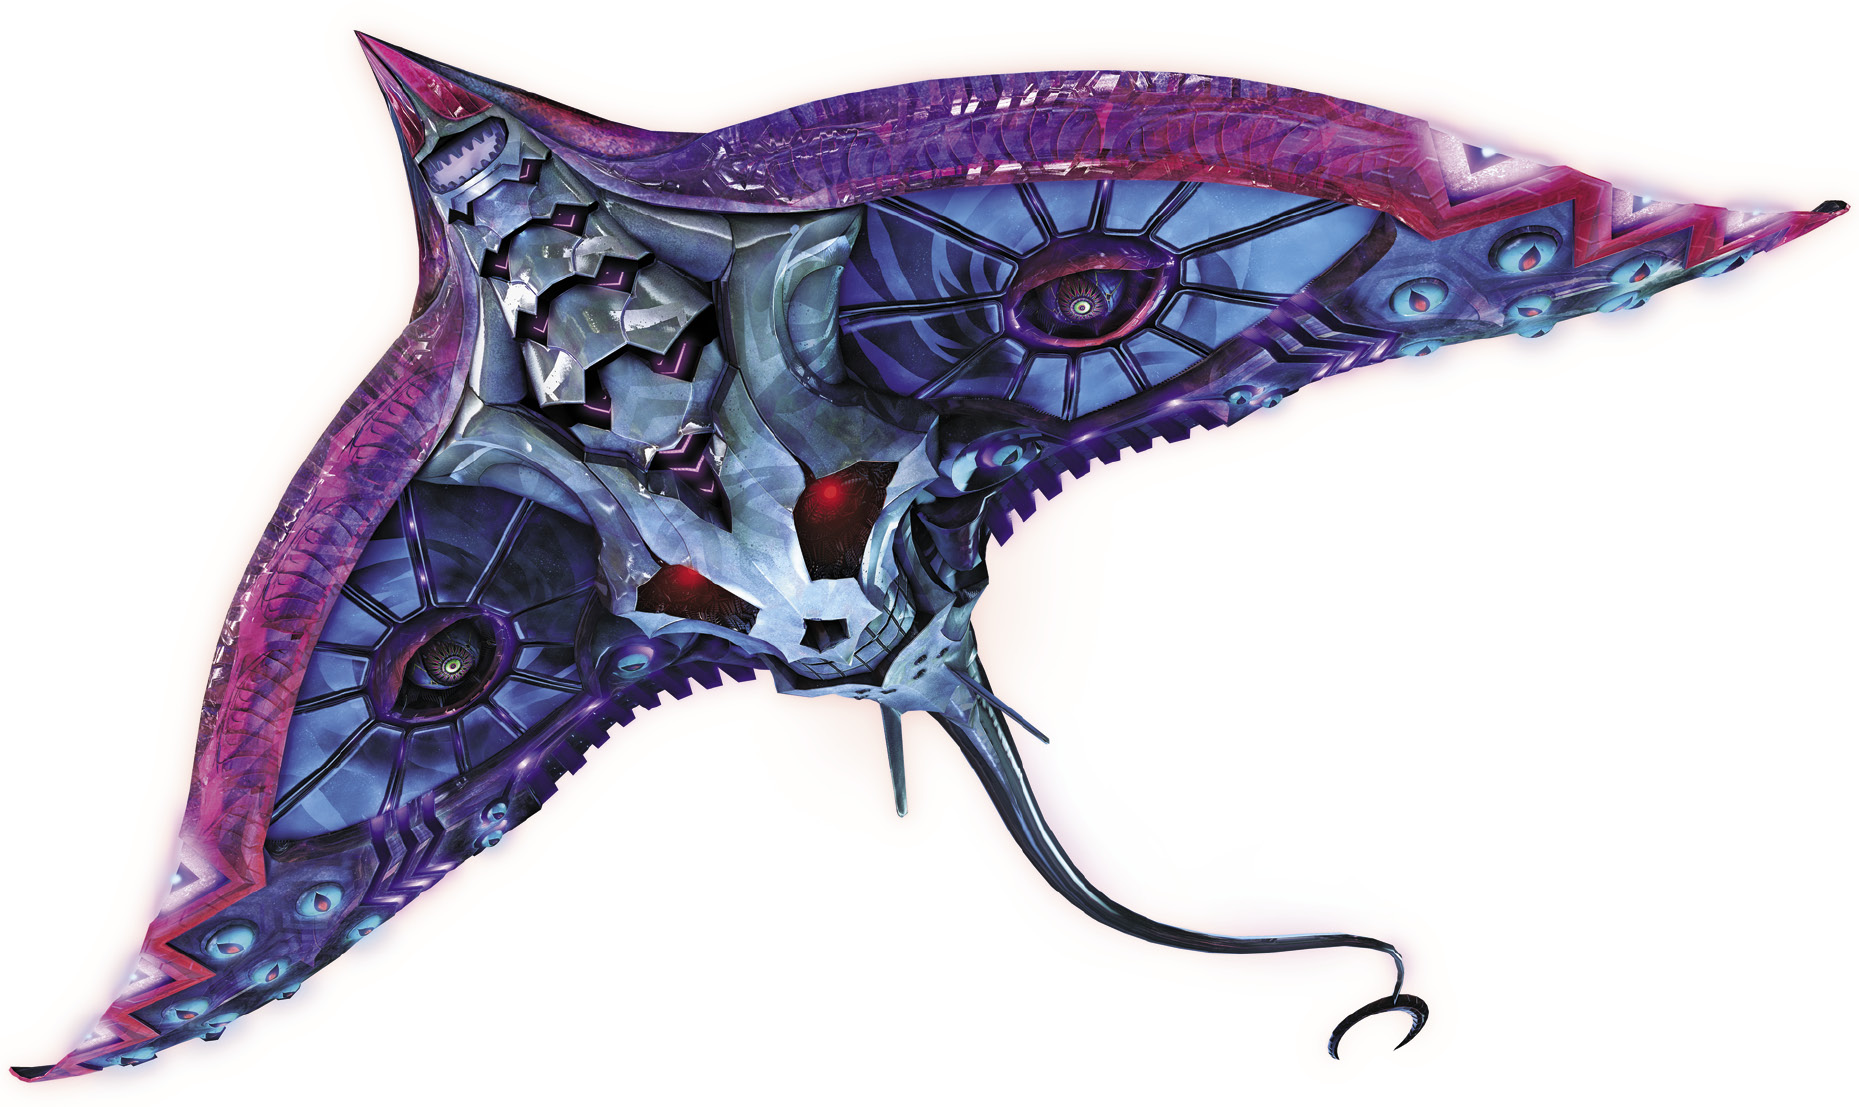
Boss: Insidious
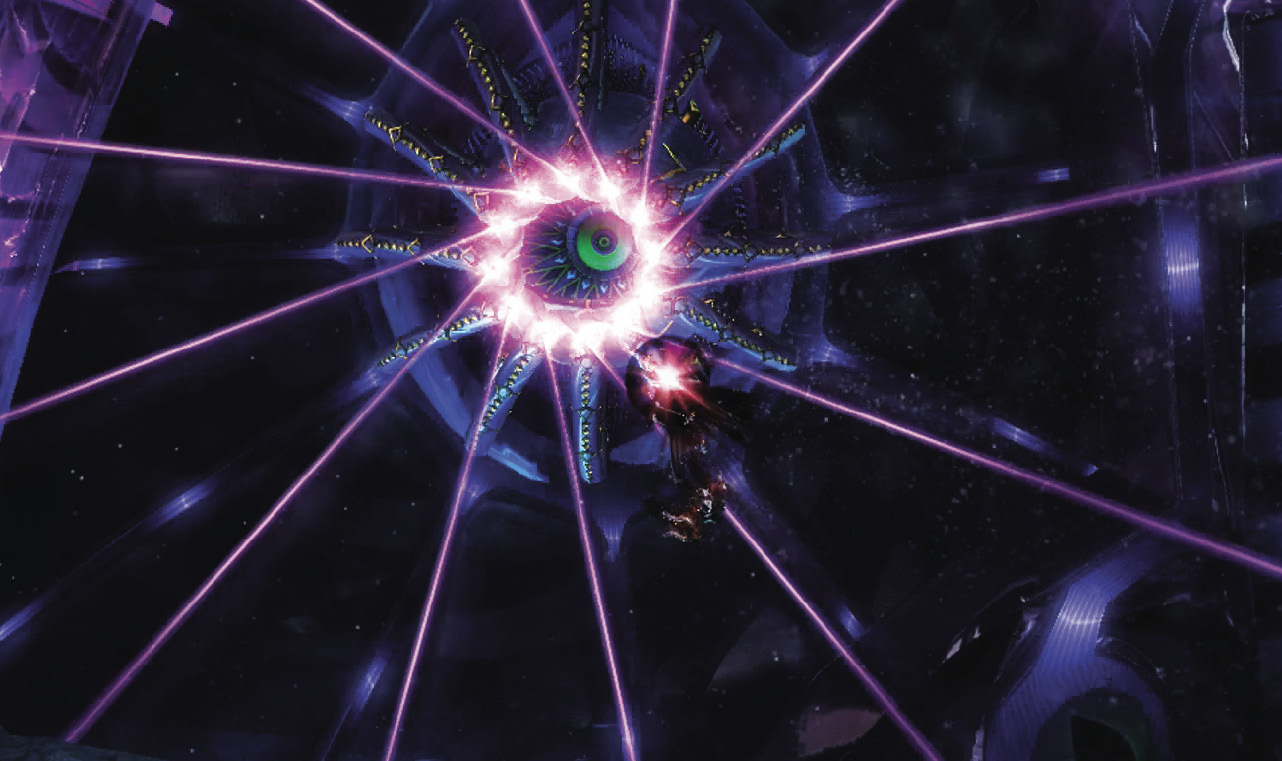
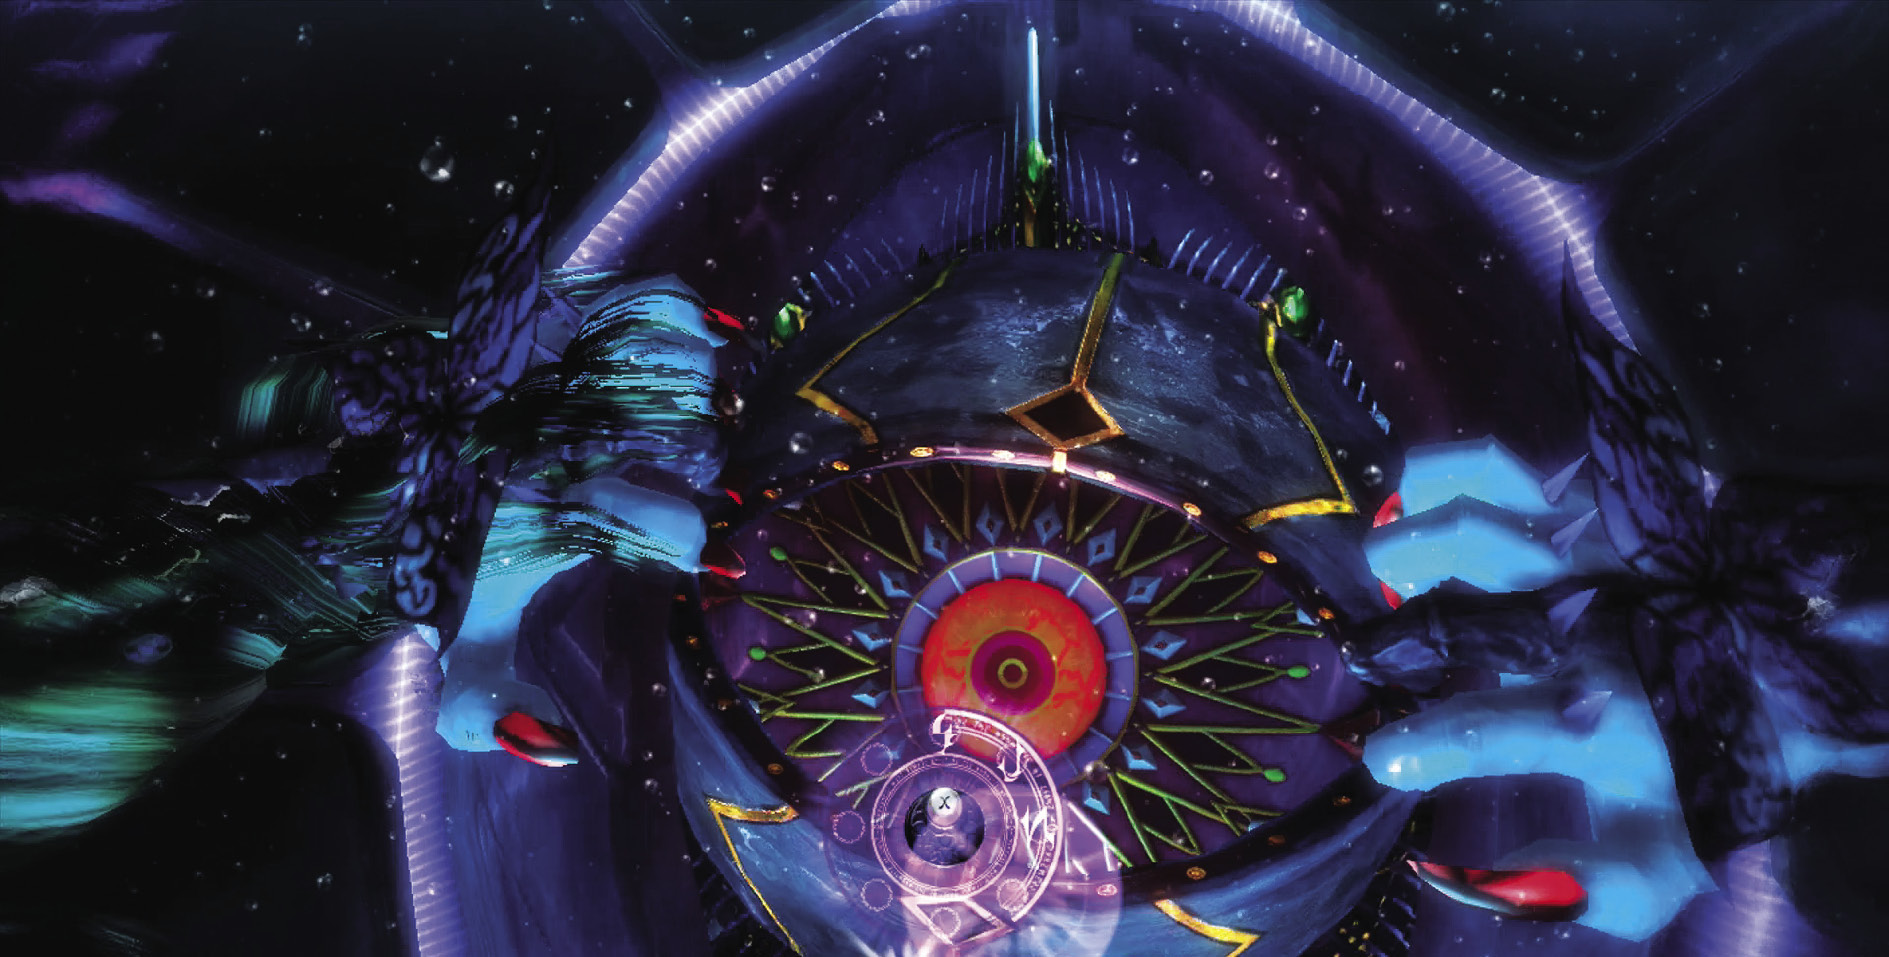
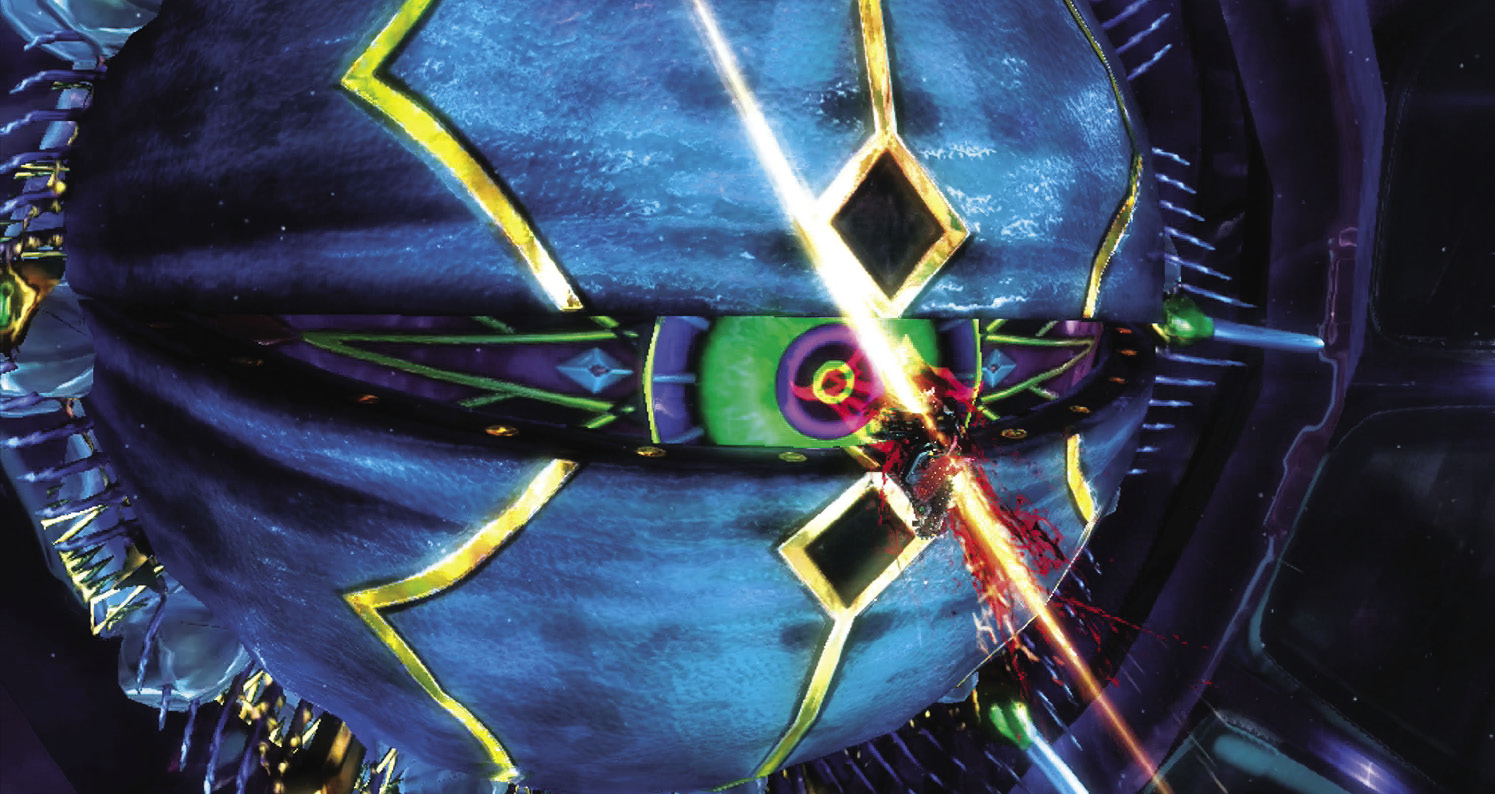
1st Climax/2nd Climax/3rd Climax/∞ Climax (Go for Pure Platinum!)

Suggested Pure Platinum Weapons: Salamandra (Arms)
- Enemy: Insidious
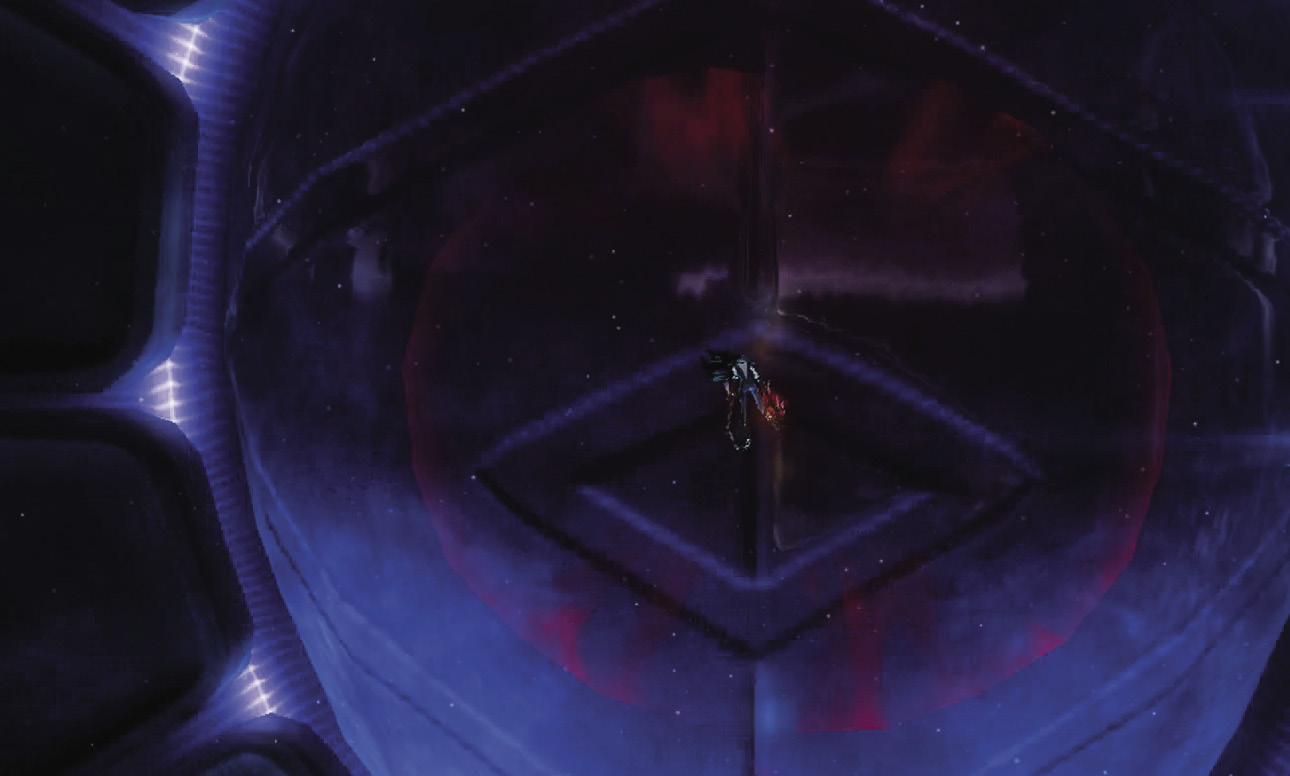
Fire your guns on approach to Insidious, and dodge the massive laser beam he opens the ceremonies with.
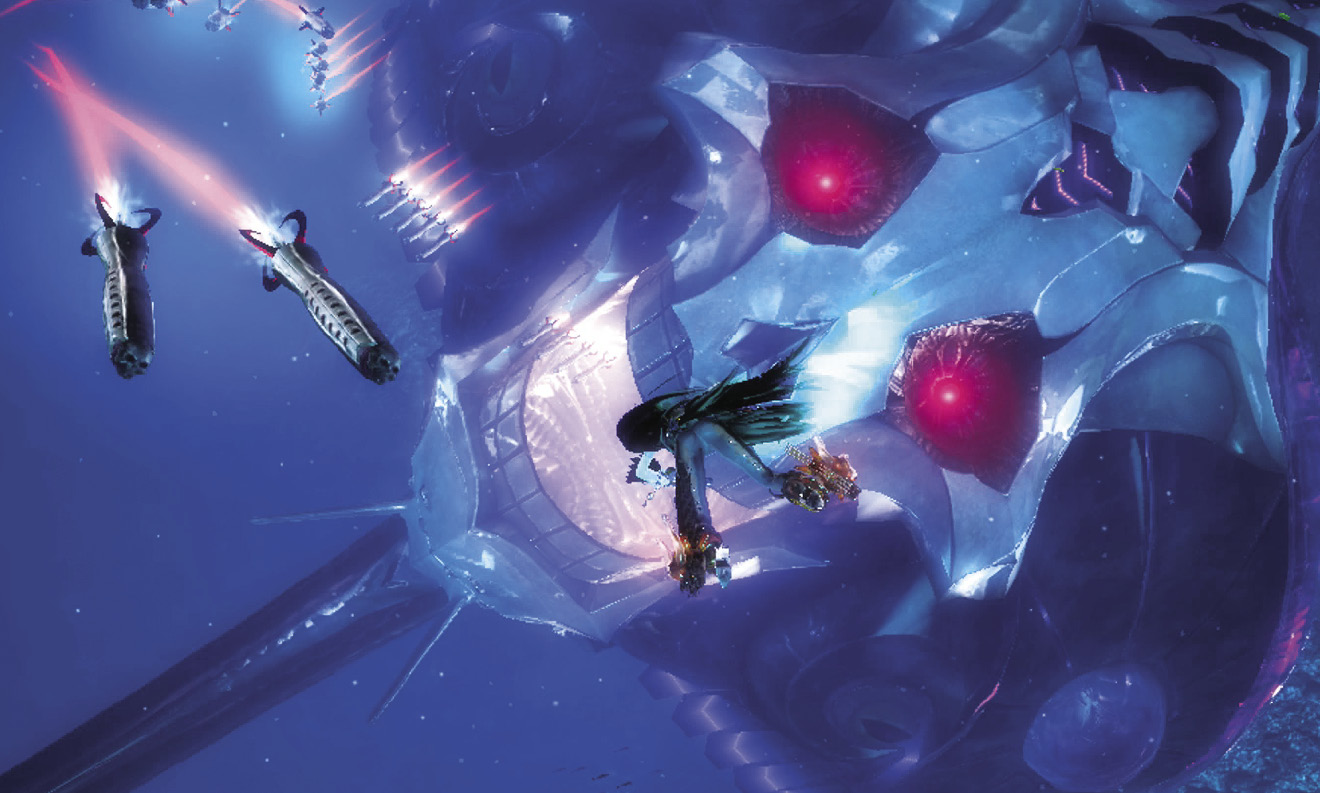
Your targets are Insidious’s eyes, which you’re automatically moved toward. Watch out for the tentacles that emerge from them. Not only can they whip out at Bayonetta, they can fire lasers! This is in addition to the eye itself, which also fires lasers. Finally, the eye can snap shut. Dodge this too to avoid taking damage!
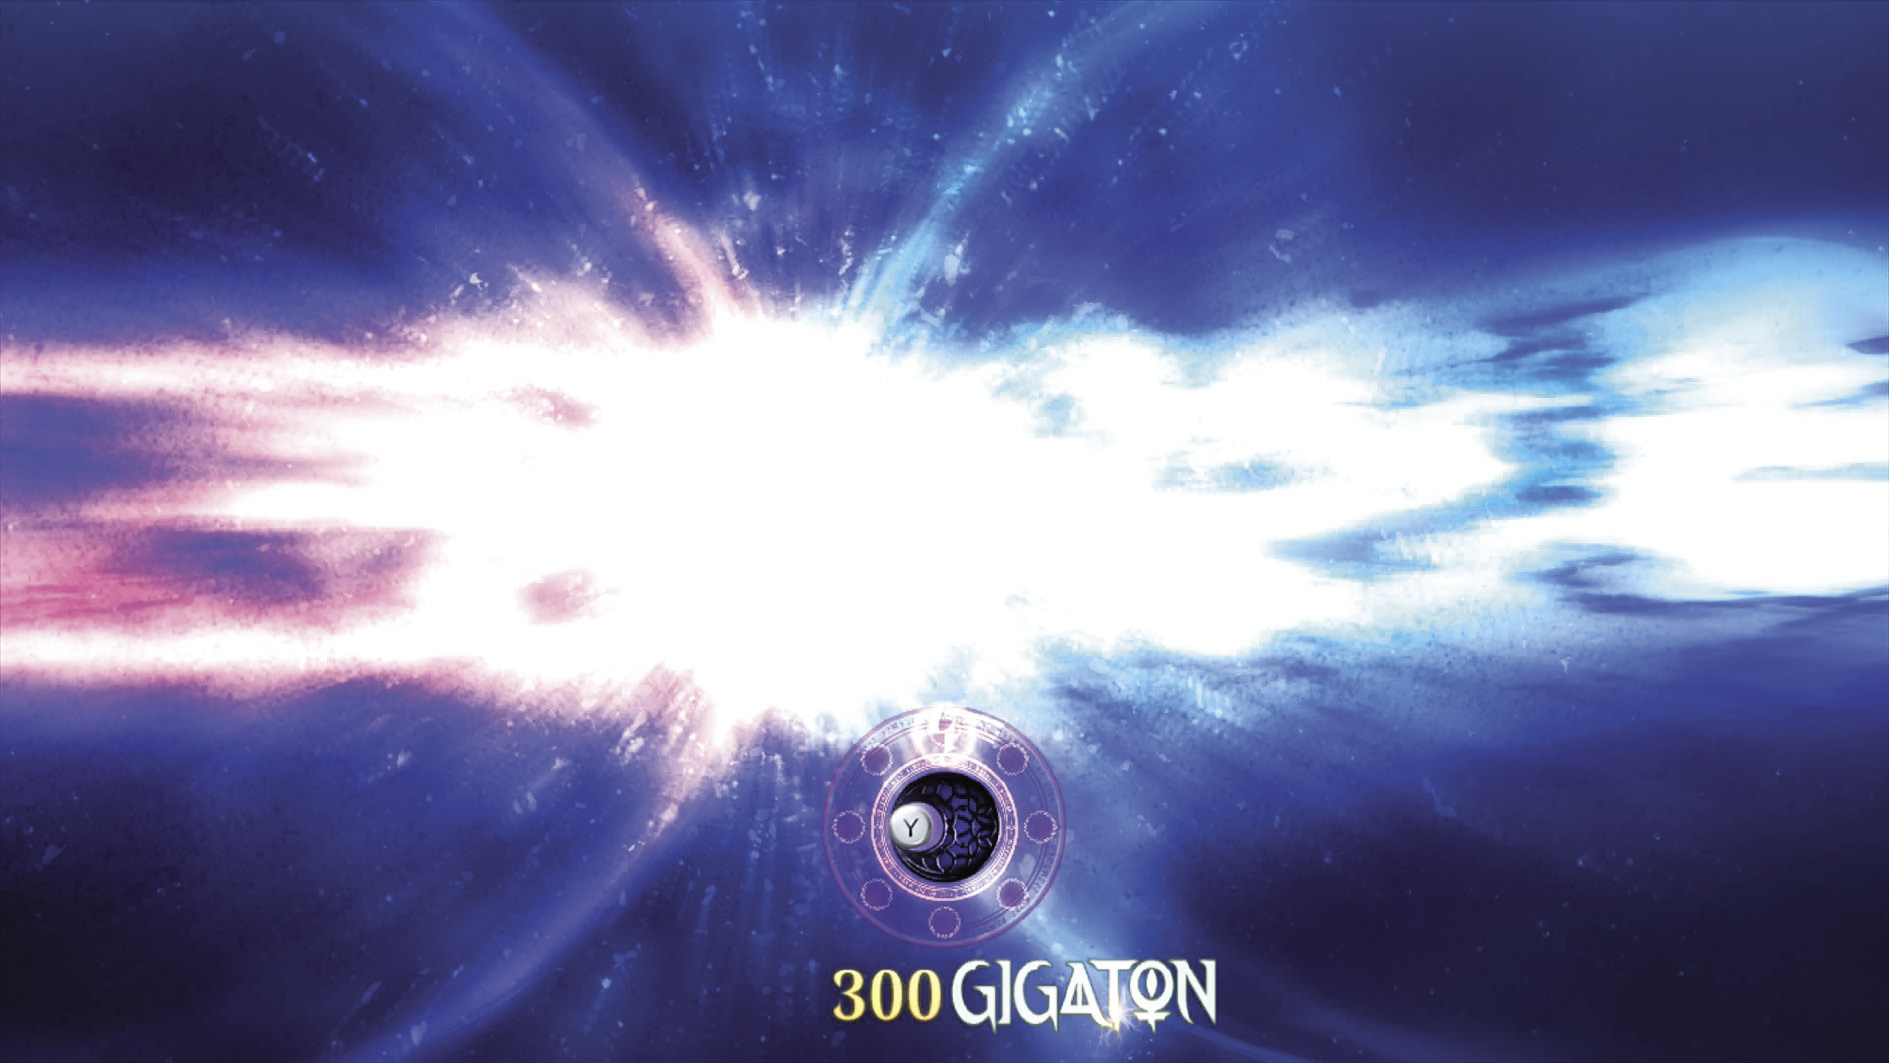
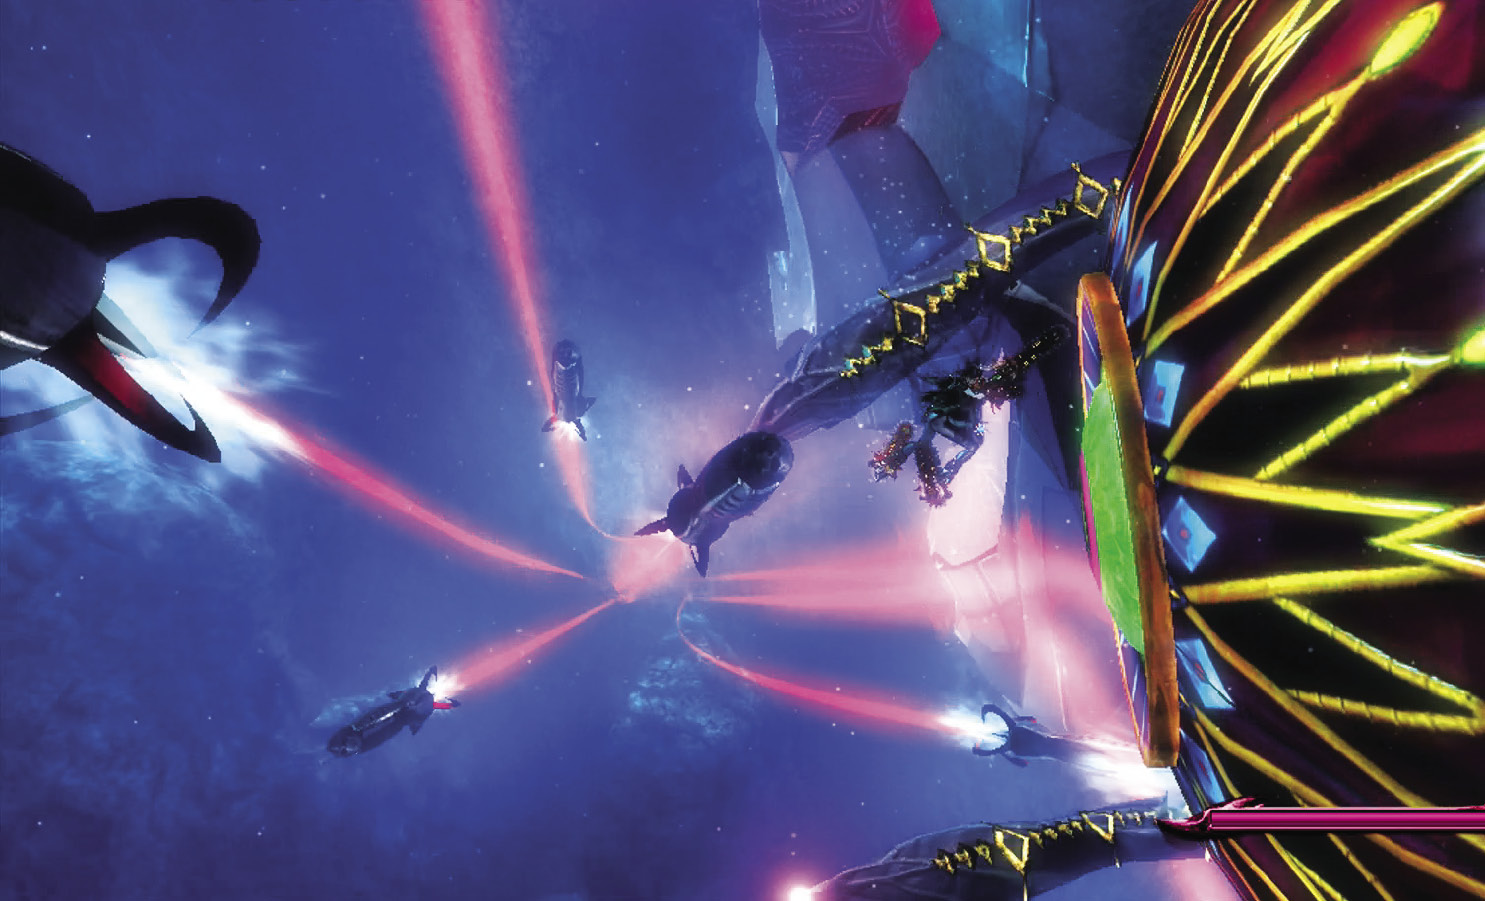
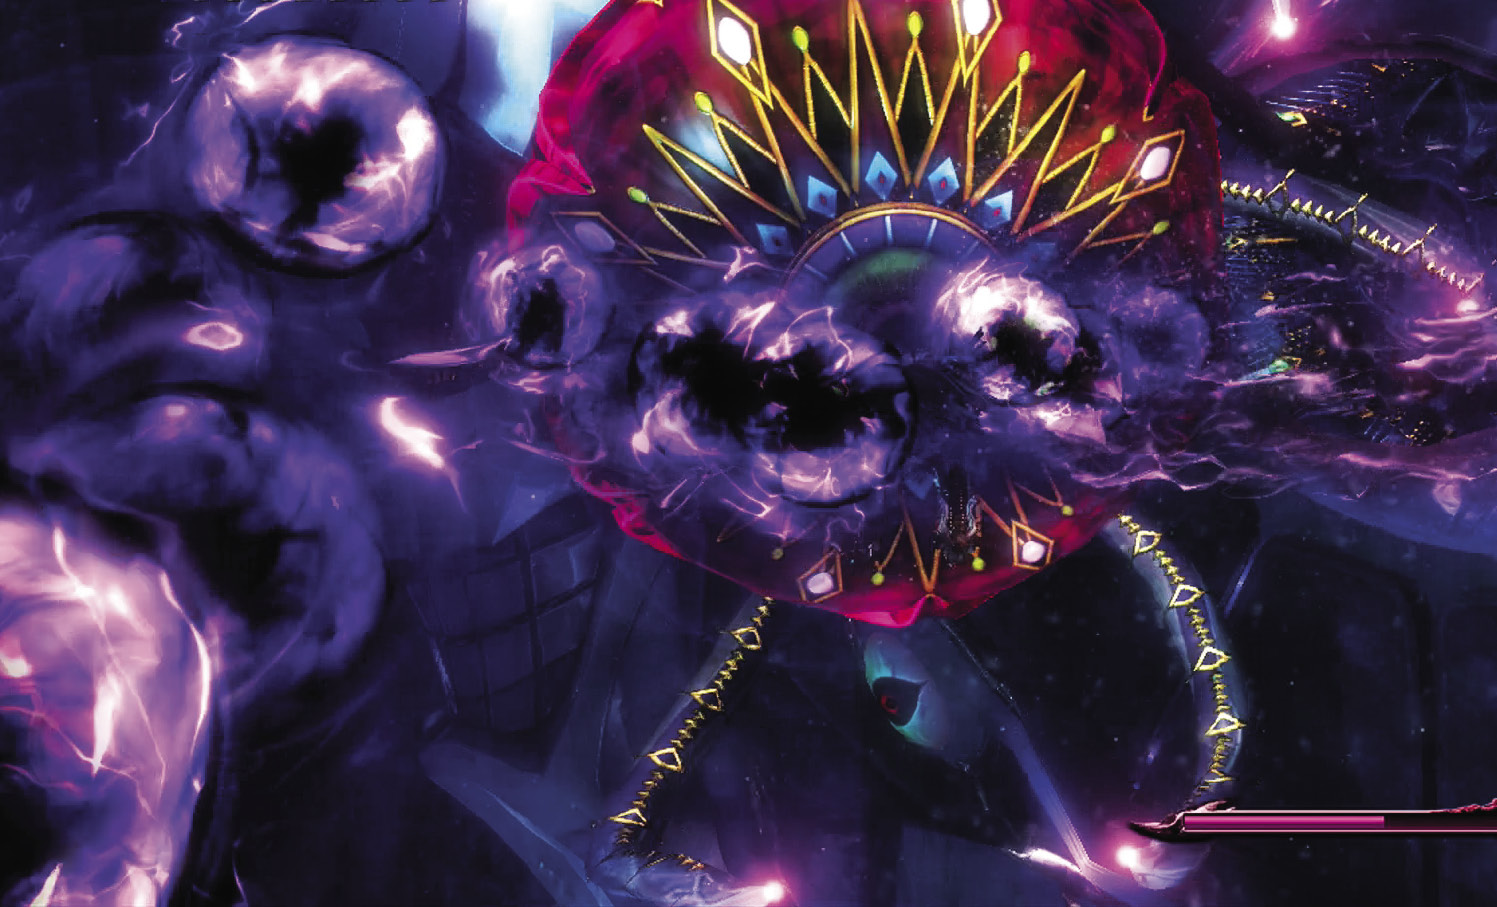
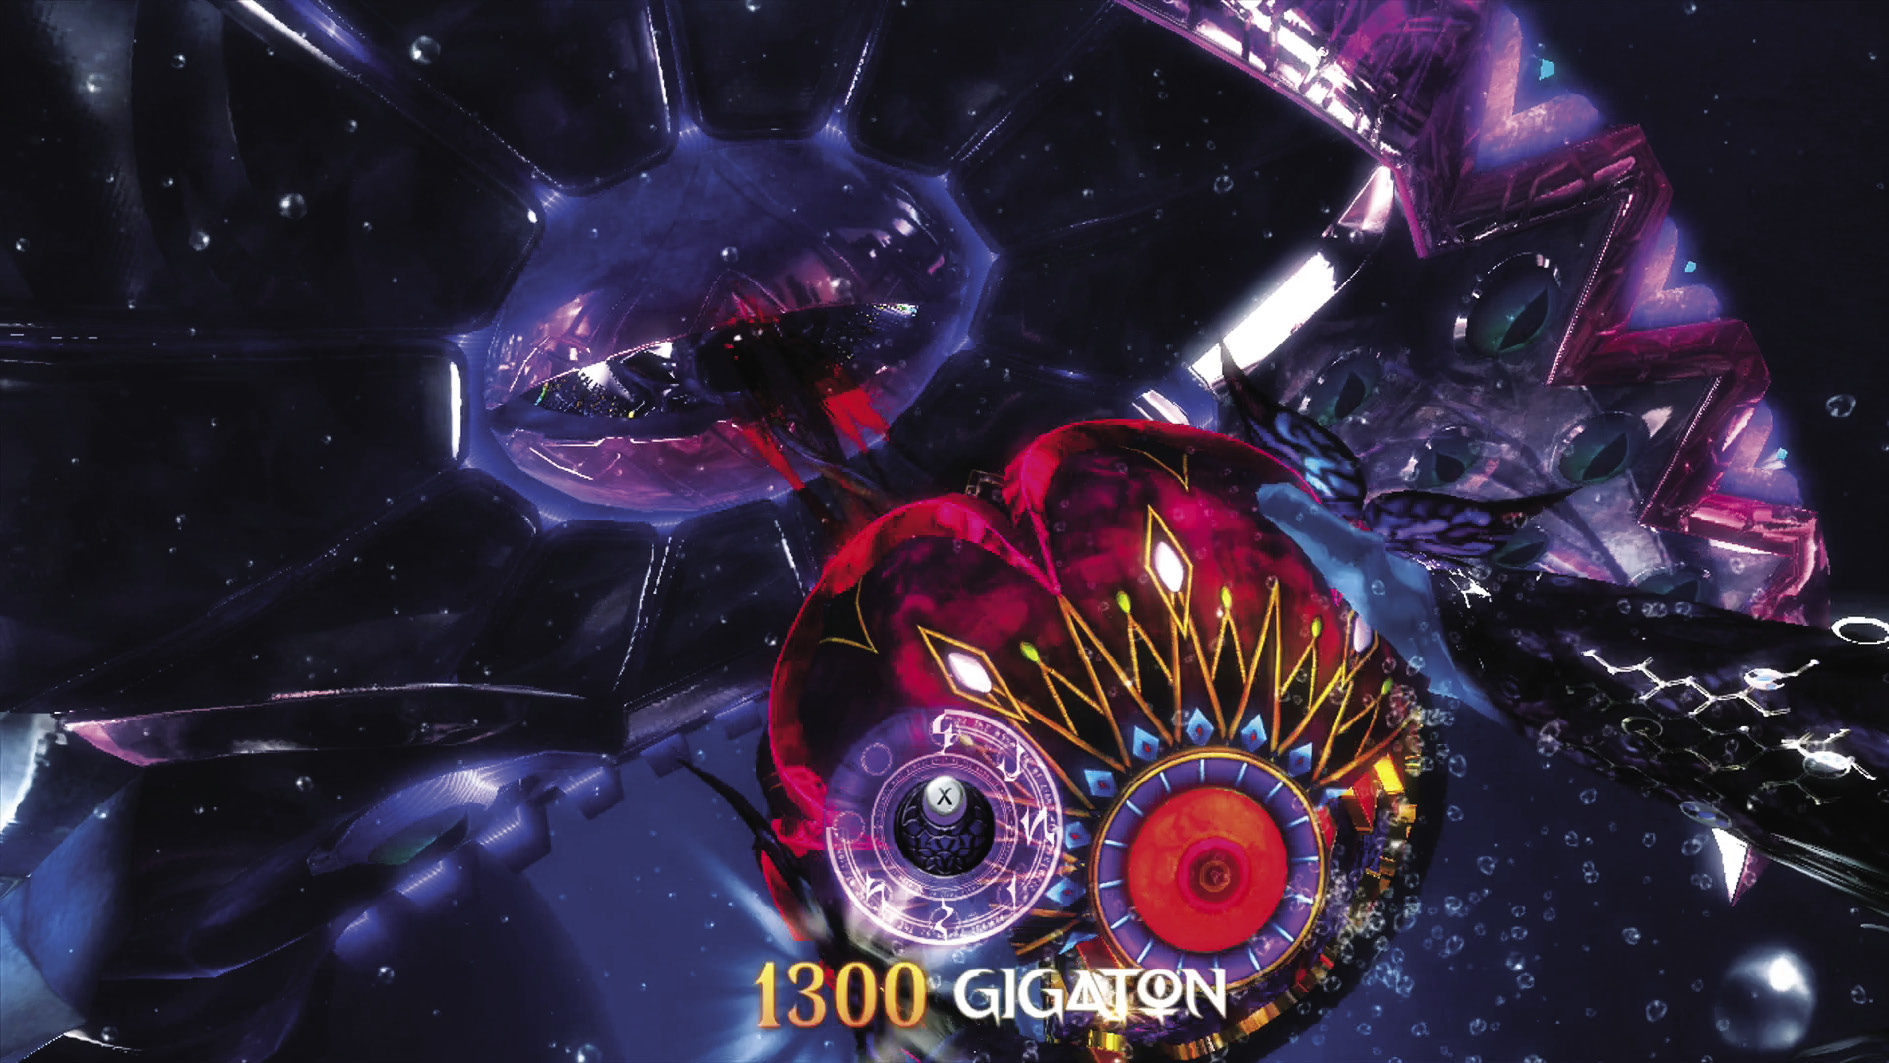
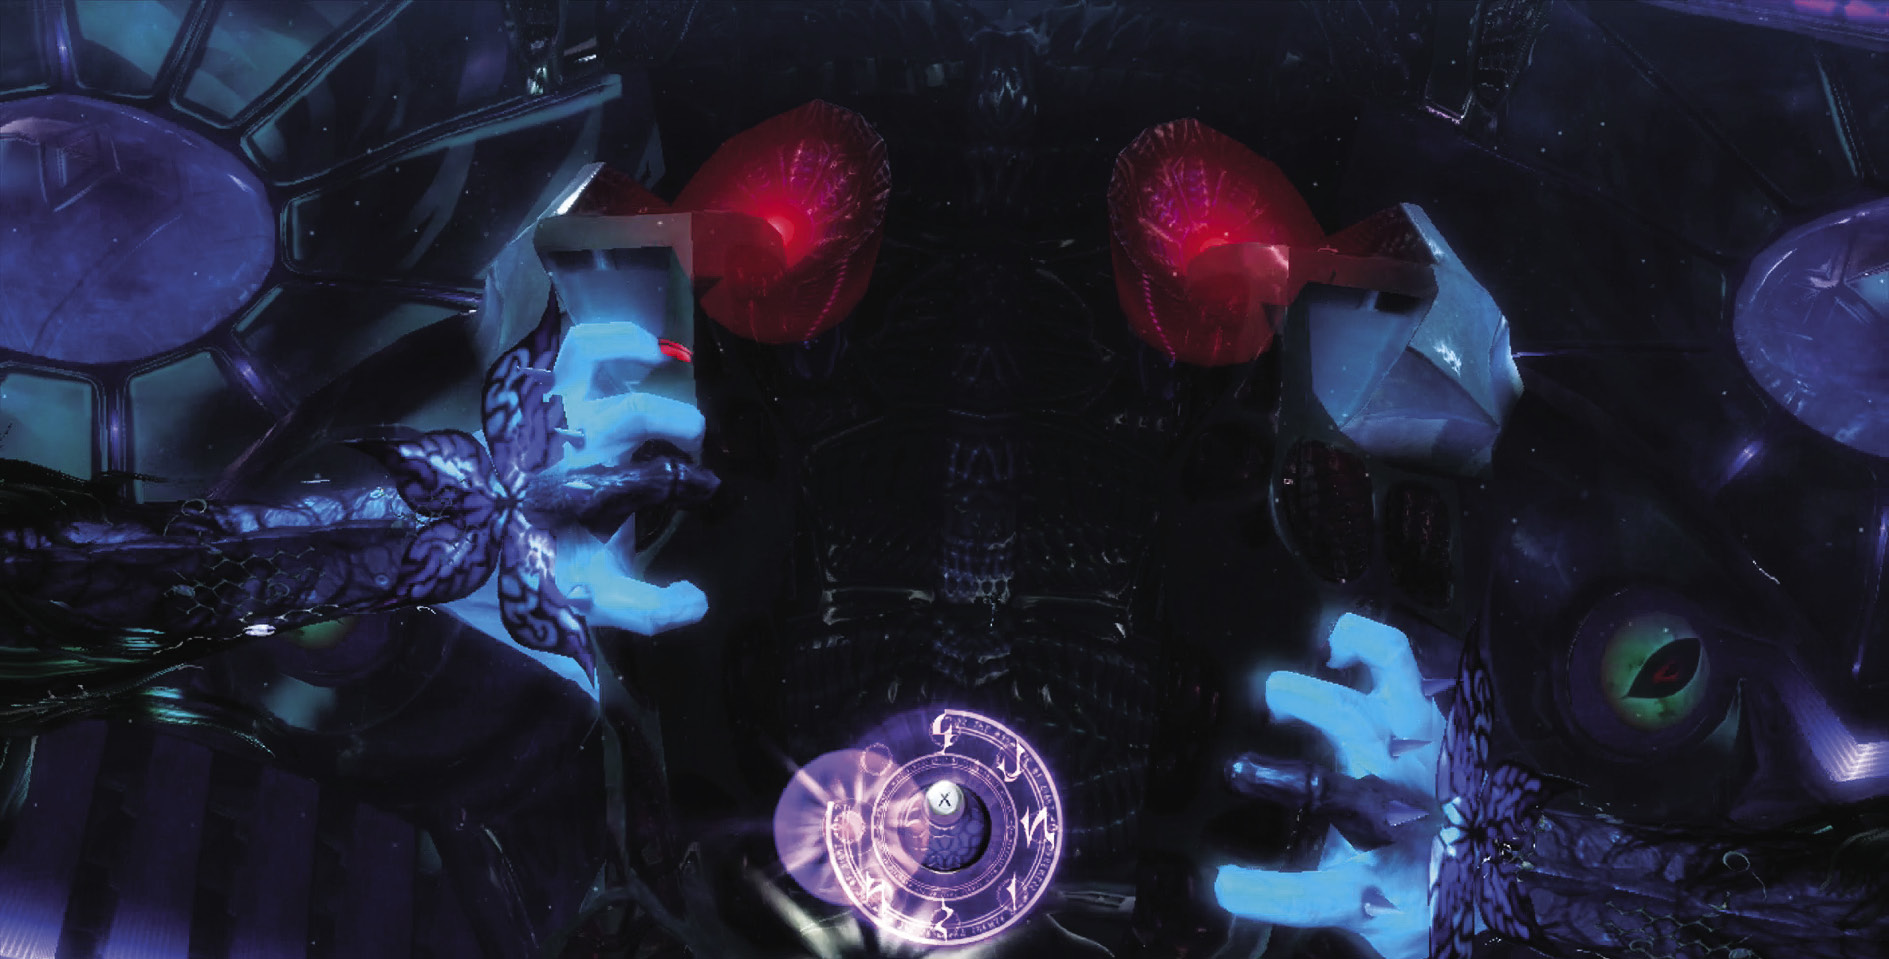
Damage the eye enough and you dizzy it, clearing the way for a Quick Time Event. Press the buttons!
Knock out one eye and you’re pushed away from Insidious and have to dodge a shower of missiles before you can go for the other eye. The other eye acts the same way as the first did, so follow the same strategies.
Knock out both eyes (and avoid more missiles) and Insidious sucks you in! Use the Quick Time Event to escape.
Insidious’s left eye decides to get serious! You have to avoid its attacks from a side view while avoiding missiles at the same time. In addition to its normal attacks, it can fire a spread of demonic energy once it’s sufficiently low on vitality.
Defeat Insidious, and Bayonetta and Loki team up for two final climactic Quick Time Events. Press the buttons on both!
Unfortunately, even after overcoming her foe, Bayonetta is sucked into the belly of the beast. Welcome to the Insides of the Insidious!
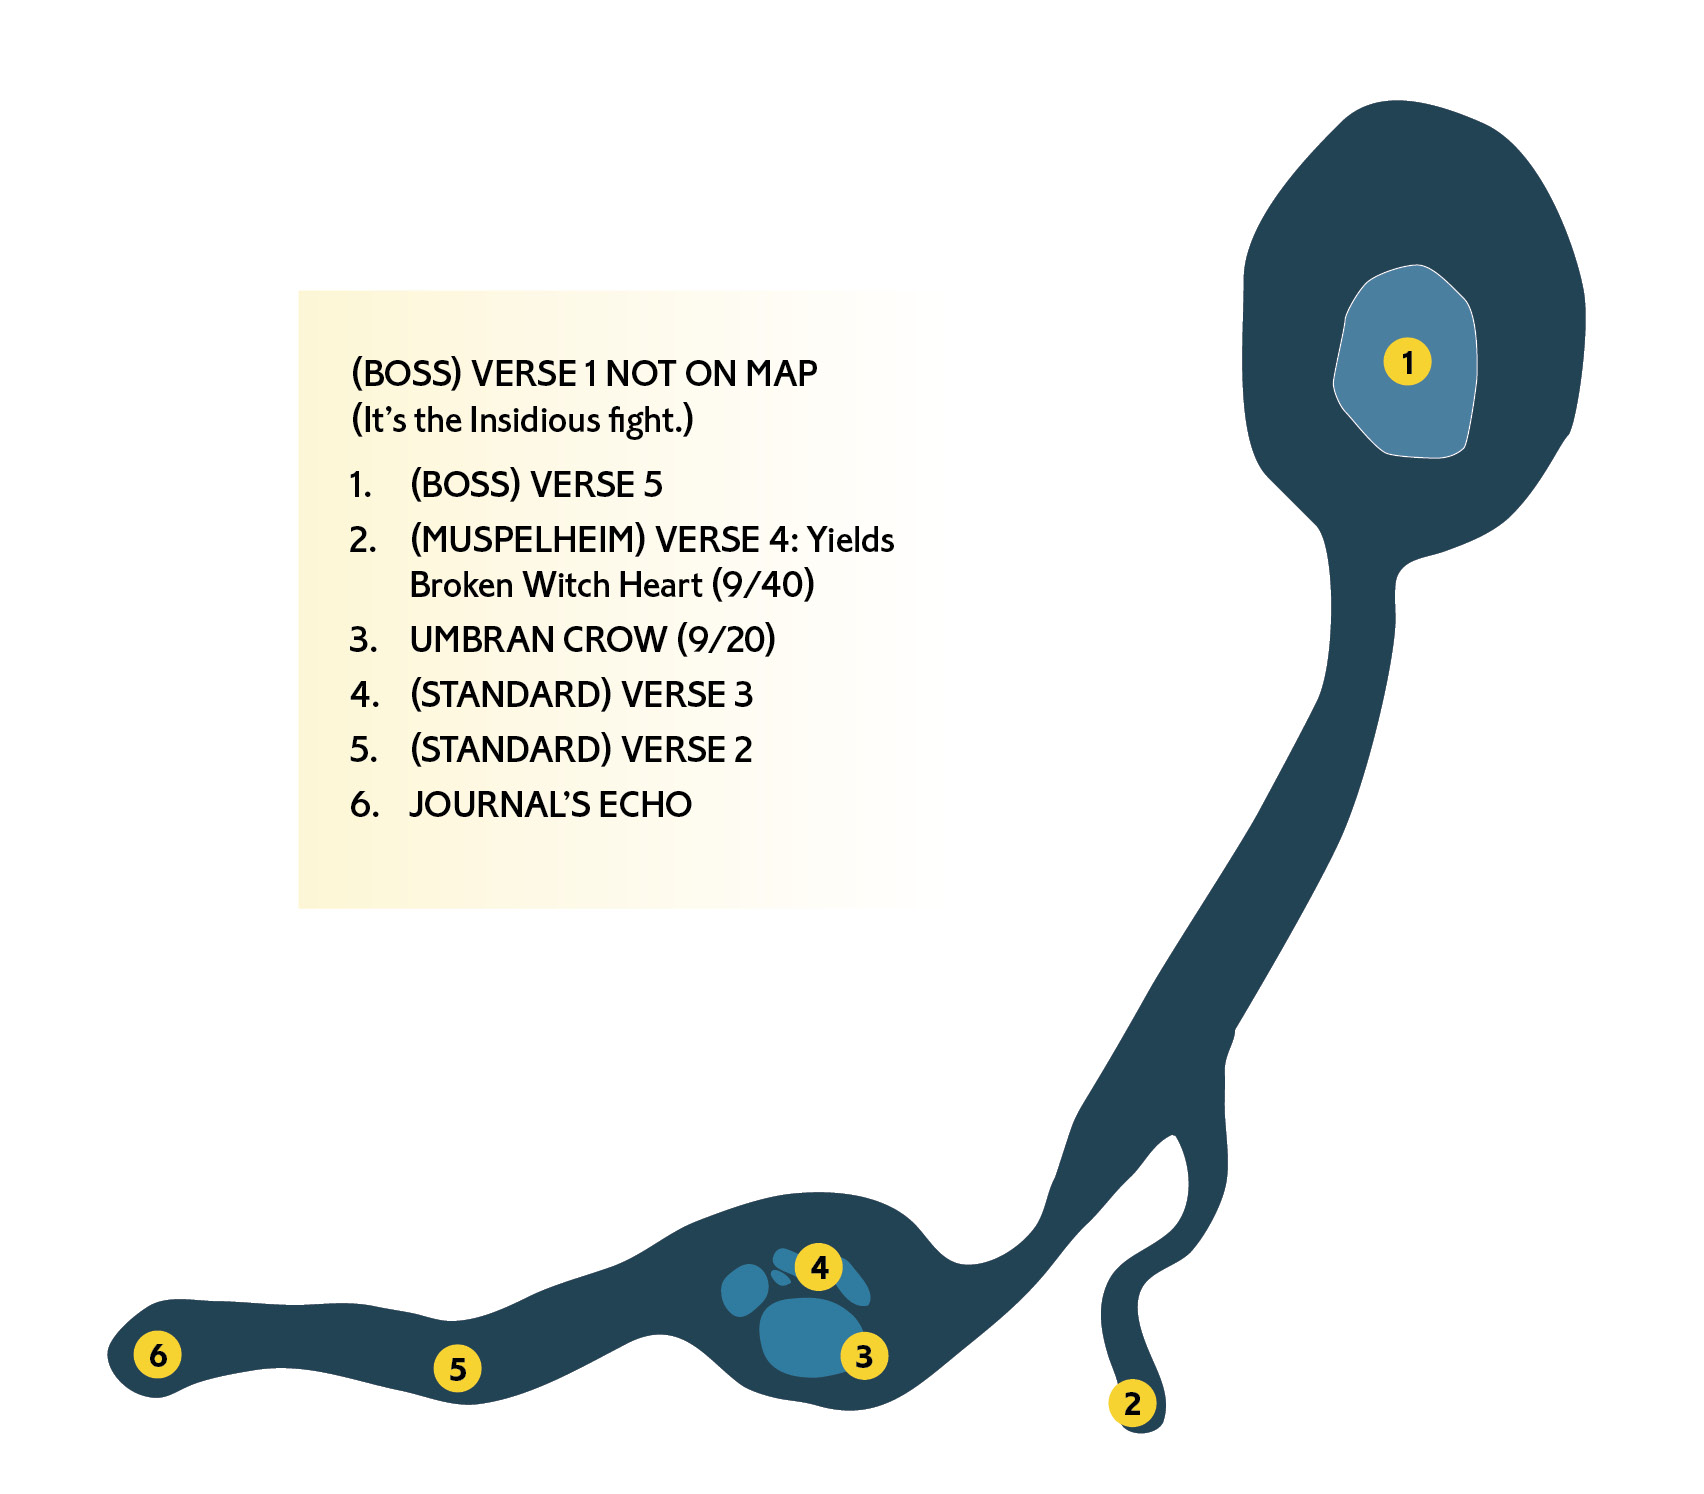
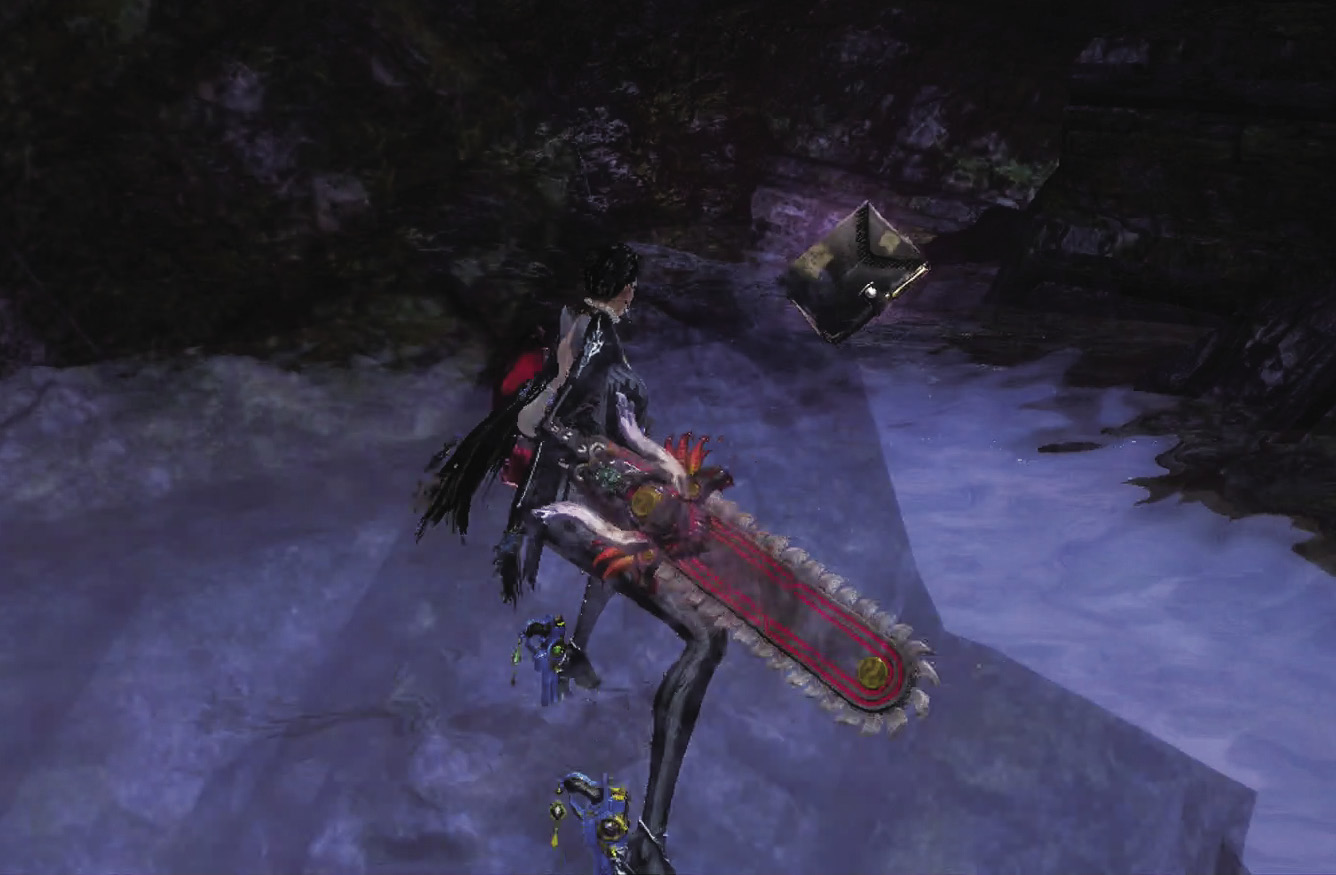
As soon as Bayonetta picks herself up, turn around and hack away at the rubble for the Journal’s Echo The Way To Paradise. Then turn back around and follow the path straight for the next Verse.

CH7 V1 | 1st Climax | 2nd Climax | 3rd Climax | ∞ Climax | ||||||||
|---|---|---|---|---|---|---|---|---|---|---|---|---|
| Time | Damage | Combo | Time | Damage | Combo | Time | Damage | Combo | Time | Damage | Combo | |
| PLATINUM | 03:50 | 0 | 72750 | 03:50 | 0 | 72750 | 03:50 | 0 | 72750 | 03:50 | 0 | 72750 |
| GOLD | 04:10 | 450 | 30900 | 04:10 | 900 | 30900 | 04:10 | 1800 | 30900 | 04:10 | 3000 | 30900 |
| SILVER | 04:30 | 750 | 20440 | 04:30 | 1500 | 20440 | 04:30 | 3000 | 20440 | 04:30 | 5000 | 20440 |
| BRONZE | 04:50 | 1050 | 9980 | 04:50 | 2100 | 9980 | 04:50 | 4200 | 9980 | 04:50 | 7000 | 9980 |
| BOSS BONUS | 10000 | 10000 | 10000 | 10000 | ||||||||
Verse 2
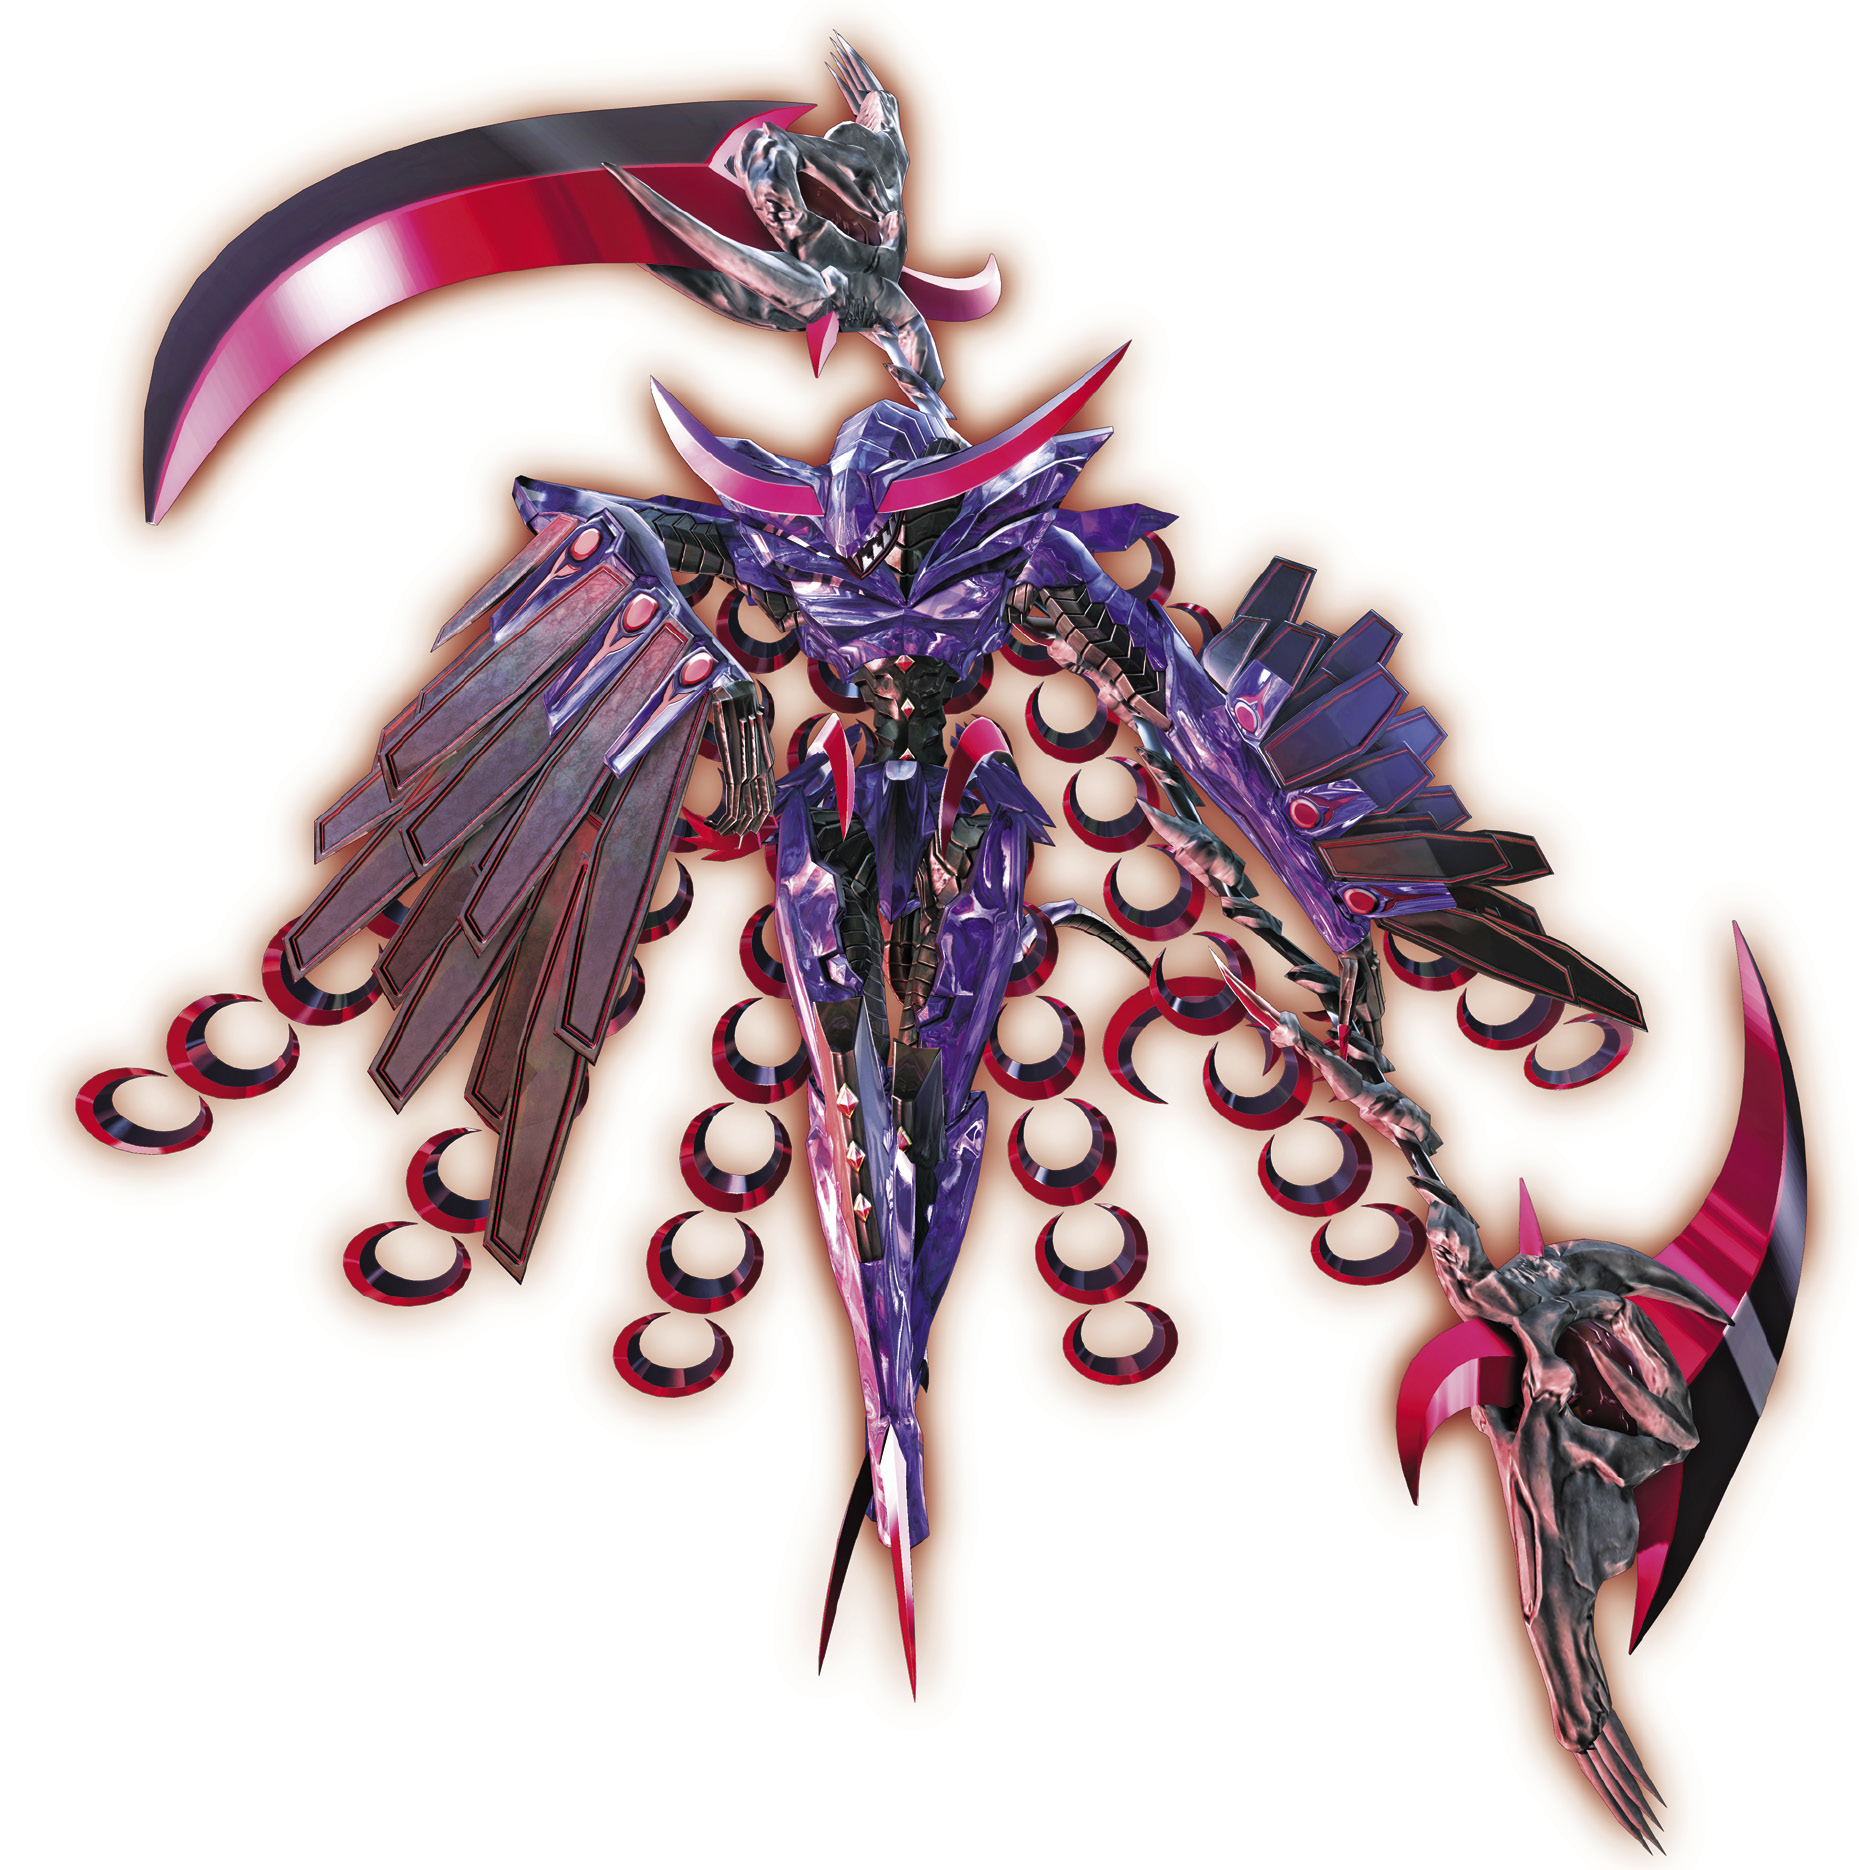
Enemy Spotlight: Hideous
Hideouses are the grunts of Inferno, and they wield scythes, guns, or twin blades in unorthodox ways. Always watch a Hideous’s movements before taking action—unlike the straightforward angels of Paradiso, demons play dirty!
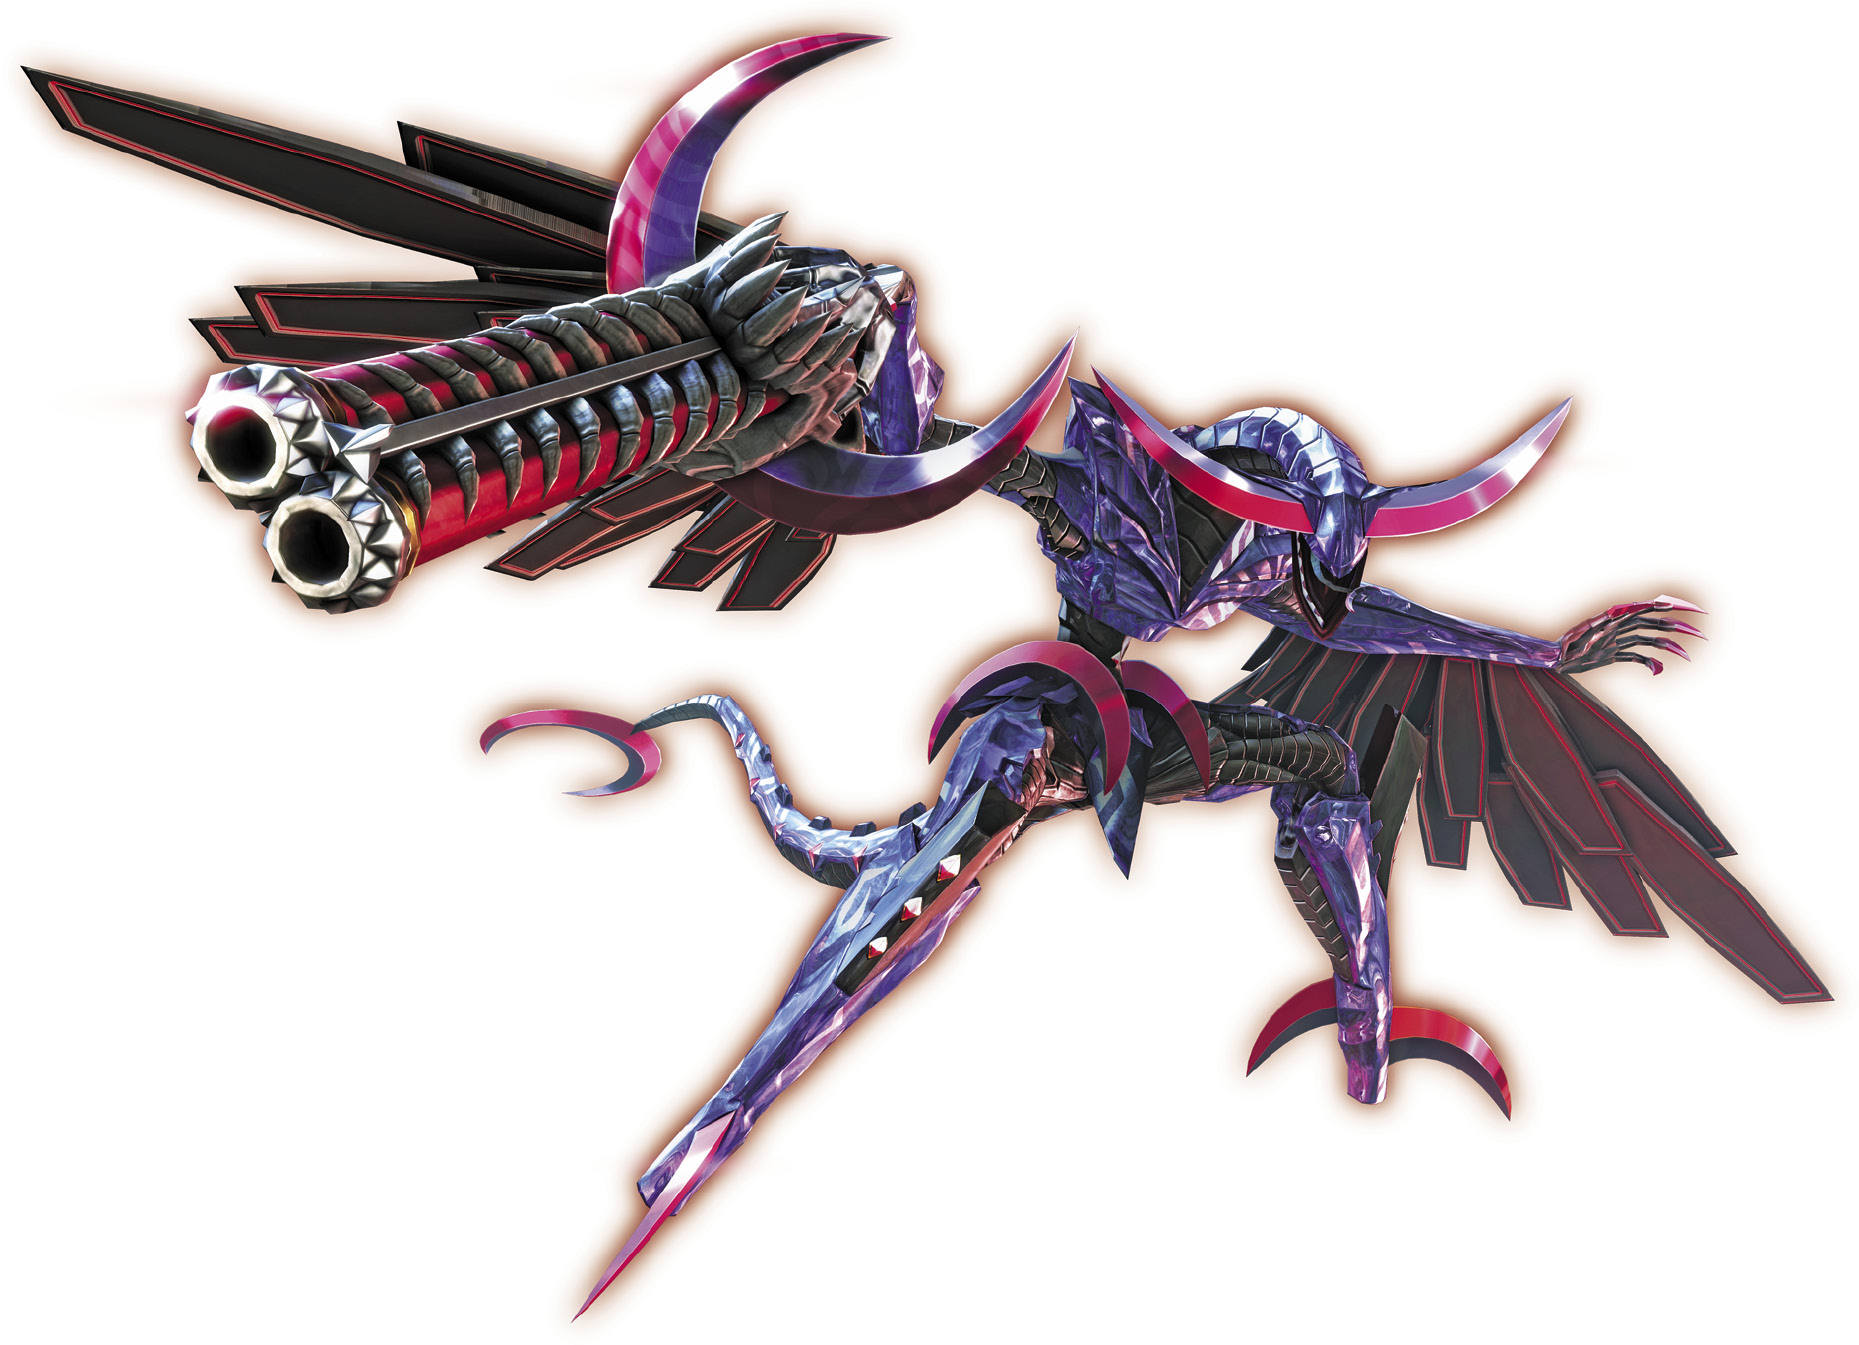
Enemy Spotlight: Hatred
One step up from Hideouses, Hatreds are scythe specialists. Their swings are fast and deadly. Either wait them out, or bait a swing to dodge before attacking.
1st Climax/2nd Climax/3rd Climax
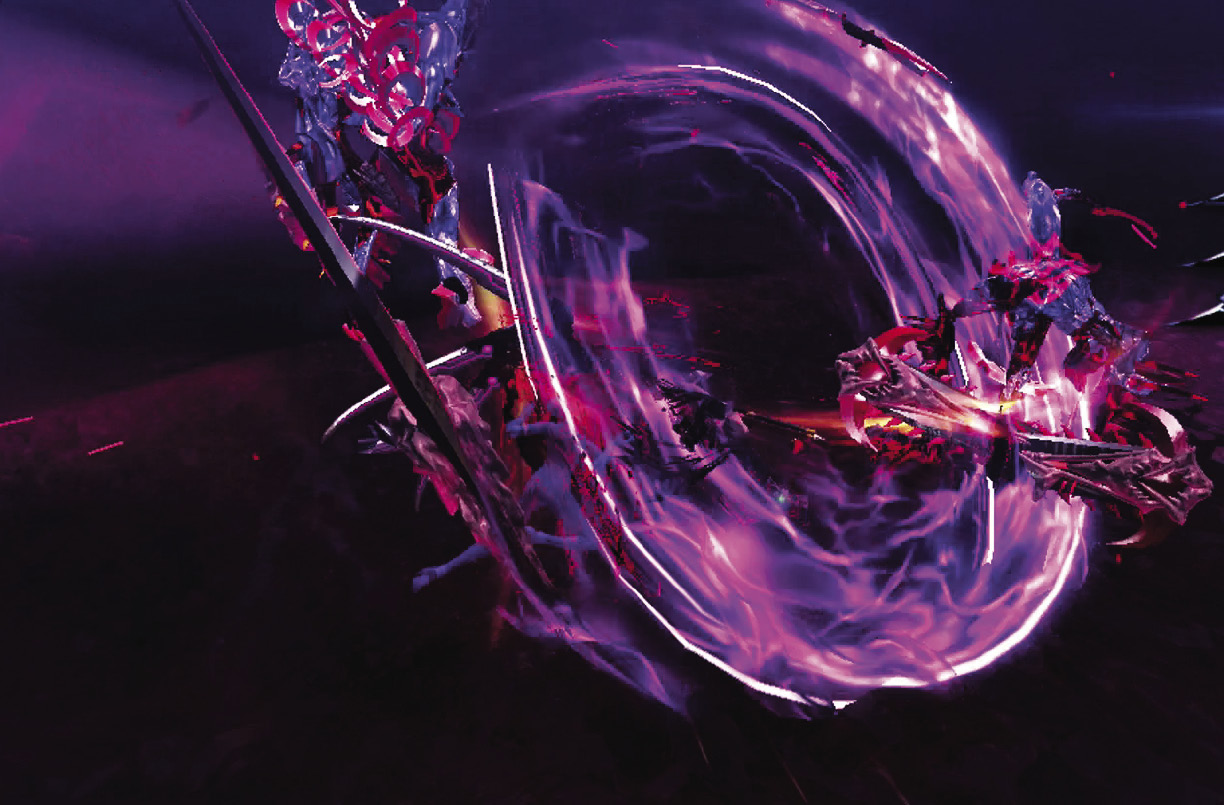
Enemies: Hideous (Twin Blades) x2, Hatred x1
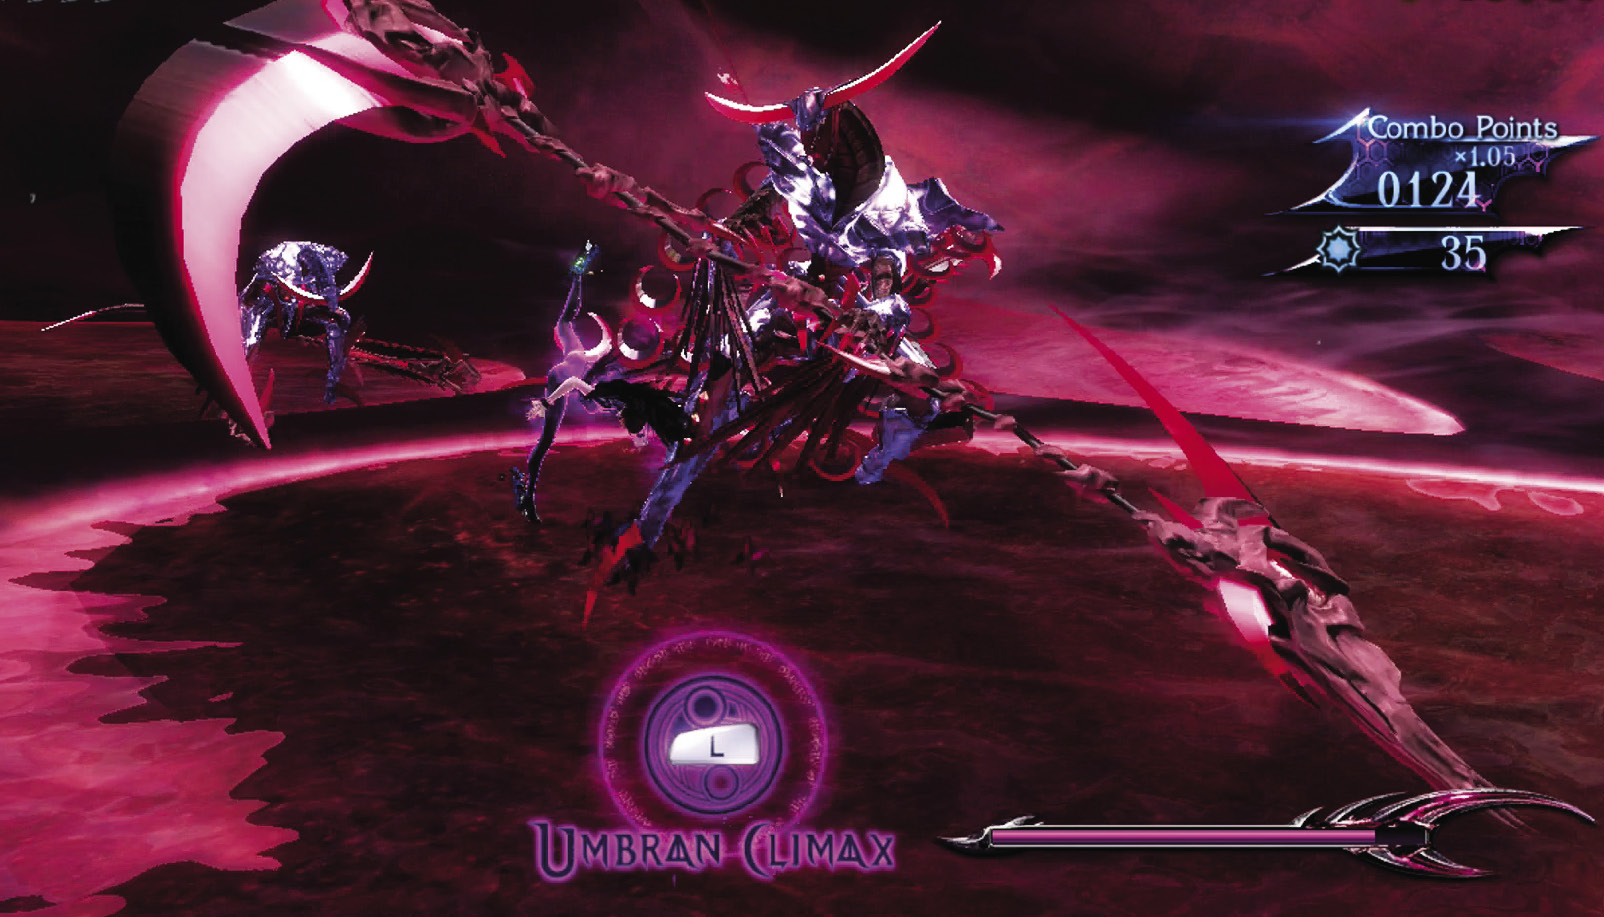
This Verse has you dodging a lot of bladed weapons. Stay out of the crowd until you can dodge a stray swing, then move in and hit multiple enemies at once.
∞ Climax
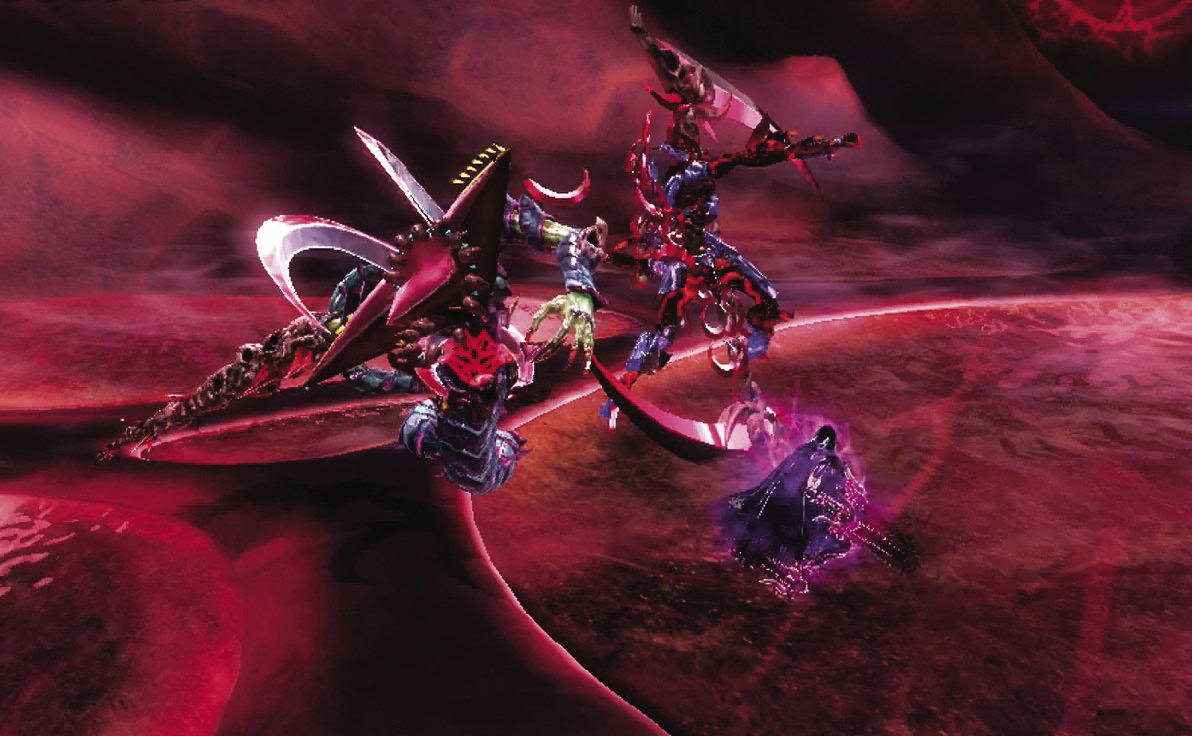
- Enemies: Hideous (Twin Blades) x1, Hideous (Gun) x1, Hatred x1, Resentment x1
You have to deal with a long-range Hideous in this Verse. Look at the ground for a red line inching toward you, and dodge when you see it. Deal with the Hideouses and Hatred, and a Resentment shows up! Save the magic power you’ve been building up this entire Verse so you can use Umbran Climax when it arrives!

Go for Pure Platinum!
Suggested Weapons: Salamandra (Arms)
The above strategies combined with Salamandra will yield Pure Platinum.
Once you’ve disposed of the enemies, pull back a bit and look up and to the right to see small openings. Run along the wall and through those openings to find an Umbran Crow (9/20). Progress straight ahead to the next Verse.
CH7 V2 | 1st Climax | 2nd Climax | 3rd Climax | ∞ Climax | ||||||||
|---|---|---|---|---|---|---|---|---|---|---|---|---|
| Time | Damage | Combo | Time | Damage | Combo | Time | Damage | Combo | Time | Damage | Combo | |
| PLATINUM | 00:40 | 0 | 5880 | 00:40 | 0 | 5880 | 00:50 | 0 | 5880 | 01:05 | 0 | 17190 |
| GOLD | 00:50 | 300 | 3070 | 00:50 | 600 | 3070 | 01:00 | 1200 | 3070 | 01:15 | 3000 | 7960 |
| SILVER | 01:00 | 600 | 2370 | 01:00 | 1200 | 2370 | 01:10 | 2400 | 2370 | 01:25 | 4500 | 5650 |
| BRONZE | 01:10 | 1200 | 1670 | 01:10 | 2400 | 1670 | 01:20 | 4800 | 1670 | 01:35 | 6000 | 3340 |
| BOSS BONUS | ||||||||||||
Verse 3
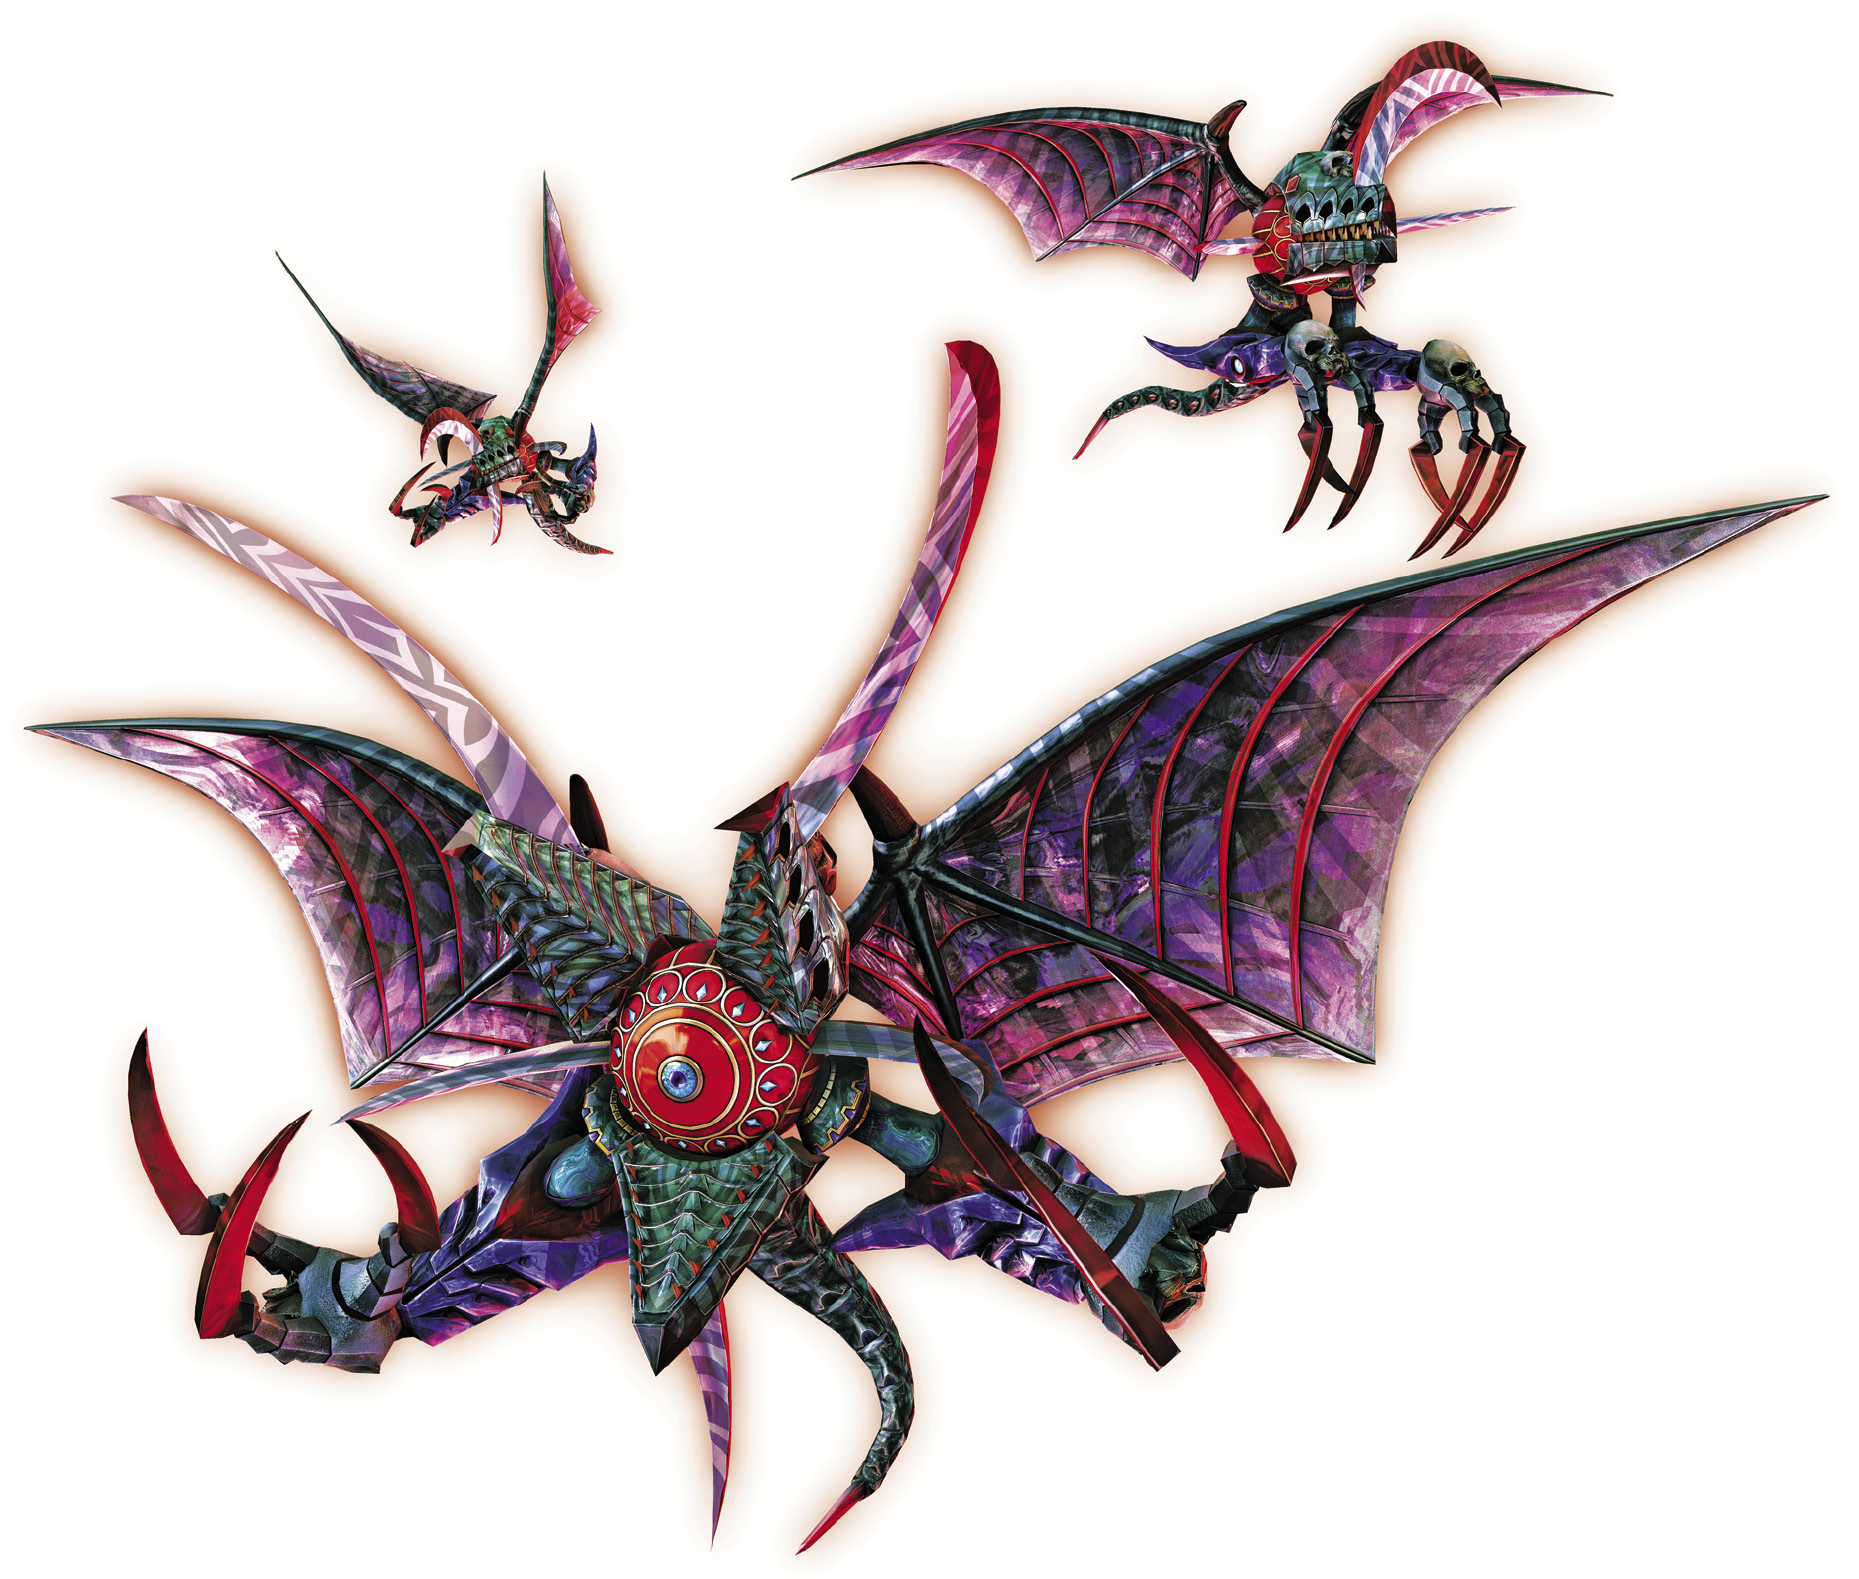
Enemy Spotlight: Fury
The demonic counterpart to Compassion in terms of size and endurance, Furies hover around, diving toward their prey whenever they can. They can also spit balls that put Bayonetta into slow motion if they hit!
1st Climax/2nd Climax/3rd Climax/∞ Climax (Go for Pure Platinum!)
Suggested Pure Platinum Weapons: Salamandra (Arms)
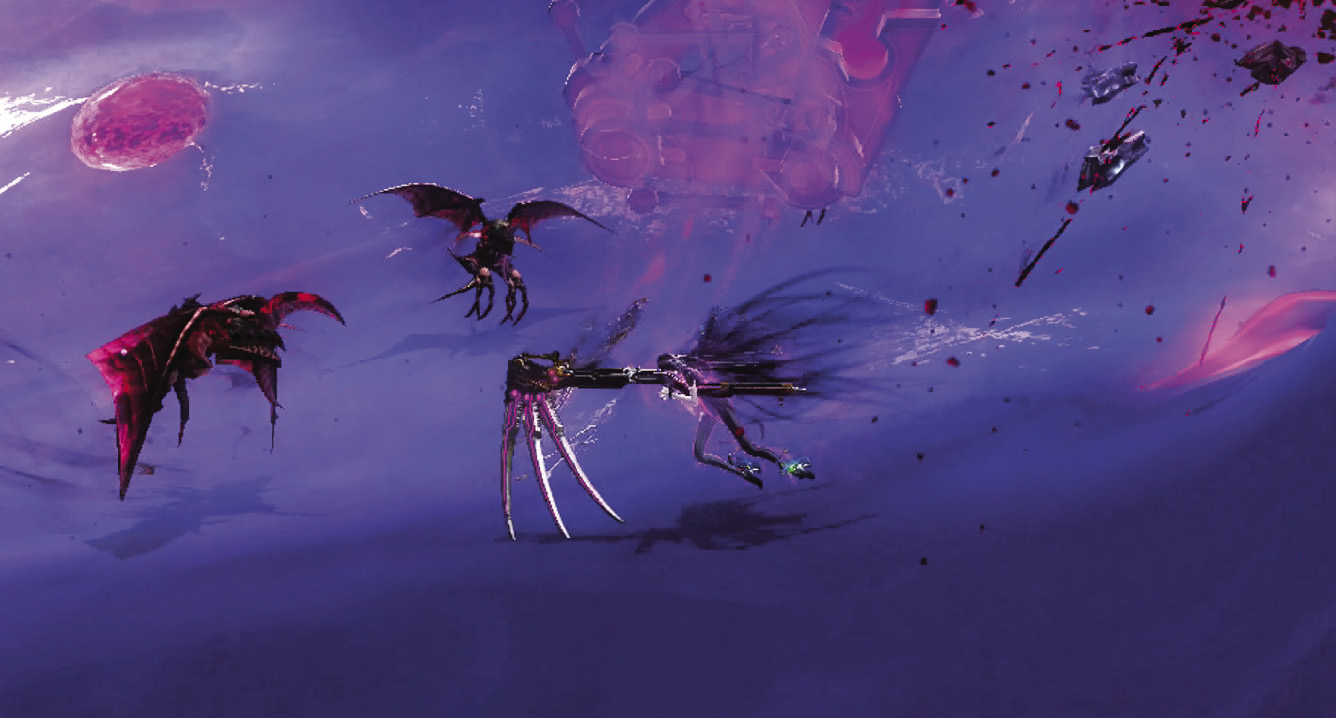
Enemies: Fury x5

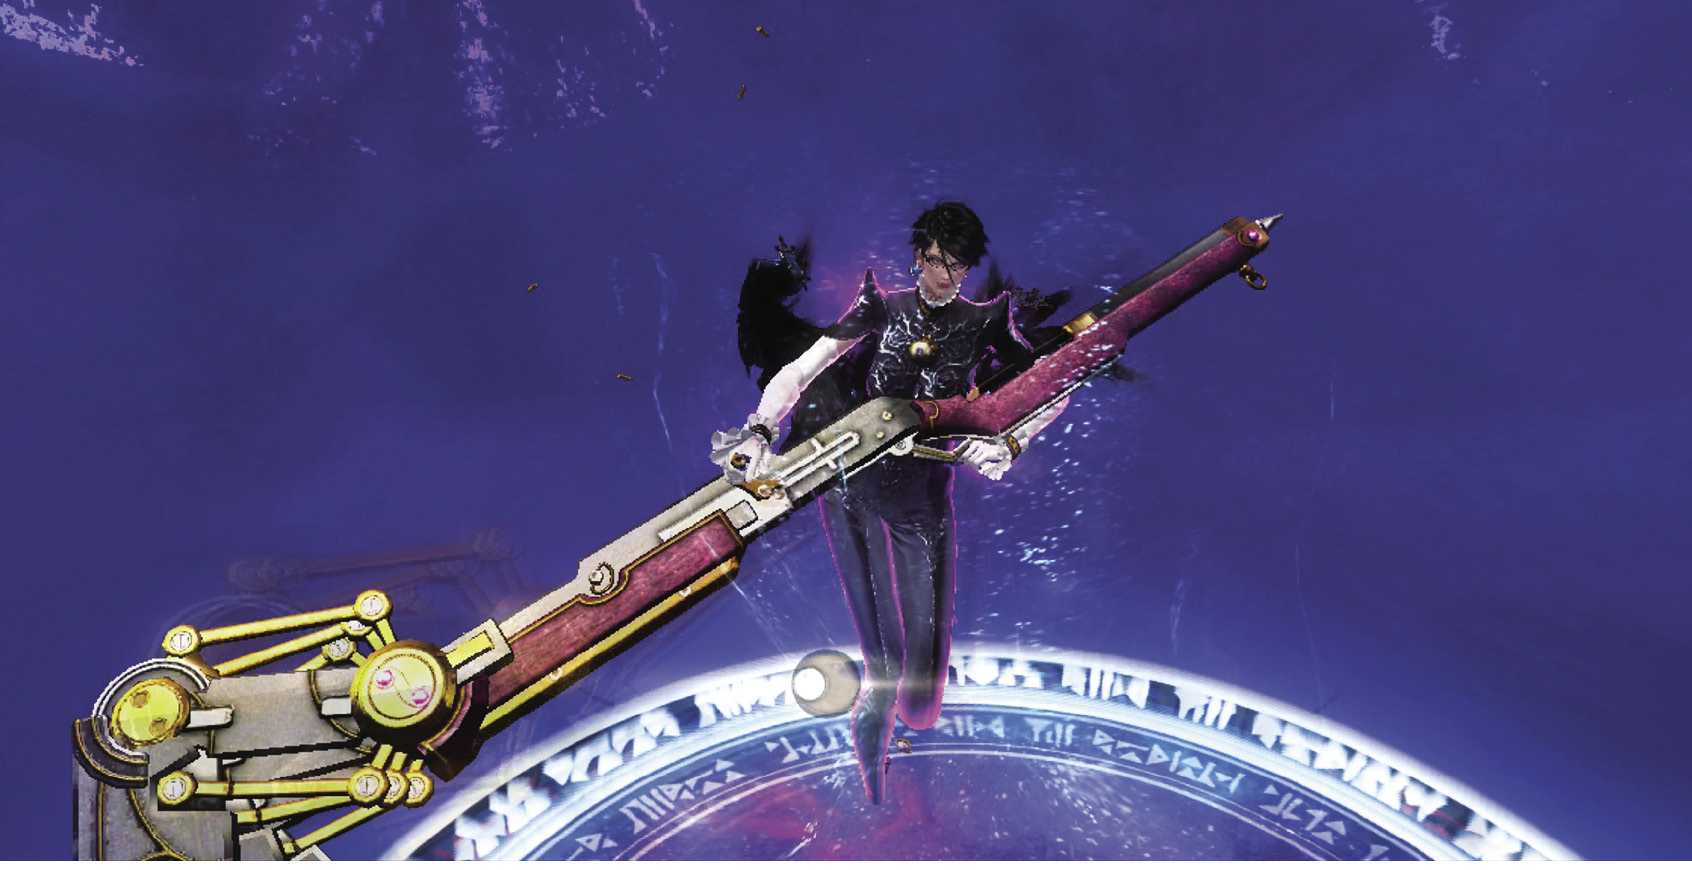
A small flock of Furies hovers around, attempting to make Bayonetta their prey. Rush in, and attack hard and fast, before they realize what hit them.
Turn around, and follow the hidden branch to your left for this Chapter’s Muspelheim.
Verse 4
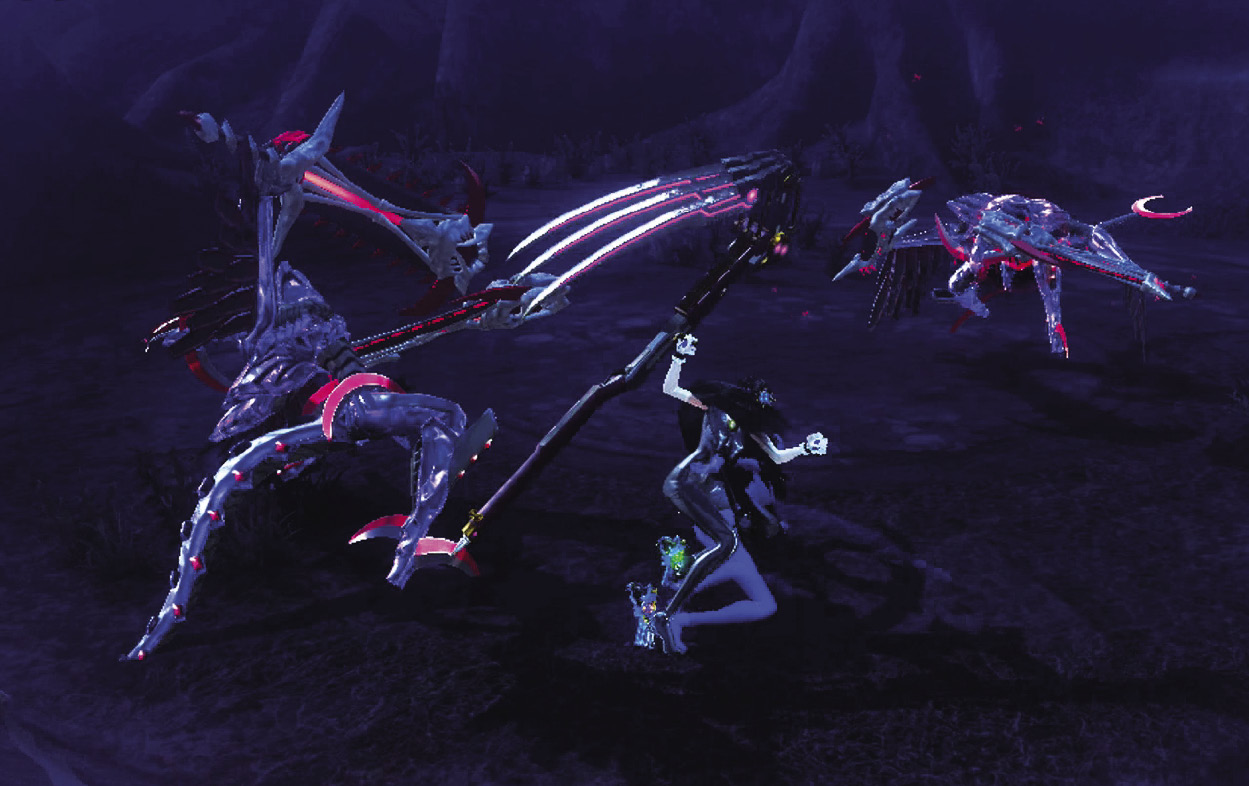
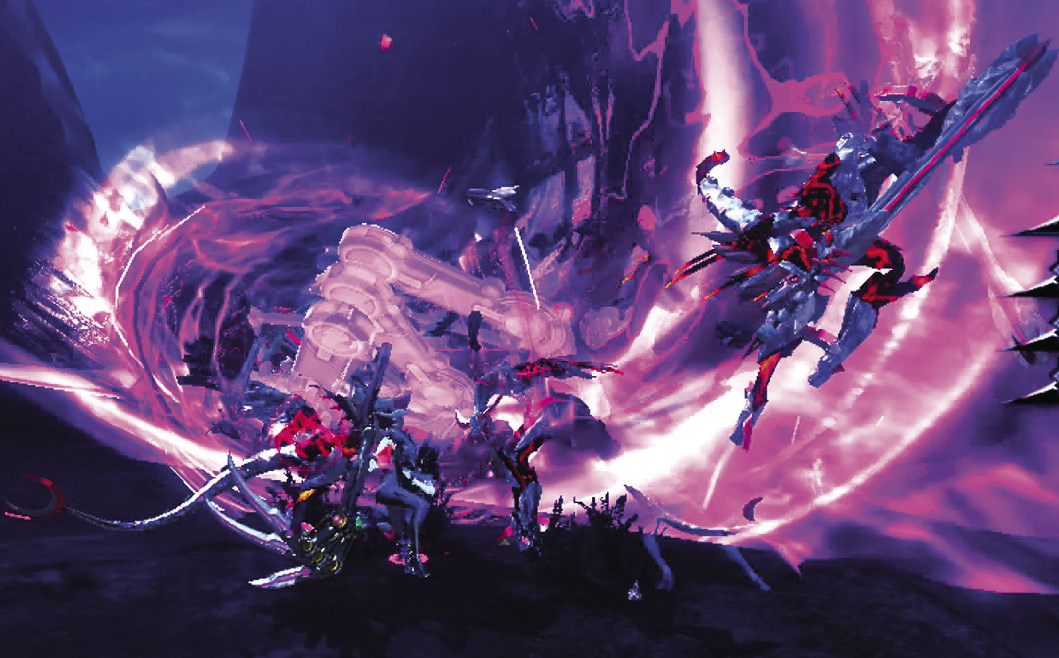
1st Climax/2nd Climax/3rd Climax
Muspelheim Objective: You only deal damage during Witch Time.
Enemies: Hideous (Dual Blades) x3, Hideous (Gun) x1
The rules here are perfect—Witch Time is when you want to be attacking such enemies anyway. Take out the first two blade-wielders, then go for the gun-wielding Hideous when it appears so he can’t snipe you. It’s okay to use a Torture Attack on one of the Hideouses to save time as well.
∞ Climax
Muspelheim Objective: You only deal damage during Witch Time.
Enemies: Hatred, Hideous (Gun) x2
You have to whittle a Hatred down to almost nothing before his buddies show up, but otherwise, the same strategy applies. Go for multiple enemies if you can!
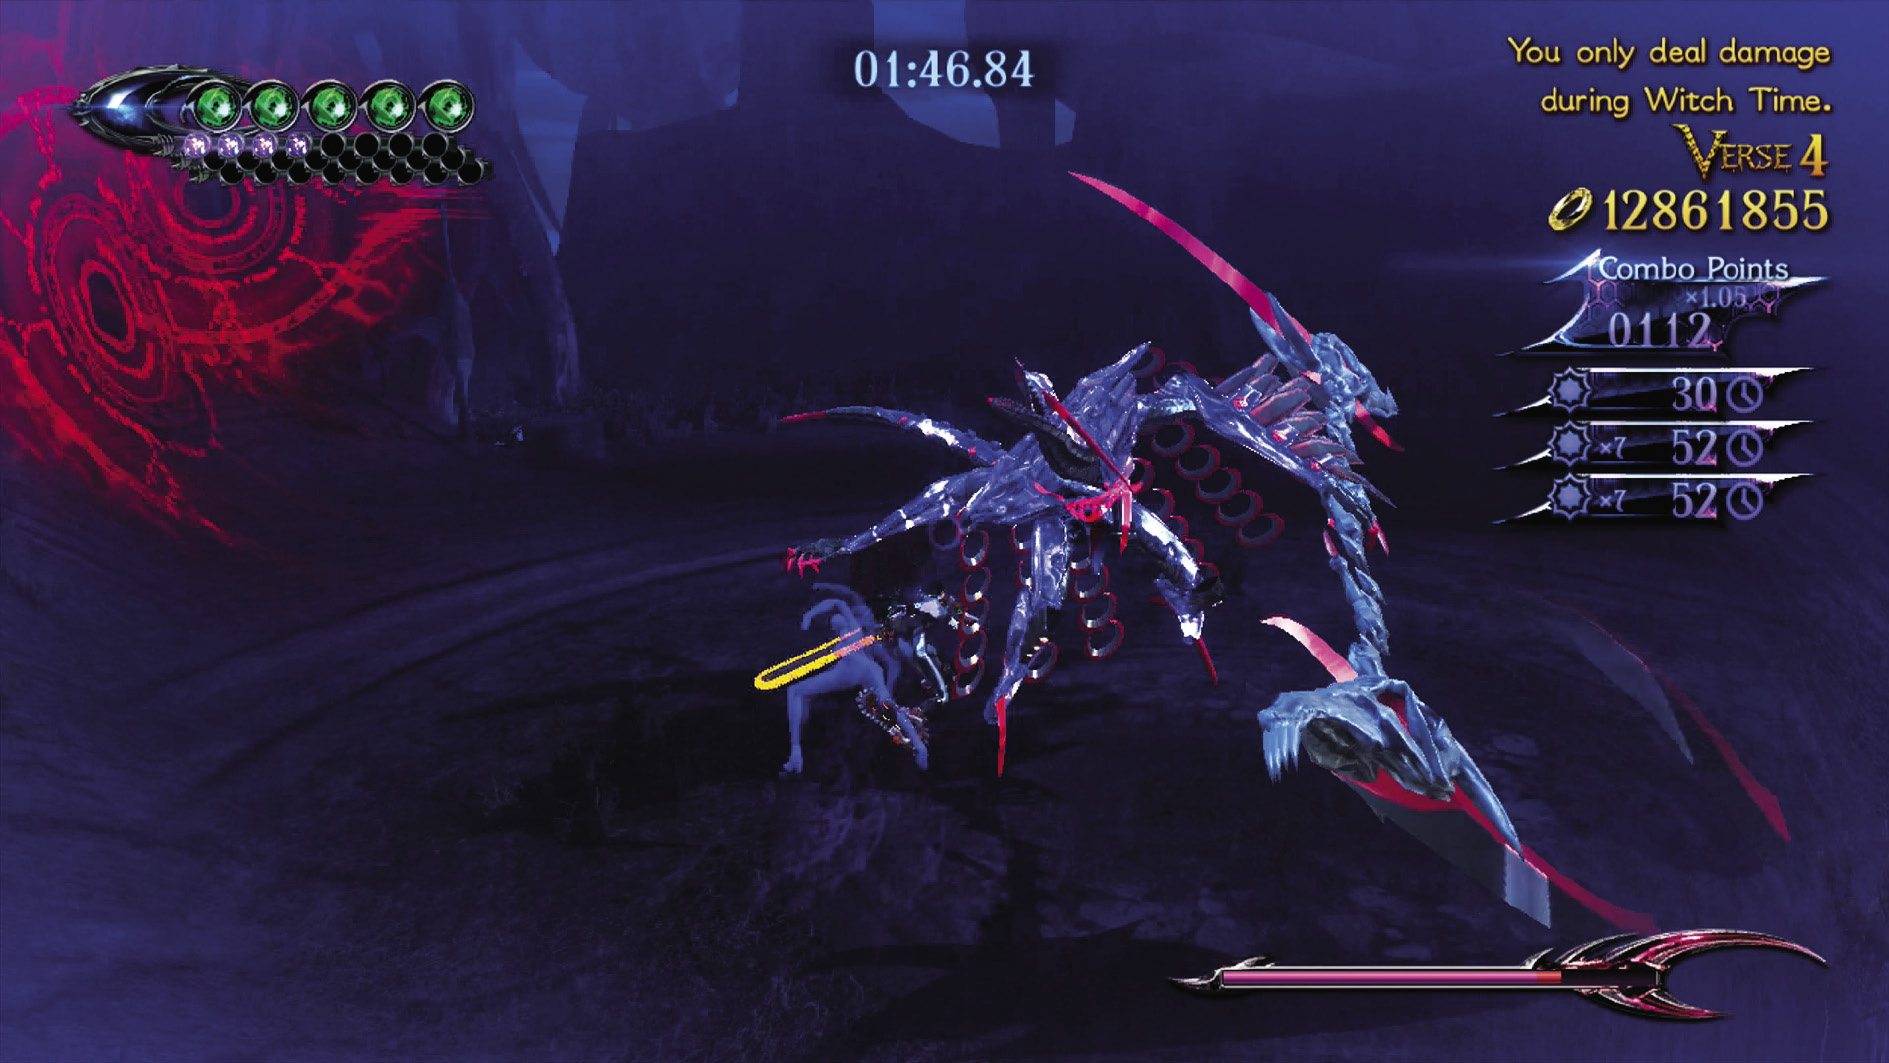
Go for Pure Platinum!
Suggested Weapons: Rakshasa or Salamandra (Arms), Salamandra (Legs)
It’s not a bad idea to combine the fastest melee weapon in the game with the most efficient score generator. Just keep the attacks coming fast and furiously during your Witch Time windows.
Beating this Verse nabs you a Broken Witch Heart (19/40).
The only thing left to do in this Chapter is face the boss. Go straight ahead until you reach the raised platform, then jump on it.
CH7 V3 | 1st Climax | 2nd Climax | 3rd Climax | ∞ Climax | ||||||||
|---|---|---|---|---|---|---|---|---|---|---|---|---|
| Time | Damage | Combo | Time | Damage | Combo | Time | Damage | Combo | Time | Damage | Combo | |
| PLATINUM | 00:25 | 0 | 880 | 00:25 | 0 | 880 | 00:25 | 0 | 880 | 00:25 | 0 | 880 |
| GOLD | 00:35 | 200 | 650 | 00:35 | 400 | 650 | 00:35 | 800 | 650 | 00:35 | 2000 | 650 |
| SILVER | 00:45 | 400 | 590 | 00:45 | 800 | 590 | 00:45 | 1600 | 590 | 00:45 | 4000 | 590 |
| BRONZE | 00:55 | 800 | 540 | 00:55 | 1600 | 540 | 00:55 | 3200 | 540 | 00:55 | 6000 | 540 |
| BOSS BONUS | ||||||||||||
CH7 V4 | 1st Climax | 2nd Climax | 3rd Climax | ∞ Climax | ||||||||
|---|---|---|---|---|---|---|---|---|---|---|---|---|
| Time | Damage | Combo | Time | Damage | Combo | Time | Damage | Combo | Time | Damage | Combo | |
| PLATINUM | 01:30 | 0 | 2240 | 01:30 | 0 | 2240 | 01:30 | 0 | 2240 | 01:50 | 0 | 2240 |
| GOLD | 01:40 | 200 | 1380 | 01:40 | 200 | 1380 | 01:40 | 200 | 1380 | 02:00 | 200 | 1380 |
| SILVER | 01:50 | 400 | 1160 | 01:50 | 400 | 1160 | 01:50 | 400 | 1160 | 02:10 | 400 | 1160 |
| BRONZE | 02:00 | 600 | 940 | 02:00 | 600 | 940 | 02:00 | 600 | 940 | 02:20 | 600 | 940 |
| BOSS BONUS | ||||||||||||
Verse 5
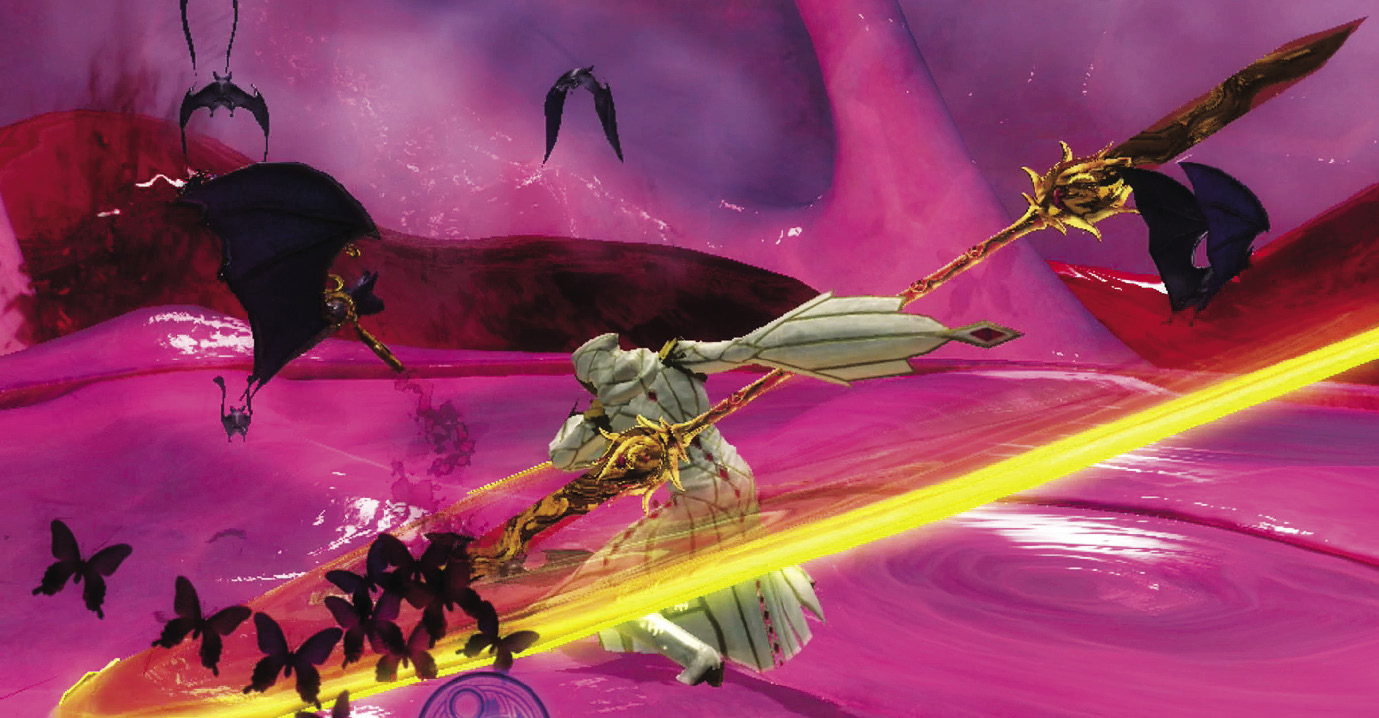
Boss: Masked Lumen
1st Climax/2nd Climax/3rd Climax/∞ Climax (Go for Pure Platinum!)
Suggested Pure Platinum Weapons: Rakshasa (Arms)
Enemies: Masked Lumen (3 Phases)
Phase 1
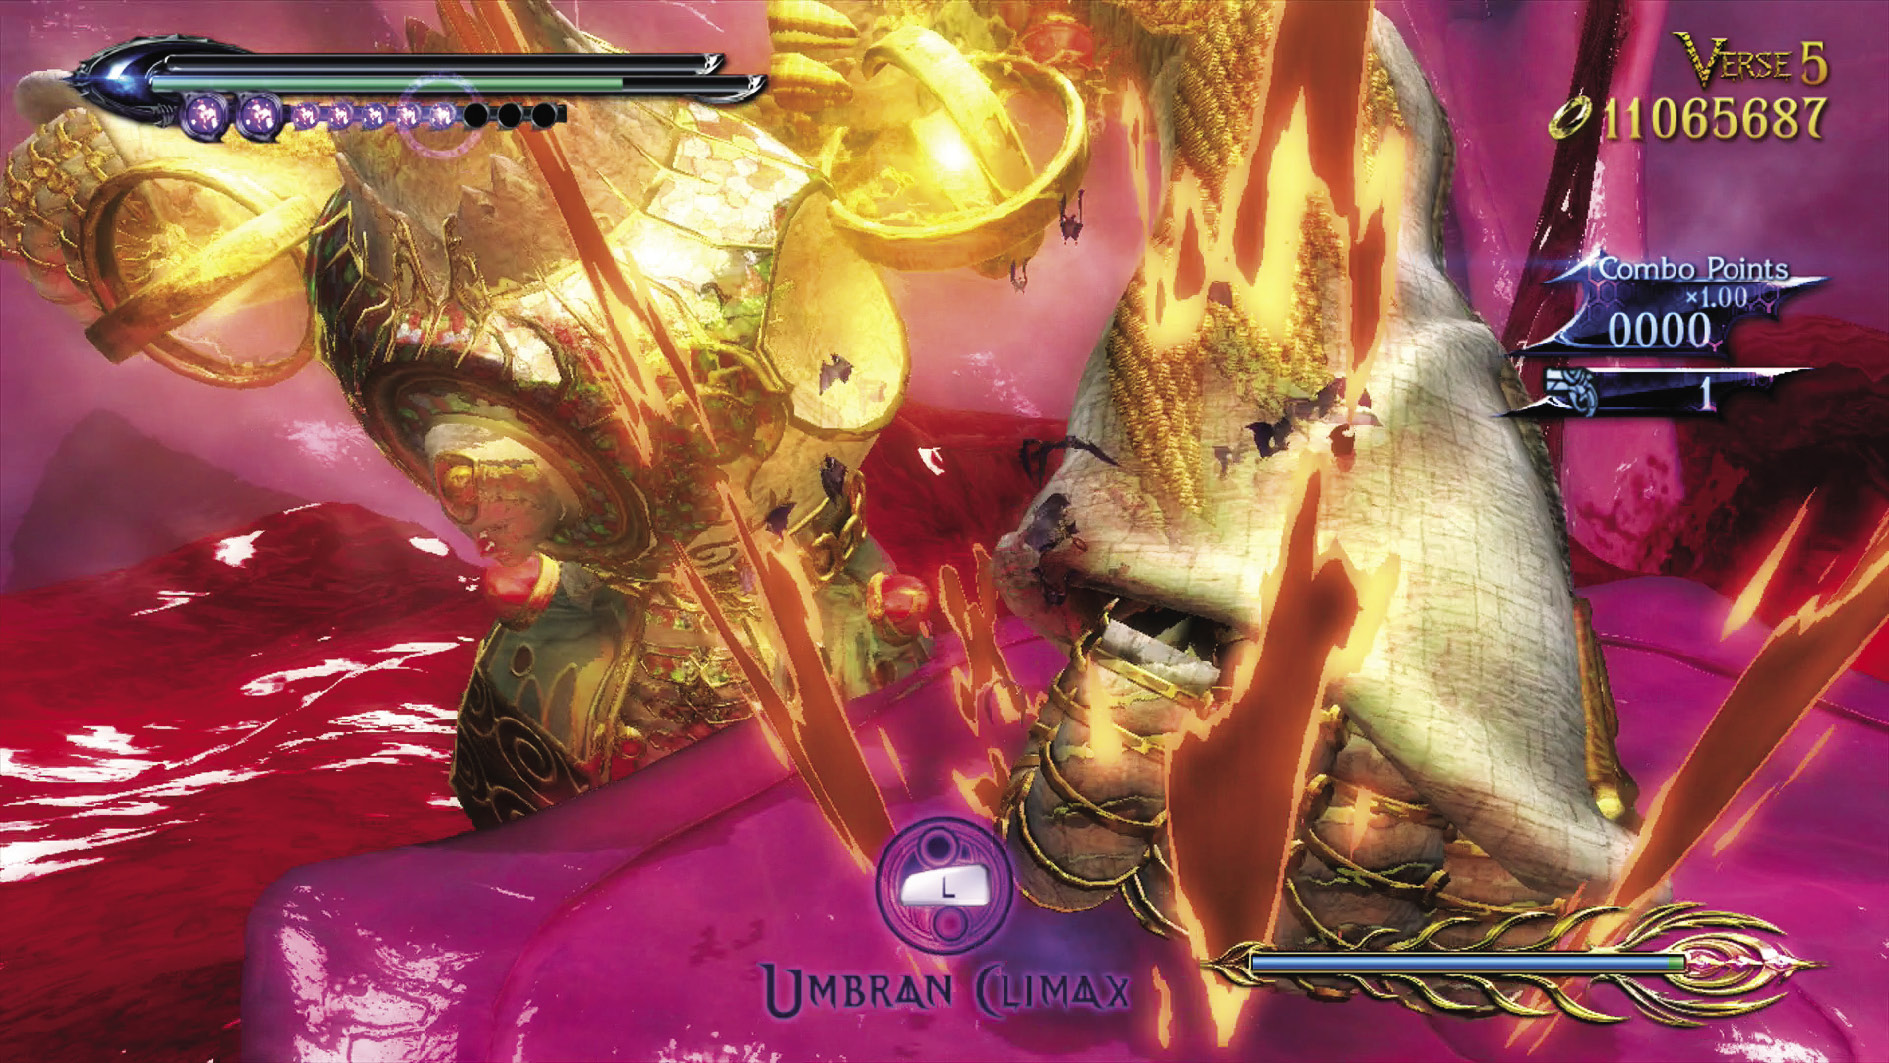
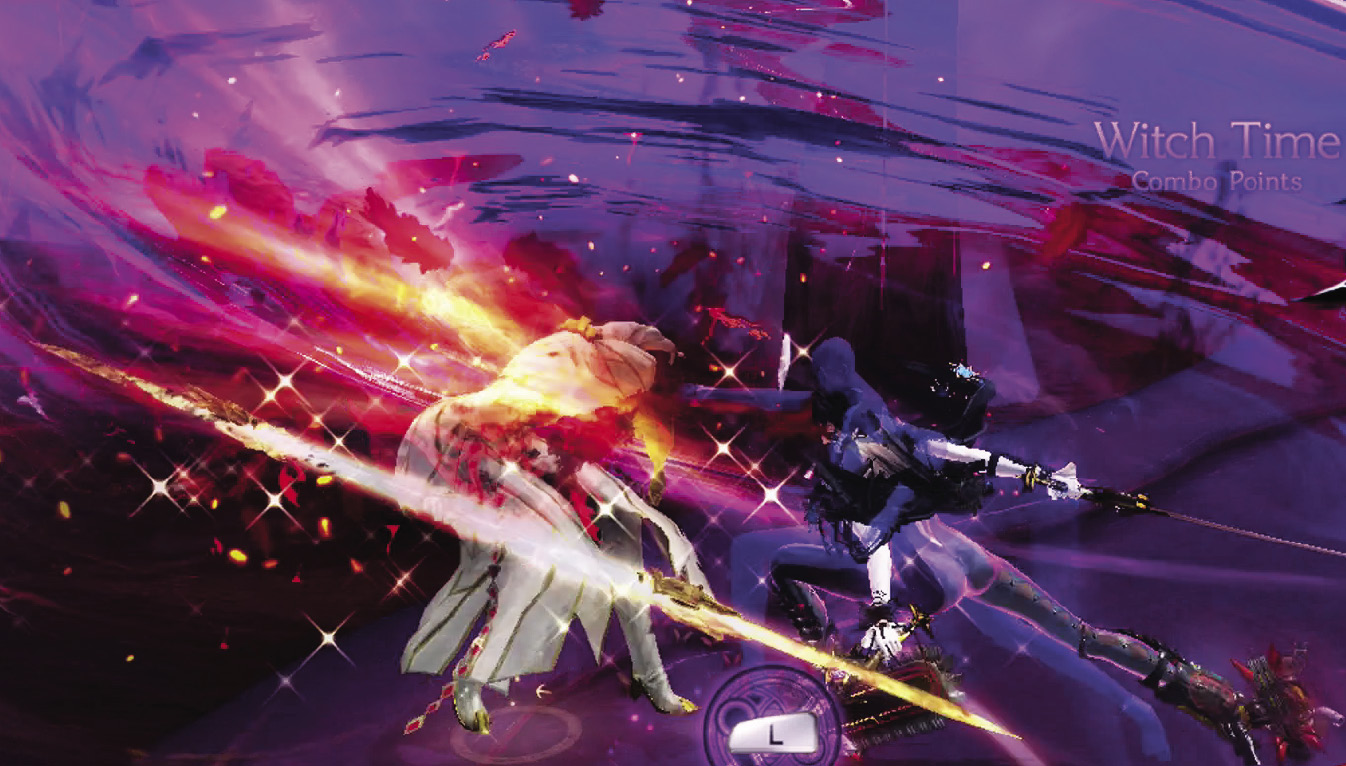
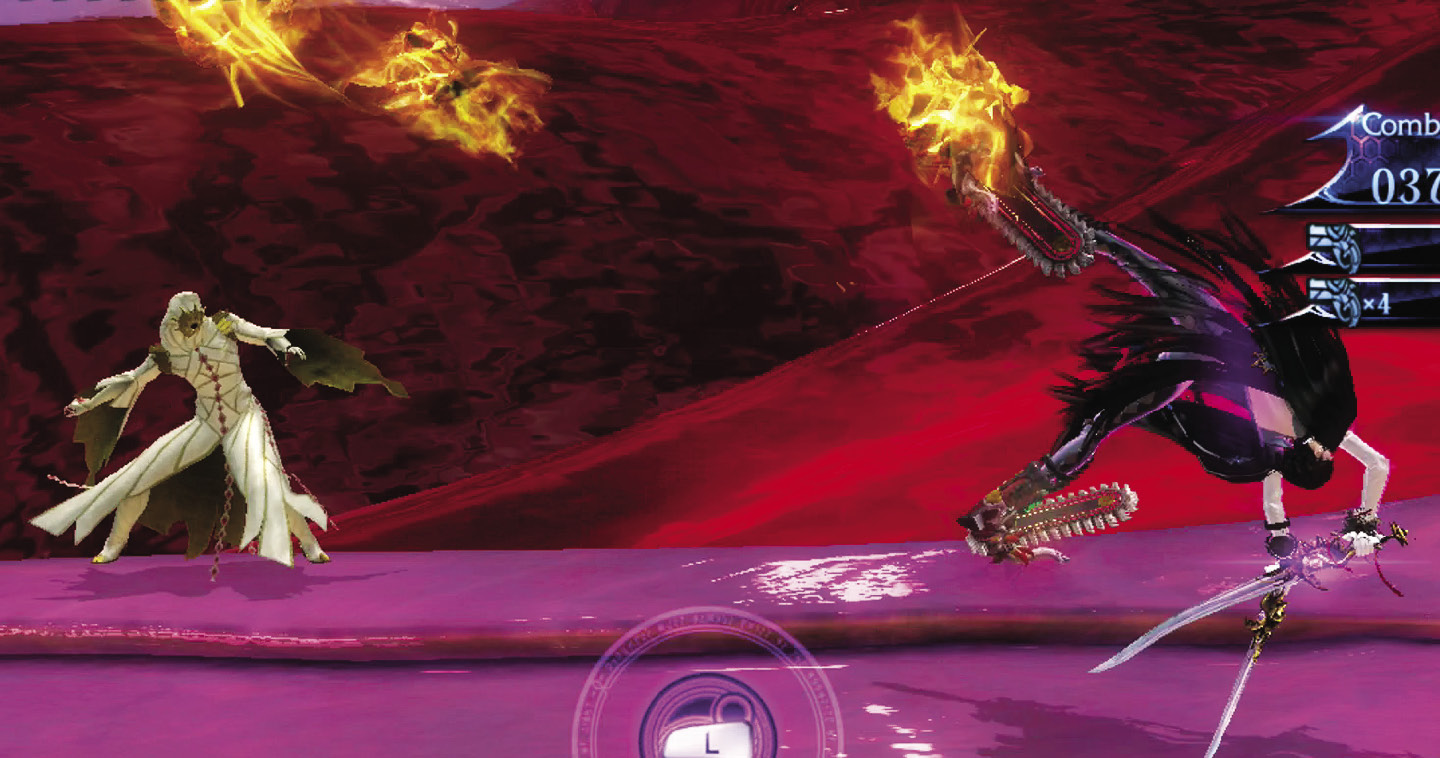
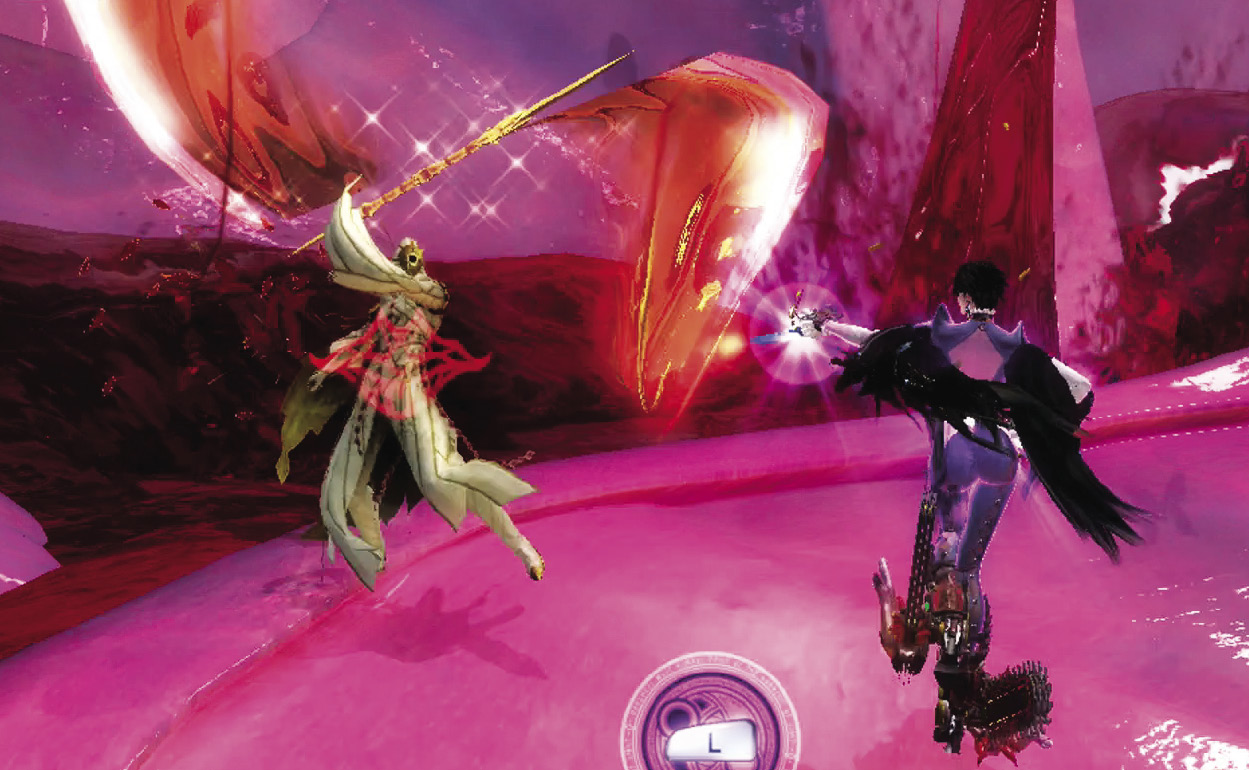
The Masked Lumen is back, and up to his old tricks, with a couple of new ones! He’s still got amazing staff skills, his fireballs, wolf form, and lightning ball. His summoned angels now appear faster than before. He now can fire a beam that traps you in slow motion if it hits you! You’ll have to wiggle the Left Analog Stick to escape.
Fortunately, even though the Lumen has changed, the way to beat him hasn’t. Dodge his attacks, then move in with Rakshasa, aiming to get in no more than four sword slashes with P. Dodge out, and fire your gun to keep the combo going. Keep moving and firing until you can dodge another attack, and repeat.
Phase 2
Phase 2 isn’t much different from Phase 1, but you do have a slightly smaller battlefield to work with. Keep on matching aggression with aggression.
Phase 3
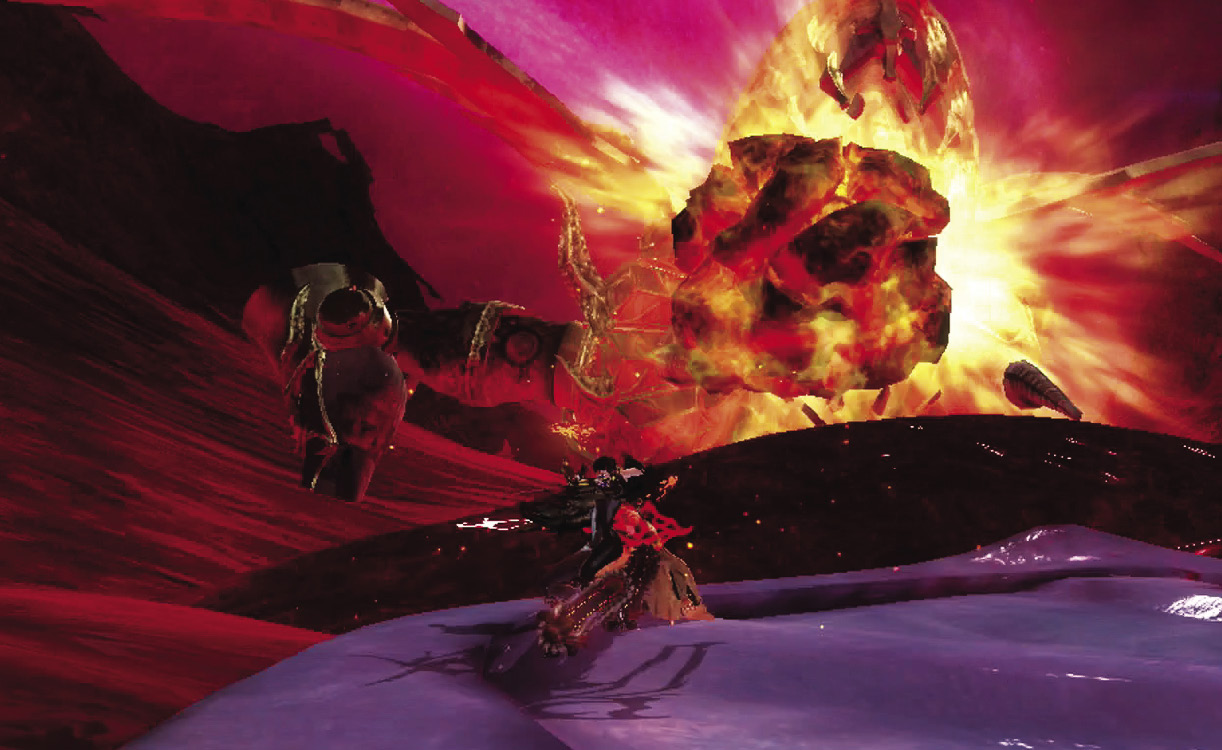
The Lumen changes things up even more here, bringing in his flame geysers, a close range energy field, and the ability to have his huge background angel summon earthquakes and giant flaming rocks! Fortunately, you can interrupt these large angel summons in the moments prior, as you did in Chapter IV.
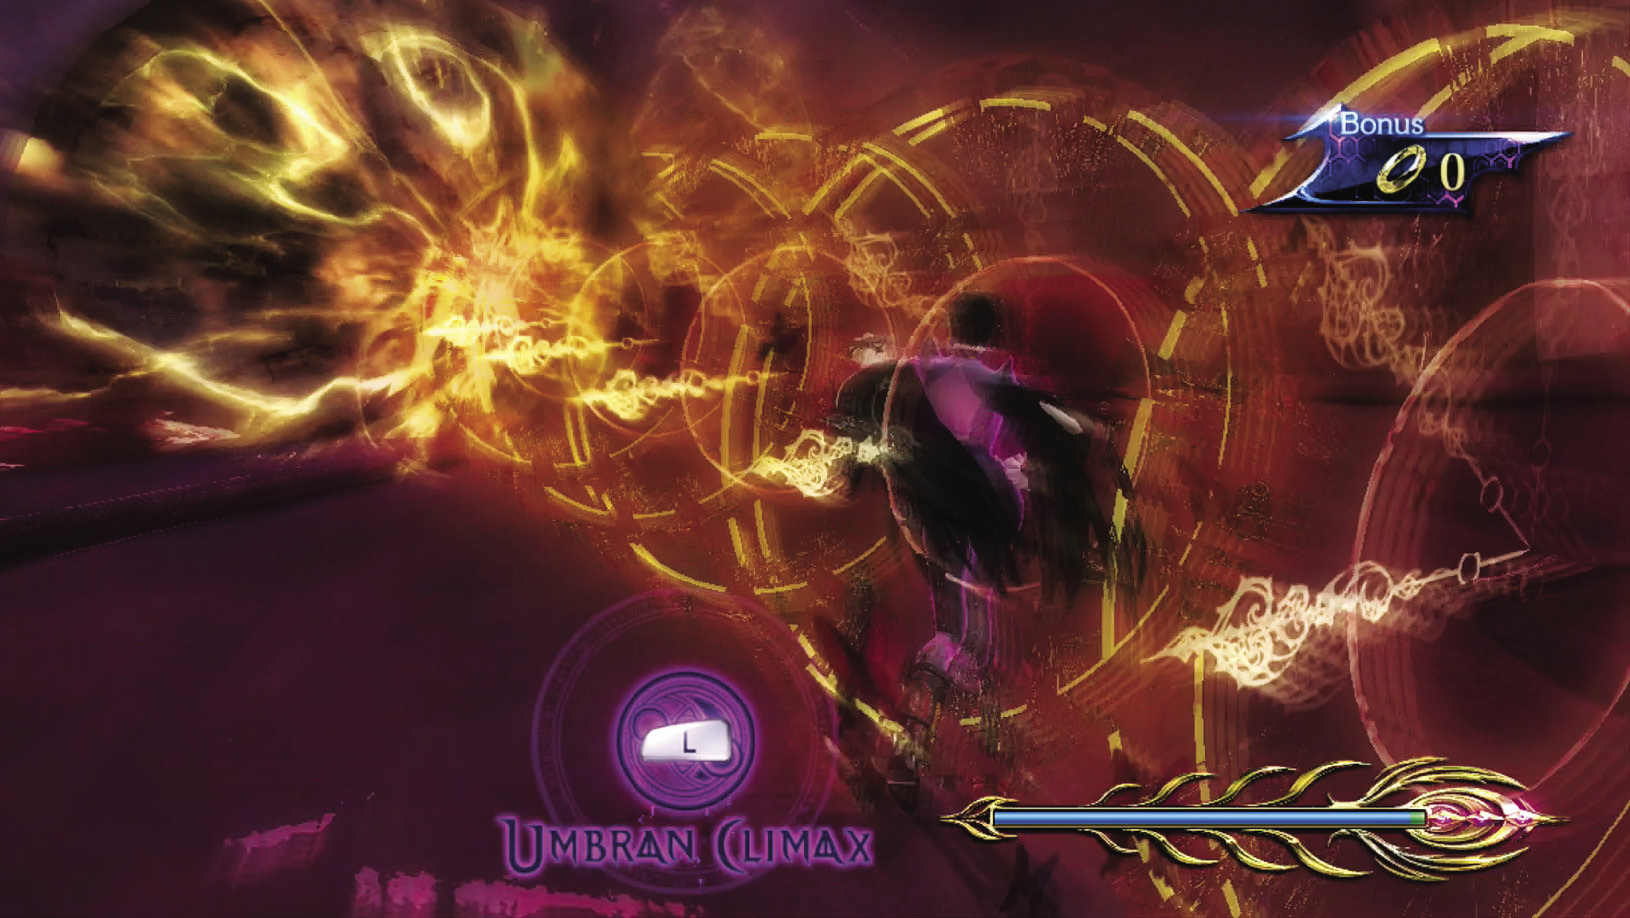
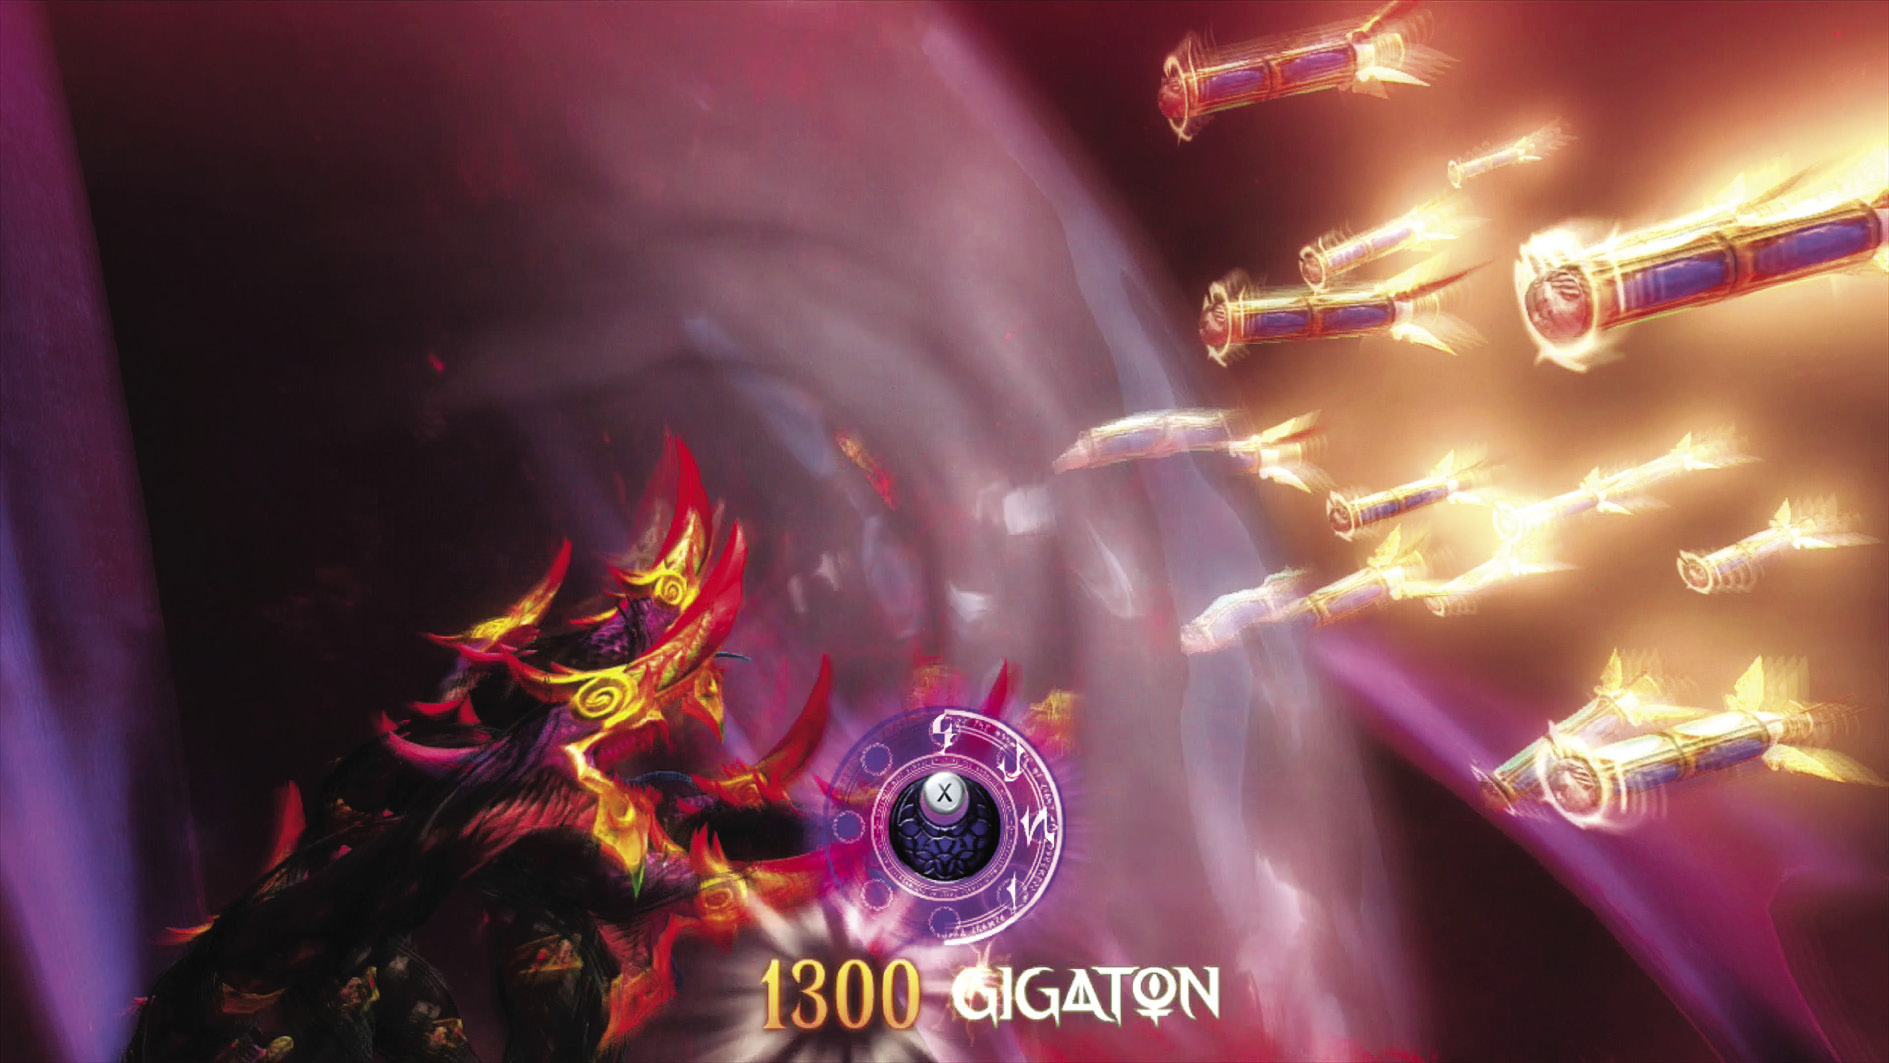
Best the Masked Lumen this time, and he sends over a missile shower and lasers. Use the Quick Time Events to have your demon repel them, ending the Chapter.
post-chapter spoils 6 Verse Cards (Insidious, Hideous, Hideous, Hatred, Fury, Masked Lumen)
CH7 V5 | 1st Climax | 2nd Climax | 3rd Climax | ∞ Climax | ||||||||
|---|---|---|---|---|---|---|---|---|---|---|---|---|
| Time | Damage | Combo | Time | Damage | Combo | Time | Damage | Combo | Time | Damage | Combo | |
| PLATINUM | 03:00 | 0 | 17190 | 03:00 | 0 | 17190 | 03:20 | 0 | 17190 | 03:40 | 0 | 17190 |
| GOLD | 03:30 | 500 | 7960 | 03:30 | 2400 | 7960 | 03:50 | 3600 | 7960 | 04:10 | 4800 | 7960 |
| SILVER | 04:00 | 1000 | 5650 | 04:00 | 3600 | 5650 | 04:20 | 4800 | 5650 | 04:40 | 6000 | 5650 |
| BRONZE | 04:30 | 1500 | 3340 | 04:30 | 4800 | 3340 | 04:50 | 6000 | 3340 | 05:10 | 7200 | 3340 |
| BOSS BONUS | 20000 | 20000 | 20000 | 20000 | ||||||||