
Bayonetta 2 Guide Chapter V: Know Your Journey - Walkthrough
Chapter IV: The Two Meet
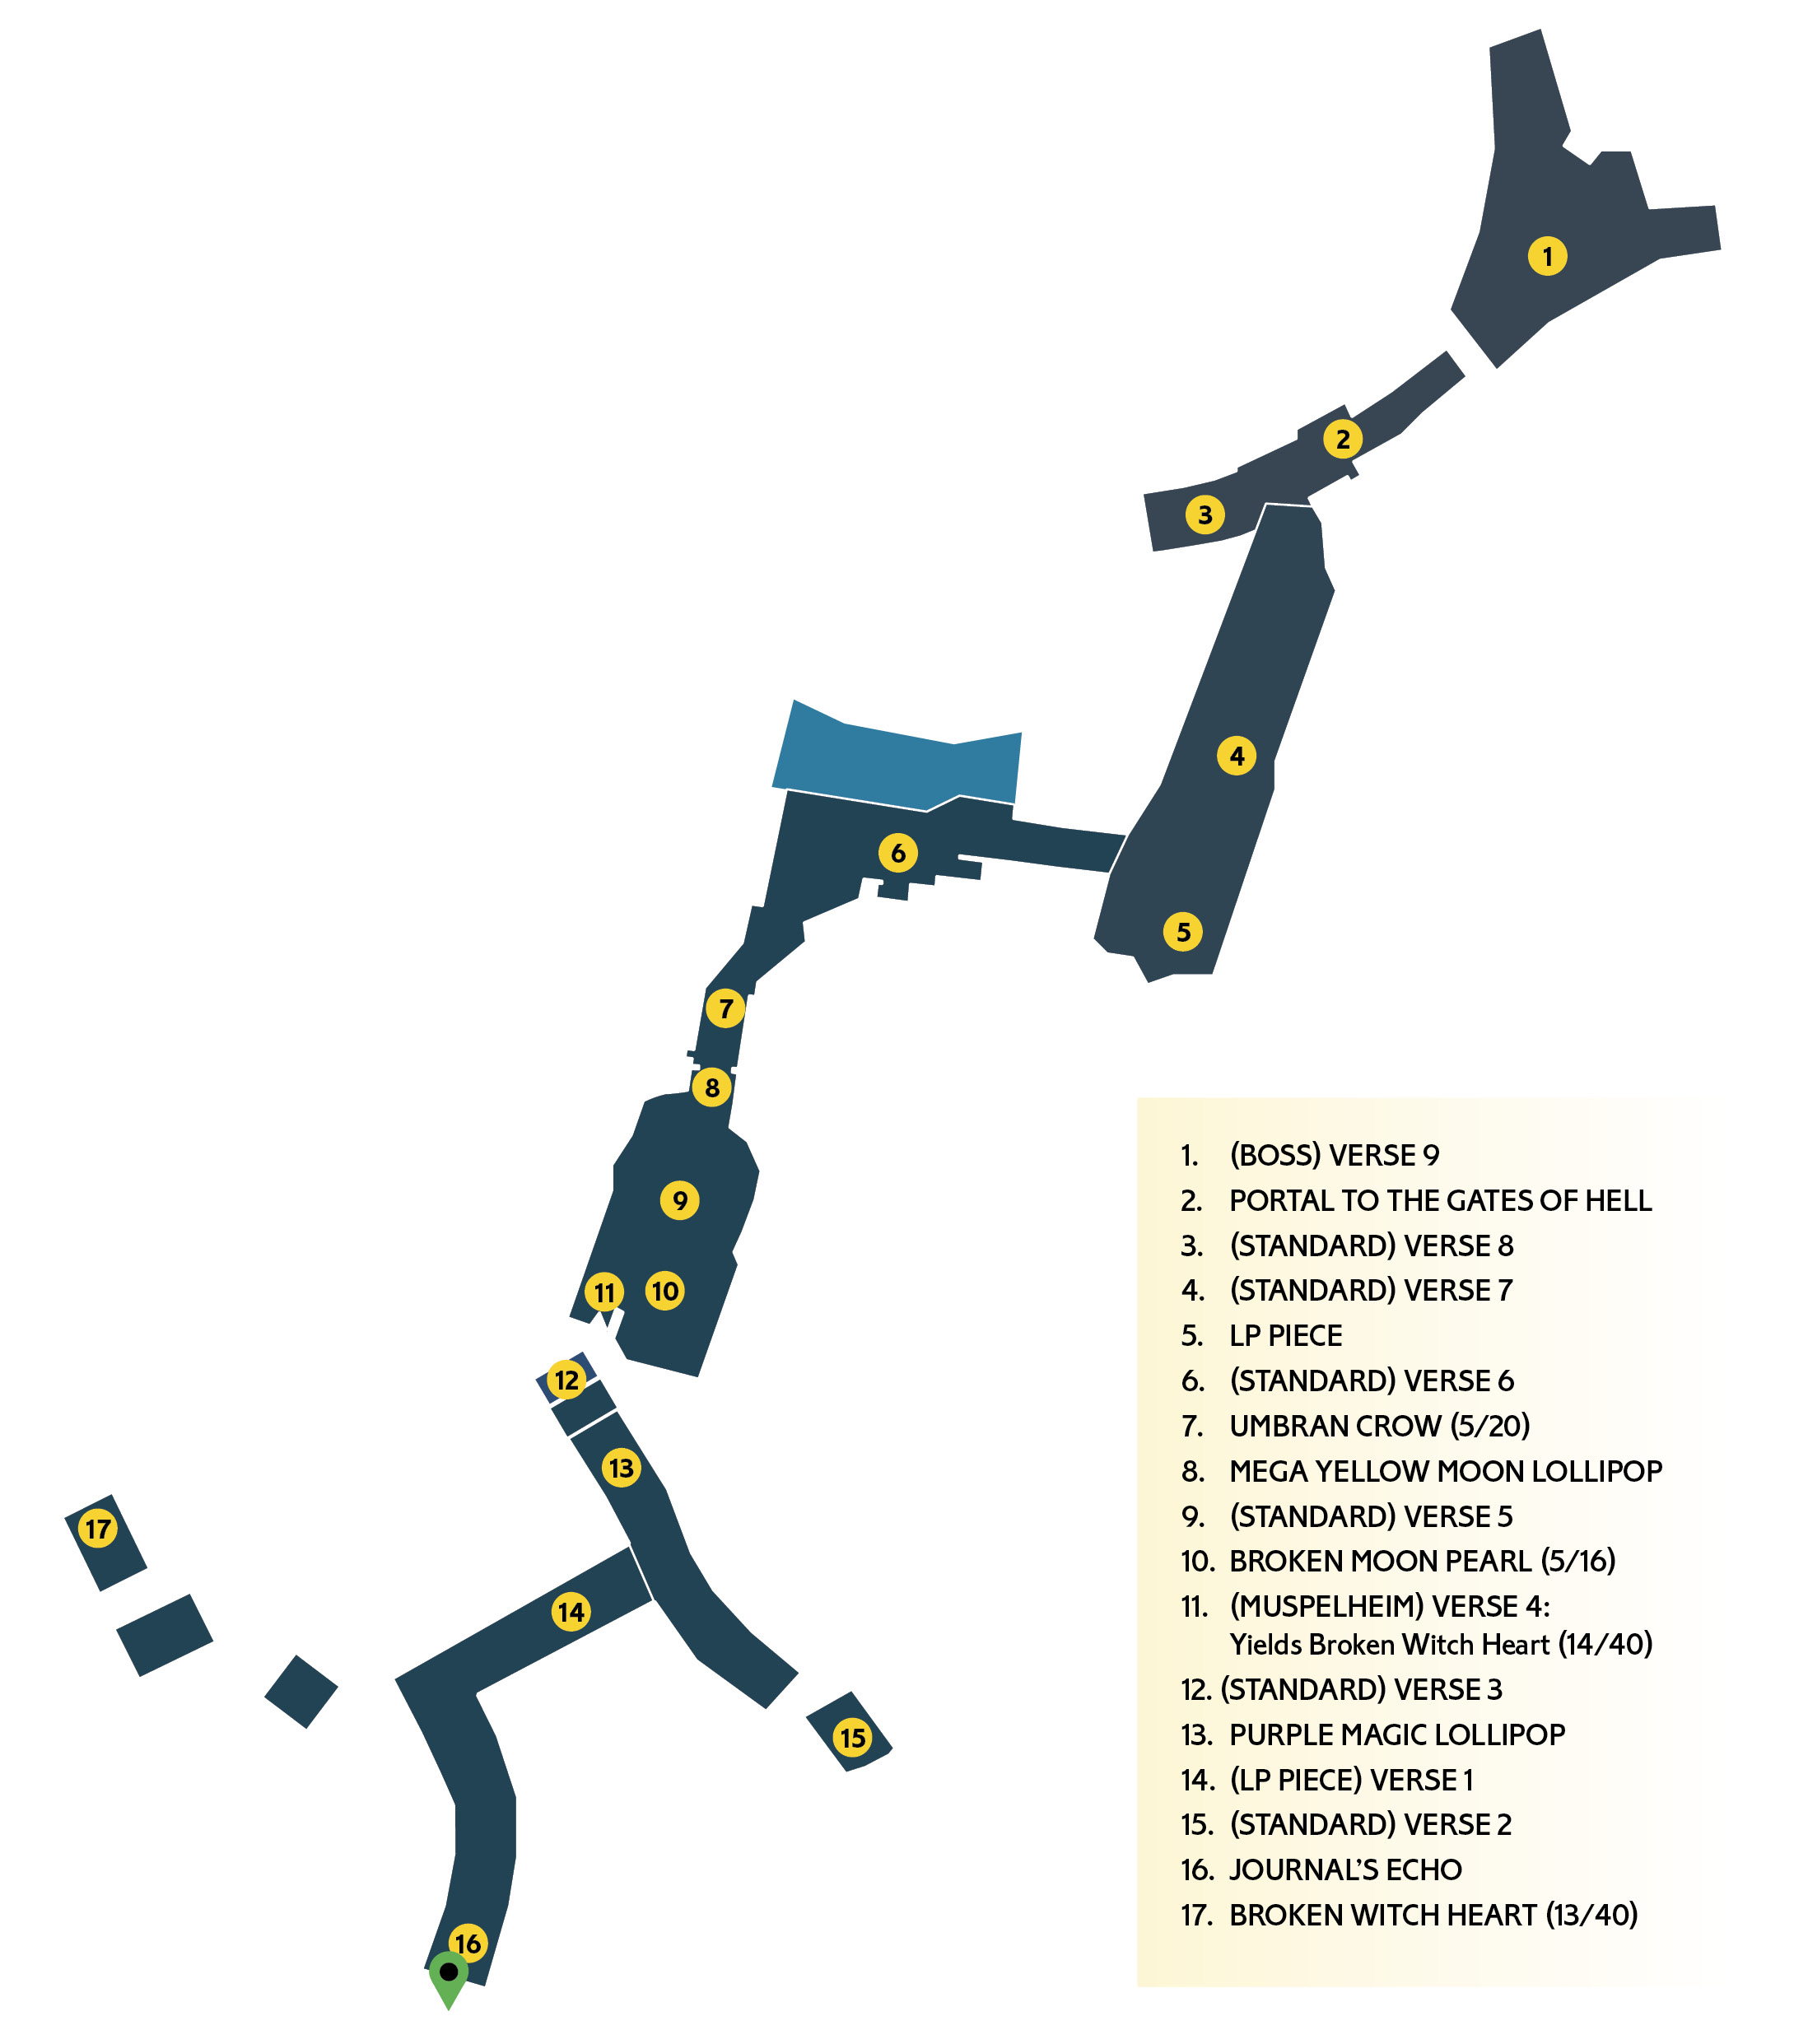
Bayonetta further scours Noatun, but this stage isn’t quite as exploratory as others. Don’t underestimate it, though. This is a short chapter that ends with a big bang.
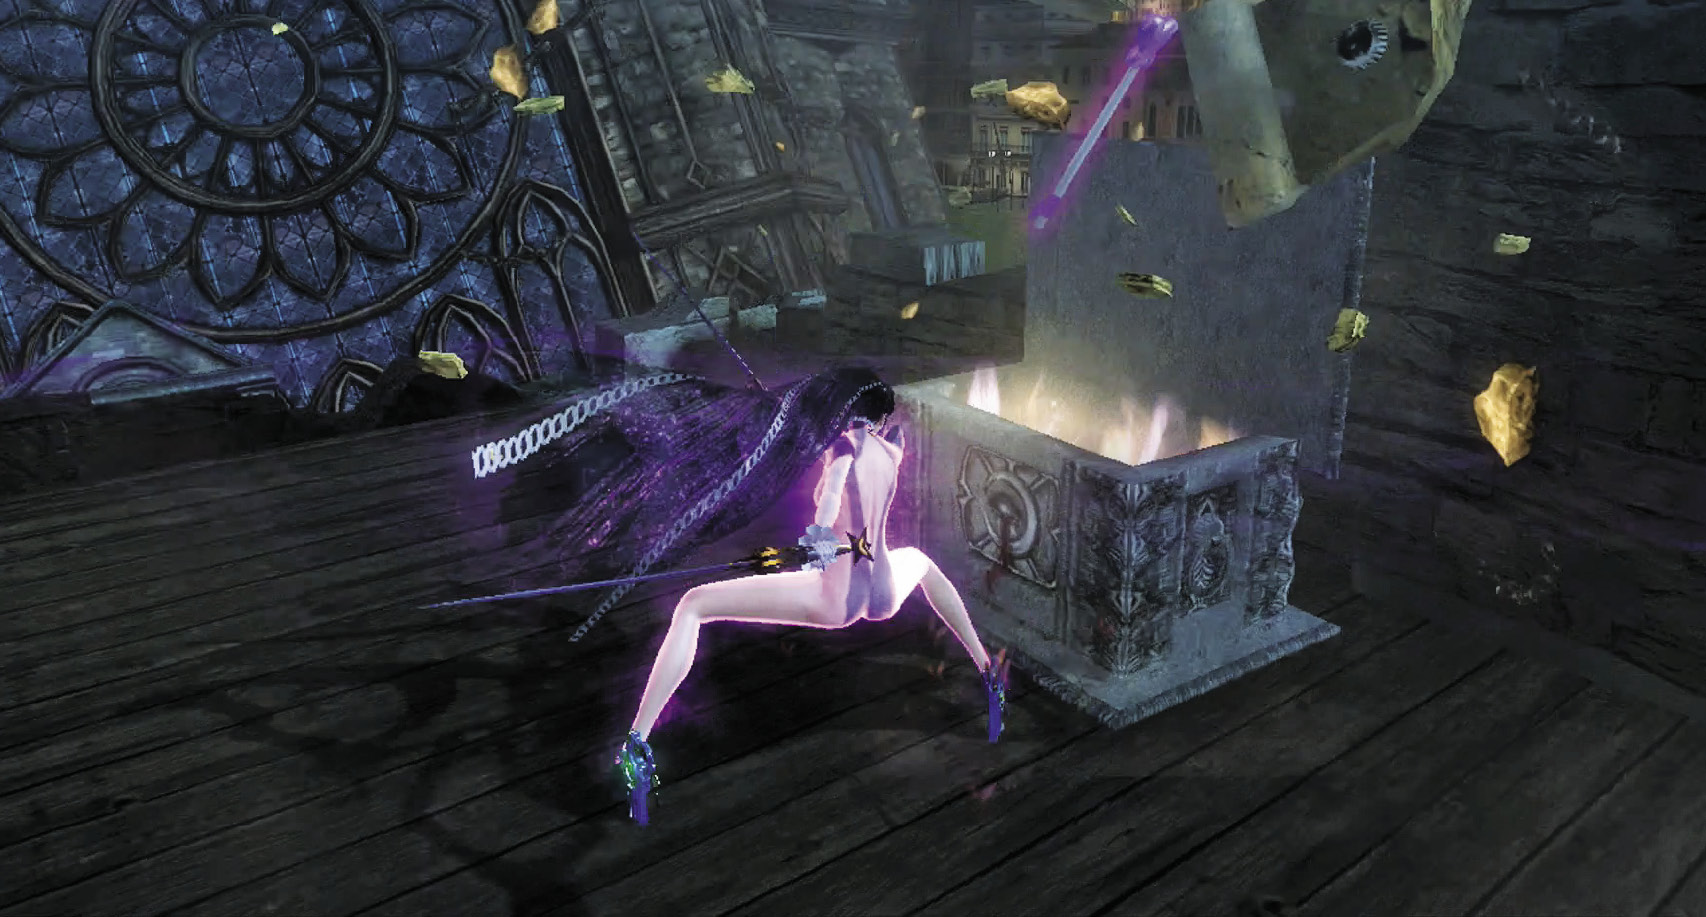
Once the stage starts, don’t move! There’s a hole in the rooftop that you’re standing on, directly in front of you. Peer into it to find the Journal’s Echo Sovereign.
After that, head forward and take the left branch in the path fork across a few sunken houses, which leads to a chest. The chest contains a Broken Witch Heart (13/40).
Once you’ve gotten the Heart, come back to the fork in the path, and follow the path straight and to the right this time to access the first Verse.
Verse 1

Enemy Spotlight: Fidelity
Fidelity telegraphs its attacks clearly enough, but it’s fast! When you see it rearing back its pincers, that’s your cue to dodge or simply move out of the way! Witch Time is easy to achieve off of these enemies as long as you stay alert.
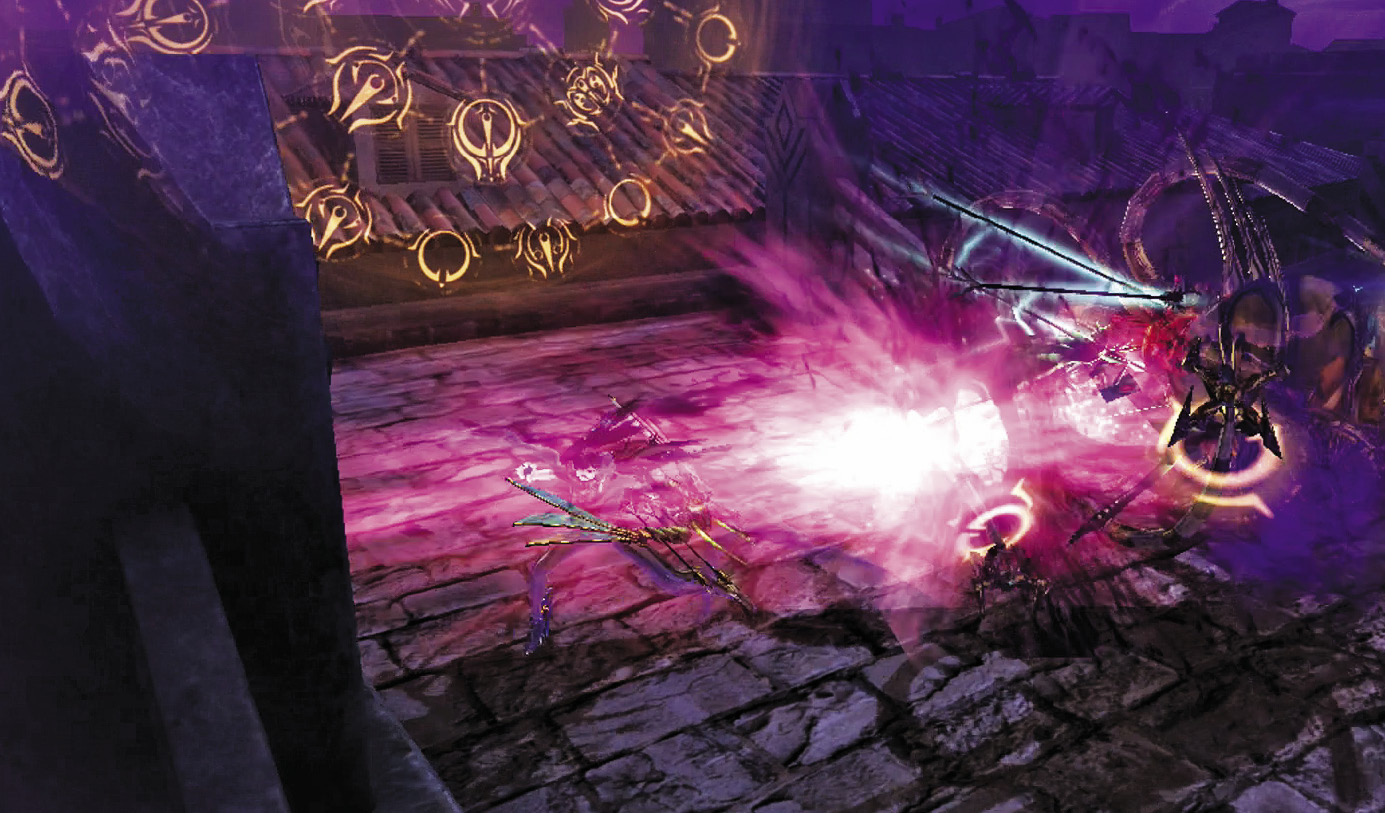
1st Climax/2nd Climax/3rd Climax/ ∞ Climax (Go for Pure Platinum!)

Suggested Pure Platinum Weapons: Salamandra (Arms, Legs)
Enemies: Fidelity x1; ∞ Climax: Fidelity x2
It’s easy enough to stay out of Fidelity’s way, but because its attacks are so fast, you should learn to dodge them so that Witch Time can cut their speed down to size. When its pincers rear back, that’s the moment! Be careful, because they sometimes attack with multiple pincer strikes in sequence.
On Non-Stop Climax there are two Fidelities to deal with, but the overall strategy is the same.
Go straight, then turn right and make the jumps to the platform all the way at the end for Verse 2.
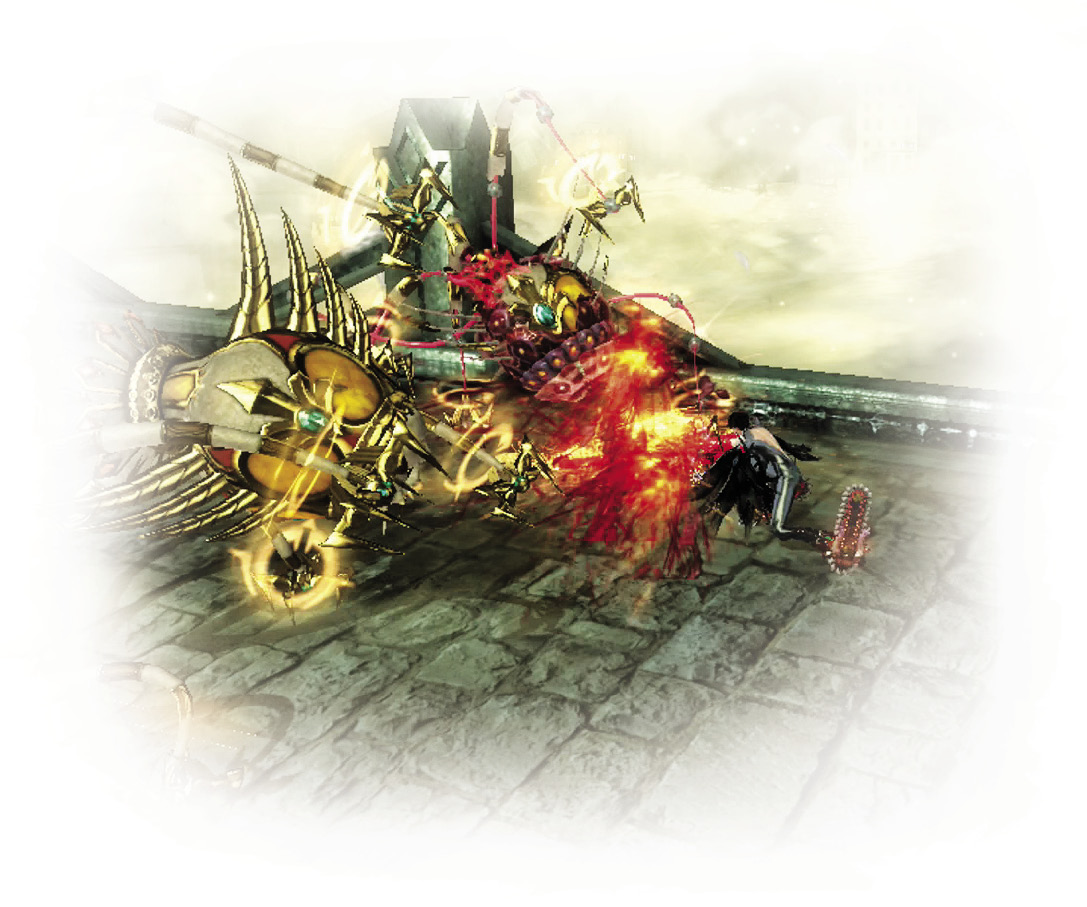
Beating this Verse the first time around nets you the Angelic Hymns Gold LP Der Hölle Rache 1/2.
CH4 V1 | 1st Climax | 2nd Climax | 3rd Climax | ∞ Climax | ||||||||
|---|---|---|---|---|---|---|---|---|---|---|---|---|
| Time | Damage | Combo | Time | Damage | Combo | Time | Damage | Combo | Time | Damage | Combo | |
| PLATINUM | 00:15 | 0 | 390 | 00:15 | 0 | 390 | 00:20 | 0 | 390 | 00:25 | 0 | 1230 |
| GOLD | 00:20 | 200 | 340 | 00:20 | 400 | 340 | 00:25 | 800 | 340 | 00:30 | 2000 | 850 |
| SILVER | 00:25 | 400 | 320 | 00:25 | 800 | 320 | 00:30 | 1600 | 320 | 00:35 | 4000 | 760 |
| BRONZE | 00:30 | 800 | 310 | 00:30 | 1600 | 310 | 00:35 | 3200 | 310 | 00:40 | 6000 | 660 |
| BOSS BONUS | ||||||||||||
Verse 2
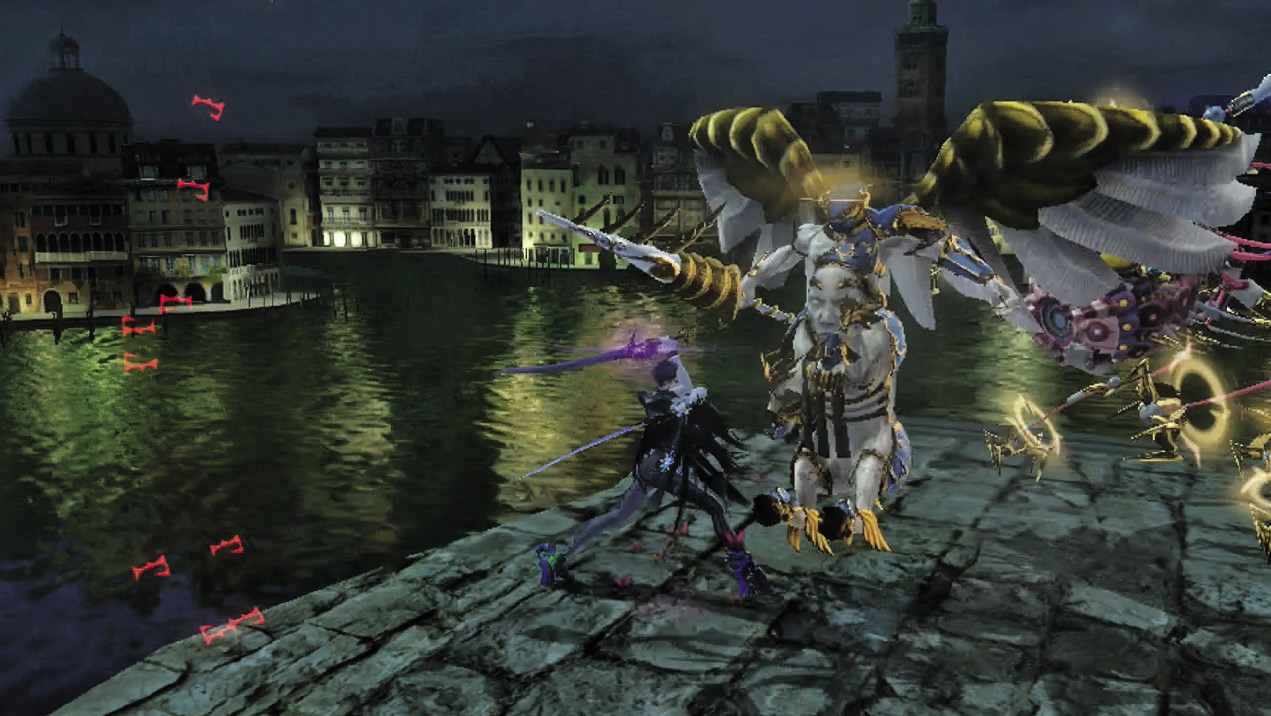
1st Climax/2nd Climax/3rd Climax/∞ Climax (Go for Pure Platinum!)
Suggested Pure Platinum Weapons: Salamandra (Arms)
- Enemies: Fidelity x1, Acceptance (Harp) x1, Acceptance (Spear) x3; ∞ Climax: Fidelity x2, Accolade (Spear) x2, Acceptance (Harp) x1, Acceptance (Spear) x1
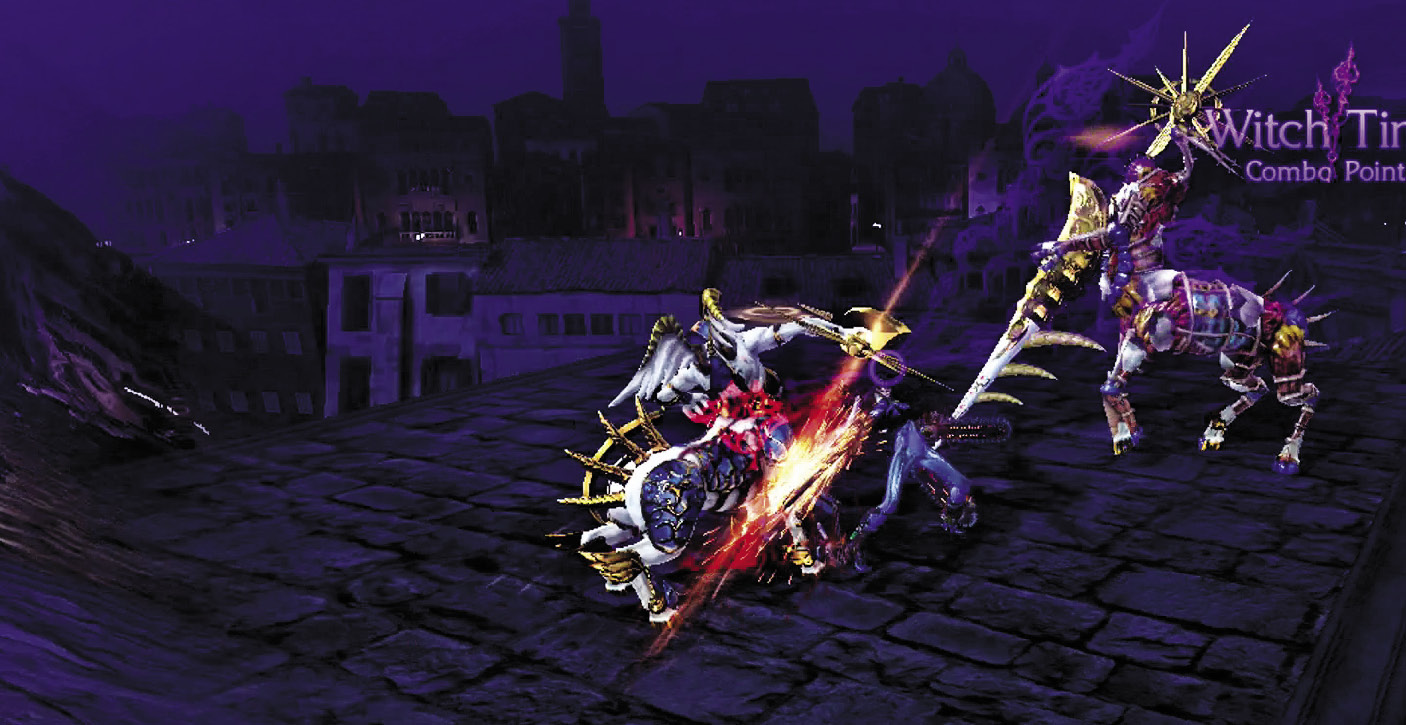
This Verse gives you Fidelity enemies on top of Acceptances you’ve already fought multiple times by now. Dodge the harp-wielding Acceptance’s arrows for ample Witch Time opportunities, but otherwise, you’re stuck dodging melee swipes from the other enemies and capitalizing from there.
On ∞ Climax you simply have more enemies of the same type to deal with, so prepare for a more drawn-out fight.
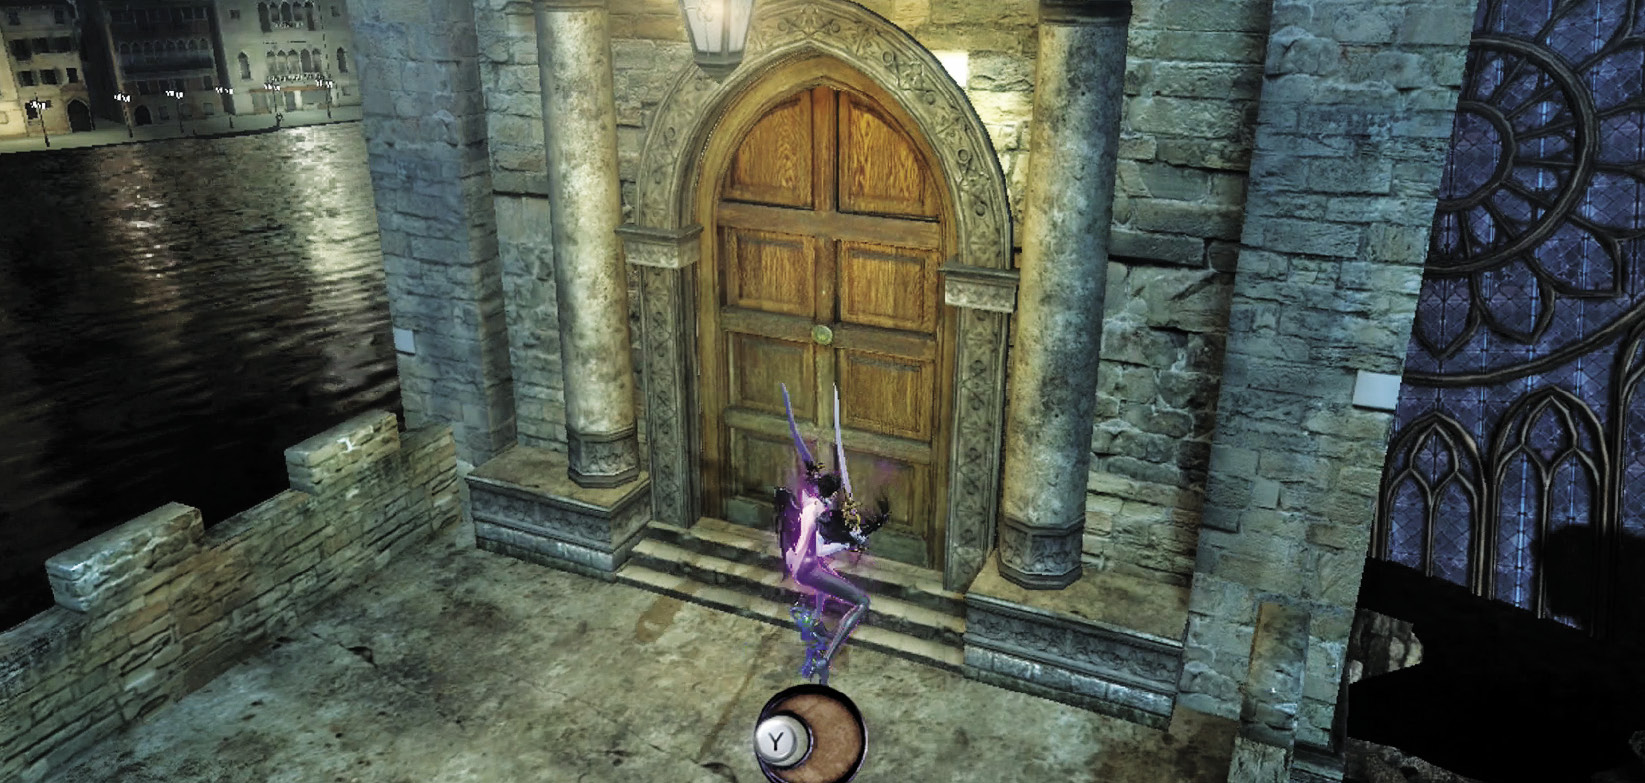
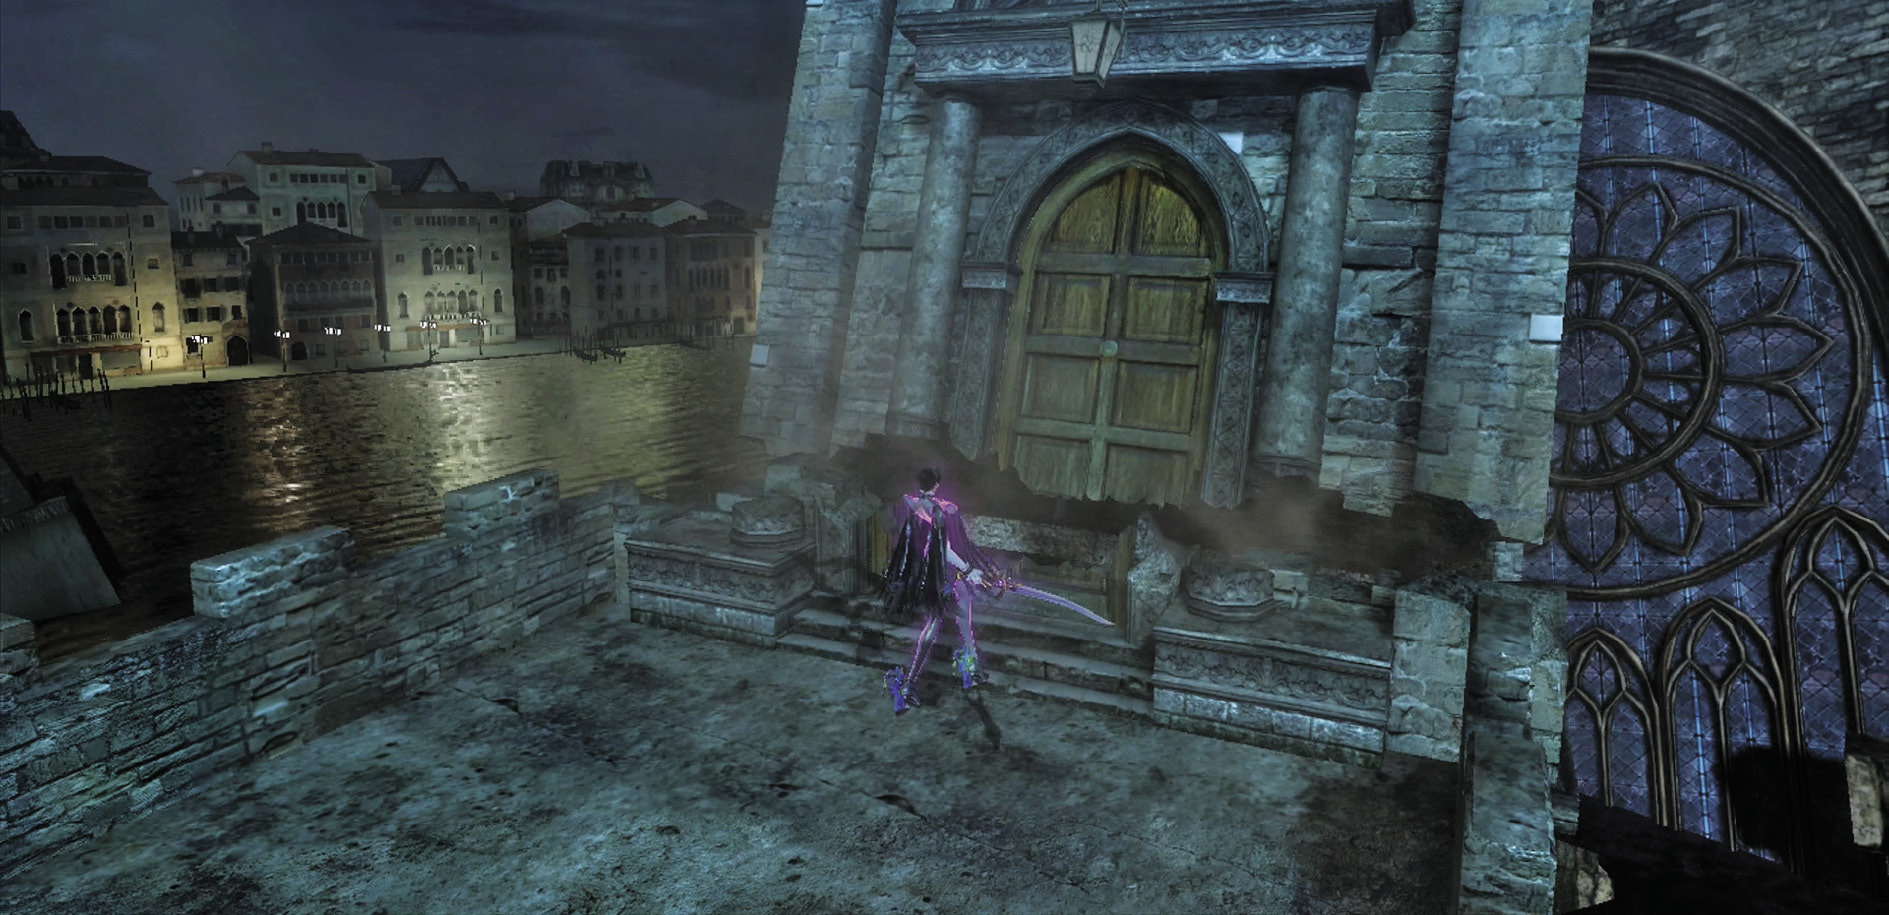
Turn back around and go straight, to the clock tower. Press the Action button at the door to bring the house down—literally.
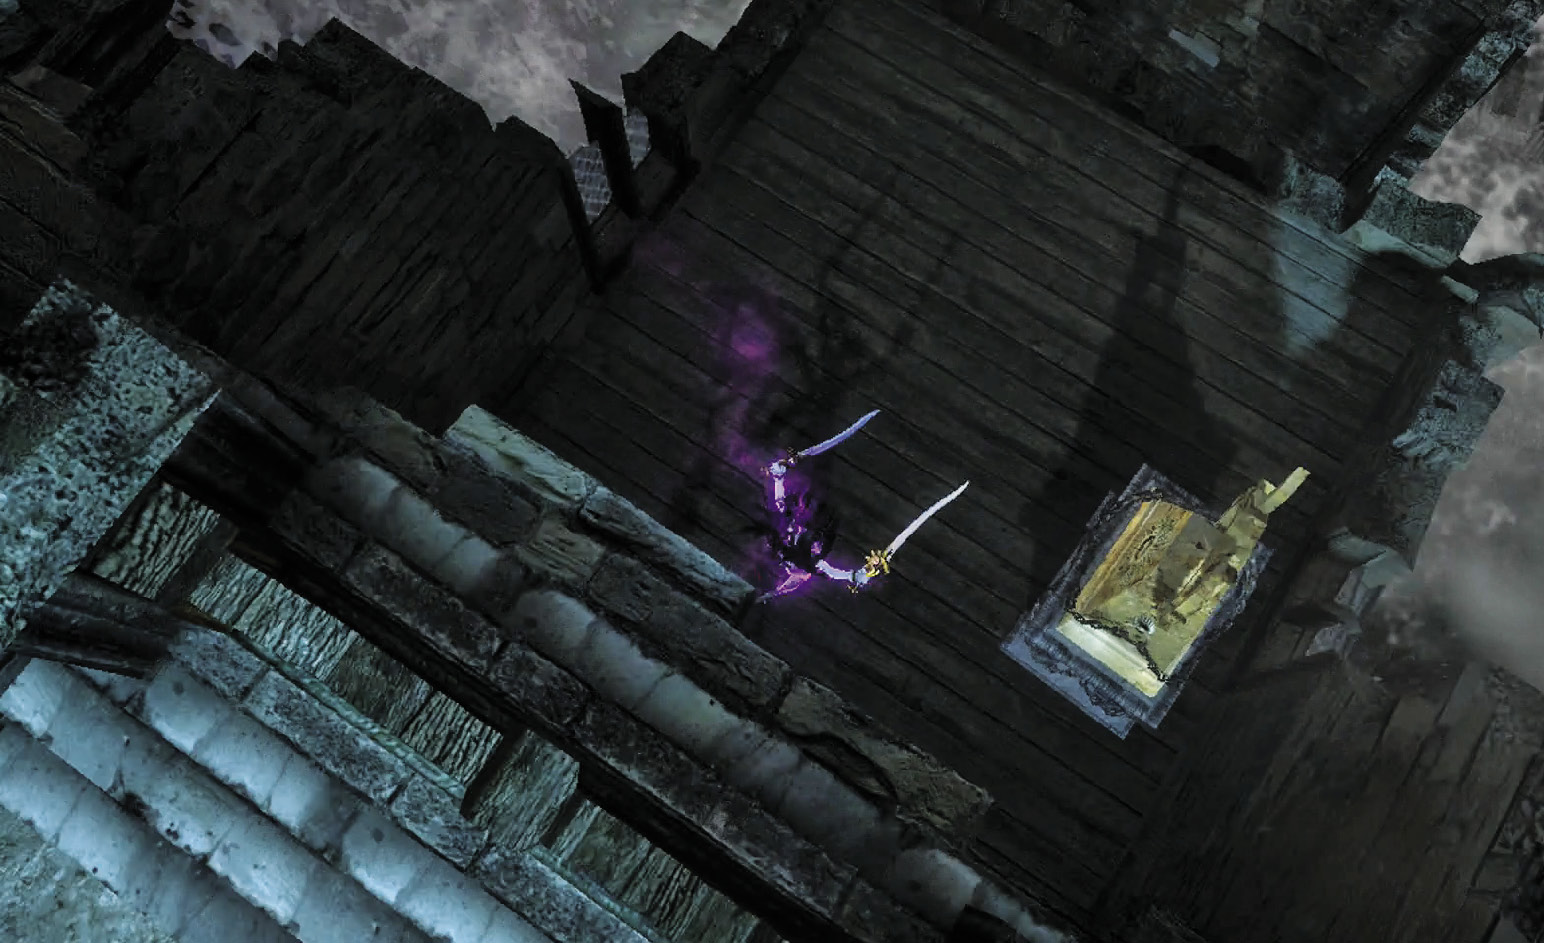
Once the clock tower falls over, drop straight down to find a chest containing a Purple Magic Lollipop. Go forward to the next Verse...once the moon’s finished hogging the spotlight, anyway.
CH4 V2 | 1st Climax | 2nd Climax | 3rd Climax | ∞ Climax | ||||||||
|---|---|---|---|---|---|---|---|---|---|---|---|---|
| Time | Damage | Combo | Time | Damage | Combo | Time | Damage | Combo | Time | Damage | Combo | |
| PLATINUM | 00:40 | 0 | 4730 | 00:40 | 0 | 4730 | 00:50 | 0 | 4730 | 01:00 | 0 | 19950 |
| GOLD | 00:50 | 200 | 2550 | 00:50 | 400 | 2550 | 01:00 | 800 | 2550 | 01:10 | 2000 | 9120 |
| SILVER | 01:00 | 400 | 2010 | 01:00 | 800 | 2010 | 01:10 | 1600 | 2010 | 01:20 | 4000 | 6410 |
| BRONZE | 01:10 | 800 | 1460 | 01:10 | 1600 | 1460 | 01:20 | 3200 | 1460 | 01:30 | 6000 | 3710 |
| BOSS BONUS | ||||||||||||
Verse 3
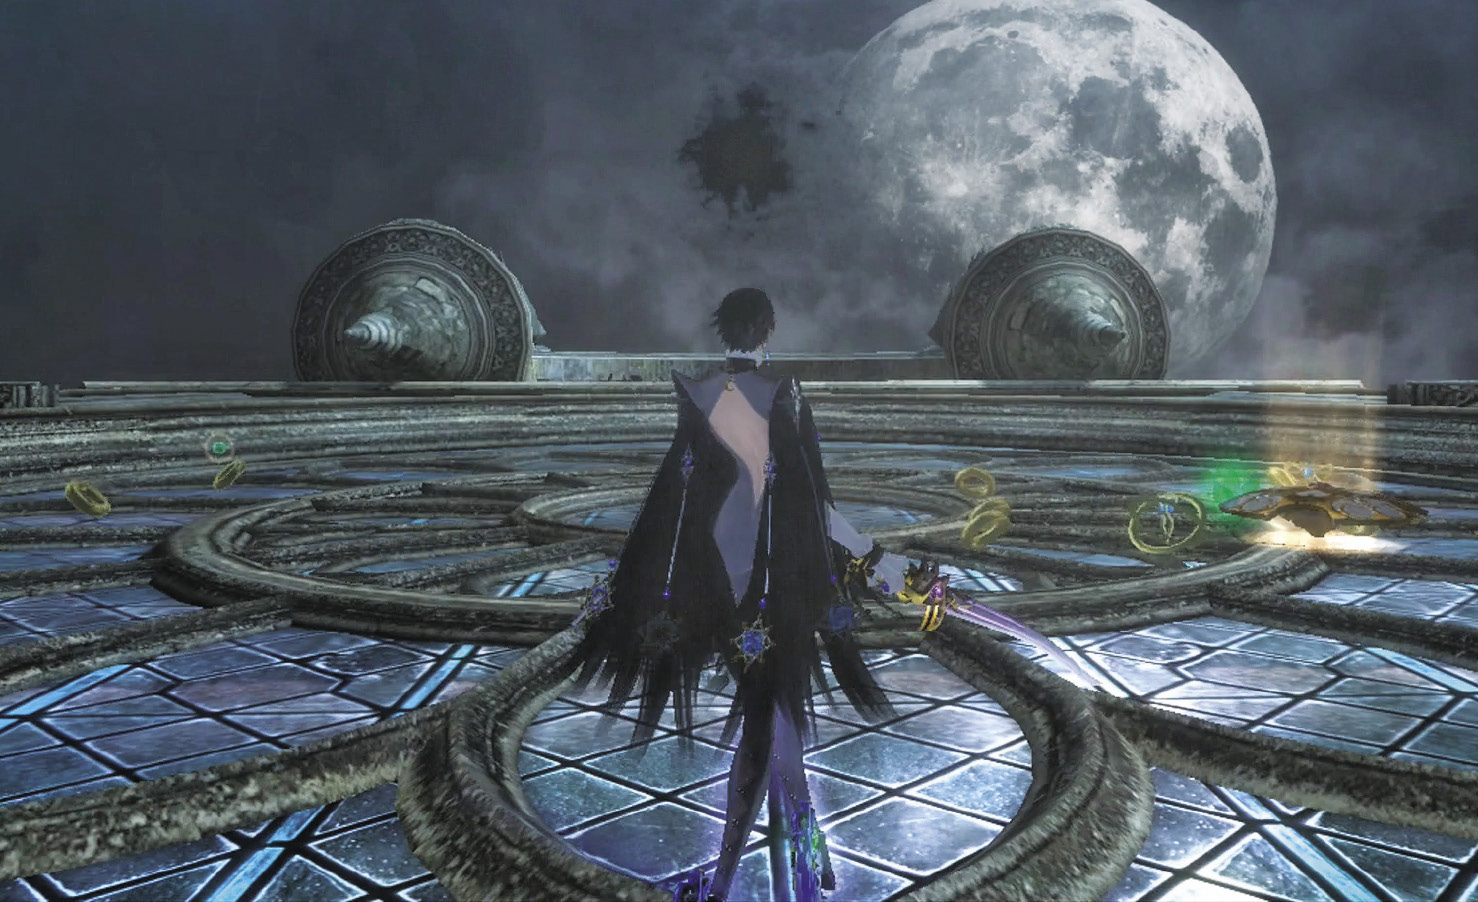
1st Climax/2nd Climax/3rd Climax
- Enemies: Accolade (Shield) x1, Compassion x6
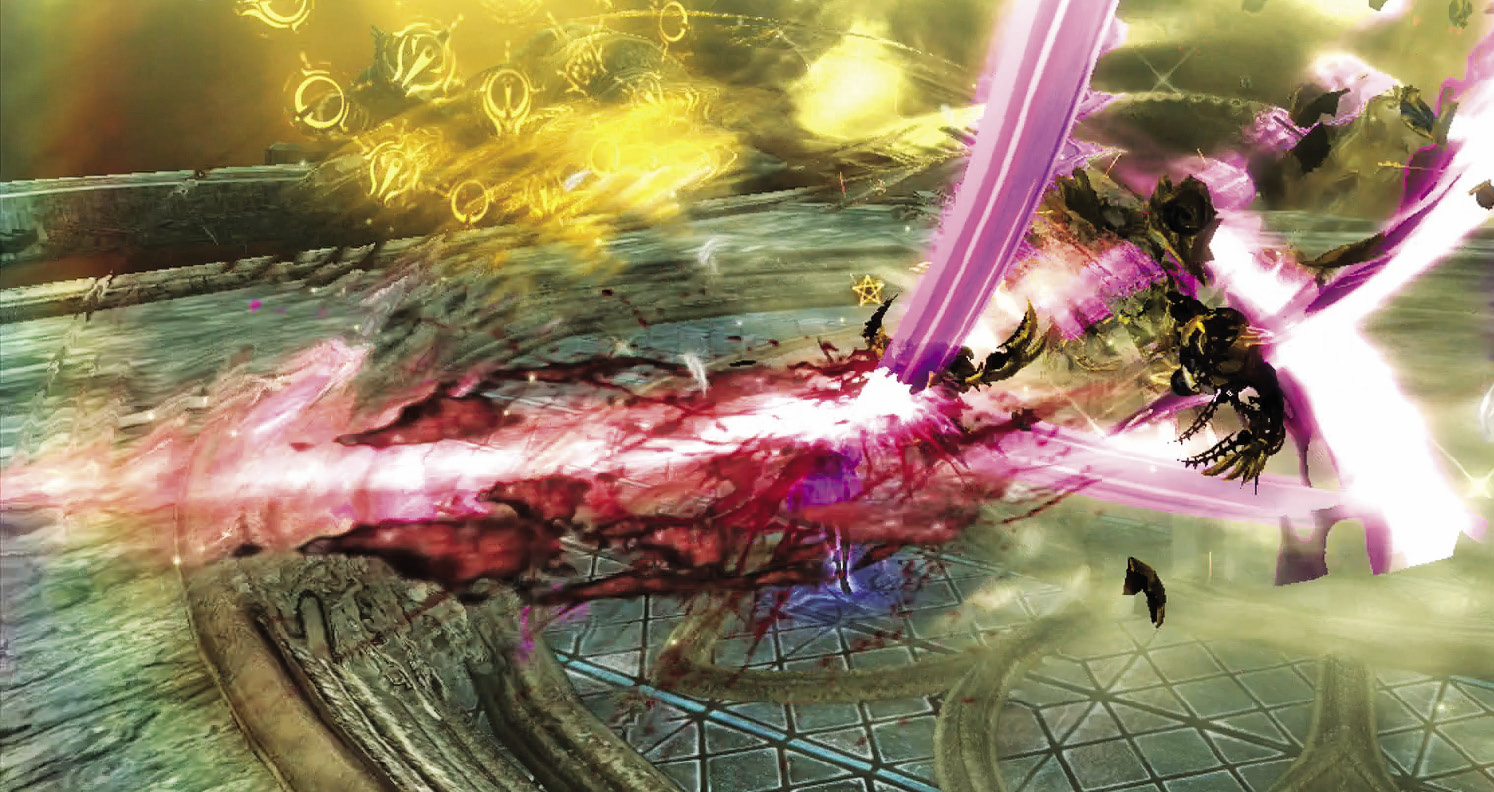
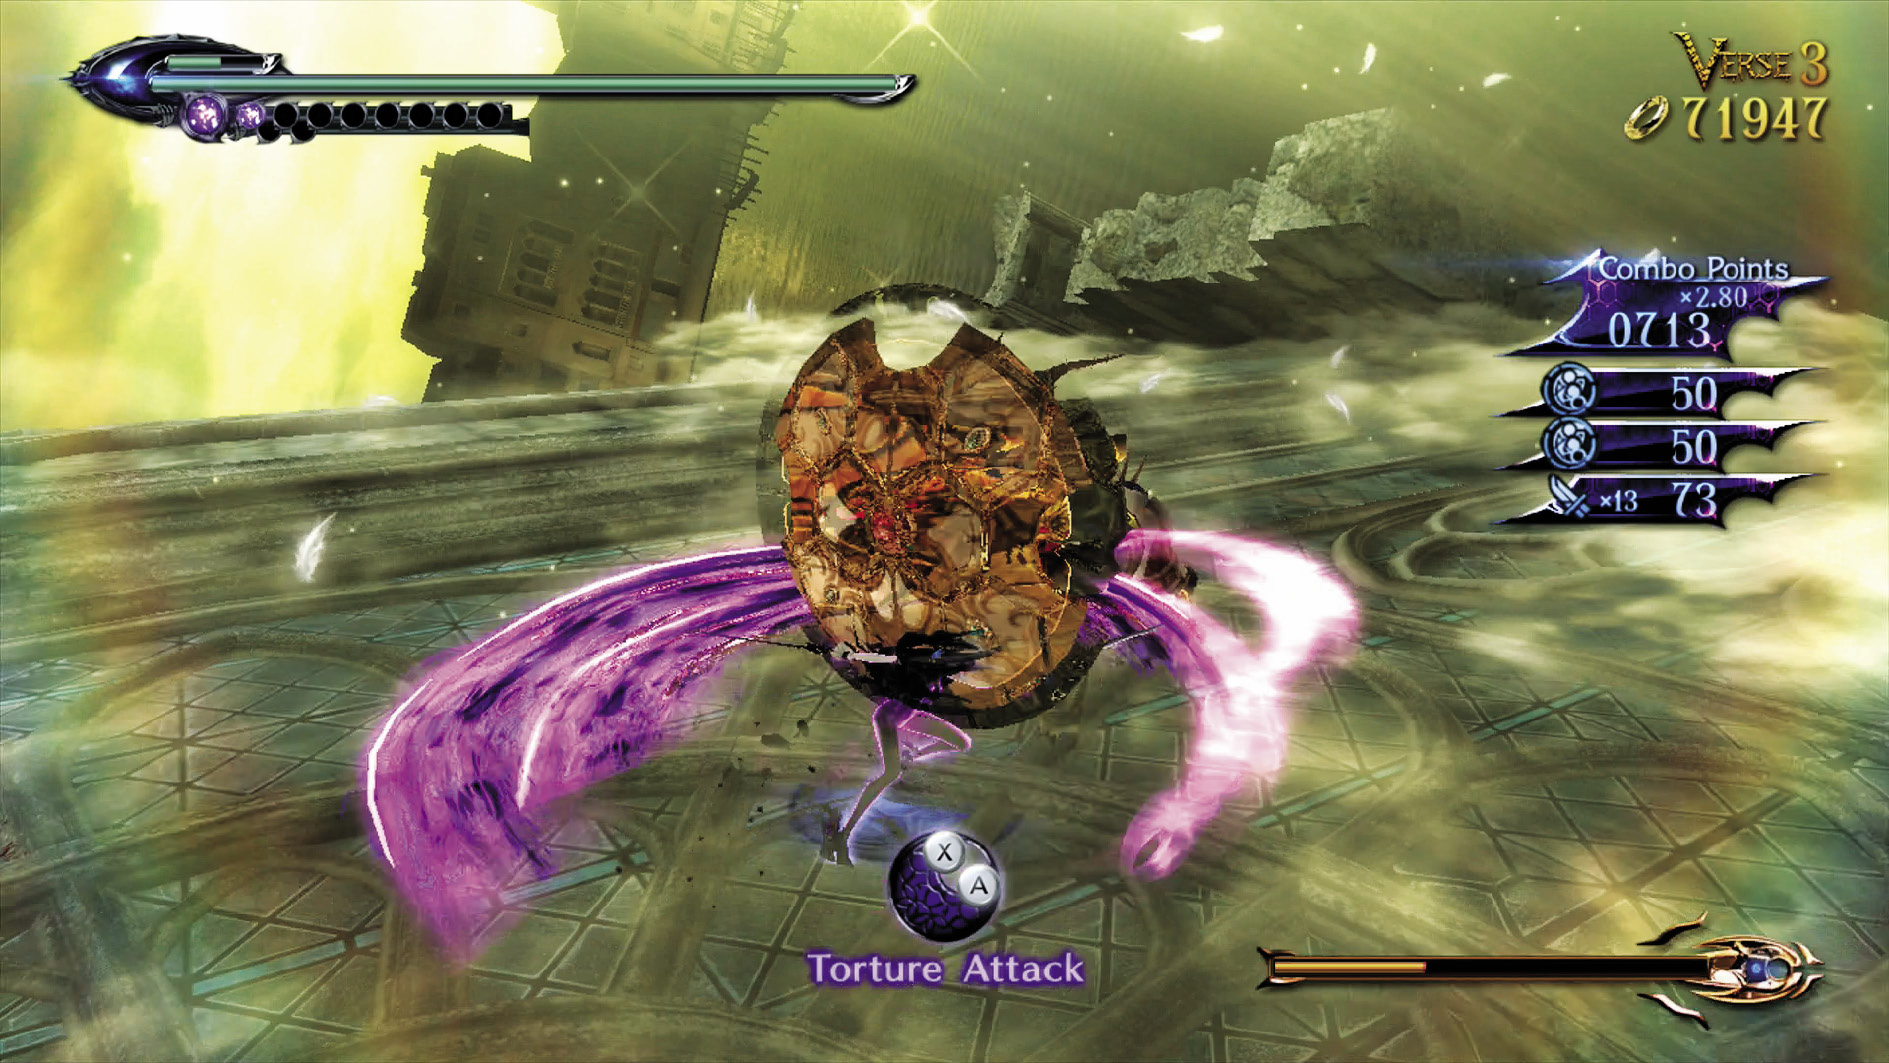
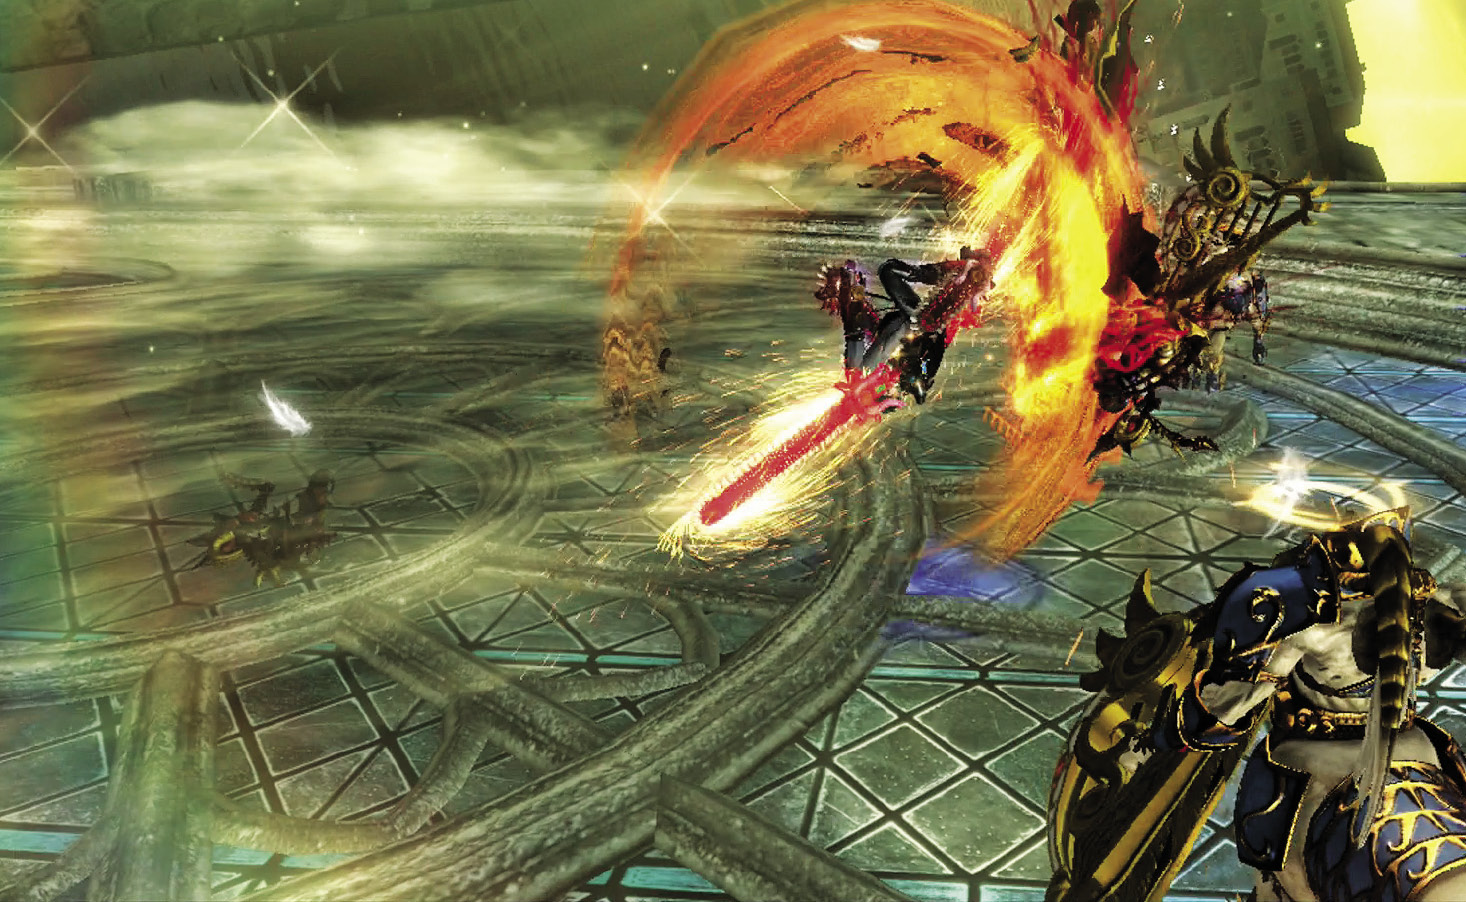
Shield-bearing Accolades are always a challenge. Bait it into throwing dodgeable attacks whenever you can by fighting close to it, but don’t forget about the Compassions. You can break through the Accolade’s shield with attacks during Witch Time and Umbran Climax, so use them whenever you can!
∞ Climax
- Enemies: Acceptance (Harp) x2, Compassion x9
This is actually arguably easier than the lower difficulties! There’s no Accolade around to make your quest for a high score any tougher, so you can concentrate on taking down the weak Compassions, then the Acceptance once you’ve finished taking advantage of its arrows.
Go for Pure Platinum!
Suggested Weapons: Salamandra (Arms)
Follow the above strategies, being sure to slice with Salamandra as necessary. When dealing with the shield-wielding Accolade, take every Witch Time advantage you can, as well as every Umbran Climax opportunity. Umbran Climax can break through the shield.
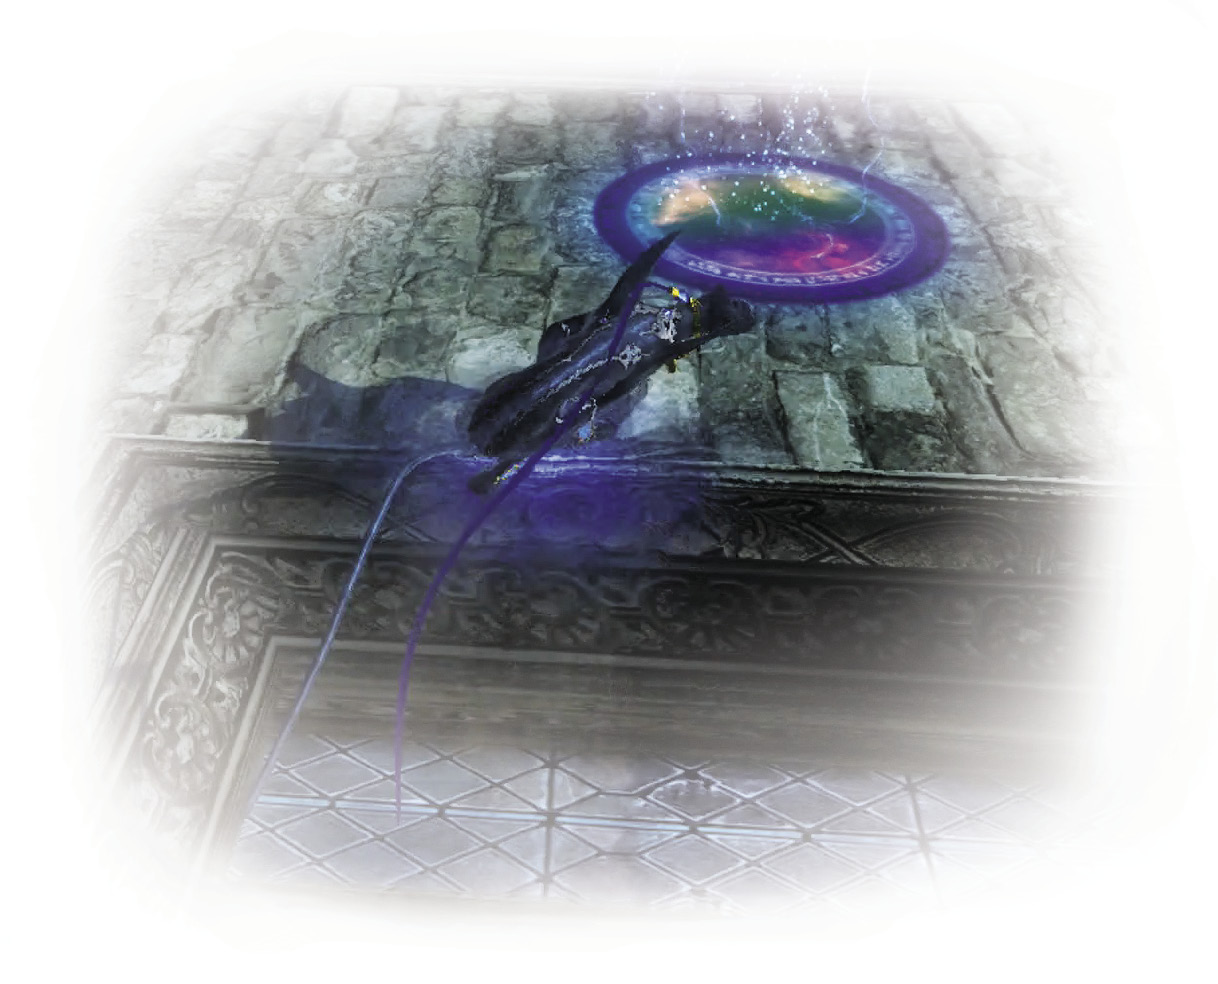
Thanks to that spotlight-hogging moon, Bayonetta can actually Witch Walk around the lower part of this tower! Do so to find a Muspelheim.
CH4 V3 | 1st Climax | 2nd Climax | 3rd Climax | ∞ Climax | ||||||||
|---|---|---|---|---|---|---|---|---|---|---|---|---|
| Time | Damage | Combo | Time | Damage | Combo | Time | Damage | Combo | Time | Damage | Combo | |
| PLATINUM | 00:40 | 0 | 3190 | 00:40 | 0 | 3190 | 00:40 | 0 | 3190 | 00:50 | 0 | 4820 |
| GOLD | 00:50 | 200 | 1860 | 00:50 | 400 | 1860 | 00:50 | 800 | 1860 | 01:00 | 1800 | 2600 |
| SILVER | 01:00 | 400 | 1530 | 01:00 | 800 | 1530 | 01:00 | 1600 | 1530 | 01:10 | 3600 | 2040 |
| BRONZE | 01:10 | 600 | 1200 | 01:10 | 1200 | 1200 | 01:10 | 2400 | 1200 | 01:20 | 5400 | 1490 |
| BOSS BONUS | ||||||||||||
Verse 4
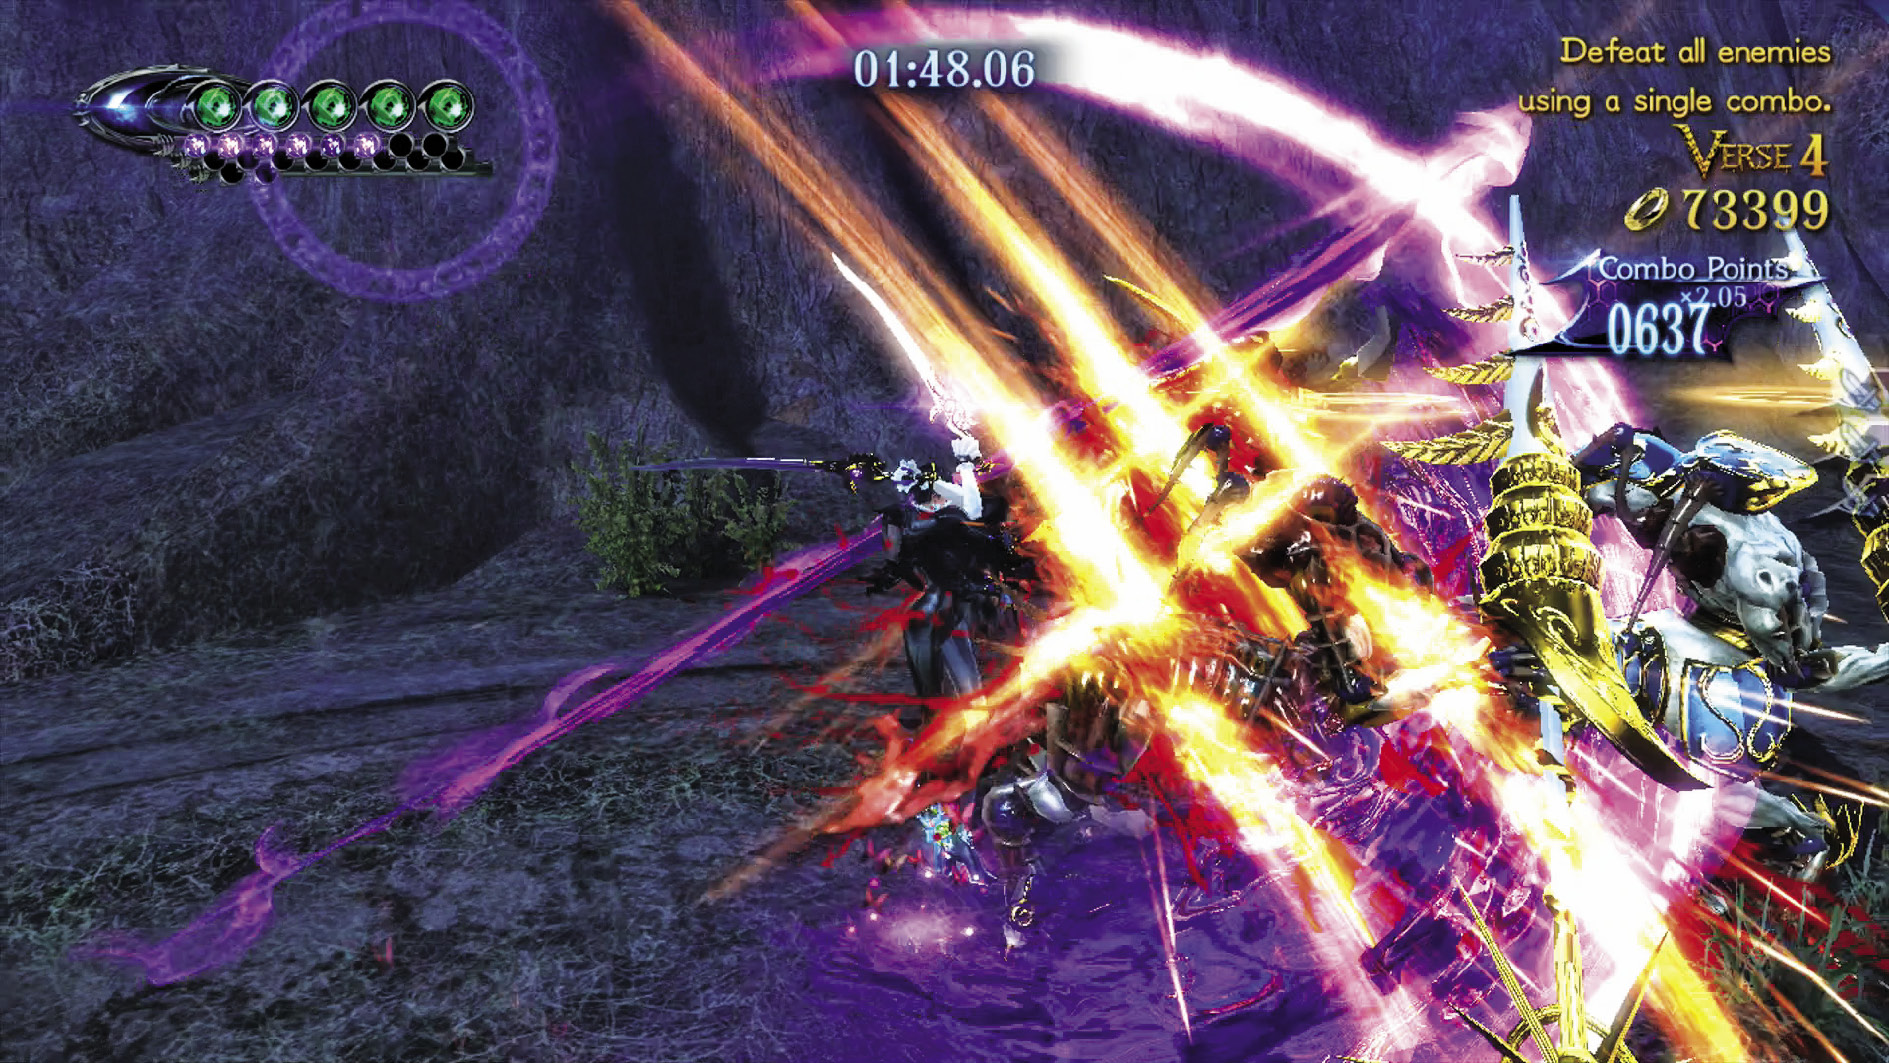
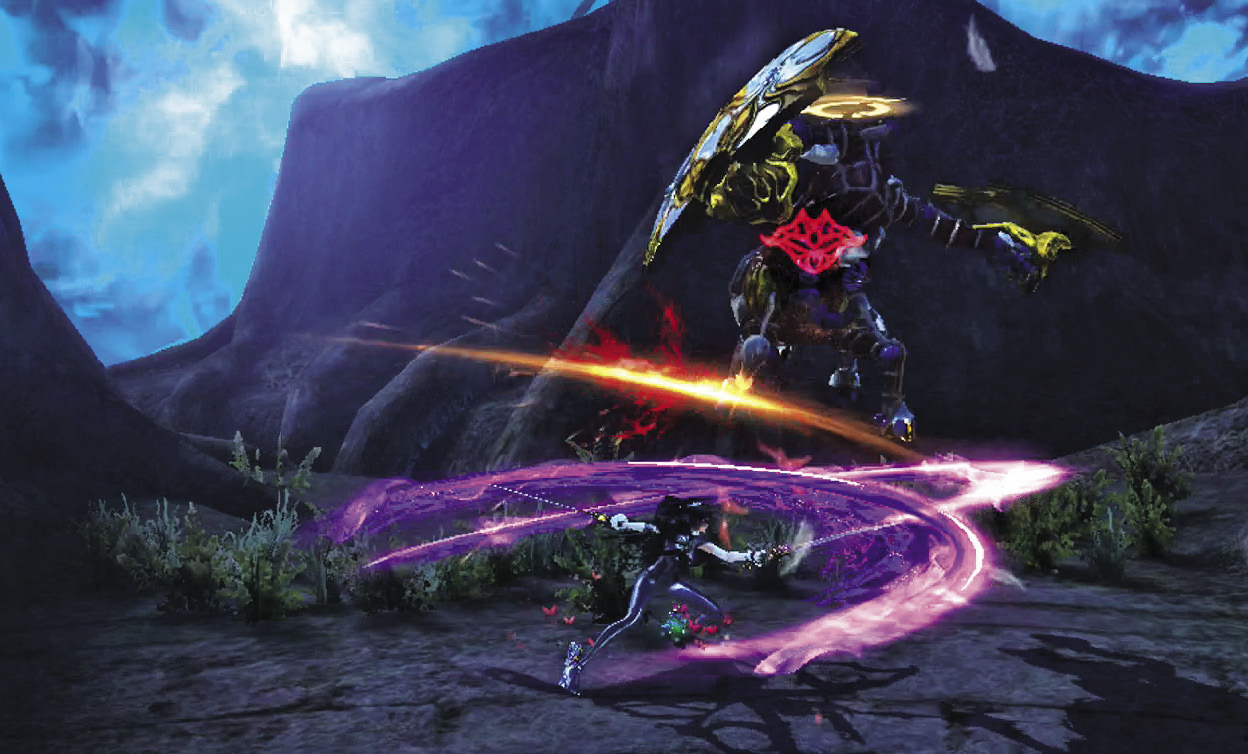
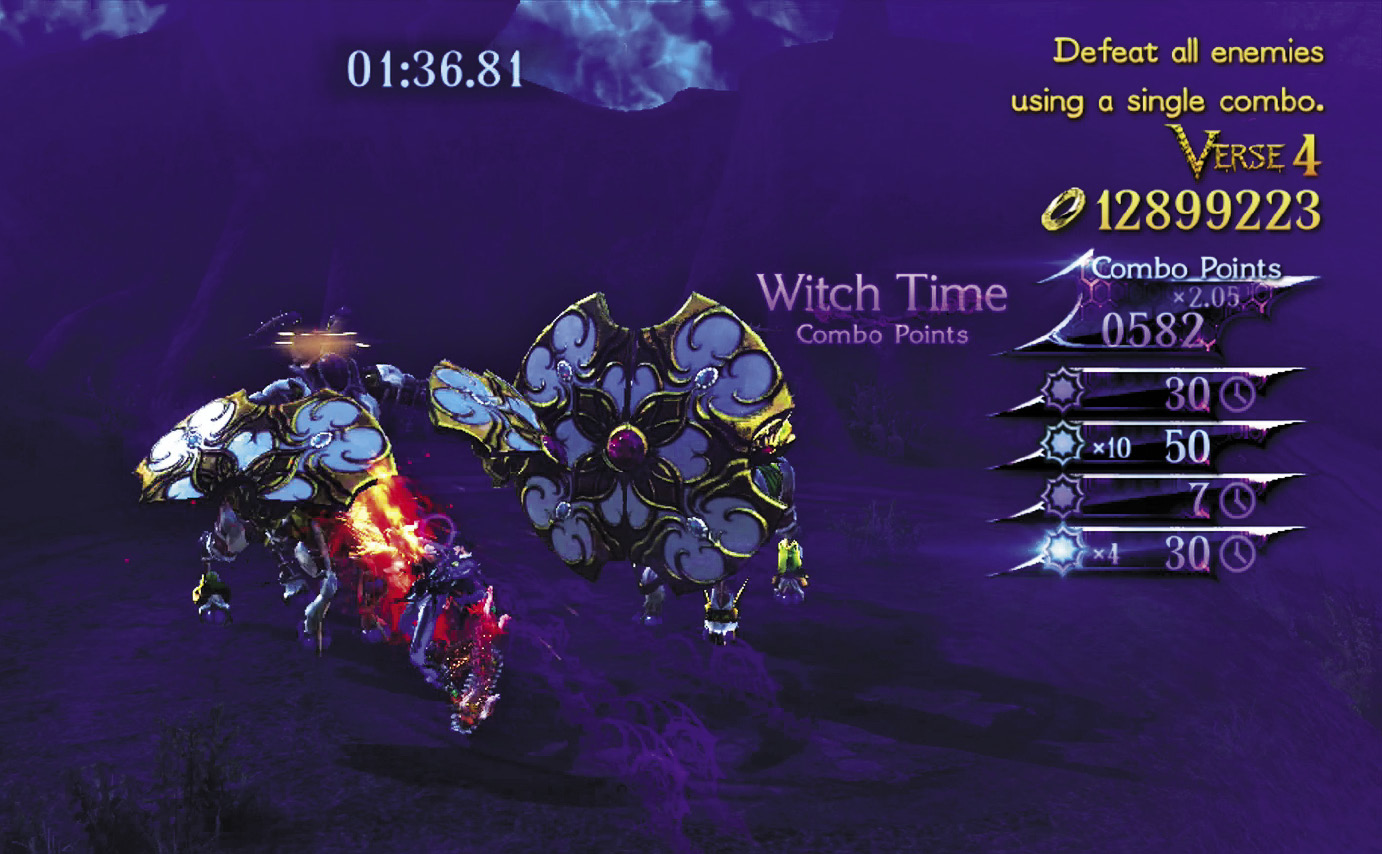
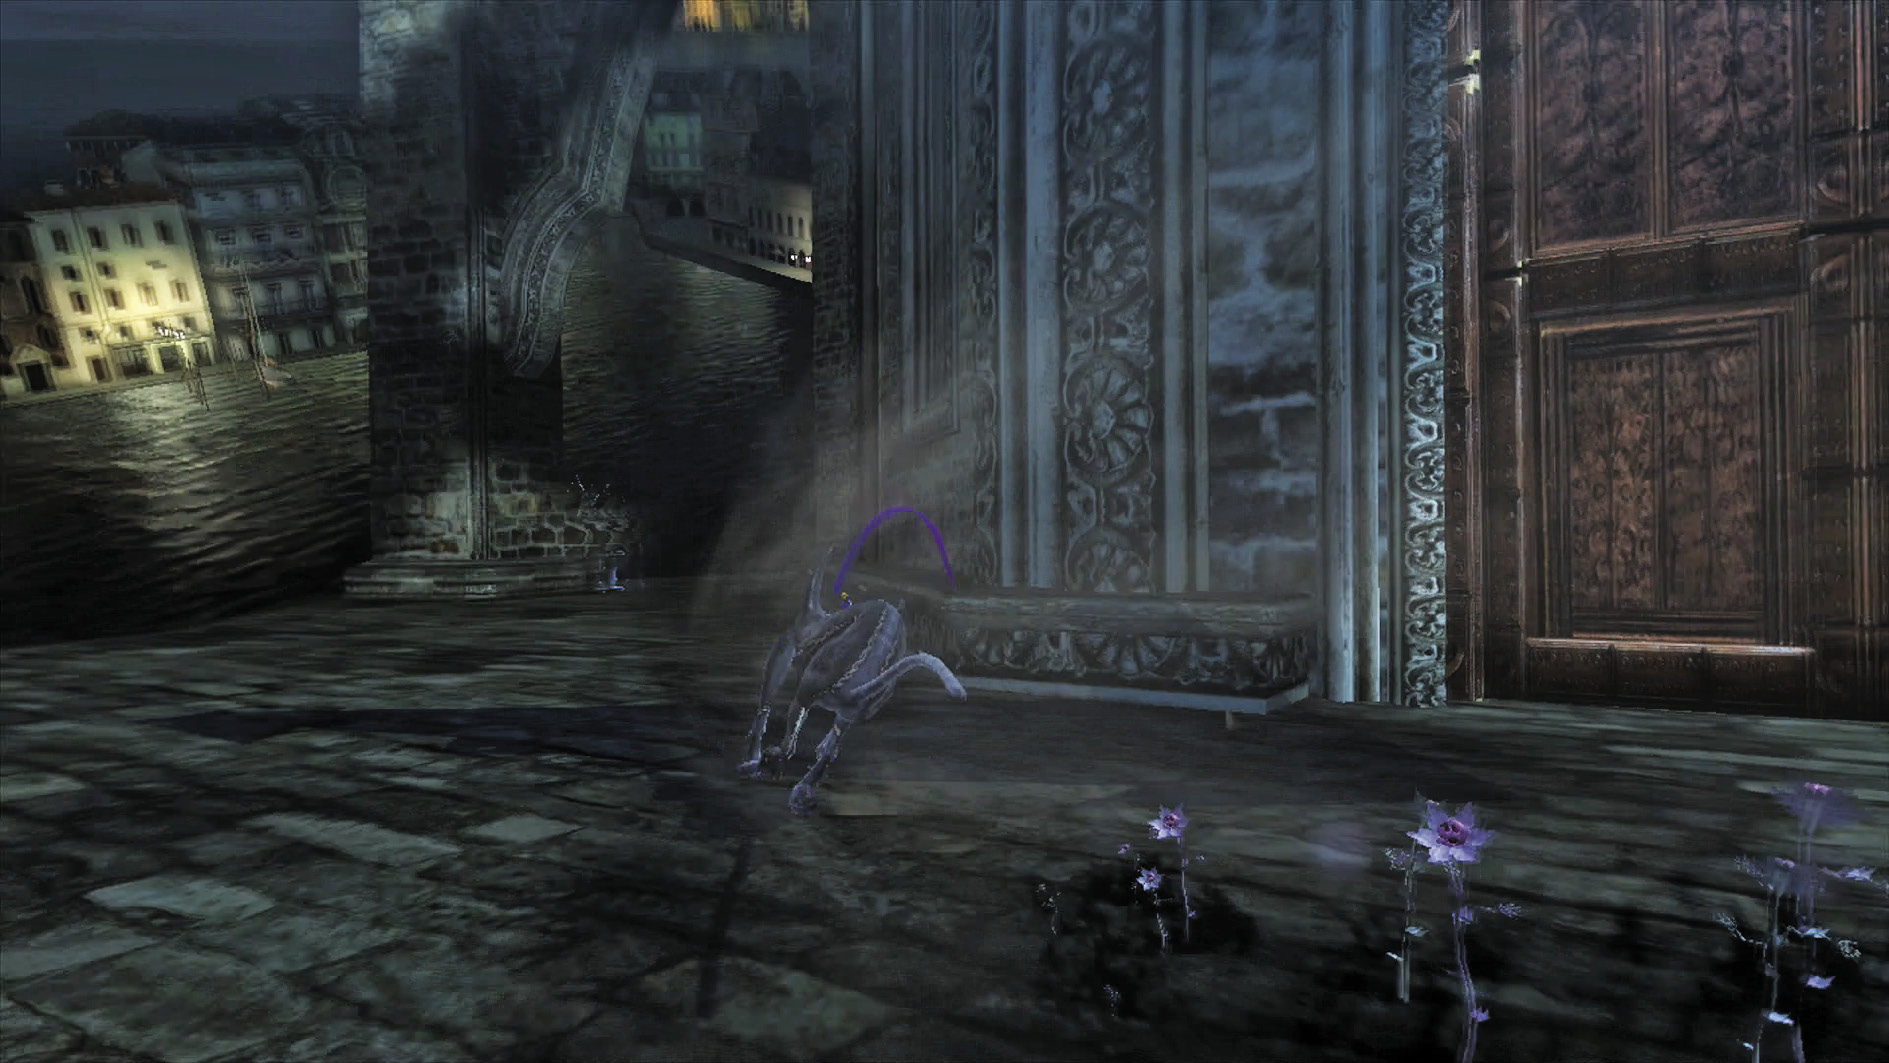
1st Climax/2nd Climax/3rd Climax
- Muspelheim Objective: Defeat all enemies using a single combo.
- Enemies: Acceptance (Spear) x2, Accolade (Shield) x1, Compassion x10
Dispatch the Acceptances and Compassions with your strongest attacks. When the Accolade shows up, it’s Verse 3 all over again. Keep destroying the Compassions while waiting for a Witch Time opening to break through the Accolade’s shield.
∞ Climax
- Muspelheim Objective: Defeat all enemies using a single combo.
- Enemies: Accolade (Shield) x2
The key to this Verse is to constantly bait the Accolades into attacking with their shield. The trick is to attack, then stop for a second or two to see how they react. Constantly attacking while their shields are up is a good way to get zero opportunities to dodge. Taunting can help but is not required. Finally, Umbran Climax is your friend.
Go for Pure Platinum!
Suggested Weapons: Salamandra (Arms)
Long slices with the Salamandra will help in either scenario, but in the lower difficulties you’ll have to keep moving to keep up with enemies whereas in ∞ Climax you’ll have to stay in close.
Beating this Verse nabs you a Broken Witch Heart (14/40)
Go back up and face the door. Before walking in, however, walk to the left and look toward the columns to find an Umbran Witch Resting Place. Solve it to get a Broken Moon Pearl (5/16).
CH4 V4 | 1st Climax | 2nd Climax | 3rd Climax | ∞ Climax | ||||||||
|---|---|---|---|---|---|---|---|---|---|---|---|---|
| Time | Damage | Combo | Time | Damage | Combo | Time | Damage | Combo | Time | Damage | Combo | |
| PLATINUM | 01:05 | 0 | 15400 | 01:05 | 0 | 15400 | 01:05 | 0 | 15400 | 01:00 | 0 | 1230 |
| GOLD | 01:15 | 200 | 7230 | 01:15 | 200 | 7230 | 01:15 | 200 | 7230 | 01:10 | 200 | 850 |
| SILVER | 01:25 | 400 | 5180 | 01:25 | 400 | 5180 | 01:25 | 400 | 5180 | 01:20 | 400 | 760 |
| BRONZE | 01:35 | 600 | 3140 | 01:35 | 600 | 3140 | 01:35 | 600 | 3140 | 01:30 | 600 | 660 |
| BOSS BONUS | ||||||||||||
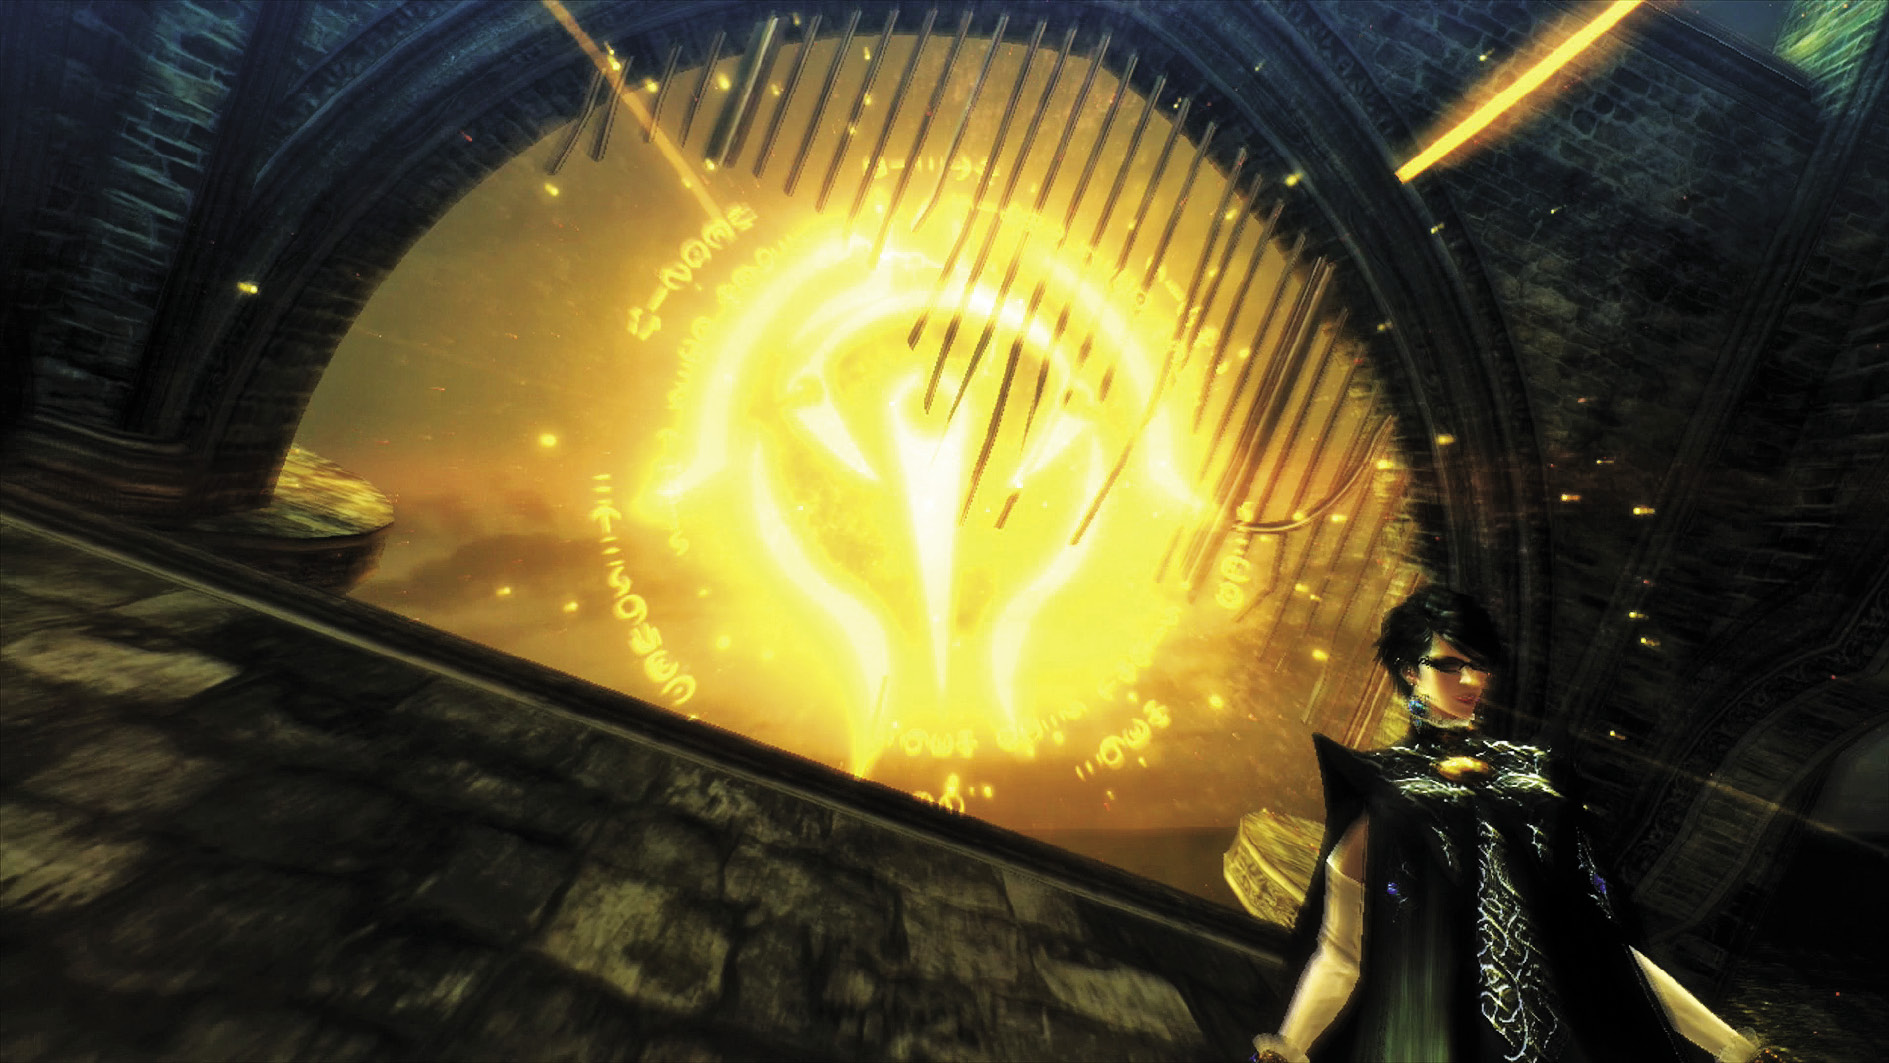
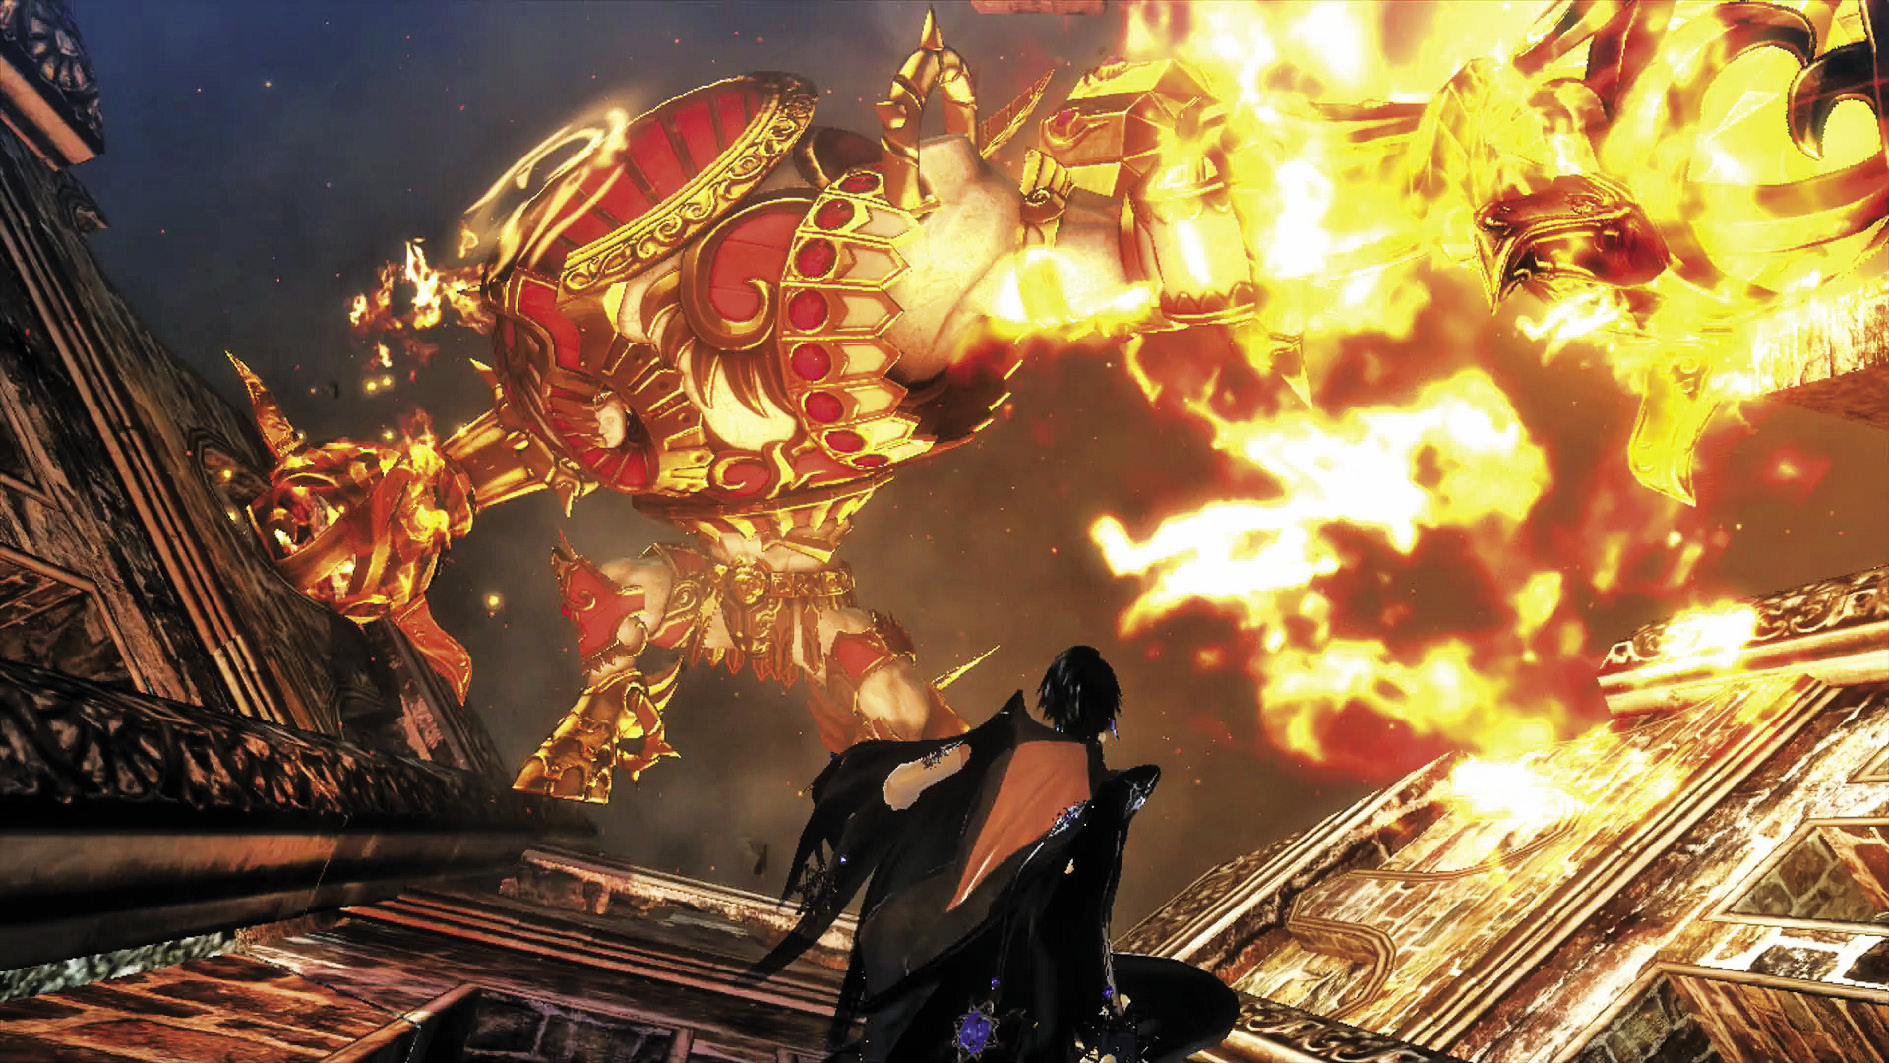
Now you can go through the door to...well, a huge fiery angel waiting to pound you flat! When the action pauses, press the Evade button to be rewarded with Witch Time as soon as the Verse starts!
Verse 5
1st Climax/2nd Climax/3rd Climax/∞ Climax (Go for Pure Platinum!)
Suggested Pure Platinum Weapons: Salamandra (Arms), Alruna (Legs)
- Enemy: Urbane x1
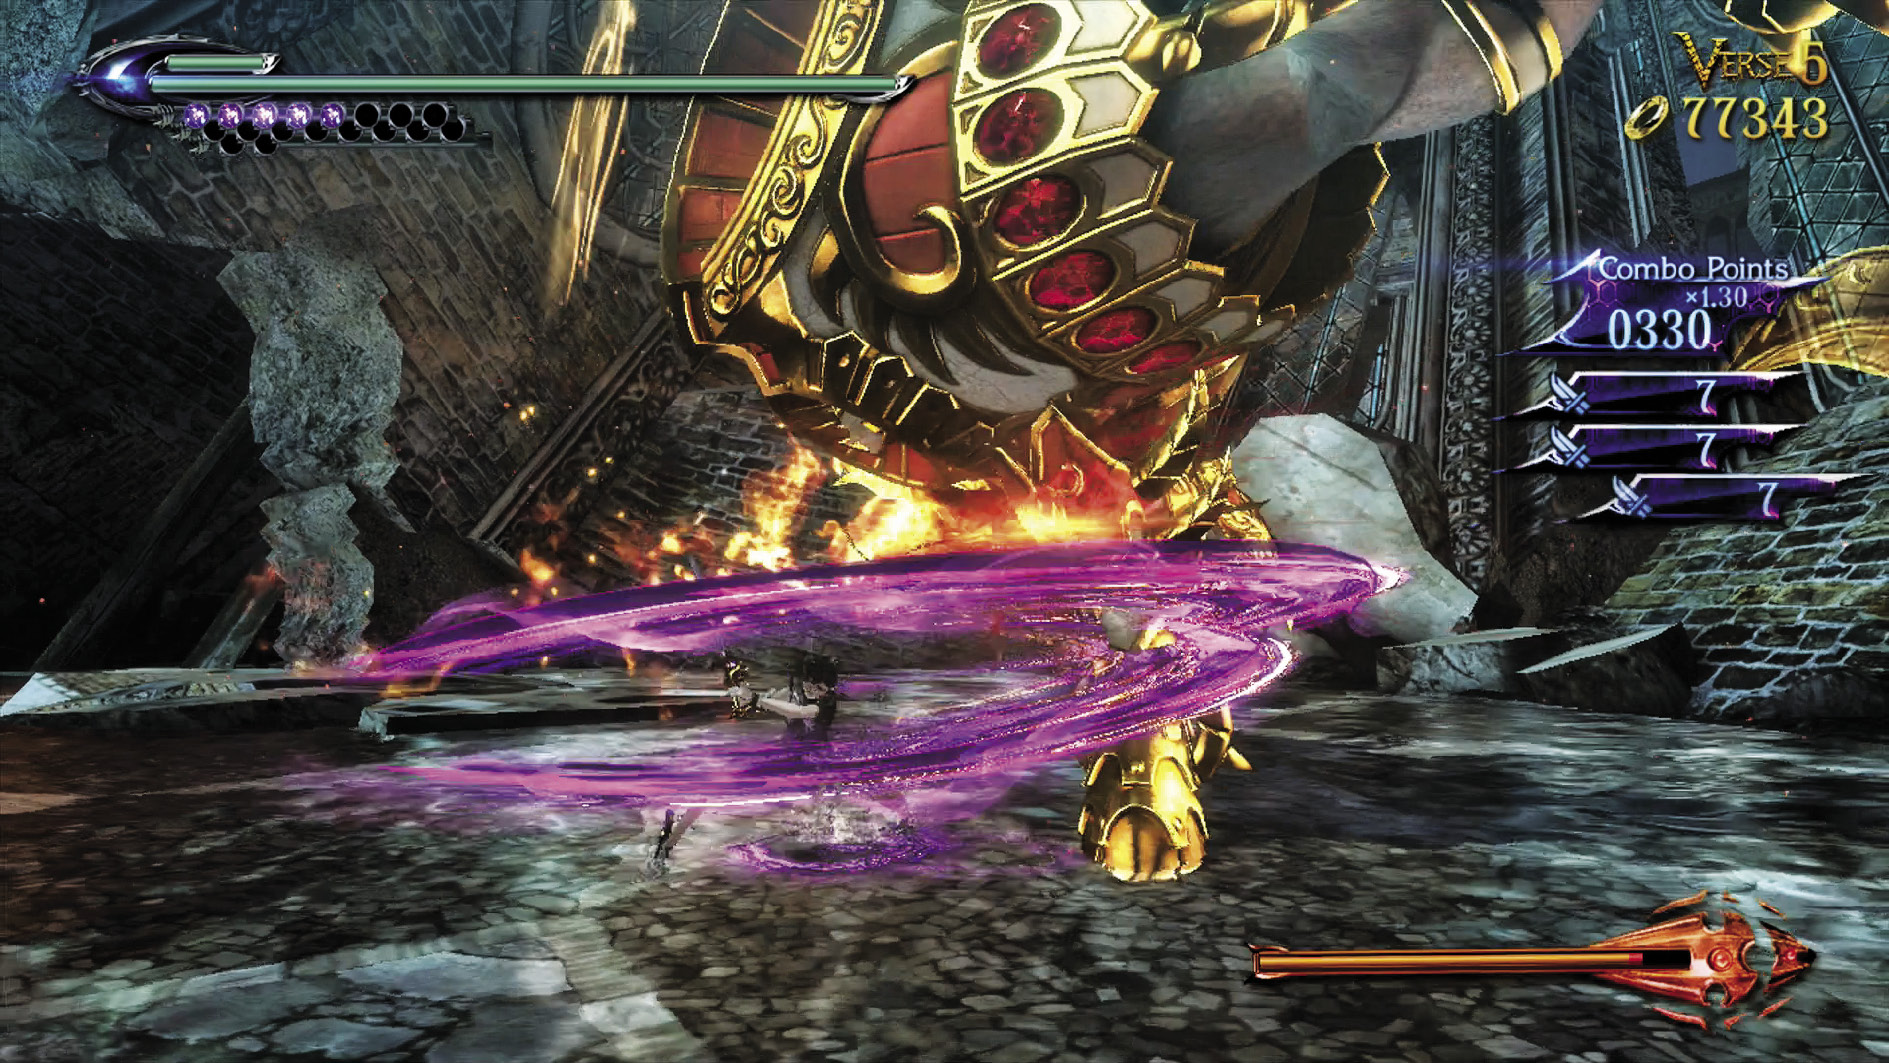
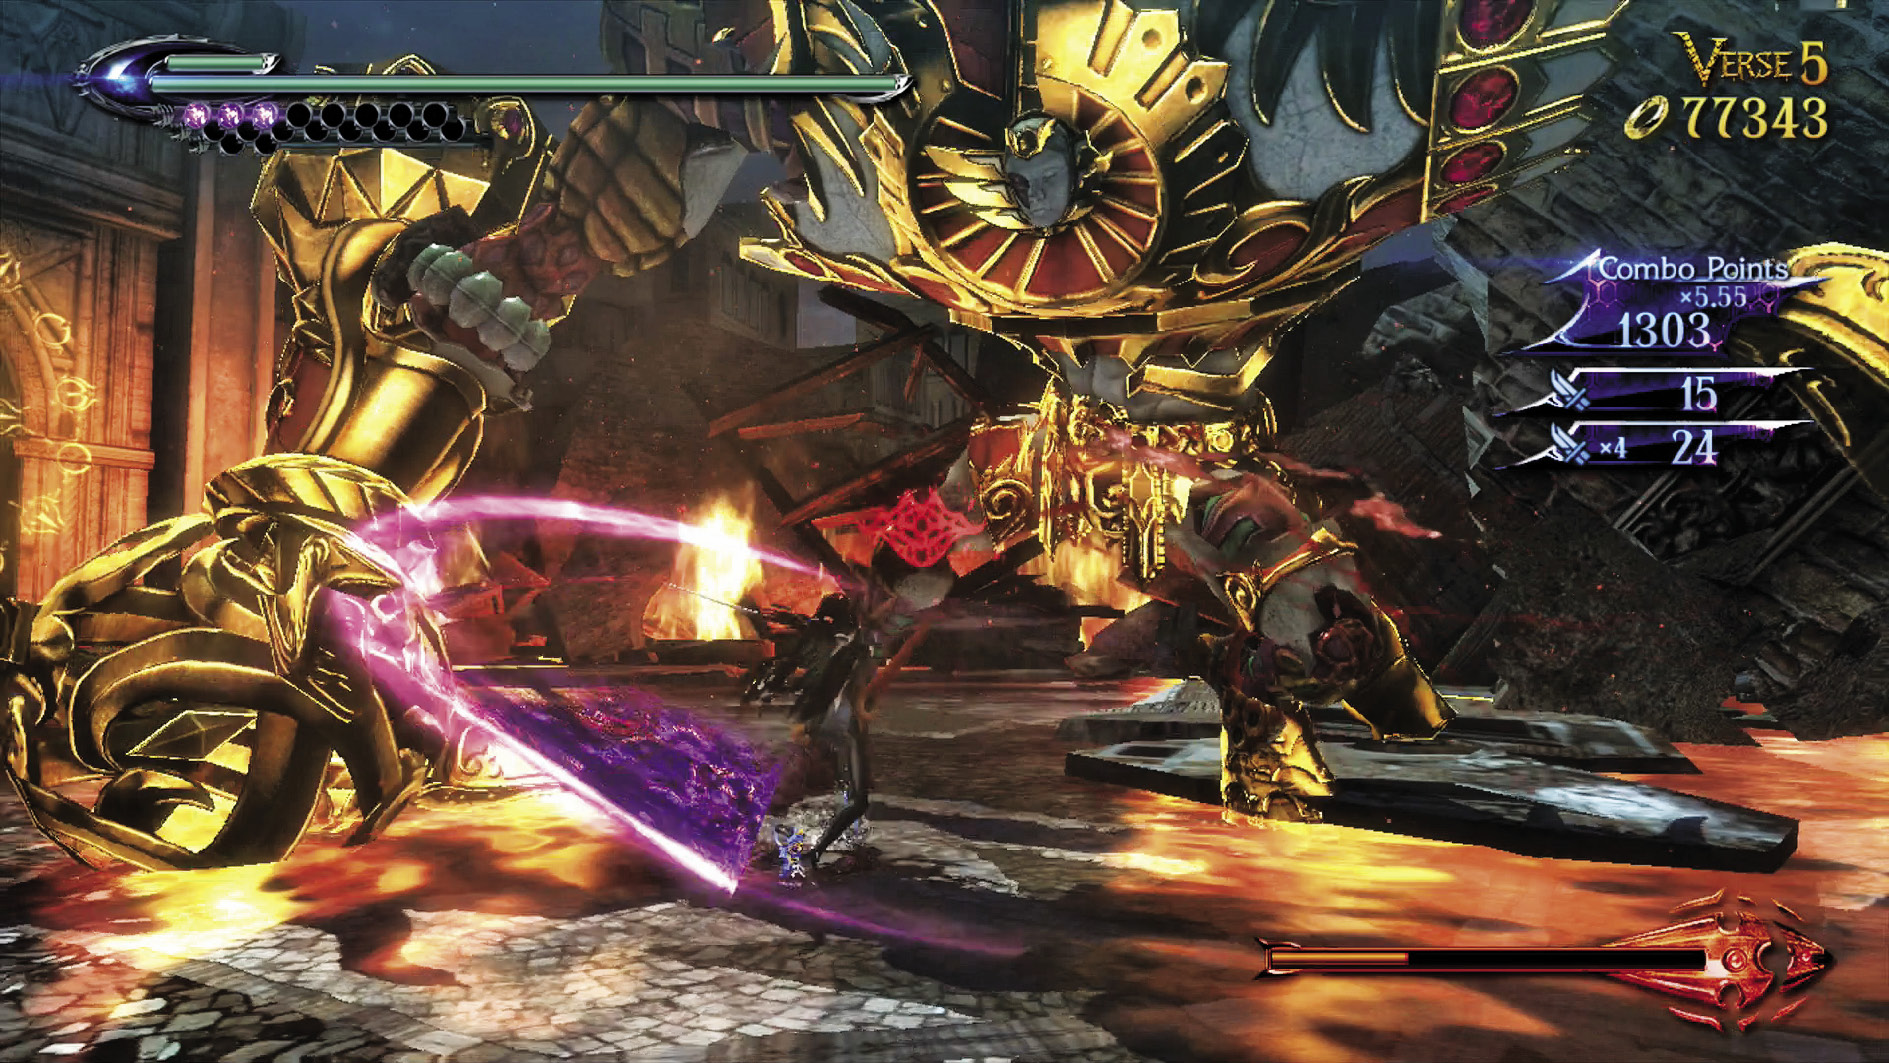
As usual, Urbane will try to smash you with its massive ball arms from above and below, all while being surprisingly mobile. Dodge and retaliate during Witch Time, though keep in mind that unless you use Umbran Climax, you won’t be able to interrupt any of his moves using your own force. Hold out until you can whittle his vitality to nothing.
After the battle, follow the button prompts during the climactic Quick Time Event to put Urbane’s fire out.
CH4 V5 | 1st Climax | 2nd Climax | 3rd Climax | ∞ Climax | ||||||||
|---|---|---|---|---|---|---|---|---|---|---|---|---|
| Time | Damage | Combo | Time | Damage | Combo | Time | Damage | Combo | Time | Damage | Combo | |
| PLATINUM | 01:10 | 0 | 17190 | 01:10 | 0 | 17190 | 01:10 | 0 | 17190 | 01:20 | 0 | 17190 |
| GOLD | 01:20 | 300 | 7960 | 01:20 | 600 | 7960 | 01:20 | 1200 | 7960 | 01:30 | 3000 | 7960 |
| SILVER | 01:30 | 600 | 5650 | 01:30 | 1200 | 5650 | 01:30 | 2400 | 5650 | 01:40 | 4500 | 5650 |
| BRONZE | 01:40 | 900 | 3340 | 01:40 | 1800 | 3340 | 01:40 | 3600 | 3340 | 01:50 | 6000 | 3340 |
| BOSS BONUS | ||||||||||||
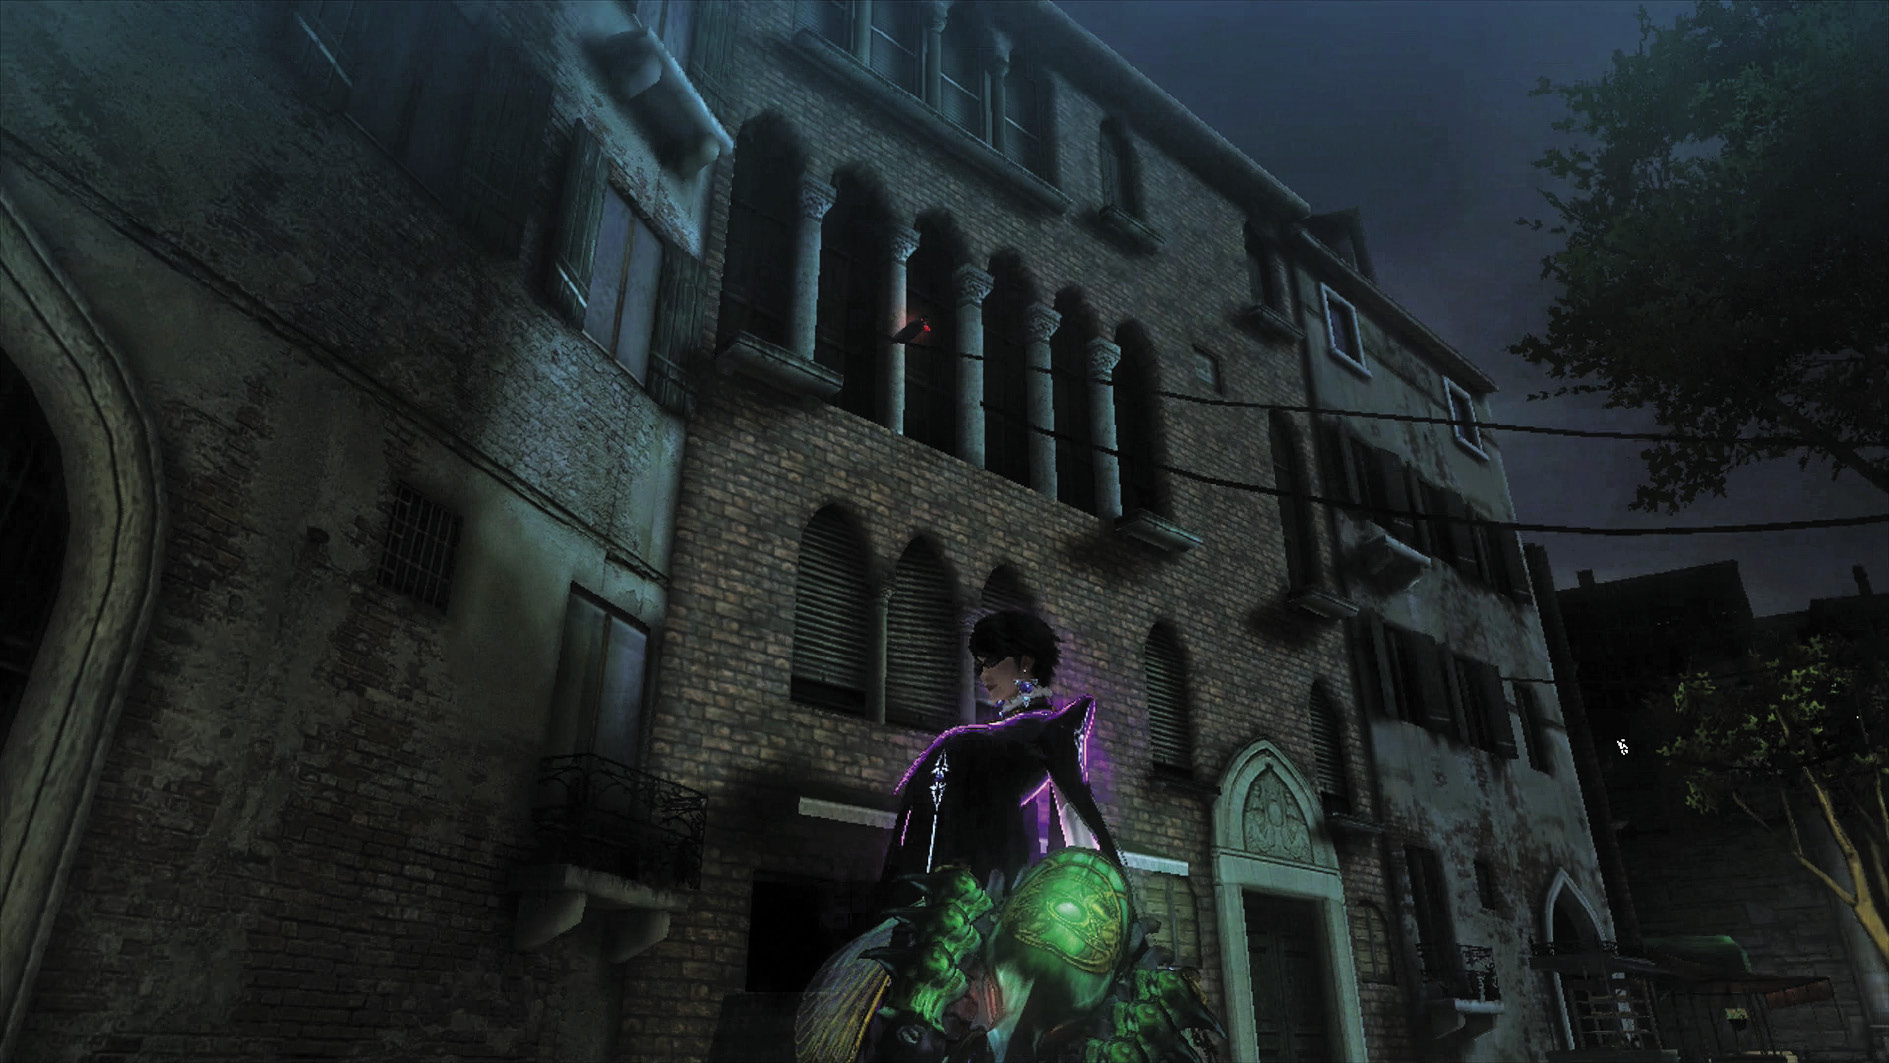
Open the door in front of you. Once you do so, look up and to the left to see an Umbran Crow (5/20) sitting on the power lines. Grab it, then open the nearby chest for a Mega Yellow Moon Lollipop.
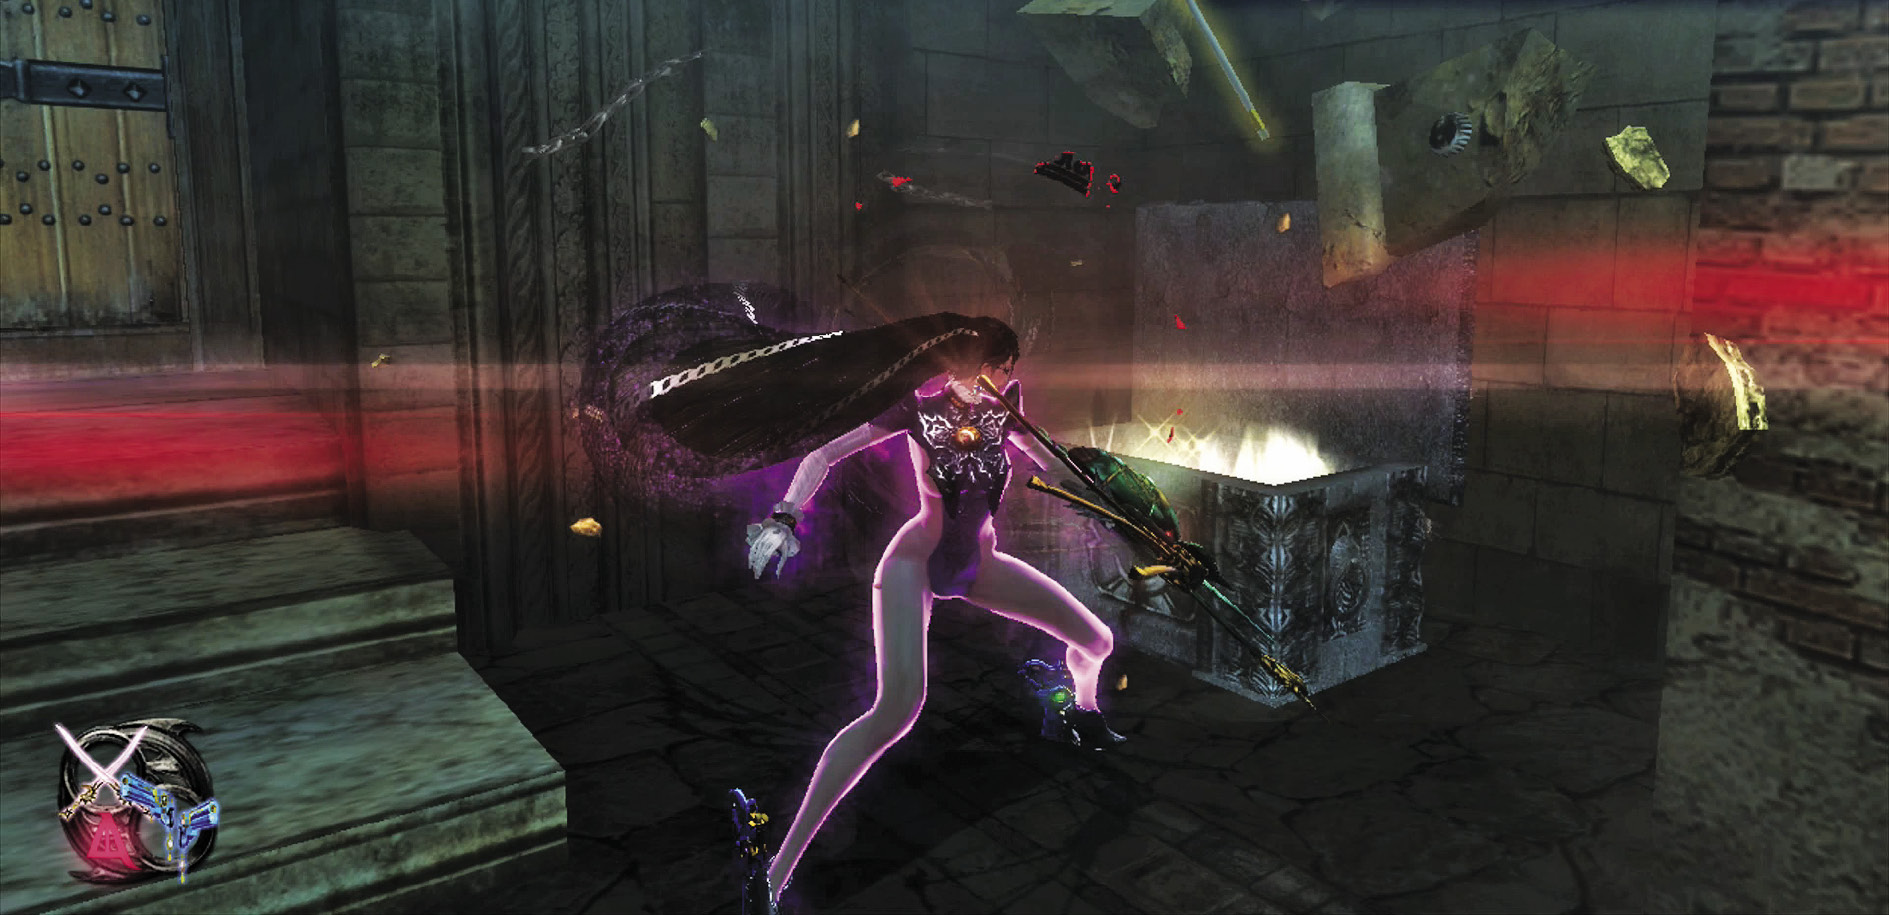
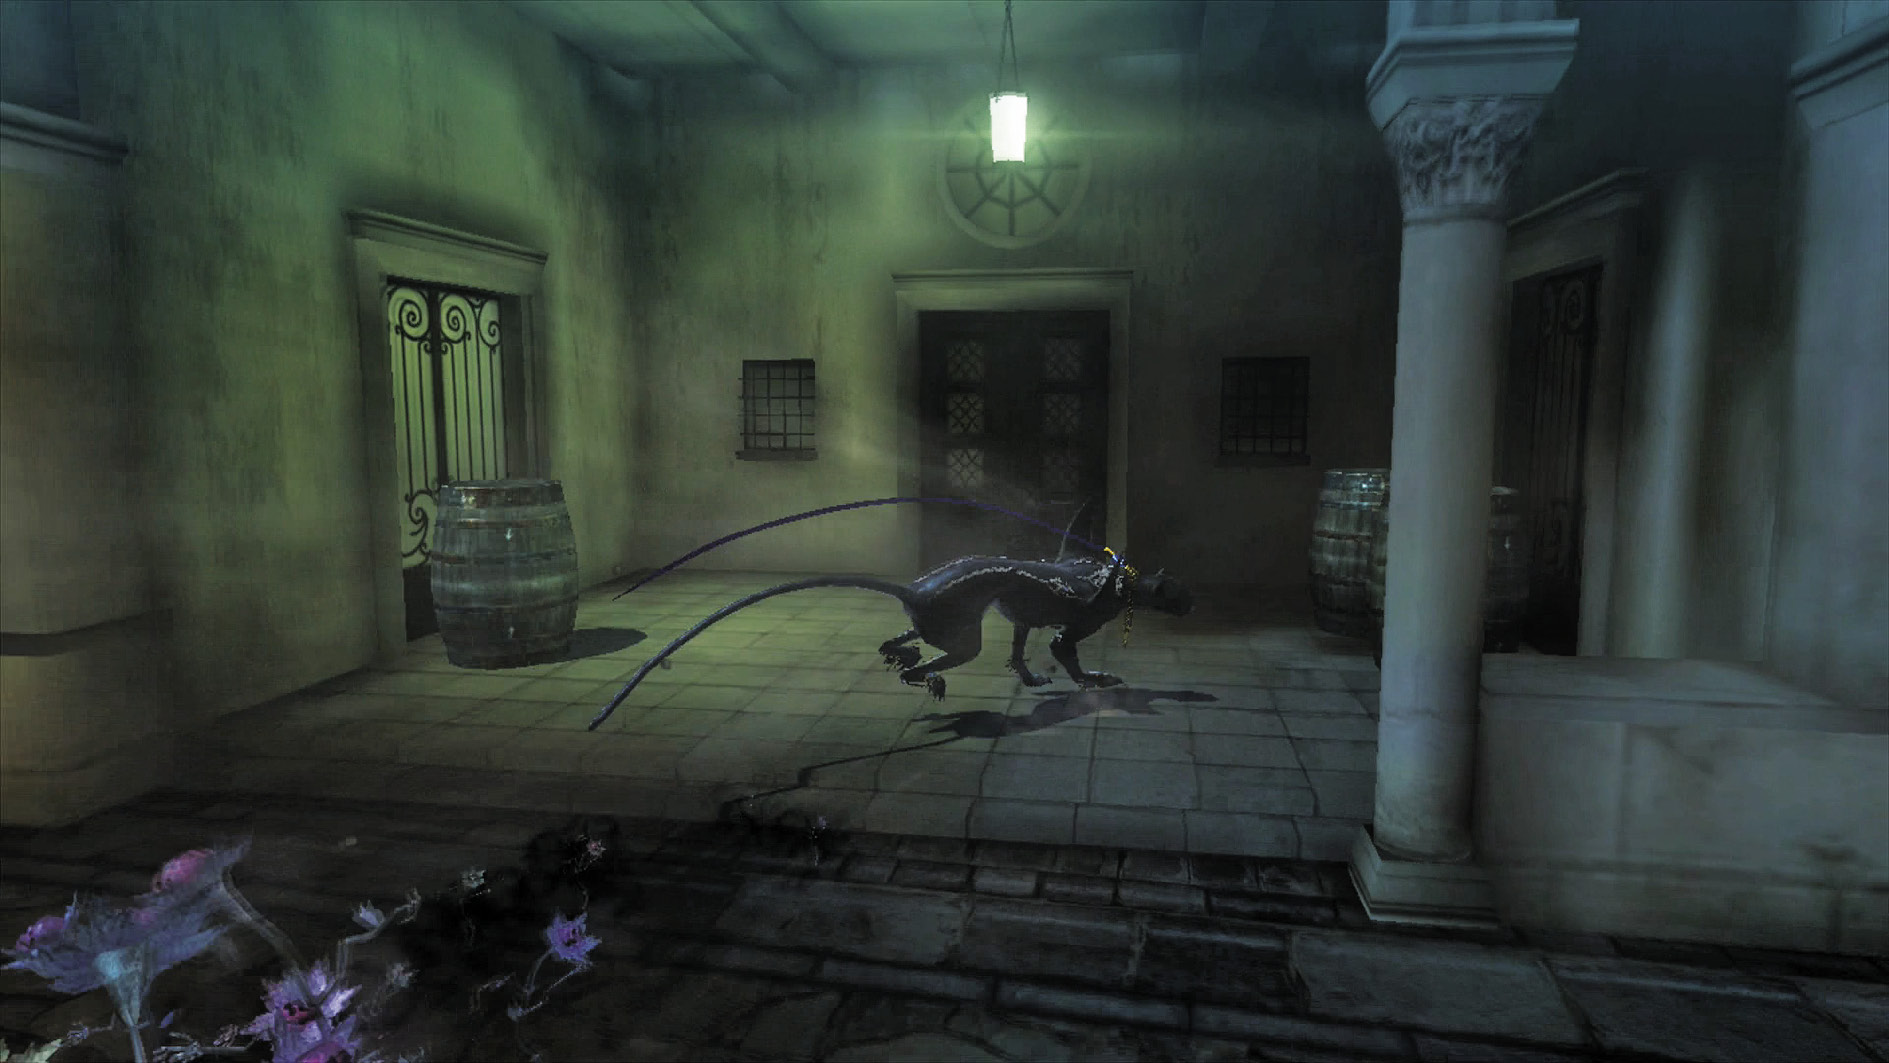
After the cutscene, go into the small alcove to the right. Doing so will trigger Verse 6 when you come back out.
Verse 6
1st Climax/2nd Climax/3rd Climax/∞ Climax (Go for Pure Platinum!)
Suggested Pure Platinum Weapons:Salamandra (Arms)
- Enemies: Fidelity x2
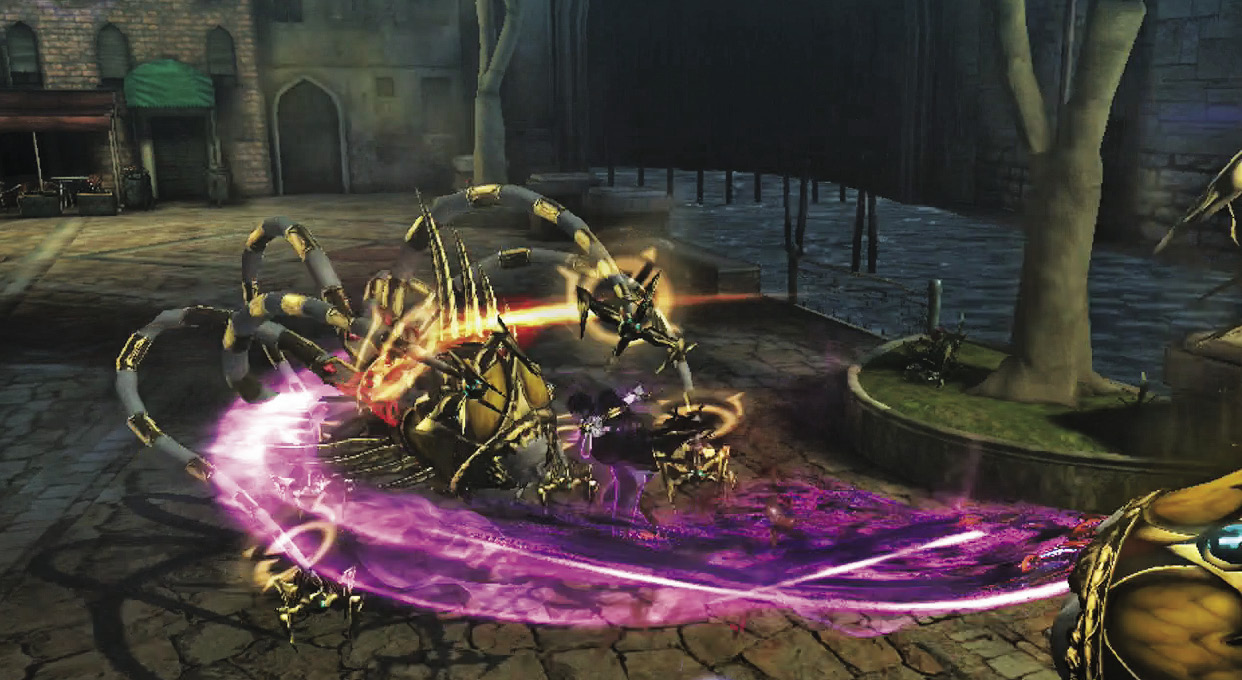
This one’s basically a freebie that tests skills learned at the beginning of the Chapter. Dodge and destroy the Fidelities the second you see their pincers approach.
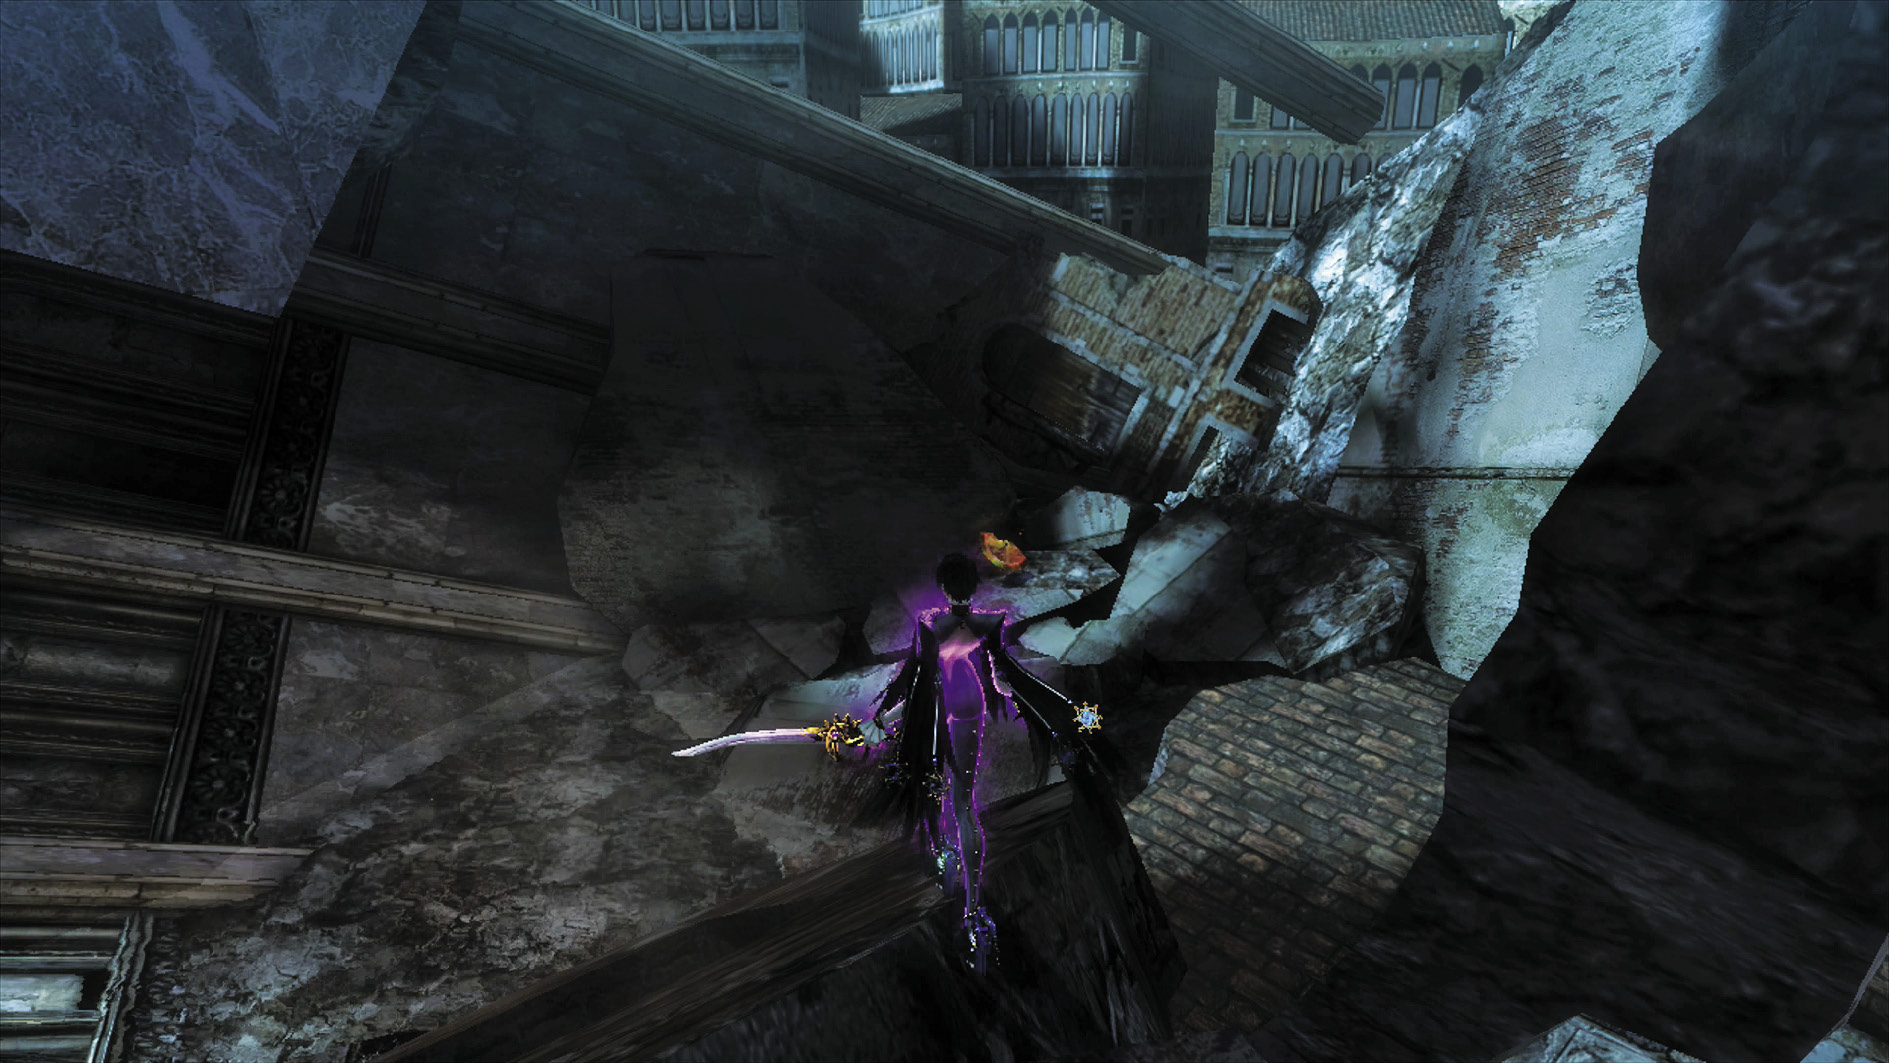
Head through the hallway ahead to an overhang overlooking some rubble. Look down and to the right to find the Angelic Hymns Gold LP Der Hölle Rache 2/2. Next time you visit The Gates of Hell, the power of Undine will allow you to fight evil with a cool style and a burning heart. Grab the LP, then get ready to fight.
CH4 V6 | 1st Climax | 2nd Climax | 3rd Climax | ∞ Climax | ||||||||
|---|---|---|---|---|---|---|---|---|---|---|---|---|
| Time | Damage | Combo | Time | Damage | Combo | Time | Damage | Combo | Time | Damage | Combo | |
| PLATINUM | 00:30 | 0 | 1230 | 00:30 | 0 | 1230 | 00:40 | 0 | 1230 | 00:40 | 0 | 1230 |
| GOLD | 00:40 | 200 | 850 | 00:40 | 400 | 850 | 00:50 | 800 | 850 | 00:50 | 1600 | 850 |
| SILVER | 00:50 | 400 | 760 | 00:50 | 800 | 760 | 01:00 | 1600 | 760 | 01:00 | 3200 | 760 |
| BRONZE | 01:00 | 600 | 660 | 01:00 | 1200 | 660 | 01:10 | 2400 | 660 | 01:10 | 4800 | 660 |
| BOSS BONUS | ||||||||||||
Verse 7
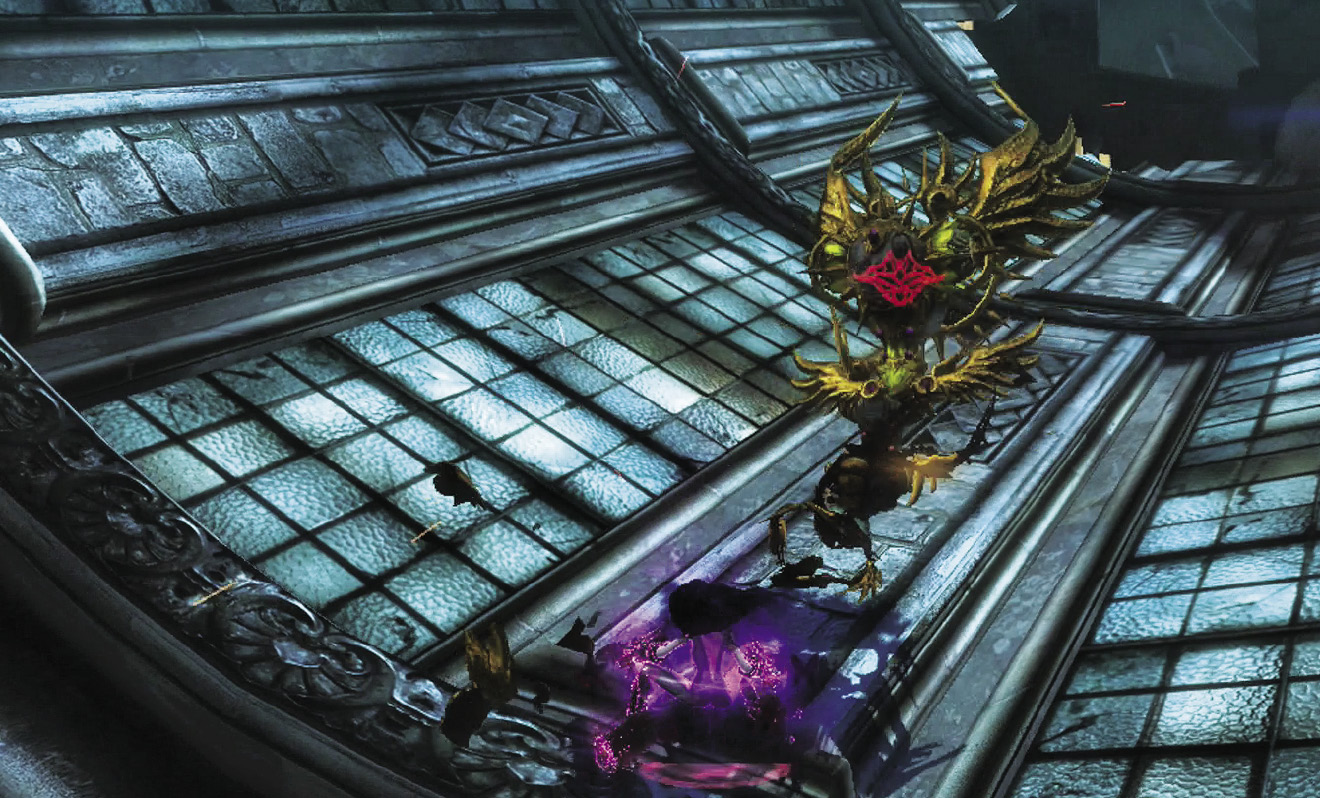
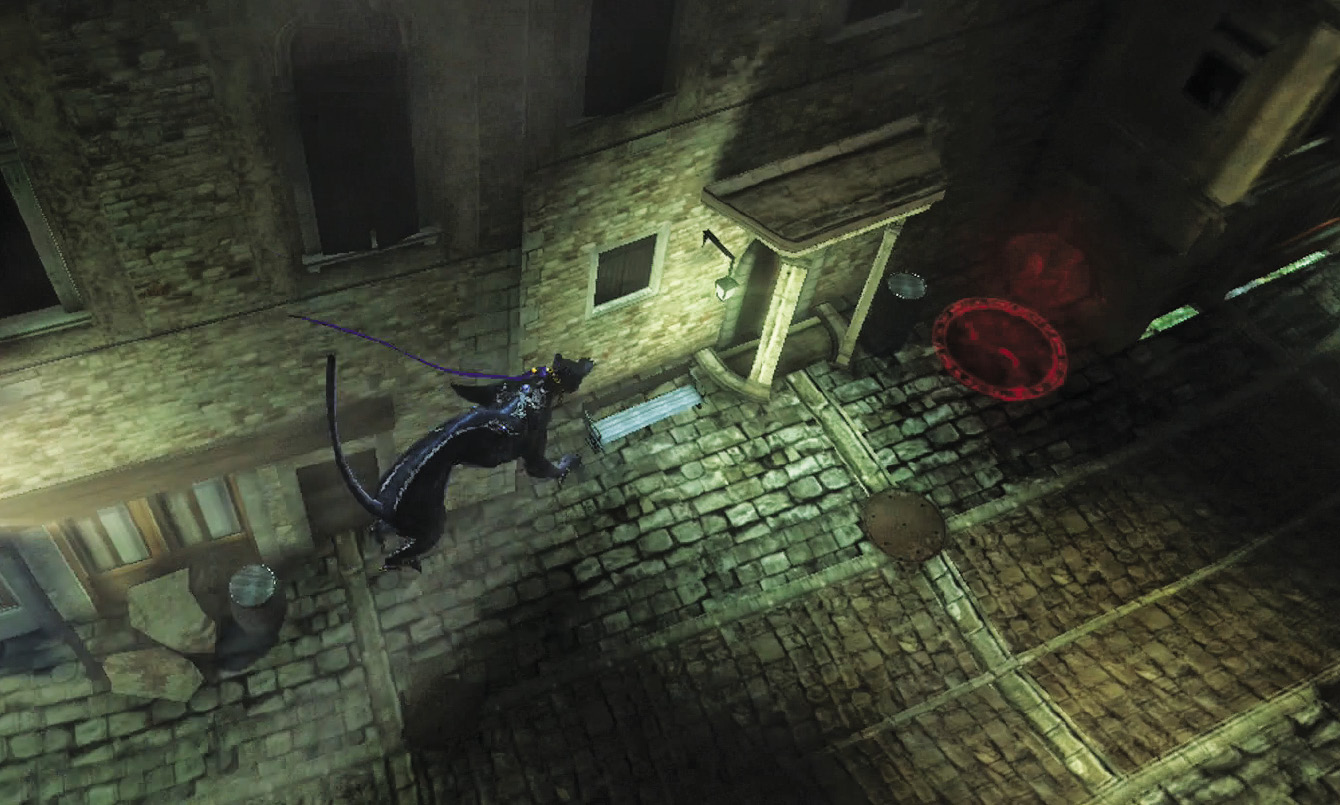
1st Climax/2nd Climax/3rd Climax/∞ Climax (Go for Pure Platinum!)
Suggested Pure Platinum Weapons: Salamandra (Arms)
Enemies: Compassion x6; ∞ Climax: Cachet x1, Compassion x6
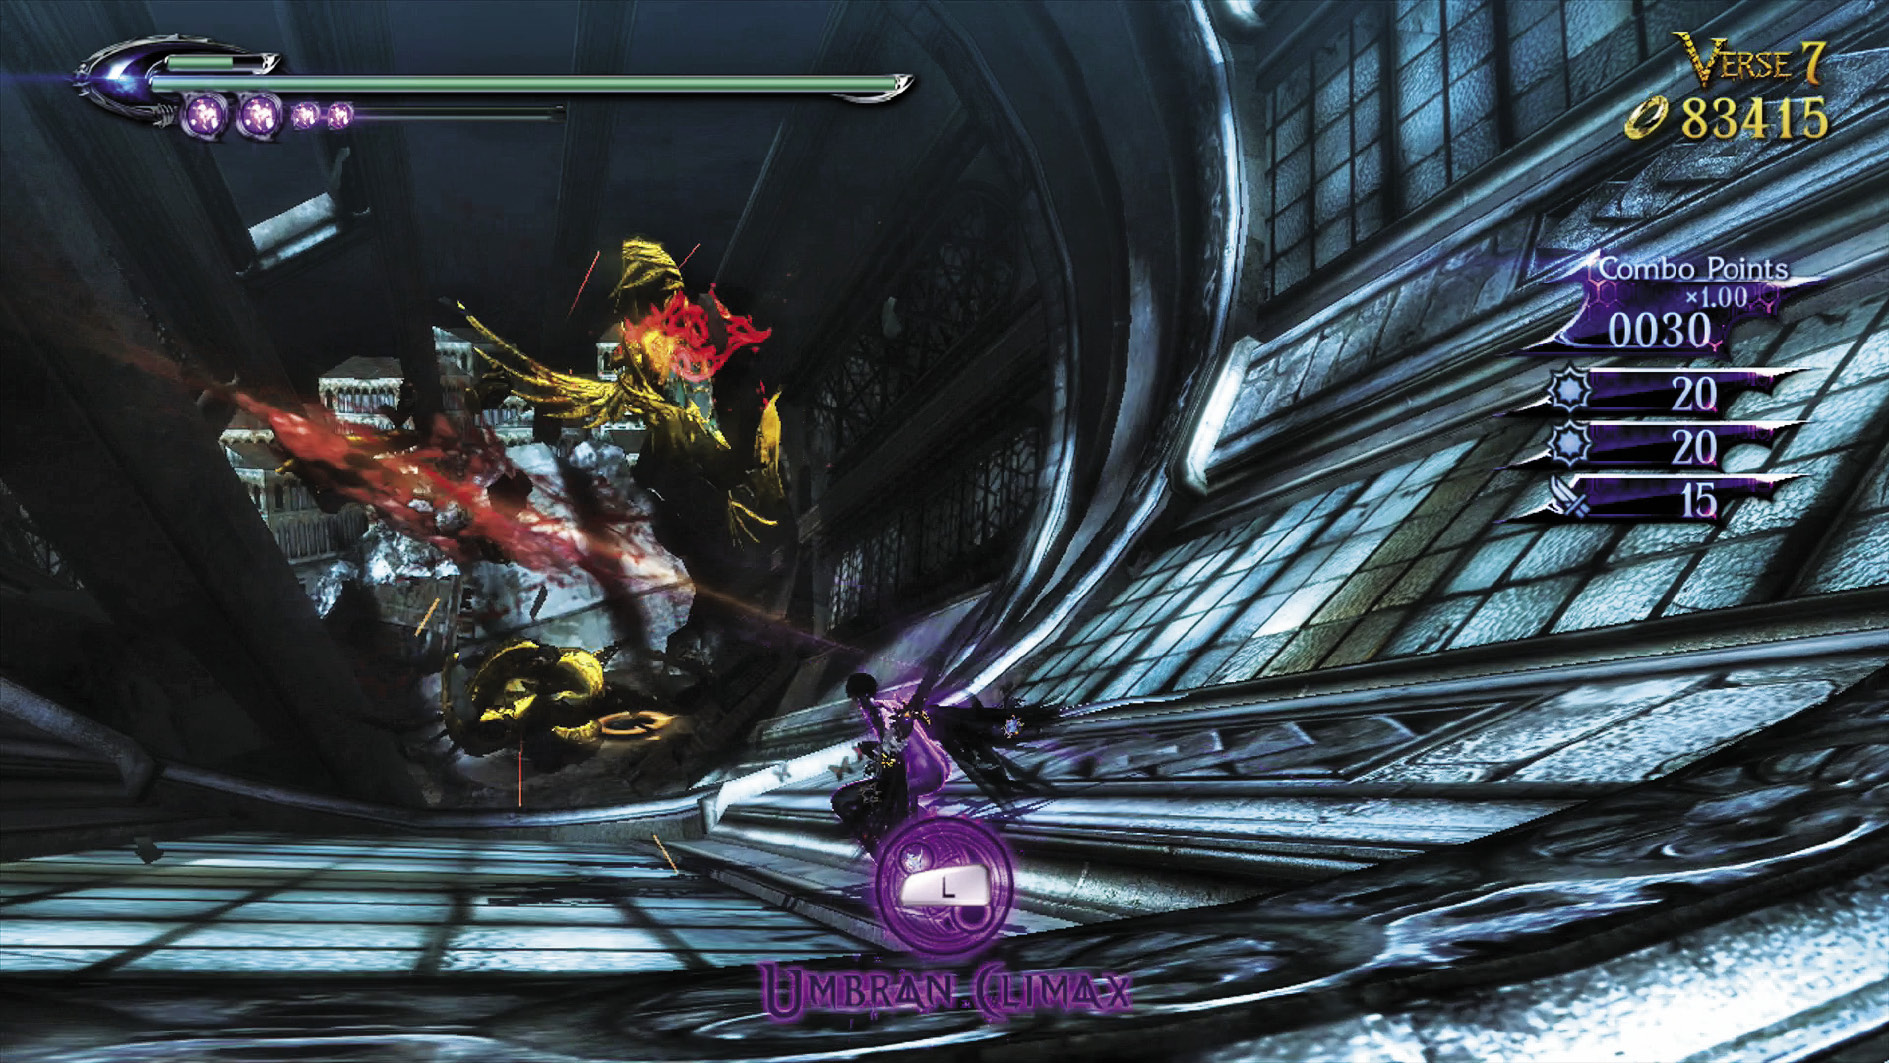
It’s Bayonetta versus a cadre of fast-moving Compassions on a slanted plane! Use jump attacks and the Stiletto technique in the air to keep up with them whenever needed, as well as your guns.
On ∞ Climax a Cachet joins the proceedings. Be on the lookout for its drill attacks, but otherwise, the strategy is the same.
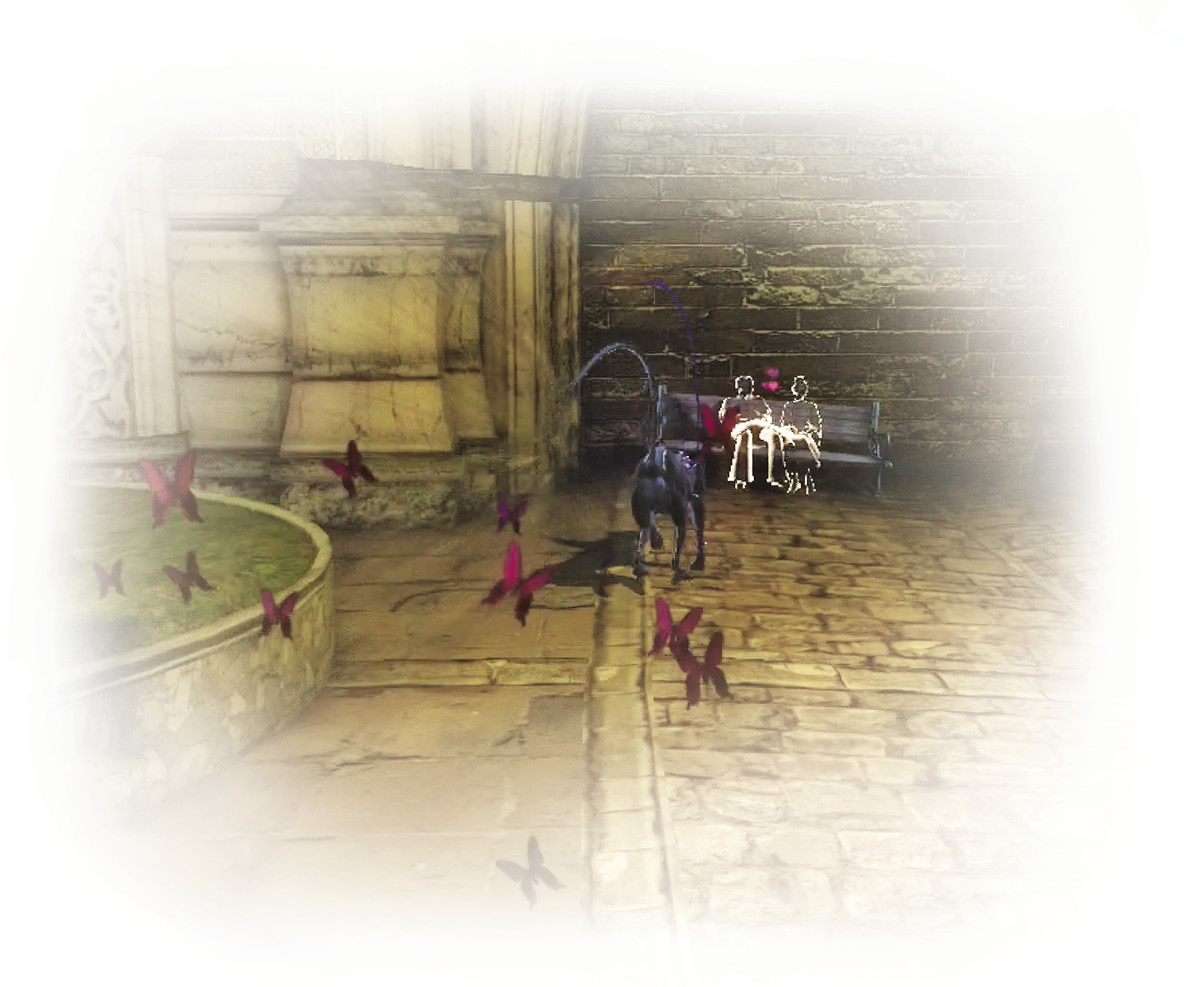
Progress and drop down to see The Gates of Hell to the right. If you go to the left, you’ll see a couple on the bench. If you break the bench and interrupt their quiet time, Verse 8 will be triggered on your way back. Apparently the denizens of Paradiso are a bunch of romantic softies—who knew?
CH4 V7 | 1st Climax | 2nd Climax | 3rd Climax | ∞ Climax | ||||||||
|---|---|---|---|---|---|---|---|---|---|---|---|---|
| Time | Damage | Combo | Time | Damage | Combo | Time | Damage | Combo | Time | Damage | Combo | |
| PLATINUM | 00:25 | 0 | 720 | 00:25 | 0 | 720 | 00:25 | 0 | 720 | 00:30 | 0 | 1290 |
| GOLD | 00:35 | 80 | 580 | 00:35 | 160 | 580 | 00:35 | 320 | 580 | 00:40 | 1500 | 890 |
| SILVER | 00:45 | 160 | 540 | 00:45 | 320 | 540 | 00:45 | 640 | 540 | 00:50 | 3000 | 800 |
| BRONZE | 00:55 | 320 | 500 | 00:55 | 640 | 500 | 00:55 | 1280 | 500 | 01:00 | 4500 | 700 |
| BOSS BONUS | ||||||||||||
Verse 8
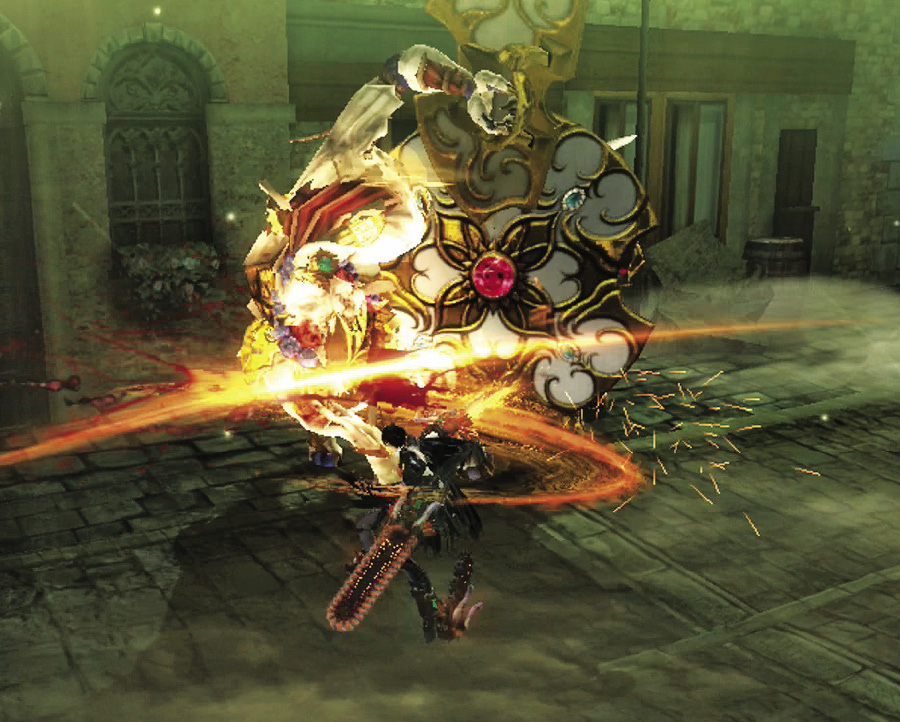
1st Climax/2nd Climax/3rd Climax
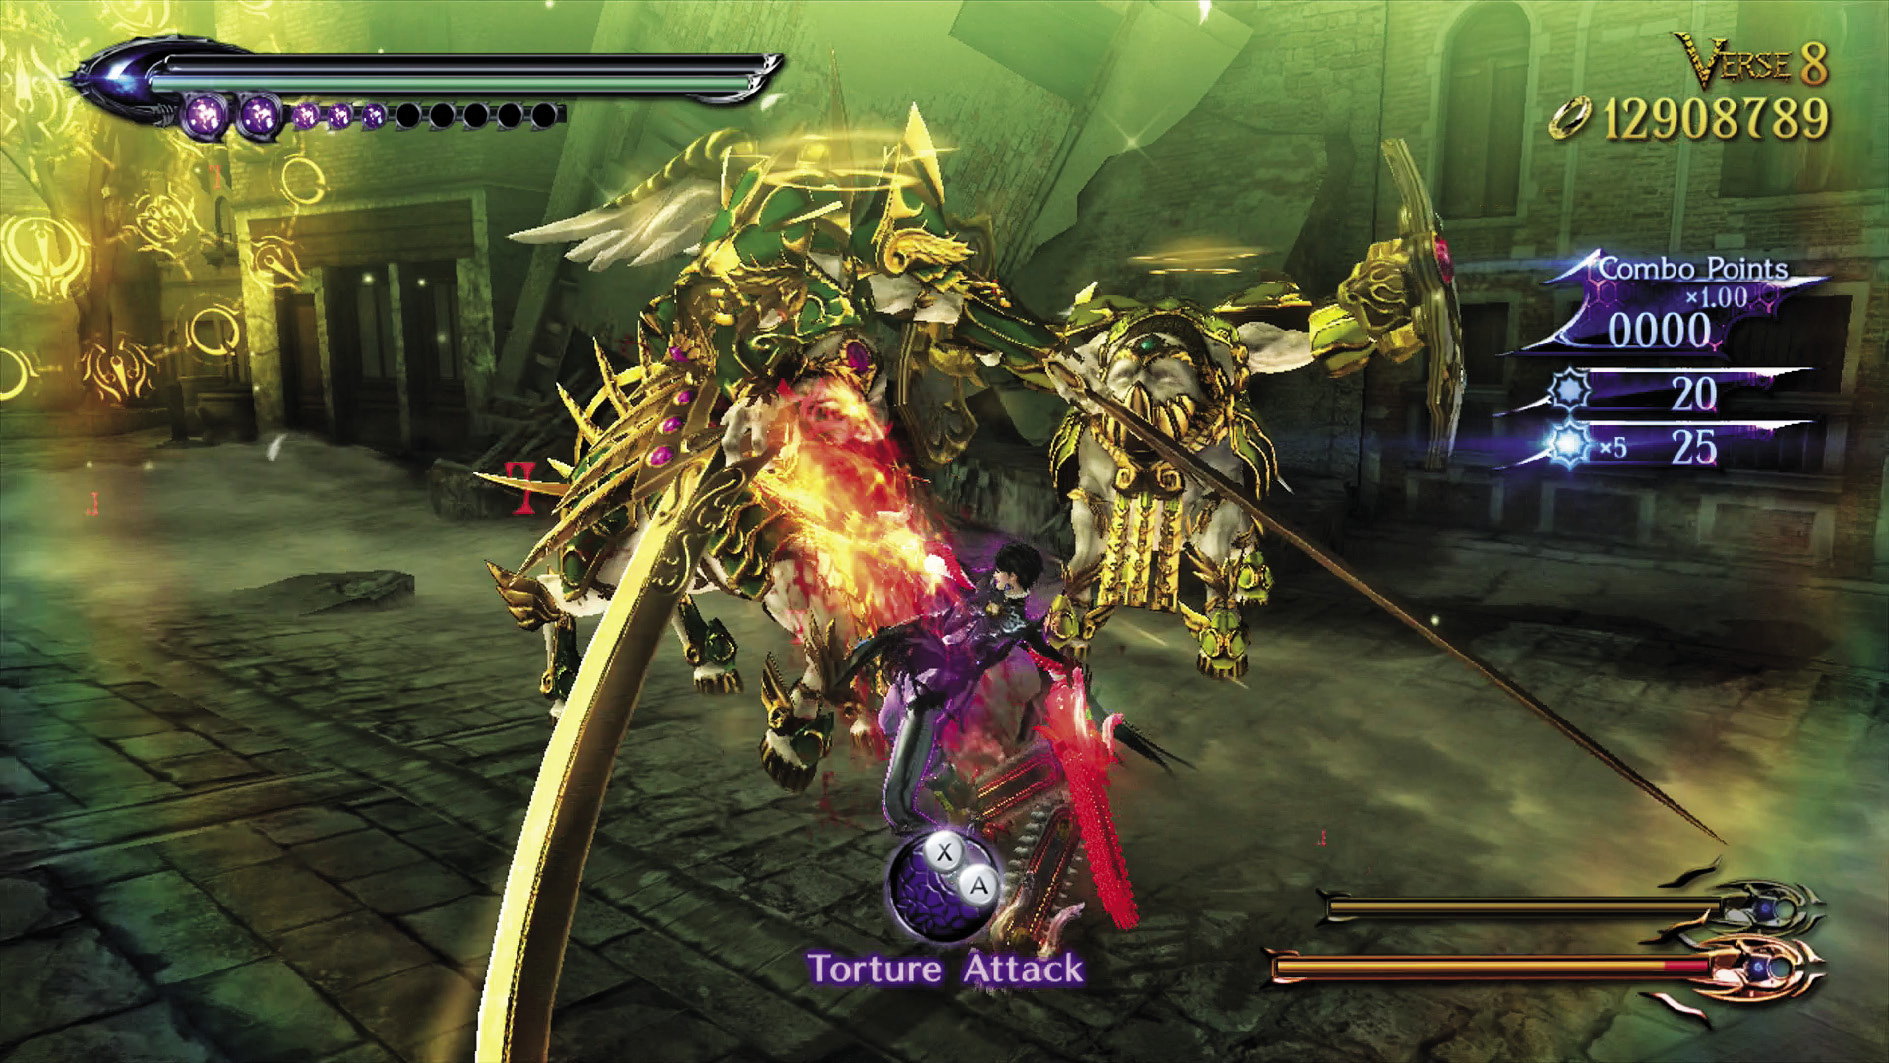
- Enemies: Accolade (Shield) x2
As with all fights involving shield-bearing Accolades, hold off your attacks until you can bait theirs, then go into Witch Time. Try to go into this fight with a good amount of magic power so you can use Umbran Climax quickly.
∞ Climax
- Enemies: Accolade (Twin Blades) x1, Accolade (Shield) x1
This is yet another case of the highest difficulty being arguably easier than the lower ones! The twin blade-wielding Accolade is a great source of Witch Time. Use that Witch Time to dispatch the shield-bearing Accolade, then go for the other.
Go for Pure Platinum!
Suggested Weapons: Salamandra (Arms)
Follow the above strategies and do whatever it takes to defeat both enemies in a single combo to attain the Pure Platinum for the Verse.
With those troublesome enemies taken care of, there’s only one way to go now, and that’s forward to the boss!
CH4 V8 | 1st Climax | 2nd Climax | 3rd Climax | ∞ Climax | ||||||||
|---|---|---|---|---|---|---|---|---|---|---|---|---|
| Time | Damage | Combo | Time | Damage | Combo | Time | Damage | Combo | Time | Damage | Combo | |
| PLATINUM | 01:00 | 0 | 3750 | 01:00 | 0 | 3750 | 01:00 | 0 | 3750 | 00:30 | 0 | 3090 |
| GOLD | 01:10 | 200 | 2100 | 01:10 | 400 | 2100 | 01:10 | 800 | 2100 | 00:40 | 2000 | 1810 |
| SILVER | 01:20 | 400 | 1690 | 01:20 | 800 | 1690 | 01:20 | 1600 | 1690 | 00:50 | 3000 | 1480 |
| BRONZE | 01:30 | 800 | 1280 | 01:30 | 1600 | 1280 | 01:30 | 3200 | 1280 | 01:00 | 6000 | 1160 |
| BOSS BONUS | ||||||||||||
Verse 9
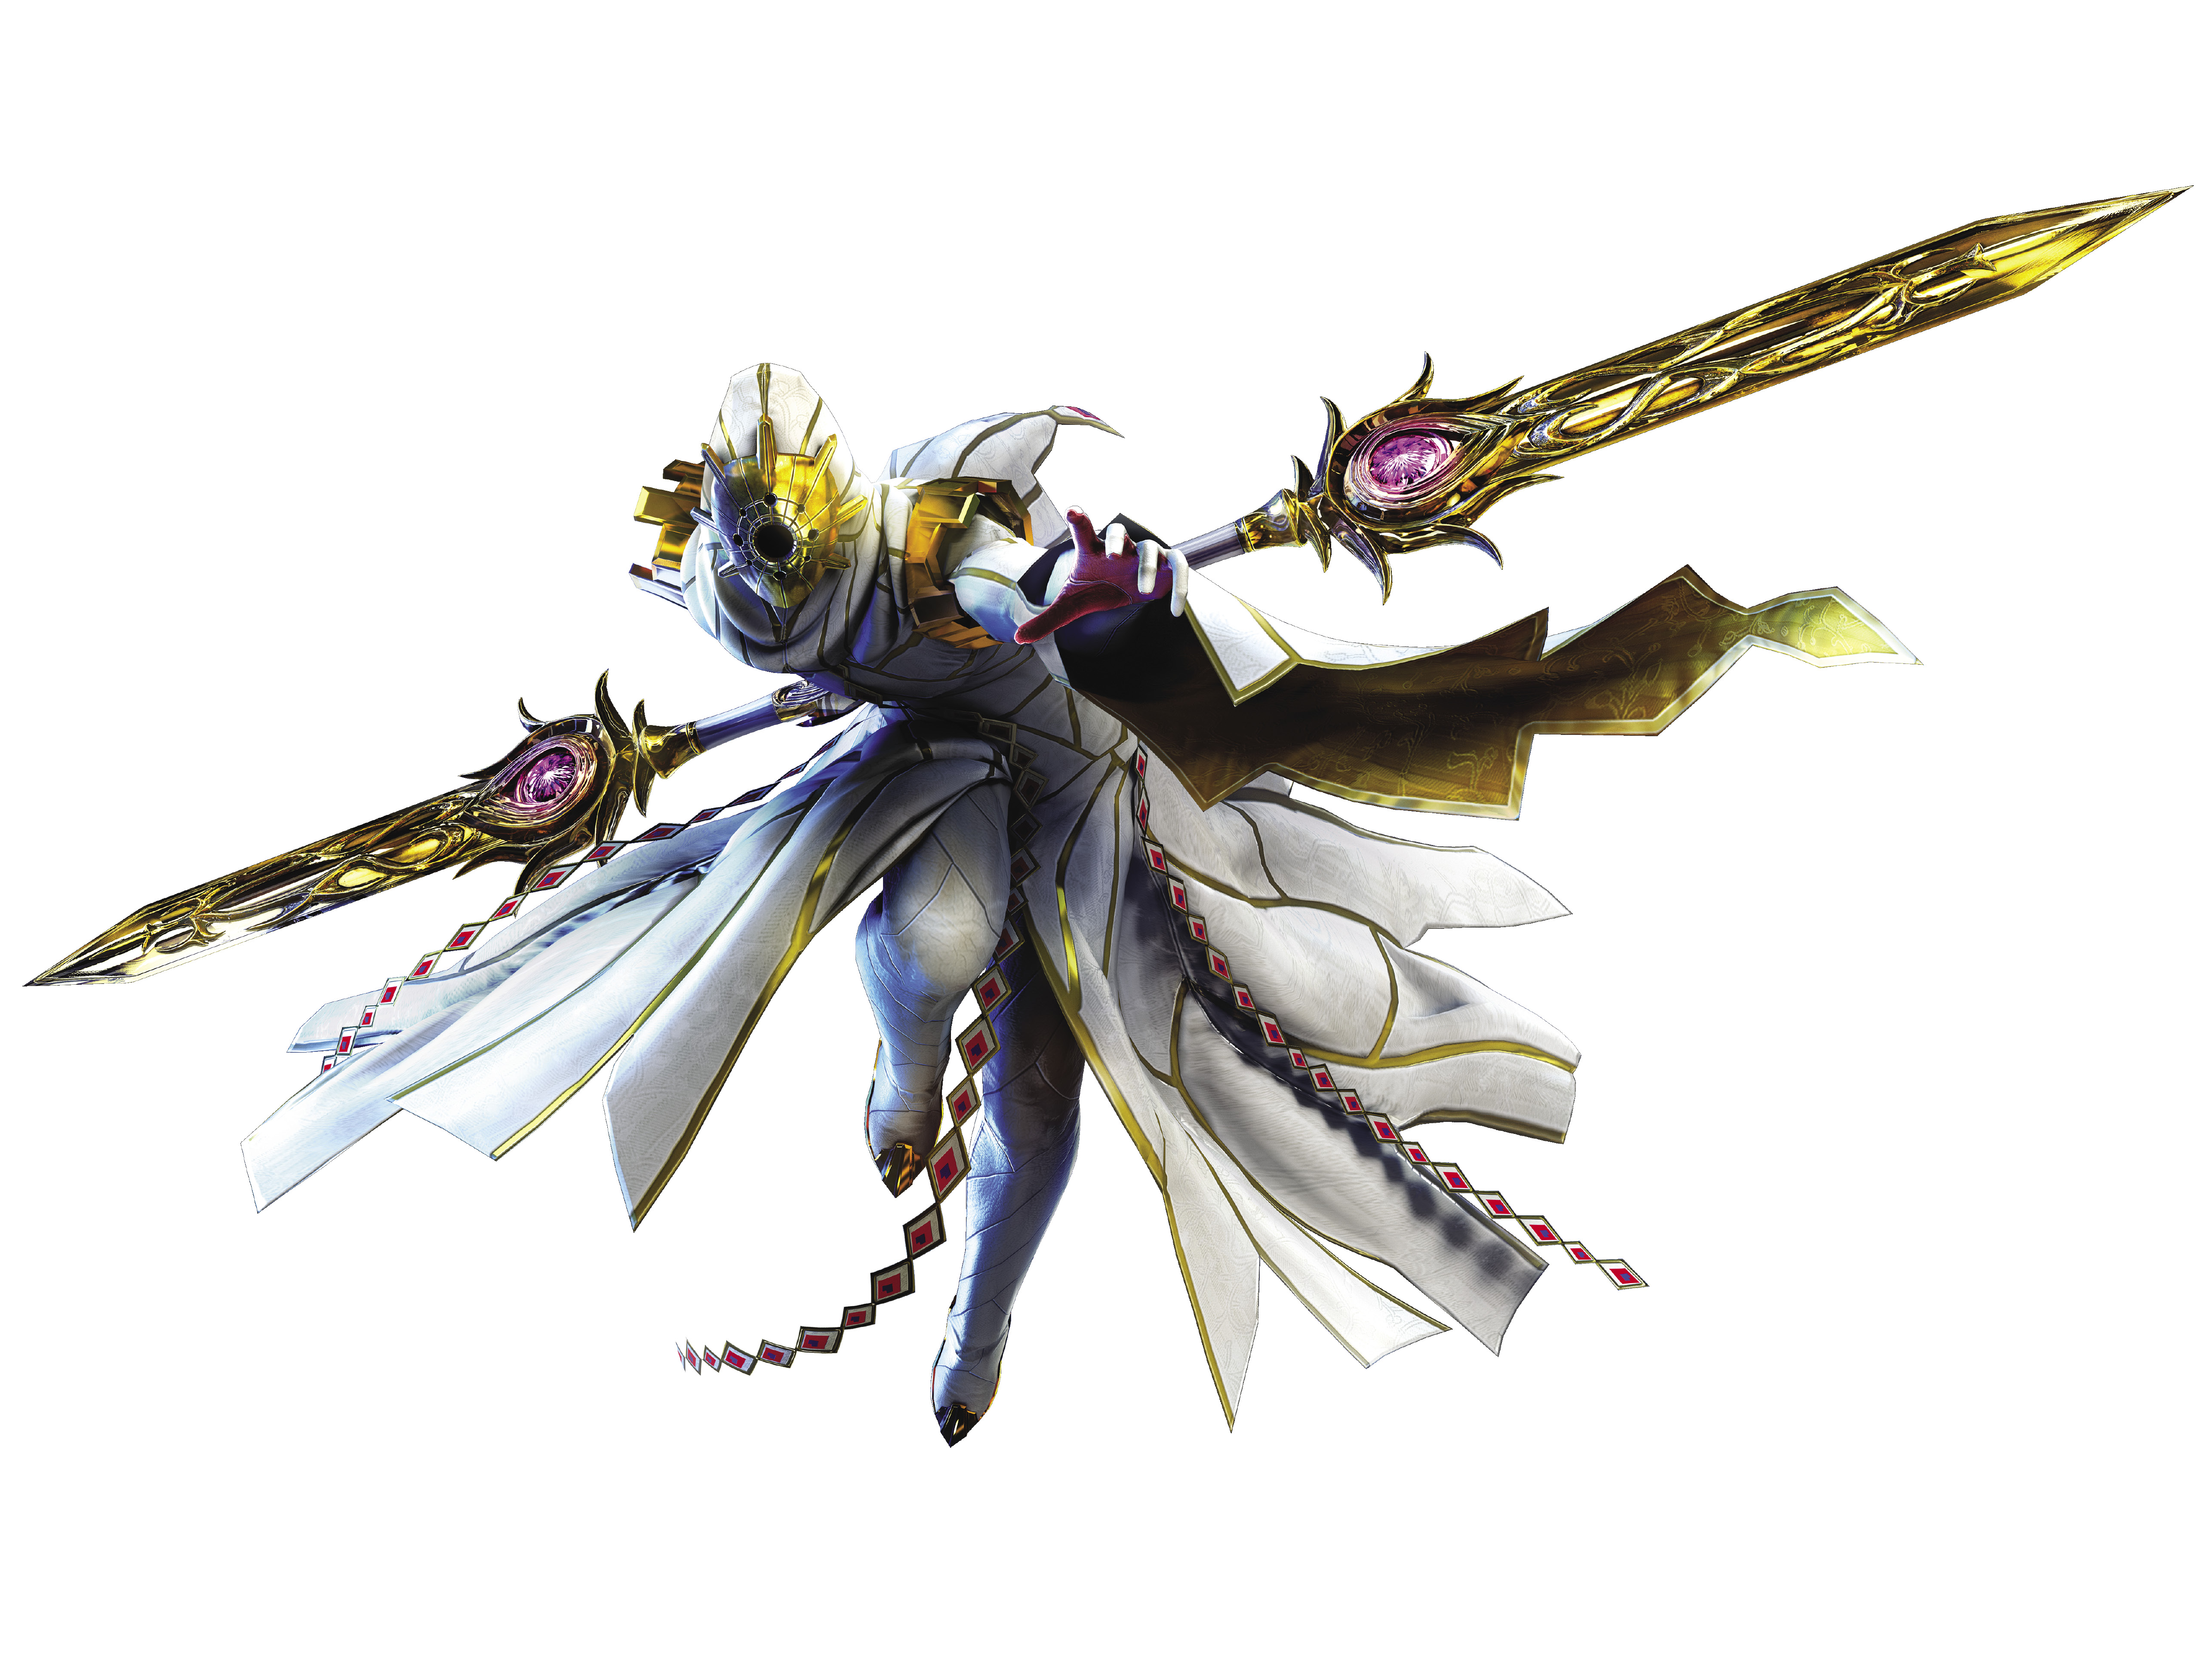
Boss: Masked Lumen
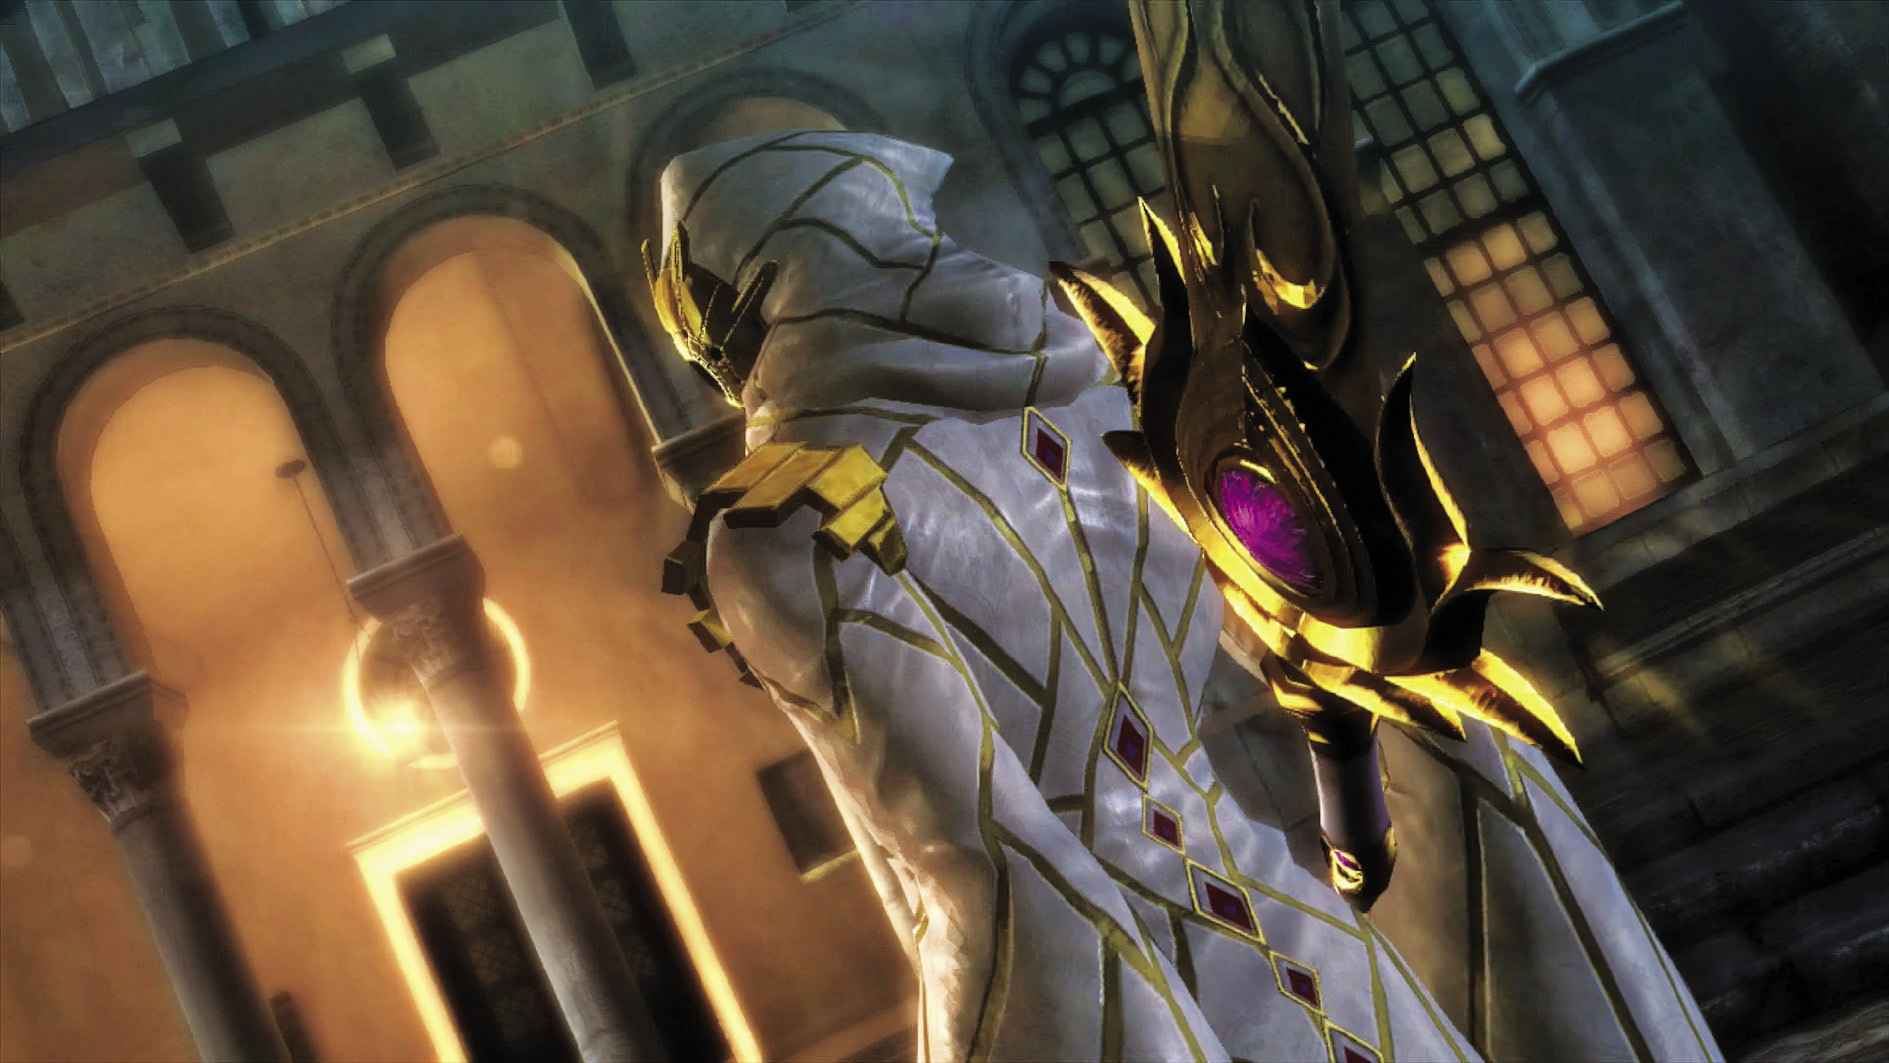
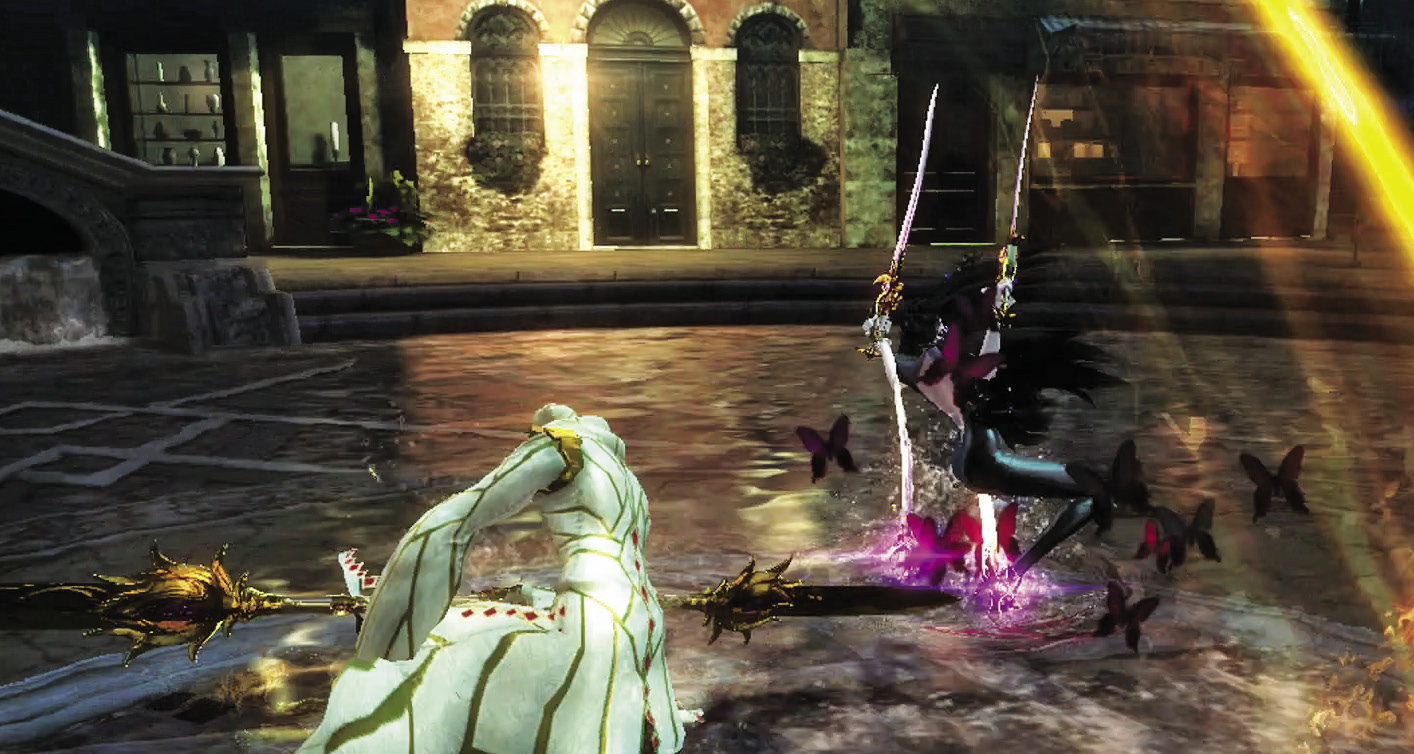
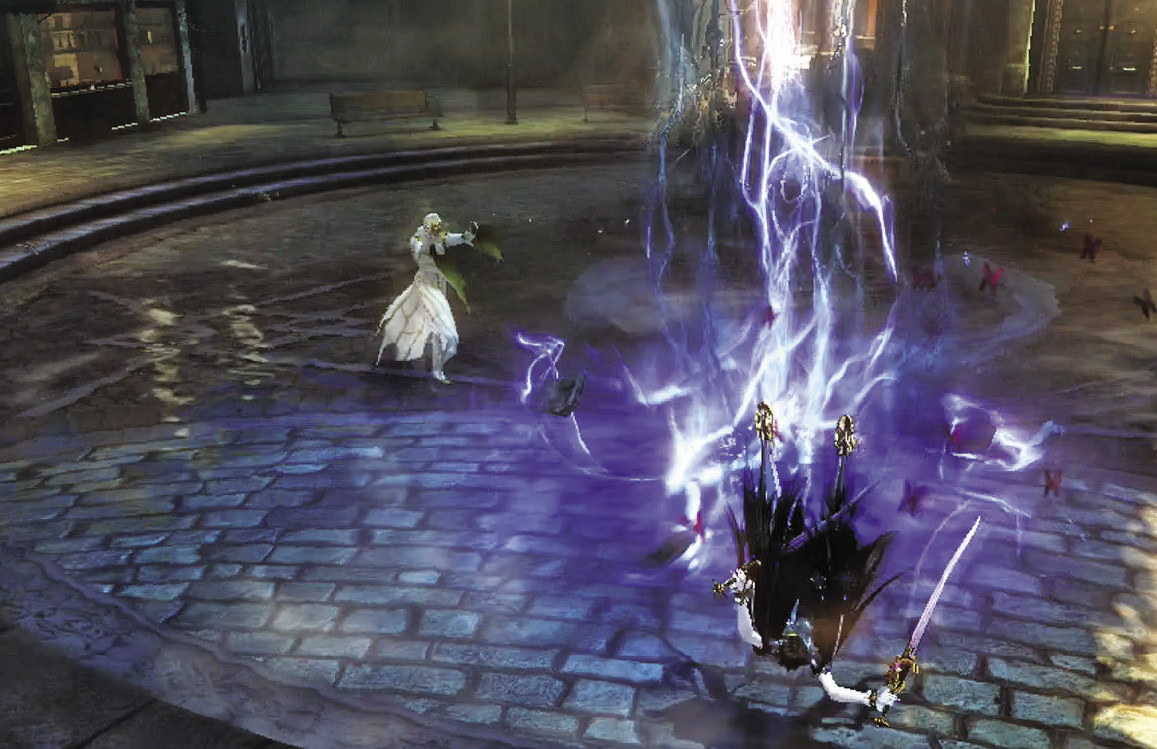
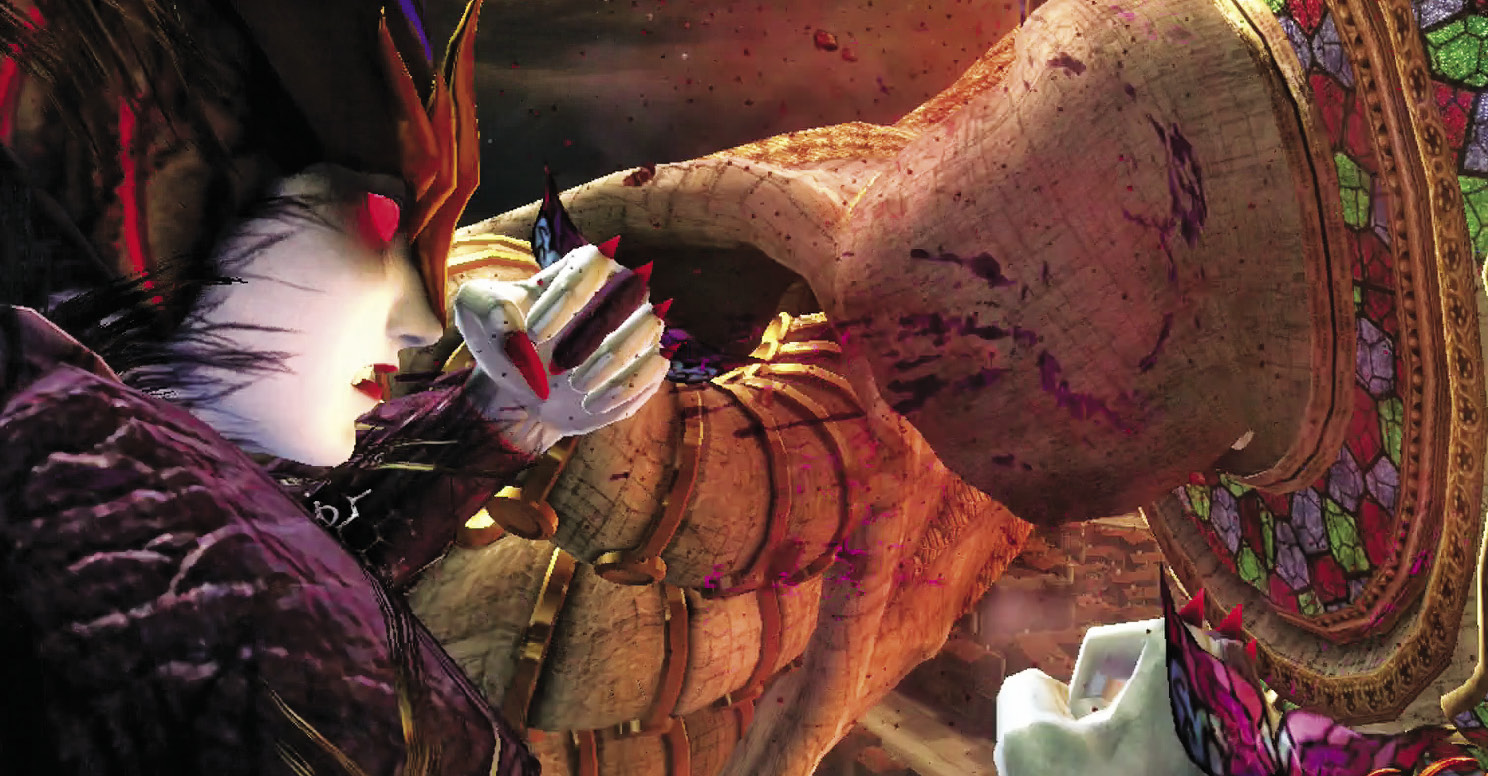
The Masked Lumen has arrived, and he fights for no justice but his own. This won’t be the last time he shows up to get in Bayonetta’s way, and because he’s a Lumen Sage, his powers are comparable to hers! There are four phases to this fight, each larger in scale than the previous one.
The good news is that you can use a handy strategy to gain the upper hand, maintain it for the duration of the fight, and gain Pure Platinum once you’ve mastered your tactics. The bad news is that it requires learning just about all of his attacks—and because he moves like lightning, you’ll probably get hit a lot during the learning process. Still, great rewards lie on the other side. Let the training commence.
1st Climax/2nd Climax/3rd Climax/∞ Climax (Go for Pure Platinum!)
Suggested Weapons: Rakshasa (Arms)
- Enemy: Masked Lumen (4 Phases)
Phase 1
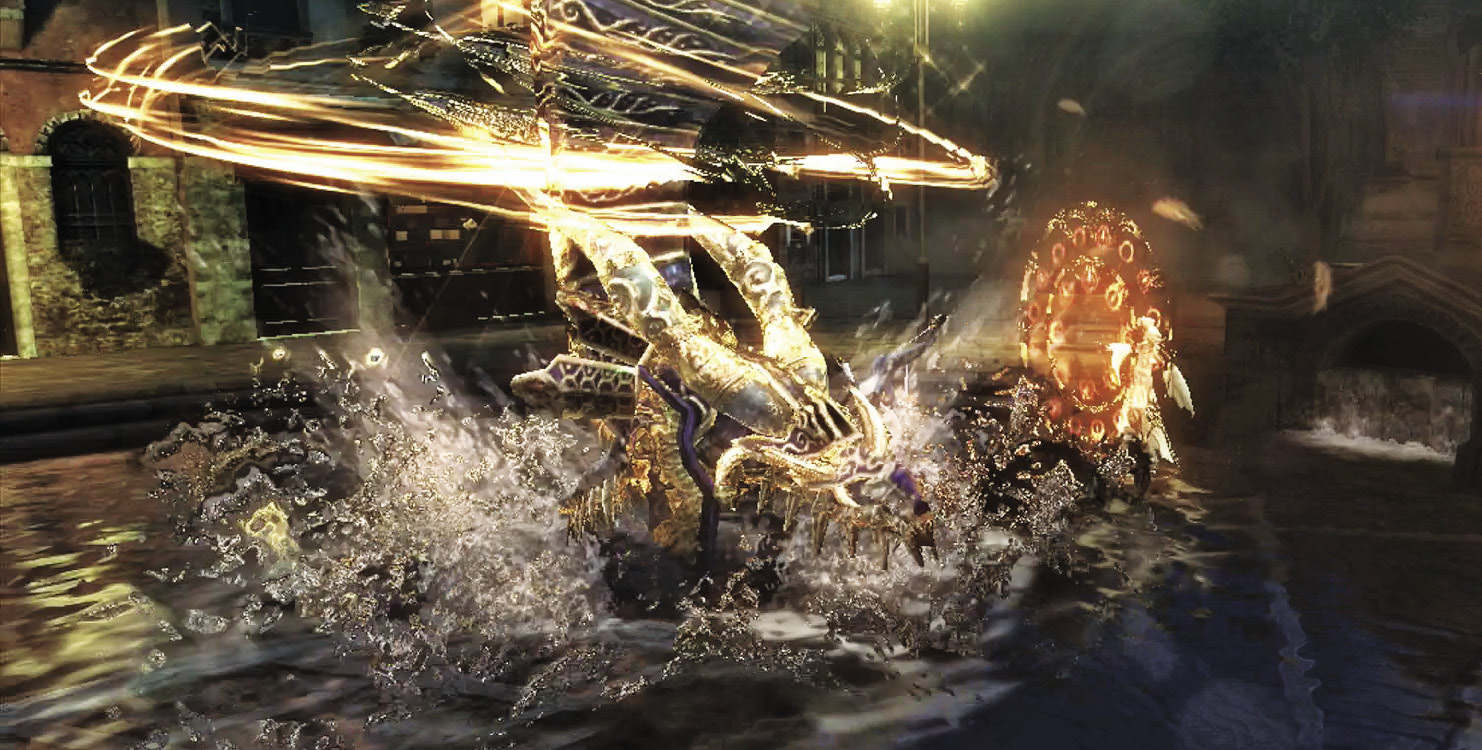
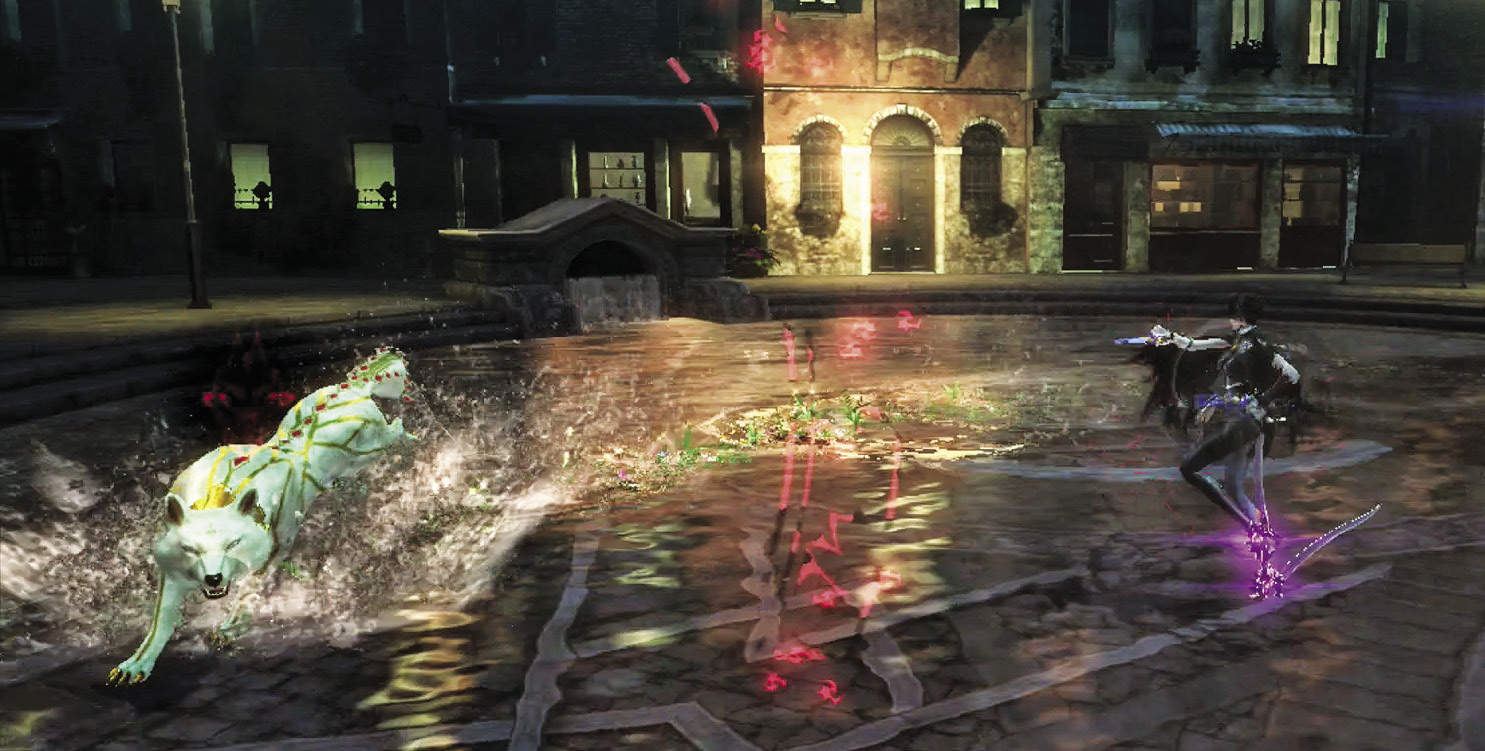
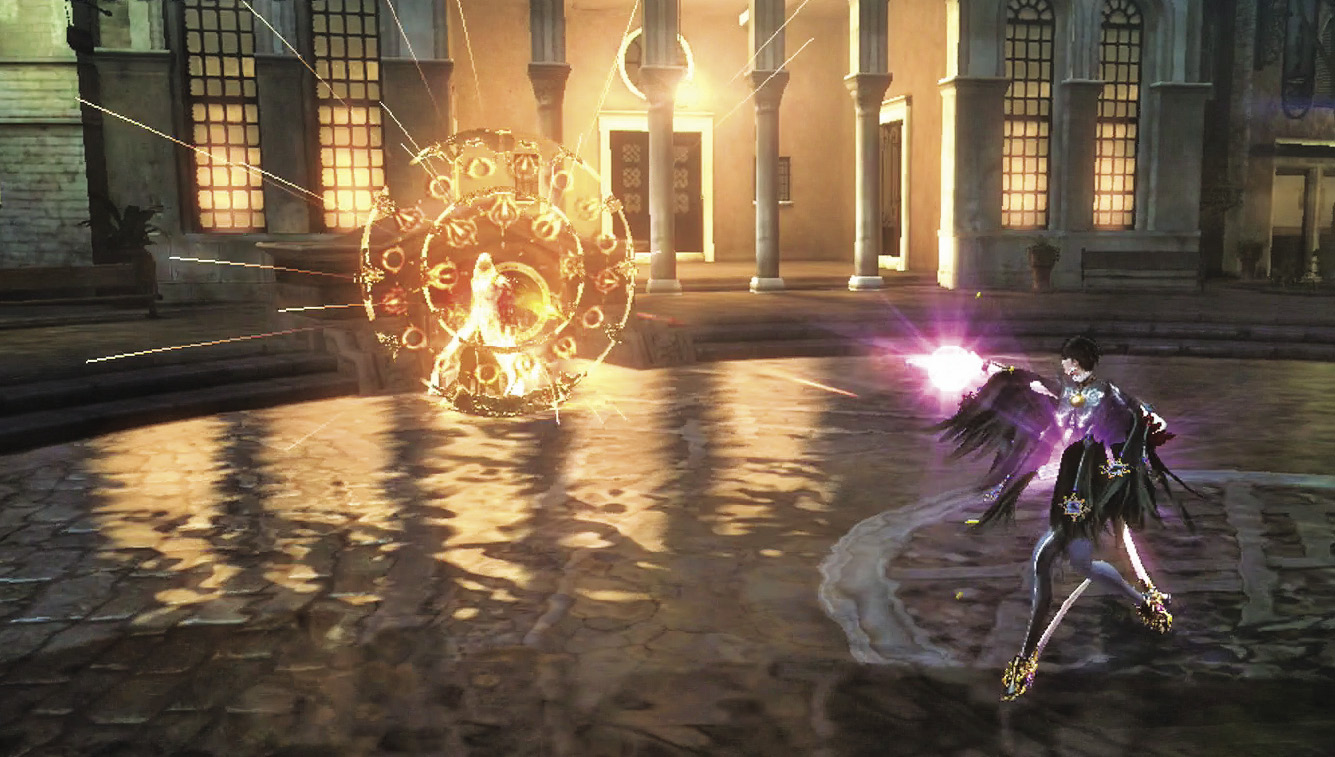
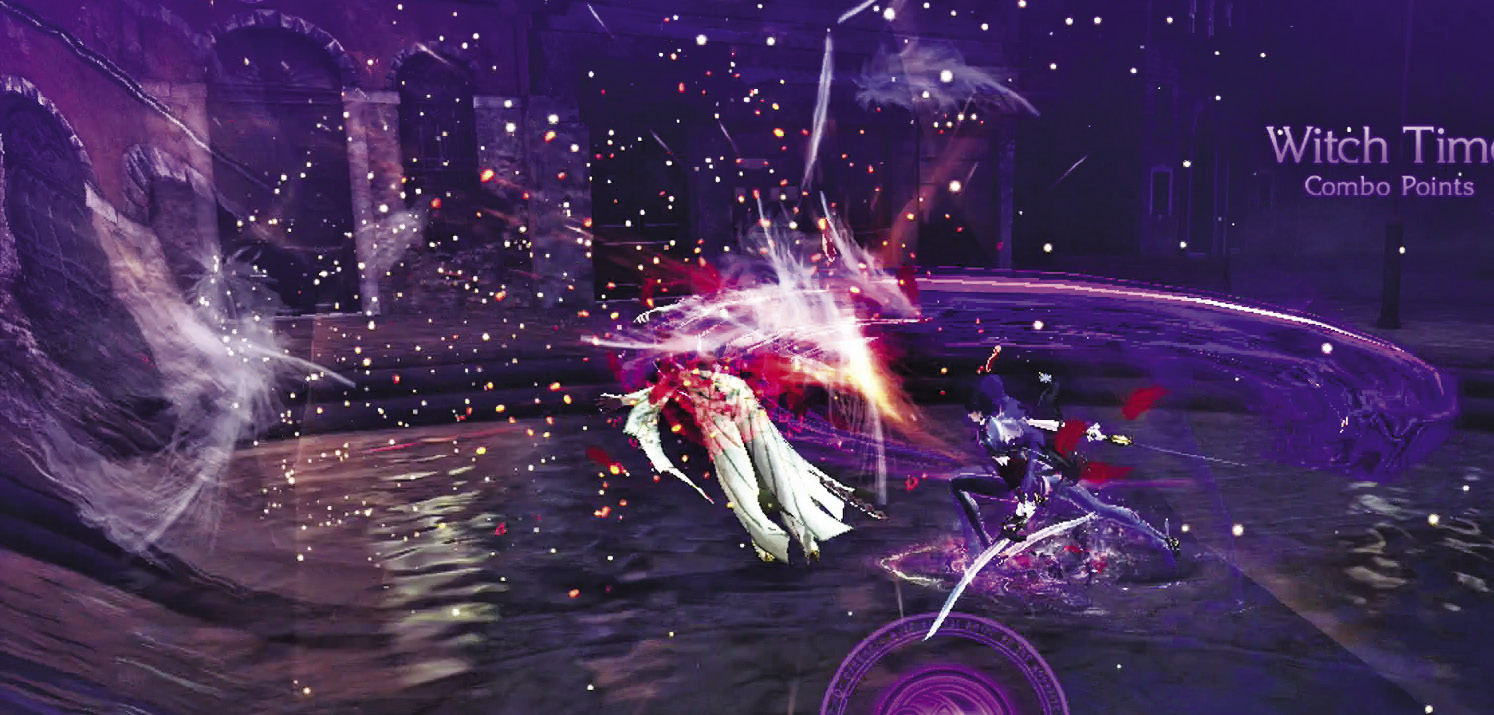
The Masked Lumen has a variety of attacks at his disposal. He will lunge at you with his spear, throw his spear at you, send fireballs at you, send the Lumen Sage equivalent of an Infernal Weave toward you, change into a wolf and pounce, or cause magical geysers to erupt from the ground. All of these attacks are highly telegraphed and can be dodged with little trouble—simply do so whenever you’re about to be struck. The problem comes from the speed with which these attacks are launched, which will take some getting used to.
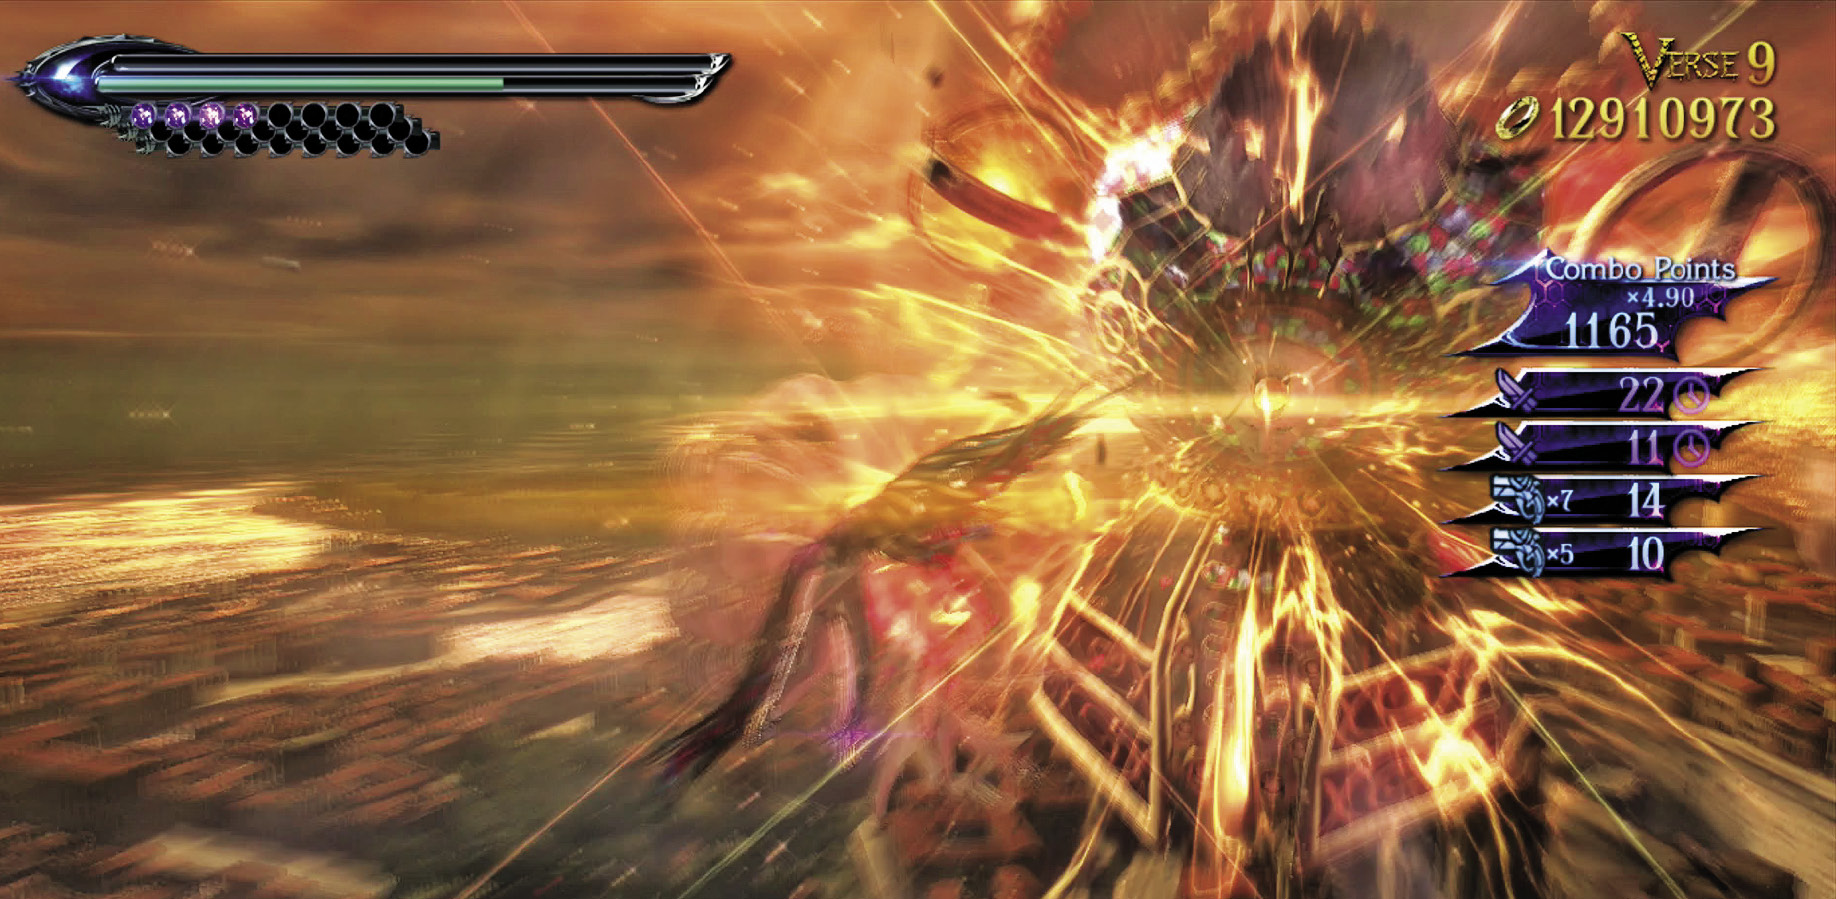
Once you’ve gotten the hang of dodging the Lumen’s attacks, follow this specific attack strategy: Dodge an attack, then while Witch Time is active, perform no more than four P slashes with Rakshasa. Vary your hits based on the Masked Lumen’s movements—if he’s too far, you might not want to go for the full assault. Once your combo is complete, instantly dodge away and fire your Action button gun full-auto. The Masked Lumen puts up a shield, but he lowers it before six seconds have passed, and you can tag him. The Masked Lumen will then continue his assault. Stay mobile while using your gun until you’re ready to dodge another of his attacks.
Repeat the dodge/slash/gun process, making sure not to lose your combo if you can help it. If you have Umbran Climax stored up, you can sometimes use it to get in some extra hits outside of this overall strategy unless you’re on ∞ Climax difficulty (see below).
Phase 2
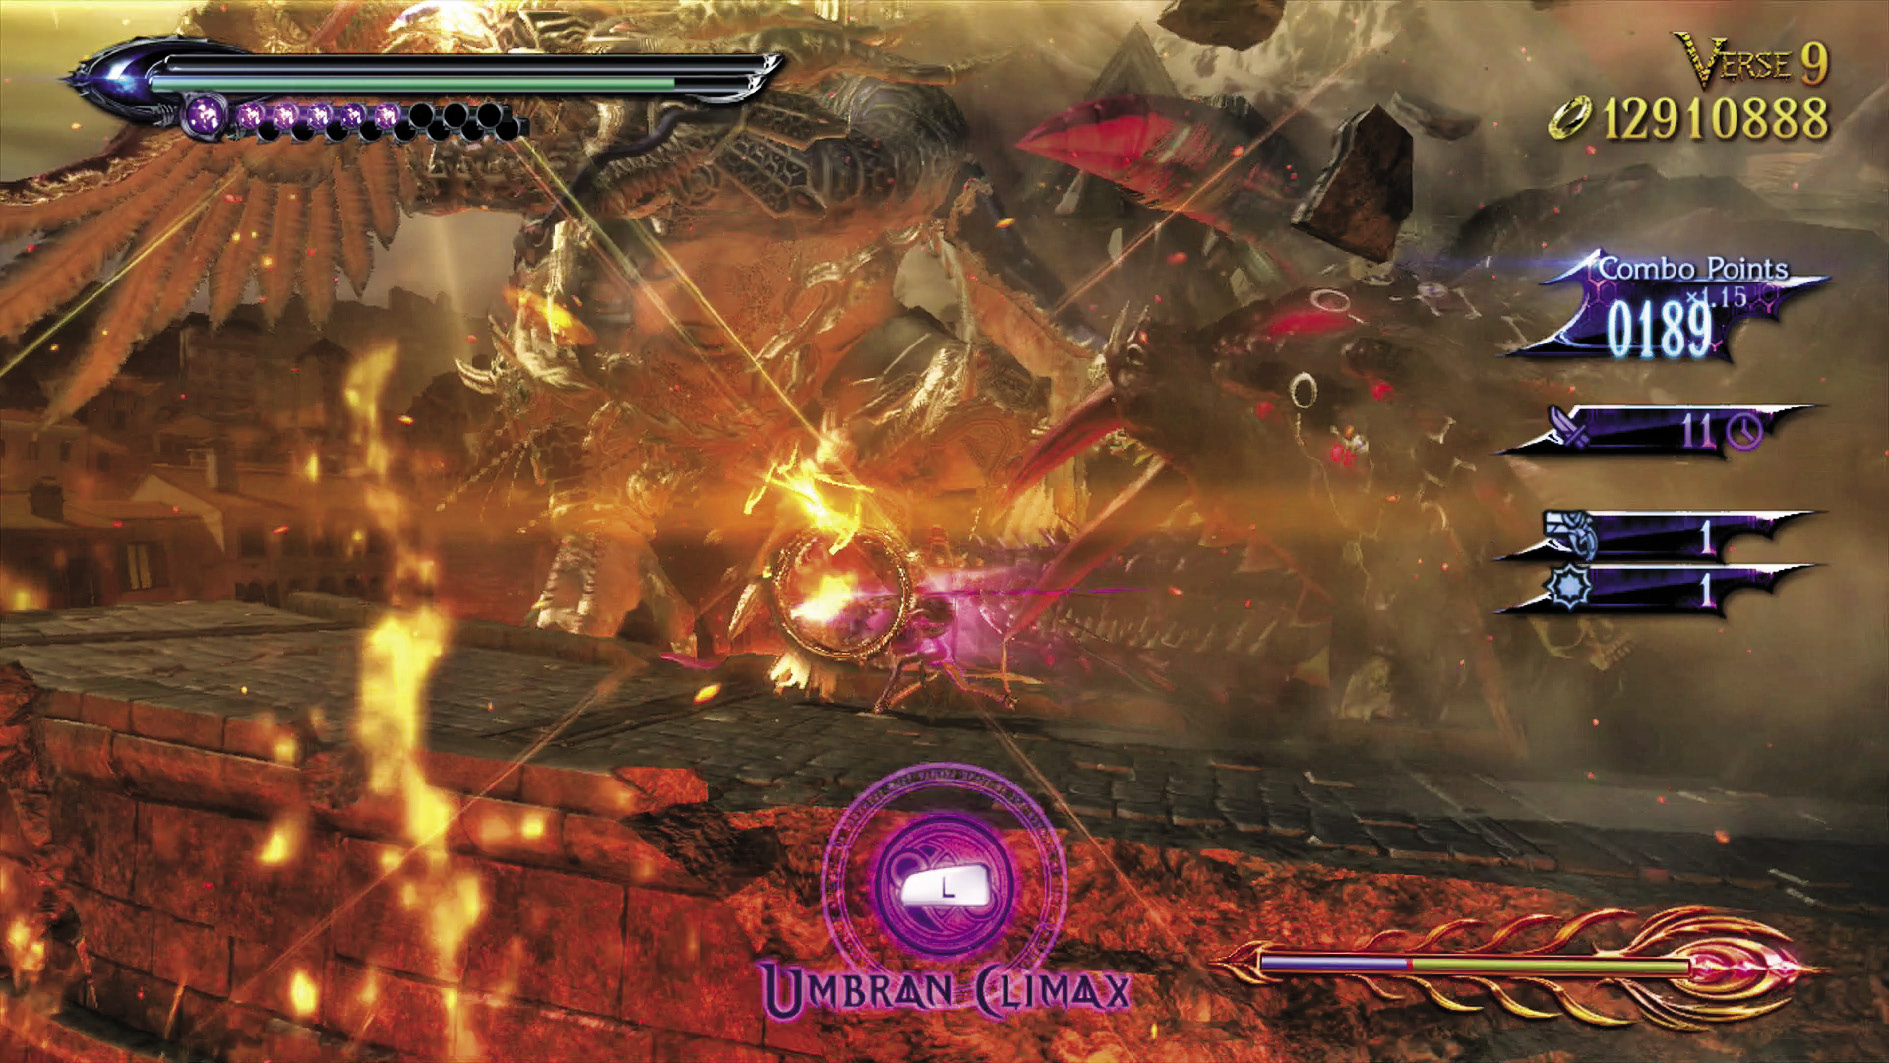
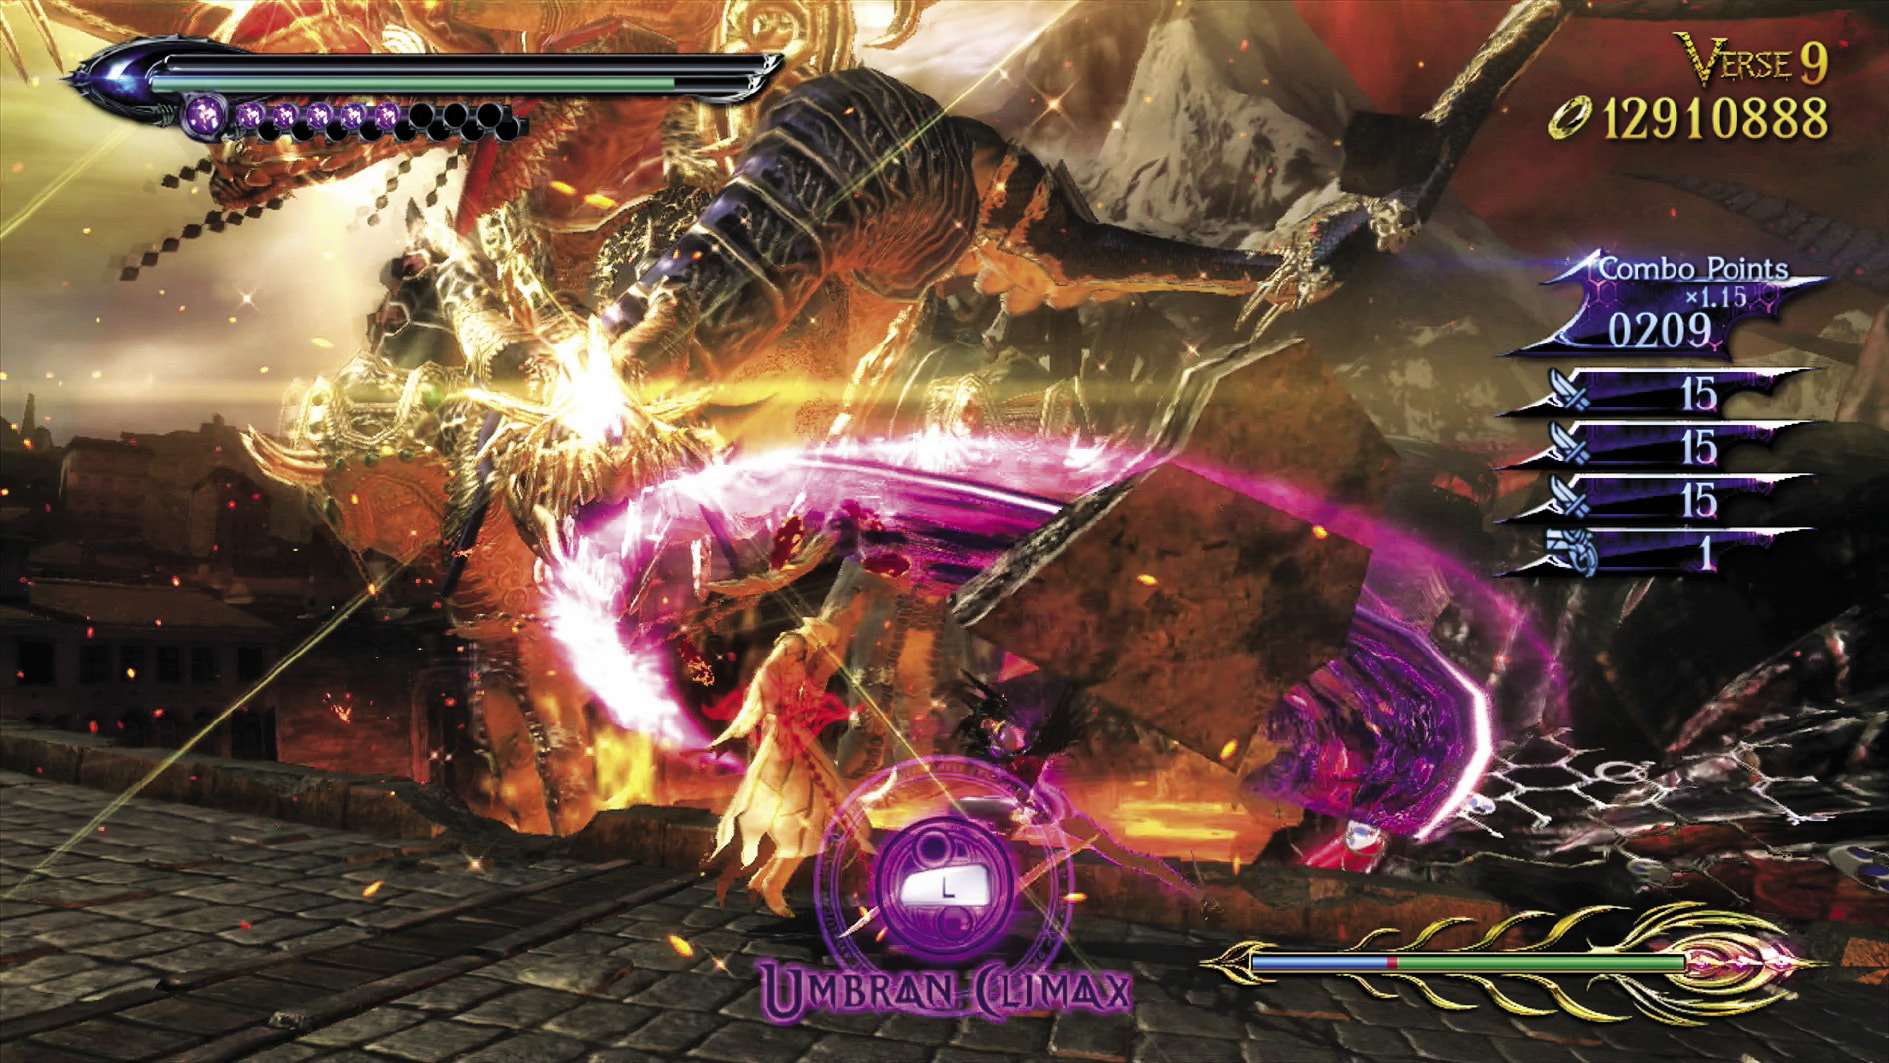
During this phase, follow the same strategy as the above, but there’s one more attack opportunity, and it’s a golden one. During this phase of the fight, the Masked Lumen stands in place as he calls for his angel to launch an attack. If you let him go through with it, an earthquake rocks the platform you’re fighting on for massive damage (though this can be dodged). However, a PPP combo from Rakshasa can spoil the Masked Lumen’s plans, and leave him open to a full PPPPP combo! Use this to greatly raise your score multiplier and do heavy damage.
Phase 3
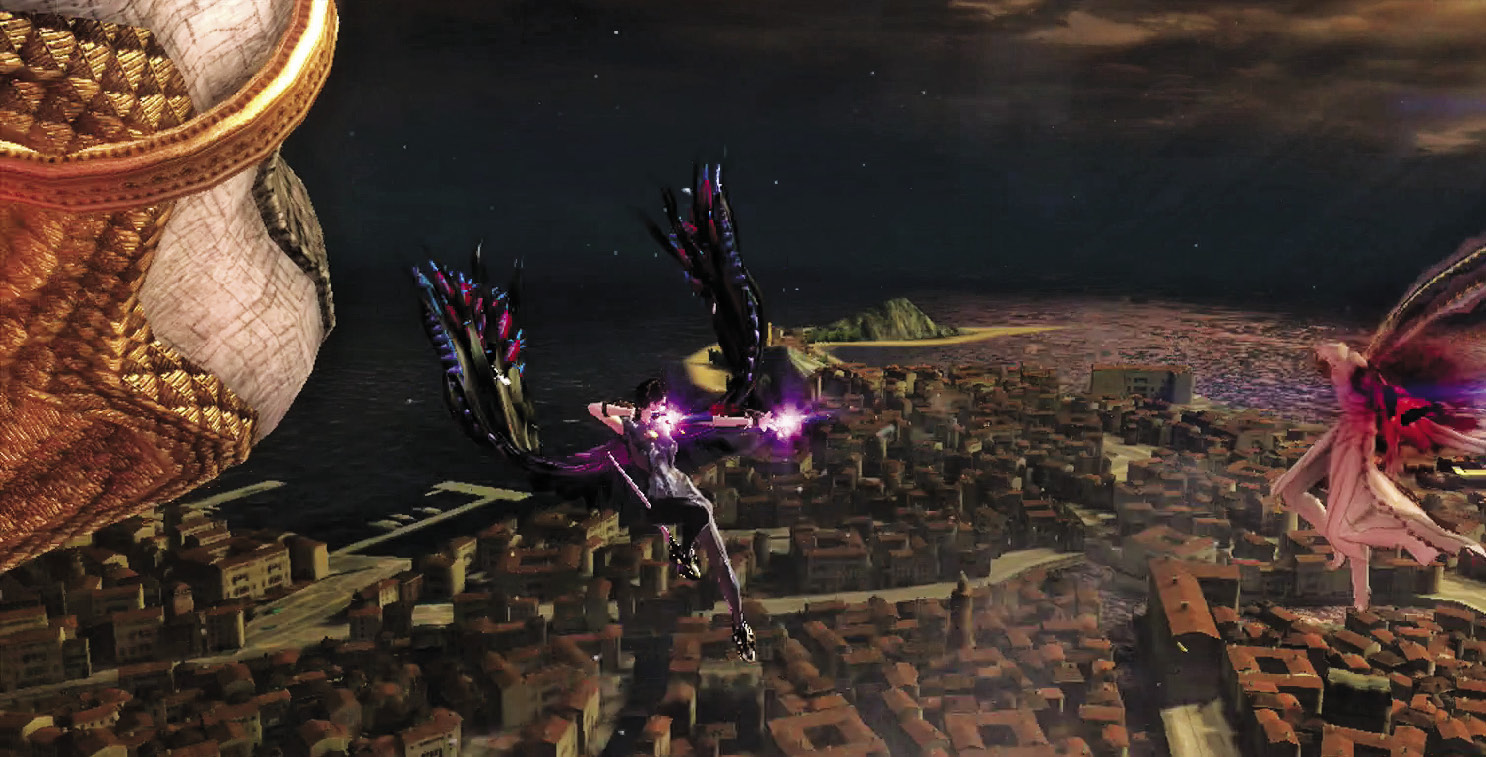
You’re flying this time around, but follow the same strategy as in the first two phases. This time the angel fires a giant laser instead of causing an earthquake. It can still be dodged with the correct timing.
Phase 4
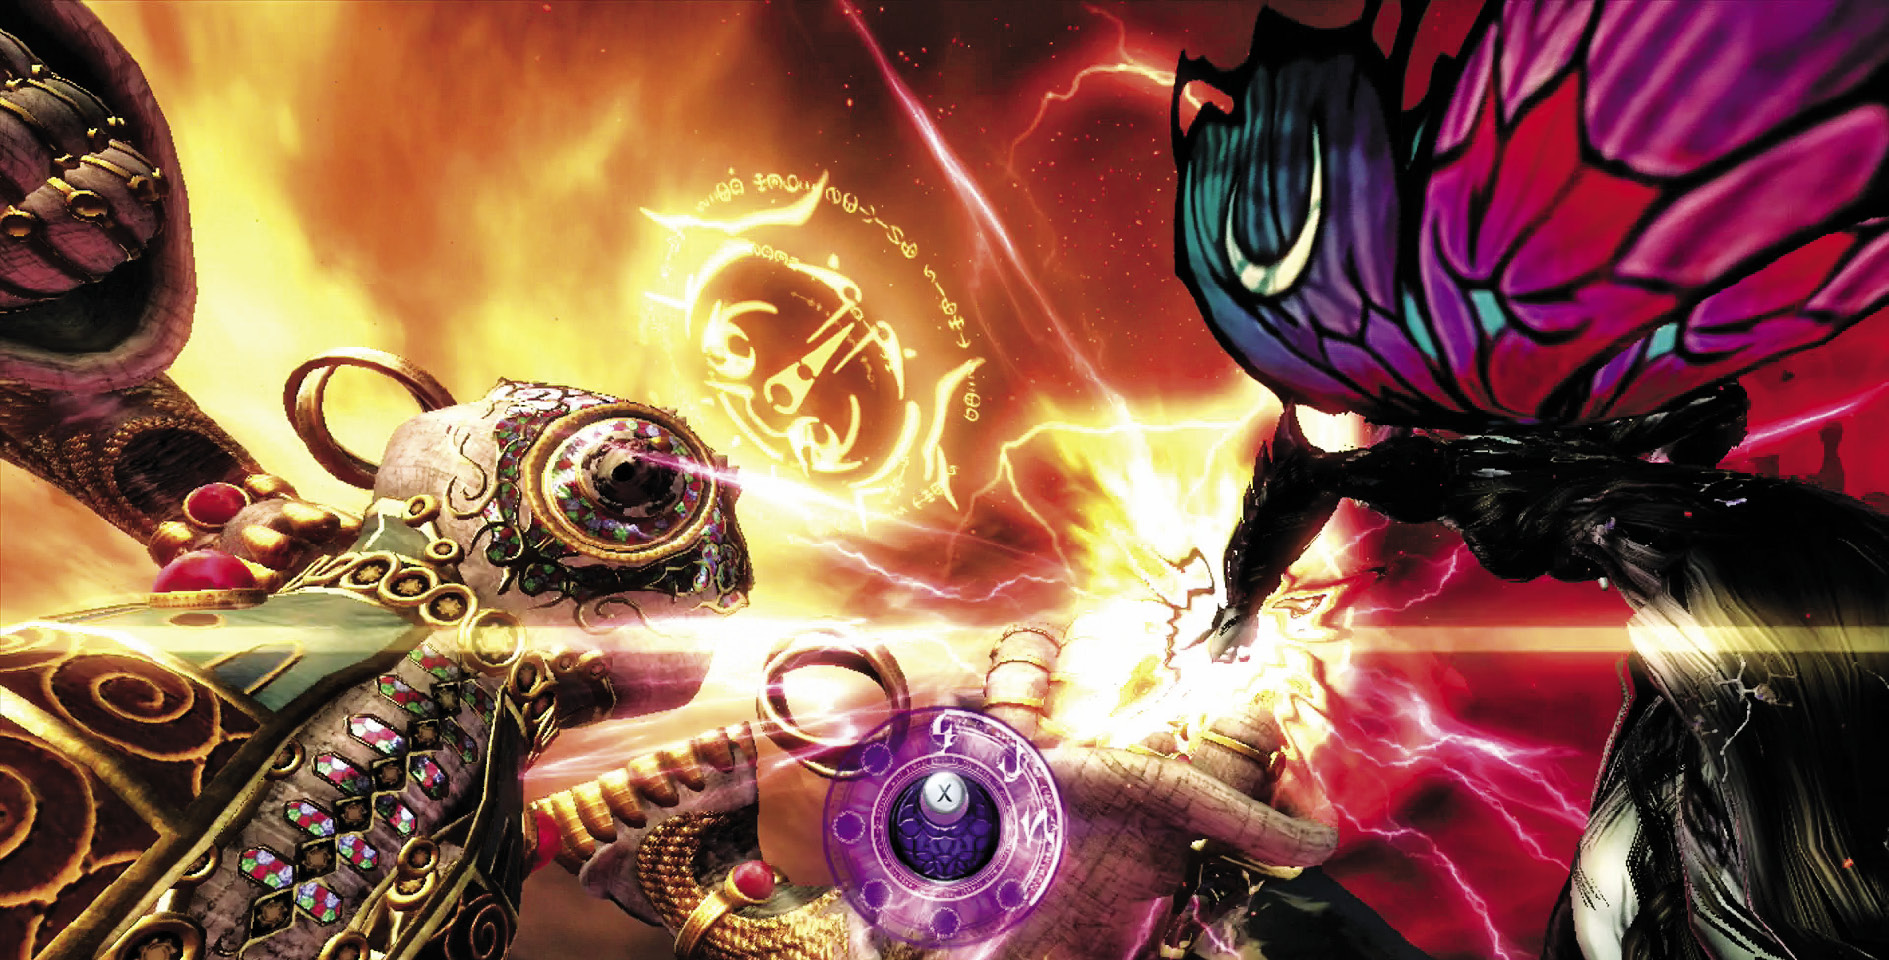
Madama Butterfly joins the brawl! Use the P and K buttons to send her fists flying at the Masked Lumen’s angel. Be sure to dodge the angel’s punches to trigger Witch Time.
After this phase, there’s a climactic Quick Time Event. Repeatedly press X for maximum bonus Halos. Bayonetta’s battle against the Masked Lumen then concludes...for now.
Post-Chapter Spoils 3 Verse Cards (Fidelity, Accolade, Masked Lumen)
CH4 V9 | 1st Climax | 2nd Climax | 3rd Climax | ∞ Climax | ||||||||
|---|---|---|---|---|---|---|---|---|---|---|---|---|
| Time | Damage | Combo | Time | Damage | Combo | Time | Damage | Combo | Time | Damage | Combo | |
| PLATINUM | 03:40 | 0 | 43130 | 03:40 | 0 | 43130 | 04:10 | 0 | 43130 | 04:40 | 0 | 43130 |
| GOLD | 03:50 | 500 | 18750 | 03:50 | 1000 | 18750 | 04:40 | 2000 | 18750 | 05:10 | 4000 | 18750 |
| SILVER | 04:20 | 1000 | 12660 | 04:20 | 2000 | 12660 | 05:10 | 4000 | 12660 | 05:40 | 6000 | 12660 |
| BRONZE | 04:50 | 1500 | 6560 | 04:50 | 3000 | 6560 | 05:40 | 6000 | 6560 | 06:10 | 8000 | 6560 |
| BOSS BONUS | 10000 | 10000 | 10000 | 10000 | ||||||||